

Airborne Janitor
-
Posts
483 -
Joined
-
Last visited
-
Days Won
1
Content Type
Profiles
Forums
Gallery
Everything posted by Airborne Janitor
-
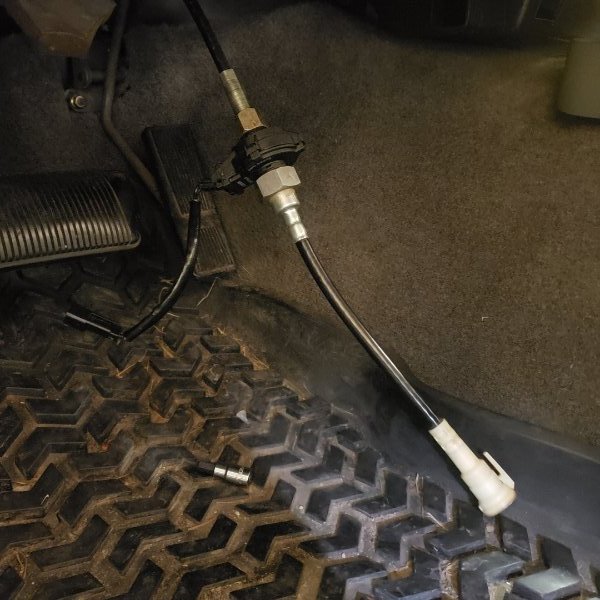
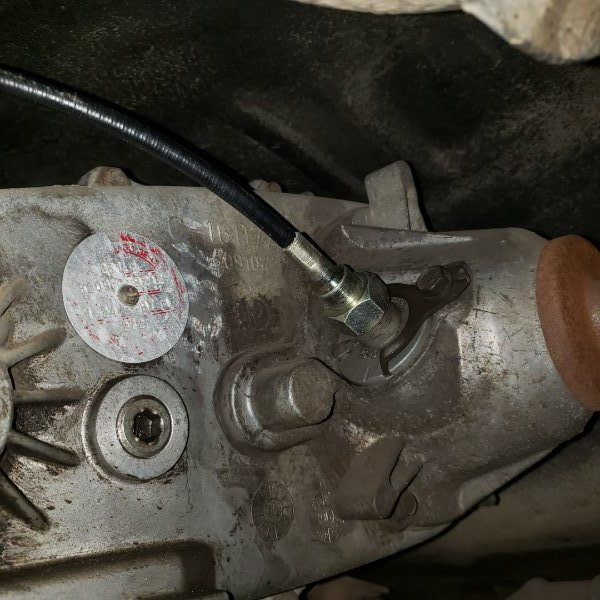
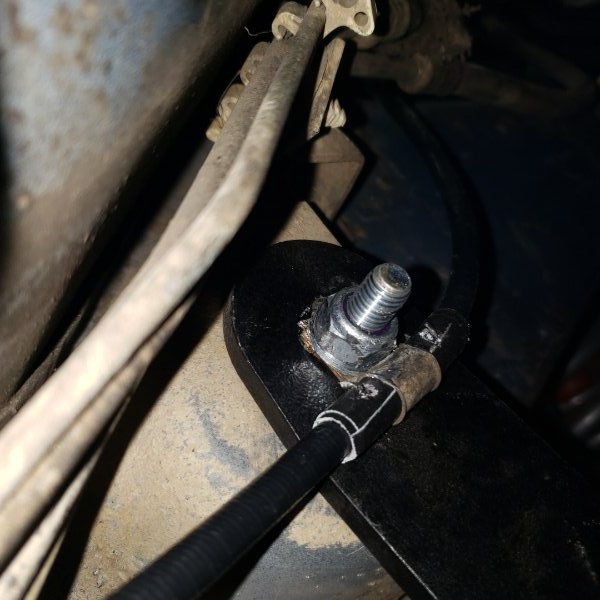
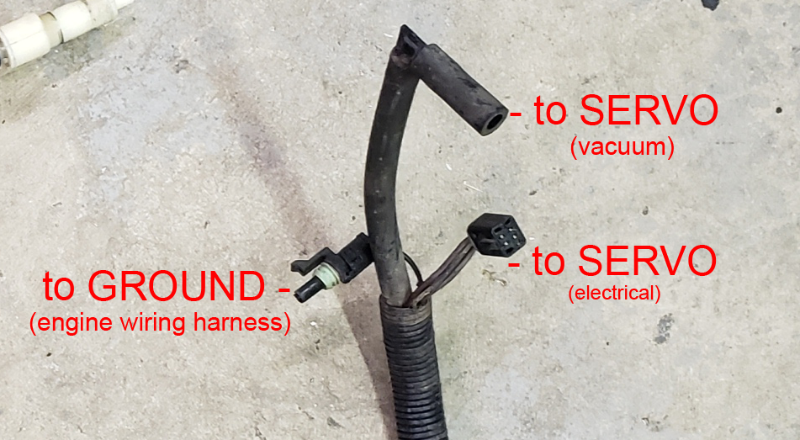
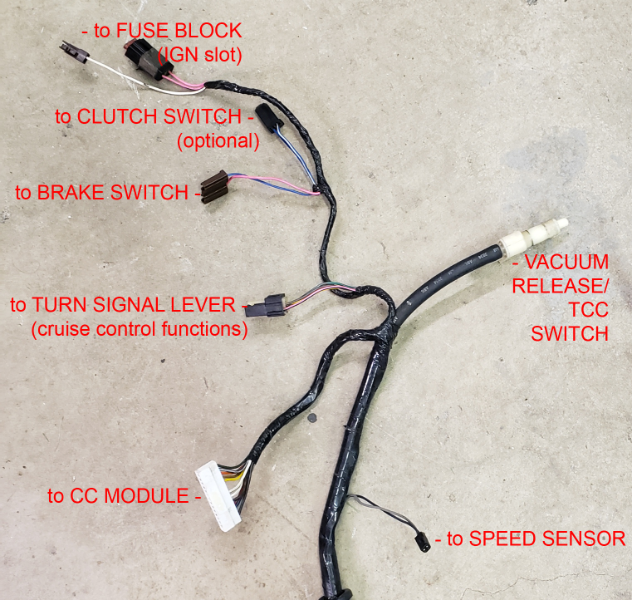
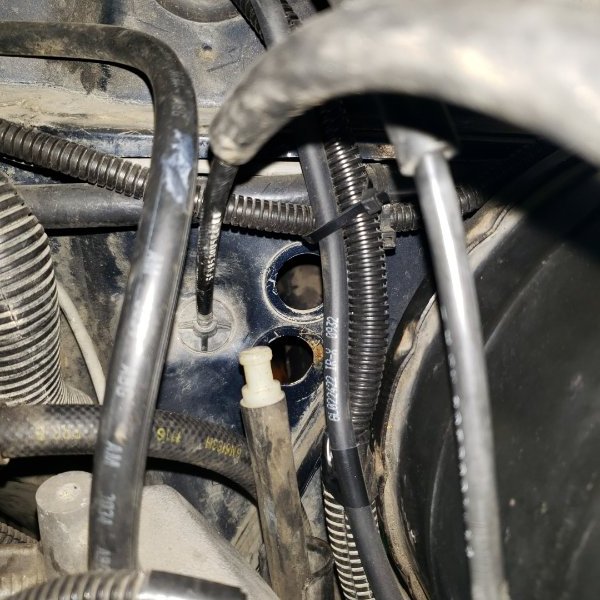
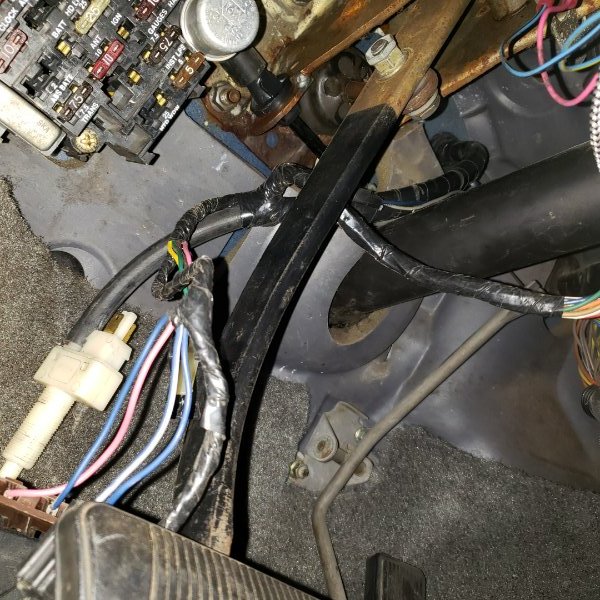
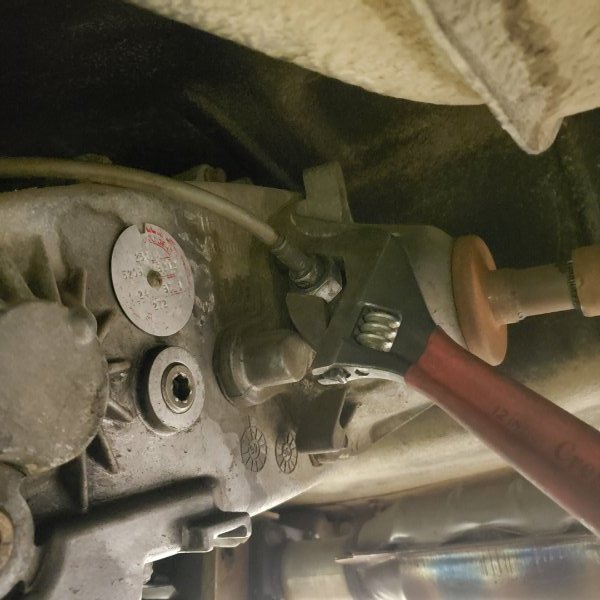
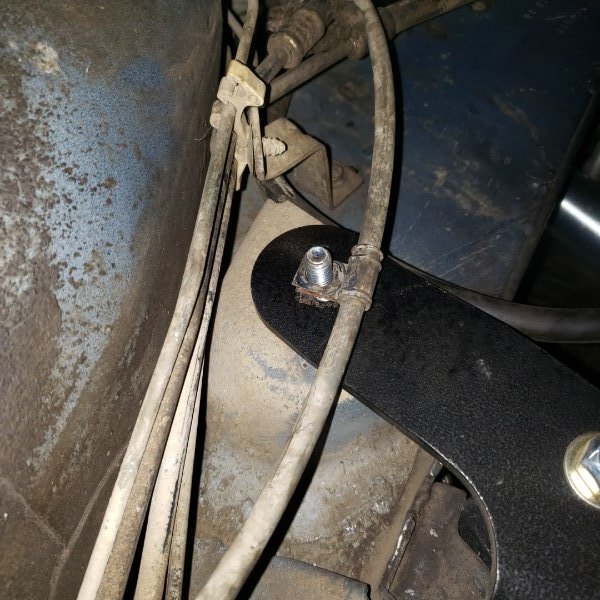
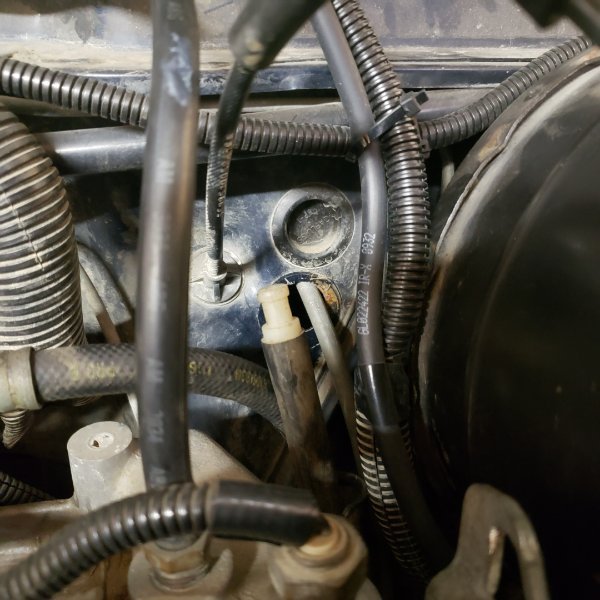
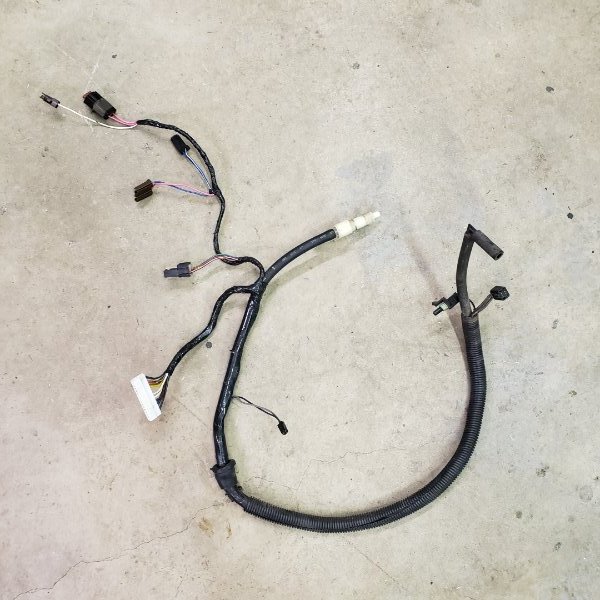
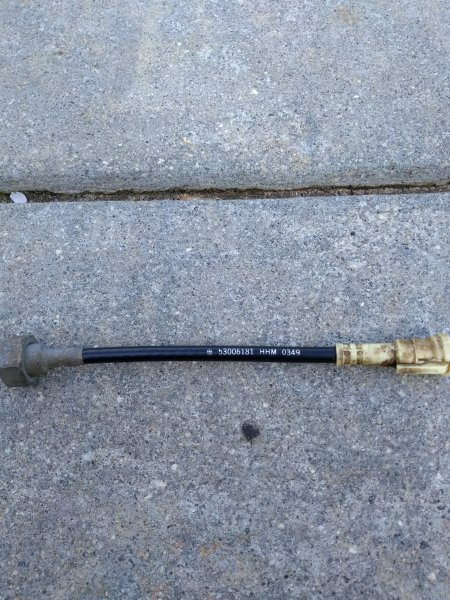
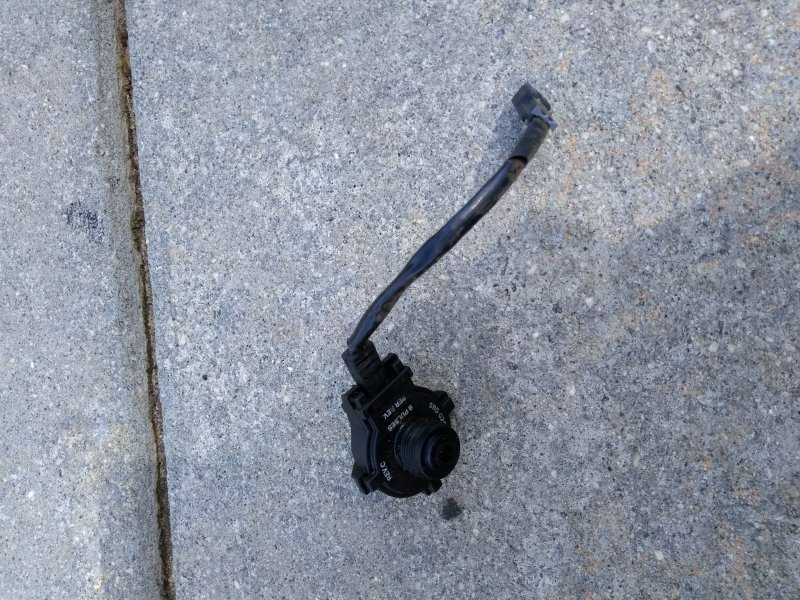
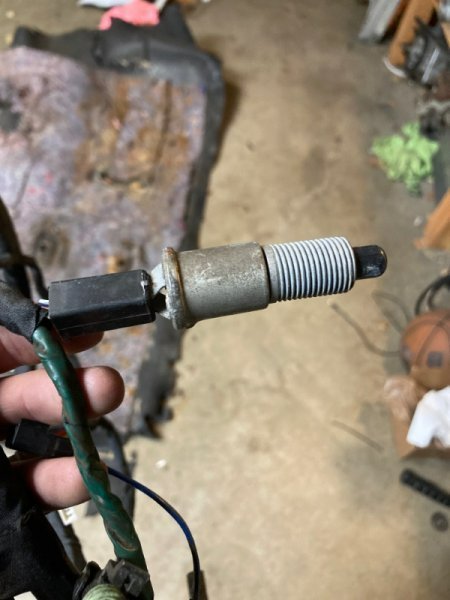
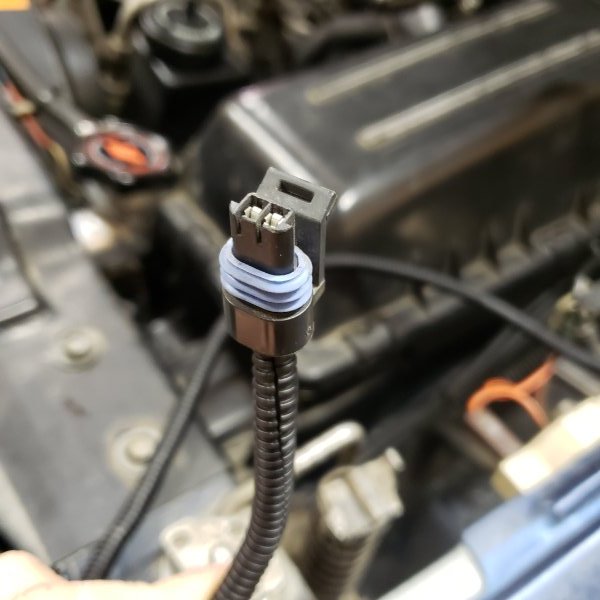
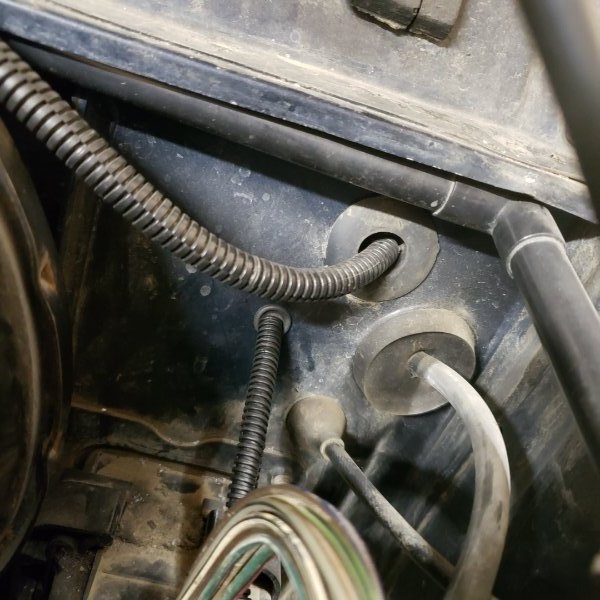
 5) Install new speedometer cable Route the cable into the firewall first. Orientation of cable dictated by the rubber firewall grommet, and the smaller nut goes towards the instrument cluster. I had a hell of a time getting the grommet to install, and ended up having to cut a little off the lip to get it to fit. Install the speed sensor onto the speedometer cable, then the shorter speedo cable onto the speed sensor (if it wasn't already installed). Route the speedo cable through the inner firewall (there's a slot it goes through) and clip it into your instrument cluster. Reinstall instrument cluster. Install other end of speedo cable to the transfer case. I reused the UCA bracket from the old cable. Use zip-ties to secure the slack out of the speedometer cable and keep it from any moving parts (driveshafts) 6) Install cruise control wiring harness Take a look at your entire harness. It's kind of daunting at first, until you realize where everything goes. Remove the plug that's above the speedometer cable (hole) on the firewall, this is where you'll be routing the wiring harness through. Starting from inside the cab, shove the harness through that hole servo connection end first. Look at the orientation of the grommet too.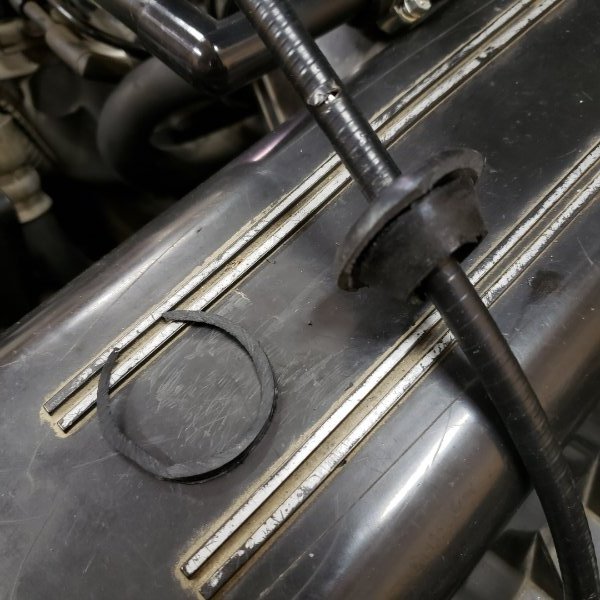
-
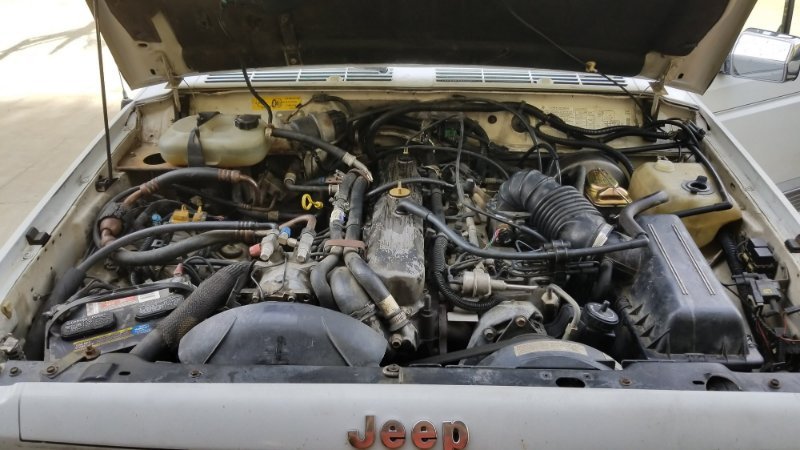
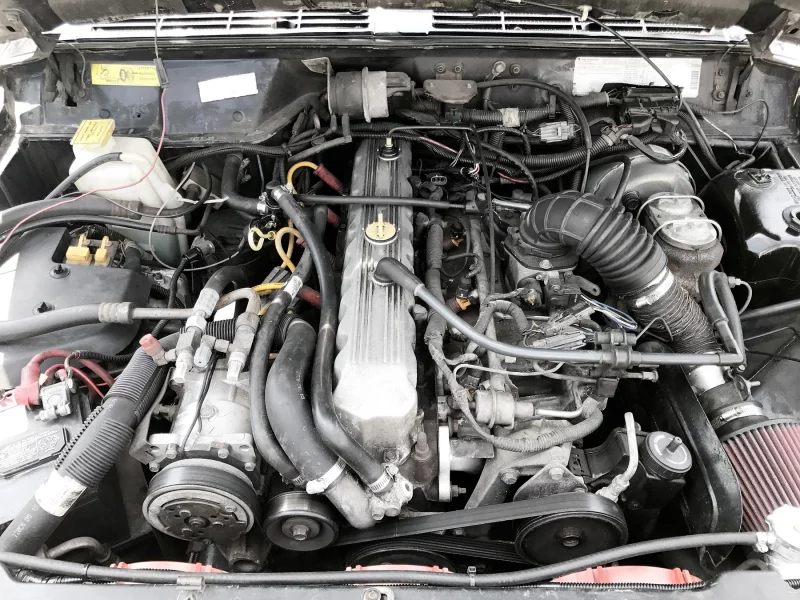
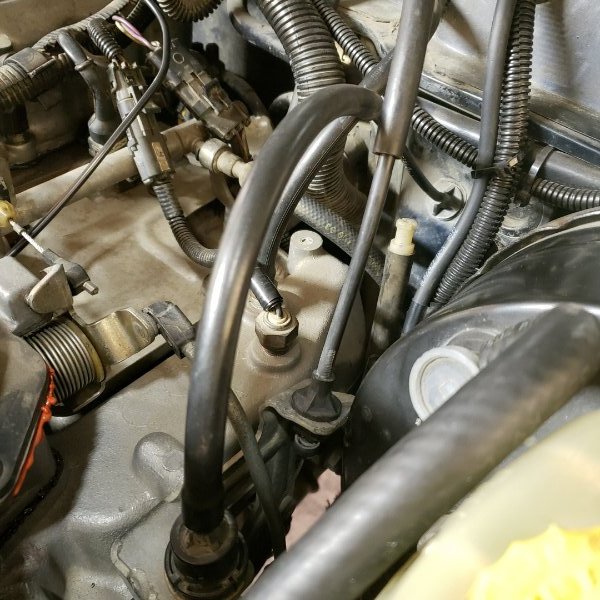
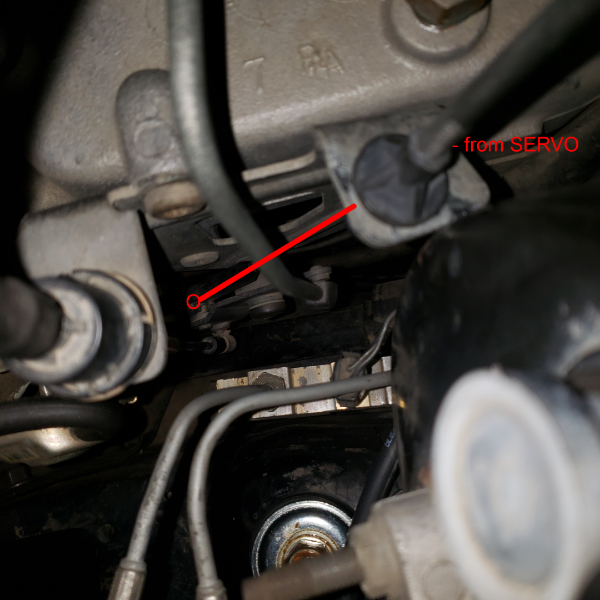
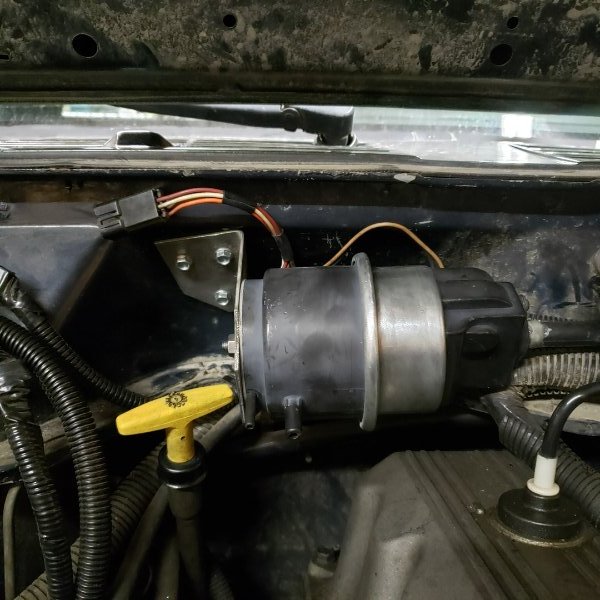
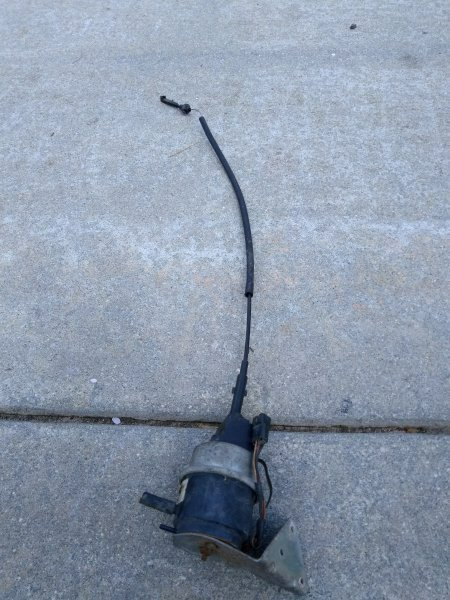
3) Remove your old speedometer cable. Start by removing the transfer-case end first. You may have a little bracket attached to your driver side UCA bolt that needs to come off too. Pop the grommet on the firewall behind the instrument cluster There's a million write-ups on here on how to remove the instrument cluster, so I'm not going to go over it. But the instrument cluster does need to be removed in order to fully remove the old speedometer cable. 4) Install the servo So there are a few different types of servos out there, depending on your year, engine, and transmission. For the 4.0 I found there are two types of brackets to mount the servo. TYPE 1: Bracket/servo mounts near the passenger firewall, near the coolant tank. This uses an L-shaped bracket that faces INWARDS towards the servo. TYPE 2: Bracket/servo mounts in the middle of the firewall, behind the valve cover. This uses an L-shaped bracket that faces OUTWARDS away from the servo. I got a TYPE 2 bracket which worked out great for me, because I have an aux fuse panel mounted where the TYPE 1 bracket would need to go. The bracket is removeable from the servo, which makes it easy to use it as a template to mark the 3 holes that have to be drilled. You can use 3/16 self tappers to install. Route the servo cable under the MAP sensor bracket, and snap the cable end into the square hole on the throttle bracket. Clip the end of the cable into the "ball joint" on the other side of the throttle cable.
-
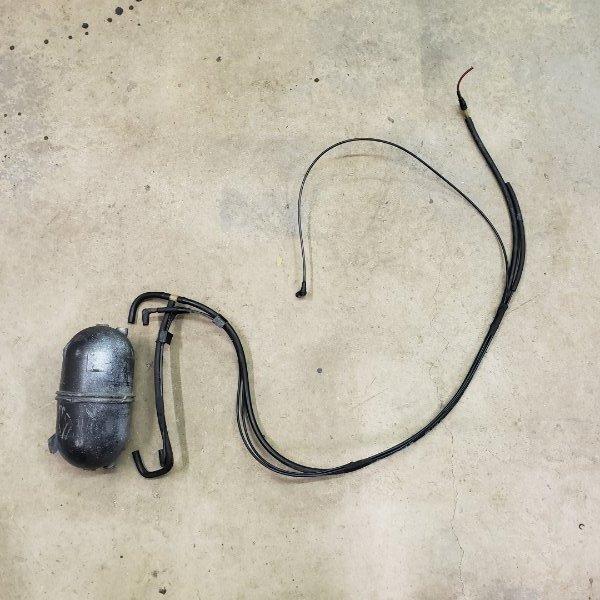
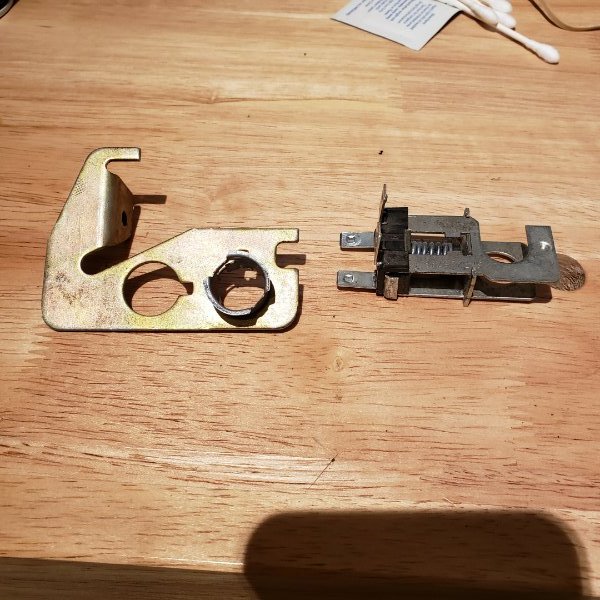
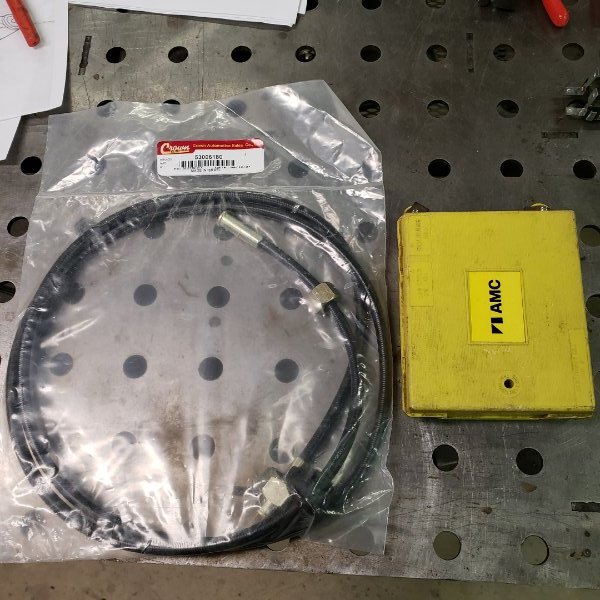
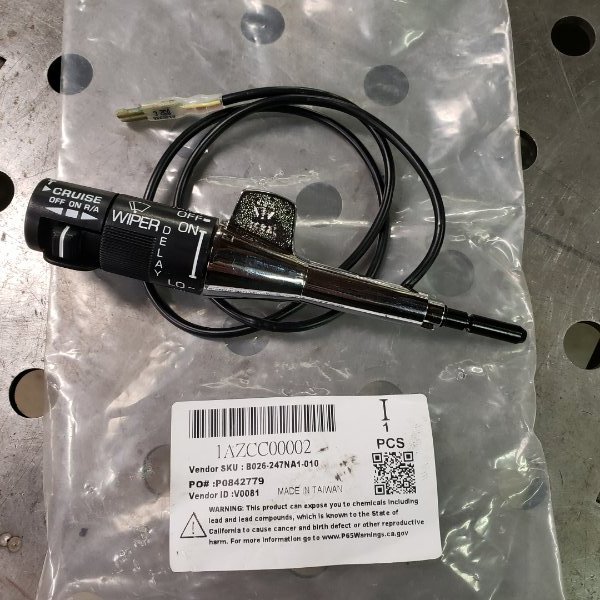
This documents the install of RENIX cruise control on my 89 MJ 4.0L AW4. Used this post for reference: https://comancheclub.com/topic/55178-how-to-install-renix-factory-cruise-control 1) Contact @eaglescout526 and get one of his cruise control kits. He'll get you the right parts for your particular set up. The only thing extra you'll need is a new speedometer cable. 2) Part list: SERVO SPEEDOMETER CABLE (SHORT) SPEED SENSOR WIRING HARNESS VACUUM HARNESS W/ RESERVOIR VACUUM/TCC SWITCH BRACKET, BRAKE SWITCH (CRUISE CONTROL VERSION) SPEEDOMETER CABLE (Crown 53006180), CRUISE CONTROL MODULE TURN SIGNAL LEVER (STALK) aka MULTIFUNCTION SWITCH CLUTCH SWITCH (for manual trans)
-
Adding low washer fluid warning to an MJ
Airborne Janitor replied to Anthi4078's topic in MJ Tech: Modification and Repairs
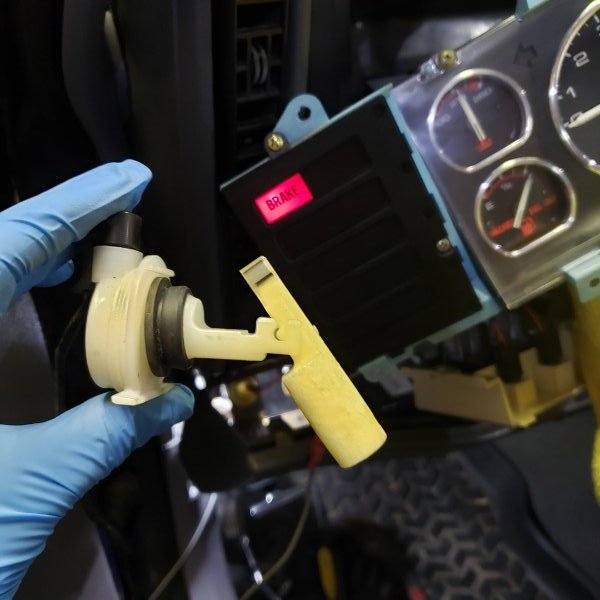
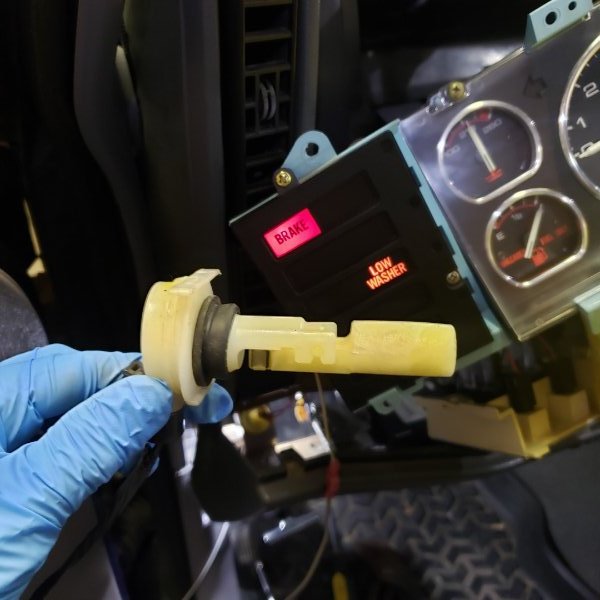
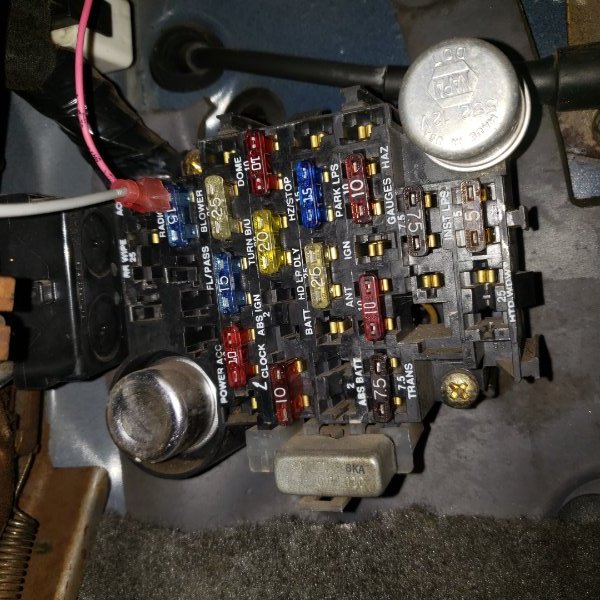
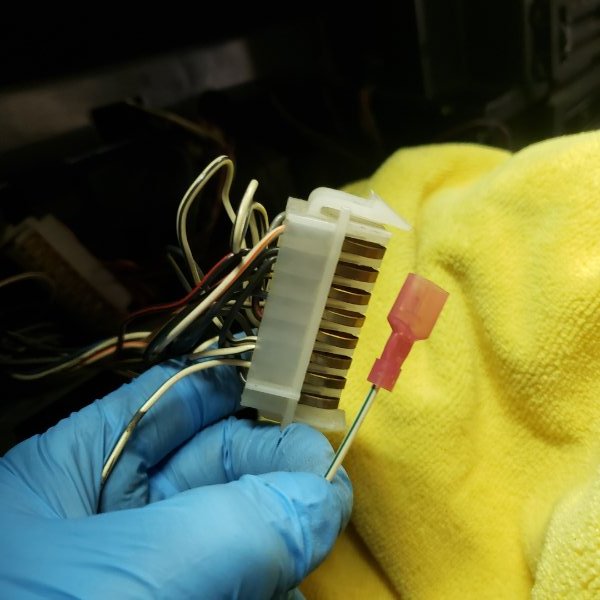
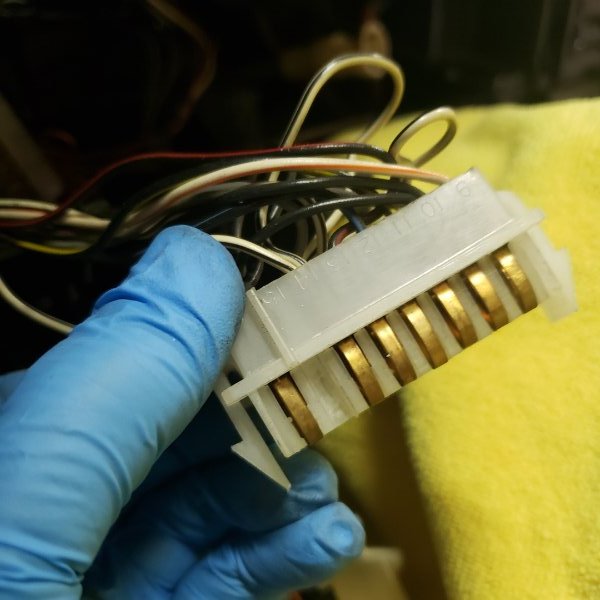
Confirmed this does work. I did simplify the process by not plugging into the C101 bulkhead connector. I just ran new wires to and from the low washer switch. I have a 97+ XJ washer bottle so my set up may look a little different. Pin 15 missing from the instrument cluster info panel harness. Pulled an individual wire I had from a spare XJ harness and popped it right into the MJ harness. Its easy to remove the pin from the harness using an awl or a pick. Crimped a QD spade to the other end of the wire. Spliced into the low washer switch. Ran two wires from it back into the cab through the firewall. Drilled a hole and popped in a grommet. Run one wire to the Pin15 wire, and the other wire to the fuse block, splicing into the radio fuse, upper left. Testing the low washer light by activating the float for the low washer switch. Here's a simple diagram to follow.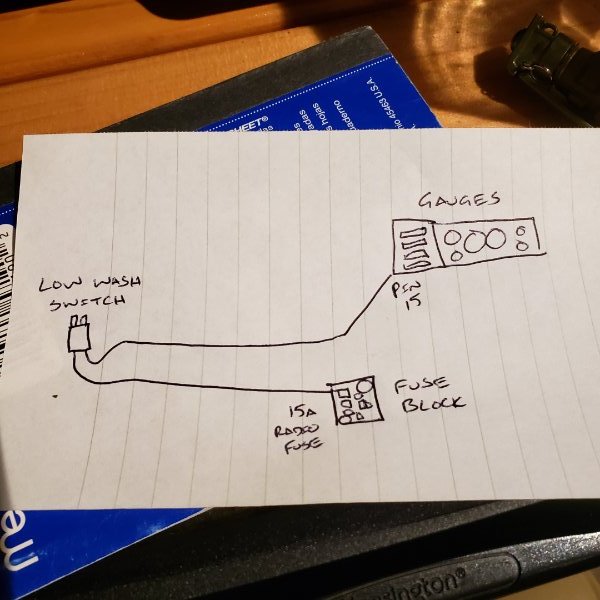
-
D44 disc conversion
Airborne Janitor replied to ftpiercecracker1's topic in MJ Tech: Modification and Repairs
When I converted my XJ I also swapped in a ZJ prop valve (52009061AB) -
D44 disc conversion
Airborne Janitor replied to ftpiercecracker1's topic in MJ Tech: Modification and Repairs
I converted to discs on my XJ's D44 many years ago, before any "kits" were available. I converted them over with ZJ parts and backing plates. I "think" I used TJ Rubicon backing plates. The problem was that the "spacer" on the backing plate was slightly too thick, causing too much compression on the outer seals and causing them to leak. I ended up having to machine "maybe" .010 off the spacer to where they wouldn't crush the seals. This was almost 20 years ago, wish I had better details. -
Interested also, any updates?
-
Looking for 60mm bored throttled body
Airborne Janitor replied to Whitaker717's topic in MJ Tech: Modification and Repairs
Just put one of these on my rig a few weeks ago! Jeff does nice work. -
My MJ has been staying warm in the shop for the most part this winter. With the snow/slush/ice here I drive my red XJ with proper gearing and more weight in the back. Good luck on your trip, what did you find across the border?
-
Damn that's a crazy story! I was stationed in Tacoma 10+ years ago, seems the west side has really been going downhill. Glad to hear you're doing ok all things considered.
-
Help! Sway bar disconnect bolt?
Airborne Janitor replied to Spooky.truck's topic in MJ Tech: Modification and Repairs
If those are the JKS discos that upper U bracket has a threaded hole that the bolt tightens into, it's not just a bolt/nut that holds it on. Take a look at that uppper U bracket to see if there are threads, if so remove the bracket and straighten it out with press/hammer/anvil/crescent wrench. Then use that bracket to figure out what size/thread bolt you need. -
A few years back I acquired one of those Comanche Four Wheeler of the Year static clings and had to plans to make reproductions. That project fell through, but I recently re-found the files and here they are for your entertainment. I also made a "Comanche" door decal in the 97+ XJ font for my rig that I'm sharing as well. These can easily be cut out of vinyl on a die-cut machine like a Cricket or Silhouette. NOTE: There are some issues with the Comanche vector in regards to perfect lines. If you want a new style Comanche font I suggest using the Conthrax SB font as it is very close. https://www.dafont.com/conthrax.font .SVG vectors also uploaded. Comanche-4wyear.svg comanche-newstyle2.svg


-
Find me a set of mint B pillars and rockers, and a complete dana44 rear axle with springs and shackles, and rear wiring harness and I'll trade you this rig.
-
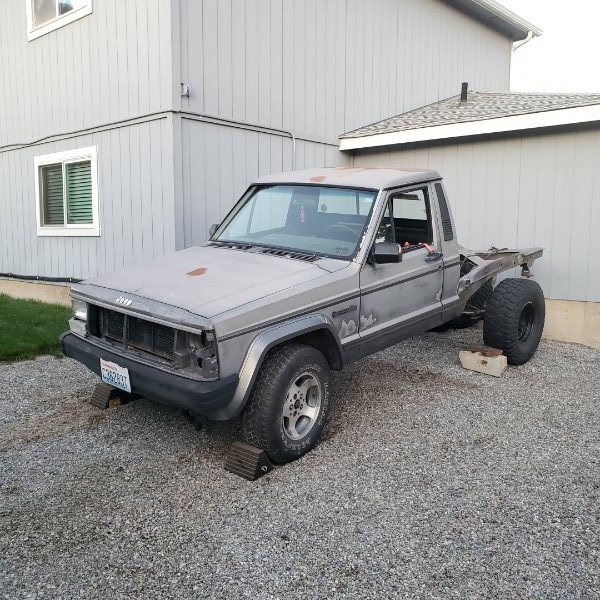
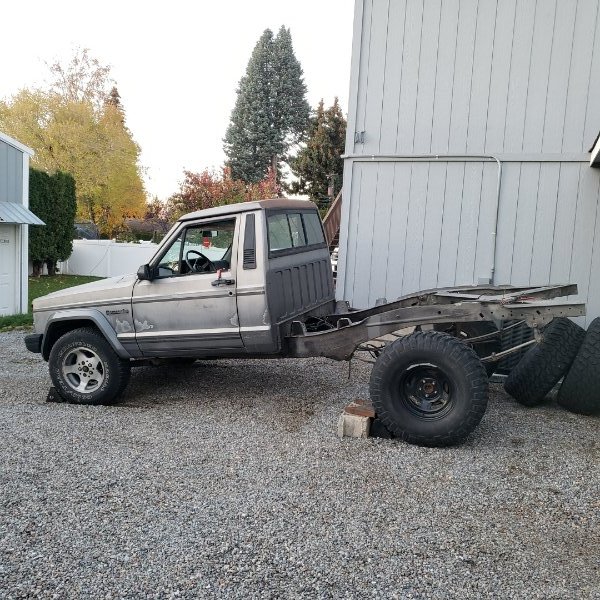
So I recently picked this guy up to strip parts from. 89 2WD LWB, really good bones/sheet metal. HOWEVER I'm going to be cutting out the outer B-pillars and rockers, and I'm pulling the rear axle and springs for another project. Something I'm planning in the next few months. Would you be interested in the leftover carcass, that would include the entire front clip and 2WD axle, motor (non-running and missing parts) & tranny, front cab minus the outer b-pillars & rockers, doors, stripped interior, and rear frame?
-
Filling a CO2 tank with compressed air?
Airborne Janitor replied to Airborne Janitor's topic in The Pub
Thats good to know thanks. -
I see two schools of thought in my research: Sure! Or hell no! I'm building a little CO2 onboard air tank I have out of a 5lb CO2 tank that's like new. Like this one: https://a.co/d/6gM4dDB If all components are new and there are no leaks, can you fill this tank with compressed air, from say my Quincy 60gal 2-stager? The tank will be used for airing up tires and air tools in a pinch.
-
These are awesome. I'd love to get a pair of wood ornaments and coasters!
-
And if you want an OEM auto trans cooler I got one for sale too, just shoot me a msg. The hitch, wiring harness, and transmission cooler are the "main" towing items. If you want to upgrade the payload capacity you'll have to get the Metric Ton components which would be the Dana 44 rear axle and the 3+2 leaf springs.
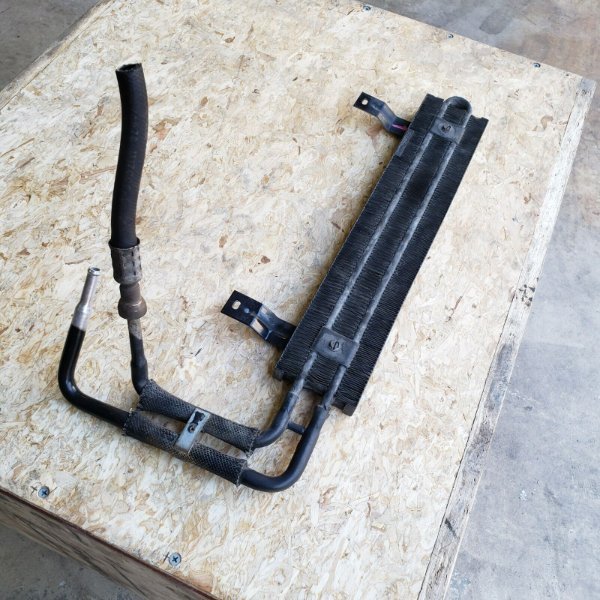
-
You can also build your own tow wiring harness using a Cadillac STS connector for your Renix MJ.
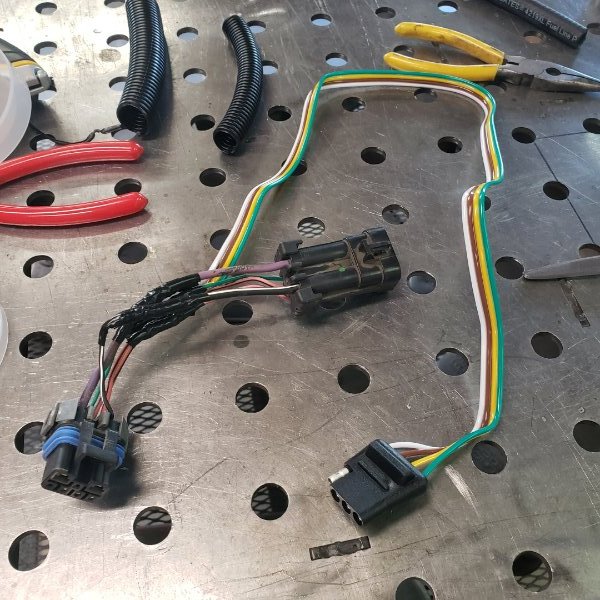
-
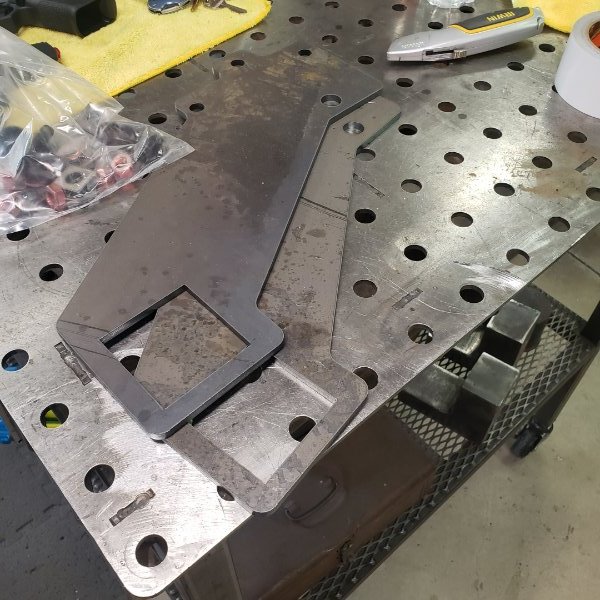
I purchased the hitch plates from @krustyballer16 and pulled a hitch from a Ford Expedition. Cut off the old mounting brackets and welded on the new ones. Obviously there's some fabrication involved but not a super difficult project and pretty cheap if you can weld (or know someone who can).
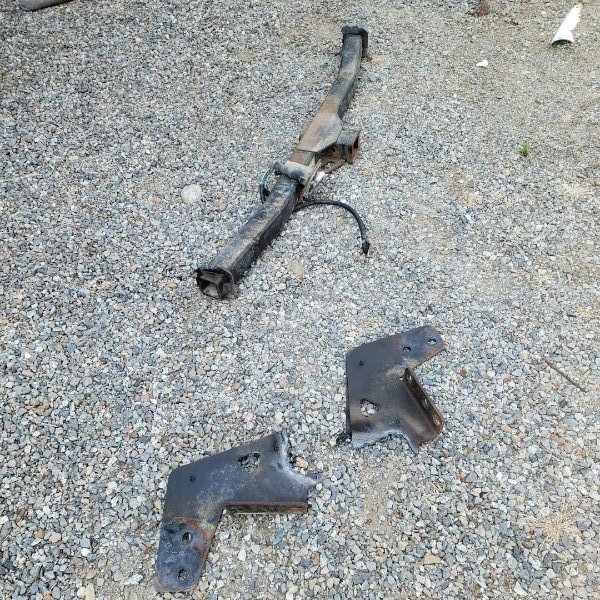
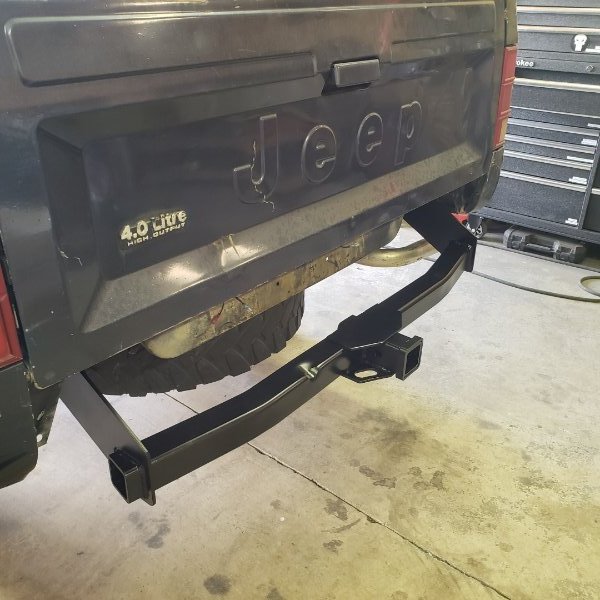
-
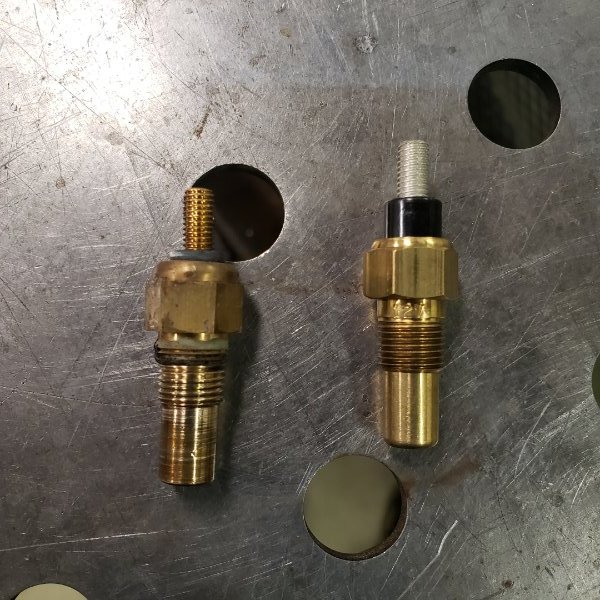
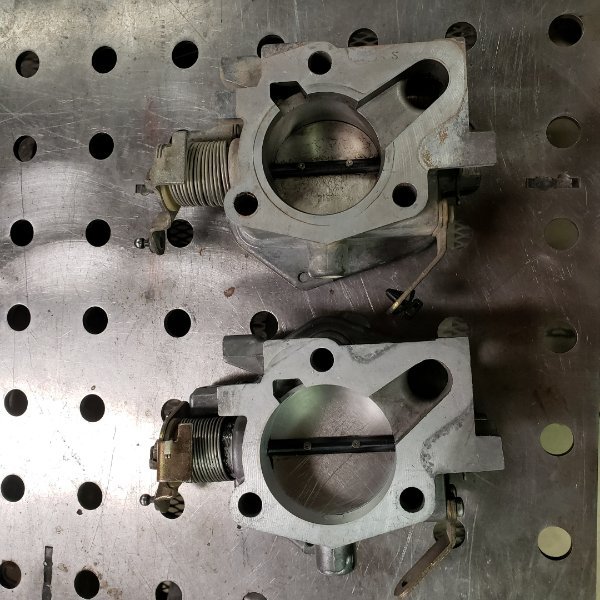
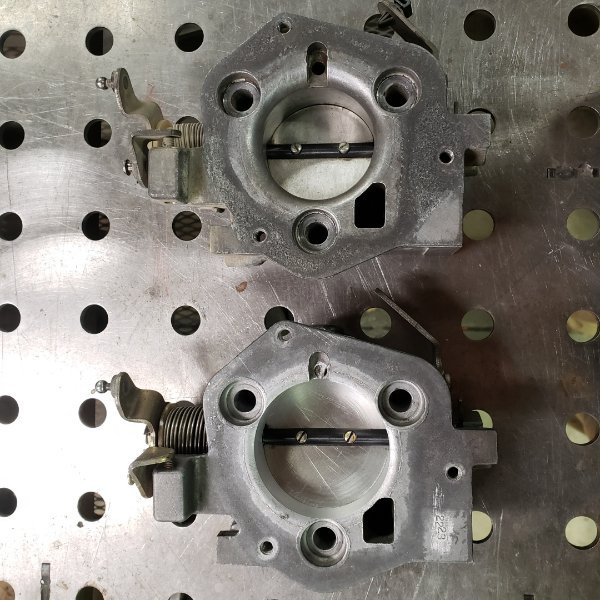
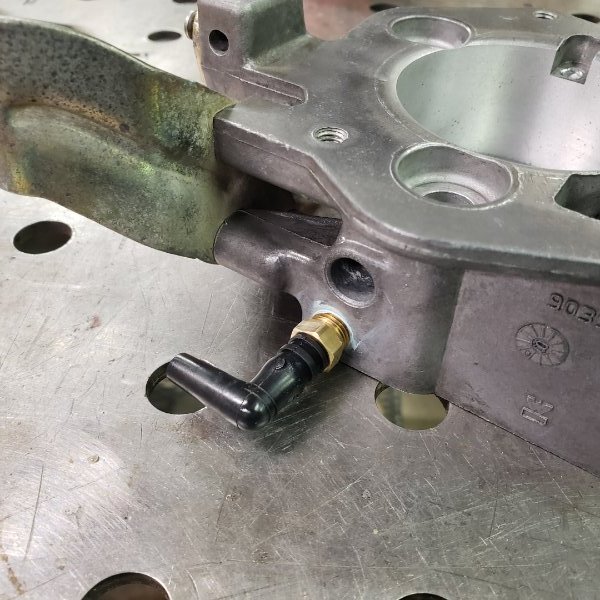
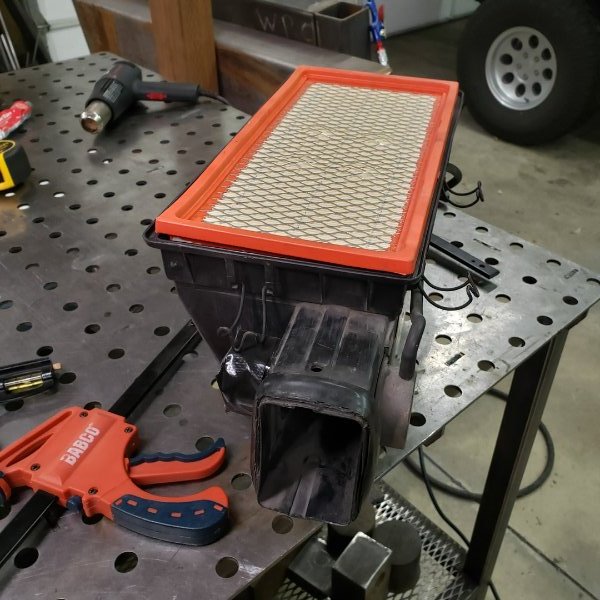
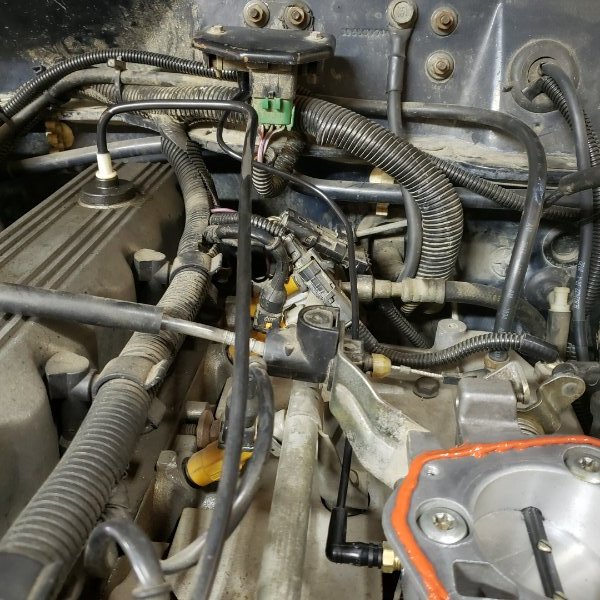
Squeezed in a few more upgrades today. Contacted Jeff at Leigh Performance Machine a few months back and got a 60mm bored RENIX throttle body from him. Look at the pics compared to the stock TB, it really is a work of art. http://strokedjeep.com/renix t-body.html Of course I broke the MAP sensor line during install, so I followed @cruiser54 upgrade https://cruiser54.com/?p=280 The elbows and line were a very tight fit. I used heat gun to soften things up a little, and to create the bends in the plastic tubing. I also replaced my old TPS with a NOS Mopar 33004650, and put in a new WIX 46077 air filter. My airbox had warped slightly over the years, to where there wasn't much of a "shoulder" for the air filter to grab onto. Used a couple of clamps and the heat gun again to "tighten" the box up, and pulled out that plastic butterfly plate from the front intake. These upgrades really improved how my MJ runs. Idle, throttle response, and shifts are much better. Feels like one hell of a tune up! I think the new TPS helped a lot. I also dropped my coolant temps about 15* my replacing the Duralast TU108 coolant temperature sensor (left) with a Mopar 53005309 (right). I noticed the "stud" on the Mopar unit is thicker than the Duralast one, which allows the connector to fit much tighter. I read in another forum how the aftermarket temp sensors can be hit n miss, which clearly was the case with mine.
-
Rear Chrome Step Bumper in decent shape urgently needed
Airborne Janitor replied to ArcticMonkey's topic in Wanted
He's in Norway though, so the availability of places in-country may be slim, and having to outsource outside the border may be super expensive. EDIT- or are you Canada now, judging by the license plate? -
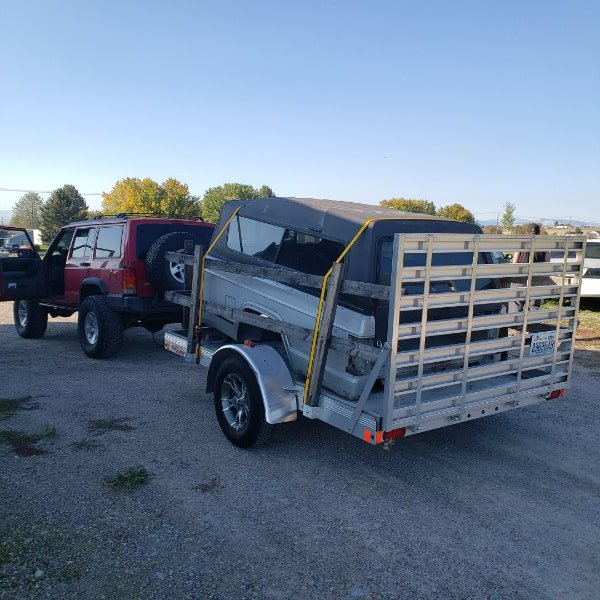
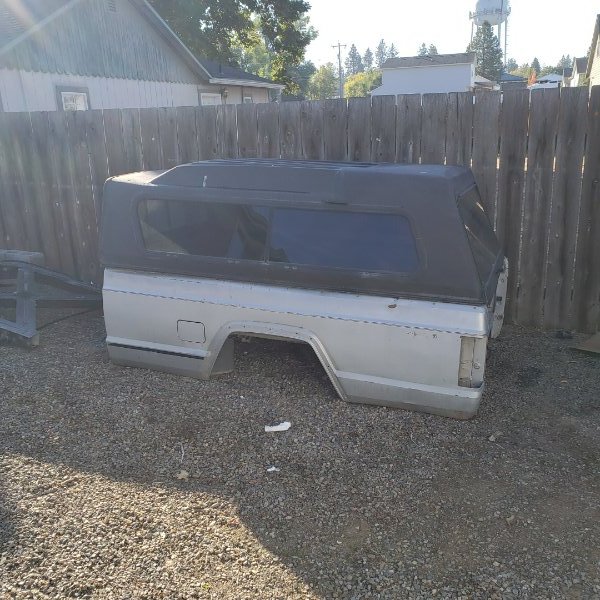
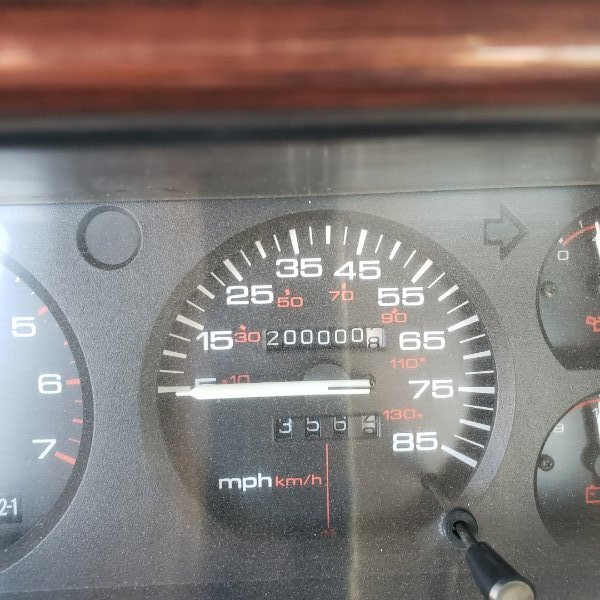
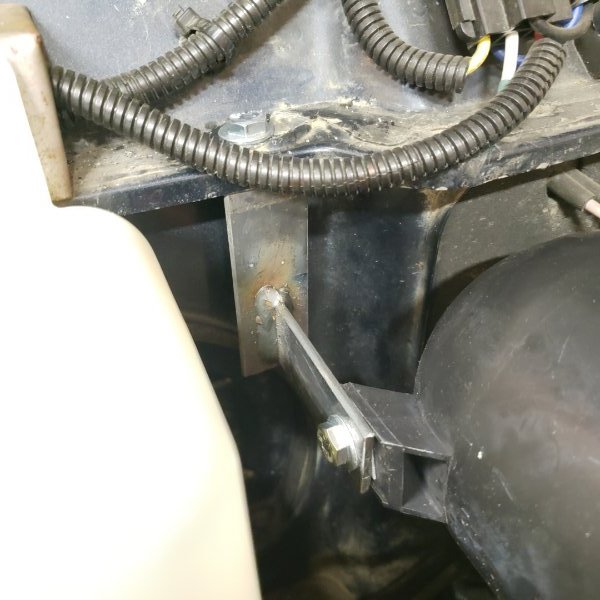
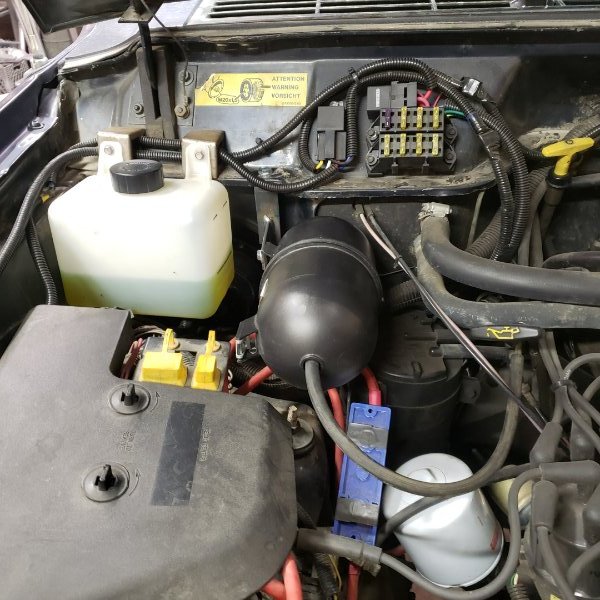
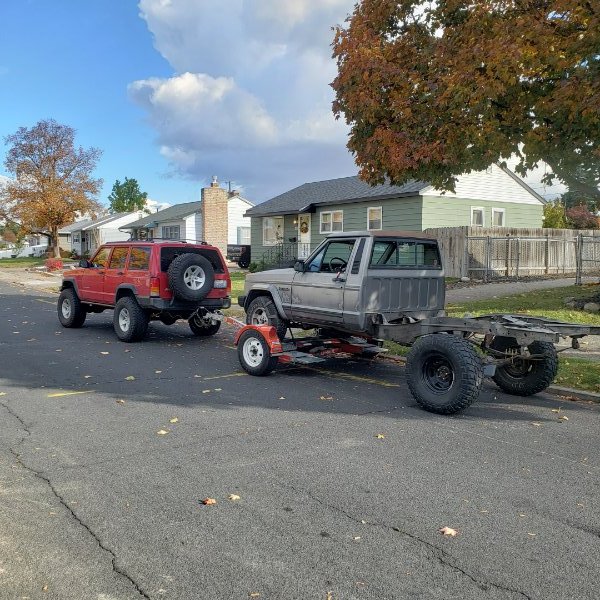
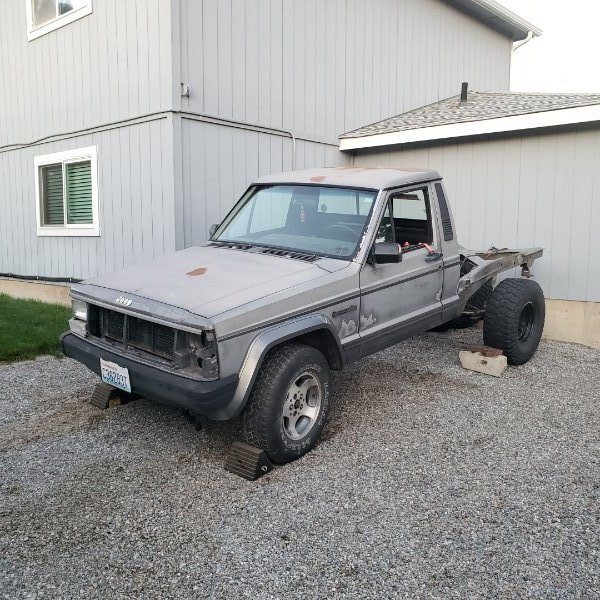
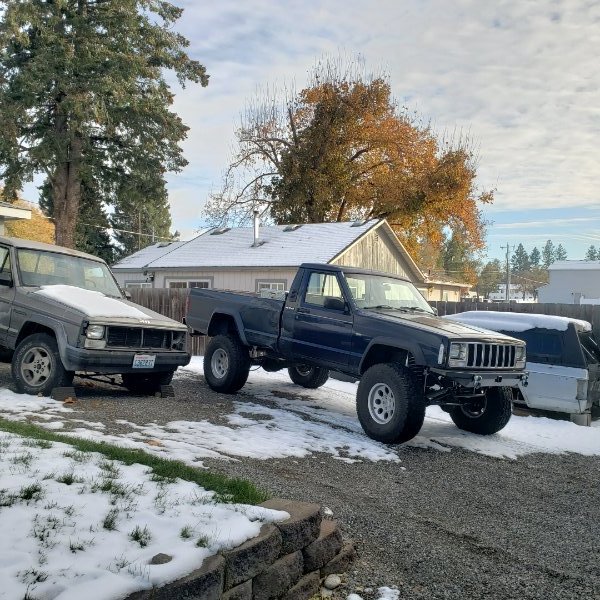
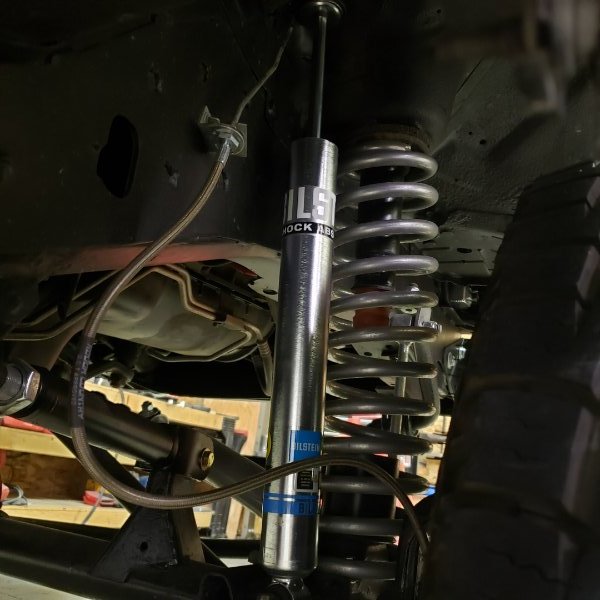
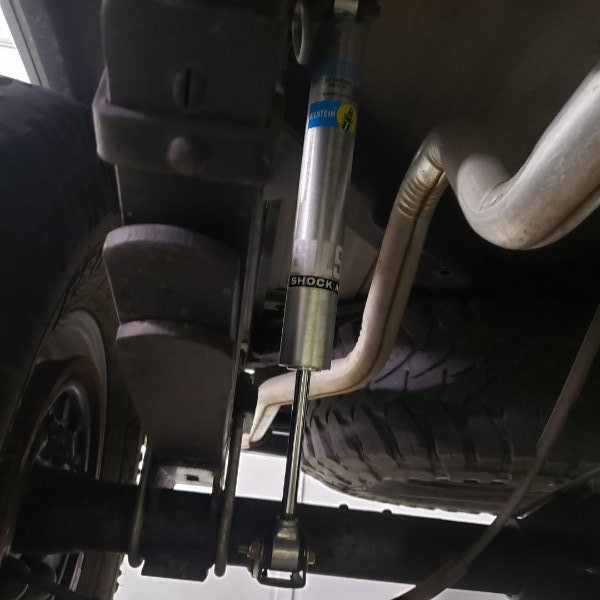
Well after a few one-ton hauls of gravel, the rear has sagged a whopping 1/2"! Was hoping for a little more, but oh well, I'm sure it will sag a little more over time. Decided to go ahead and install Bilstein shocks all around. Bilstein 5100 24-185943 for the fronts, Bilstein 5125 33-185552 for the rears. Built a little bracket for my loose vacuum canister that was rattling around: And the MJ tipped the 200,000 mile mark! Brought home some additional "toys" Brought back a LWB frame, bed, and camper from Montana. Then bought @JordanTMiller leftover parts MJ. The plan is to built an offroad camper out of the frame/bed/camper, and the gray parts MJ will be offered as sacrifice for the camper and blue MJ. Rear axle, springs, shackles, and wiring for the camper, then cutting out the cab corners and rockers for my blue MJ. The gray MJ does not run, is 2WD, interior is pretty much stripped, and I have no interest in building another running MJ out of it. The parts will go to good use, and the remainder will end up in the for sale forum. Big plans for the next few months either way. Got 4.56 gears, a bored out TB, and a cruise control kit to install very soon.
-
97+ Splash guards??
Airborne Janitor replied to ghetdjc320's topic in MJ Tech: Modification and Repairs
The bolt holes on the front fenders/flares should be the same for all MJ & XJ years, so they should bolt up. Of course the 97+ flares are shaped a little different, but I think they would work with the pre97 flares. I was thinking of the fender holes, not the holes for the actual mud flap. -
I don't have Facebook. Where is it located?