

Dzimm
-
Posts
3580 -
Joined
-
Last visited
-
Days Won
11
Content Type
Profiles
Forums
Gallery
Everything posted by Dzimm
-
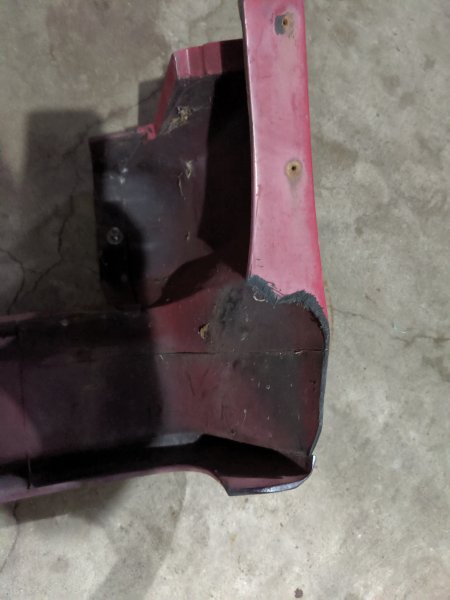
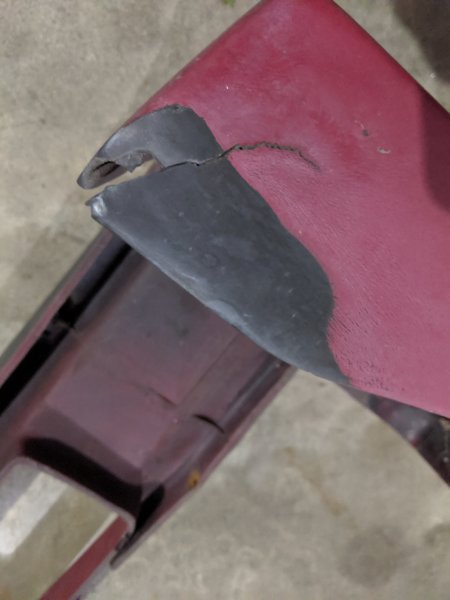
Mine does still have some droop in the middle opening but it's not nearly as bad as in my original pictures. It had been sitting in the box outside all day so it was very hot and droopy in that picture, after cooling off it straightened out quite a bit. Either way it needs some work before a mold is pulled from it as it's got some chipped paint and the slight damage on the ends.
-
This looks like it would create a close copy but would require a very accurate mold of both the inside and outside of the air dam. For an inner mold, it would have to be collapsible due to the overhang that wraps around the flare so this may not be a very easy or cost effective route but may be an option. Model-Pro Polyurethane Casting Resin 4 Making Models 2 Gallon Kit https://www.amazon.com/dp/B001VMWLBC/ref=cm_sw_r_cp_apa_i_mOvjDb6YR7SC5
-
It's definitely not the same as a drop in bed liner, this is far too soft. It feels and flexes just like the factory fender flares.
-
I'm not really opposed to fiberglass either, there are many many vehicles with fiberglass body parts hanging low. This is currently still my top choice.
-
The fiberglass and carbon fiber process are definitely very involved and I'm okay with that. I've never done it before and it's something I certainly am willing and wanting to learn and do. I've already seen about every video available on it so I already know what in getting myself into. After receiving the part and realizing it's not a rigid part, I started to think about heat forming or vacuum forming plastic maybe, basically looking for an option to create a flexible part. I'm just not familiar with any processes other than fiberglass or carbon so I don't know what other options are out there and am hoping someone knows of something else.
-
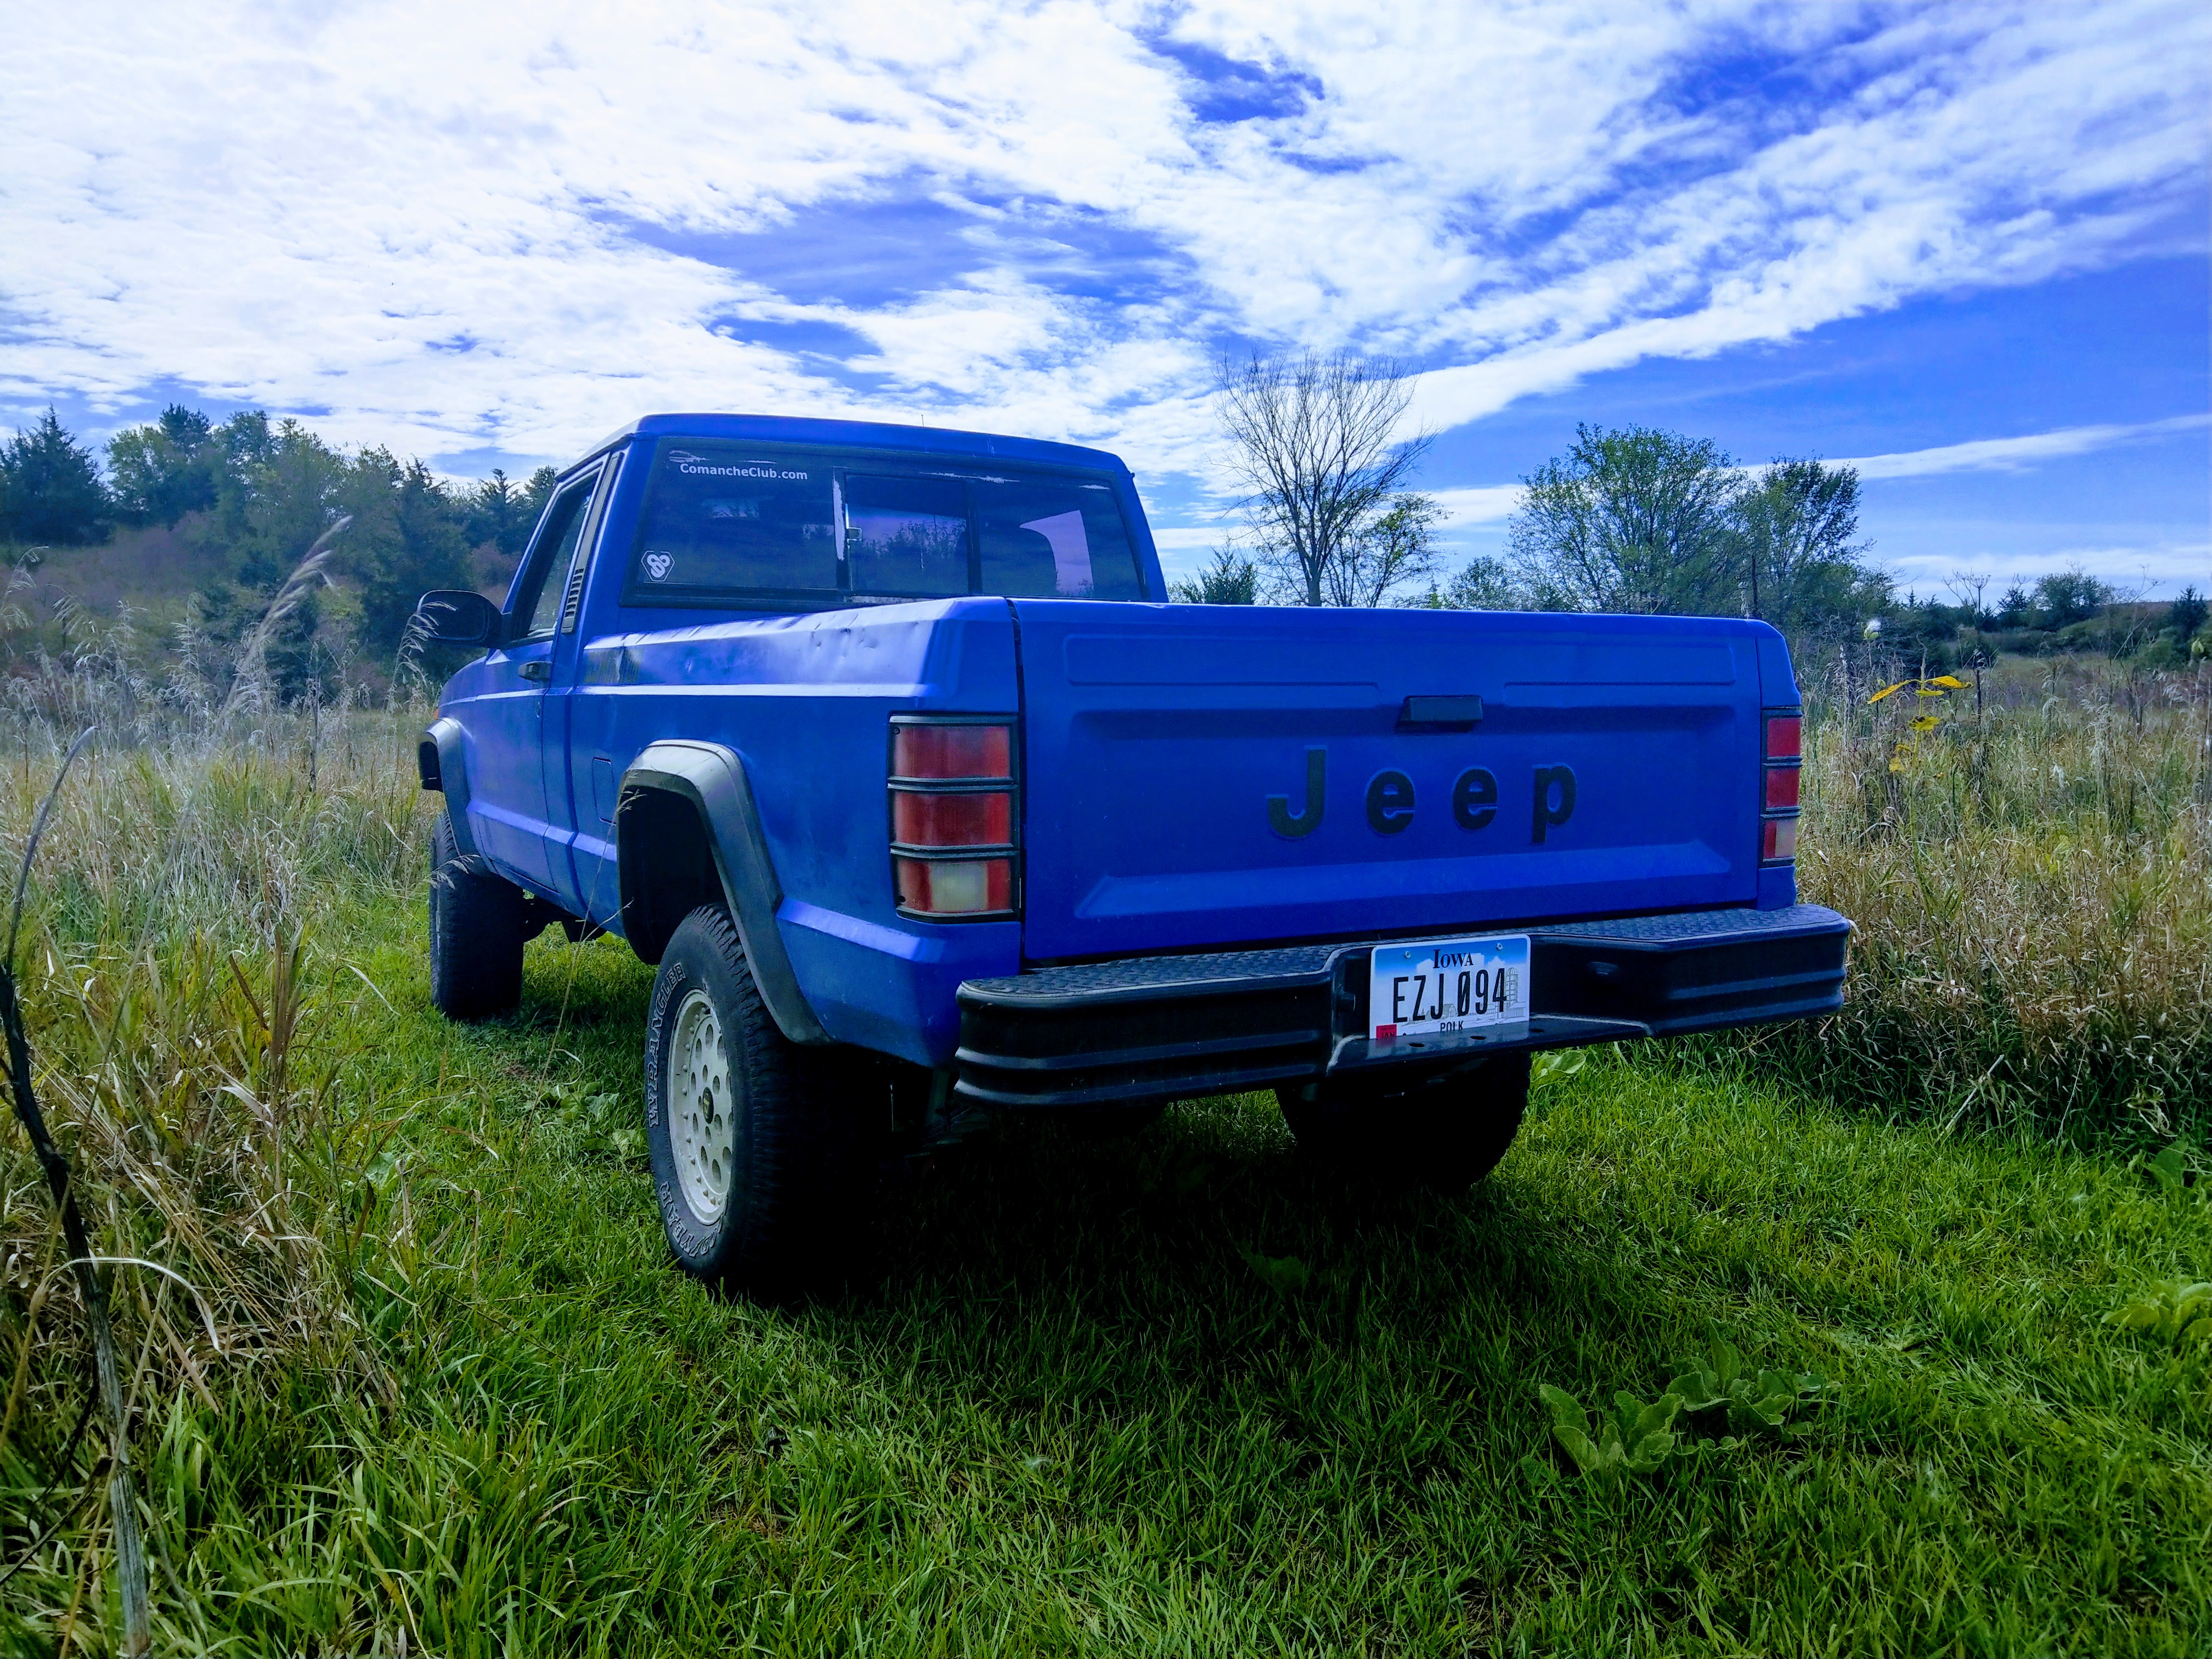
It finally happened! Thanks to JPEX05, I was finally able to get a street Comanche air dam! It has minimal damage, none of which would really be seen when installed. Now my big master plan was to make a couple copies of it so I didn't have to worry about tearing up the real one but now I'm not exactly sure how to proceed. I had thought the street MJ ground effects were made of fiberglass but turns out it's very flexible and made of like a polypropylene or a PVC of some kind. Probably the same material used on the fender flares. Anyone have any ideas on exactly what it is made of or how else I may reproduce it? I could still make fiberglass ones I suppose but I actually like the flexibility in it.

-
Crap I knew I forgot to ask him something. He wouldn't do anything else really under my diagnostic because we were into a more advanced repair so he likely would have charged me for it. He also didn't come with the truck with tools, he came in the business suv as he knew I wouldn't be home long enough for him to actually do anything anyway.
-
It's just cars and trucks that's shows a $5 fee, everything doesn't have any. Yup I see a dramatic decrease in CL sales. Damnit now I've got use stupid Facebook. Hopefully people just use the atv/utv section or the auto parts section. "For parts but has no issues, runs and drives, and clean title just want to sell as parts tho" may work.

-
Definite multiple categories. Isn't cars and trucks the category? I see a large decrease in the stupid advertisements spread across everything. Type in anything automotive related and you see 50 ads for the same stupid rim store.
-
I'm not even sure there is a leaking hot anywhere as stuff on the same circuits has no voltage in a plastic box(there are a couple random plastic boxes) but does in a metal one. Metal boxes without any sort of added grounding are showing voltage, which tells me I've either got leaking hot at every box in the house, or it's a weird phantom voltage from the electrical field around the wire going into the metal box. The grounding rod is definitely not coming out, we are basically just bonding the panel back into the water pipes at the meter like it's supposed to be. It will run from the panel and be clamped to both sides of the meter. As far as the PEX jumping, I've got just as big of a mess of water pipe to straighten out as it was obviously done by the same guy who modified the wiring so it's temporary for now. It's all temporary as I will be rewiring the house slowly. Basically at this point, it's make it as safe as it can be now and work on properly fixing it over time. I've got everything I need to do the ground stuff as well as everything to completely rewire the crawlspace properly already, it's just a matter of time to get this done, then I'm moving on to the main part of the house.
-
The e-fan appears to be the same. I didn't see any reference anywhere to a difference.
-
Master electrician came. He was confused why we've got 50s era wiring in a house built in 67 but is guessing they were using up old stock on a house that didn't require permits to build since it's a small town in the middle of nowhere. The grounds are definitely some kind of half finished add on and he's almost positive that binding the plumbing to the panel and ensuring all the PEX is jumped, it will solve the random voltages. He said that the plumbing is fine to use for the ground in our case as long as it is properly bonded with the panel and all the PEX is jumped. His solution is to run a 6 gauge ground from the panel to both sides of the meter and since my water meter is on the opposite side of the house than the electrical panel, I can run that ground along the plumbing and clamp it as I go to also double as a jumper for the PEX. Any sections of PEX that aren't jumped by the 6ga, he said use 12ga wire to jump since some of the add on ground we can't find, he wants all plumbing grounded to ensure there isn't anything tied in a wall somewhere that isn't tied in the crawlspace. Ultimately he said I should be considering rewiring the entire house since its not a grounded system and the ground that is there, is not ideal. He wanted $500 to do it so off to Menards I go.
-
It seems there is a difference. Quadratec says their's is left hand only. Found this website with an ad for RHD shrouds, maybe give them a call and see what they have. http://jeeppartsguy.com/SHROUD_FAN_RHD/p90656

-
I haven't seen anyone with actual problems due to the outer seals, mostly just speculation. It makes sense that a seal would keep water from coming out but if it seals water from going in to begin with, you shouldn't have water on the inside to get trapped. Now if you do regular water crossings I would maybe be a little more concerned as it certainly could seep in being submerged. A simple crossing the creek once in a while should be no issue. The trick to get a good seal on the outside is to sand the axle smooth where the seal rides so it has a nice even surface and make sure you put enough grease in it and maintain it. Since you've got the factory outer shields on order already, just use those. Theses trucks are 30 years old and plenty are still running on factory axle seals so they obviously work well the way it was originally designed. The sealed aftermarket seals are just nice insurance imo.
-
 Go for it. Take your time and think it out like others have said. Yeah you'll need to beef up the suspension but that's easily doable. As for cab strength, brace the cab when you cut it and add some permanent structural braces around the opening and you should never have an issue. Honestly, you probably wouldn't have major issues just cutting into it, think of how many people have cut the top of an XJ off, or how much rust can happen on XJ/MJ without major cab deformation. If you don't cut the main brace across the back bottom of the cab or the roof curve across the top of the rear window, it probably wouldn't change the strength much at all. The flat sections of sheet metal is not what gives the cab strength, it's the thick areas. There is some reason for concern but it's not like you are going to drive the truck for a year and the doors are just gonna fall off.
 -
RIP indeed.
-
Champion copper. Tried NGK in my 97+ truck when I first built it and they didn't last long (biased due to an issue causing excessive fuel). My 95XJ had a super old Champion plug in cylinder 6 because someone apparently didn't know how to change it so they left it. Looked like it had been in it since 95 but it still worked. Never had an issue with Champions and will always use them in a 4.0L. As far as wires, I get the middle of the road of whatever the auto parts store has.
-
While you've got it apart, put on some outer seals. The factory didn't have them but there are many options available in the aftermarket. They will keep the dirt and mud out of the axle tube all together and prolong the life of the inner seals.
-
Idk what the mounting bracket is like on the 2.5L but I went in to AutoZone for an alternator for my 98XJ (4.0L) and their computer showed a 134 amp one for the XJ. I'm guessing it is the same one as the grand Cherokee and I had to grind the bracket slightly just like Vakarian mentioned otherwise it was bolt on.
-
You've only got 2 suspension components to the rear, leaf springs and shocks. Shocks are what's causing the rougher ride. Leaf springs will lose strength and sag more over time. I'd take a look at the leaves and see if you see any noticable cracks or signs of wear and check the bushings and shackles as well. Post up pictures so we can see what you are working with. If you replace the rear shocks, replace the fronts as well. Also a good time to check the front suspension and make sure bushings and links are in good shape.
-
That's quite a trip. Don't really know of anywhere to stop along there but if you go visit your friends in Wilmington, stop over at True Blue Butcher and Table for some food. My uncle owns the place, I've yet to get out there and try it myself but I've heard it's really good.
-
That's a nice color with the chrome. Looks really good. Good luck with the brakes!
-
Next Wednesday. He's in Colorado until Tuesday.
-
Yeah I've got 5 spaces left as of now. The bottom right breaker was in just to fill a void in the panel cover so I used it for the microwave. One of the 220s isn't actually used (I still need to figure out which one) so taking that out will make 7 available. If I use 2 for the crawlspace and 2 more to split up the upstairs, I will have 3 spots left. Should be enough for our needs in this house for as long as we own it, I hope. If not I can add a sub panel or use split breakers if the panel accepts them. This panel was just put in shortly before we bought it so I don't really want to replace it already.
-
I will definitely ask him about it. He already told the guy that was out to recommend I spend the money on a full rewire but the guy insisted the boss man come take a look so we'll see. I planned on adding lights in the crawlspace and wiring to run the sump and fans rather than using extension cords. I'm also redoing all the kitchen lighting (installing cans) plus replacing the wiring to the back bedroom and living room due to the sensitive electronics so it may just make sense to do it all while I'm in there since I've got easy access in the attic and crawlspace. Today I ran a home run for the microwave and it took all of 30-45 minutes since its so open up there. and imagine that, with a properly wired Romex I've got no issues on that circuit. Even hundreds of miles away the help is much appreciated, obviously you guys have more experience with this older wiring than I do and when it's as hacked up as mine is, I'm way over my head with troubleshooting it.