


Gjeep
-
Posts
1221 -
Joined
-
Last visited
-
Days Won
3
Content Type
Profiles
Forums
Gallery
Everything posted by Gjeep
-
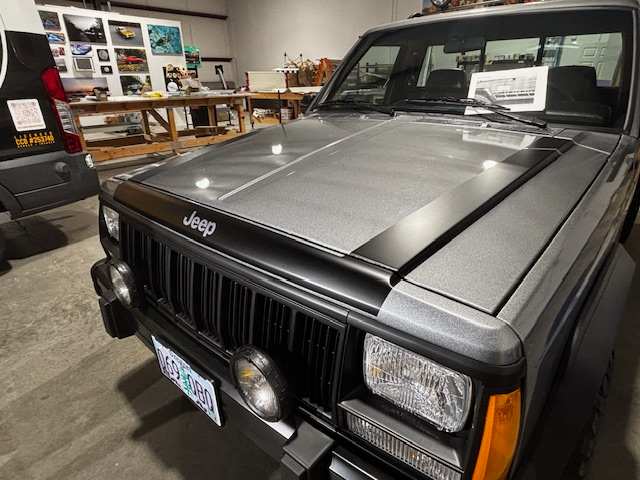
Exciting times – At long last, final graphics in-hand! The aim is to get these on this weekend (or so). I even purchased some felt covered magnets for the job.
-
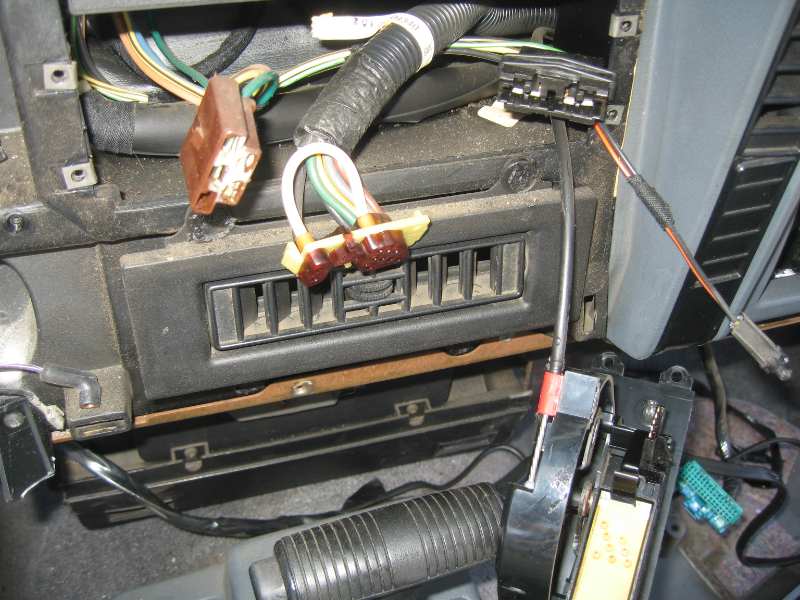
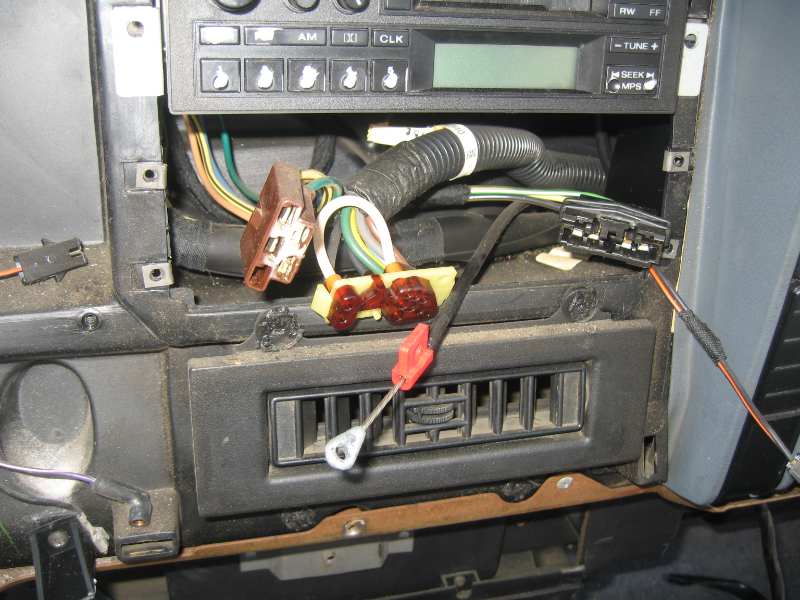
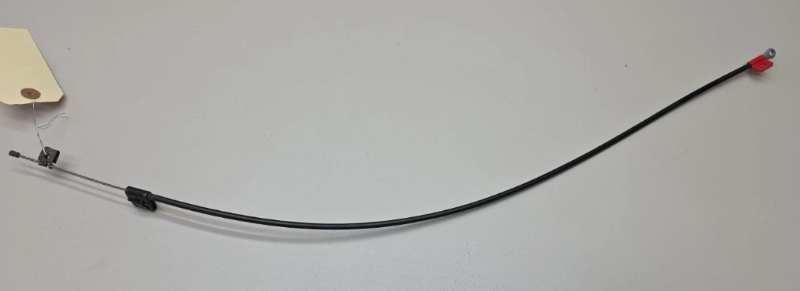
What you have has the proper factory ends to it? And the retainer clip maybe 2" from one ends attaching point to the HVAC dash controller? I've never seen a solid factory wire on MJ/XJ, mine were always braided both with and without AC. Only reason I'd see the cable coming loose -- assuming it's factory -- is that retaining clip I'm talking about is broken or gone. In the early years, the retaining clip into the controller was black plastic but in 95/96 it was red. These pics are from a 95 XJ I was disassembling. That retaining clip on the cable is critical to keep the cable from falling off. There is also a retaining clip on the other end of the cable as well. These HVAC cables look to be available on eBay for $50.
-
It's a woven cable.
-
I wouldn't try to get the nut off. It's done. I'd remove the stud entirely as it is just threaded into the floorboard (nut will come with it). Worse comes to worse, cut at the seat bracket then drill it out. And replace the stud (or use a bolt instead).
-
The 1992 Jeep Comanche Of My Dreams (Well, Almost)
Gjeep replied to cavalier's topic in Member Projects: Your Comanches
I'm fairly certain with proper HO brackets you can get the basics installed but merging the renix era electric to HO I havent been through but anything is possible. I havent been down that road to recommend it. I would suggest keeping renix era AC. -
Remember to grab the VIN plate off the original dash! I'm saying this because I had tossed my original dash and was lucky enough to remember when I heard the sound of the recycling truck making it's rounds. Pulled it out and removed the VIN plate just in time.
-
Looks good! Looking forward to the finishing touches.
-
Jeep did a good job with this leaving it looking mostly stock. Kudos it’s an ‘84, but I think they should have opted for an ‘87 XJ and done the same. A 2.8L over Jeeps own 4.0L? Also, I don’t think I would have selected the Quadratec JL wheels. Stock white XJ steelies would have been better. Assuming its running JL axles and it was easier to match the bolt pattern. Neat XJ though.
-
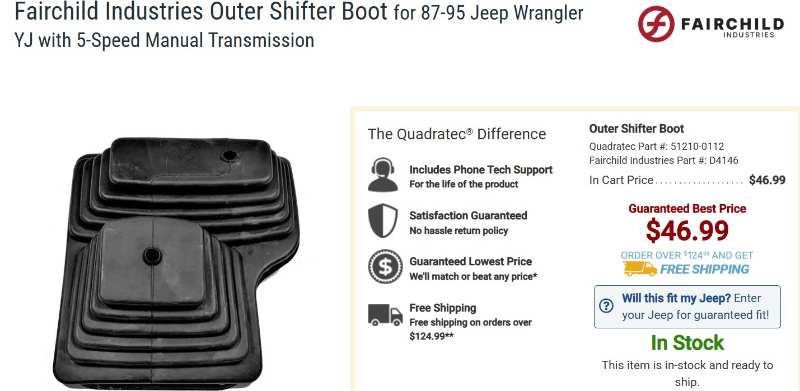
I don't know if that would look right. I think if I were going console-less I'd choose a YJ boot. Same trans and transfer case as your MJ.
-
In that area and the front area I use a gasket sealer to help keep the FelPro in place while installing.
-
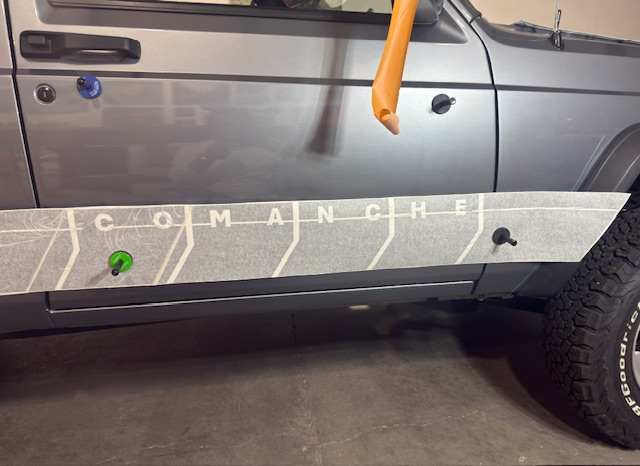
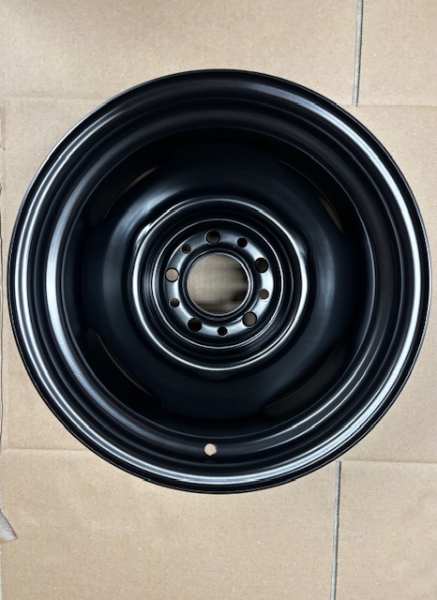
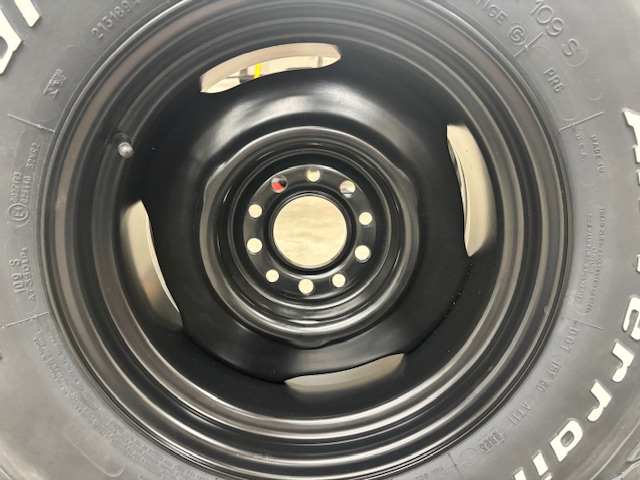
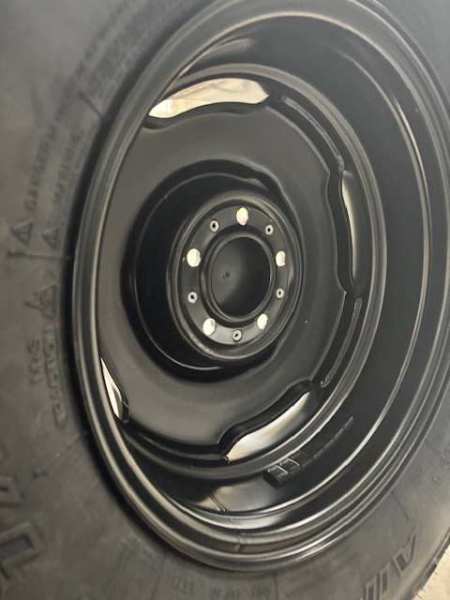
Home stretch always feels the longest… Stopped by the graphics shop to take a peek at the final proof before production. My ‘91 MJ Chief has been parked there for close to a month while the owner has been perfecting the graphics I’ll be putting on my ‘92 stroker. He did a complete layout on the ’91 MJ (driver side only). That front band on the header was apparently the most challenging to produce. But at long last, success! The tailgate will receive a different treatment over the planned blackout center section, due to the ‘Jeep’ stamp being less than perfect (specifically the center knock-outs of the ‘e’s being too small to allow the Jeep lettering to look right). Aiming to get several graphics sets so I can put them on the truck. And plan on getting several more complete sets of spares because I’m crazy. Hard to believe this all started with 6 rolls of electrical tape to see what I could come up with. Over the weekend I drilled out all my Mopar steelies for factory Jeep flat caps. Due to the shape of the wheel center section and fitment of the center caps, I needed to drill five 1/2” holes for the center cap ‘pegs’ to recede into, so the cap itself would be flush against the wheel. I’m using a wide flange screw to attach it backside. I made myself a plastic template to ensure I got the holes right. Next week I make my rounds in Southern Oregon to find a powder coating shop that can do my bumpers and some other parts. I want to find a black to match the graphics properly and the factory black powder coating has a brown undertone. Getting there…


-
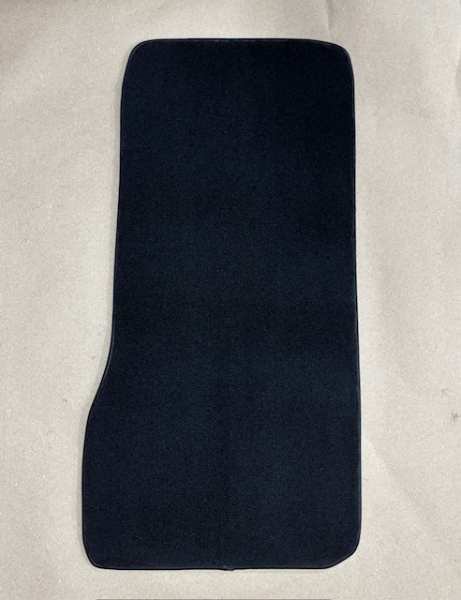
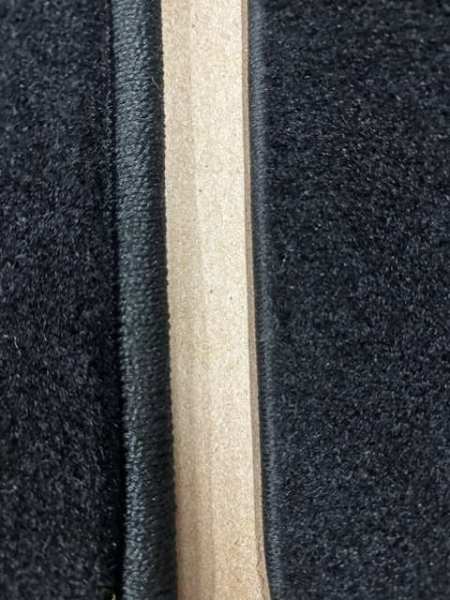
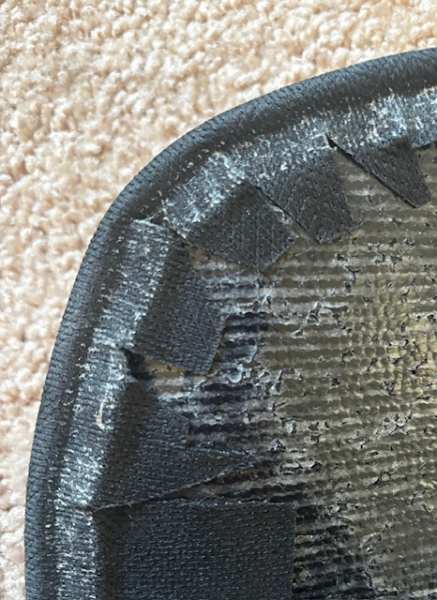
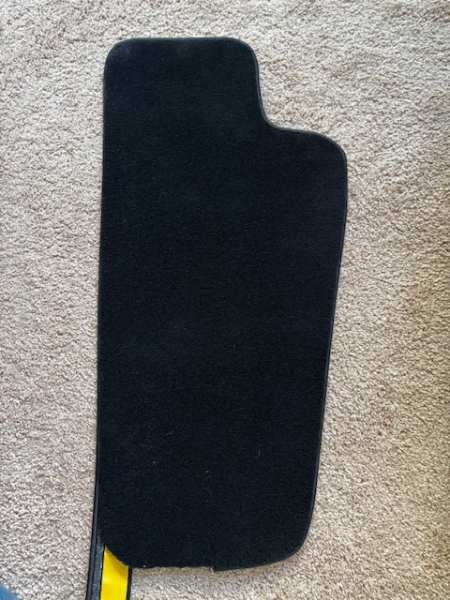
Finally getting to the floor mats – I had purchased ACC mats way back when I bought the cab carpet and they were near 2” too wide, rolling up on the trans tunnel. That fact and the living room throw rug 1” border just didn’t look right. I asked ACC redo the mats again, reducing by 1” all around and of course I got the exact same misfit. Since carpet color match was important to me, it was at that point I decided to get into the floor mat making. It’s really not so different than wrapping sun visors or doing a headliner as far as thinking ahead of the contours and what you need to do with the cuts and medium. Instabind was a carpet edging I found when searching. I ordered a few other brands, but Instabind looked right and the black was an exact match to the Comanche’s carpet. Here are some work-in progress shots of the driver and passenger side. Instabind calls for the use of a hot glue gun at the immediate bond between the border and carpet edge, but that would have looked funky. Instead, my trials landed me at using 3M black weatherstrip adhesive. Does the exact same thing but matches the floor mat and is easier to use. To finish the floor mat off, I purchased a roll of the needed backside that keeps it in place.

-
I agree. Seam seal everything. That's what I did before paint, especially floorboards.
-
Don't think I've ever seen one of these come up on eBay. https://www.ebay.com/itm/358342687107?_skw=jeep+comanche+nos&itmmeta=01KKYNYKCND4WMBQBS76S86QRB&hash=item536ee37983:g:1WkAAeSwsGZpuXVl&itmprp=enc%3AAQALAAAA8GfYFPkwiKCW4ZNSs2u11xDg3cZq0Sh1%2FLtBpFn5%2BHpq6BD%2B1S5Y4%2FQH2p6WAqzKmWnOyEFMOB0lXAEghM4u34N%2BnLM77WNKXJtktHiIjAsRC%2BcVuxe3X7dLn0Vp9adtjWZDuSGJta%2Bd5A936OSOYrzHB5rFYUibHu4IMA8PbumXcCLMrDma1JhlPH4UInEtaPWlnwxZF81GapTDdvRUJk97jx%2FSiv%2F7UBCaKcogUdeABmgJPe3axGHM7wu9jeDujswNT%2FfkISL6B5ENZ%2BxlnXOzKENd0bpR13mbP0ZAcPPz31UdVr%2FXwZLLm2Z8F80Qbw%3D%3D|tkp%3ABk9SR8y2-tWfZw
-
Yep, I've installed several sets of upper and lower Moog's on many XJ's over past several years. Perfect fit.
-
Price may be a little high, but looks fairly clean. It's a short bed though the ad says long bed. https://www.facebook.com/marketplace/item/2055692522027519/?ref=search&referral_code=null&referral_story_type=post&tracking=browse_serp%3A95b88190-1b3f-4020-9dde-dc18723d3413
-
https://www.facebook.com/marketplace/item/1343506340743102/?ref=search&referral_code=null&referral_story_type=post&tracking=browse_serp%3Aa6770f7b-5f63-41a3-8366-c9e86c25d706
-
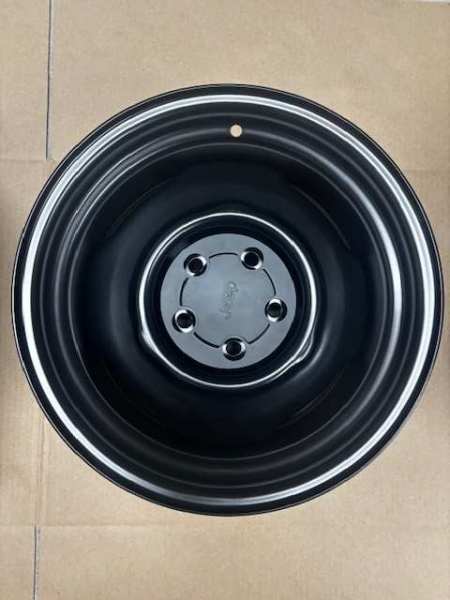
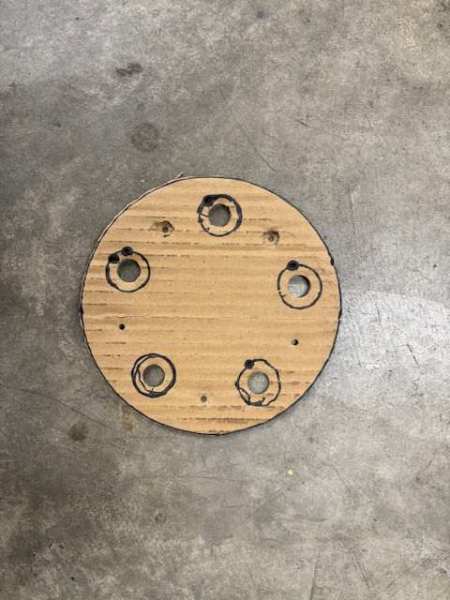
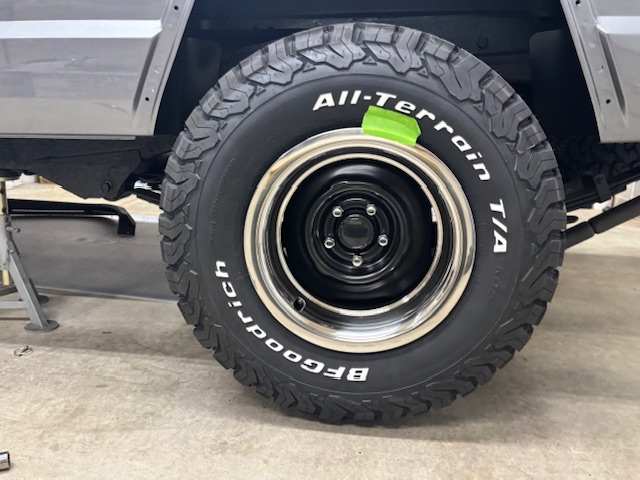
I’m crazy. I’ll start there. Won’t even try the ‘call me crazy’… I’ve found just getting on with it is the way to go. So, when my wife asks, “why did you buy another Jeep. Don’t you have enough of them”. I simply reply, ‘I’m crazy’. Leaves nothing to question, bottom line next step is off to the asylum. Those center caps were nagging at me. I’ve always wanted to run those Jeep flat caps occasionally seen MJ/XJ’s with the 15x6 steelies. So, bright and early cut out a cardboard template and went to town with a 1/2” hole to recess the Jeep center into the rim. On the factory steelies the center cap rested on top on the rim and then the bolts screwed through from the backside. I needed to have the mounting points of the center caps go through the wheel because the near 1/2" rise looked odd on this Mopar steelie. So, through the rim the mounting points went to be attached with truss screws (wide head). And the stainless trim ring is still a work-in-progress decision. And I've got matte black lug nuts headed my way just to see how that would look. Options.
-
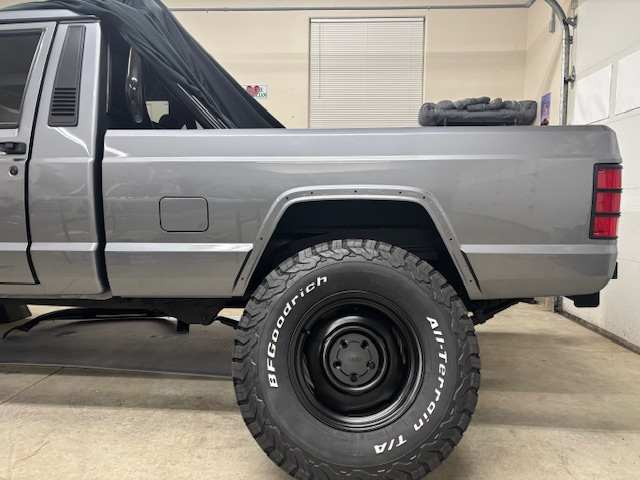
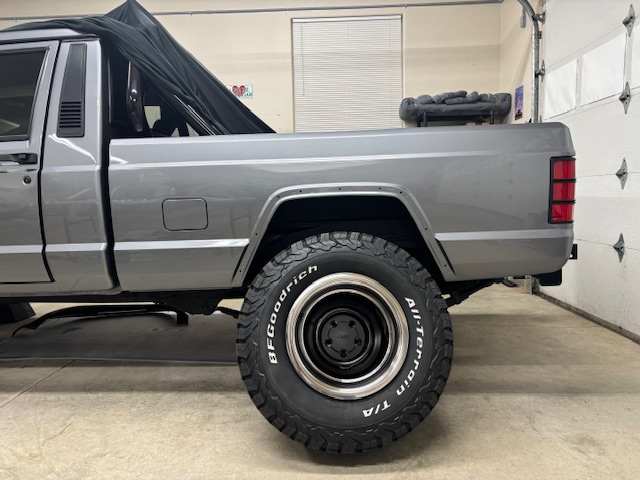
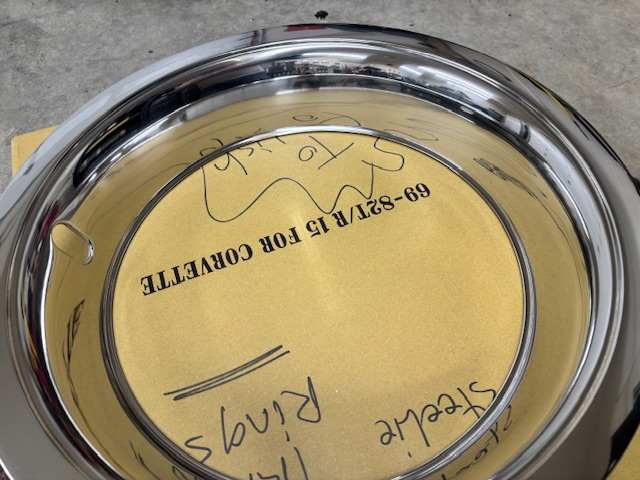
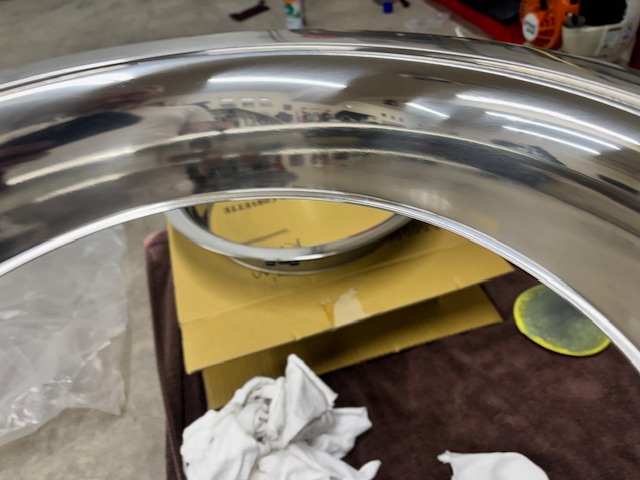
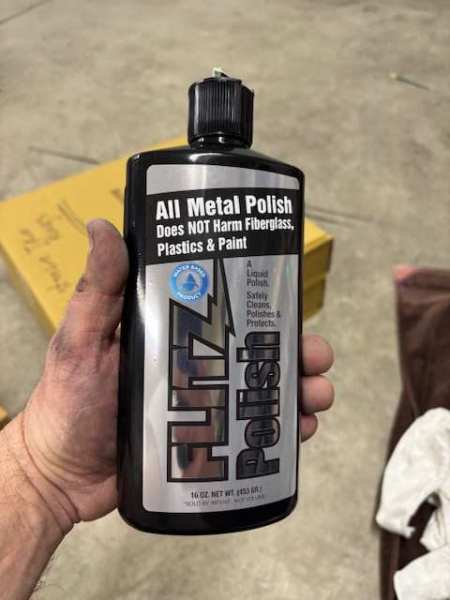
Polished the stainless trim rings for the Mopar steelies. Fairly sure I’m going to install these, as some pop on the exterior should look right with the matte black graphics. Front end will have a polished Warn fairlead and mesh grille behind the black surround. Will see. There will be of course a Jeep logo on the center cap. Only thing inside that’s shiney are the sticks (transmission and transfer case). Two thumbs up on the Flitz Polish. User friendly and does its job well. The trim ring closest to me has not been polished yet, while the solo pic has been 3x.
-
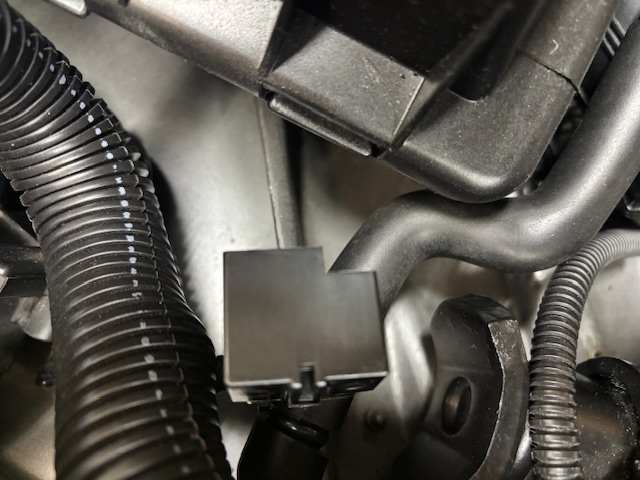
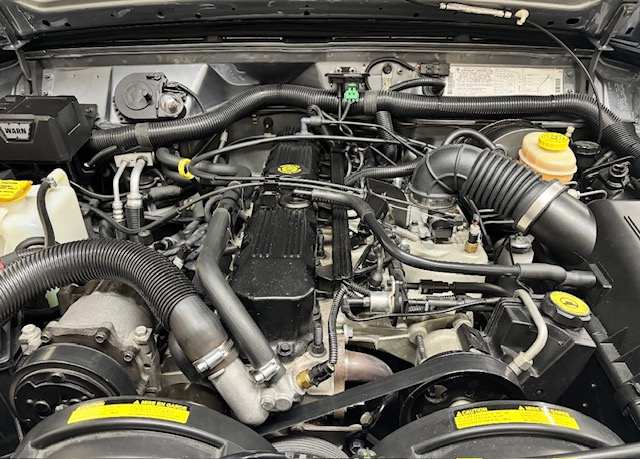
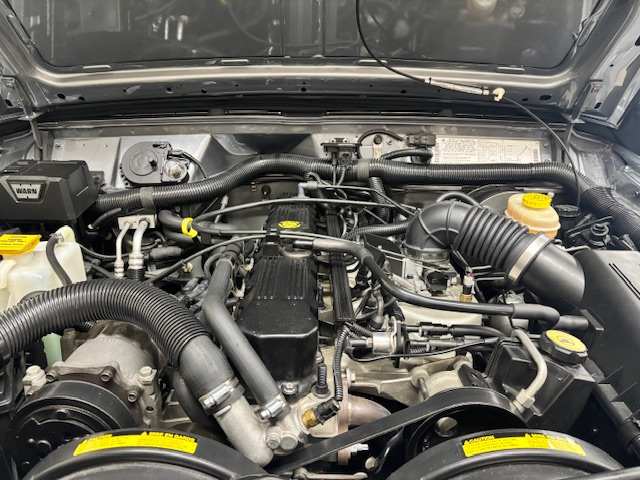
Between things I’m chipping away at the little nits that drive me nuts. The green MAP sensor connector… Painful to look at. An almost standard Weather-Pack 3 pin, but with different guide locations. Thank you Dremel tool for helping me make this happen. Also, off came the orange efan decals. Found similarly phrased yellow/black themed labels to replace them. Much better. Lastly, OBD1 MJ/ XJ’s had their connection under the hood just behind the PCM. 20+ years ago I scavenged wrecking yards high and low to find a cover. Almost forgot I had this.
-
That's a HO era XJ only item, police package but will work on 91/92 MJ's. In the UK the XJ got a 120mph speedo in the other style gauge set. Haven't looked/ seen one listen on ebay for years though.
-
The Guamster - 5.3LS Longbed
Gjeep replied to Yellowoctupus's topic in Member Projects: Your Comanches
For your driveshaft yoke -- put the sealant on the inside of the yoke. Took forever but I used a small 1" paint brush and mashed it in there. Did it a coupe times. I've done it on 3 yokes and no leaks. -
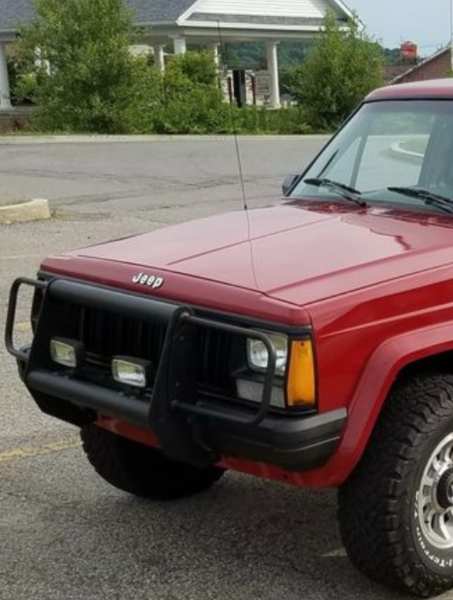
For what it's worth, Mopar 2nd gen accessory brush guard looks and fits a lot better. Will see if I can find pic. Grizzly Products (long gone) also had one available that fit really well (sold a couple few years back to I think members here).
-
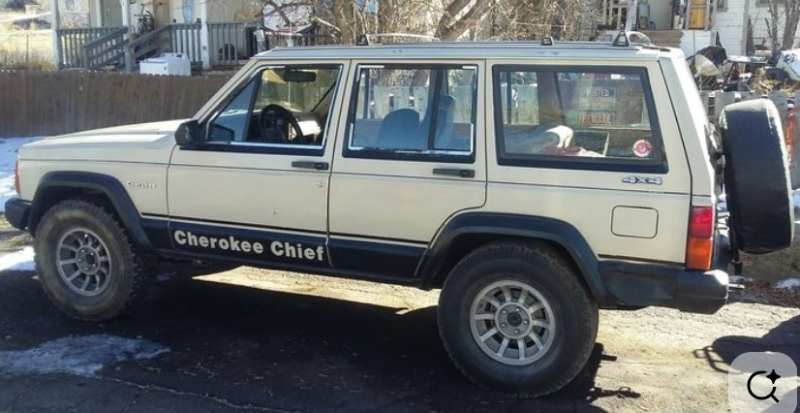
84-85 (some early 86) had upper and lower case font 'Cherokee Chief'.
-
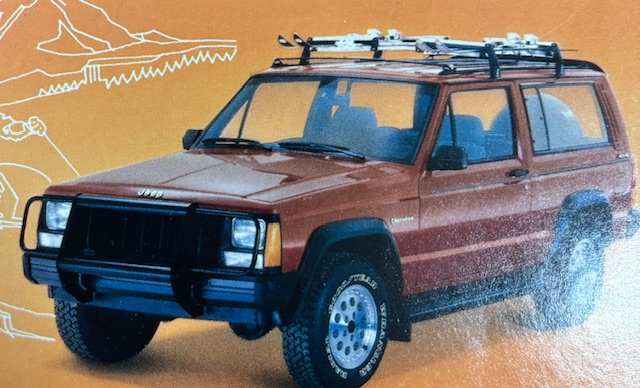
Very nice -- that's a 1 year only graphic package unique to '86. All caps and solid beltline.