
ComancheKid45
-
Posts
3700 -
Joined
-
Last visited
-
Days Won
3
Content Type
Profiles
Forums
Gallery
Everything posted by ComancheKid45
-
My Uncle is spraying this color on his MJ this week, ill have 2 get a few pics ;)
-
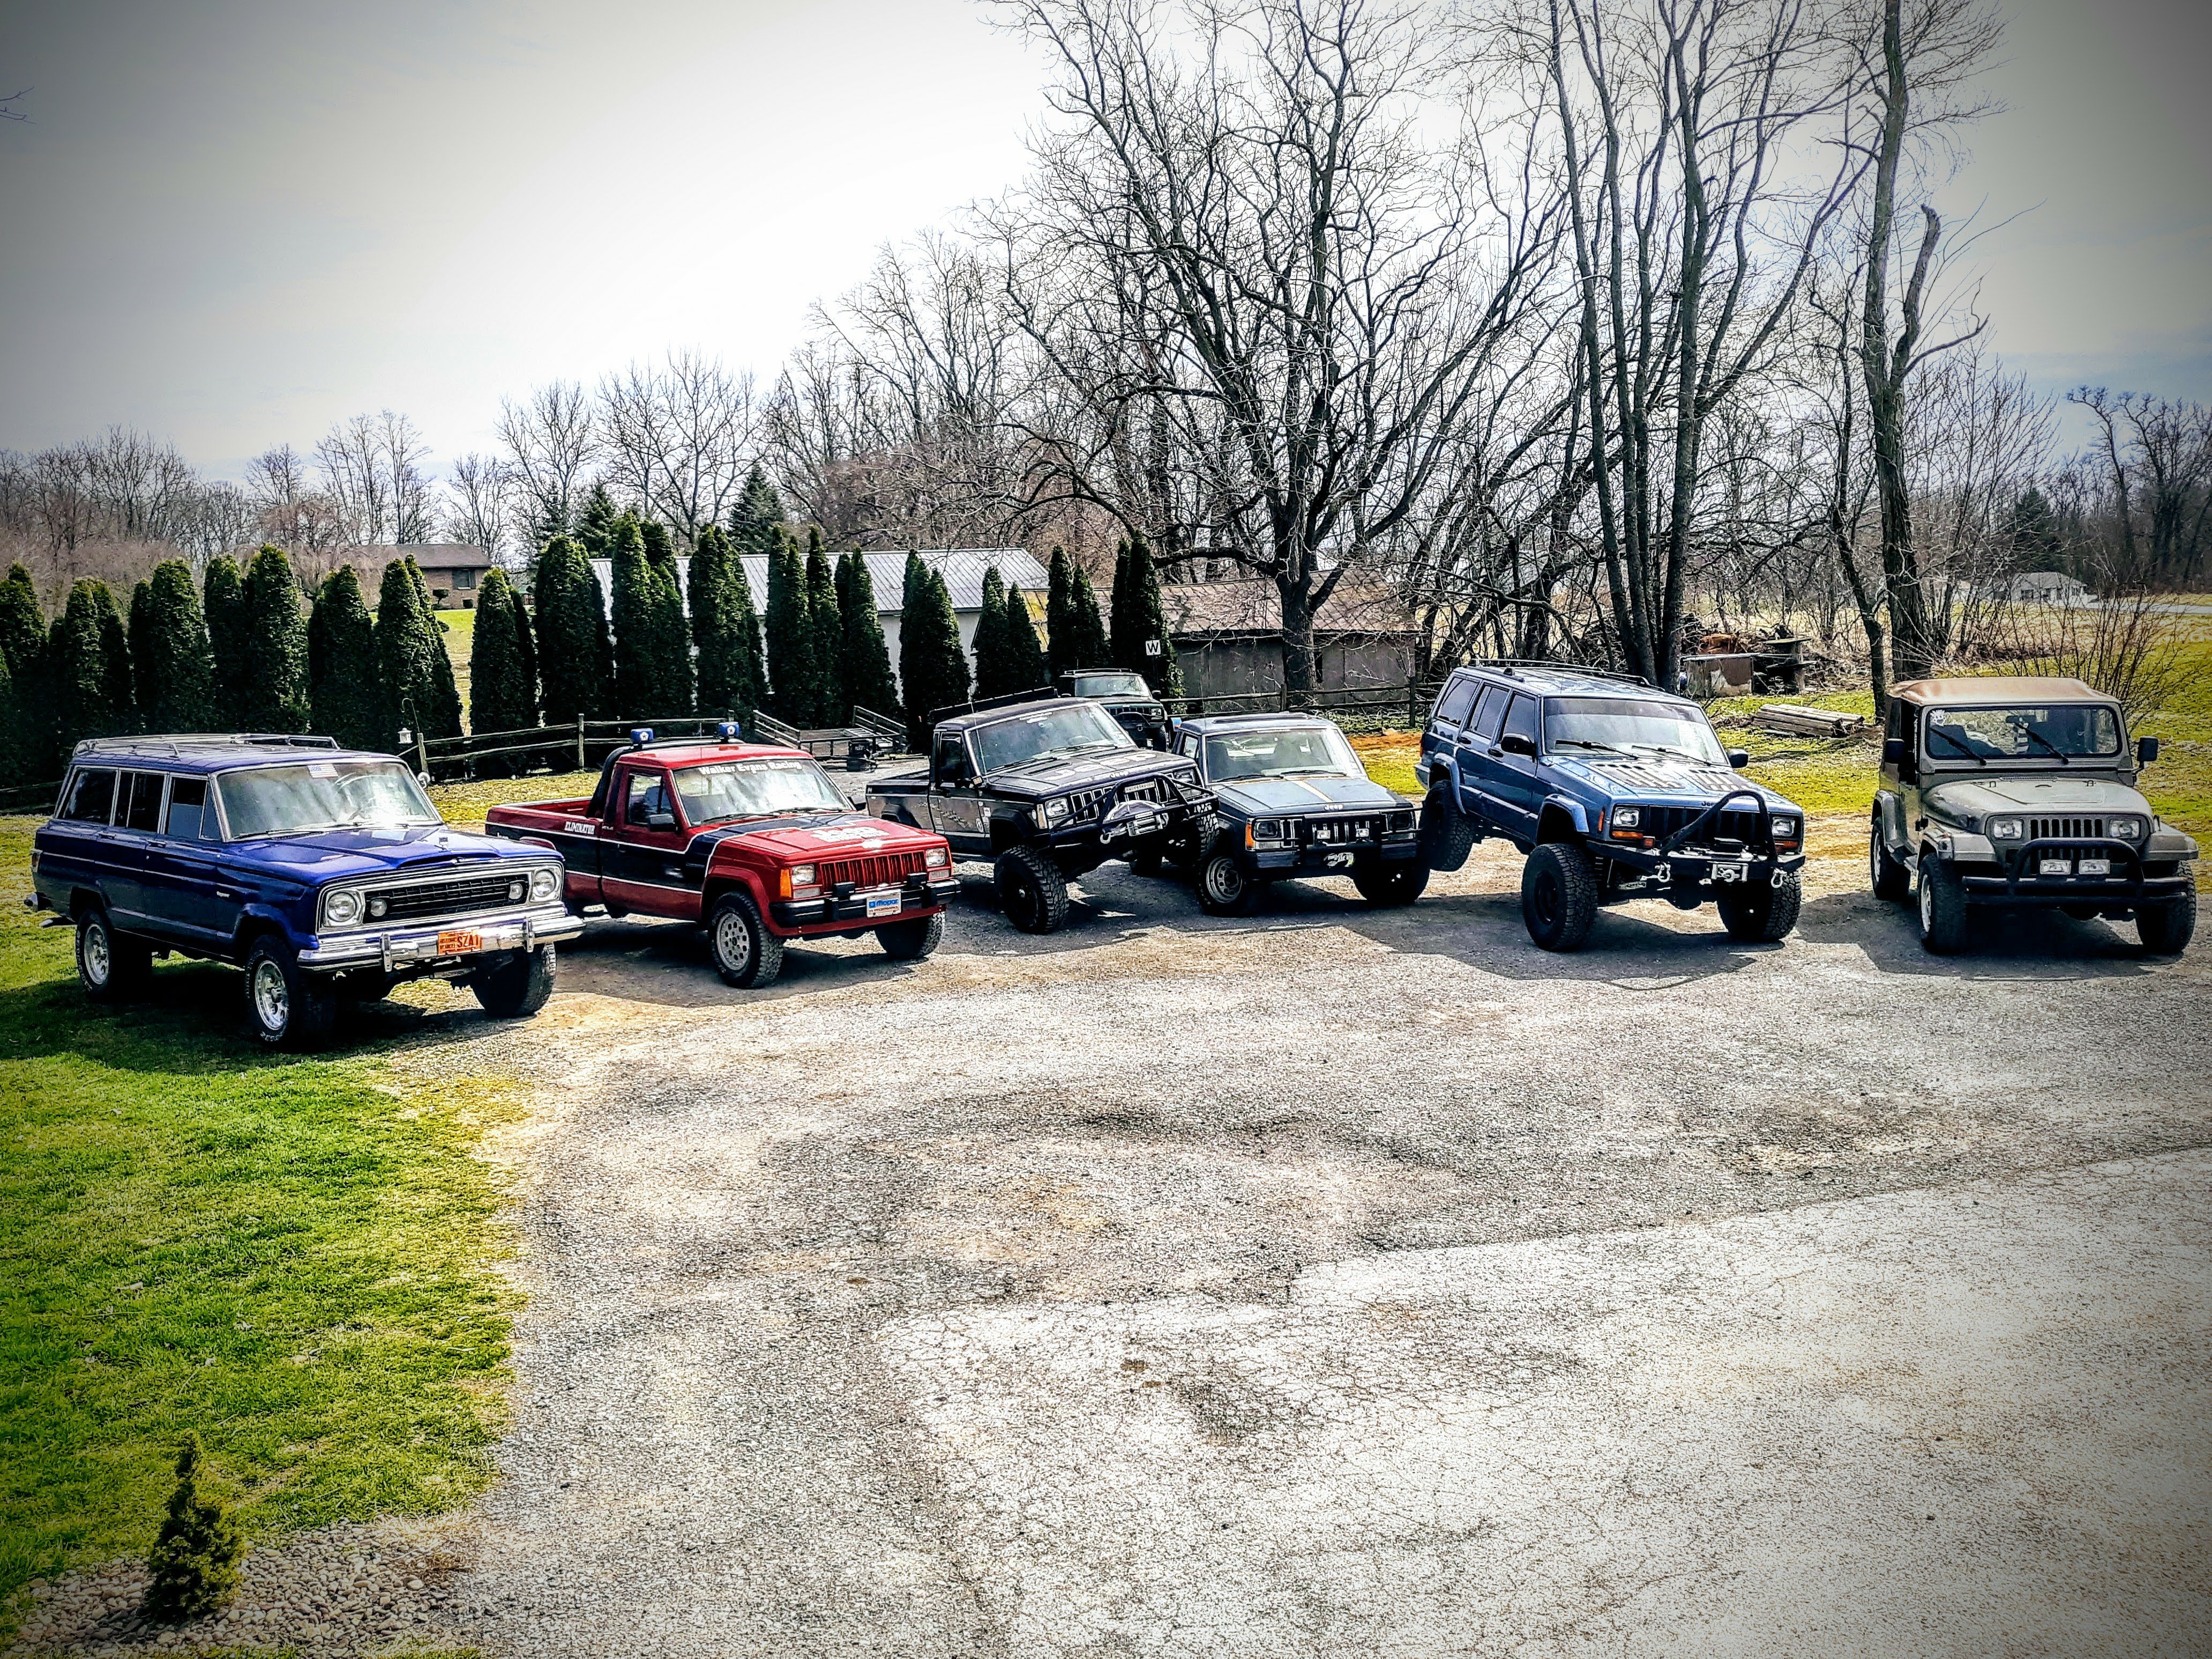
I can't love just 1! I have 3 of my own to take care of and plus even if theyre not mine I love em all!
-
 Iron Rock Offroad. I personally have no experience with them but they have been highly praised among others and I will be purchasing from them sometime in the future. Double sheer Trackbar setup http://www.ironrockoffroad.com/Merchant ... y_Code=PFX Upgraded Tie Rod. http://www.ironrockoffroad.com/Merchant ... y_Code=PFX
 -
Is this open or LSD diff.?
ComancheKid45 replied to MJRemi's topic in MJ Tech: Modification and Repairs
Looks open to me. Open carrier on left, Trac-Lok (LSD) carrier on the right ;) -
Street Comanche!!! I HOPE someone on this forum snatches that up! :eek: :drool:
-
88 Comanche (My Style)..."The Blue Truck"
ComancheKid45 replied to ComancheKid45's topic in Member Projects: Your Comanches
Well as mentioned by a member or 2, the Alloy USA exterior Axle seals were not a permenent solution to the 1 pice shaft upgrade, So I picked up the upgraded seal from work for the 1 peice shaft but insted of going through the hassle of tearing apart the front differential and going with the triditional install, I chose to experiment alittle... I simply just removed the "seal" from the Alloy USA housing and replaced it with the correct seal, it fit just like it would inside the axle tube, and sits tight in place like it was made for that housing, after a few miles of driving there is NO signs of leaking and by using the outer housing it allows the seal to be greased periodically as well. Ill keep track of it for awhile but I believe this will work out as another solution to the fellas that upgrade their shafts. :wrench: -
Did alittle enginuing this evening with my RF axle seal. Bought the upgraded seal for the 1 peice shafts and installed in an Alloy USA Tube seal housing, fit great and should act as if it was installed inside the housing.......A very simple way to change it without having to dis assemble the entire front Differential, plus its still greasable! :wrench: ;)
-
I have a friend with an 89 with a Factory carrier like that as well.....may have been added at another time but its defiently factory ;)
-
slightly smaller wrench? Was it a torx head or standard hex head? They are normal thread but can be tighter than a son of a gun! ;)
-
1990 Rebirth ('97 Conversion)
ComancheKid45 replied to Rymanrph's topic in Member Projects: Your Comanches
More lights make everything better :yes: Looks great! :thumbsup: -
ALL FIXED :D That switch was all it was, I took a peek inside my parts XJ (89 Waggy) and how the assembly was setup in there, and just copyed its setup on the Comanche, After a few miles drive all is back to normal and the brakes work great! :cheers:
-
Ive had no trouble with Pennzoil Syncromesh in my AX15. Now it only sees around 1500 miles a year but shifts smooth and quiet ;)
-
Id love to Don, lol but i have no idea what contacts you speak of. I was under the impression the machining was just to make the brake lights work properly, thats all working as it should However the switch pictured below is the 1 in question.
-
I take it that the adjustment was made on the small white switch near the top of the pedal assembly, the brake lights work perfect but I'm just having the T/C lockup/overdrive issue. How far should the button on that switch be pushed in while the pedal is @ rest? Thanks for any help.
-
:waving:
-
WOW I know this is an OLD topic but I'm having the same issue... I just did the 96+ booster/MC upgrade and had to mod the arm just a bit for the brake light switch to bolt up, and now my trans will not go completly into overdrive... What excatly was your fix for this Wade (if you remember)? Did i not grind off enough of the new arm for the switch to rest on or could it simply be a loose connection? Thanks for any help! ;)
-
88 Comanche (My Style)..."The Blue Truck"
ComancheKid45 replied to ComancheKid45's topic in Member Projects: Your Comanches
Well my brake booster has been on its way out for awhile and my recent trip to Rausch creek just did it in, so what better thing to do on a Friday evening than enjoy an evening in the garage with a few friends and upgrade MJ parts :wrench: Picked up a 96 XJ setup off of the Ebay for $40 shipped. The install wasnt too bad, and I'm sure itll go alot easyer if I ever have to do it again ;) another small project in the books....we'll see whats next :typing: -
Definently sounds like the turn signal switch. I went through the same thing a year or 2 back except with the left side. ;)
-
Specifics on XJ Tails
ComancheKid45 replied to Zenobian_84's topic in MJ Tech: Modification and Repairs
Ha ha, pretty much all those stickers are gone now. I do like the look of a Waggys tail lights alot though! ;) -
I don't believe from new the MT trucks sat any higher than the factory 4wd trucks. The difference in springs was just the ratings ;) Also. FYI... the 2nd leaf from the top in this picture is broken in half :hmm: ....
-
don't forget to prime the bedsides as well, I know theres rust under those flares! :rotf: Looks Awesome though, keep us posted! :wrench:
-
that makes 5 of us ;)
-
How about some type of Bedliner material?
-
88 mj not charging. please help
ComancheKid45 replied to 88mj34tsl's topic in MJ Tech: Modification and Repairs
Make sure your battery terminals are clean and tight.....a loose terminal (even just a bit) will cause alot of funky readings on your gauge and meter. ;) -
88 Comanche (My Style)..."The Blue Truck"
ComancheKid45 replied to ComancheKid45's topic in Member Projects: Your Comanches
Replaced the right side ball joints this evening (thanks Motion Offroad for the great deal!), all 4 now should be good for years to come :wrench: ;)