

Blue88Comanche
-
Posts
2668 -
Joined
-
Last visited
Content Type
Profiles
Forums
Gallery
Everything posted by Blue88Comanche
-
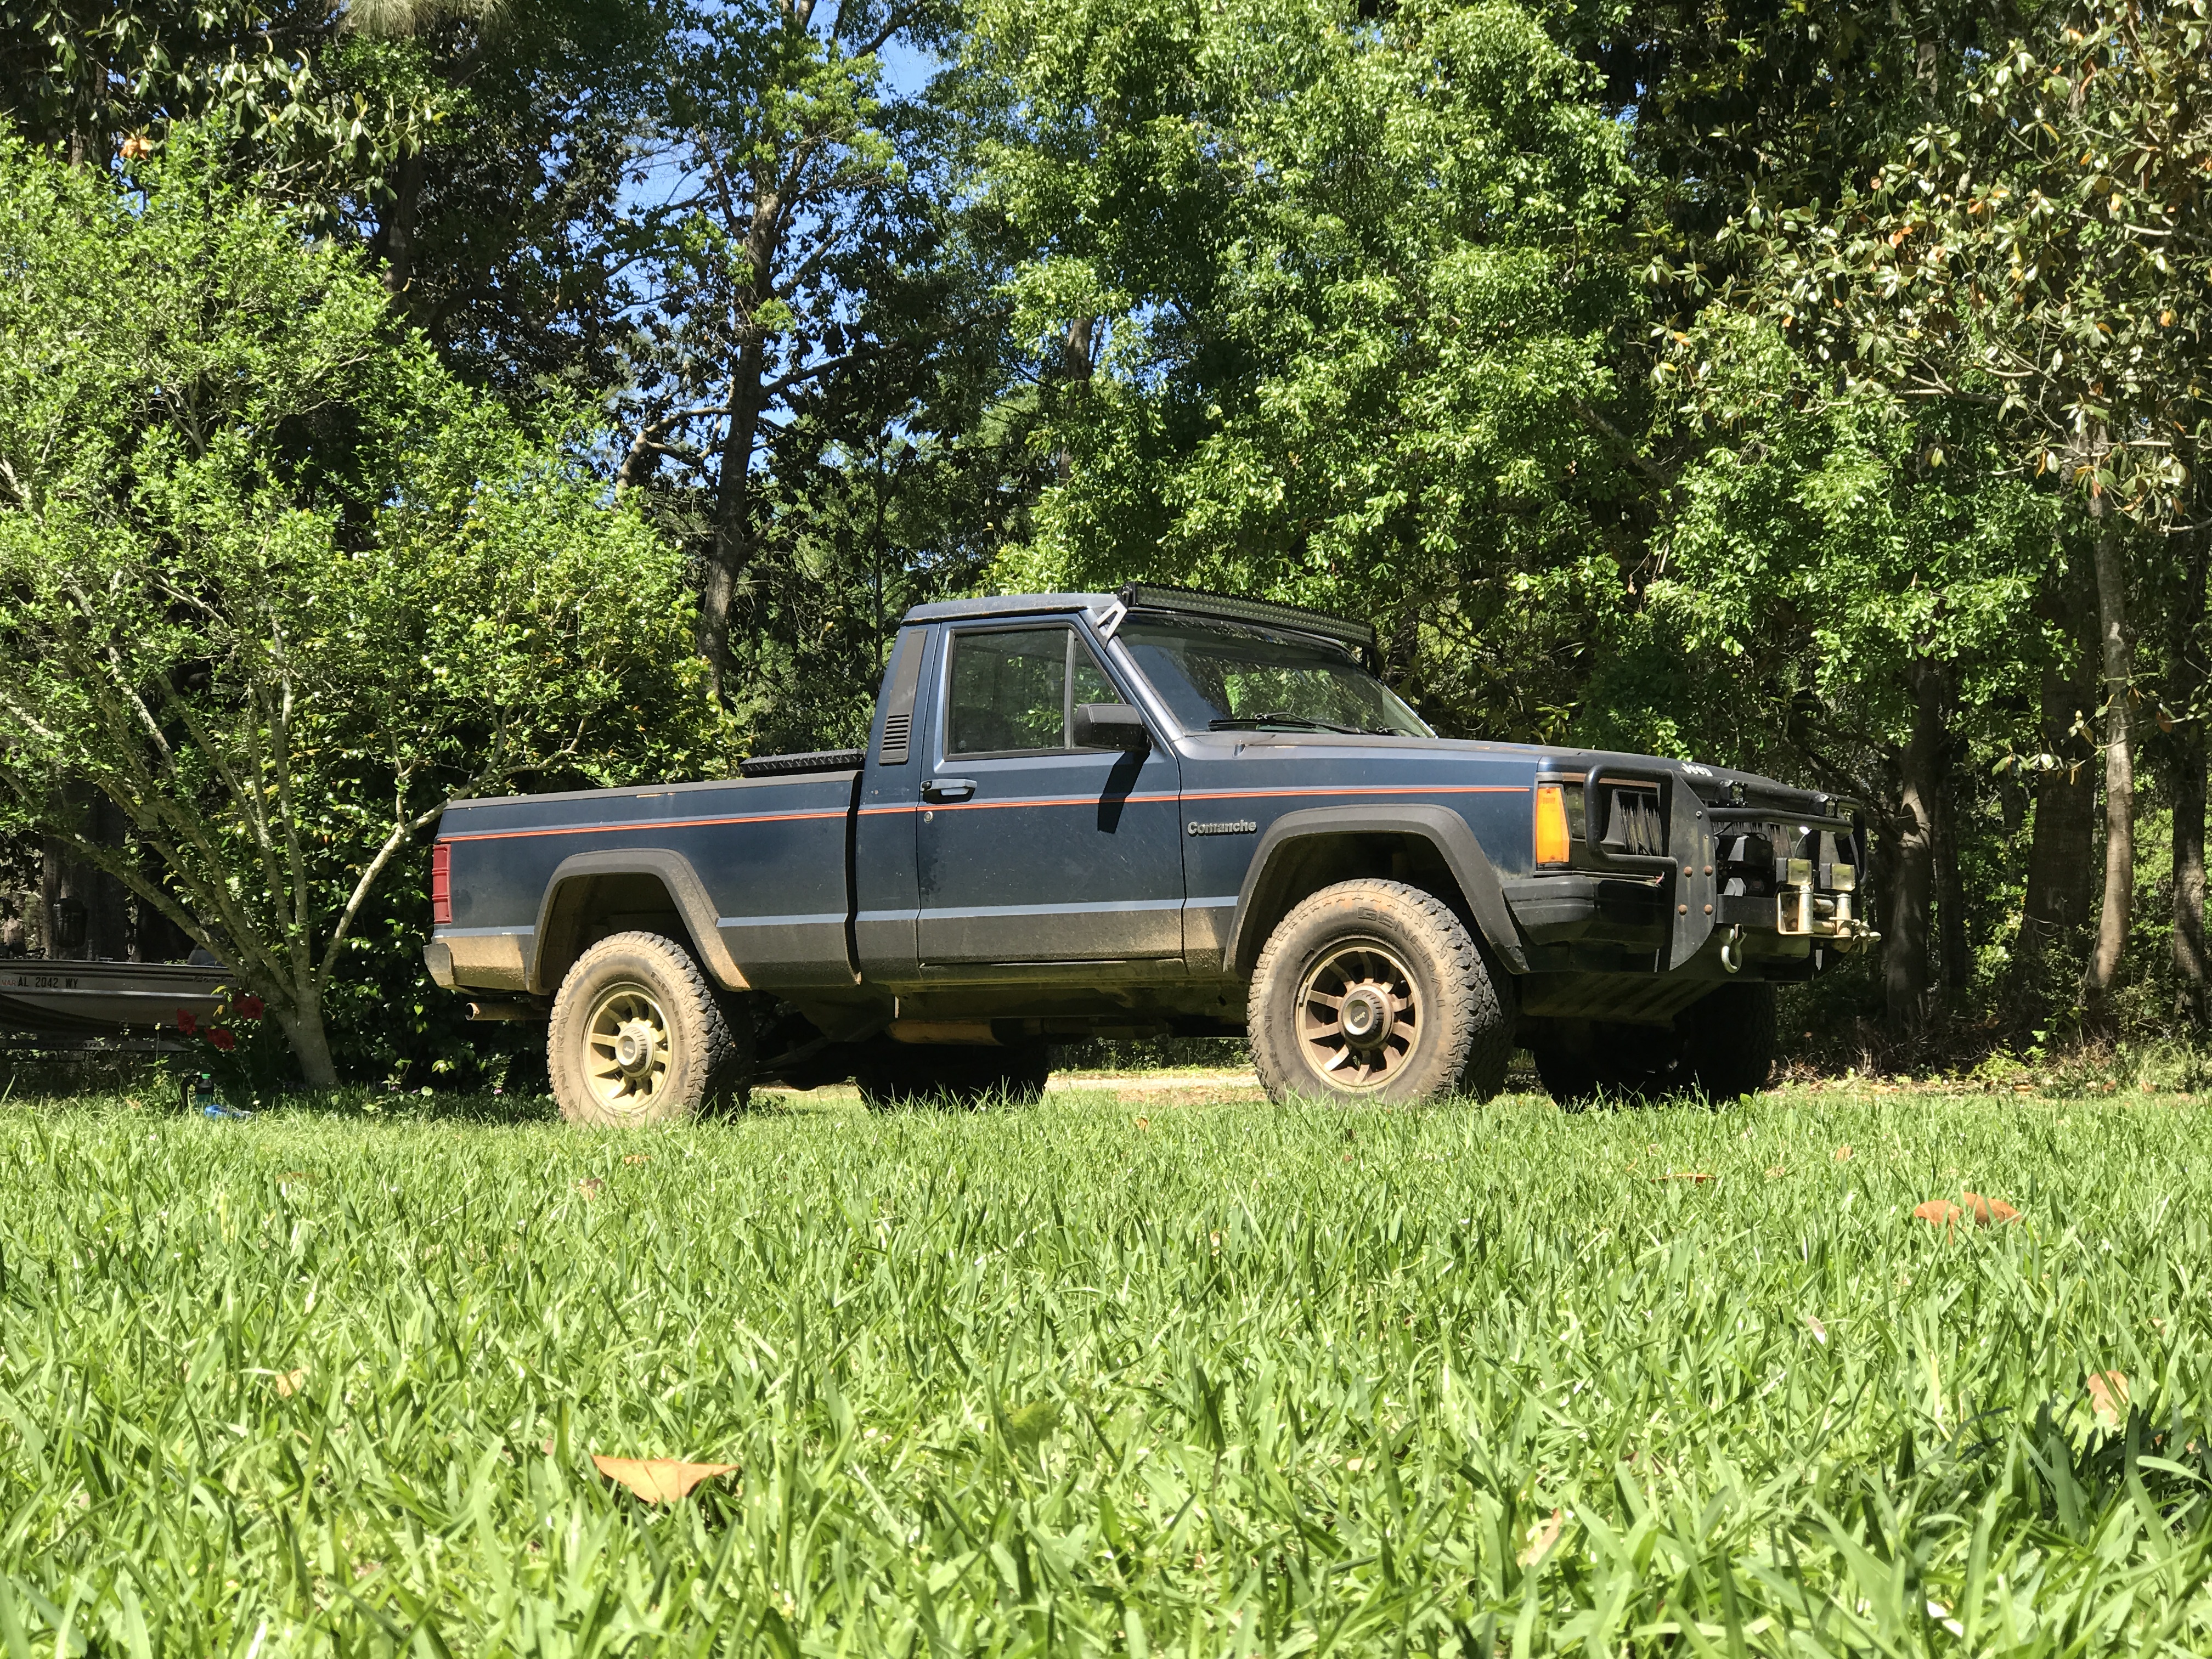
Blue88Comanche Pioneer 4X4
Blue88Comanche replied to Blue88Comanche's topic in Member Projects: Your Comanches
Yes the cable is installed! So far its working very well, I still need to play around with the adjustment some. -
January, 2014 - Alexia's '87 Sportruck
Blue88Comanche replied to neohic's topic in Comanche of the Month (MJOTM)
Congrats on your MJOTM! :cheers: -
2008 Dodge Charger R/T R&T
Blue88Comanche replied to Blue88Comanche's topic in Member Projects: Other Cool Stuff
I installed my Christmas gift from mom today. Its an Airaid 351-199 CAI Kit. -
Blue88Comanche Pioneer 4X4
Blue88Comanche replied to Blue88Comanche's topic in Member Projects: Your Comanches
Ordered a selectable E-Locker from 4wd.com and used my 4wd club card. $772.34 shipped. It should arrive in the next few days, and if all is well in the world, installed by the end of January! -
I have a xrc8 Smittybilt, it works great for me..
-
I was planning to get a Dash cam for my charger.. I bought it in August as I nearly totaled it 2 weeks after I got it because some Chevy ran a stop sign. (not a 4 way stop) Thank you anti-lock brakes and ESP. I missed them by about 2 feet. One guy on chargerforums.com has a cam hooked up to turn on with the car and start recording. it will shut off with the car. While it is on it records continuously and saves files in 5 min segments. once the 8GB card is full it automatically writes over the oldest data. So its Pretty much set up and forget about it till video is needed.
-
2 Wheel Drive To 4 Wheel Drive Conversion
Blue88Comanche replied to redwolf624's topic in MJ Tech: Modification and Repairs
I have no idea about the 2.8... You will need to get the rear drive shaft shortened. The XJ shaft won't work it's too short. If you can grab the front shaft while you are getting the tranny and TC. -
2 Wheel Drive To 4 Wheel Drive Conversion
Blue88Comanche replied to redwolf624's topic in MJ Tech: Modification and Repairs
As long as the XJ has the same engine (4.0 or 2.5) as your MJ you should be good. Make sure you get the transmission crossmember and the TC shifter linkage -
Transfer Case Linkage Pictures Needed
Blue88Comanche replied to Blue88Comanche's topic in MJ Tech: Modification and Repairs
I tried the back button but it only brought me back to the empty text box.. So I opened it up in its own window with no ability to go back, that worked very well -
For me it was getting the 4wd shifter working again. As I did not have any of the AX-15 linkage. It provides smoother shifting, and should be less likely to kick the TC out of gear.
-
Thanks! The 231 should go smoother. I think the modifications are for the longer throw in the 242.
-
Transfer Case Linkage Pictures Needed
Blue88Comanche replied to Blue88Comanche's topic in MJ Tech: Modification and Repairs
Here is my write up http://comancheclub.com/topic/41307-installing-novak-cable-shifter-on-a-np242/ -
Instilling the Novak Cable shifter on an AX-15/NP242 combo I was in need of a new transfer case linkage setup after I replaced my BA-10/5 & NP231 with an AX-15 & NP242. I purchased the Novak Cable Shifter Kit for$195.85 shipped from Novak-Adapt.com. If you don't want to spend nearly $200 on a cable shifter, then take a look at THIS DIY Linkage, I rediscovered it after I ordered my Novak kit. Before I installed my kit I read over Flint54's install thread. I did not do all the modifications he did, such as to the shift gate. I don't know if Novak changed the kit between the time Flint54's installed his kit and I bought mine. The install took about 2 hours. A second person may be needed during the install. I did not need to remove the cross member or lower the transmission to install this kit, however it would have made things simpler. This kit is not exactly "bolt on" if you have a NP242 like me, some modification may be required. If you had Rhino liner sprayed in the cab you may soon regret it as I did. Keep in mind this is for General Instruction. This is how I did the install. This install was on a 1988 Jeep Comanche, 4.0 I6, AX-15, NP242. Also note my MJ does not have all the factory sized bolts as some have been replaced over the years, I may give a bolt size that is different from factory. Tools Required: Saftey Glasses Gloves Box Cutter (If you have Bed liner in the cab) Wrenches (8mm, 10mm, 13mm, 15mm, 17mm, 1/4, 1/2, 9/16, 15/16, these are what I used) Allen wrenchs Drill Needle nosed plyers Floor Jack (if you decide to remove the crossmember) Start by blocking off the tires and setting the parking break. The Jeep may need to be shifted into neutral during the install. Here are the parts in the Kit: Body side bracket, Transmission bracket, Shifter cable, and a bag containing 4 Allen head bolts, transfer case lever, ball joint of some type, and a clevis yoke. If you haven't already remove the front drive shaft. Use 8mm Socket or wrench to remove the bolts on the front diff yoke and 1/2 wrench for the transfer case yoke bolts. Removed was the body side linkage bracket. It is located on the driver's side of the transmission tunnel. I had the joy of removing bed liner from the bolts holding the body side bracket on. Its a PITA getting that stuff off. Use a 10mm wrench or socket to remove the bolts. After all the bolts are removed the bracket should fall off. I had to use a wrench to pry the linkage bracket from the shifter bushing. I then used a knife to remove the Bushing it self. Installing the new Novak body bracket did not go on as smoothly as I would have liked. I also needed a second person to put the bolts on while I held the bracket in place. Use an Allen Wrench (sorry not sure what size) to install the body mount. Not all the holes lined up properly, but it did not take much to fix the problem. Next I moved on to the Transfer case lever. Use a 9/16 wrench to remove it. There are some Differences between the stock lever and the Novak lever. As in Flint54's thread I later discovered I needed to add a new hole to the Novak lever. I used a drill bit the same size as the hole... Sorry I don't know what size it is. Before you copy my placement please read THIS thread by Flint54. But After I had everything together I guessed where it needed to be based on the placement of the clevis yoke... The new hole placement between My TC lever and Flint54's lever seem to be about the same. Reinstall the Transfer case lever using the 9/16 wrench or socket. These two bolts will need to be removed with a 9/16 wrench. (I did not have any of the AX-15 linkage brackets.) Place the bracket on the Transfer case studs and replace the bolts. I attached the Cable as instructed in Flint54's install thread. Note: My cable did not line up directly to the Handle lever and Transfer case lever. Both cables are adjusted by two 15/16 nuts. Like in Flint54's Install both cables are installed as to where the aft bolt just has full thread engagement. This picture shows the Transmission mount adjustment. This picture shows the body mount adjustment. Here are how the two ends attach to the handle and transfer case levers. Handle Lever Transfer case Lever Reattach front drive shaft... Now everything should be hooked up. Thus far the biggest difference between My install and Flint54's is the shift gate. I currently have the 231 gate on the truck, I have a 242 gate somewhere I just need to locate it..
-
Transfer Case Linkage Pictures Needed
Blue88Comanche replied to Blue88Comanche's topic in MJ Tech: Modification and Repairs
I am making the write up in the DIY forum and it will be in my build thread..... I was about half way through the write up then i right clicked and accidentally hit back page... needles to say I am not to happy with the context menu at the moment... I will have something posted shortly. I just gotta start over again.... -
Transfer Case Linkage Pictures Needed
Blue88Comanche replied to Blue88Comanche's topic in MJ Tech: Modification and Repairs
Thanks for the replies! I plan to get some good pictures of the install. I will post my results on my Blue Comanche's build thread when I am finished. -
I am getting ready to install my Novak Cable shifter for the transfer case. The instructions say to remove the transmission side linkage mount and re use the bolts. However, my AX-15 did not come with the TC shifter linkage or any mounting hardware. the black and white pictures in the instructions offer very little help. So I am not sure how or where exactly it should mount.. Also what size bolts are used for the transmission side linkage bracket? Thanks
-
Blue88Comanche Pioneer 4X4
Blue88Comanche replied to Blue88Comanche's topic in Member Projects: Your Comanches
My new Novak Transfer case Cable Shifter arrived yesterday. I did not get any pictures of it yet. If i can get off work tomorrow at 2 i should be able to install this kit then. Being able to shift the TC while still in the cab, will be a great improvement lol. -
if i recall, the 8.8 is narrower and may require wheel spacers depending on the rims you use. The XJ Chrysler 8.25 is the same width as the D35 and D44 for the MJ. I say swap the entire axle. At my P&P its $90 out the door for an axle. all i would need to do is drop it in. Otherwise unless you can set gears, the getting the gears set up will cost about $250 or more per axle... part of my problem is my P&P does not seem to get 2.5 jeeps with 4wd...
-
Np 231 Transfer Case Problem
Blue88Comanche replied to hillbilly51's topic in MJ Tech: Modification and Repairs
The vac lines for the 4wd sustem only control the front axle disconnect and the 4wd light. So if the CAD is locked them you can still shift the transfer case to 2wd with the shifter because it uses a physical linkage. -
Np 231 Transfer Case Problem
Blue88Comanche replied to hillbilly51's topic in MJ Tech: Modification and Repairs
the stretched chain can be caused because the TC is not being used on the proper surface, no dry pavement. as both Oyaji and gogmorgo have stated the Transfer case is Locked in part-time, meaning the front drive shaft will not spin faster than the rear drive shaft and vice versa. The front and rear gears are usually not the same exact ratio, they are usually close enough not to matter much on loose terrain. Tire pressure being different can cause the final ratio to be slightly off as well Over time the stress builds up until it breaks something or in your case the chain jumps the gear. as for the issue not showing on snow or ice, that because its low traction, less friction, less grip. The stress build up can be more easily relived through a tire loosing traction on the loose terrain. the NP242 has a open diff for full time use and can be locked for part time use. the open diff works just like in the axles, allowing one shaft to spin faster or slower than the other when needed. -
Np 231 Transfer Case Problem
Blue88Comanche replied to hillbilly51's topic in MJ Tech: Modification and Repairs
If you want to use 4wd all the time you will need a full-time transfer case like my NP242. But this TC did not come on any MJs stock as mentioned above. The Cherokees that got them where also autos. I have a NP242 mated to an AX-15 and haven't had any issues aside from not having the new linkage for the AX-15 (I had a BA10/5 NP231 combo stock). The NP242 will give you 2wd, 4wd high part-time, 4wd full-time, neutral, and 4wd low part-time -
Blue88Comanche Pioneer 4X4
Blue88Comanche replied to Blue88Comanche's topic in Member Projects: Your Comanches
The parking break cables where replaced last night, and I adjusted them today. It's nice to have a working parking break again! -
Cold Weather Grill Closure
Blue88Comanche replied to 64 Cheyenne's topic in MJ Tech: DIY Projects and Write-Ups
Thanks for the answer, if I ever had to use a cover like this there would be bigger issues to deal with first... (Nuclear winter, super volcano, ice age, some super bomb like in Star Trek into darkness).... I live south of Mobile, a few miles from the Gulf of Mexico. It's not often we get temps that stay below 32F. I have seen items like what the OP made I just was wondering when they would be used. -
Cold Weather Grill Closure
Blue88Comanche replied to 64 Cheyenne's topic in MJ Tech: DIY Projects and Write-Ups
Looks Great! What sort of temperatures would this be needed for? -
Beginning of 1993 Cheromanche build
Blue88Comanche replied to dave92cherokee's topic in Member Projects: Your Comanches
Awesome! :cheers: