
fiatslug87
-
Posts
7281 -
Joined
-
Last visited
-
Days Won
8
Content Type
Profiles
Forums
Gallery
Everything posted by fiatslug87
-
I think they were only available for the ‘86 model year and will only hold up to a 235/75R15 tire. I have one on the 89 LWB and ratchet straps on my SWBs. I’ve been contemplating making one for one the SWBs with 32” tires, but would need to drill keyholes in the frame.
-
If you need the boot retaining ring they are available on Amazon (link)
-
The keyholes are there in the SWB but are in the wrong location and partially covered.
-
Looks like this.


-
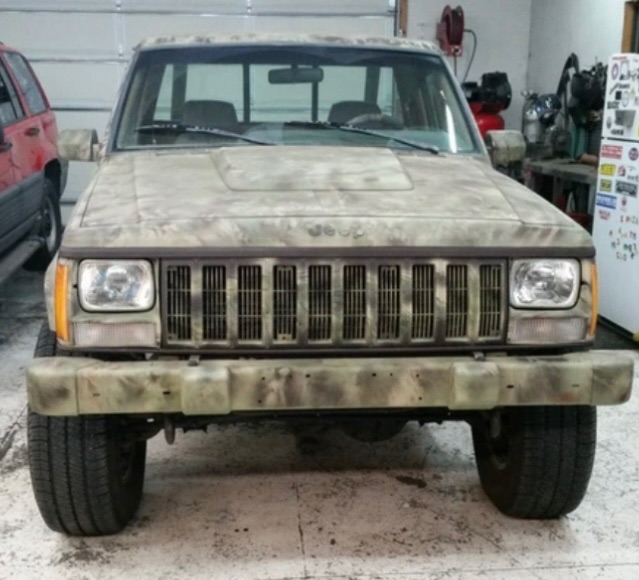
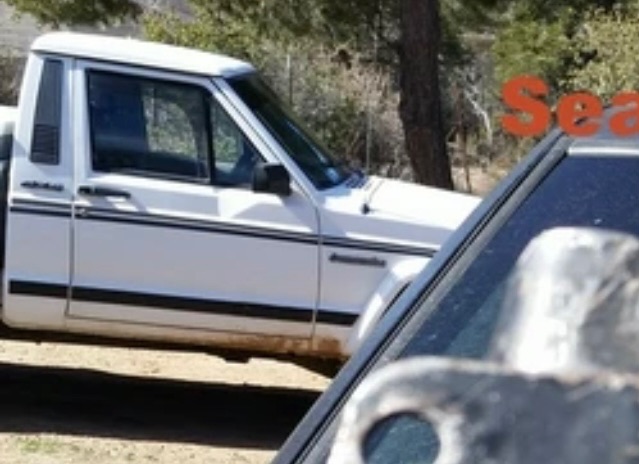
This is how it looked after the camo job. and he had a white Pioneer.
-
Try harder.
-
There’s this but he sold it
-
-

Dome light Euratech question
fiatslug87 replied to tdtony's topic in MJ Tech: Modification and Repairs
The other wire is for the optional cargo light. -
eBay link
-
If you want the Radio Shack booklets you must provide your name, address and phone number (for those that remember ).
-
-
Bucket Seats not folding forward
fiatslug87 replied to Warren99's topic in MJ Tech: Modification and Repairs
Now that’s Yankee ingenuity. -
@Kyle F Build sheet says original color was Dover Gray (code PS3), check the firewall tag for a PS3 code, Spinnaker Blue is PB3.
-
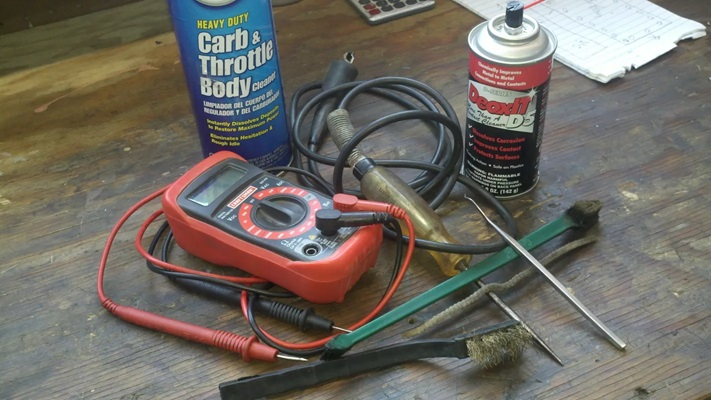
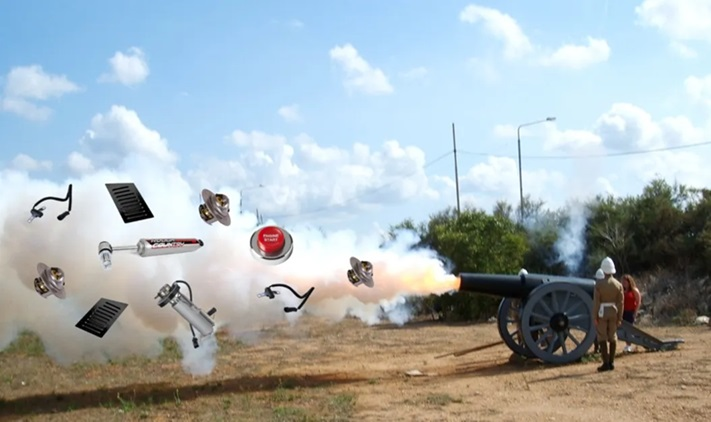
Thanks Pete (cruiser54), we are eternally grateful for your tips and helpfulness. Your contributions to our community are immeasurable and will continue to help us keep our RENIX MJs/XJs running. As a tribute we are archiving these tips here on ComancheClub. April 30, 1954 - May 16, 2024 RIP https://comancheclub.com/topic/73455-we-lost-a-member/ Cruiser’s Mostly Renix Tips Technical DIY instructions covering common issues on the Renix XJ Cherokees and MJ Comanches (1987-1990). Preventative and proactive procedures to save you headaches, time, and money. Many of these tips were provided to me and my buddy Joe by JeepTech when I was Service Manager/Shop Foreman at a Jeep dealer from 1980 through 1992. That’s what “The Book” is all about. Our notes from back in the day. Right from the Field Service engineers. Thanks Lonnie and Big Al!! Most were never published, until now. Tips 1, 2, 3, 4 and 5 are a great place to begin before chasing your tail with parts replacements on your 87 and 88 Jeeps. These are pretty much “haftas” in Renix Jeep ownership. You can skip Tip 2 if you have an 89 or 90. But, do the Tips first……….Avoid firing the “parts cannon” at your Jeep!!!!!!! The next priorities on your Renix Jeep are Tips 11, 13, 31, 25 and 26 A simple multimeter is handy along with a few other basic tools……so dive in and get to know your Renix Jeep. Some Tips also transfer to later years, or the techniques can be adapted. If you have a 91 or later, see Tips 1, 3, 10, 11, 12, 15, 16, 18, 19, 20, 24, 29, 30 and 36. If you have an 84 through 86, see Tips 3, 12, 15, 16, 18, 19, 20, 28 and 30. 1 – Ground refreshing and Upgrades 2 – C101 connector refreshing 3 – Connector and relay/receptacle refreshing 4 – Coil/ICM contacts 5 – Checking sensor grounds 6 – Sensor ground upgrade 7 – CPS testing and adjusting 8 – TPS testing and adjusting 9 – ECU connector refreshing 10 – Trans plug connector refreshing 11 – Throttle body and IAC cleaning 12 – Setting your 4.0 to #1 TDC 13 – Renix Distributor indexing 14 – Restoring Throttle Butterfly Adjustment 15 – Rear main seal diagnosis 16 – Vacuum test for exhaust restriction 17 – HO engine into Renix 18 – Improving the instrument panel ground 19 – Headlight harness installation 20 – 4WD shifting tips 21 – Renix EGR valve test 22 – Renix vacuum harnesses 23 – CPS timing advance mod 24 – 4.0 Engine date codes 25 – Valve cover mod 26 – Oil Filler cap Mod 27 – C101 Connector Elimination 28-Improving blower motor performance 29-Improving the fuel pump ground 30-Adding the Sentinel Headlamp feature 31-Throttle body to MAP hose upgrade 32-Renix metric oil filter to SAE filter 33-Converting to an open cooling system 34-Eliminating the Heater Control Valve 35-Reducing cabin wind noise 36-Bypassing the Power/Comfort switch 37-Best injectors for Renix 38-Improving the wiper motor ground 39-4.0 Engine Removal 40-More power for your 87 and 88 4.0 ***VIDEO*** 41- Easily track down and repair ENGINE VACUUM LEAKS HELPFUL LINKS. TAKE A LOOK!! DON’T MISS THESE. Guides Upgrading headlights: The real story. Get rid of that pesky front axle disconnect: Free D30 CAD bypass How to fix flexplate knocking Checking for a cracked flexplate Fix lazy power locks on your pre-1991 XJ or MJ Add rear disc brakes to your XJ or MJ How old are your tires? Add shoulder harnesses for your rear passengers Add alternating front blinkers to your early XJ or MJ Video: Remove carbon deposits inside your engine for free Video: How to adjust your transmission throttle valve cable Video: Adjust your transfer case linkage Build a “poor man’s” stroker engine Video: How to test your CPS Upgrade your brake booster Replace your AC bracket bearing Resources History of the AMC Straight Six Renix history Video: How To Use a Multi-Meter BleepinJeep’s great video how-to channel Wiring Diagram Library Choosing the right engine oil Differences between engine oil filters Renix sensors explained Everything you ever wanted to know about the AW4 Everything you ever wanted to know about the AX15 Video: A scanner for your Renix with a tutorial Video: Rusted nuts and bolts. A simple solution Products Upgraded battery, alternator and ground cables for your Jeep Bored Renix and HO throttle bodies and MORE! Refurbished upgrade fuel injectors Trevor.skankfootracing@gmail.com Adventure Trailers Made in Prescott, Arizona! Aussie Lockers Made in the USA! LED Light Sets Instrument and interior LEDS for Jeeps Upgrade your motor mounts Brown Dog Get a Renix Engine Monitor No more guesswork. Take a peek inside your Renix system for a reasonable price!!! Cruiser54's WEBSITE DEDICATION "This website would never have been possible without the decades long work and support of my “little brother”, co-worker, and dear friend Joe Soriano. As I write this dedication to Joe on Thanksgiving, it seems quite appropriate. Thank you Joe for many things, all larger than this website. A true friend and comrade in buffoonery forever. For those of you who didn’t know Joe, you need to be aware that we worked together at a Jeep dealership from before the inception of the Jeep XJ. 1980 to be exact. Side by side, with the help of our friends at JeepTech, we embraced the XJ and MJ. We both kept the special tips and info in “the book” featured here. After working together for 12 years, I left the dealership and went on to other things. Joe kept “the book” and worked for the dealership a total of 37 years. In 2010 Joe presented “the book” to me. All those notes in both of our handwriting, outlining neat fixes. So, that is the true heritage of this site. Sadly, Joe passed away unexpectedly on November 13, 2016. I wish to dedicate this site to Joe."

-
If anyone has this please post.
-
If anyone has this video please post.
-
If anyone has this please post.
-
If anyone has this please post.
-
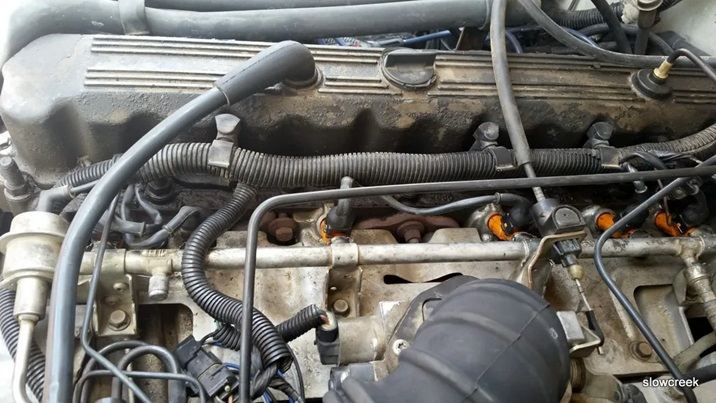
THE HISTORY OF THE 4.0 BEST INJECTORS FOR RENIX The original Renix injectors made by Siemens-Deka were only “one holers”. That means the fuel was discharged through only one hole. Not the most efficient design by today’s standards. Modern injectors have at least 4 spray holes for better fuel atomization. Another issue is the original injectors were prone to leaking fuel at a seam and spraying gas all over hot manifolds. Not good!! A nice upgrade is to use Volvo injectors. The use of these injectors was pioneered by Programbo from Cherokee Forum when he suggested them to DFlintstone there. Flintstone was the guinea pig and reported excellent results. I have experienced the same results as have many others. The 746s, as they’re called, have the 4 hole design and the complete Bosch part number is 0 280 155 746. These injectors can be purchased refurbished for not much money and are a direct bolt-in. WARNING: AVOID THE CHICOM KNOCKOFF INJECTORS!!! BUY ORIGINAL BOSCH/VOLVO REFURBISHED INJECTORS HERE IN THE USA. OR, CONTACT TREVOR AT THE EMAIL BELOW AND GET THE CORRECT INJECTORS FOR YOUR APPLICATION. They are high quality, refurbished and TESTED. You’ll get flow matched injectors with the spec sheet included. Trevor.skankfootracing@gmail.com You will experience smoother idle and better throttle response. Perhaps some MPG improvement also.
-
THE HISTORY OF THE 4.0 BYPASSING THE POWER/COMFORT SWITCH Even though the indicator lights up in your Power/Comfort switch, that does not mean the switch is working and putting the Transmission Control Unit into Power mode. The switches had a high failure rate. Remove and unplug the switch. In the harness are 3 wires. One has a stripe, one is tan, and the other wire is black. Make a 4″ jumper wire with a male spade at each end. Plug one end of the jumper wire in the cavity for the tan wire and the other in the cavity for the striped wire of the harness and you’ll be in permanent Power mode. Stuff the harness back in and reinstall the switch for looks if you want. Make sure the 7.5 amp “Trans” fuse in the fusebox is good. If you happen to have a 91 or 92 XJ/MJ and it has the Power/Comfort switch, just jumper the Tan and Blue wires in the harness plug. NEVER include the black wire when jumpering!!!
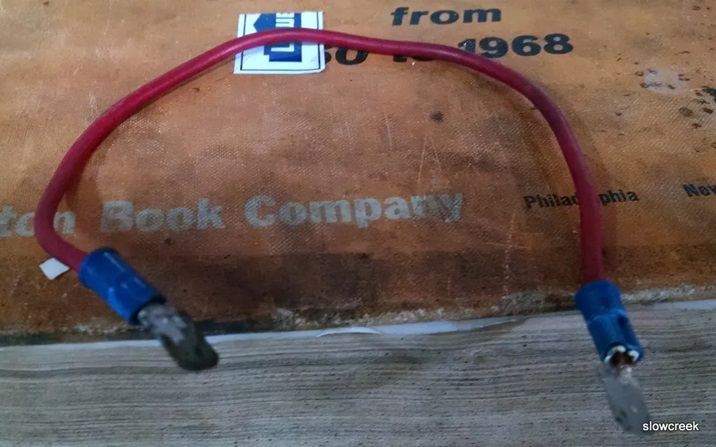
-
If anyone has this please post.
-
If anyone has this please post.
-
If anyone has this please post.
-
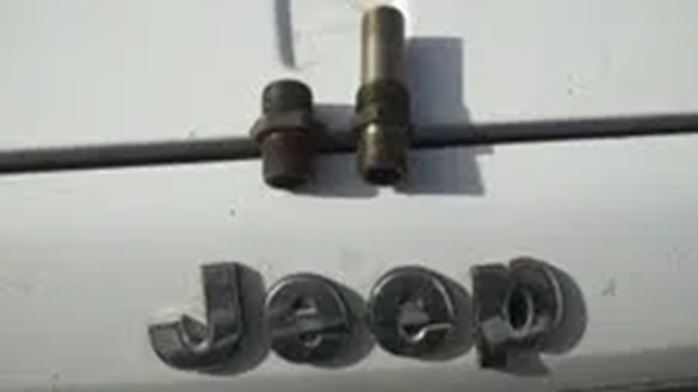
CRUISER'S MOSTLY RENIX TIPS RENIX OIL FILTER TO SAE FILTER Tired of having a poor selection of oil filters for your Renix Jeep? Limited availabilty a pain for you? 20mm threads? We don’t need mumblemeter threads on our oil filters. Here’s a simple mod that allows you to use the very popular SAE threaded oil filters which are more readily available. The old standard 3/4″ SAE thread. You can purchase a new oil filter nipple from the dealer for under $10 and never be bothered again. Part number 53007563AB. It’s the one on the left. Or, grab one off a 91 and later XJ at the junkyard. Be forewarned though. You need a 7/8 wrench to remove a Renix nipple, but a 15/16 wrench for the later style. And just in case you need to replace your oil filter adapter o-rings, here’s a handy guide. Oil Filter Adapter O-Ring Sizes 87-90 Renix Model O-rings 0.799 x 0.103 AS568 size -117 1.296 x 0.139 AS568 size -219 2.484 x 0.139 AS568 size –230 Dealer Part Numbers for Renix. Sold individually: 33002970, 33002971, 33002972 Renix kit from Crown Automotive-33002970K 91-01 HO Model Orings 0.676 x 0.070 AS568 size -017 0.859 x 0.139 AS568 size -212 2.484 x 0.139 AS568 size -230 Revised 03-07-2017