


Big_Mark
-
Posts
324 -
Joined
-
Last visited
Content Type
Profiles
Forums
Gallery
Everything posted by Big_Mark
-
this is one of the many reasons I call them "Jerks" lolz I'm glad (and sad?) to know I am not alone
-
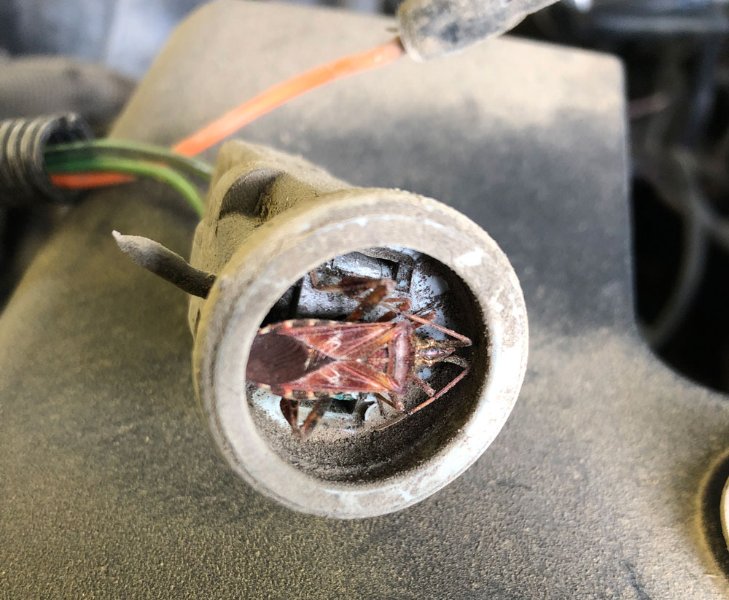
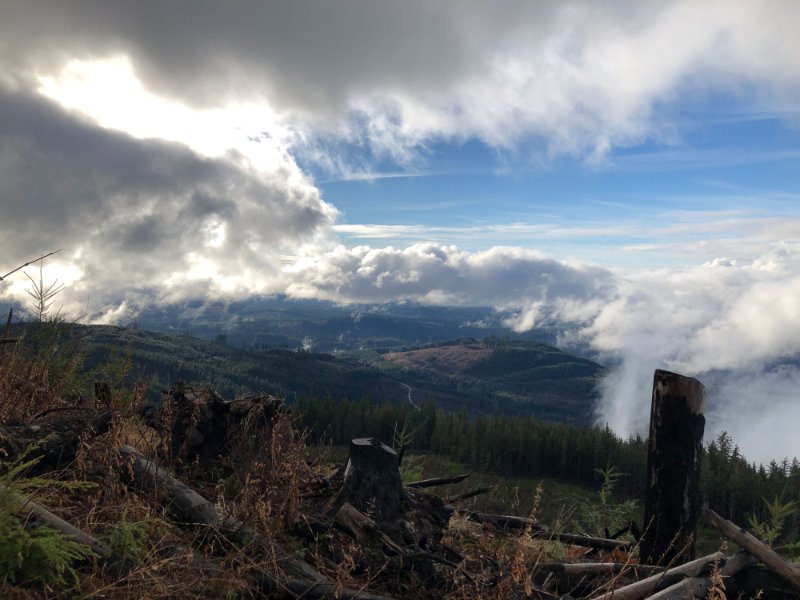
We went to Walker Valley ORV for a new year's day run (I rode) here's the view from the top! Also I am working on on board air using my A/C pump and when I dug out the AC cutoff switch harness I found this JERK living in the end of it! Anybody else living with stink bugs? They are a new pest here in the PNW, and the get everywhere
-
 Cool video, I always wondered how the bearing fits in those kits. So, did it make any noticeable difference in driving, steering response?
 -
this sounds like experience talking
-
Drain all engine fluids before pulling engine. Make sure the harnesses (wiring) are disconnected before pulling engine. make sure the motor mounts are unbolted make sure your engine stand bolts are ready to go take your time pulling the engine, if it's not moving, figure out why, don't just crank it up to see if it "gets past" the thing, find out what "the ting" is Have towels and bucket handy, it will still drip fluids even after draining them
-
Here's what I ended up with Glad to have the air box area cleared of a tiny bit more of ugly wires.
-
I pulled out the plug in the new radiator and the threads were, finer (not pipe thread), I went to Napa and dug through the fittings bin to no avail, so I ended up just buying the t-stat housing with the sensor hole in it. This is much easier to do than try to find the unicorn pipe fitting, woot!
-
Thanks again Ronkinn, fortunately I do have the wiring, and it's quite apparent how they work so no need for the diagram. The po wired in a switch to manually turn the fan on and off. Now that I found out why (cut/broken wire) I hope the fan works as designed now. If so I'll pull out the jumper wire/switch that I use to turn that fan on and off on demand.
-
Thanks for the tip rokinn!
-
Thanks guys, @cruiser54 nothing is wrong with the one in the radiator other than I don't want to mess up the new radiator by removing the plug and the wires going to the sending unit/switch were pinched/cut when I pulled out the air box. As I've been watching videos to determine is my sending unit/switch location is "normal" or not it seems like the Cherocars on Youtube all have the t-stat housing with the sensor in it, not in the radiator. I think I'll just keep it stock and will pull the plug out then put some plastic loom/wire protection on the wires to the sending unit/switch so they don't get cut again.
-
Hi all, I am in the process of installing a new radiator. My old radiator has a bung for the auxiliary cooling fan sending unit (the radiator fan on the driver side) in the driver side of the radiator tank. The new radiator has a plug in the same position that I think I can just turn out then install the sensor there. I am wondering if I can instead install a thermostat housing from a newer 4.0 that has the hole for the sending unit instead of putting it in the radiator again. This would get it out of "the hole" where the wires are hidden/got pinched/cut over the years. Aside from the sending unit hole, are there any differences in the head, hose connection points, etc I need to be aware of if I choose to go with a different t-stat housing? Thanks in advance
-
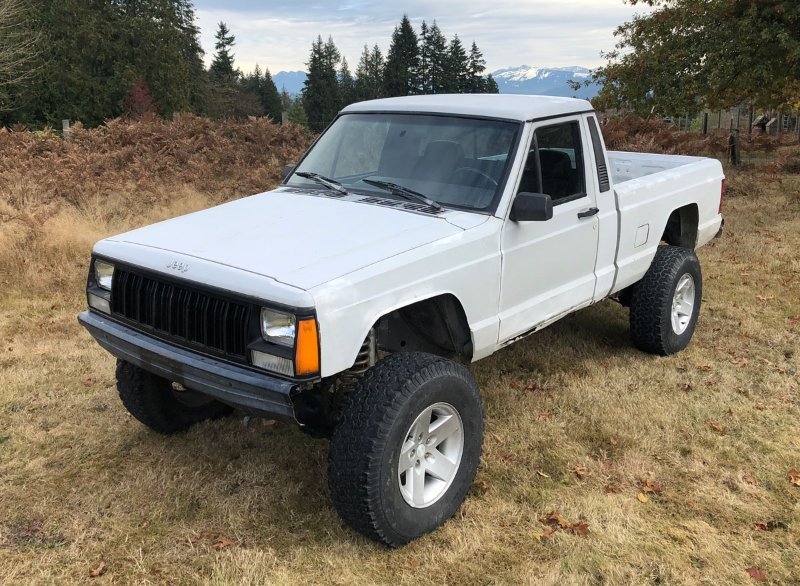
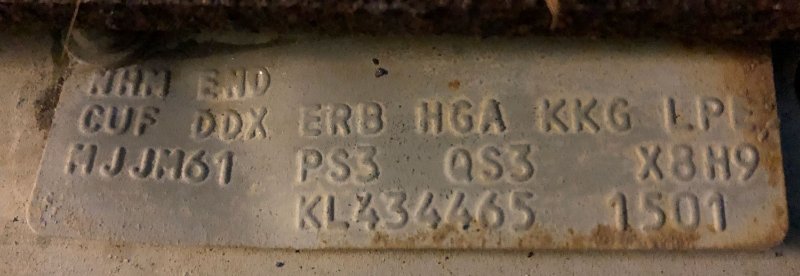
1989 JEEP COMANCHE PIONEER VIN: 1J7FJ36L8KL434465 GVWR - 4001-5000 Series - PIONEER Engine - 4.0L Transmission - Aisin AX-15, Manual 5-speed Gear Ratios 1st - 3.83:1 2nd - 2.33:1 3rd - 1.44:1 4th - 1.00:1 5th - 0.79:1 Reverse - 4.22:1 Transfer Case - NP242, 2.72:1 Assembly Plant - Toledo, Ohio Plant No. 1 Front Axle: Dana 30 3.55:1(1999) Rear Axle: 8.25 Chrysler 3.55:1 (1999) Wheelbase; SWB Build date: n/a my drivers door is not stock here is the tag from under the radiator, maybe this is helpful? Current Location: Snohomish Wa, USA Status: It's a runner! It's licensed and insured! I've taken it wheeling! Notes: Has factory skid plate, Jeep was bought from the bushes barely running, electrical was a mess, see my build thread here: Current owner: Mark Rogalski
-
From the woods - 1989 Basket Case
Big_Mark replied to Big_Mark's topic in Member Projects: Your Comanches
Oh I discovered why my aux fan wasn't coming on automatically, one of the sensor wires is almost cut through, gotta fix that gig! Wifey and I also went to Ben Frankin craft store where I bought some non-felty flannel and adhesive for recovering my headliner, this thing is going to look great with all the interior in and matching! -
From the woods - 1989 Basket Case
Big_Mark replied to Big_Mark's topic in Member Projects: Your Comanches
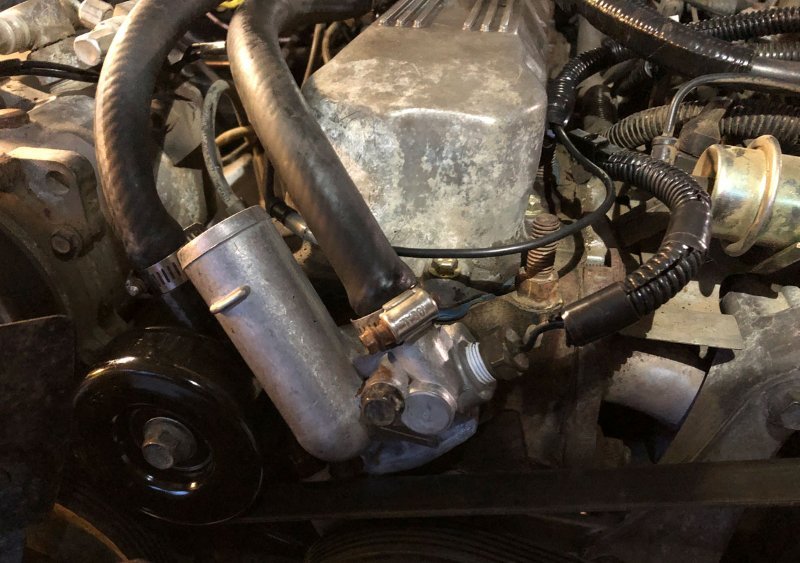
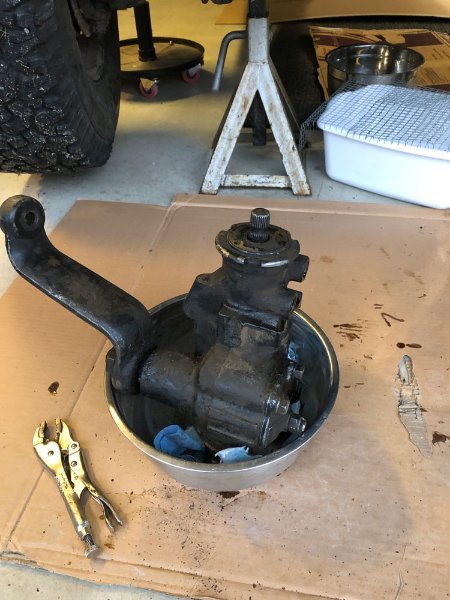
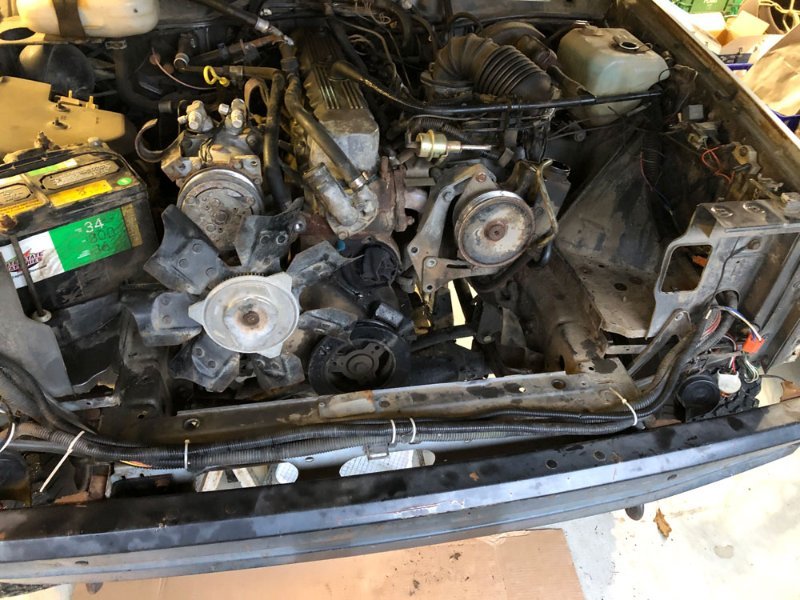
I got all the old parts that are being replaced off the MJ yesterday, come on Fed-Ex bring me gifts! Leaking steering box ready to pack up and ship! I was pleasantly surprised to find NO CRACKS at the steering box mount, win! Front is pulled apart, ready for newness!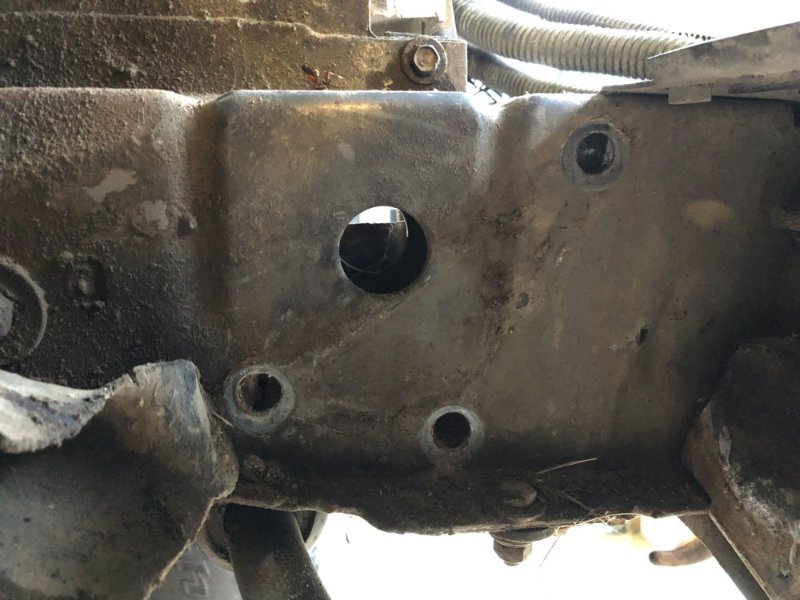
-
From the woods - 1989 Basket Case
Big_Mark replied to Big_Mark's topic in Member Projects: Your Comanches
Speaking of my Scrambler, here's a video from the way back (in 2009) machine. Mark's Scrambler at Funny Rocks -
From the woods - 1989 Basket Case
Big_Mark replied to Big_Mark's topic in Member Projects: Your Comanches
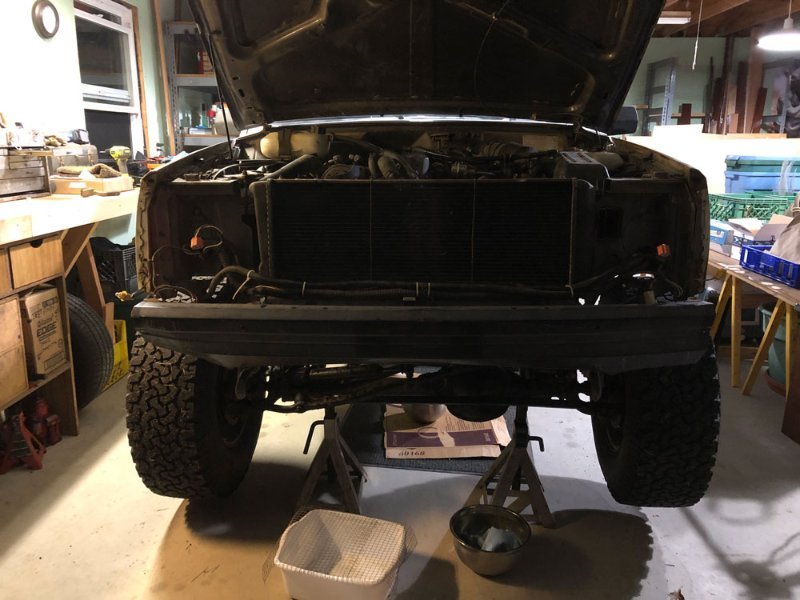
Christmas at Rockauto and Ebay! RA: Radiator, Hoses, aux fan, water pump, idler puller, power steering hoses, rubber floor mat! Ebay: Driver side; Burgundy door skins, window crank, hockey puck arm rest/door handle, fan shroud Next up: West Texas Offroad steering box/ram My ship came in so ole Jeepy is getting some much-needed upgrades/restoration Where it sits today (p.s. I got the grill in right side up, for an hour ha ha ha) Grill B gone! Today I plan on draining and pulling the radiator. After that I will start working on measuring my steering throw so I can get the steering ram ordered. BTW these are things on my needs/wants list. I have decided to go with the redneck ram (RR) early in the game because before my Scrambler went full trailer queen I had death wobbles big time (Dana 44 front with used, bias ply Super swampers) after trying numerous solutions I ended up adding the RR system and all the issues went away. Currently I don't have death wobs, but my steering box sector shaft seal finally went out (just sitting there in the garage) and I have oversized tires and an old frame of which I won't know the condition of until I get the steering box off. So rather than spend money with steering box braces and brackets I figured I'd just move the stress off of the frame and down to the axle and tie rod. I'll take pics along the way. the RR conversion will be phased, first phase will be just get the steering box out, sent down to RR for a rebuild and port, then back into the Jeep. After that I'll install the ram. I am not sure if I'm going to reuse my stock tie rod or get a hd one or do a high steering setup first. I guess that depends on the condition of my frame at the steering box. I hope to have all this stuff done before the end of winter. Projects are fun!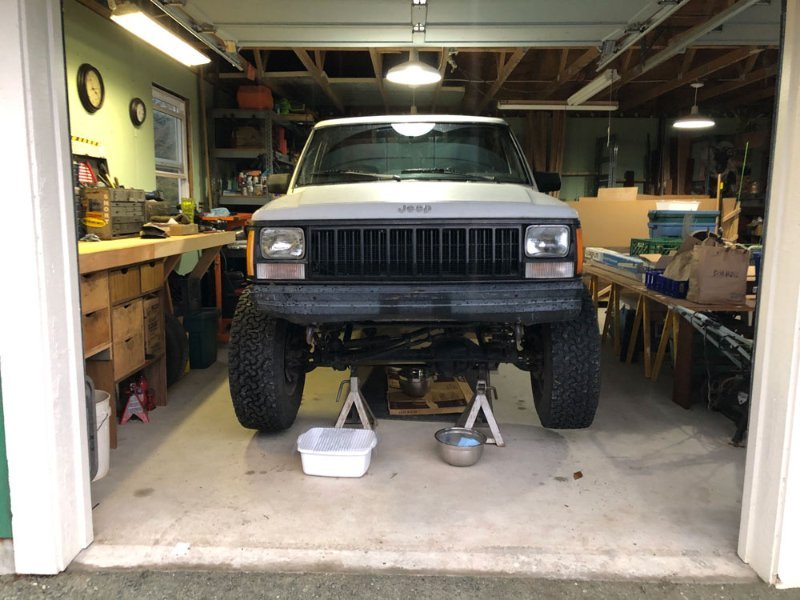
-
Thanks for the part numbers, it looks like you edited your original post, dang dude WT* is wrong with people! I swear the whole world is losing their minds.. Stay safe man
-
November 2022-Big Mark's Basket Case
Big_Mark replied to 89 MJ's topic in Comanche of the Month (MJOTM)
LOL I had no idea, I started Jeeping as a 7 slot guy I guess I know what my next 10 minute Jeep job is going to be, thanks Pete! -
From the woods - 1989 Basket Case
Big_Mark replied to Big_Mark's topic in Member Projects: Your Comanches
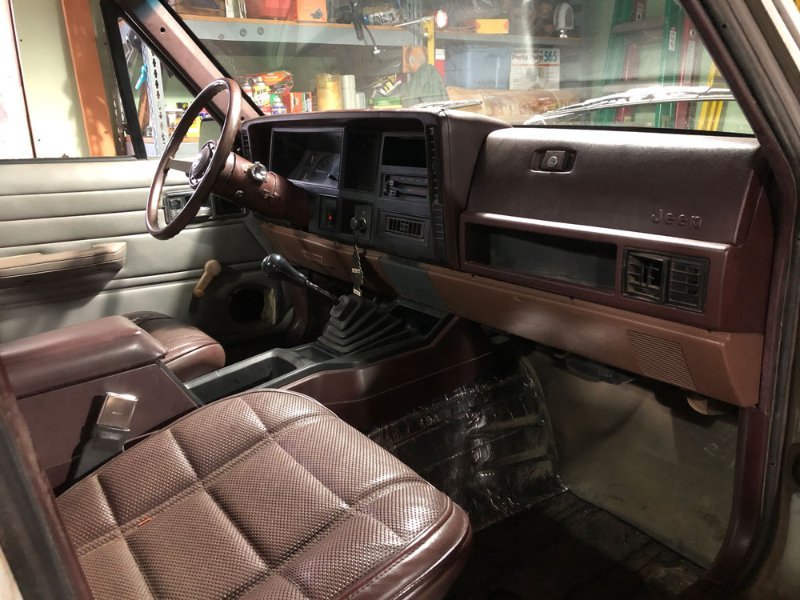
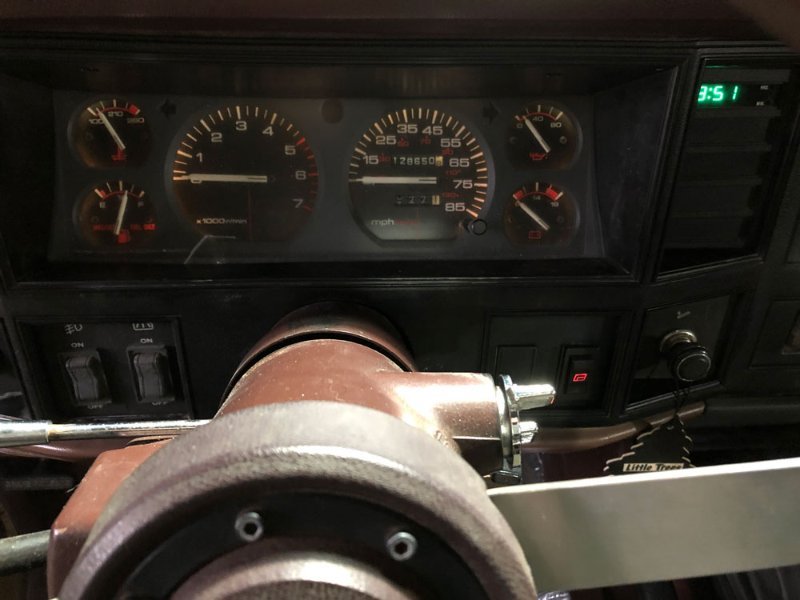
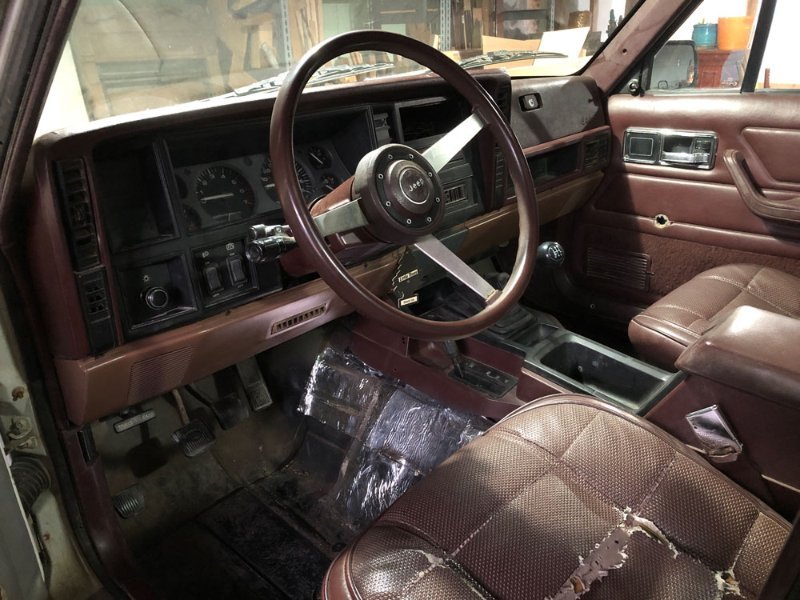
Well I've been busy, I was finally able to figure out the weird alignment of my dash (it wasn't attached to the steering column properly) so now I put my dash back together with a new to me dash insert and 92 clock! I also cleaned up an ugly switch situation, little improvements! Since my cab is now "sealed" (at least it doesn't leak constantly) I plan to buy a rubber floor "carpet" to cover up the uglies. I also found a new to me shifter cover without rips! as well as a bracket to support the passenger side of the center console near the shifter. Since my transmission isn't the stock one, the original support didn't fit. However, I found a slightly different version of the bracket at the local junk yard so now it's firmly attached and ready for "carpet" ! Still need to get a better match on the paint for the lower dash, all in good time!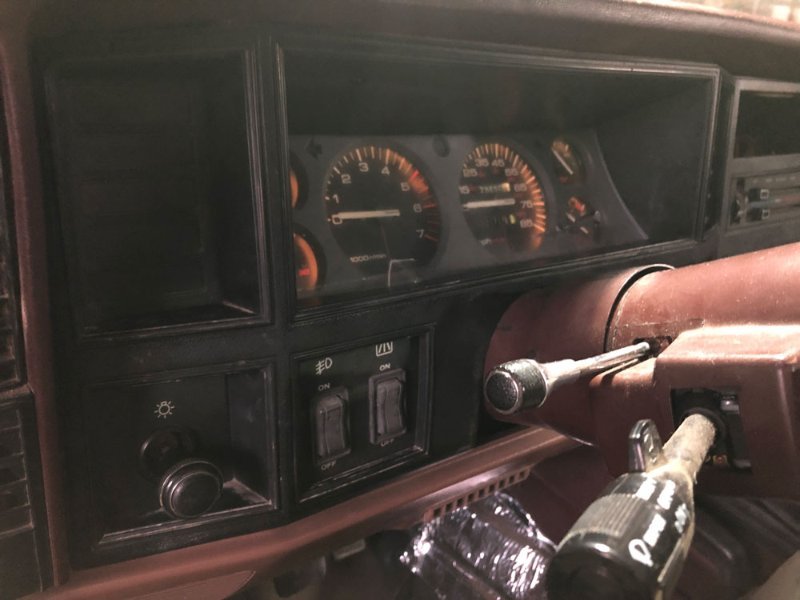

-
Welcome to the forum! Glad to see another WA state wheeler with a rig built for our types of terrain. Your MJ is pretty much what I am aiming for, built for Nachese and western WA snow days I'm fixin ta replace my radiator, any chance you have the part numbers you mentioned for the rad/hoses and pump mentioned aobve? Once again Welcome! P.S. Great score how stock was it when you got it?
-
TBI or Carb? '86 2.5L to 3.4L upgrade
Big_Mark replied to FigurativeGarbage's topic in MJ Tech: Modification and Repairs
When swapping motors I suggest grabbing the entire Engine harness and computer along with the engine (same with the transmission if it's an automatic). Ultimately you "just" connect the harness back to the engine, computer, power and ground, then vroom vroom! No programming needed; it will just work as it did in its old home. Notice "just" is bold and highlighted, you will need to figure out fuel delivery (as you noted) as well as ignition on/off. But otherwise yeah the donor harness should do the job and for $300-$700 less than some aftermarket harness that may or may not work when you get it, and you will still need to hook it up as described. When I put the 5.0 in my Scrambler It took a minute to wrap my head around the major systems that run independently of each other. Comanche System that remain/can remain stock: 1. Lighting 2. wipers 3. Ignition 4. Fuel system power Non stock Systems: 1. Engine/computer 2. Transmission computer (if using modern Automatic) Dassit! The new system will overlap in places with the old system (fuel system power/Ignition) but other than that, you will need to keep them separated in your head. Hope this helps P.S. keep that donor vehicle around until your new one is up and running, if you have a donor vehicle that is. -
TBI or Carb? '86 2.5L to 3.4L upgrade
Big_Mark replied to FigurativeGarbage's topic in MJ Tech: Modification and Repairs
Where's the "like" button when you need one! I agree go with Fuel injection, unless you like screwing around with gas, float bowls, etc. If you plan on doing any off-roading, definitely go with Fuel injection (any kind), with carbs there is typically one off camber angle that will cause the carb to flood until you get past it (Holley 2BBl, Weber 2 BBL do this) with Fuel injection it just works, even upside down (at least temporarily) If you do go carb a Rochester carb is better for offroading than Weber/Holley, for whatever reasons they flood less, and I've seen em running upside down as well (though for a shorter period that the fuel injected engines) -
I had a leak coming from the cab vent panel cover mounting holes (those black vertical panels on the sides of the cab). There is a foam seal that goes around the sides and top of the plastic piece that can dry up. I pulled mine off, hit it with some silicone sealer then put the vent cover and my mystery leak from the back corners of my cab went away. The Vent covers are held on by 3-4 body pins (plastics) allowing you to carefully pry/pull the covers off the truck. My front of cab leaks was from the windshield seal, other rear leaks from rear window seal. Welcome to the club and have fun wrenching!
-
Full suspension bushing kit available?
Big_Mark replied to Jlindsey86's topic in MJ Tech: Modification and Repairs
Steer clear of the "red" polyurethane bushings, they are very durable as advertised, but as AZ-Jeff said, the ride quality is harsh. Also, the bushings are so hard the components they are installed in can become the flex point instead of the bushing, causing cracks at the mounts/frame/wherever the bushings are located. I learned the hard way on my Scrambler. I used the poly body mounts and ended up with cracks in the body everywhere the mounts were located. Also cracks around the frame where the sway bar connected. No bueno Stick with OEM if possible. You gotta figure if it took 20+ years for them to go bad, your replacements should last just as long