
FigurativeGarbage
-
Posts
44 -
Joined
-
Last visited
FigurativeGarbage's Achievements
Comanche Fan (3/11)
-
1986 2.5L to 3.4L: Amateur Hour
FigurativeGarbage replied to FigurativeGarbage's topic in Member Projects: Your Comanches
Battery was fine. Starter was fine per a bench test, but I noticed a mounting ear was cracked. There have been enough issues with the starter binding, needing a lot of shims, and the possible power draw that I'm going to try a different gear reducing starter with matching bolts from British Motors Company. -
1986 2.5L to 3.4L: Amateur Hour
FigurativeGarbage replied to FigurativeGarbage's topic in Member Projects: Your Comanches
Thanks, Gojira. I have some things to work with just from an initial scan tonight. I don't see a VATS issue if I am reading the data correctly. But I do see low battery voltage while cranking (7V to 8.5V per a multimeter and the computer). I'll have O'Reilly's check and charge the battery, then I'll check again. It could be the starter is pulling too much power (misaligned?). There is an injector fault indicator, which might be wiring. I see a MAPS error, but I think that causes the PMC to use a default number and it would still fire. The MAPS connector is damaged, so I'm not very surprised. I have a spare MAPS if it's not the connector.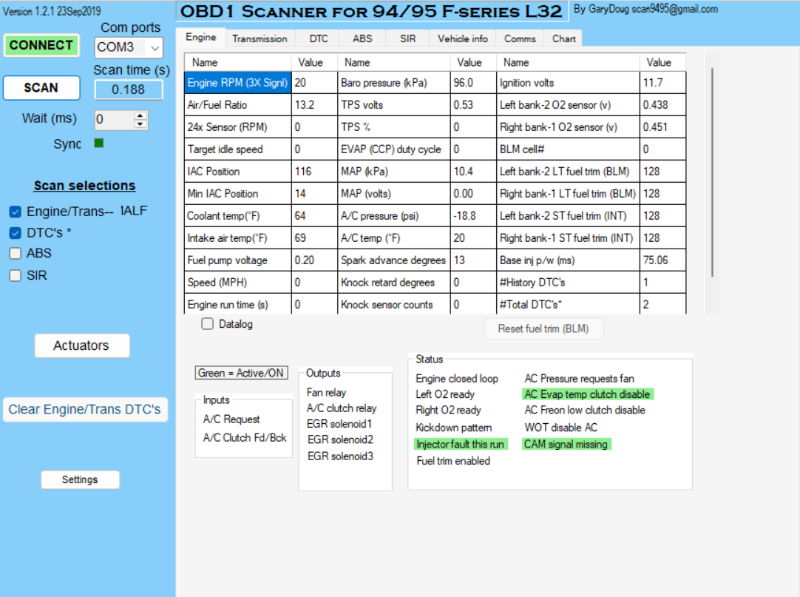
-
1986 2.5L to 3.4L: Amateur Hour
FigurativeGarbage replied to FigurativeGarbage's topic in Member Projects: Your Comanches
Great ideas. Hadn't thought about the safety switch. I still have the VATS attached, just in case I can avoid tuning. I don't have a Camaro ignition cylinder. I've looked at a number of sources and this engine seems very hard to pin down whether it is 30Hz or 50hz. I don't have a reference key to measure resistance. The diagnostic connectors arrive Saturday per FedEx, so I'll just wait and see what the scanner says. Got an adjustable throttle cable from BMC installed yesterday. Crawling towards victory. -
1986 2.5L to 3.4L: Amateur Hour
FigurativeGarbage replied to FigurativeGarbage's topic in Member Projects: Your Comanches
Reviewing my notes, the PCM I ordered years ago was actually for a 94-95 automatic, not a manual. Unclear if that matters, as I gave the seller a manual Camaro VIN for coding. I had the Timers VATS bypass set to 30Hz. I set it to the more common 50Hz. Still nothing. I can try the two other functions on that system, but your comment makes me doubtful it will help. On your suggestion, I've downloaded the Scan9495. I ordered a jumperless ALDL connection and matching wire mount, but it take a week or so for them to ship. Once I see what's happening, I'll see if I need to escalate to deleting the VATS or otherwise tuning. -
1986 2.5L to 3.4L: Amateur Hour
FigurativeGarbage replied to FigurativeGarbage's topic in Member Projects: Your Comanches
Thanks, Coheed. Yes, the noid flashes a bit. Yesterday I found that my PCM ground wires (C1 and C17) were not connected. I got one hiccup. I can still test voltage levels at cranking. I have suspected VATS (by Timers) could be the issue. I recall you ground it to change the Hz, and I am using the default setting. Agree I should get a scanner. -
1986 2.5L to 3.4L: Amateur Hour
FigurativeGarbage replied to FigurativeGarbage's topic in Member Projects: Your Comanches
The fuel pressure tester showed no pressure. Turns out the factory ground wasn't working. I reviewed Cruiser's info on grounding the fuel pump to the frame, but the frame doesn't seem well grounded. As a temporary measure, I ran a long wire a ground in the engine bay. Pump works again; pressure good. I noticed the PCM B+ wire was pulled out of its eyelet. I rewired it and the noid light lit up, but the pulse might have been weak or erratic. I tried to crank the engine again, but it still didn't fire. I checked a sparkplugs and they don't smell like gas. Then I heard a loud "pang" and checked the starter. The drive gear is stuck against the flywheel again. It must have twisted itself out of alignment. A good place to stop for the evening.... -
1986 2.5L to 3.4L: Amateur Hour
FigurativeGarbage replied to FigurativeGarbage's topic in Member Projects: Your Comanches
Oreillys rents both noid and fuel pressure testers for free. -
1986 2.5L to 3.4L: Amateur Hour
FigurativeGarbage replied to FigurativeGarbage's topic in Member Projects: Your Comanches
I had a muffler shop install a custom y pipe and new catalytic converter. I cleaned up some of the wiring with a electrical manual for the Comanche. Finished the cooling system, with the heater core temporarily bypassed. I left the heater hoses long enough that I can reconnect the core later if I want. I also filled and bled the power steering system enough that the pump should be safe to run. I bought a cheap mechanical oil-pressure test kit. After a few short cranks, the gauge came up to about 55-60 PSI. I built a simple 3-inch intake using a Spectre flexible duct. I installed the IAT sensor in one of the rigid couplers. I still need to make the crankcase fresh-air connection from the passenger-side valve cover into the intake, but for purposes of initial startup I am leaving that valve-cover port open. The vacuum system has also been simplified considerably. I am not dealing with EVAP yet. The MAP, fuel-pressure regulator, and PCV system are the only engine-vacuum items I am concerned about for initial startup. I ordered a replacement throttle cable from BMC and installed the firewall guide, but I am missing the original Camaro throttle-cable bracket. Until the bracket from ebay arrives, I can operate the throttle with my hand during the initial break-in. I made my first attempt at breaking in the engine. The engine cranked normally, but no fire. I pulled a plug and confirmed that I have spark. The plug looked dry and did not smell like fuel. I then unplugged one injector and confirmed approximately 12.3 volts at the injector connector with the key in RUN. I tested the PCM controlled ground. It flashed something like 7 volts once while cranking. Tomorrow I'll pick up a rental noid-light set and a fuel-pressure tester (I tested it two months ago, but want to make sure). If fuel pressure is still correct but there is no injector pulse, I have to check wiring/PCM/VATS. -
1986 2.5L to 3.4L: Amateur Hour
FigurativeGarbage replied to FigurativeGarbage's topic in Member Projects: Your Comanches
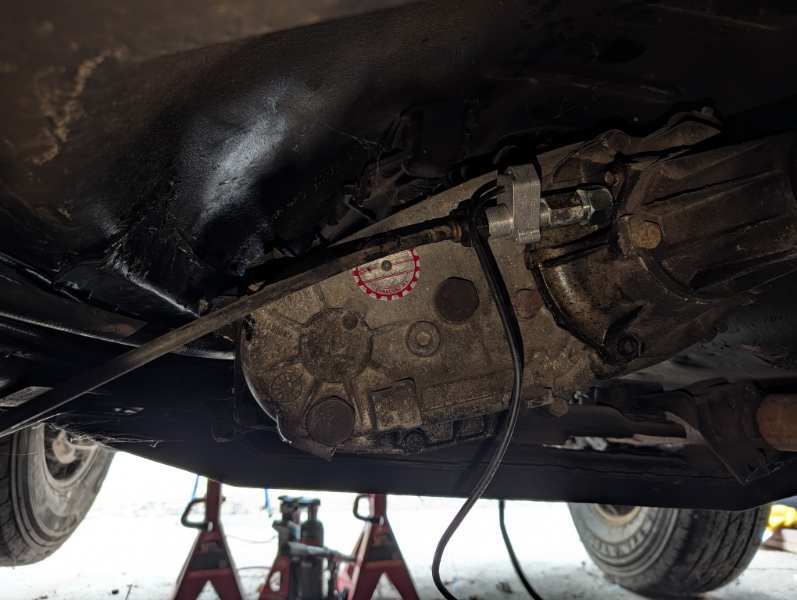
I installed EFI-rated fuel hose and filter, but still had to build the pump relay and resolve my switched ignition and constant power wiring. I added a 125-amp terminal fuse at the battery feeding a positive bus bar and switched the starter relay wires over. I also installed a ground bus tied directly into the battery ground system. The VATS bypass is connected to the same switched ignition source. I’m using the GM VATS Bypass Module for LS1 and LT1 from Timers. After some troubleshooting with the multimeter, I found a missing PCM ground connection. Once that was corrected, the fuel-pump relay clicked and the pump finally hummed. I rented a fuel-pressure gauge from O’Reilly Auto Parts. It connected easily to the Schrader valve on the fuel rail. The pressure came up into the low-40 PSI range and held. I installed a Dakota Digital pass-through speedometer sensor at the transmission as well. This allows the PCM to receive the electronic vehicle-speed signal while keeping the original mechanical speedometer cable and factory dash functional.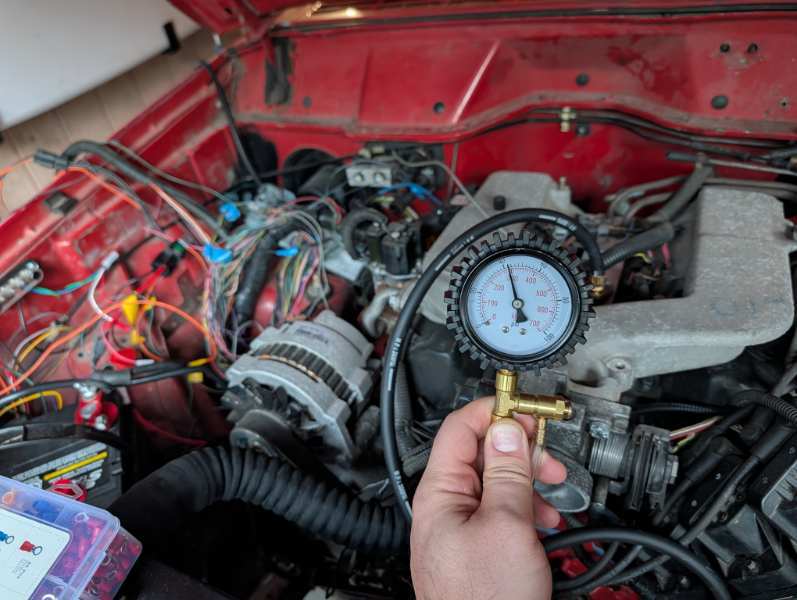
-
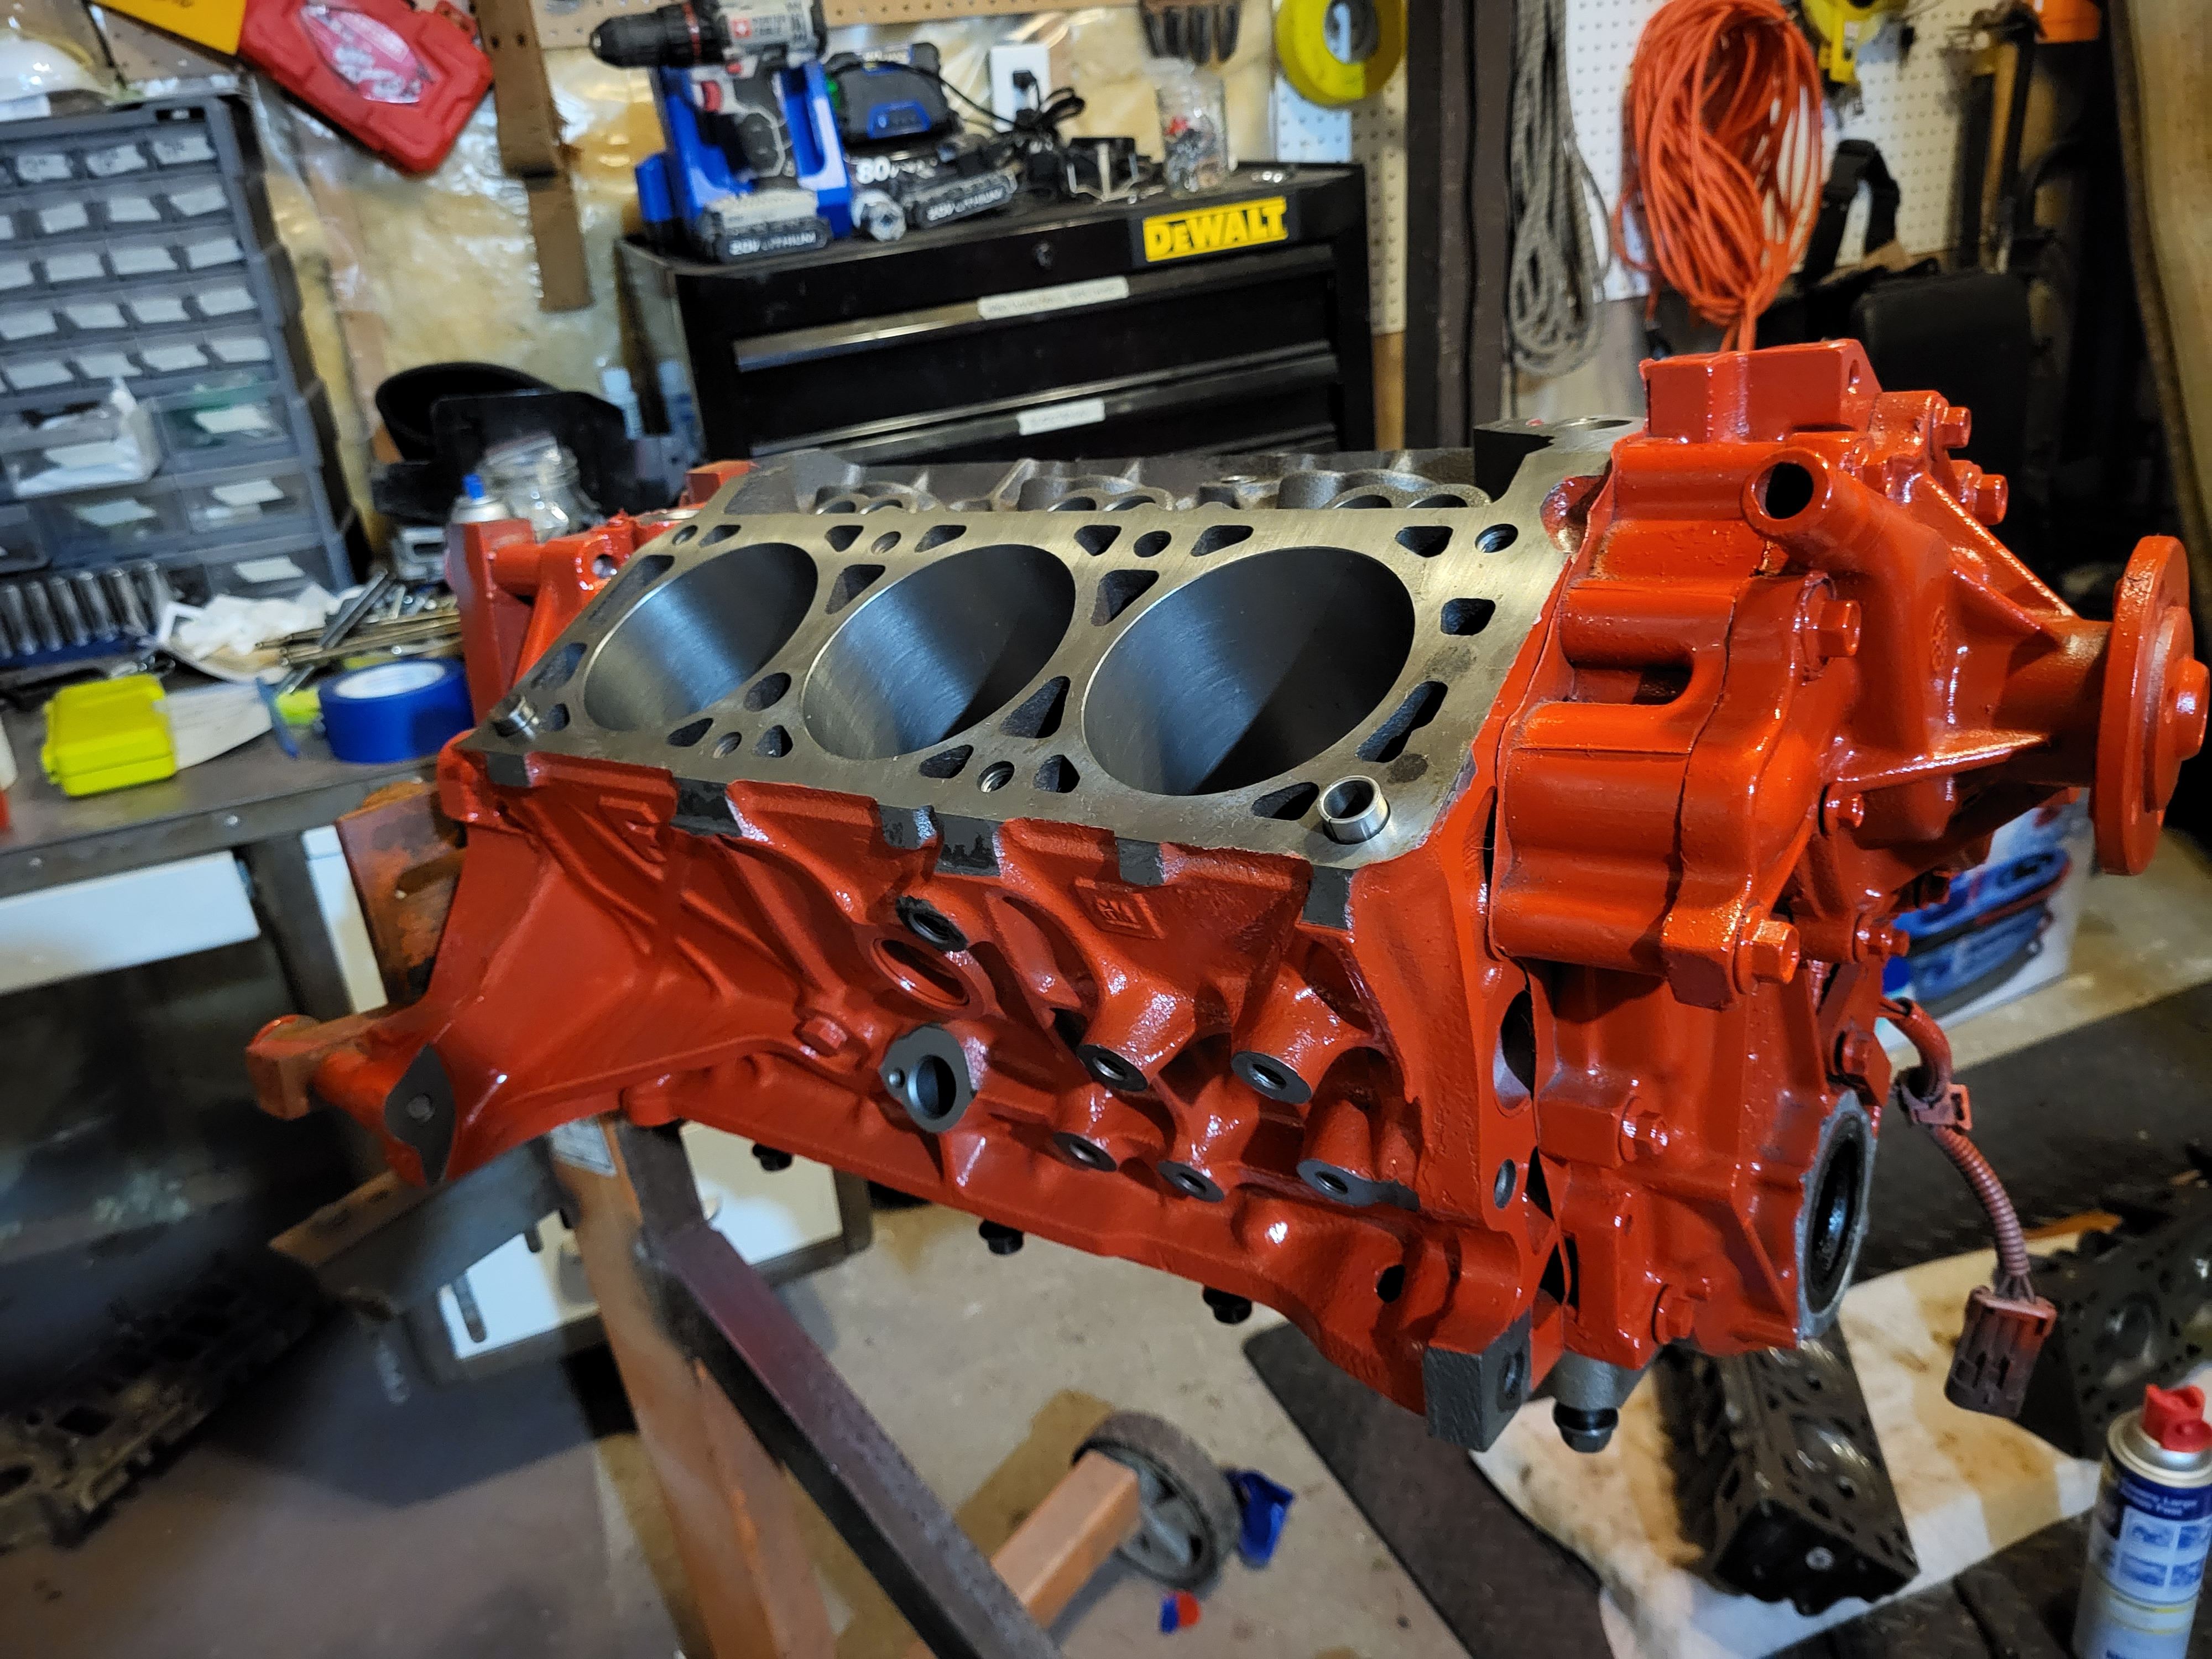
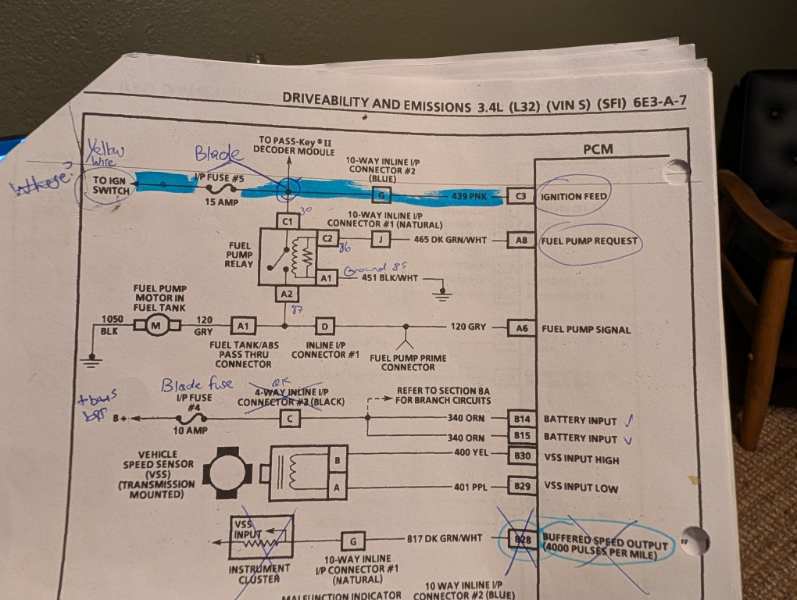
I've written some stuff on an early 90's 3.4L Camaro engine. I'm about to pick up the project again after a year on the backburner. I made wiring diagrams and such.
-
1986 2.5L to 3.4L: Amateur Hour
FigurativeGarbage replied to FigurativeGarbage's topic in Member Projects: Your Comanches
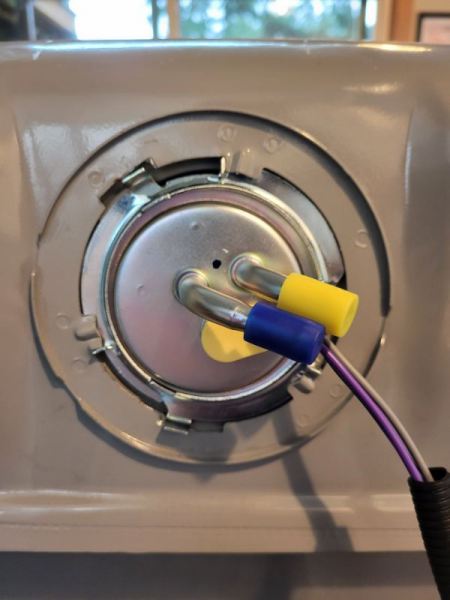
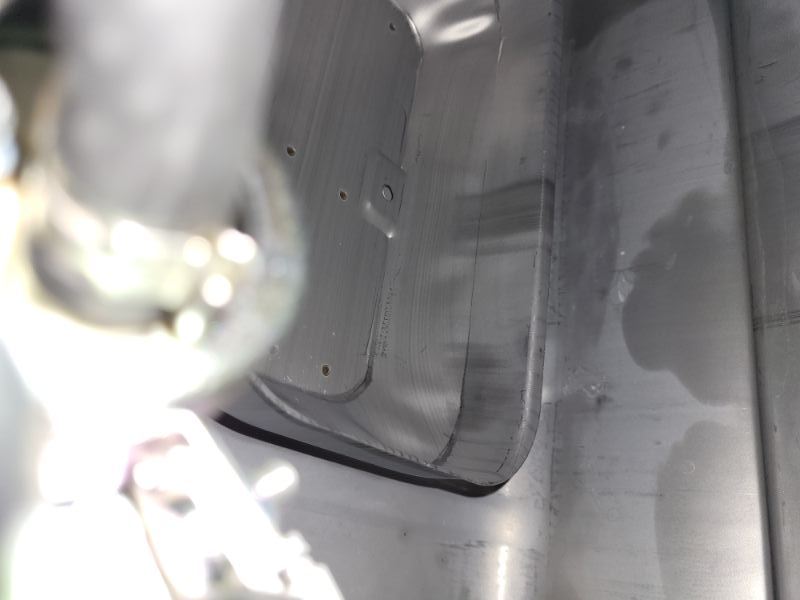
Seems to have fixed pump/baffle issue. I haven't seen anyone else do this, nor has it been suggested. I hope it works. In the image below, cut the sender guides on the tank wider (at 7 and 11 o'clock). At this orientation, the pump won't press into the baffle wall. I also was able to get the sock on with one hand in the tank. Had to walk away from it twice before I had an aneurysm.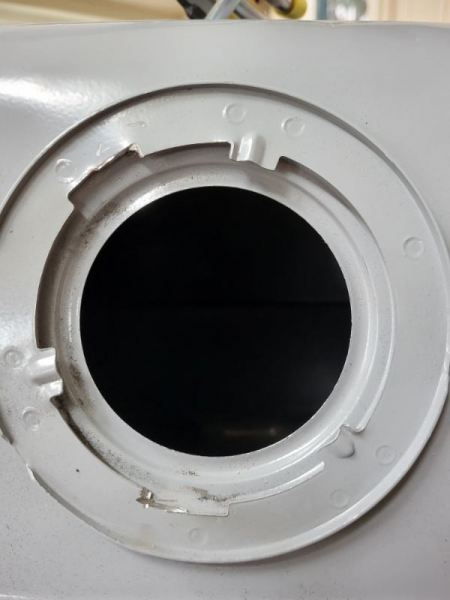
-
1986 2.5L to 3.4L: Amateur Hour
FigurativeGarbage replied to FigurativeGarbage's topic in Member Projects: Your Comanches
Looks like I have a common issue: the baffle in the tank is in the way. However, it seems that if you turn the sender just a few degrees to the right, the pump will point straight down and sit in the baffle. This would require doubling the space for the guide tabs, but it seems easier than cutting the baffle (and compromising its function) getting a new tank, bending the sender, or getting a new sender. My hope is the gasket under tension keeps it aligned. It seems no one else has done this in the other threads. Also, the fuel gage is in the way when installing, so I have to partially disassemble the sender and reassemble it with one hand it the tank. I can do this, but getting the sock on the pump with one hand feels like a carnival game.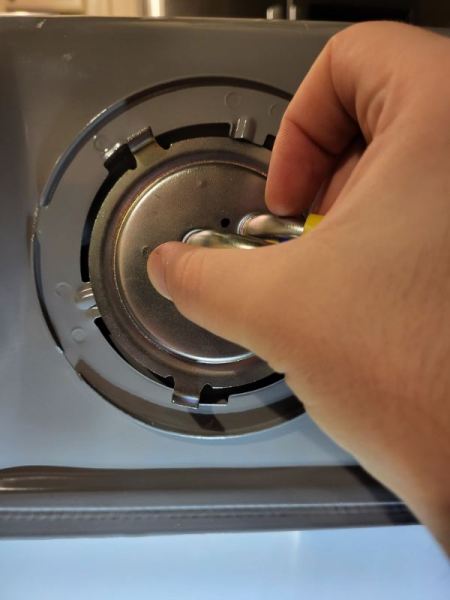
-
1986 2.5L to 3.4L: Amateur Hour
FigurativeGarbage replied to FigurativeGarbage's topic in Member Projects: Your Comanches
Looks like I'll go for the MTS JPSU-6P4.0. Seems like it will provide enough flow and PSI for the 3.4L. https://www.mtscompany.com/sendingunits.htm $39? Its like $65-$160 everywhere else: https://a.co/d/hePOZeq -
1986 2.5L to 3.4L: Amateur Hour
FigurativeGarbage replied to FigurativeGarbage's topic in Member Projects: Your Comanches
Dropped the tank and pulled the sending unit. As I suspected, there's a hole near the rear grommet that is likely the source of water contamination. After I get a new tank, I need a fuel sending unit that will deliver 36-50 PSI to the Camaro engine. I prefer to do it in tank, but I'm not interested in figuring out a complicated custom system. I may do in-line so I can get this fired up this year. I'll need new fuel lines for the pressure in any case. Open to thoughts.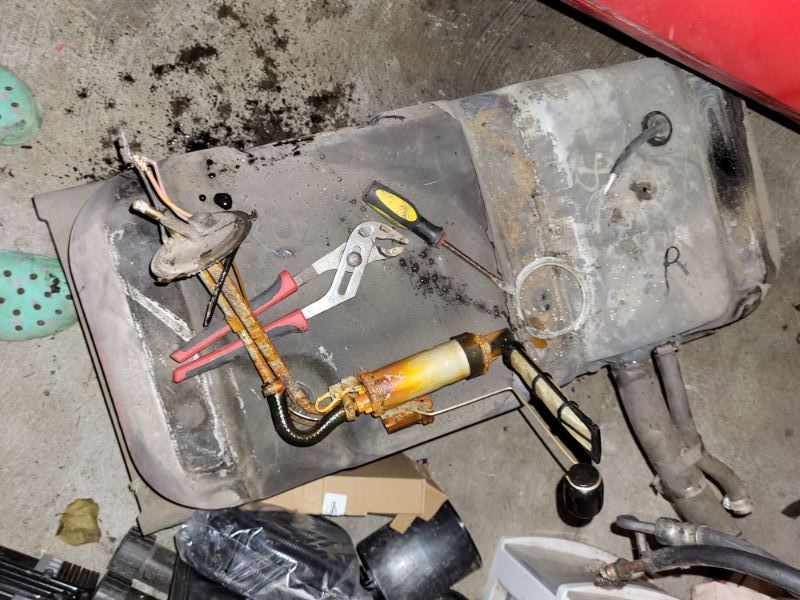
-
1986 2.5L to 3.4L: Amateur Hour
FigurativeGarbage replied to FigurativeGarbage's topic in Member Projects: Your Comanches
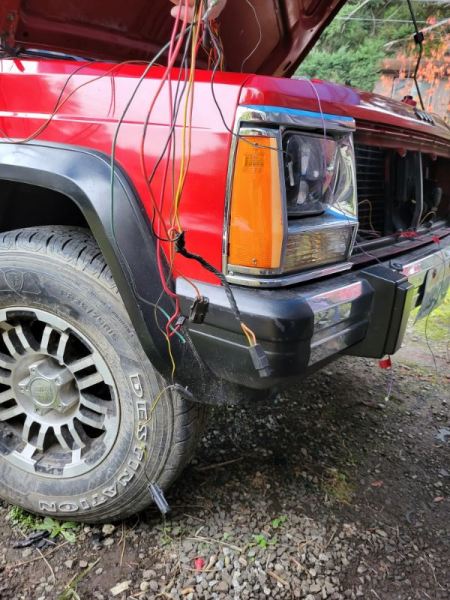
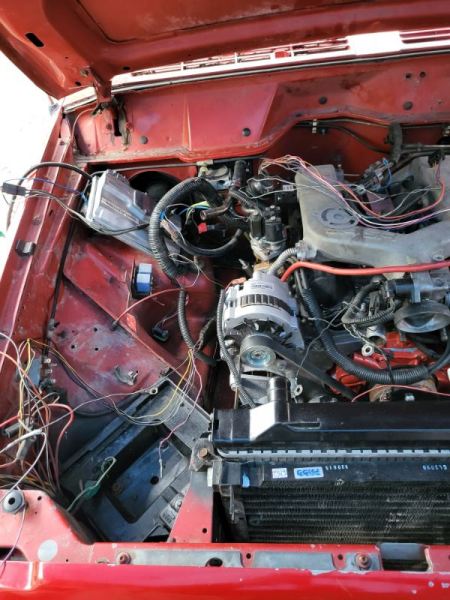
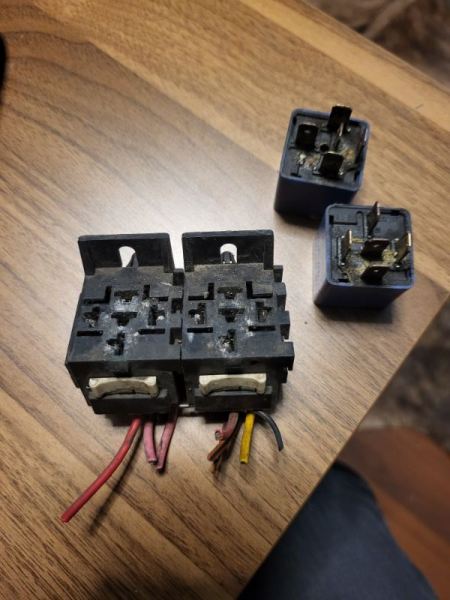
Spent some time this weekend sorting the original engine bay wiring a bit more. There are still several mystery connections to resolve (hanging outside of the cabin in the pic below). I removed the auxillery lights and relay for now. I also removed the fuel pump and what I think was the B+ latch relays as they look pretty corroded. I ordered a relay box and bus bar to help clean things up. I'll also relocate the electric fan relay the previous owner installed. Frustratingly, I found water in the passenger side cabin. I see in other posts this isn't terribly uncommon and is likely either the hood hinge seal or the blower/heater seal. I'm not wild about pulling the dash right now. Goal is to try and get the motor started soon.