
Dzimm
-
Posts
3580 -
Joined
-
Last visited
-
Days Won
11
Content Type
Profiles
Forums
Gallery
Everything posted by Dzimm
-
The positive goes to the starter and PDC as well as the alternator. Just pull the battery terminals off the wires and clean them up. Cut and strip the wires if you have the extra length. Baking soda or coca cola work well at removing corrosion and a wire brush helps immensely. Clean them up real well then reassemble. Also wire brush the inside of the battery post terminals and the battery posts themselves and clean up the ground on the fender directly off the battery. Sand/wire brush until you see bare metal and then reinstall. Worst case you will need to replace the battery cables and post terminals all together and I would recommend upgrading them if you do so.
-

Clean '89 Near Phoenix, 4.0, 2wd, 5spd
Dzimm replied to DesertRat1991's topic in Craigslist/eBay... i.e. Not Your Stuff
Nice truck. Anyone know what the red thing around the steering column is? The only thing I could think of is some sort of ridiculously large security device. -
I'll suggest it one more time........... Weld in a gusset, if it bent that bad being dropped or caught up in shifting freight........imagine what a side load will do when pulling a trailer or being jerked out of a ditch (pulled). With a gusset in place, that would not have bent, or, at least not as badly, nothing that a little mallet would not have straightened out. This is a good point but you also have to realize that about 1/3 of that bracket will be pressed up against the frame so that part won't really have a chance at bending. A gusset of some kind wouldn't hurt though. Krustyballer will have the best knowledge on the feasibility of adding one.
-
Wow that Dakota light is considerably larger.
-
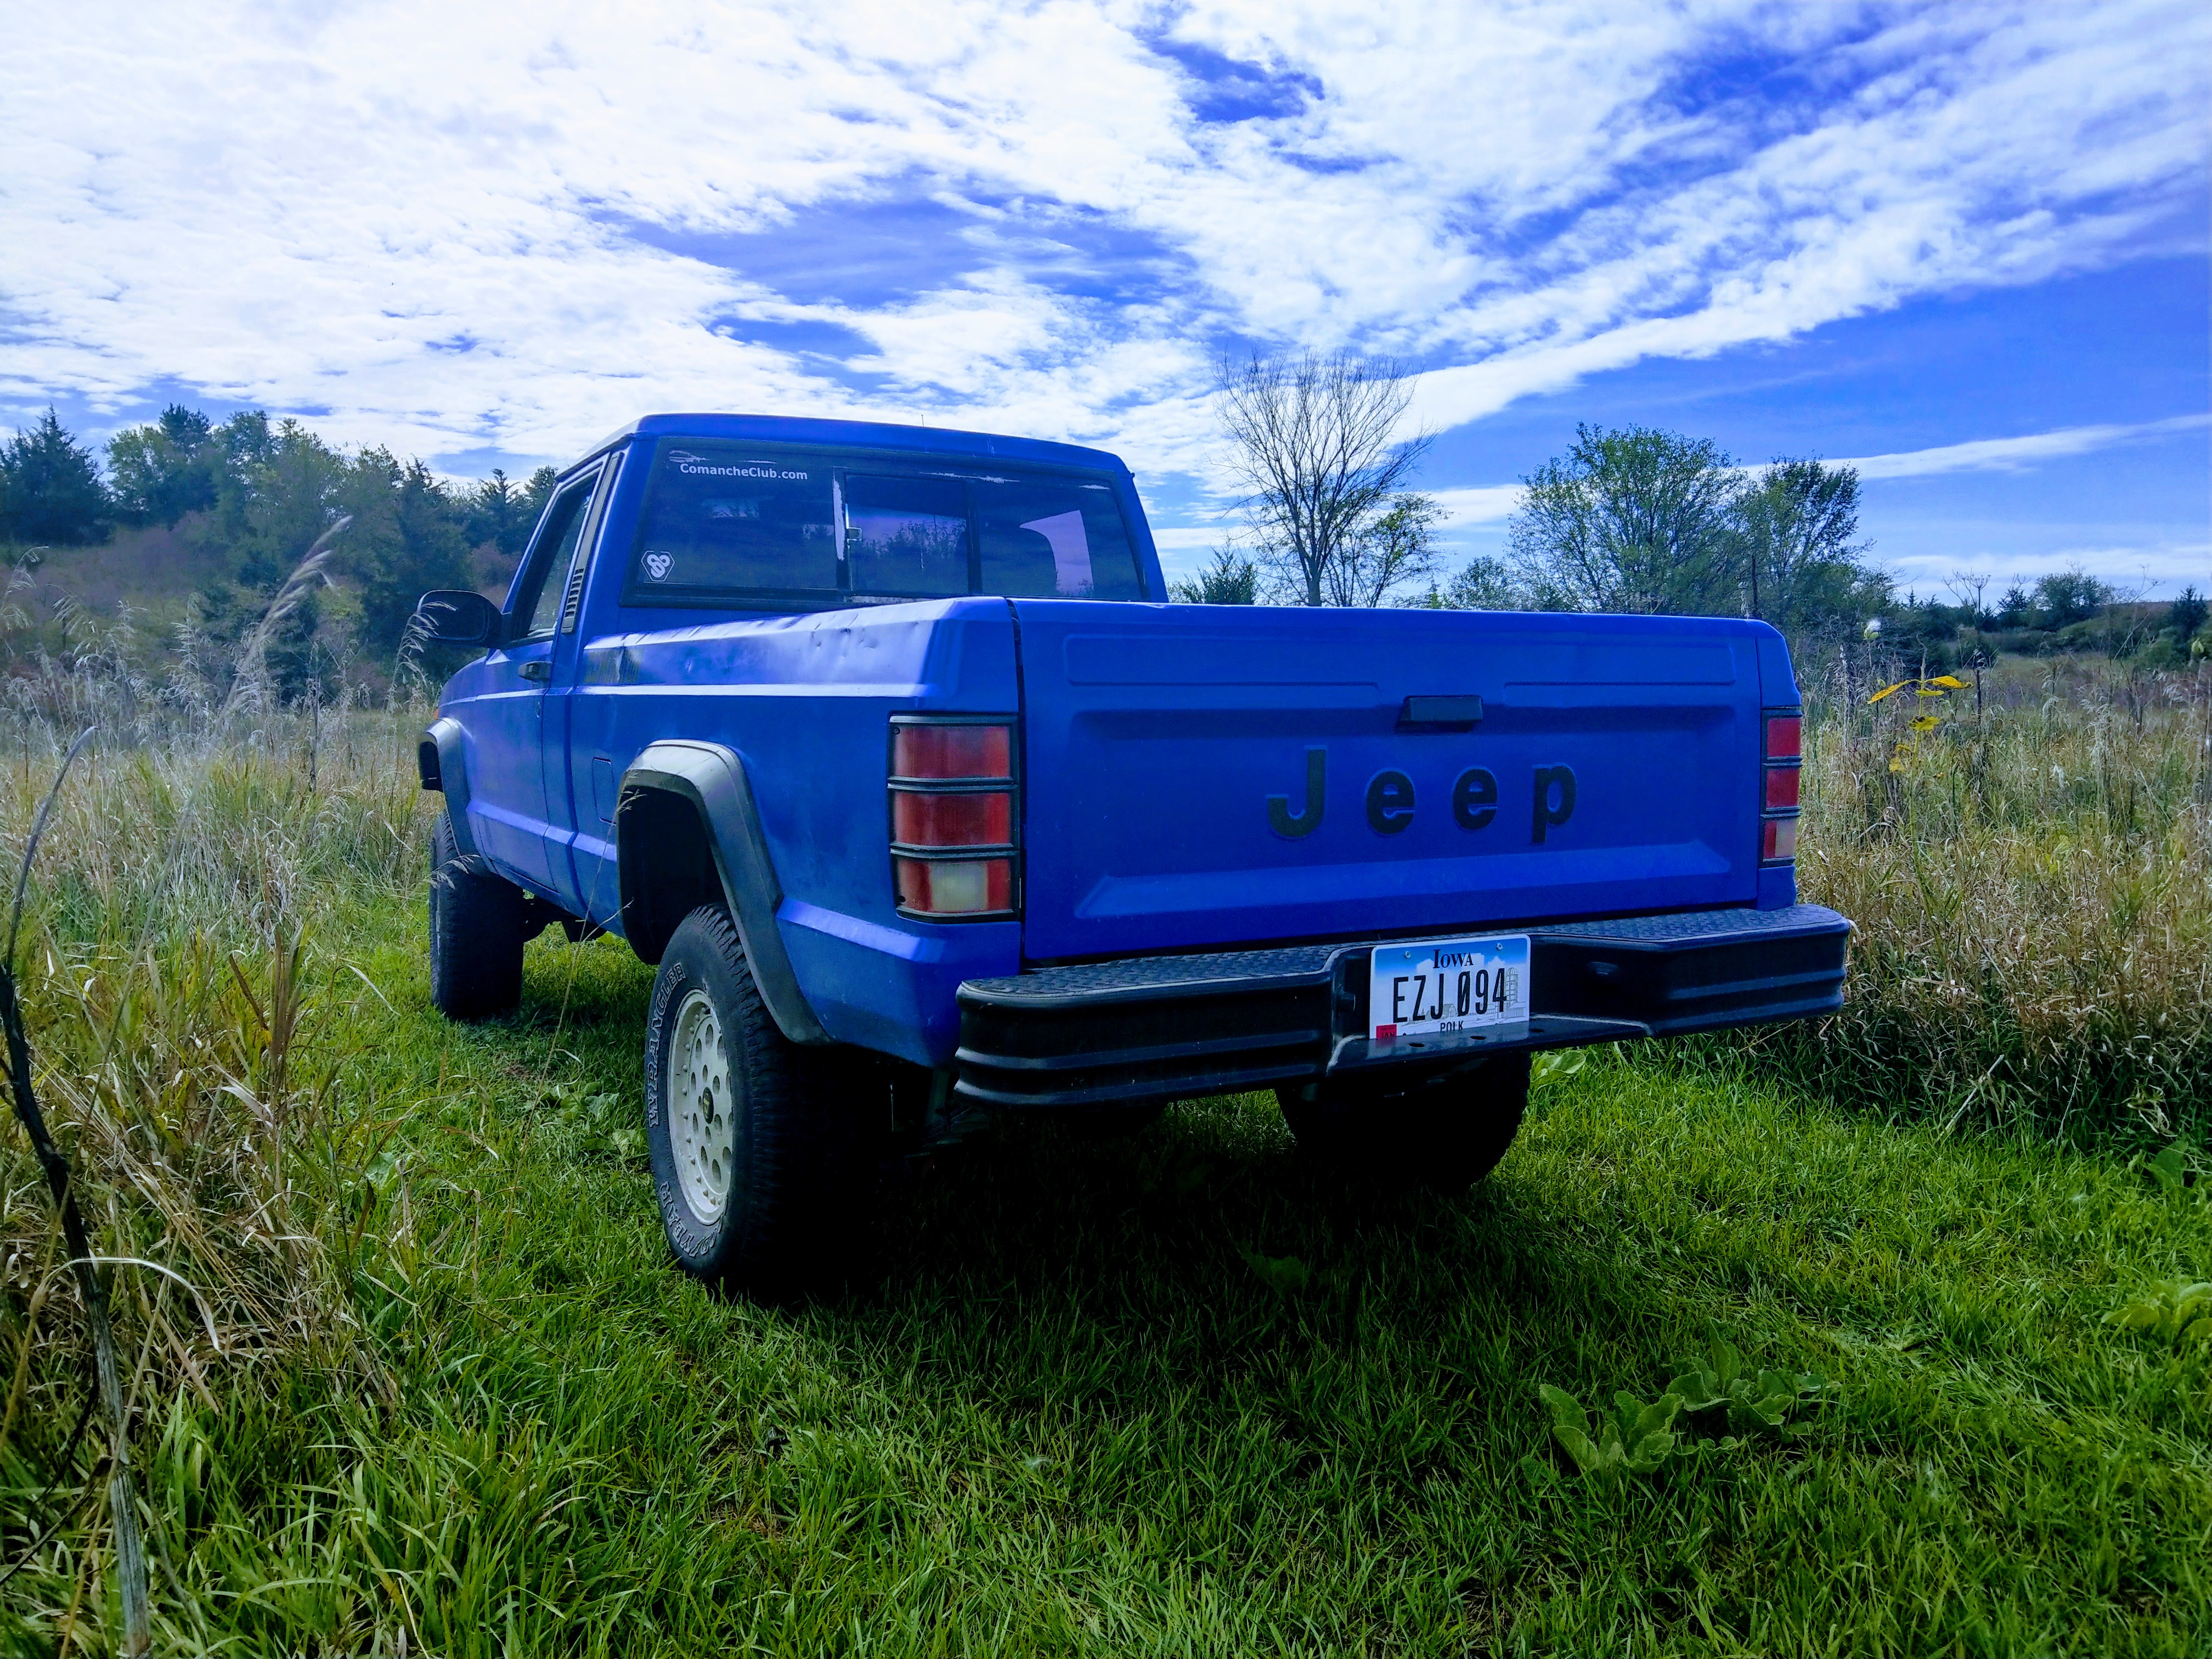
It's time for another update. This should have come earlier but I got delayed by a week, which I'll get into further down this post. After the last post I continued troubleshooting the "no crank" using the key. Thanks to some members on here I was led to testing the NSS, which turned out to be my problem. My plan was to remove the NSS and clean it up and put it back on and hope that fixed it. Well after 3 hours of prying back and forth and being patient, careful, and some liquid encouragement... This happened. Yes that is the NSS, in many pieces.... Idk how this would ever have come off in one piece. I had to get a new one at this point so I decided to try out the $36 Ebay special. I also ordered some parts from RockAuto since I had to wait for the NSS anyway. This is where the delay happened. Thanks to RockAuto not shpping my order and making me wait 5 days to make sure FedEx wasn't going to deliver it. I ended up in that back and forth loop between FedEx and RockAuto pointing fingers at each other saying the other one had my package. So a full week after my original order was supposed to arrive I got my replacement order. The order contained the general tune up stuff as well as a cps and a cam sensor. During the delay I did what I could on the truck to keep the progress going. I installed the NSS when it arrived along with my new taillight bulbs. I did run into an issue with the NSS adjustment. From what I read online, the easiest way to set the NSS is to set it based on the reverse lights and when they turn on and off. My problem is that they stay on through the whole range of adjustment of the NSS. They do turn off if I turn it a little ways passed the adjustment range so I am not sure whats going on there. I just decided to set it roughly in the middle and cross my fingers but it didn't work, so for now I just jumped it so I can continue working on the engine. For the taillights I got some LED bulbs. I do have to get resistors for the turn signals yet but the reverse lights and brake lights are much brighter. You can also see in the pictures how I modified the XJ bulb socket to fit in the MJ light housing. It took quite a bit of cutting to get them to fit but I would rather screw up the XJ sockets than the MJ housings. During this delay I also made some other progress. The axle, bumper frame tie-ins, and power steering pump spacer got painted and they look great! There is a drip on one of the tie-ins but oh well. While these were drying, I ran to the autoparts store and picked up stuff to do the brakes. While I had it all apart, I decided it was a good idea to paint the calipers as well. I think it turned out really good, however I did run into a problem with the shocks.. Not only are the bar pins way too long, but the shock is also much wider at the bottom. I know my best solution here is BPEs. I would do this in a heartbeat but if you know how hard it is to remove barpins from the shock, you will understand my hesitation. The solution I've been considering is drilling holes in the barpins and using steel sleeves to raise the shock up and align the holes properly. I don't think it would be a problem to do this but I don't want it to look like crap. I'll have to do more thinking on it. Finally my parts arrived from RockAuto. I think under my hood my accent color is going to be blue. I really like the blue valve cover so the blue distributor cap just seemed like a good idea to me. Probably the most important part of this update is that the engine runs!!!! After the new sensors and tune-up parts, I was able to get the engine started. It sounds good with no ticks or clunking but does run very rough, spews lots of smoke out the exhaust, and dies when I take my foot off the gas. It makes sense since it hasn't run in a long time and does seem to be smoothing out a little. Here is a link to a video of it running. https://www.youtube.com/watch?v=LLCn6HtDVm4 First thing I'd like to say is that I have a mechanical oil pressure gauge hooked up and the pressure is good so ignore the gauge. Also the ticking/vibraty noise is from the crap on the roof not the truck. What has me confused though is that the tach bounces like crazy and goes up way higher than the rpms are actually running. From what I've read, this can be due to a number of things so I took the throttle body off and cleaned the sensors and body itself but haven't started since so idk if that fixed it. In total it has ran for about 5 minutes and it is super exciting. One last thing I've been working on is the dual battery and electrical upgrade. I plan on replacing all the high current cables from the battery as well as adding a second battery and fuse box. The second fuse box location I have worked out but I am still having issue figuring out the second battery. Most dual battery setups I see in XJs are at an angle similar to the factory battery but they also don't seem to have the rad cap, auto trans lines, or the ECU to deal with. These are all in the way of setting the battery box at an angle. Here is the space Ive got to work with. The only orientation it seems it will work is how I have it in the second picture. I'll have to cut down the battery tray and see if I can get it to sit low enough to clear the hood. I will be running a cowl intake so the airbox won't need to be here anymore. I know this has been a lengthy update but there has been tons of progress made. I'm hoping to have it running smooth soon and be able to drive it! Super excited!
-
I would figure the mounting would be slightly different. They just look exactly the same. Maybe if I come across a set some day I'll grab them just to see side by side. It would be nice to have an option if MJ tails become harder to find or more expensive.
-
The only thing I could think of is bolt a 2x4 across those brackets to keep them from getting bent and if you want to protect the surface of the hitch just bend cardboard around it and tape the crap out of it. Won't be pretty but will limit damage. Bracing the brackets should be your first priority it seems. It wouldn't add much weight either so shipping should be the same or very close to it.
-
So I just saw an old square body dodge ram. Got a close look at the tailights and they look like comanche tails. Seemed to be the same size and everything. Has anyone ever tried these lights on an MJ or am I just imagining things?
-
O-rings can be bought at any hardware store, just take your old ones in to compare and make sure they can handle fuel. As far as how many, there should be 1 for sure and then at the back of the female connector there is a rubber seat where the fuel rail male fitting will seat on. Idk if this is an o-ring or not because I've never taken it out. You can also buy the female connectors at the autoparts store. I got a new one at Napa recently and they come with the O-rings in them already. I would replace just the o-ring if you can tho.
-
97+ Steering Column Install
Dzimm replied to Warrior Spit's topic in MJ Tech: Modification and Repairs
^^^^This needs done first. Totally forgot about that. Hole in the floor? If you are referring to the hole in the firewall I have moved its location. But for this, the hole in the firewall does not come in to play yet Sent from my iPad using Tapatalk Do you have the shaft removed? When I did mine it was all one piece all the way to where it connects to the steering box so I had to have the hole cut. It should be a little easier to get on without the extra weight of the shaft. Sent from my HTC6525LVW using Tapatalk Yes my shaft is removed (which I have found creates another set of problems) , but i got it to go in. I came back in the house, ate a sandwich, and watched about 5 minutes of the morning news. When I got back to the garage, I tilted my head 3 degrees off my shoulders, curled my toes in my boots and squinted one eye to lessen the glare of the light and the column slipped right in. Those are my official instructions for the install. Those are the only things that I done differently from my first and 100th attempt. Thanks for your assistance Sent from my iPad using Tapatalk Glad it finally worked out. Sometimes persistence is the only way. I'll have to remember those instructions I ever have to do it again. -
97+ Steering Column Install
Dzimm replied to Warrior Spit's topic in MJ Tech: Modification and Repairs
^^^^This needs done first. Totally forgot about that. Hole in the floor? If you are referring to the hole in the firewall I have moved its location. But for this, the hole in the firewall does not come in to play yet Sent from my iPad using Tapatalk Do you have the shaft removed? When I did mine it was all one piece all the way to where it connects to the steering box so I had to have the hole cut. It should be a little easier to get on without the extra weight of the shaft. Sent from my HTC6525LVW using Tapatalk -
97+ Steering Column Install
Dzimm replied to Warrior Spit's topic in MJ Tech: Modification and Repairs
Not my picture but the blue paint is where the firewall needs cut. Sent from my HTC6525LVW using Tapatalk -
97+ Steering Column Install
Dzimm replied to Warrior Spit's topic in MJ Tech: Modification and Repairs
^^^^This needs done first. Totally forgot about that. -
97+ Steering Column Install
Dzimm replied to Warrior Spit's topic in MJ Tech: Modification and Repairs
Like I said idk how to describe what I did. It sucked and pissed me off for days but when it finally was adjusted properly it would just go on and off no problem. Hopefully someone may chime in with some other tips. Just keep trying and it will go on. -
97+ Steering Column Install
Dzimm replied to Warrior Spit's topic in MJ Tech: Modification and Repairs
DO NOT drill any holes. It will work and you will cause more problems if you drill a hole. It will go on you just have to be persistent and continue adjusting things until it goes. I was at the point you are at many times before I finally got it on and adjusted properly. The first time I put it on I pushed hard against the adjuster plate and pushed the column until it slipped in so you can try that but be careful not to break anything. Sent from my HTC6525LVW using Tapatalk -
97+ Steering Column Install
Dzimm replied to Warrior Spit's topic in MJ Tech: Modification and Repairs
I put mine in about 20 times before I finally figured out the best way to install it. It's hard to describe but the Springs in your tilt mechanism have some play so you can shift the whole plastic plate around a little. It also helps to slide the bottom two bolts on and then sort of pull the column out and down slightly and it helps line the top up. It is possible to push that tilt plate by hand and get it on but that's really difficult. Also play with the tilt of the column. Put the top two bolts on but not the back ones and pull the tilt lever and adjust it. I don't remember what position is best but it definitely makes a difference if it's tilted correctly. -
This is a good idea but I plan on having A/C and it has cruise so along with the overflow bottle and fuse box there really isn't space there. I understand. I don't have A/C. None of my wiring is anywhere near where the factory put it (plus that's a Renix), and my overflow bottle is actually where the factory should have put it (on the driver's side). I doubt you could get my tray to work with A/C though, to say it is tight is an understatement. It does look like a tight spot and I'm surprised it clears the hood, but it is a good use of the space since you have it. If I end up ditching A/C I may consider making use of this space.
-
John thanks for the info. I had no idea there were diesels overseas with dual batteries. I'll definitely read up on those. As far as that install, that is exactly what I want to do but what I've noticed with most installs is that the radiator cap is either on the other side or a sealed system. Here is a picture of what I'm working with. As you can see the rad fill is right in the way as well as the ecu. You can't see it but the Trans lines are in the way as well, and in the upper right is the Aux fuse box mount so there will be many more wires in this area. To make things more complicated, I will be doing a cowl intake that I will run around the brake booster and into the drivers side cowl (I run this way on my xj and it's fine, no water) so it needs to be as far forward as possible. This is the only orientation I can come up with that it will maybe work but idk if there is enough space between the pinch seam on the inner fender and the hood. I could potentially get a battery with side terminals but I'd prefer to have top mount posts. Sent from my HTC6525LVW using Tapatalk
-
I forgot these existed. I'll have to try and find pictures of this installed. It's more than I want to spend but is an option. Sent from my HTC6525LVW using Tapatalk
-
This is a good idea but I plan on having A/C and it has cruise so along with the overflow bottle and fuse box there really isn't space there.
-
The bleepinjeep video is how I realized you could use a factory battery box with some modification but I just don't understand how Matt got it to fit so well. Do you have a link to a battery box kit? All the things I'm seeing are ones that set both batteries side-by-side.
-
Does anyone run dual batteries under the hood and how did you accomplish it? I have a spare XJ battery box but I just can't seem to find a way to fit it in place of the air box (I know it will need modified). The AW4 lines are in the way at the rad and the ECU plugs also interfere. Even if I move them it seems as though I'd have to bend/cut into the wheel well to have it sit low enough to clear the hood. I've seen some pictures of a battery here but they don't seem to have issues with fitment that I can tell. I do have the horseshoe intake manifold which leaves a little more room to play with but I am running an auxiliary fuse box next to the brake booster so that takes up some space as well. I'll post some pictures soon.
-
Oh dang! :doh: I read it wrong. I thought the rig had only 2,300 miles on it! :rotf: lol that makes more sense. I read it like this too.
-
Lol I was confused as well until I read it.
-
OK so I got the new NSS installed. Holy crap I don't ever want to change one again, that was a pain.. I do however have some questions. First of all most people say to use the reverse lights to adjust the NSS but my reverse lights wouldn't go off through the whole adjustment range of the NSS. Did I do something wrong or does this happen? I decided to just stick it in the middle and hope for the best. I didn't get the chance to try to turn the engine over in park, neutral, and in gear yet. Second question. Is there a way to adjust the shift cable linkage? When the tranny is in reverse, the shifter sits between Park and reverse and all other gears are in the gear above. For example when the shifter is in D, the Trans is actually in neutral. I unhooked the linkage from the Trans, put both the Trans and shifter in reverse and this is how far away it is. It's not much but it's enough to throw everything off by one gear. I'm assuming there is a way to adjust it in the spring mechanism attached to the Trans but I can't figure it out. Sorry if this is confusing, I tried to make things clear but idk how well I did. Sent from my HTC6525LVW using Tapatalk