
Dzimm
-
Posts
3580 -
Joined
-
Last visited
-
Days Won
11
Content Type
Profiles
Forums
Gallery
Everything posted by Dzimm
-
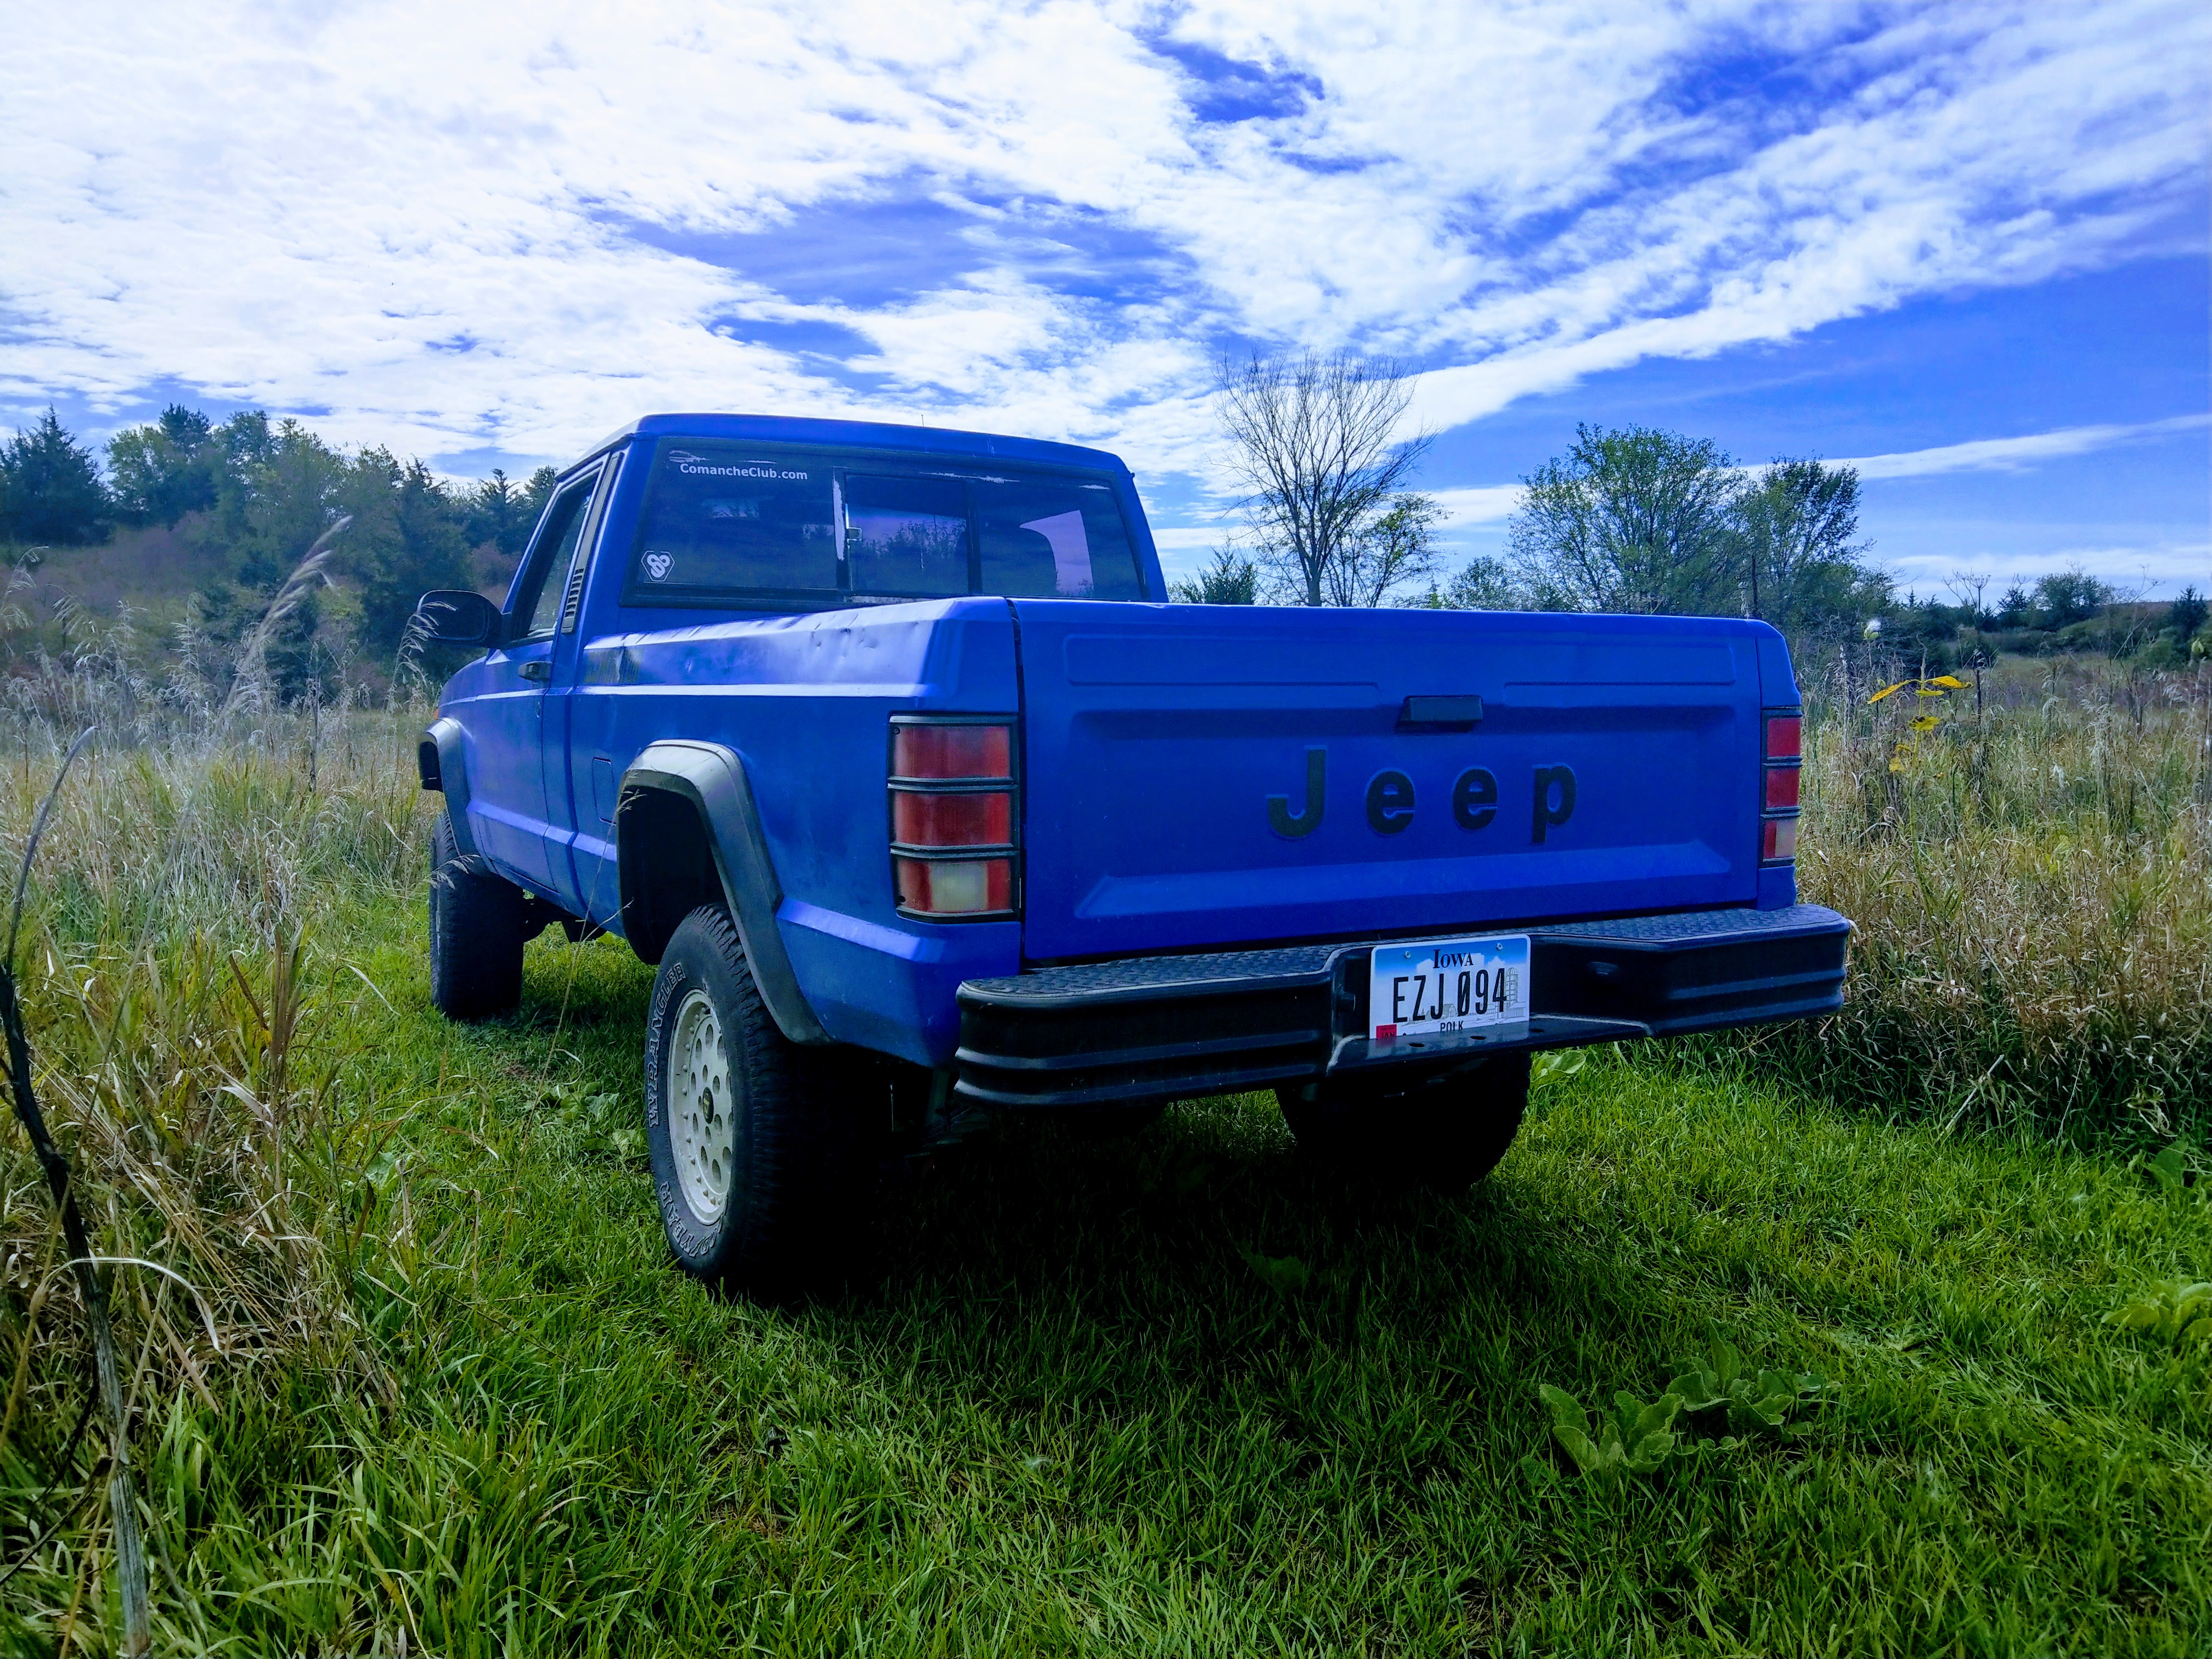
I did consider that but with the 4.5" lift the 31s look super goofy. I actually wanted a larger set of 32s but those don't exist. I've heard that the BFGs are very overrated and suck off road. Like I said this truck will mostly see pavement but will occasionally be off road in some decent mud. I don't M plan on driving this on the street in winter but may play on the corn fields around the house a bit so the winter grip isn't quite as important. Just how capable are the BFG A/Ts in mud and dirt?
-
OK here's the next question, I need a tire that has good wet road performance but also needs to be capable in mud and maybe Snow. Rock and sand are not going to be seen. Is there a good MT that can perform on road well? Maybe if siped? I'm also trying to keep this whole thing less than $1500 on 5 wheels with an alignment so the $300 a piece tires are out of the question.
-
Put a torch on it and tap it with a hammer a very little bit to help break it loose and use some pb blaster or similar penetrating oil. If you can, grind 2 opposing sides of the bolt flat so you can fit a wrench on it for more leverage. Just make sure you cover the holes in the engine to avoid getting any debris in there.
-
While that's apart, make sure the surfaces the housings mate are not damaged in any way, no chips, scratches, or divets.
-

Car Cranks but Won't Start Up
Dzimm replied to Comanchakazie's topic in MJ Tech: Modification and Repairs
Like Pete said, check you're getting spark. While you got the plugs out make sure they are still good and it won't hurt to just throw some new plugs, wires, cap, and rotor on if you haven't already. A quick tune up can solve many issues. -
Upload the video to YouTube then post the link. It looks like it's running down the backside of the belt and harmonic balancer so Id first check the hoses and thermostat housing for leaks. If it's not from there you likely aren't getting a good seal between the water pump and block. That's a very significant looking leak so you've got a decent size hole somewhere.
-
Yeah it's just a regular oiled cone filter. As far as the rubbing, it does contact the drivers side of the valve cover. It may be able to be adjusted by moving the boot up slightly on the throttle body, which I will probably do. If that doesn't work, I'll probably put a small dent in the tube over the valve cover to avoid it. It wouldn't take much "adjustment" to make it clear of the cover. Your mileage may very though, I have BD rubber engine mounts and this intake is marketed for 91+ and mine is a 90. The difference is in the cowl but it may play a factor since I had to rotate the tube upward slightly at the cowl. It seems as though the cowl on the newer trucks is slightly deeper on the bottom, which allows more room for the filter. I made it work but it is extremely tight getting that filter in and out. Sent from my HTC U11 using Tapatalk
-
Knever3 had some sporttruck decals for sale in the classifieds. The thread looks to be dead but maybe message them. I've also found them for sale on eBay along side Eliminator and Pioneer decals.
-
crankshaft senor keeps breaking
Dzimm replied to el_betillo's topic in MJ Tech: Modification and Repairs
Is the flywheel straight? It could be bent in one spot causing it to contact the sensor as it rotates around. How long do the sensors last? Die imidiately on startup or can you drive for a period of time? -
Am I blind? I can only find one A/T tire that is 33x10.5xr15 and its the BFG All-Terrain T/A KO2. Is there any others or is this it? I really wanted to go with Goodyear Duratrac but they come in 31x10.5xr15 or 33x12.5xr15. I tried finding something on the metric side but couldn't find anything comparable there either. Are there any M/T that perform well on wet roads and snow that have good tread life? My truck will see mostly pavement hence why I wanted A/T.
-
Success! The plugs did the trick. It runs super smooth, doesn't make any bad sounds, and the only code that showed up after 30 mins was for the lower O2 sensor that I am not using. There is a small oil leak that I think is coming from the oil filter area that I need to investigate. Here is a video of the truck running. https://www.youtube.com/watch?v=exZtL75aM1M It sounds a little "ticky" in the video but it doesn't sound that way in person. It also got much quieter under the hood after the electric fan and fan shroud were installed. I like that the exhaust isn't super loud but it does have a nice grumble to it. The cowl intake is a little louder than I thought it would be but I don't mind. I also changed the oil and serviced the rear axle. Looks pretty good in there but it would look better with a locker.... I had to modify the fan shroud to fit on the lower bracket. I could have modified that bracket but it was much easier to just cut the shroud. The holes are a little bigger than I needed, but it will work just fine. Here is a picture of the engine bay mostly put together. There will be a second fuse box where the can of Seafoam is, to run all the accessories, and a second battery where the stock airbox used to sit. I still have to hook up the heater core and finish installing the A/C components as well. I am going to Dynamic Drivelines in Des Moines tomorrow after work to drop off my driveshafts. The rear one needs to be cut down a few inches and I am just going to have them do all the u-joints on both the front and rear while they have it. Here is the measurements for my rear shaft if anyone is curious. Its with a 4.0, AW4, and C8.25. I am hoping the shafts will be done so I can pick them up after work on Wednesday, but well see. The computer parts will be showing up Wednesday though so I will have to get that computer together and running before I can install the shafts. Once the shafts are in, I get the NSS adjusted properly, and I convince the girlfriend to help bleed the brakes, I can drive this thing out of the shed! SO EXCITING!
-
Flat Flare Fitment (NOT ABOUT THE GAP!)
Dzimm replied to Dzimm's topic in MJ Tech: Modification and Repairs
Those are the regular flares. I'm talking about the flat style flares. If the flats don't work for me I'll be getting those tho. -
The older fenders are more boxy than the rounded corners of the front clip. This will cause an awkward edge on the upper front corners of the fenders where they meet the clip. You can do it but it just doesn't look right. As far as the wiring, the 97+ clip will have 3 marker bulbs per side and the headlight plugs are the same. You wouldn't have issue plugging in the headlights but youd have to add lights to the harness to fill all the markers. What most people do is use the 97+ harness, and adapt the main harness plug to the 96- plug on the truck. Here is a link to a post from the previous owner of my truck (90piosport99) when he did this front clip swap to it. It contains the wiring colors that you need to splice together. http://comancheclub.com/topic/17155-adapting-mj-headlight-harness-to-97-xj-harness/
-
Flat Flare Fitment (NOT ABOUT THE GAP!)
Dzimm replied to Dzimm's topic in MJ Tech: Modification and Repairs
I know it's ugly, don't judge. Sent from my HTC U11 using Tapatalk -
So I'd like to use either the Bushwacker or Napier flat flares on my MJ. I know all about the gap on the lower body line and am not concerned with that. My question is different and I can't find info or good pictures anywhere. Where does the flare sit on the top of the wheel well? I've read that the flats are not cut-out in the rear. The reason I am asking is because my rear wheel wells had some rust along the top of them and I don't know how perfect I am going to be able to recreate the bodylines on the top of the wheel well. I need to know how much of the body is covered up by the flare, and where it sits on that wheel well so I can decide if the flat flares will work for me or not. Below are pictures of my wheel wells. The cleaner looking one is my second pass of cleanup. I can get it cleaner but it is difficult to replicate that bodyline over the wheel well. The worse looking one is just one pass after cutting out and cleaning up the rusted parts. They will look much better when I'm done with them, I just need to know how perfect that upper line needs to be. Any input will be greatly appreciated.
-
Got the new TV cable installed and finished mounting the cowl intake bracket. Turned the key over and it started right up. Idles a little rough and occasionally backfires out the exhaust but it finally idles! My spark plugs are completely black and probably fouled due to the engine not firing correctly with the Renix flexplate. I need to change the oil again since there is still some fuel in it, and get some new plugs and it should be good. I ran it for about 5 mins today and it smoothed out quite a bit over that time and didn't throw any codes, so that's good. It sounds really good too. The cowl intake is a little louder than I expected but that's okay with me. The exhaust is fairly quiet but has a nice throaty sound to it. I would have run it longer but I don't want to start destroying things with the thin oil. If I have time tomorrow I will change the plugs and oil. I also started on some body work. Cleaned up the drivers side of the bed and used a wire wheel to get the factory decals off. I found some small holes hidden under the paint and decals where it started rusting so I'm gonna have to take this truck down to factory primer and bare metal to find and fix all the tiny rust holes and to get an even coat of paint since there is so many layers of primer/paint already on it. Sometime this week I need to get my driveshaft to the shop to be shortened so I can install that, along with doing axle services so I can get this thing on the road. I'm hoping to drive it by this weekend but well see if I have enough time throughout the week. I am building a computer for a friend later in the week so that will eat up at least a day or two getting that all set up for her. I will get some more progress pictures and hopefully a video of it moving under its own power soon!
-
Well the trans is finally back in. I ended up taking it completely out and pulling the TC back out and starting completely over. It all went back together without issue and is now in place. Tomorrow I will be pulling the pan to hook up the new TV cable and starting it up! I did get a little side tracked and installed the cowl intake. It definitely is made for 91+ Jeeps but I made it work. The cowl is slightly different in the years before 91 so the filter doesn't exactly fit. I was able to get it to fit well enough and it should work just fine. All I have left to do is put the bolts in the black shroud on the firewall and maybe paint the stainless. Not sure I like it in there. Sent from my HTC U11 using Tapatalk
-
Ok so I have officially decided that it is impossible to get the torque converter completely seated with only 1 set of hands. If anyone wants to come out this weekend and help me get this damn trans installed I'm offering cold beer and various flavors of deer brat and deer dogs.
-
Yeah a flush is definitely in order. Make sure you don't flush it all through the radiator or heater core. Disconnect the lines and flush them separately from the block. If you flush through them and the block, they will clog and be ruined. The flush will also be way more effective not going through them. Just pull the hoses and loop it where the heater core would be and flush through the rad hoses, both forward and backwards.
-
Alternate source of MJs, sort off..
Dzimm replied to omega_rugal's topic in MJ Tech: Modification and Repairs
Exhaust leak caused the exact same damage on my 1992 XJ. The rear wheel well and floor pan was toast. LOL must of been one hell of an exhaust leak. -
Alternate source of MJs, sort off..
Dzimm replied to omega_rugal's topic in MJ Tech: Modification and Repairs
-
Thanks! There's plenty more to come.
-
So I got some time to get the flexplate changed out. I pulled the trans on Tuesday and got the plates changed. I did break the TV cable in the process but a new one is on the way. The job was made much easier thanks to my new impact from Amazon. I was a little worried it wasn't going to be as good as it said it was but I was mistaken. This thing is amazing. Popped lug nuts off no problem and didn't even sweat over the flexplate bolts. It's rated at 240 lbs and honestly, I could see it doing around 200 no problem. I just wish it was a little shorter. For anyone without an air compressor, this is a great option without breaking the bank. Today I spent my time reinstalling the trans. I've got it up to within ~1/8" of flush with the block. It is going much smoother than the first time I installed it but I'm doing it solo this time so it's much more tedious. Tomorrow hopefully I'll get it aligned just right so it will slide on all the way. Sent from my HTC U11 using Tapatalk
-
Alternate source of MJs, sort off..
Dzimm replied to omega_rugal's topic in MJ Tech: Modification and Repairs
Completely agree that it's too long. I'd be interested in cutting a 2dr XJ and making a 2dr 4 seat shortbed. I've only seen this conversion done with 4dr XJs. The MJ is essentially an XJ cut behind the doors and a frame welded to it. Not the most ideal thing but it obviously worked very well in the MJ. If I did it, I'd butt weld the frame up to the XJ frame rails and then run a frame stiffener (steel plate) along the joint and the whole unibody frame rails to make sure its strong. -
Alternate source of MJs, sort off..
Dzimm replied to omega_rugal's topic in MJ Tech: Modification and Repairs
This has been done many times over but usually doesn't end up being nice because it is done to beat up off-road only XJs. I've seen a clean 2 door done like this and it ended up looking like a Suzuki Samurai. If I were trying to "build" an MJ, I'd cut a Cherokee front end and weld up an MJ or other small truck rear end together to make it look more like a truck. I've always liked the 4 door MJ mod but it's a hard thing to make look right.