
MancheKid86
-
Posts
1594 -
Joined
-
Last visited
Content Type
Profiles
Forums
Gallery
Everything posted by MancheKid86
-
I switch between both, buckets for me and a copilot, bench for an extra person wanting to wheel. and when i take one of my dogs out i remove the passenger bucket and fill the passenger side of the cab with blankets so they have some where to lay down (big dogs)
-
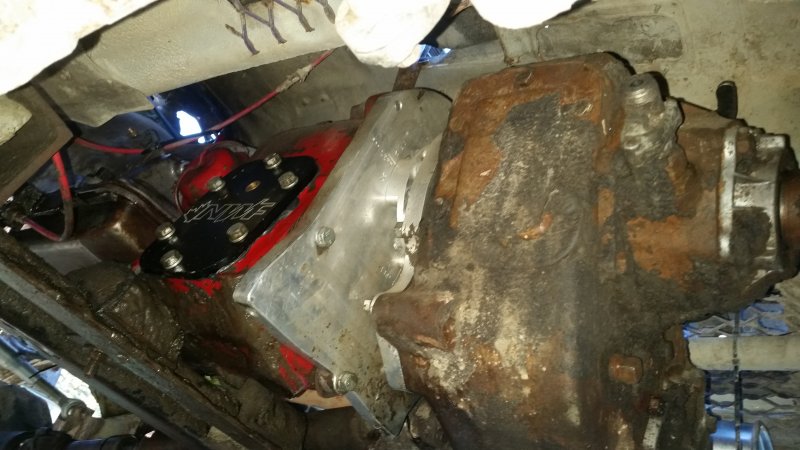
oh there defintley will be trouble and "hold my beer" moment in this its inbetween an tj drive shaftshaft an xj driveshaft in length if accuracy counts haha i crawled under the thing in the daylight today and the forsale add wasnt totally true........it does not have a twin stick 205....... it has a northwest fab 203/205 doubler!!!!!!!! slightly dissapointed that it wasnt a split 205, but EXTREMELY excited about the doubler, my buddy decided to gift me the northwest fab tripple shifter toomplete it and make it go front wheel drive or rear wheel drive
-
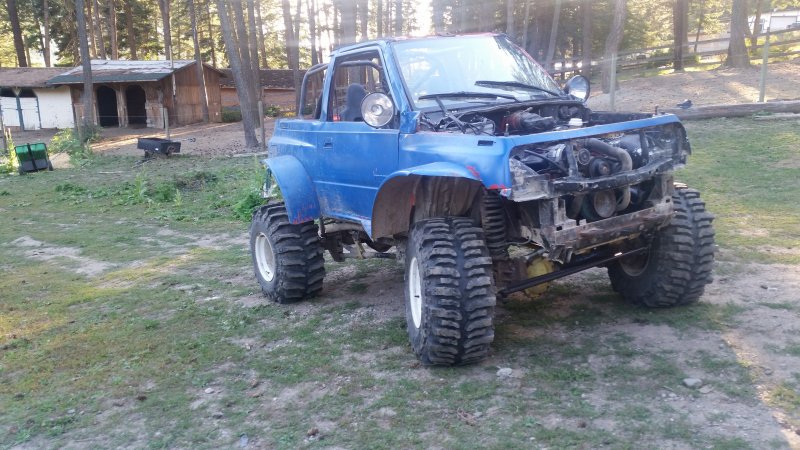
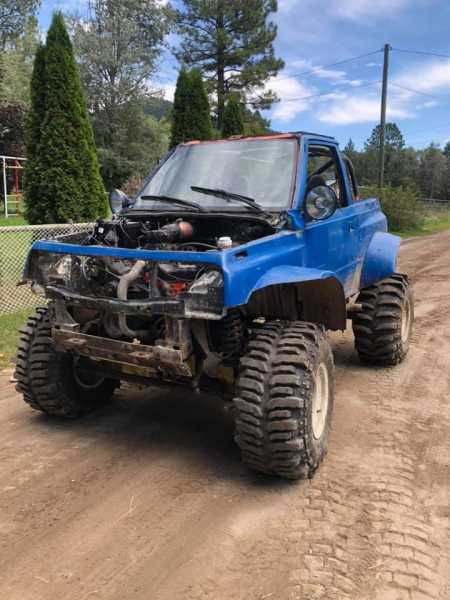
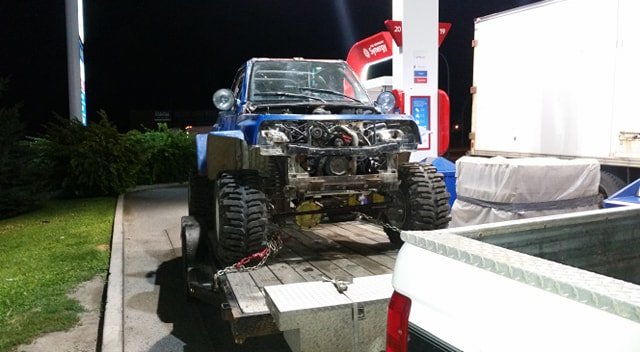
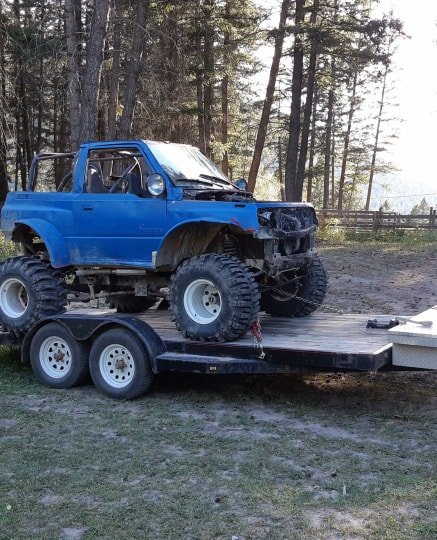
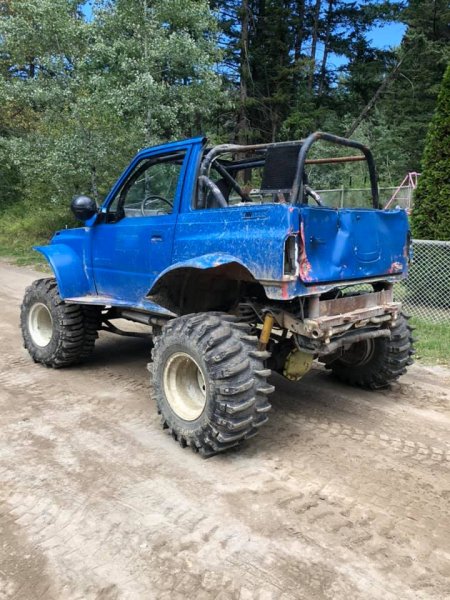
i have no idea why i bought this, but its sweet, it showed up on my social media for dirt cheap, after my friends were off work we were off to get it, later on that night we showed up and did a quick exchange, it was dark out and hadnt even seen it in the day light. currently its on 35" boggers, the rear are cut and is set up for mud racing slightly modified, has a rollerized small block chevy 350 bored .010 with arp studs. rebuilt turbo 350 with high stall torque converter b&m megashifter, twin stick 205 transfercase, radius arm links front and rear, down travel limited to zero by limit straps, locked dana 44 full width 4.88 gears , over knuckle steering, locked 14 bolt rear 4.88 gears, rear mounted radiator and a roll cage it is FAST, i don't doubt i can get the front tires off the ground my plans are to run it this winter, remove the limit straps, get longer shocks and let the suspenion get a work out. i will be putting 39.5" super swampers on it to do some snow wheeling (yes... a tracker on 39.5" tires may have to move the flares a bit but nothing major) in the summer i will change the shocks back out and reinstall the limit straps and boggers there are a few mud races held around the area here that i would like to attend more pictures to follow
-
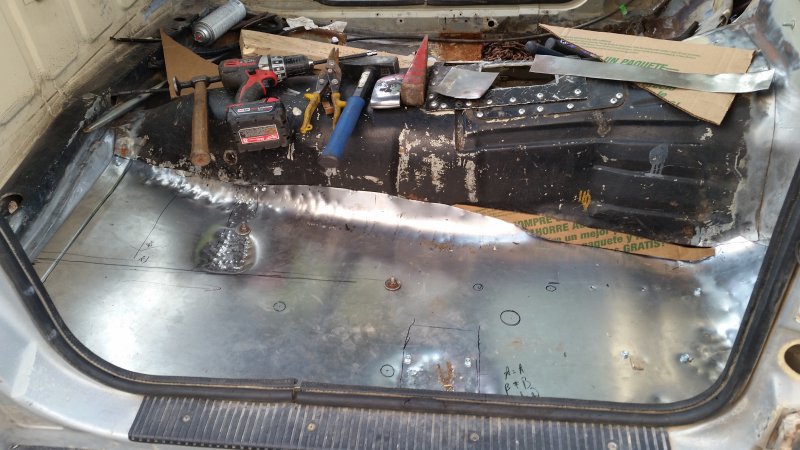
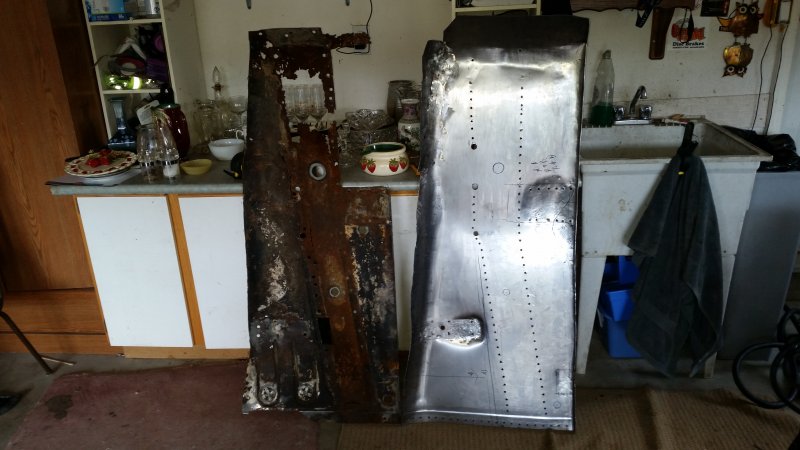
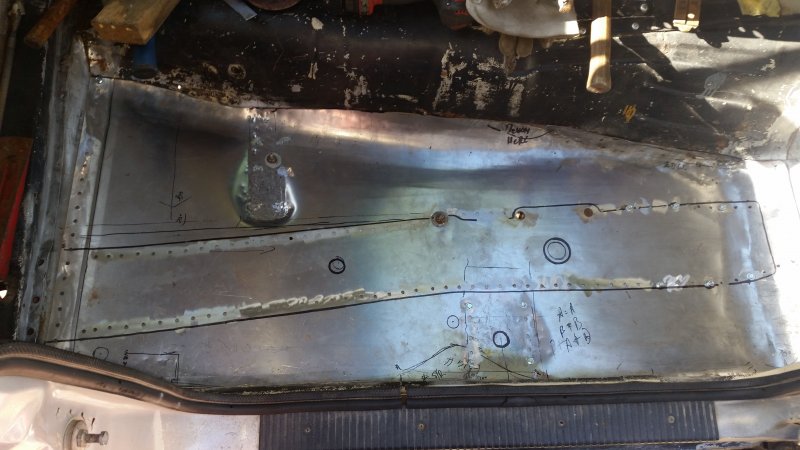
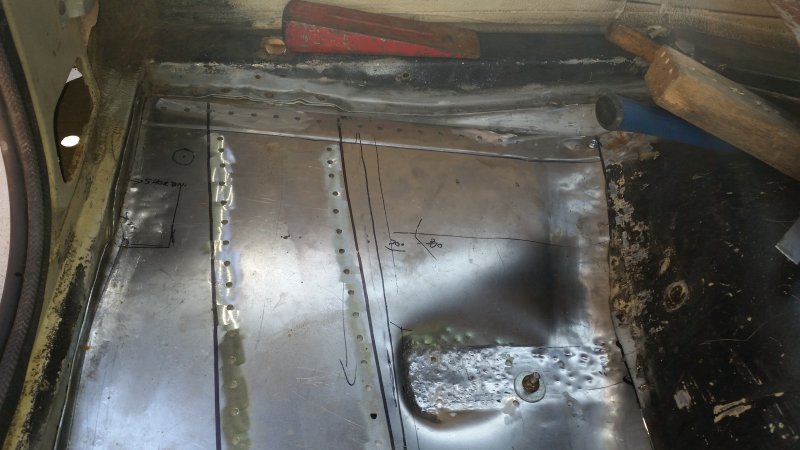
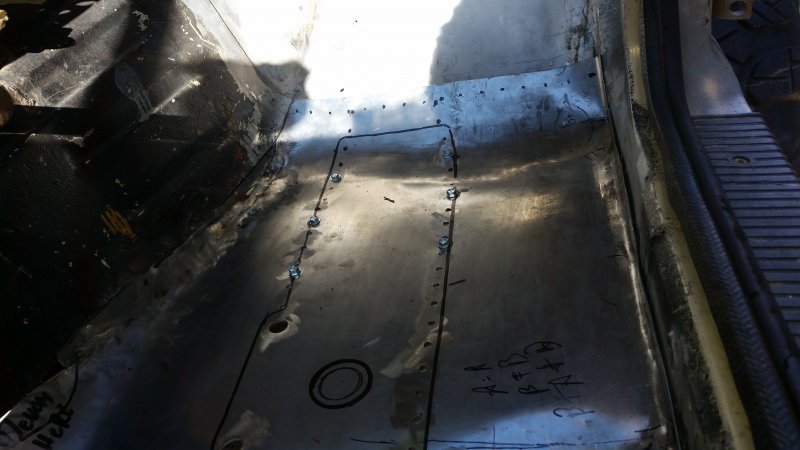
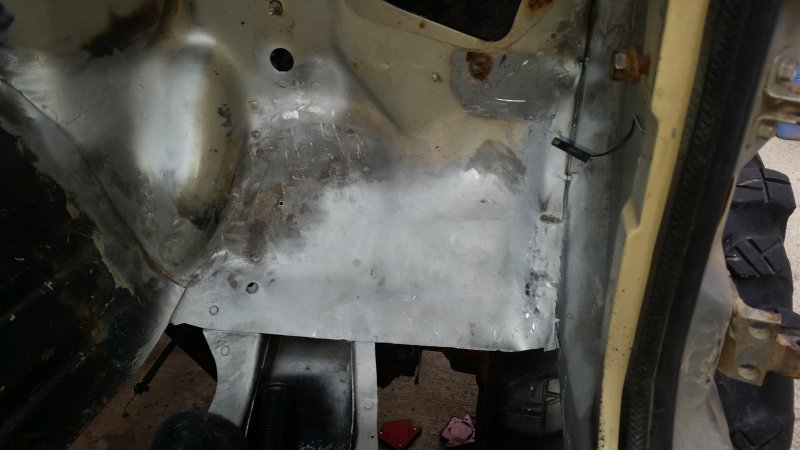
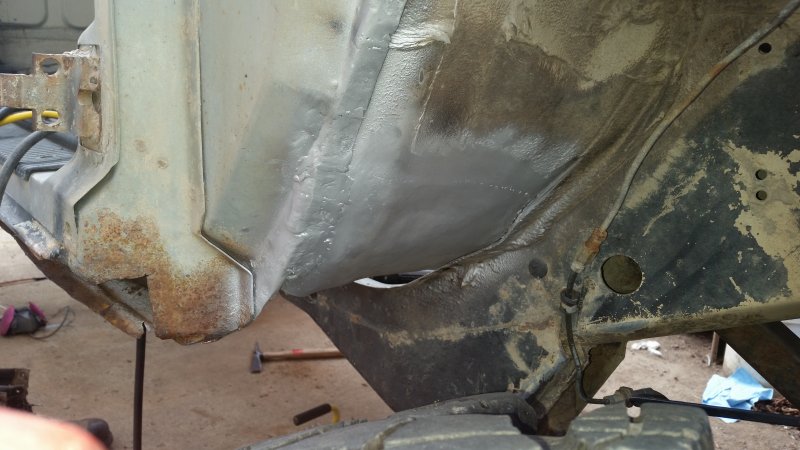
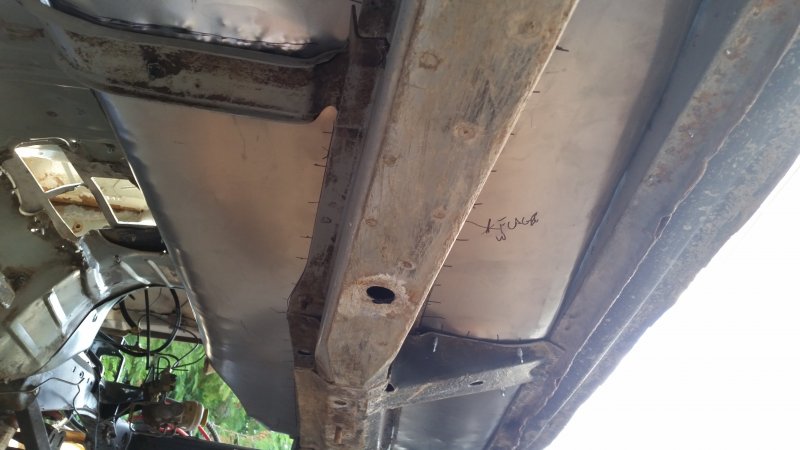
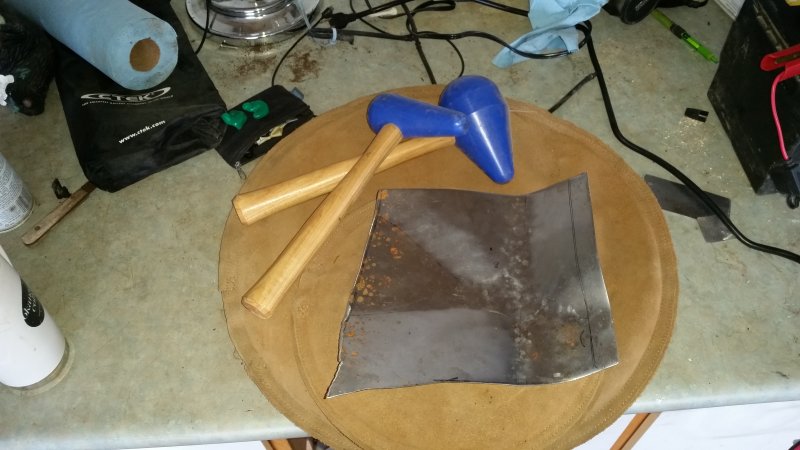
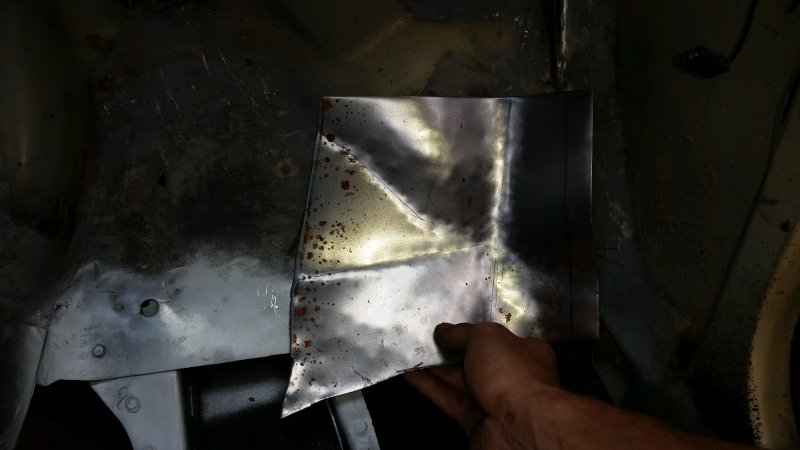
Well its been a little while since i made much progress on the truck. i have the passenger repairs almost finished, just need to trim my newly made floor pan a bit more and can start welding it all together. my neighbor is a legend, spent about 6 hours with me forming the passenger pan and rolling it smooth it turned out great! as you can see i messed up and cut it a bit short off the sheet so i had to add some more metal back in but other than that I'm very pleased with the home made floor pan. here are some pictures, will have more soon
-
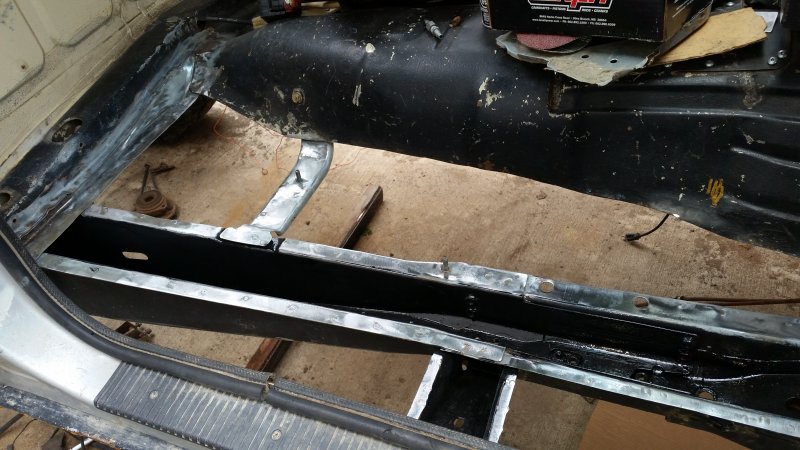
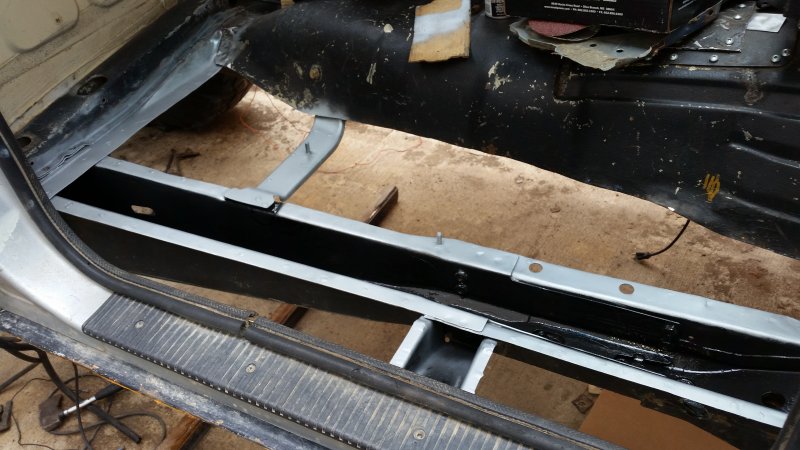
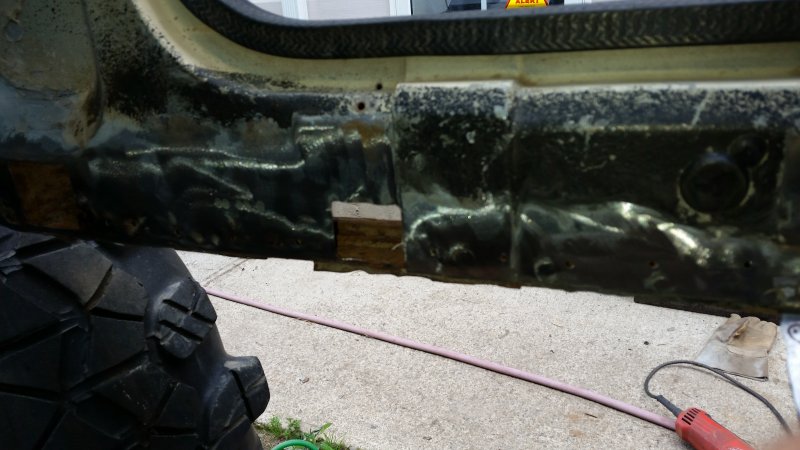
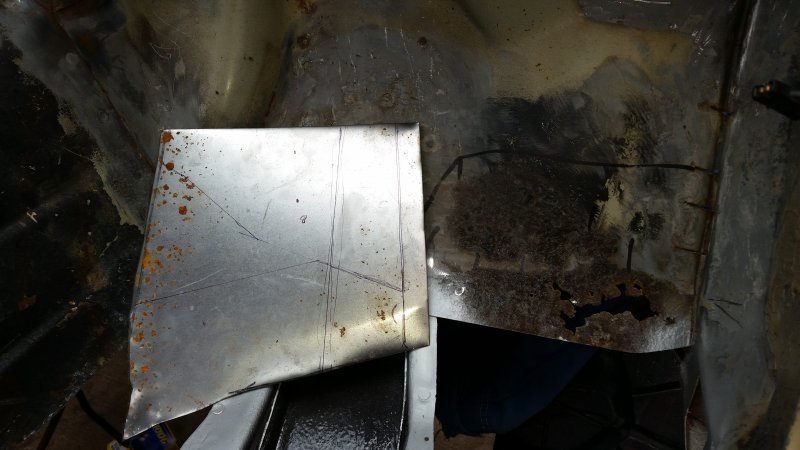
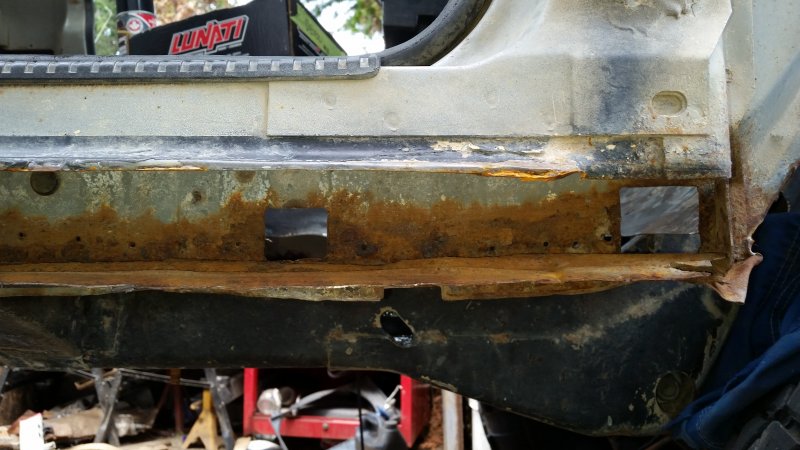
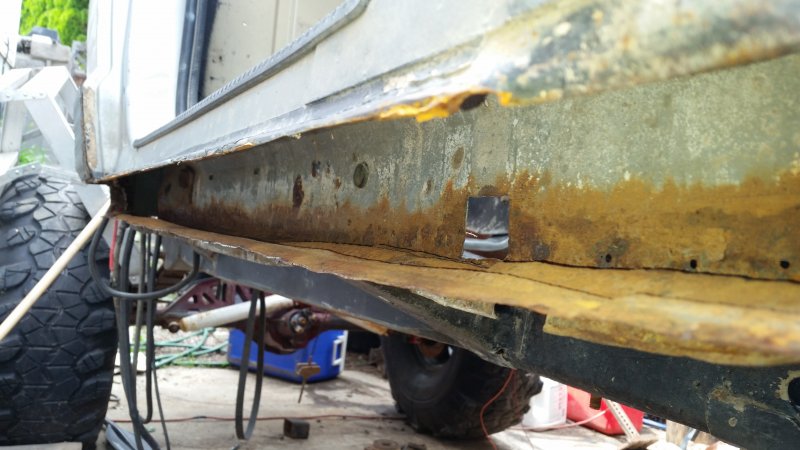
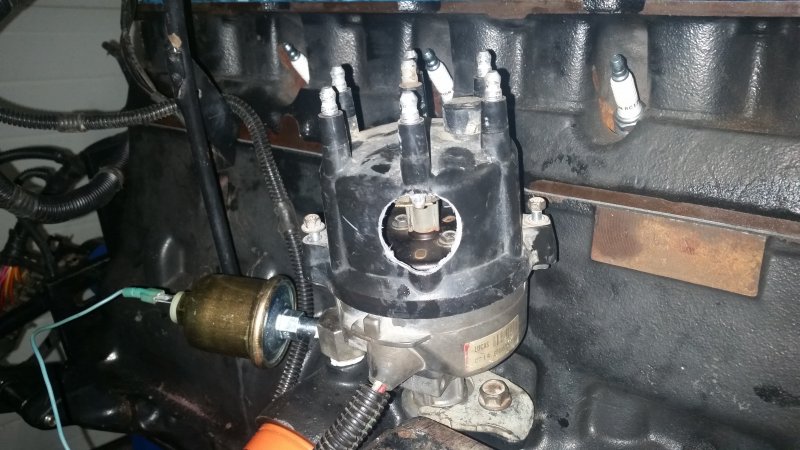
the rest of my bits showed up for the engine put the new harmonic balancer on and was able to index the distributor started up on the sheet metal again, made my fire wall repair patch, just need to roll/shrink the edge for the pinch seam and start to fit it. gave the top of the unibody a quick grind to remove any galvonizing and sprayed some zinc weld thru primer in prep for the new pans. removed the rock sliders to be replaced and it also made the acess to start the rocker repairs that much easier! it is slightly crusty in there, ill see how much of it is left after a bit of a wire brush XD
-
DrComanches Project "Frankenstein"
MancheKid86 replied to drcomanche's topic in MJ Hardcore Tech: Epic Journeys to Greatness
man this thing is sick, great build! -
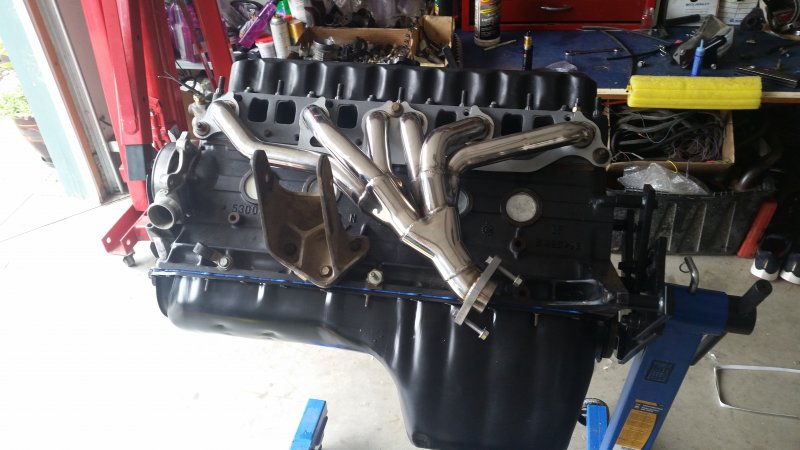
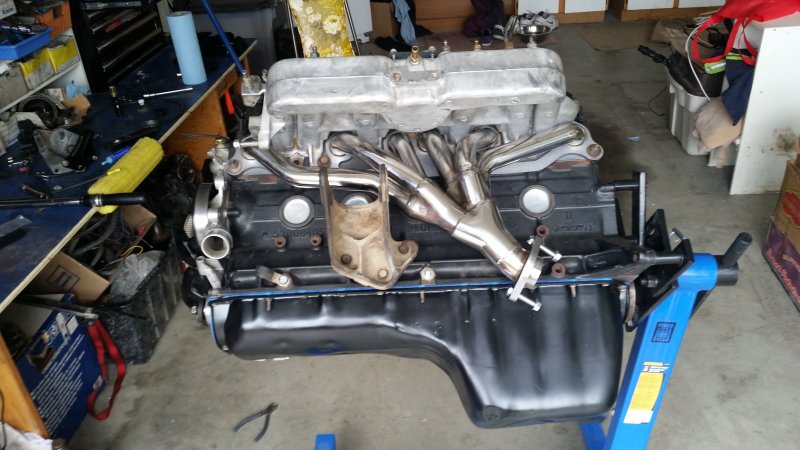
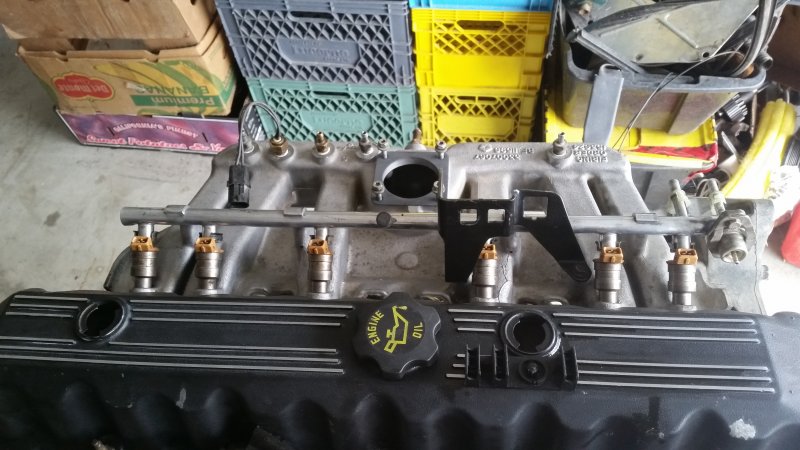
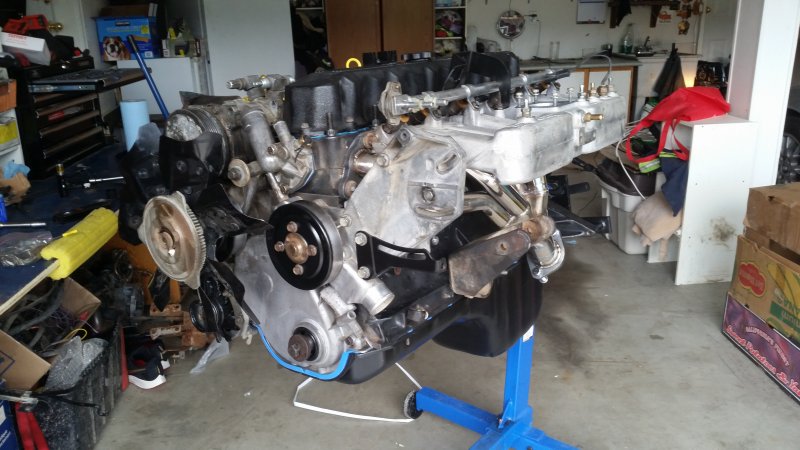
new header showed up, waiting on a few more bits then the engine is finished! i cleaned and spray tested each injector prior to installing them in the manifold here is some more pictures
-
i can only imagine your thoughts when you split the casing, it sure cleaned up nice though! diggin the new drivers side latch you fabbed!
-
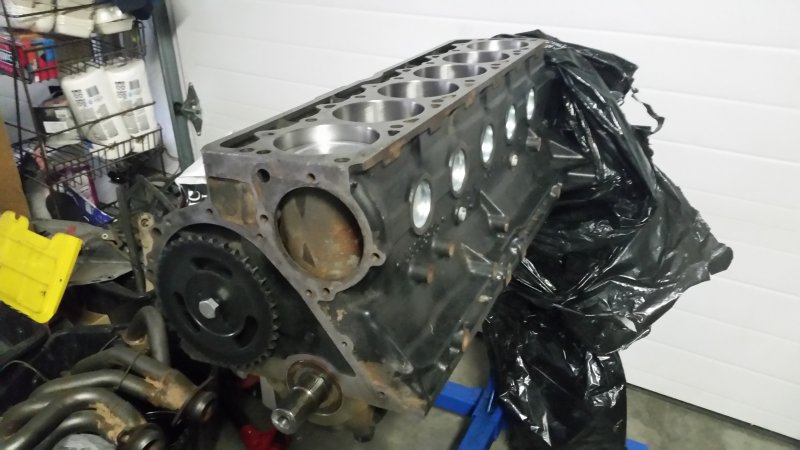
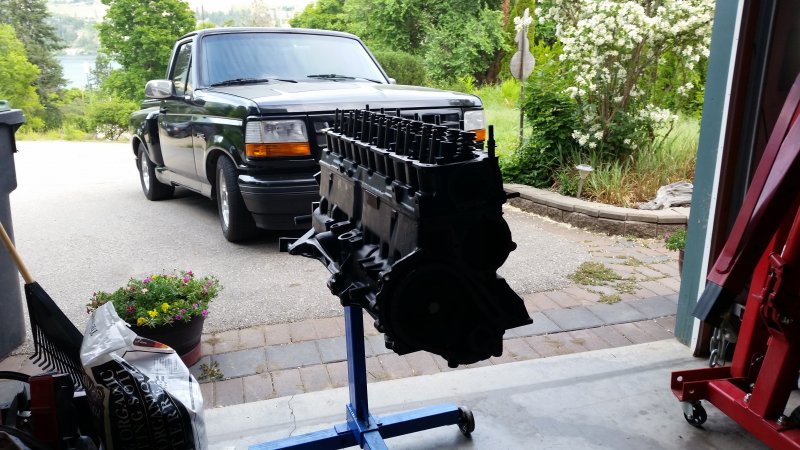
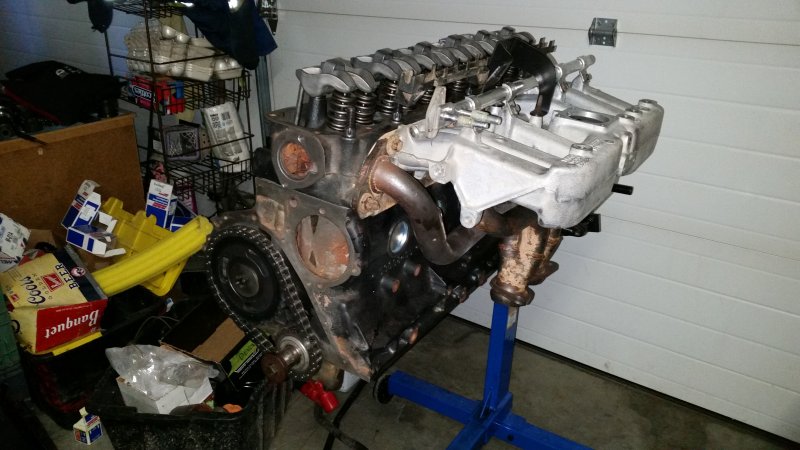
i have finally recieved my engine from the machine shop! bored .060 over with a more agressive cam shaft than i have previously had i quickly went assembling it, i installed the exhaust and intake manifold and found some issues with the header (imcompatibility) which some of you have probably read my tech thread i have ordered a new manifold so in the further photos that is why the intake and exhaust are back off. one thing that had been missing for longer than i have owned rye guy's ol' black n tan is the cam bolt spring and tensioner pin (there was indication of the bolt physically contacting timing cover!!!!!!! and possibly why i had a dished lifter/worn lobe) i had to go to pick n pull and get another. a few good smacks with a hammer and chisel and the timing cover casing chipped apart revealing my much needed hardware. this is where I'm at, sorry about the mess in the pictures LOL waiting for the exhaust and harmonic balancer before i can finish assembling and timing the engine quickly scuffed and painted the oil pan, nothing crazy I'm just going to scrape it up again once I'm done the engine ill be definitley motivated to finish the sheetmetal work and paint more to come
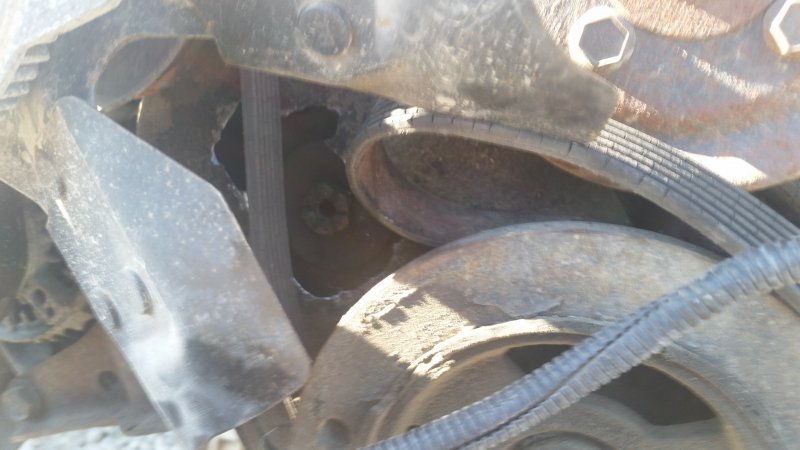
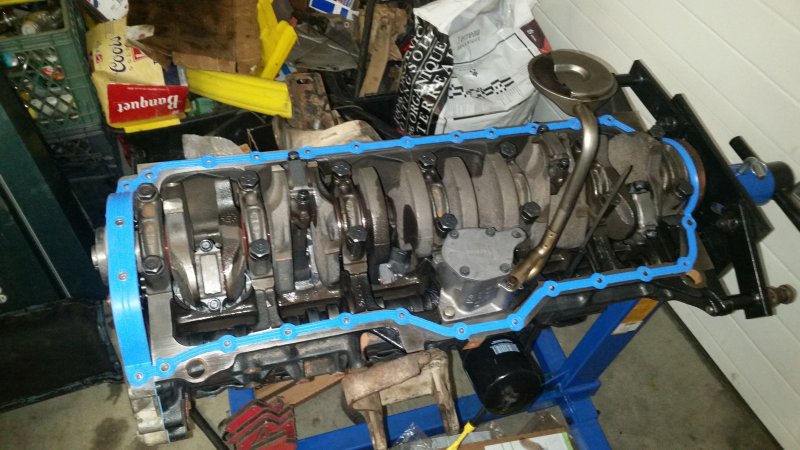
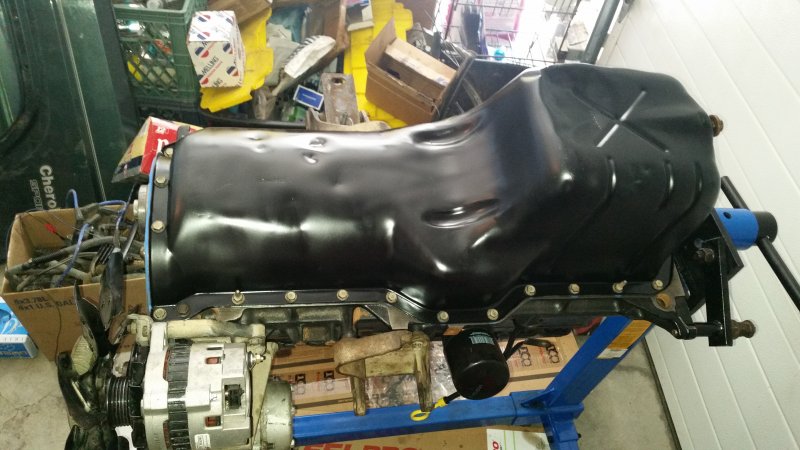
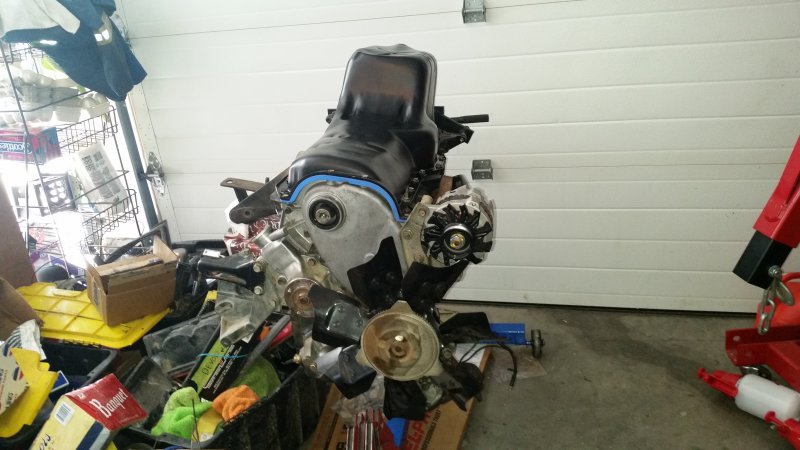
-
RENIX Knock Sensor Relocation
MancheKid86 replied to MancheKid86's topic in MJ Tech: Modification and Repairs
i have found a dead hole on the otherside of the block that would be a sufficient relocation that is +/- an inch from the factory KS location. there would be a simple adapter needed to mount the velocometer. i have chosen to not go this route for the reasons being the pace setter header the machine shop had given me is indeed for a TJ and not a xj/mj the forward bank points directly towards the front differential, where as in a tj the front axle would be much further forward of the engine and would not be an issue long story short, knock sensor is in its factory location. i have ordered a new header and this one is going up for sale to recoop some of the purchase price of the new manifold. thank you for the reply's and entertaining my idea -
long story short, i have been given a free (used) pace setter headder for my 4.7L build. the forward bank goes directly in the way of the factory blind hole the accelerometer attaches to. now my question. i understand the overall diameter of the holes themselves are different and would require some modifications to have it fastened to the block. other than that does anyone see a reason why i cannot just relocate the knock sensor further back to the blind hole between cyl 5/6? vs the factory location cyl three?
-
the best way to get rid of cigarette smell out of the jeep will be a bit tedious, but VERY effective. it involves, removing the entire interior. dash, air distrobution box plastics ect. cigarettes leave a tar like residue once the smoke disipates. so when still in smoke form, its easier to get behind interior plastics. where the lingering smell usually resides. mix some tsp or what ever detergent your going to use, hand wash and dry all the metal to the pillars, fire wall, ect hand wash the plastics inside and out same with the dash STEAM CLEAN the seats and, if you have a fabric carpet do the same to that the biggest is the air distrbution box. it is disgusting in there usually. it NEEDS to be disassembled, thoroughly cleaned of dirt and washed/ hand dried to ensure all the junk is out. reassemble and your jeep will smell AMAZING
-
Dana 44 rear disc brakes
MancheKid86 replied to Blaine.D's topic in MJ Tech: Modification and Repairs
if your not scared of spending a bit, TSM MFG makes bolt on disc brake conversion kits with e-brake calipers or options for a secondary caliper as an ebrake -
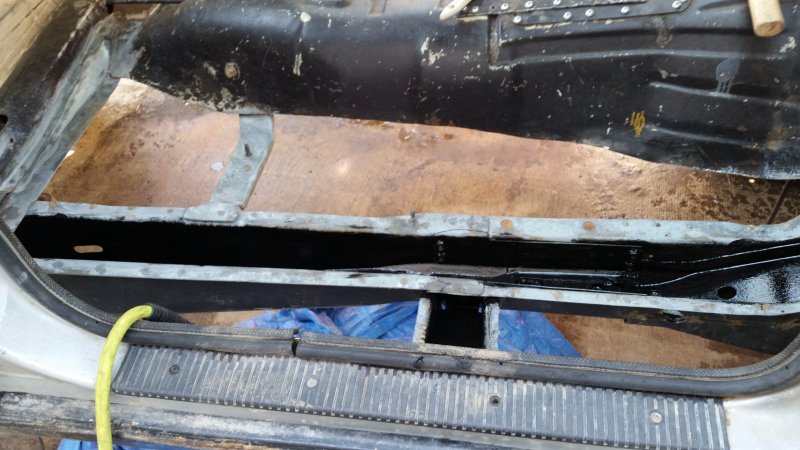
removed all the spot welds from 90% of the cab floor. slowly working on inner rocker repairs before making the first pan, i will be removing the rock sliders, welding my repairs in from both sides (backing plate 4x size of repair)x2 on each side and por 15'ing the inside of it once all boogered together here's some pics, passenger pan out, and unibody through the various stages of cleaning and first application of por15 will do the same to the inner rocker once i have access i know I'm dragging my feet on this, i blame yard work and lots of it
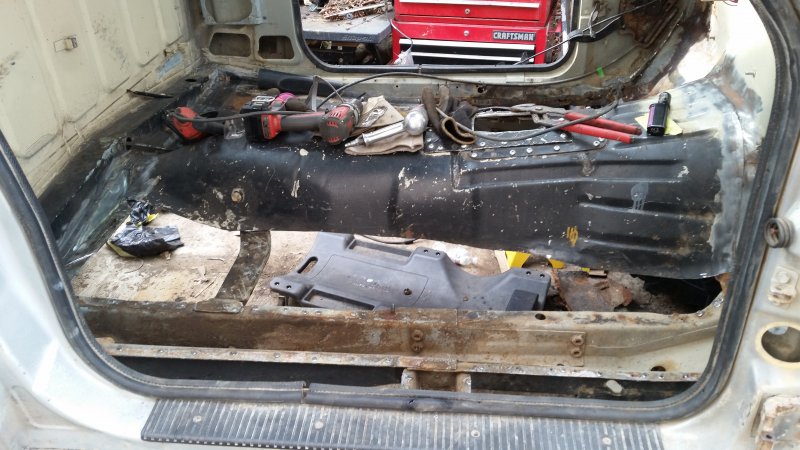
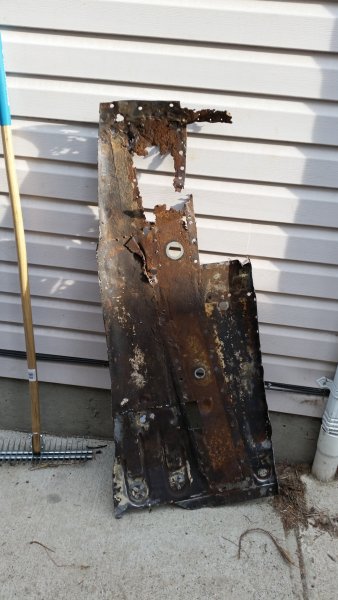
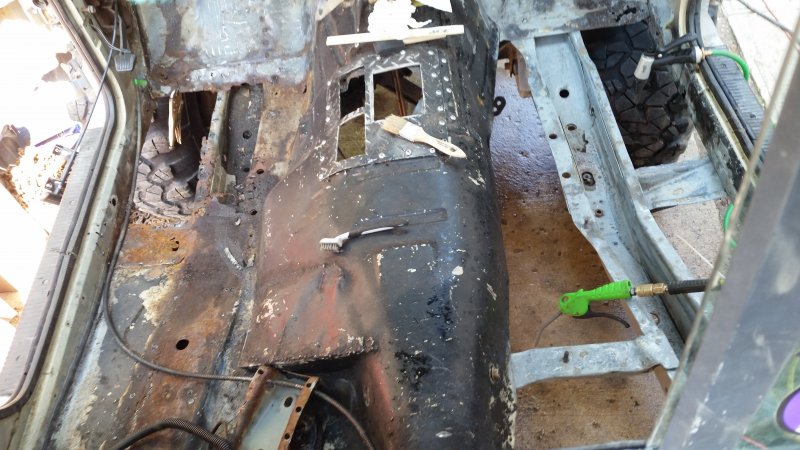
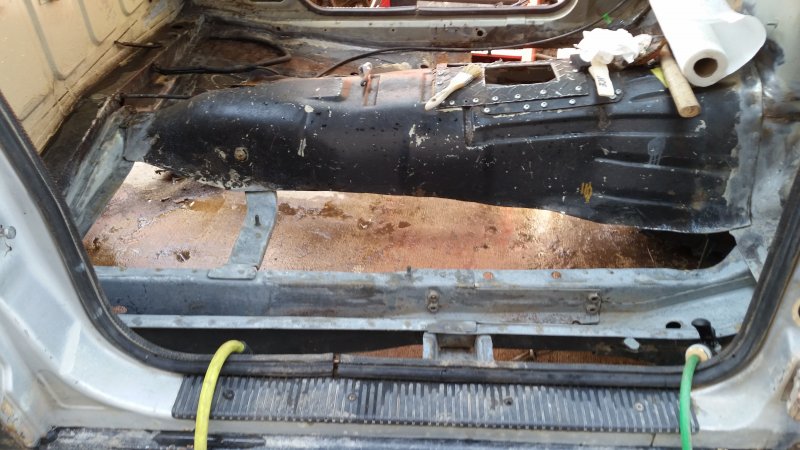
-
my platform is Windows 10 64 bit, accessing via google chrome hope this helps
-
its been about two years
-
have been trying to figure this one out for a bit, not that hard obviously. My issue, i have been updating CC with my build thread every now and then. once updating CC i would copy my text and picture url's over to bcjeepclub.ca at somepoint the forum style changed and i can no longer display picture url's (ex. the photo bucket hosted ones) after submitting my post this has made it rather difficult to just copy and paste else where so i have not updated any where else because of this (yes I'm a bit lazy and do not want to relink everything one by one if not needed) is there something I'm not seeing? or has this feature been removed? thanks!
-
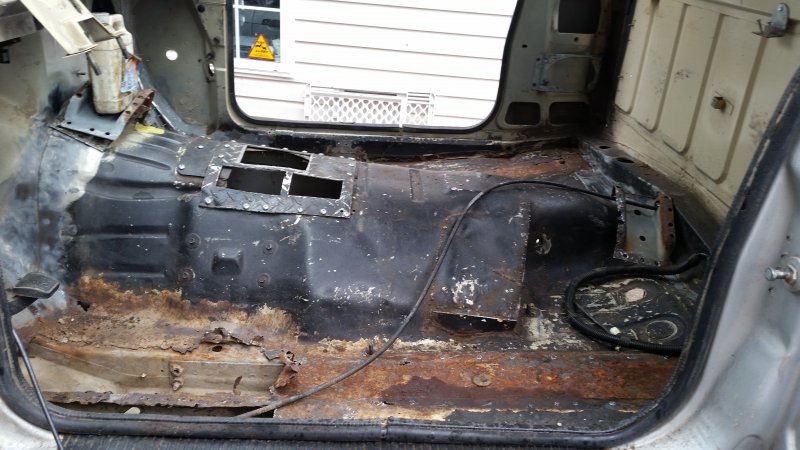
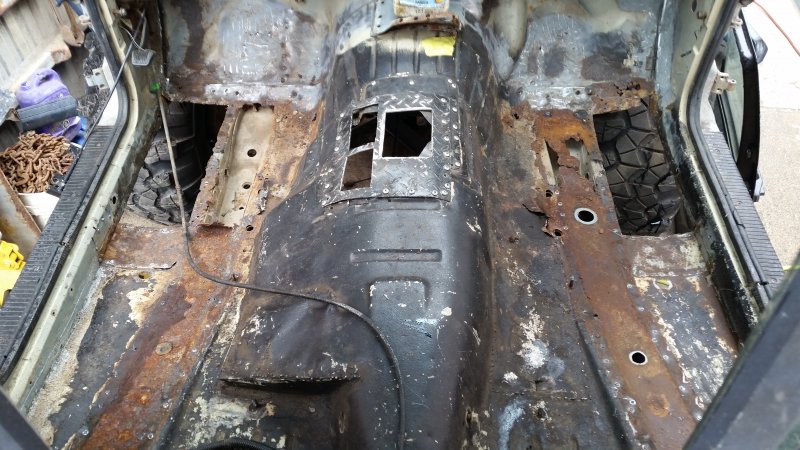
the engine shop finally had enough time to figure out what was salvagable which is the block head, (being reworked) and crank shaft it will be bored .060 over with a 9:1 CR and adjustable timing gear, i want to be able to put some boost to it later on currently i am working on the floor pans, i have taken the unibody braces off and am left with not much clean sheet metal to work with, will post pics of my completed floor pans when they are actually finished
-
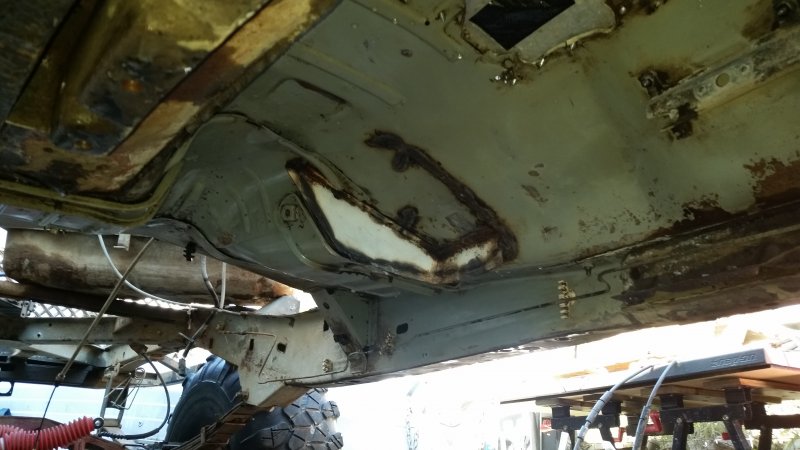
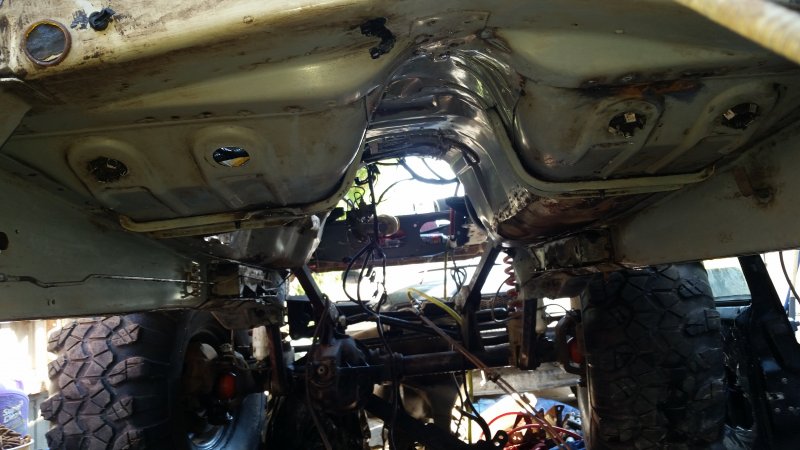
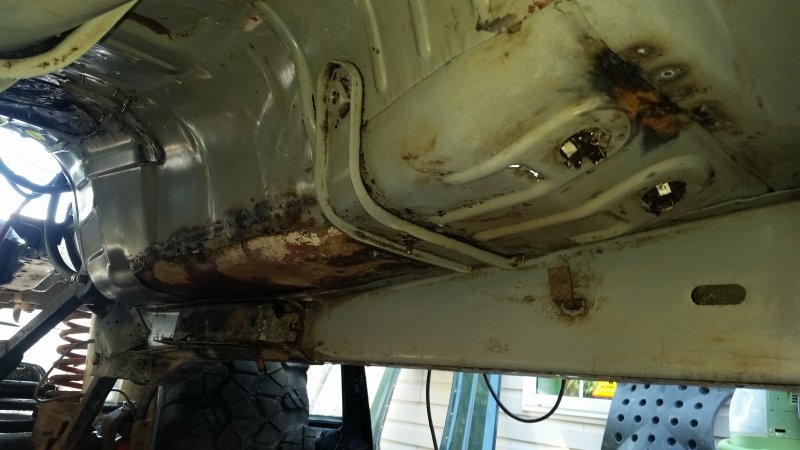
spring is here, so that means yardwork and landscaping, and lots of it thats my excuse for being lazy and not progressing much on the truck. picked up a harness end to end with switches at the wrecker for the power doors and windows! worked up the courage to start removing all the factory undercoating off the transmission tunnel in preperation for media blasting (less to blast through) a little more to remove (still need to remove the mj specific transmission mounts off the cab and the old 4wd shifter bracket i don't even use) then i can blast the frame and underside of the cab, once everything is media blasted ill be able to apply the por 15 to everything and have the adhesion required and allow the product to work as well as it can. plan is to strip the truck down even more (need to remove the two peices off glass before i can use my neighbours frame straightener to true the cab and truck within factory dimensions, ) media blast por 15 finish body work paint start reassembly here's some $#!&ty pictures of my transmission tunnel, you can see the brackets that still need to be removed prior to media blasting

-
Mysterious "clunk", please help.
MancheKid86 replied to NHMJXJ's topic in MJ Tech: Modification and Repairs
just read through this, sounds like you need to find a friend with a torque wrench and some sockets and start torquing the track bar mount i don't think its control arms, unless they used incorect diameter hardware on assembly (which would give a clunk when shifting back and forth and oblonging the mounting holes) i torque all my track bar bracketry to 150-160 ft lbs (factory is to loose, this is a common issue) if incorreclty installed (yes you can) it will shift when mass amount of preload is applied, ie your clunk my suggestion is the above statement, find a friend with a torque wrench, torque it all down snug, even go as far as to loosen the bracket off, slowly snug each bolt up till all four seat it snuggly to the frame (this is where people mess it up, they tighten two of four bolts immediatly and then the plate is now incorrectly aligned) but be sure once its seated to the frame to tighten the living crap out of it, I'm dead serious (thats why i suggest 150-160 ft lbs. think if your 160 lbs or even 220, and you were not able to move it by your own mass but the vehicle is able too with the forces it sees, you can see how torquing it less isnt effective enough) this is something basic in a maintainence perspective to start to familiarize yourself with your vehicle more. (so you can stray more away on relying on an autoshop) i agree with all the other people who say its as track bar issue metal cloak is hands down better quality than roughcountry so that will be a great upgrade ***edit*** i have seen the engine mount portion of the track bar bracketry completley detstroid, and cracks running through it, this is an area of the whole bracketry that people forget -
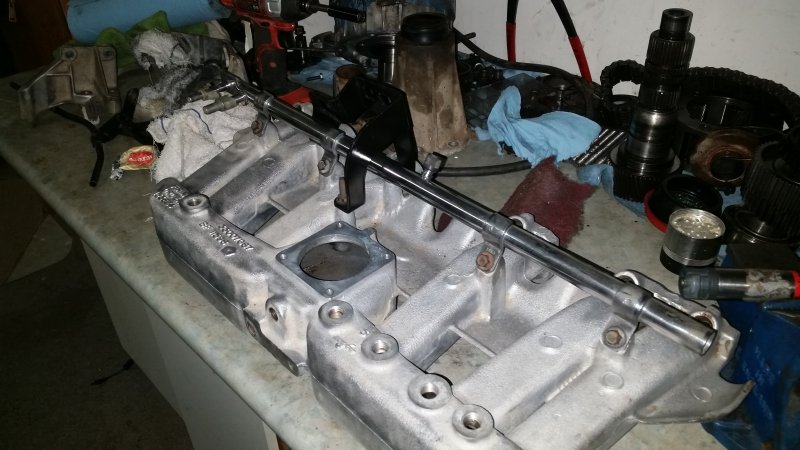
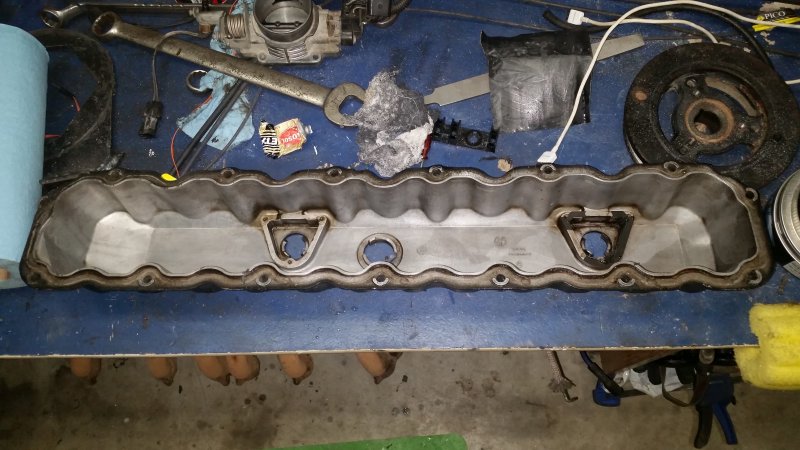
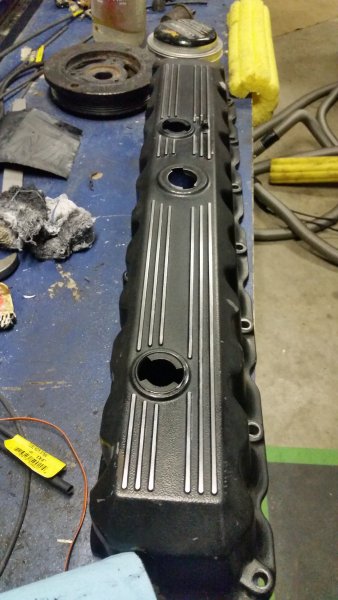
seems like its now a waiting game for the machine shop, onto cleaning parts haha have my intake manifold ready to go, even polished the fuel rail cleaned the heck out of the valve cover and even filed/wetsanded /polished the ridges ontop

-
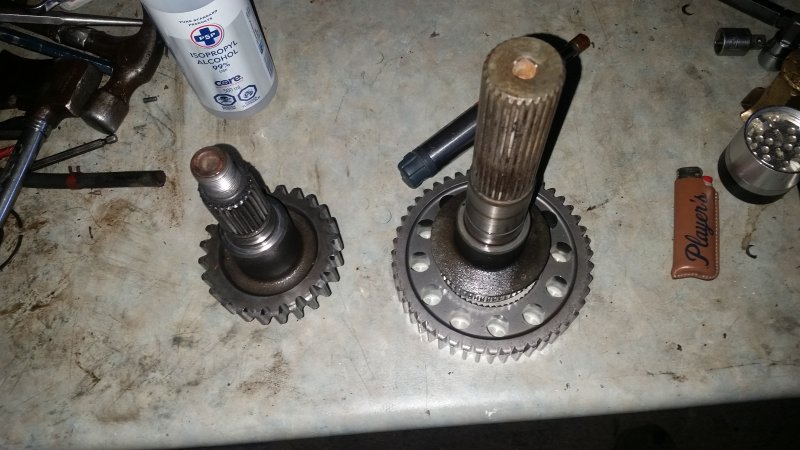
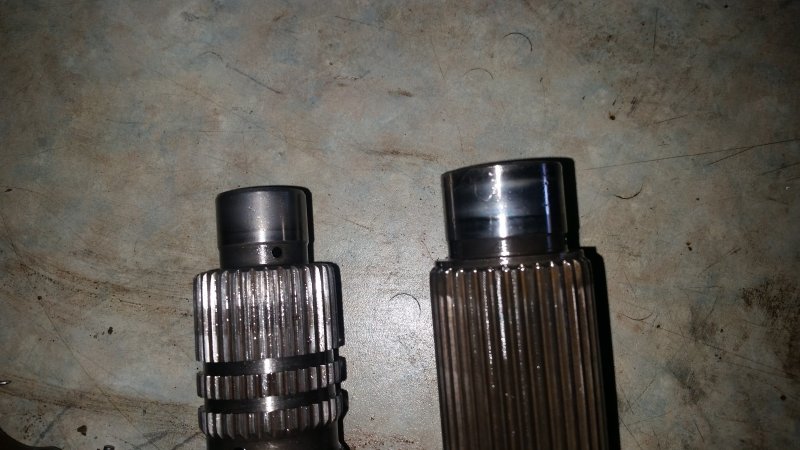
ended up ditching everything on the bench beside the two plantetary sets, the new transfercase output has to be machined to fit my sun gear (pilot stub too large currently) way more beef compared the to the np241C/231 combo i ran before this is also a spedoless assembly so if i want to have a spedometer (which i havent had since i have owned it) i will have to use a gauge that utilizes gps for reference speed the three pics of case are from the internet, just because i didnt take any when taking it apart (2040-parts.com and reid.org) then my comparison of 231 front outout to 241D front output and new vs old shaft and machining required (shafts are the same spline thickess, the new one is tilting upward making it look larger)

-
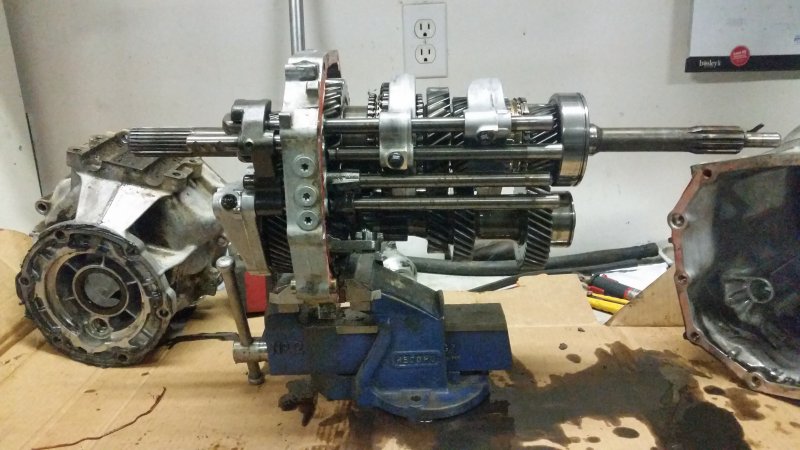
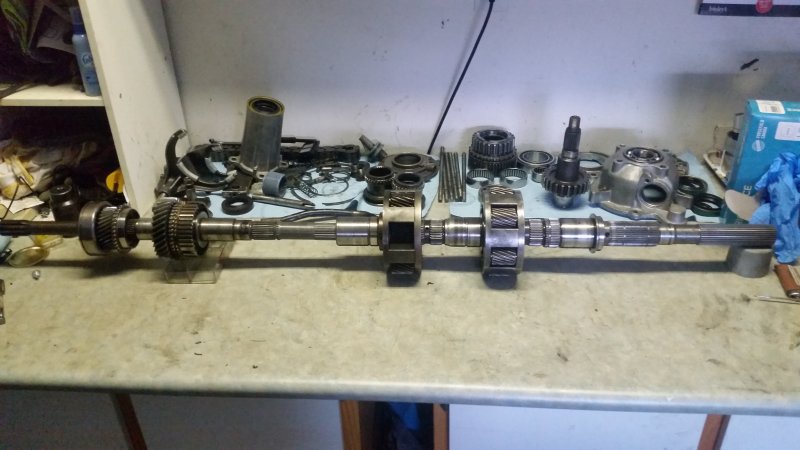
transfer case rebuild kit finally showed up also, have the transmission fully reassembled and it shifts nicely through all gears (it had some input shaft play in it, so i figured why not a refresh, brand new bearing has same play hahahahahahha) here is a picture of an ax15(one of my spares) input to output to 1st reduction to 2nd transfercase reduction to transfercase output just picked up low mile NP 241 D to use on the truck. will be taking the 6 planet gear out (i have to anyways, and install my custom 6 planet shaft) and replacing it where the three planet gear carrier is more to come, have to figure out what to do for front driveshaft as changing 4wd output style
-
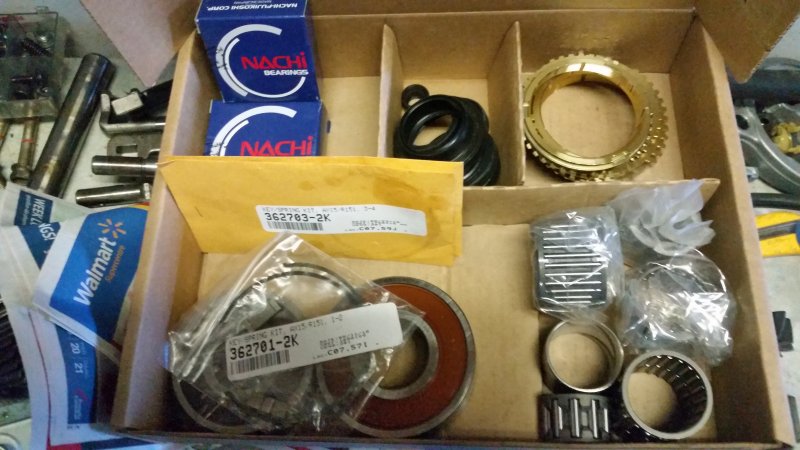
my two day shipping on the bearings and synchros turned into three weeks, but they are here. will get around to installing them sometime shortly
-
ended up getting my transmission apart last night, will dissasemble the two shafts once my bearning and synchro kit finally show up (its over a week late so far, paid for 2 day shipping)