
ThatJeepGuy
-
Posts
352 -
Joined
-
Last visited
-
Days Won
2
Content Type
Profiles
Forums
Gallery
Everything posted by ThatJeepGuy
-

OMG The Crewcab 6x6 Comanche
ThatJeepGuy replied to ThatJeepGuy's topic in Member Projects: Your Comanches
The bed plans for this truck (dealing with a short bed) is to as mentioned - build it to a factory long bed length. This way i can still use an MJ long bed topper on it if i ever want to vs dealing with some oddball bed length. My cutting plan is the cut in the middle of the wheel well opening, a couple inches in front of the fender flare and also a couple inches behind the fender flare. So my bed will then be sectioned into a front - a front of wheel well - a back of wheel well - then a rear. Keeping a few inches of tire clearance on either side i may only need to make filler for the middle of the bed above the wheel well(s) I can disect a photo to explain later. -
OMG The Crewcab 6x6 Comanche
ThatJeepGuy replied to ThatJeepGuy's topic in Member Projects: Your Comanches
Tonights progress wasn't a whole lot but it did feel good to get some where on this tcase!Soo keeping in mind i've never rebuilt one of these and just relying on my ol noggin as this is similar to the trans I rebuild at work. Start with the idler shaft in the middle of the case. Pound it in there with a brass slug (super handy chunk of brass from a massive Mac diffs idler pin) and then tighten down the nut and washer on the opposite side of this photo. I snuck these 2 outputs in next and sealed and snug'd down the yokes. The shiny bit below the gear mid shaft is our new thrust washer -thank goodness it was the right one! Hiding behind that is a double stack of individually placed needle bearings that you then drop the gear over. Delicate work for sure! This is also the main input/output shaft of the unit, the gear is the reduction gear for low range. Tossed the 4 studs into the holes as the rest of the holes are meant for bolts. Dropped the shift rails/shift forks in only to realize as i was snugging down the fork bolts that i left my wire tie spool at work today :/ I guess we won't be finishing this tonight after all. Also notice the 3 bolt cap for the idler shaft. I have a fairly busy weekend ahead of me so i'm not entirely sure i'll be getting any progress in but if i do - you guys will know -
OMG The Crewcab 6x6 Comanche
ThatJeepGuy replied to ThatJeepGuy's topic in Member Projects: Your Comanches
Yea its an epic thread on this forum. Thus the inspiration for my approach. As i said above... i'm no body guy, but i can definitely weld so i am taking the IMO easier approach and not trying to get to fancy or technical with the body work. Just simple the simple lines. As my uncle once told me - Do your best and then body fill the rest ;) -
OMG The Crewcab 6x6 Comanche
ThatJeepGuy replied to ThatJeepGuy's topic in Member Projects: Your Comanches
Creeping on me? Wasn't sure if i'd find you here -
1987 Comanche The Long Hard Road
ThatJeepGuy replied to ThatJeepGuy's topic in MJ Hardcore Tech: Epic Journeys to Greatness
Boy I need to update this... stay tuned folks -
OMG The Crewcab 6x6 Comanche
ThatJeepGuy replied to ThatJeepGuy's topic in Member Projects: Your Comanches
Yea they are pretty different, I've been seeing and further researching different approaches to make it an easy transition and for now - time will tell when it comes down to it - I think I will try and use the xj roof and then seam it to best fit to the very back edge of the cab. Trying not to remove the structure web under the original mj roof. -
OMG The Crewcab 6x6 Comanche
ThatJeepGuy replied to ThatJeepGuy's topic in Member Projects: Your Comanches
By all means suggest. I'm torn between adapting the xj rear door/frame and then adding the lower corner portion to make up the difference in a full door vs the idea of going halfsies on xj front and mj rear. I guess ultimately I don't want to deal with a custom window and I haven't looked to in depth on how well a factory rear window would line up in the window track... Something to wrap my head around and decide on i guess. I haven't set myself in stone yet with cutting so there is still time to change plans 🙃 -
OMG The Crewcab 6x6 Comanche
ThatJeepGuy replied to ThatJeepGuy's topic in Member Projects: Your Comanches
Yes i'm planning on a carrier bearing setup for the rear most axle. Initially i figured i would setup the carrier mount on the middle axle but now knowing i can mount that NP200 flat, i'm siding more with setting up the carrier bearing off the frame -
OMG The Crewcab 6x6 Comanche
ThatJeepGuy replied to ThatJeepGuy's topic in Member Projects: Your Comanches
So this evening started off with removing that old drivetrain. Trying my darndest to not destroy anything on the way out. Although its not pictured now, there will be some body work getting done up front. As i got wiring peeled back and everything out of the way i discovered the front passenger corner was hit a little harder than just a fender bender like i had thought... I'm not too worried about the repair, it should be a simple cut out and replace with another donor fenderwell.It was also especially tasking cleaning this thing out as much as i did - still filthy but whats left thats dirty isn't going to be used anyways. What did get removed was rather disgusting - thankfully no pictures here either. I feel its pretty important to keep this thing straight and square so some reinforcement was in order. Just a few pieces of angle iron to tie those door strikers in place. I ran a bit low on time towards the end of the night so instead of getting antsy and making some of the cuts, I called it a night and saved the surgery for another day.I will show off my technical details - this one was REALLY bugging me. The flange/cap in green was originally part of a drum brake assy that is commonly cutoff for the case' custom application. Someone had already taken care of this for me but left an awful lot of useless metal that will likely only collect mud and dirt. So while i had the case and parts at work for some paint and prep i also knocked off all that useless metal and got this thing looking s3xy! Unfortunately didn't get anywhere on this case like i had wanted to tonight but bringing this slimmed down cap home was good enough for me. For Now. I apologize if this seems rather steep paced or construed timeline at the moment. I was convinced to share my build here in CC and kinda spammed the build thread to its current date.More to come - stay tuned -
OMG The Crewcab 6x6 Comanche
ThatJeepGuy replied to ThatJeepGuy's topic in Member Projects: Your Comanches
Here we are, back with cherokee shell donor #2. This one is the newer body style which wasn't my original intent for this build. However, it is getting a little harder to come by any usable shape 96/older cherokee bodies around MI. After scrounging Marketplace listings for the better part of last week and into the weekend it had dawned on me how plentiful the newer body xj's still are and figured i may need to be more open to the thought of running the newer style front. So for $200 i get a good unibody with ok floors and a grand mix of good and bad leftovers. I was ecstatic to find out it still had a good trans and tcase as it wasn't discussed before i picked it up. Motor is blown which wasn't a big deal as i have a couple motors sitting around. I'll prolly be removing the drivetrain to make the shell a little easier to maneuver and also give me easy access to the underside of the floors and unibody. You can see that MJ rear waiting patiently in the garage for a new front end. Divorced tcase is also coming along nicely. I've gotten both rear outputs setup now and will be getting the idler shaft/gear shimmed up and then hopefully this weekend i can get to assembling the unit as a whole -
OMG The Crewcab 6x6 Comanche
ThatJeepGuy replied to ThatJeepGuy's topic in Member Projects: Your Comanches
So here we are, the only broken part in this tcase. Also happens to cost $60 to replace! Thankfully a good friend of mine happened to be travelling through Billings Montana which is the location of TorqueKing4x4 who sells these parts and many other tcase parts. Check them out! Dude saves me some shipping and making a vacation trip to MI means i get a personal delivery. Hot tanked, blasted, painted and touched up the gears, now we're ready to re-assemble... Well almost, The replacement thrust washer won't be here till this weekend and i also happened to forget my micrometer for measuring shims. So a few more days and then i'll be getting after it. Overall -for now, I'm only replacing that thrust washer and the 6 oil seals (4 yokes and 2 shift shafts) Its about $110 in total. Realistically it could use new bearings but for now i'm just gonna learn the setup and then later after its all together and functioning proper i'll back in and make everything right. So in the meantime i figured i'd play around with some driveline angles. Just messing around here but there will be about 9" of separation between the 2 driveshafts, represented by the 2 tape lines below. Tape line left for now is directly center between the rails while at the bottom of the pic my makeshift plumbob is sitting on the center mark of the rear most axle. Also incorporated the 1.5" wheel spacers into the measurement on the rear most axle (not the middle axle) and where i originally planned for this to be a driver drop rear case it will actually be a passenger drop rear case. Angles don't look too extreme at the moment, i suppose lets just hope it stays that way You may also notice just in front of the passenger tires are some suspension parts. Those are coils and control arms off a newer JK that i scored for Free. Definitely going to be doing a coil sprung rear setup and with those parts being listed on marketplace so often lately and rather cheap/free if your patient, I figured i could benefit from using a "stock replacement" type part for this build.We'll see what this weekend brings us for another progress update -
OMG The Crewcab 6x6 Comanche
ThatJeepGuy replied to ThatJeepGuy's topic in Member Projects: Your Comanches
After tidying up some i decided to get a handle on this XJ donor. Got it knowing it was rusty but dang, this thing is toast! Atleast the ford 8.8 it was sitting on turns out to be a 4.10 LSD axle. Which is terrific as thats what i was leaning towards for gearing. The only bust is now i'm on the hunt again for another cherokee shell. I suppose in the meantime i can start playing with this 6x6 setup.Here is the key to my plans for making both rear axles drive. This is an NP200, comonly found in old M715s or M37 military trucks. Picked it up for a cool $60 a little ways back. How could i resist? Threw some tires on the 8.8 and snuck it outback We ended the night with a quick teardown and inspection of the unit and to my surprise its looking pretty good! Dirty oil but all the splines and clutch teeth on the gears and hubs were in great shape. Some rust pits on some of the gears but they won't bother me much. Only issue is a single thrust washer had split. So the search begins for its replacement. I'll be taking the case into work and cleaning/blasting it so expect some pretty paint shortly -
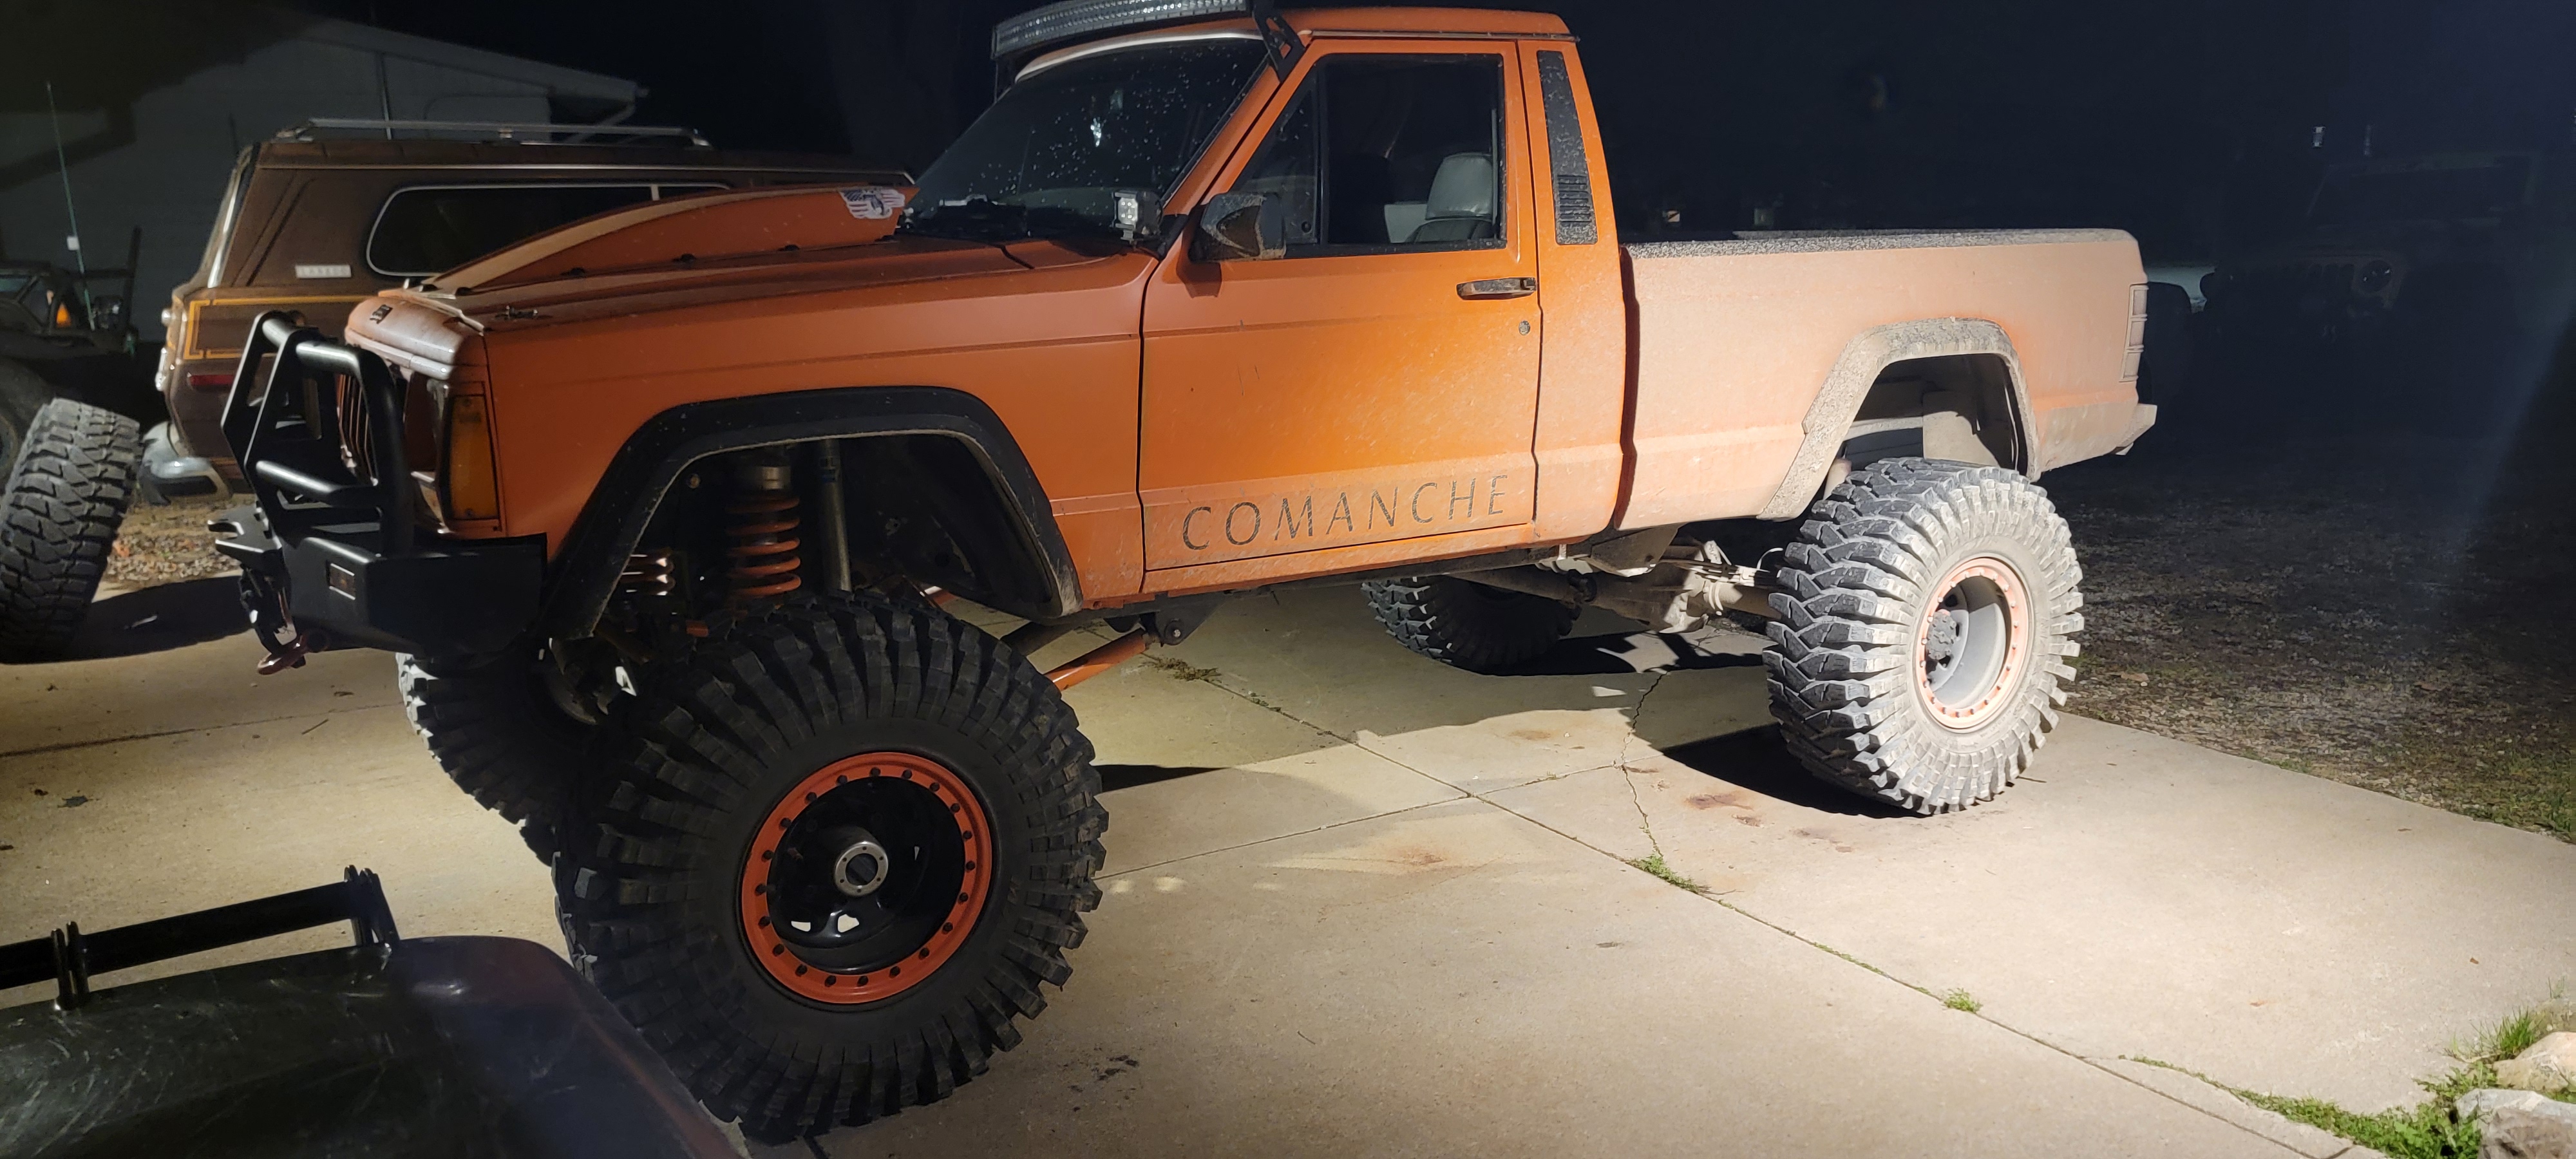
So it is time, its time to take a stab at the build i've had on my doodle board for some time now. A functional 6wd crew cab jeep comanche. As with most of my projects/builds, this will be a slowish progress build followed with lots of pictures so please be patient. Like others have done i'll be using a cherokee front section and MJ rear (94xj and 89 MJ for what its worth).I'm saying I'm taking a stab at this build because its by no means gonna be a super clean when finished. I'm no body guy so with that in mind i'm shooting for per-say a 10-15 footer. I have minimal invested thus far into these vehicles and parts and off course will be needing a few things but i'm comfortable with what i have to get started.This is my rendering thanks to microsoft paint. I guess the key highlights to be shown/mentioned here:- Full rear door- All 6 wheels will be driven. The rear tires power will be split via a divorced tcase that has multiple outputs- Bed length will be withing dimensions of a long bed (using a short bed though) The deal to this MJ was that it was heading to scrap - it was loaded on my trailer with minimal parts included (no axles, bed, door, interior, suspension) for a quick $100. I later sourced the original bed as it was not included for an additional $100. The deal behind the donor XJ is a pretty simple one as well... I posted looking for a cheap/free XJ and thats exactly what i got - A free XJ shell struck with the typical frame rot in the rear by the leaf spring mounts. I apologize for the tree in the way though its prolly for the best because the rust is pretty bad out back. So for now we'll just focus on the MJ donor.Dragged it outta the backyard. the bed is sitting funny because its missing the front bed frame mounts. something i will source or recreate at a later time The initial tear down was pretty easy. Bed wasnt bolted down, the doors were cut off the body, there was almost no interior. The engine removal was a little messy/sloppy but overall went without issue. If your wondering whats going on with that rear frame? The P.O had this thing setup with king coilovers for a dune monster! There used to be a tube system mounted off the frame to secure those kings. Ultimately i figured this would only benefit my build purpose as it opens up the work space for what i have in store for suspending those 2 rear axles. The lines were drawn and away we go! Using the sawzall to take care of the drip rail/interior support and then the rockers through unibody to trans tunnel and also the majority of the trans tunnel for that matter and keeping things nice and straight went with the 4.5" cutoff grinder for the roof. These cut lines are Far forward from where i need them but for the time being i'd rather have more material to play with as I'm sure when it comes to mating the 2 halfs - Id rather have it and not need it than Need it and not have it there.Btw, yes i did pause for a breif moment to wrap my head around the sacrifice i'm making... Yes this is what i want to do! Let er Rip Tader Chip!!
-
digging this one up a little bit. throw back to my crawler days
-
only $25k for a fat XJ... that's a lot of work! but why... just why?
-
The ole 4.0 into the 86. Gotta love the modifying of the firewall for fit. When i did mine i was pretty gentle and delicate at first. After removing and installing the driveline as a whole unit prolly 6 or more times only to barely get my fingers between firewall and trans/engine I went full Hulk mode and cleared the hell out of it.
-
My first Comanche. 91/ax15/4.0/4x4/lwb
ThatJeepGuy replied to 06BOM6's topic in Member Projects: Your Comanches
Very cool. A bit envious of the comanche road trip. I'm sure it was exciting -
Jeep Comanche 86 in the stix
ThatJeepGuy replied to ThatJeepGuy's topic in Member Projects: Your Comanches
Soo to update, i have sold the truck and moved onto other projects. Most recently i picked up a 73 j2000 which will get an ls swap and 1-tons. -
Jeep Comanche 86 in the stix
ThatJeepGuy replied to ThatJeepGuy's topic in Member Projects: Your Comanches
nothing crazy going on here, but i did do some test paint work on the tailgate. Factory Forest green pearl. May start on the bedsides soon. -
1987 Comanche The Long Hard Road
ThatJeepGuy replied to ThatJeepGuy's topic in MJ Hardcore Tech: Epic Journeys to Greatness
Finished the long arms and included a little Gem for those who decide to look into my suspension setup :yes: Making a beefier track bar and then also finishing my steering and knuckles hopefully soon -
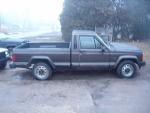
So this build has been a long project (from past to the present about 3yrs) and i've only recently gotten to revive my C-club account. Thus my need to share this build. Its really been a slow progress for a while, something i've wanted to make look decent in the end and treat a bit nicer than the other jeeps that I own. So the beginning of this build stems from me giving up on a previous DD that i had the same kinda intention for: Was a 99 xj 2dr auto... Went through many issues with this jeep and ended up giving up on it and letting it go after replacing a bad trans, replacing a bad motor, installing lift kit, some custom bits here and there and the final straw was the replaced engine developed some bad running issues. This found me in the need of a "new" DD and after spending the winter driving my other 87 MJ (http://comancheclub.com/topic/49365-1987-comanche-the-long-hard-road/) Yes, this was my winter DD for a short while. I really wanted to have a DD MJ at this point and after looking at 9+ MJ's and a few stories that followed a couple of them I had found what i was looking for. This 1986 Comanche was sitting at the back line of an old mans property just outside of town. Hadn't run in over 4 years, there was moss, brush, critter remnants and some mold hidden throughout the body/bed/interior as i looked it over. I couldn't resist, it just seemed like it was destiny! The p.o had locked up the motor and replaced it with a "good" used motor. Come to find out the motor wasn't so good after all and gave up on it. Moved it out back and that's where it sat until i dragged it home. It had the 2.5 4cyl motor and a 4spd manual trans. Motor didnt even turn over, the gas tank ended up being completely junk, the passenger rear tire was actually locked up so we had to remove the tire to get it rolling. So my long term plans were to kinda restore the jeep but also update the drivetrain with obd1 system, small lift, some bumpers and lights. Make this MJ a fun summer driver that i can use for just about anything - camping, parts fetching, cruising, groceries runs w/e. My first step was to bring the jeep home and wash it down as it was pretty nasty with all the different things that collected inside and outside of the truck throughout its time sitting in a field. Pulled it into the garage and stripped the truck down to a rolling shell for floor rust/rear fender repair and also to paint/seal the frame and floors. Picked up a donor 95 jeep cherokee for $600. Rusty beater with a 4.0 and auto trans w/ well over 200k miles. The jeep ran good and everything but after tearing down the donor i felt the need to do some work to the motor before i just threw it into the MJ. Pulled the head off to find a good lip on most of the cylinders from wear. Quickly decided to rebuild the motor as I have never done an engine rebuild before and now having done it, i would do it again if i had to rebuild one in a heart beat! Had about $1200 into it in the end with the machine work and buying new engine components like the distributor, water pump and power steering pump. Installing the new motor had me learning the side effects of owning an 86 and older MJ as compared to the 87+ pickups when swapping to a I6 motor. Given the firewall/trans tunnel and radiator support setup differences had me irritated at times but with some aggressive hammer work and some thinking it all went together pretty well. When i took the donor shell and pieces/parts in for scrap i had discovered a you wrench yard nearby and decided to take a look. Found another 95 cherokee there which had some good parts that needed to come home with me. I had actually brushed by the jeep and noticed a factory front skid plate "Mines!" I sat inside it for a moment looking at that newer wood grain style interior trim and it wasn't really popping my cherry... My buddy peers in the door and says " Hey, i don't think i've ever seen an MJ with the wood interior. " Took a few mins but it really grew onto me as i was planning on re-doing the headliner with some type of hunting camo and I starting thinking it may actually look pretty good with the wood grain. Some pics of the mid progress point The rims were thrown in the back of the donor XJ as a bonus :D. The roll bar out back ended up getting 86'd (ba bum -Chhh). The red header panel came off another you-wrench 95 jeep xj because i prefer the simpler header panel setup over the multiple piece headlight trims from the earlier models and also as kinda a sneek peak of the final body color.... Cuz oh 'yea - i decided to re-paint the truck... Bucket seats and carpet came from another MJ owner on craigslist for a whopping $70. I had/have added a few minor touch's to the interior like the ammo can center console and not pictured De-activated grenade t-case shifter and a to be installed 50 Cal. shell for Something... Don't mind the blown airbag, This project had hit a wall or two at times. I originally planned on running a Chrysler 8.25 rear axle and actually had it installed in the back of the truck ready to go but through the confusion of some freebie parts for a friend of a friend - Long story short - The 8.25 was Junk :doh: ! In no time i had found a replacement 8.25 axle and when i went to pick it up at this guys storage unit i had actually noticed a pair of factory Dana 44 axles in the back. One was for an XJ and one was for an MJ, the owner didn't event think about mentioning it to me sooner as he hadn't had any luck selling them in the passed. "Well our luck has changed then hasn't it" Gave me a decent price and made my evening. When using the XJ donor harness instead of a genuine 91+ MJ harness one of the things that really needed to be done patiently was trimming and modifying the harness to incorporate the MJ rear harness and tail lights. Mossy Oak woodland print and a rear speaker bar out of the 98 and older XJ's. I had picked up some 4" LED lights to string along the roof but after getting a good deal on a 50" light bar i was needing a different mounting option for the back side of the cab. So i built a simple bed rail mounted light bar. I don't have any real good pictures at the moment but I had a Nates4x4 rear bumper on my 87 MJ and after removing the bed and going to a truggy rear setup it had found its way onto the back of the this one. I picked up a matching front bumper this summer for it and mounted it up. Made up a pair of hood vents to help keep this new motor plenty cool this summer. You may notice the larger holes in the front of the hood... Not wanting to deal with the sticky hood latches i went with some simple hood pins. So this is where i'm at currently... The truck does run and drive and i actually used it to help move in August as my wife and I bought our first home. Its been parked in the garage since then and slightly neglected throughout this winter as i have no plans to drive it in the snow. This spring i will be re-painting it and hopefully finally driving it!
-
Project "CODE RED " 88 Olympic edition
ThatJeepGuy replied to Strokermjcomanche's topic in Member Projects: Your Comanches
Very nice work. Keep it up -
1987 Comanche The Long Hard Road
ThatJeepGuy replied to ThatJeepGuy's topic in MJ Hardcore Tech: Epic Journeys to Greatness
New long arms in the making And some 37" Irok tire fitment checking -
Darn. i was hoping for the factory orange "euro?" style front marker lights.
-
What would they charge you for the Orange running lights? Any chance you can help a guy out?