
hgeranium
-
Posts
593 -
Joined
-
Last visited
Content Type
Profiles
Forums
Gallery
Everything posted by hgeranium
-
-

The Comanche has failed me
hgeranium replied to hgeranium's topic in MJ Tech: Modification and Repairs
Most of them. Not the fuel pump ground yet. And that still wouldn’t explain the oil. My first thought is maybe the coil is going bad and getting hot. I had to leave the Comanche and borrow a car to get back home last night, so I won’t get to look at it until Thanksgiving sadly. i’m trying to think what would cause all that oil spray in the back of the motor and it could really only be a few things, none of which really relate to the drivability issues. The oil happened before the driving problems, so maybe the oil itself is fouling something up? I don’t know if oil getting all over the CPS would do something or not. It’s just hard me not being there. Best I can do is be prepared to know what to look for. -
The Comanche has failed me
hgeranium replied to hgeranium's topic in MJ Tech: Modification and Repairs
It’s a problem that’s somehow connected to heat. After letting it sit for a few hours it drives great until it’s warmed up for a while. -
randomly noticed a huge oil leak from the back of the engine. Back at the valve cover had oil, most things on the distributor side had oil (none in distributor), head/block/trans COVERED in oil. This was in the middle of a 180 mile road trip. I make it after adding oil and then it does this not long after getting into town. The video is me flooring it going about 5 miles an hour. In park it will rev all day long and it idles OK. In gear it won’t rev past 1500-1800 and bog down/slowly start to die even when flooring it. Actually got stuck on the side of the highway because I literally could not accelerate. It would just want to die and I had to put it in reverse back into the shoulder. Waiting a long time randomly fixed the acceleration problem. That sound feels like a spark issue but that plus the oil could be what? It’s not the distributor since inside the cap was bone dry. This problem came out of nowhere. I suppose the oil and acceleration problem could be independent but I feel like it’s an unlikely coincidence.
-
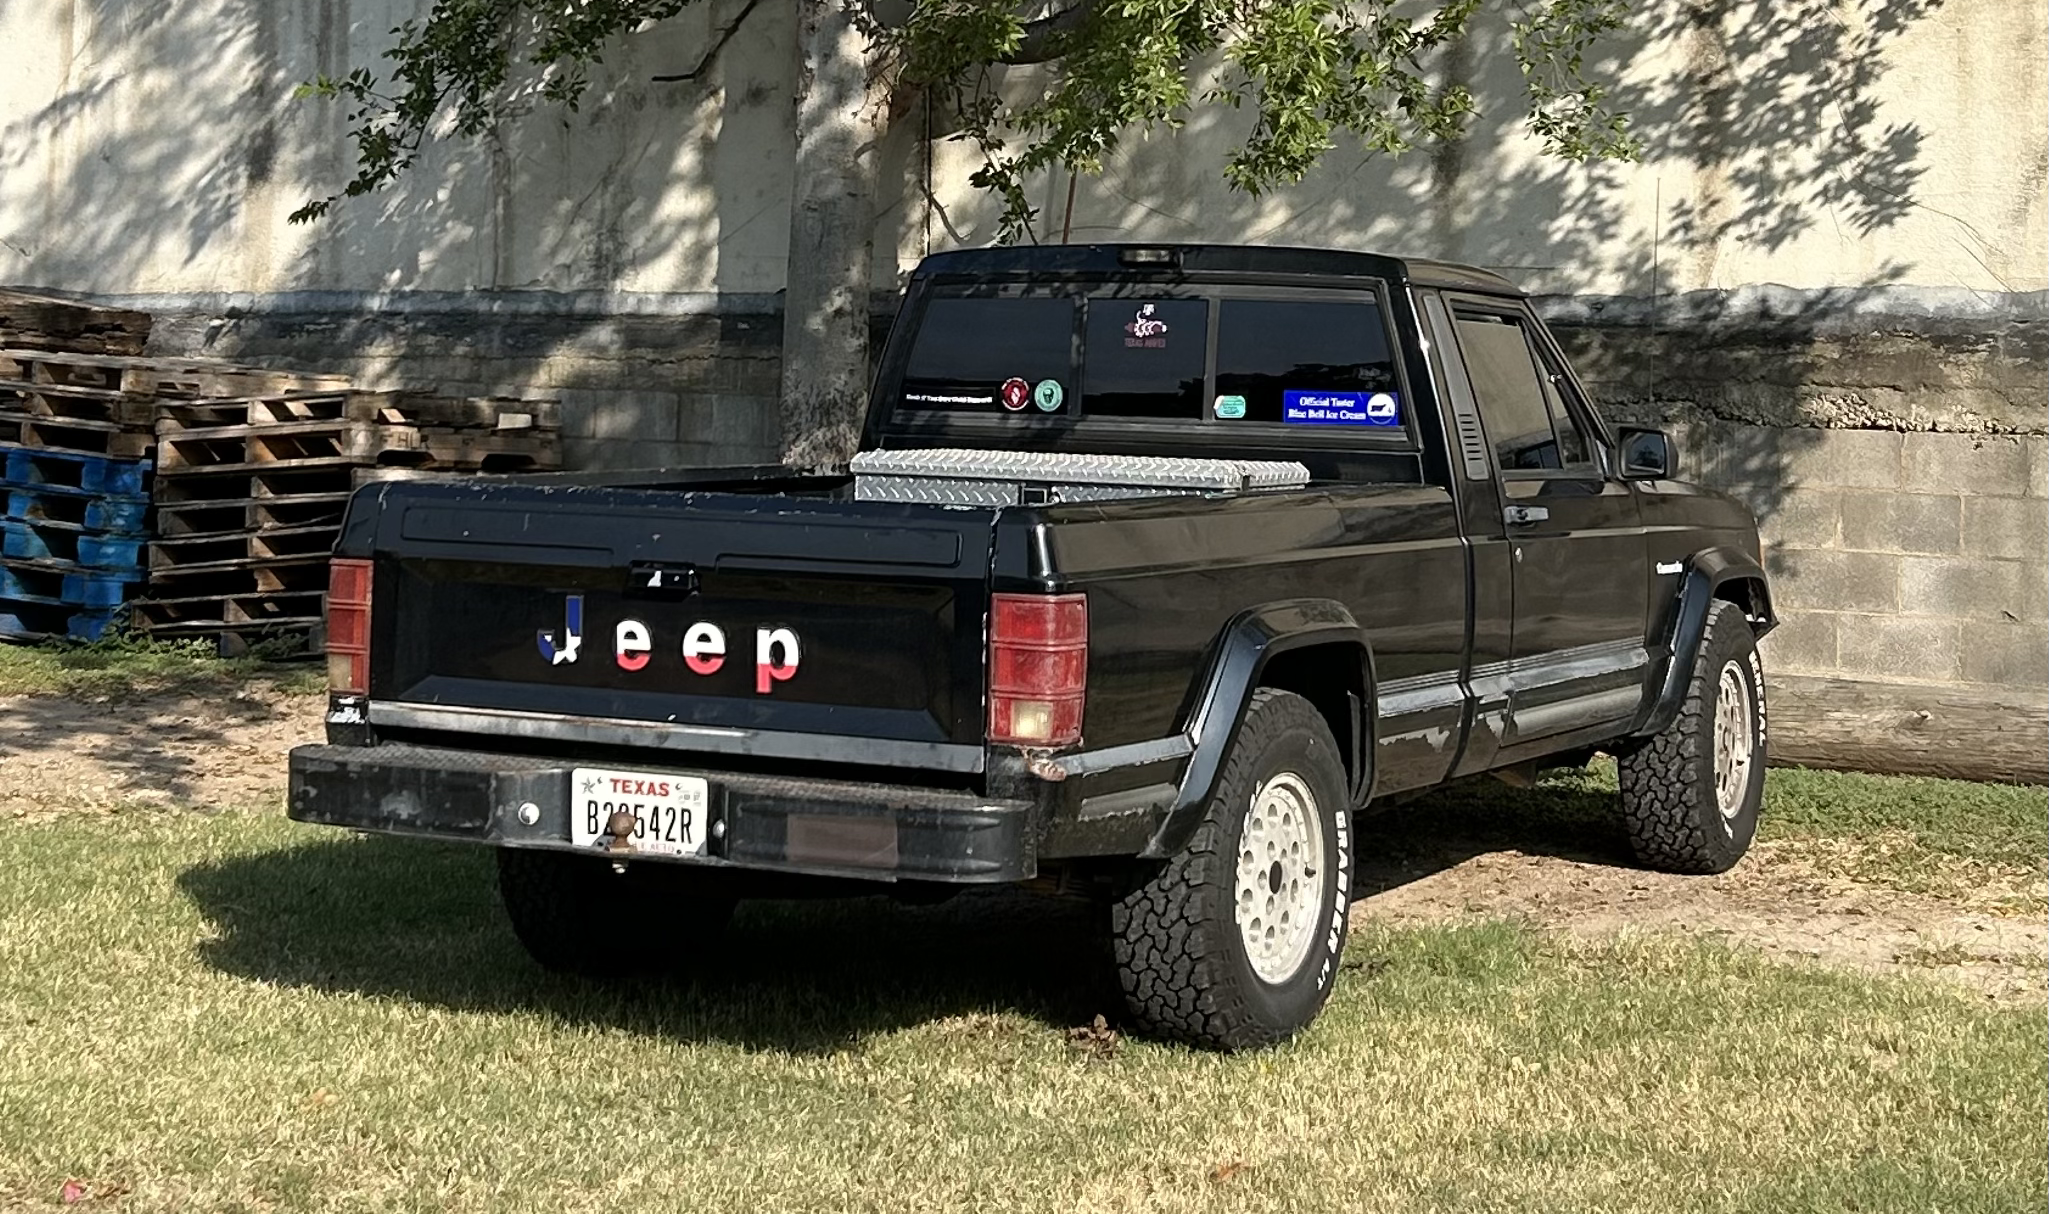
I run 30x9.5 tires on stock height and have zero rubbing FWIW. That size shouldn't have any issues. I have General Grabber ATX's. I think for a set of 5, i paid $1000, with a $100 rebate on top of that which I know is out of your budget but these tires have been fantastic.
-
Yeah I think I’m just going to get a separate XJ. I would want to manual swap on top of that and at that point I’d have the Comanche of Theseus
-
I know this topic has probably been beat to death but I’d like to hear a current response from yall. realistically, how difficult and how worth it is it to do a 4x4 swap? I know basically everything can be achieved through junkyard parts but I feel like I would fall into a rabbit hole of “while I’m here might as well (insert upgrade here)”. From my understanding the major parts you would need are a new front axle, transfer case, driveshaft stuff(?), and (might as well) upgraded rear axle (D44, disk brakes etc.) Is doing all this work even worth considering if I am able to find a readymade 4x4 Cherokee? I really want a vehicle for wheeling, but with how rare Comanches have gotten it would be hard for me to take it out on the trail.
-
Clean!
-
-
I didn’t know anyone actually listened to these! Glad you enjoyed it
-
I’ve got many pounds of deer meat in my freezer. I defrosted some shoulder meat that I processed into chunks and I’m going to make a stew with them tonight. I will keep this thread posted.
-
The ridiculous part is that there’s somebody out there that would pay that much money for it
-
The fan goes straight to the battery. I haven't actually looked but I'm pretty sure I've seen the CTS on the radiator but the wires are just cut lol. I know that without the fan at all it would begin to go over that halfway mark but nothing catastrophic (until my coolant bottle busted). It's 2WD so no wheeling. Another bet is that the CTS just went bad in the radiator and instead of replacing it, the PO just hooked the fan up to the battery. Thanks for the manual! I'll take a look.
-
Higher revving on warm start
hgeranium replied to hgeranium's topic in MJ Tech: Modification and Repairs
Thank you! I'll spend all the extra money I can to make sure I never have to do this job again lol -
I haven't had any issues with my throttle sticking lately after doing all sorts of fixes, but that has allowed me to notice a pattern. On cold starts, the truck will start up (a lot of times in very few cranks) smoothly with a quiet and reserved rev up and back down (~1500RPM). I get this turning the truck on before and after work. When it's warm and I am constantly turning it off and on (running errands), The revs are significantly higher and the startup feels more 'jolty' rather than smooth, and always takes way more cranks to start than when cold (revs closer to 2000-2200). I am going to assume that the new IACV is indeed good and not crap out of the box. Yes, my manifold bolts are tightened. All vac lines are good. I am no longer (as of right now) having an idle issue, it's just with startup. I know my truck and I know it's not normal. It hasn't always started like this, cold or warm. I'm thinking that the heat of the engine is exacerbating an issue regarding the intake/exhaust manifold. Maybe the heat is expanding a small intrusion in the manifold gasket that allows for a small vacuum leak on startup, that is absent on cold starts as the cold gasket compresses and seals the gap. If I'm having a vacuum-related issue that is contingent on engine temperature, I feel like it has to be the manifold gasket, right? At this point, I've suspected it enough that I might as well do it just to cross that off the list. I mostly wanted words of affirmation that I could be on the right track because if I'm about to do this job I want to be confident that it's going to fix stuff lol.
-
Title may be confusing, but I didn't know how to word it otherwise. The PO for whatever reason has the aux fan set to key on power. It's constantly running so long as the key is turned. It's just wired straight to the battery with a relay (that also has 2 other mysterious wires going into the wiring harness). I know it's supposed to kick on when the engine hits a certain temp. How can I re-activate this function? I wouldn't be surprised if the fan always being on is putting unnecessary strain on the alternator, considering one went bad only 6000 miles after replacing it earlier this year. A few months ago, the bearing in the fan that's been in the jeep since I bought it started going out, so I replaced it with a TYC unit. A few days ago, it quit working. Luckily it's colder outside so I can run without the e-fan to figure it out but could it really just be the crap quality unit or something funky with the way it's hooked up to power? I think the original unit was an OEM Mopar unit which would definitely explain its longevity over the TYC. When waiting for the TYC to come in (around July-August), I was driving it only on the mechanical fan, and the truck was consistently getting way hotter than usual. I'm pretty sure this extra heat/pressure is what did my old coolant bottle in. Sounds like a new fan clutch couldn't hurt either. I've done the paper test and it looked fine, there also isn't a TON of free-spinning of the fan when it's off but there is a little bit. edit: Not sure if it's relevant at all, but the previous fan was a 97+ unit, which is what I replaced it with. TYC 620560
-
Here we go again! A 1986 Eagle.
hgeranium replied to eaglescout526's topic in Member Projects: Other Cool Stuff
-
Here we go again! A 1986 Eagle.
hgeranium replied to eaglescout526's topic in Member Projects: Other Cool Stuff
Looks great! -
We're all still thinking about you, cruiser. Your knowledge is still helping countless folks in the XJ/MJ community and will continue to as long as gas cars are still legal
-
This may already be linked in the tech forum, but for those who need it and are already here, https://cdn.xjjeeps.com/pdf/en-us/jeep-engines-guide.pdf This PDF gives great in-depth information of engine and engine building for every AMC/Jeep engine from the 2.5, 2.8, 4.0, 4.2, 4.7, and the AMC 360!
-
1) Scribe hinge locations, remove engine compartment light (if equipped) and remove hood. Disconnect battery cables and remove battery. Drain cooling system. 2) Disconnect wire connectors from alternator, ignition coil and distributor. Disconnect oil pressure sender wire, starter wires and fuel injector wiring harness (if equipped). Detach 2 fuel pipe quick connect couplings at left inner fender panel. Disconnect engine ground strap and remove air cleaner. 3) Disconnect the vacuum purge hose at fuel vapor canister tee. Disconnect wire from idle speed actuator and oxygen sensor. Detach throttle cable from bracket and disconnect throttle valve rod at bellcrank. Remove upper and lower radiator hoses. 4) On automatic transmission models, disconnect the transmission fluid cooler tubing. On all models, remove fan shroud and radiator. Remove fan and spacer or Tempatrol fan assembly. Hold fan pulley to water pump flange using 5/16" x 1/2" SAE capscrew while crankshaft is rotated. 5) Disconnect cruise control cable (if equipped). Disconnect wires from starter motor solenoid and disconnect CEC system harness. Remove power brake vacuum check valve from booster (if equipped). 6) Disconnect power steering hoses from steering gear (if equipped). Drain power steering pump reservoir and plug end of hoses. Cap all fittings on steering gear and hoses. Raise and support vehicle. Remove starter. Remove flywheel housing access cover. 7) Remove upper and loosen lower bellhousing-to-engine bolts. Attach lifting equipment to engine. Raise engine off front mounts. Place support under bellhousing. Remove remaining bellhousing-toengine bolts. Lift engine out of engine compartment. TORQUE SPECIFICATIONS TORQUE SPECIFICATIONS TABLE Application Ft. Lbs. (N.m) Automatic Transmission-to-Block .................. 28 (38) Clutch Housing-to-Block Top ............................................ 27 (37) Bottom ......................................... 43 (58) Drive Plate-to-Converter ......................... 22 (30) Drive Plate/Flywheel-to-Crankshaft ............. 105 (143) Front Support Bracket-to-Block ................... 35 (47) Front Support Cushion-to-Bracket ................. 33 (45) Front Support Cushion-to-Crossmember ............. 37 (50) Rear Support Bracket-to-Transmission ............. 33 (45) Rear Support Cushion-to-Bracket .................. 30 (41) Starter Motor-to-Converter Housing ............... 18 (24) There's plenty of tips and tricks that one can find browsing the jeep forums, but this is at least a starting point. It's straight out of an engine removal guide. I couldn't find anything directly from cruiser related to this, but at least now, after I hit submit on this comment, all of cruiser's tips will 'officially' be filled with some sort of information backed by the spirit of cruiser on Comanche Club!
-
33-Converting to an open cooling system
hgeranium replied to fiatslug87's topic in Cruiser54's Renix MJ and XJ tips
Cruiser never made an official writeup for this but through multiple posts he and others gave enough information. I'll try my best to compress the information so this topic is a one-stop-shop for curious onlookers and link all the threads at the end. The method that cruiser toyed around with involves retaining the closed renix radiator, but adding an inline radiator hose filler, an overflow tank, and a couple of molded heater hoses. The part numbers are here: 11038 heater hose 11039 heater hose 63745 Moroso inline rad hose filler (on the upper rad hose) 730-4514 2.5 reservoir (7304514 is an alternative, just depends on where you can fit the tank; the closer to the moroso the better!) 703-1698 rad cap He also mentions that, while you're doing this, you can switch to "97 [heater] hoses [to] get rid of all that mumbo jumbo crap of the Renix hoses.", although not necessary. It's an easy way to delete the HCV with minimal work. ^ This is cruiser's picture using the 7304154 NAPA overflow tank. There is another example that I will put below. "Used a tank from a Cherokee and placed it where the old one was." Moroso Example of the 2.5 coolant tank as overflow below vvvv; bolts right in. You can also reuse the expansion tank as overflow: "Cleanest and easiest install IMO is to repurpose existing pressure bottle with $5 worth of parts. You don't have to relocate fuel pump ballast resistor or anything else on driver side fender. A couple of clamps and a nylon reducer and the pressure tank becomes the overflow bottle. " Another, albeit more expensive, method involves simply installing a Macs coolant tank and the 2.5 overflow tank, as done by PIKE: However, the moroso serves the same purpose as the macs, but at a much cheaper price; just requires a few more parts. If I'm missing something or get something completely wrong please tell me in the comments! I haven't done this myself so if anyone that has experience can make a step-by-step guide, that would greatly help the cohesiveness of this jumbled mess of a post lol. For some, it may be easier to just go through all the posts that I linked. -
38-Improving the wiper motor ground
hgeranium replied to fiatslug87's topic in Cruiser54's Renix MJ and XJ tips
I've pieced together what cruiser was intending for this tip. He has a short explanation in this post above: It helps if you add a ground directly from the wiper motor ground point to a wiper pivot mounting screw. Otherwise, the ground is running from the motor, to the right inner fender, across the front and to the left inner fender. This writeup here is also fantastic for a total overhaul, but still goes into detail about adding a second ground for the wiper motor: -
-