


Rubikahn
-
Posts
257 -
Joined
-
Last visited
Content Type
Profiles
Forums
Gallery
Everything posted by Rubikahn
-
Replacing Shocks. Seeking Advice/tips.
Rubikahn replied to MinnesotaManche's topic in MJ Tech: Modification and Repairs
Sorry didn’t see the link earlier. Ty, I’ll check it out. -
Replacing Shocks. Seeking Advice/tips.
Rubikahn replied to MinnesotaManche's topic in MJ Tech: Modification and Repairs
How so? Both sides of the shock use a bushing and the bottom fits no problem. So I just went and pulled the old shocks out of the trash. They don’t look wallowed out, but they are dry rotted. I measured both the top and bottom inside diameter of the bushings. I have 5/8” at the bottom and 3/4” at the top. Can anyone confirm this? I’d rather press out the top bushing on these new shocks and install the correct ones instead of buying new shocks 🤦♂️ -
Replacing Shocks. Seeking Advice/tips.
Rubikahn replied to MinnesotaManche's topic in MJ Tech: Modification and Repairs
Reviving this thread as I replaced my rear springs last weekend. Today I’m trying to get my new shocks on. I can get the shocks onto the bottom stud no problem using a deep socket and hammer. The top mounts are fighting me to the point I can’t get them to seat enough to get thread. I worked some lithium grease inside all four bushings before attempting to push them on. Is the top shock stud a different diameter than the lower shock stud? The shocks I bought are listed for an XJ if that matters? Any help would be appreciated! -
Those are hard to come by, and will probably be priced accordingly. See my comment above.
-
Thank you, and yeah that’s what I was leaning towards but didn’t want confirmed 🤣 Looks like I’m gonna have to look around for one
-
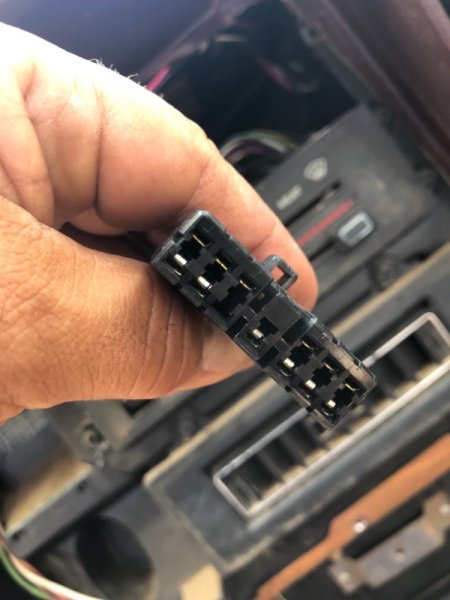
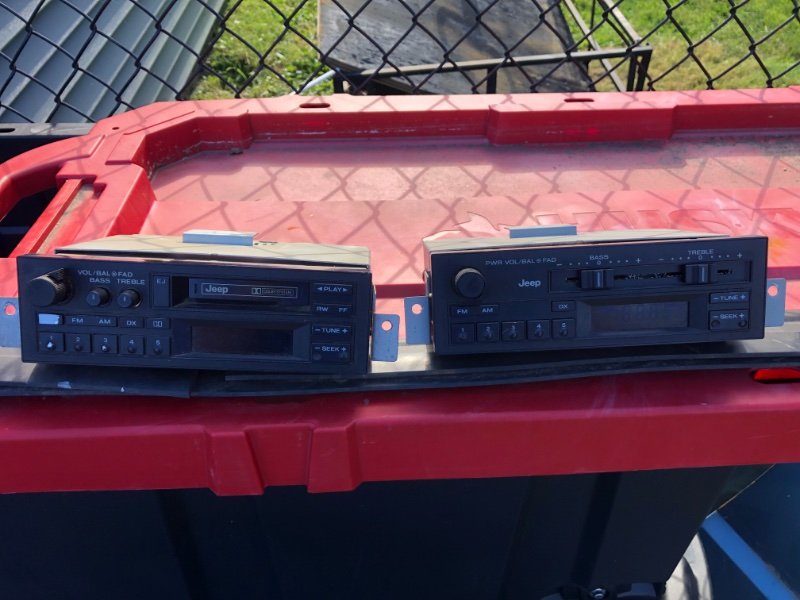
So I’m trying to track down why the radio doesn’t work in my 89. So far this is what I’ve troubleshot. Pink wire constant 12 volts Acc on Blue/white stripe 12 volts Purple/orange stripe 12 volts Does this sound correct? Looked at the harness pin out and thought maybe it was missing one side of a terminal. Checked out the radio harness connector on my parts Comanche and it looked the same. I’ve tried two different stock radios. One won’t turn on at all. The other turns on but you can barely see the display, and I have no audio. I’ve swapped the 7.5 fuse on both even though the fuse in them looked good. I guess it’s possible I have two bad radios? One was in my 89 and the other is from the parts truck. The one on the left is the one that actually turns on.
-
Old topic I know, but I just replaced the wiper arm bushings on my 89. What a difference! Two things I’ll share as far as my experience. Disconnect the plug off the wiper motor, and remove both brackets. There was way more room to maneuver the linkage when I was reinstalling it that way. Great write up though, thank you! No more slop, and the wipers return to their normal position.
-
Saw the post on FB about these. Brandon posted that he won’t be making anymore brackets, but was willing to share info with someone else to start making them again. Hopefully that person will take him up on the offer!
-
https://www.facebook.com/marketplace/item/216677157017775/
-
I do have a 2.5L SWB that I’m working on as well that will be my daughters in two years once she gets her license. If she wants it 🤣 This topic was for the 4.0 LWB I also own. Apologies for the confusion. Topic has been edited.
-
Ty Pete 👍
-
So I have the hose run from the Macs tank to the 2.5L bottle on the driver side fender. Now I need to move the EGR stuff that’s in the way. I’ve pulled the hoses and solenoid off and I’m waiting on some vacuum line plugs to come in so I can cap them off. Do I leave the EGR relay plugged in or pull it off the harness? Second question: Rather than remove the EGR and tube that goes into the manifold I’ve read that I can just plug anything vacuum related to it and be done with it. Does that sound correct? Only asking because this was a NE truck and those bolts don’t look like they really want to come off 🤣
-
Ok, thanks.
-
Ok, so the res is just shaped different to allow clearance for the air hose then.
-
Thank you for the pic. I had just found one online. It’s hard to see in the pic, but I’m gonna assume it probably has a 2.5L specific PS res bracket too?
-
👍
-
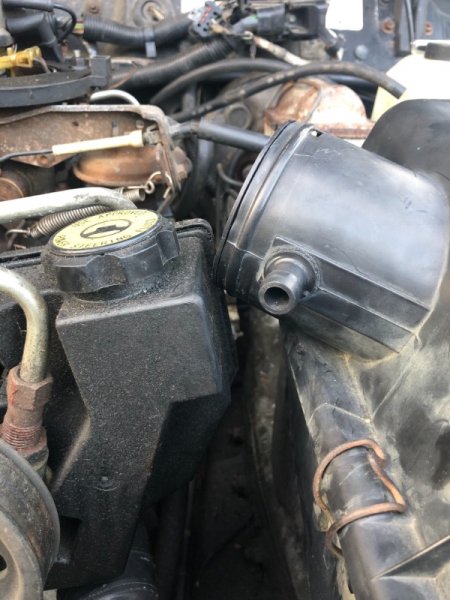
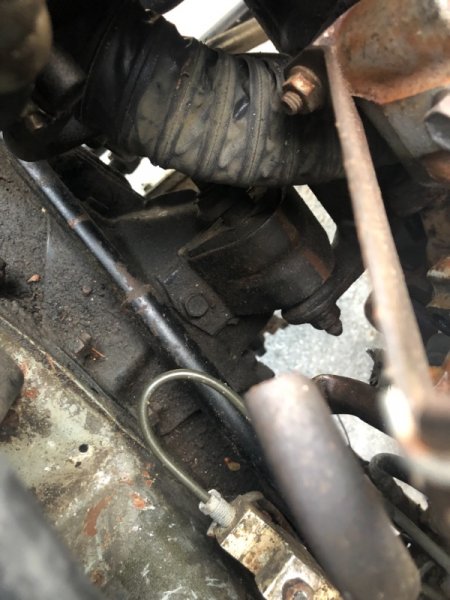
Working on my 87 2.5L today. I mounted a new overflow bottle on the drivers side. It’s in the correct spot and sitting flush against the side of the engine bay. Tried to install the air box and I can’t get the lid on because it’s sitting below the PS reservoir. The bottom of the air box is fastened using the threaded holes for the two bolts up front and threaded stud in back so that’s in the correct spot. I don’t have anything to compare before and after cuz previous owner had a cone filter sitting in the bottom half of the air box. Is it possible the motor mounts are shot to the point it’s letting the motor sag down that far? Some pics of how the air box lid is sitting, and a not so great pic of the driver side motor mount.

-
Looks pretty good.
-
Didn’t even think of it that way, duh… thank you
-
Just ordered the Dorman cap on Amazon, thanks bud!
-
Looks pretty cool. Looking forward to pics of it in the dash.
-
Ok, so I got the 2.5L expansion tank and some hose. For some reason the cap didn’t come with the tank, and it says it’s no longer available. What did everyone use for a cap? The original cap from the 4.0 overflow tank does not fit on the 2.5L tank.
-
Gotcha, I’m still running a closed system
-
Perfect , thank you sir