


Torq_Shep
-
Posts
918 -
Joined
-
Last visited
6 Followers




Recent Profile Visitors
3078 profile views


Torq_Shep's Achievements
MJ Junkie (6/11)
-
I struggle so much with this. My 4.7 stroker is a dog but it's tuning and exhaust I think. It's starting to make noises that I would hope are top end but I am nearly certain are bottom end. The unbeatable low end torque of the 4.7 is awesome. It's so good. But it's not a revver. Basically useless after 3.5-4k. An LS would be great but I worry that it would ruin the nostalgia of driving the i6.
-
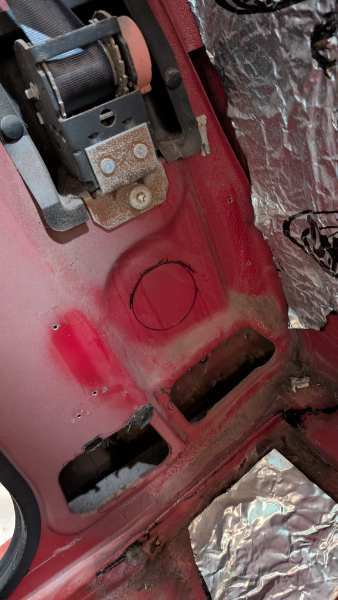
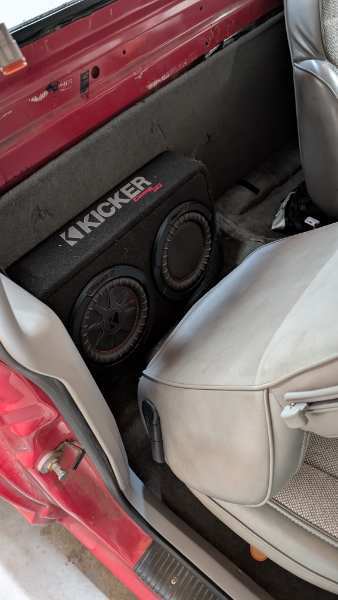
It sounds excellent. Gets into true sub bass which I wasn't getting with a small powered sub I had before. I made a bracket out of 1" angle that the subs sit on and then I just have one bolt going into the cross bar on the back of the cab. I am running it at about 1/4 power but it can do more bass than I would ever want =P You can come hear it if you are ever in south Seattle. I end up in Mt. Vernon for work every few months but I am usually not driving the truck up there. I played around with a lot of locations and forward facing behind passenger seat I thought sounded the most balanced. Granted that experimentation was with the old small powered sub. There is still plenty of floor space for jumper cables or whatnot below it.
-
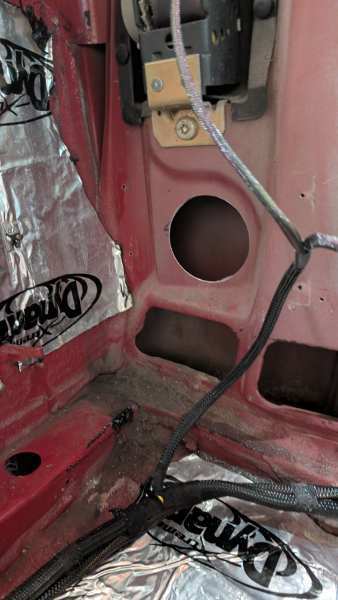
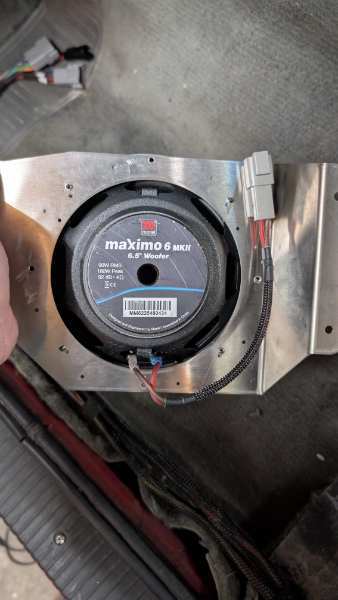
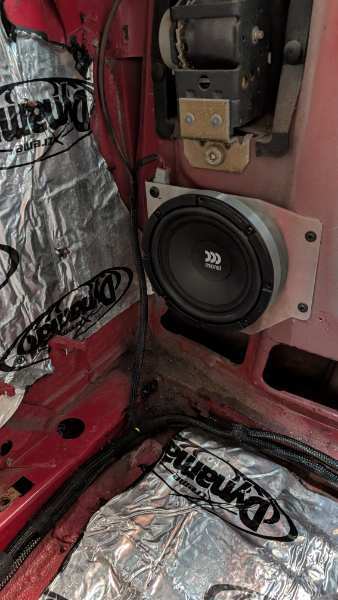
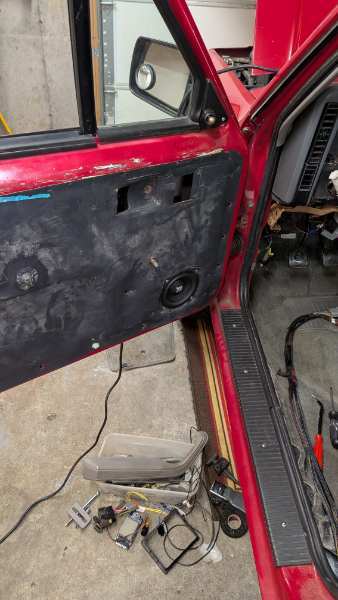
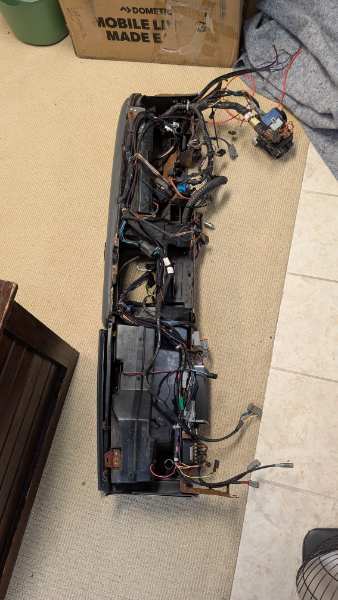
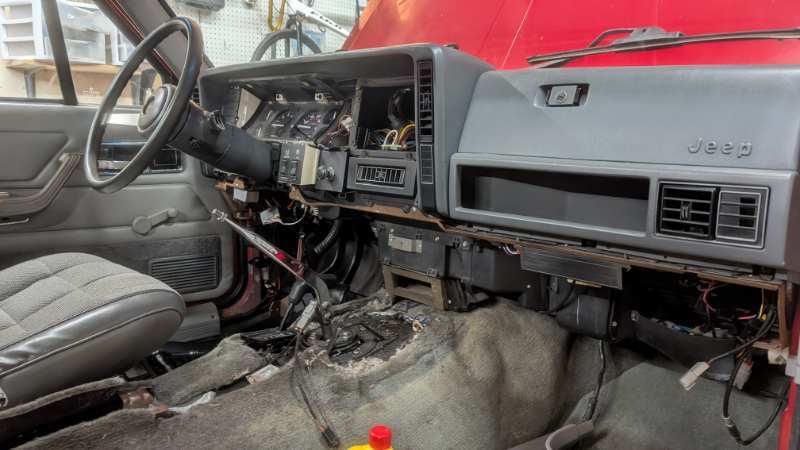
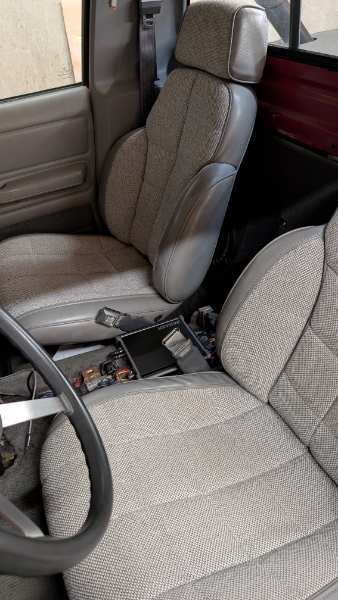
I finally finished rewiring the cab from kickpanel back and wiring all of the new sound system in. For the wiring itself it is all sized up one size from factory (18ga from 20ga and 14ga from 16ga). I ditched most of the factory connectors in favor of Deutsch connectors everywhere (solid pin type). For the audio wiring, I ran 18ga GXL for high level inputs to the 4 channel amp and to the rear subwoofer mono amp. All speakers have 16ga audio wire. I put the 4 channel essentially where the auto trans controller would go but mounted on the dash side. Mono amp sits under the center console. Crossovers are also mounted on the bottom side of the dash. Tweeters in stock location, @boxyjeep's 6.5" woofer adapters in the back. Front components are Morel Maximo MKii, rears are the same except I didn't run crossovers and excluded the tweeters. Read sub is a Kicker 8" passive radiator comp RT. 4 channel amp is the Kicker KEY200.4 with built in auto DSP. Rear amp is the Kicker KEY400.1. RX173 and I redid all of the lighting, ran the aux cable, and tuned down the AM signal to not interfere with Aux per @ghetdjc320
-
I hate the "parking brake" on my disc swapped D44. Can't ever get it to work right. Currently, it locks up tight in reverse and basically does nothing in the forward direction.... Honestly considering converting back to drums. I didn't install the swap kit but it annoys me so much. All that being said, maintained rear drums are perfectly fine and discs aren't necessarily an upgrade.
-
Pry carefully between the lens and the chrome surround putting inward pressure on the lens side until it pops out of the socket. You only need to get one side loose and the lens will come off. Left and right side is where the retaining sockets are, do not pry on the top or bottom sides. The lens rarely breaks. It is the chrome surround and other plastics that fall apart so when in doubt put pressure on the lens.
-
I personally committed to the Euramtecs they look close enough to the originals and aren't made of dust but I didn't enjoy trimming the 1/4" out of the one side.
-
Be aware, the factory housing are insanely fragile. Only try and take the lens off if you are checking the bulbs, do not try to pry out the whole assembly or it will break.
-
No problem! There were a bunch on eBay for insane prices but someone posted an XJ specific one for $50 free ship so I snagged it.
-

120mph full custom OE gauge cluster - $350 NW Arkansas
Torq_Shep replied to ghetdjc320's topic in For Sale
I have the entire UK set of gauges in my LHD cluster. Was a PITA to find years ago and had to have a friend in the UK buy the cluster and ship me just the gauges. -
I know it's a weird part but there is a bracket that the Renix ECU mounts to. If anyone has one around I would be interested!
-
Got one! Thanks!
-
K Suspension headlight relay harness
Torq_Shep replied to jodawill's topic in MJ Tech: Modification and Repairs
When you check the resistance between the battery ground lug and the ground pin on the drivers headlight connection, what is your reading? It should be <1 Ohm ideally. Checking it at the battery ensures that you are including the ground path through the screw itself as well. Did you make a new ground for this or did you use an existing location? -
K Suspension headlight relay harness
Torq_Shep replied to jodawill's topic in MJ Tech: Modification and Repairs
IIRC these work by taking the headlight switch input and routing that into 1 relay for low beams and another relay for high beams. Is there a brightness issue on the driver light with high beams and low beams or just on low beams? You need to check resistance of the low beam power connection at the headlight back to the relay. Likely pin 87 on the relay connector side. You should also check to make sure that you have very close to battery voltage between the low beam power light and ground on the drivers connection. -
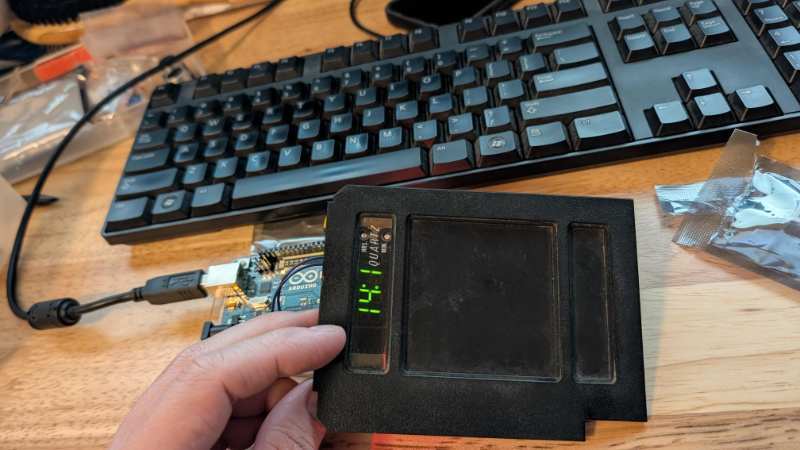
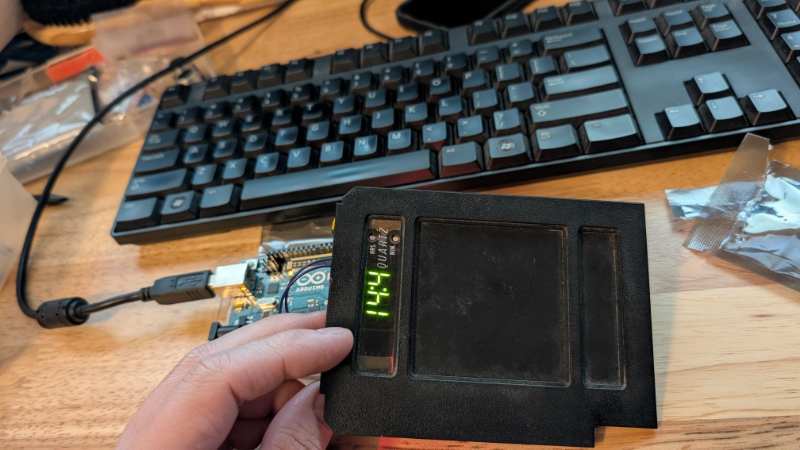
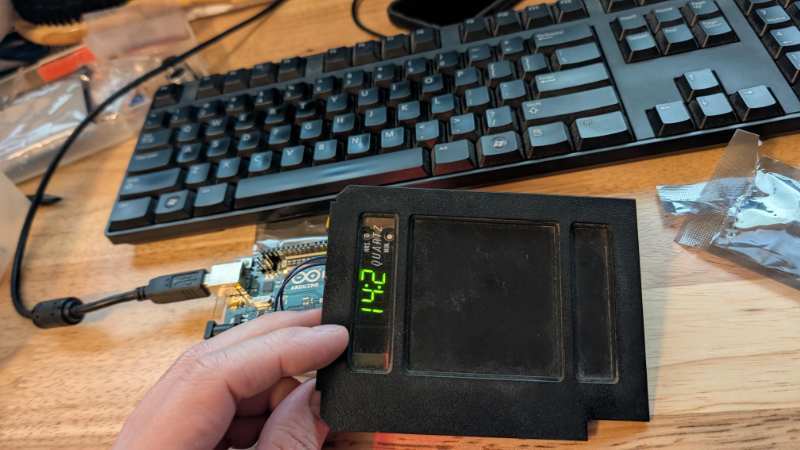
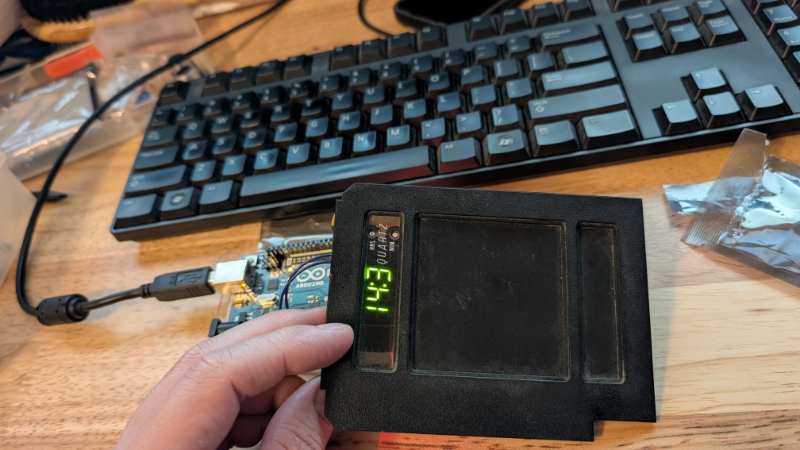
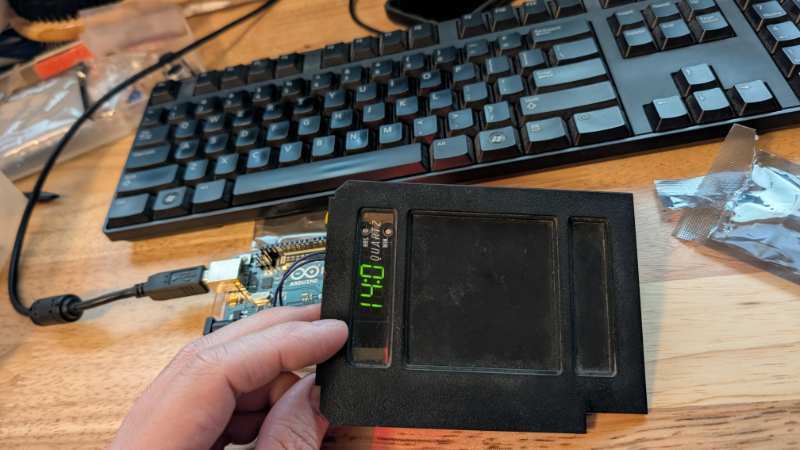
Only 5 years later and I am contemplating this same project. I am older and lazier and have found that the very standard TM1637 Arduino displays in green are not a perfect replica for the old VFD displays but they are 100 times easier to control and are not going to require a full custom circuit board (although I might do one anyway). The 14.0 is the lowest brightness. The 14.4 is the highest brightness option I am showing (from 0-7) as anything higher than 4 is essentially the same as 4. It is "too sharp" compared to the original VFD but the size is right and the implementation time if I ever actually do this will be much much lower.
-
Definitely interested. I can likely find (and may even have) an XJ/MJ shift lever but I for sure do not have the lower assembly.