

dustyinthedirt
-
Posts
357 -
Joined
-
Last visited
Content Type
Profiles
Forums
Gallery
Everything posted by dustyinthedirt
-
Superduty MJ
dustyinthedirt replied to dustyinthedirt's topic in MJ Hardcore Tech: Epic Journeys to Greatness
Did our yearly New Years cruise we waited till the 2nd though since the weather was crappy on the 1st. it was worth the wait
-
Superduty MJ
dustyinthedirt replied to dustyinthedirt's topic in MJ Hardcore Tech: Epic Journeys to Greatness
Thank you! And yes the front truss is a Artek . Made locating all the links really easy -
Superduty MJ
dustyinthedirt replied to dustyinthedirt's topic in MJ Hardcore Tech: Epic Journeys to Greatness
The sliders where a labor of love. Once all of this plasma stuff gets going I’m going to maybe batch a few sets out. As with the rear bumpers. The plasma should be Thursday it’s gonna get nuts from there. -
I have two laying in the floor of the shop I’ve done..... just laying here...
-
Superduty MJ
dustyinthedirt replied to dustyinthedirt's topic in MJ Hardcore Tech: Epic Journeys to Greatness
Thank you! -
Superduty MJ
dustyinthedirt replied to dustyinthedirt's topic in MJ Hardcore Tech: Epic Journeys to Greatness
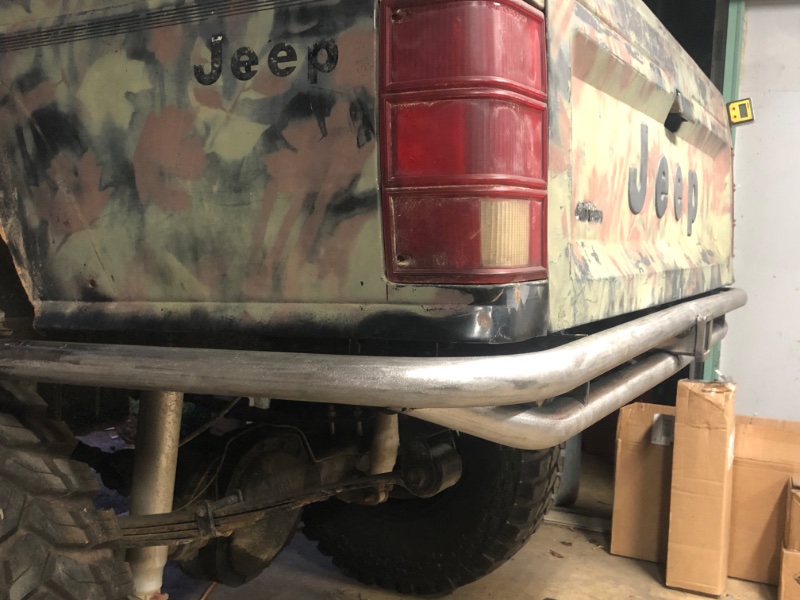
Finished welding the rear bumper up this Evening. Going to make a tie in to the x in the rear of the frame to the hitch and just run a d ring from it. Pretty happy with how it turned out.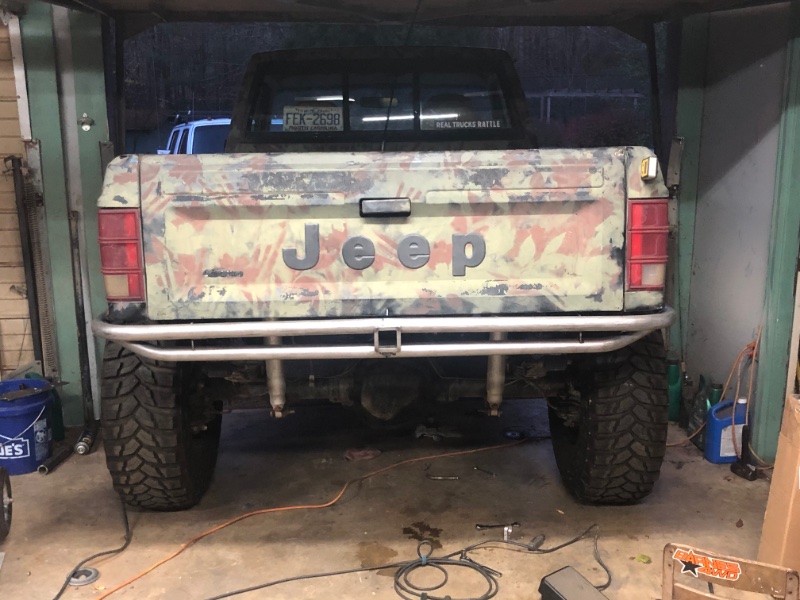
-
Superduty MJ
dustyinthedirt replied to dustyinthedirt's topic in MJ Hardcore Tech: Epic Journeys to Greatness
That would be it! Thank you!!! We may be going blue -
Superduty MJ
dustyinthedirt replied to dustyinthedirt's topic in MJ Hardcore Tech: Epic Journeys to Greatness
Thank you! I have thought about adding in another brace in the future -
Superduty MJ
dustyinthedirt replied to dustyinthedirt's topic in MJ Hardcore Tech: Epic Journeys to Greatness
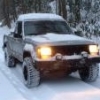
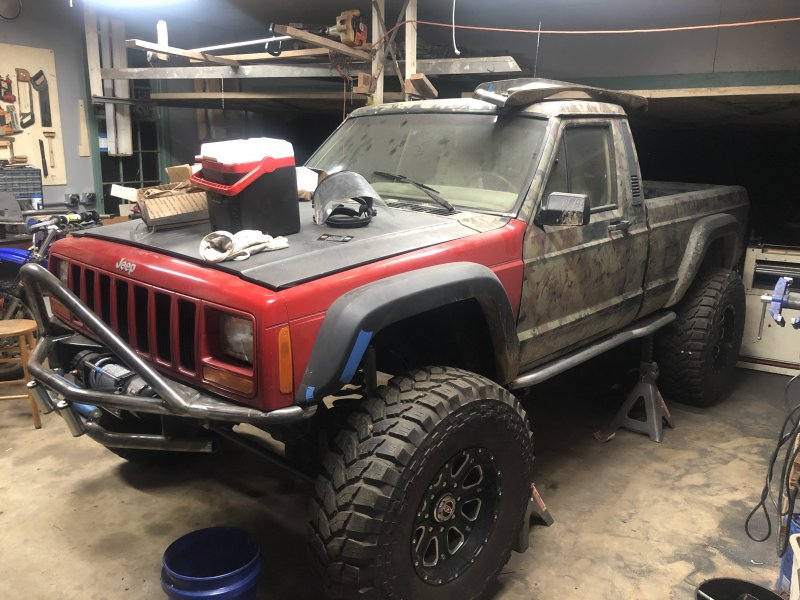
Soon my friend. Soon it will all be one color... blue or white? I can’t decided. I’m thinking blue but white will show less scratches over time...... but blue though. Can somebody tell me the color of this Comanche? beautiful truck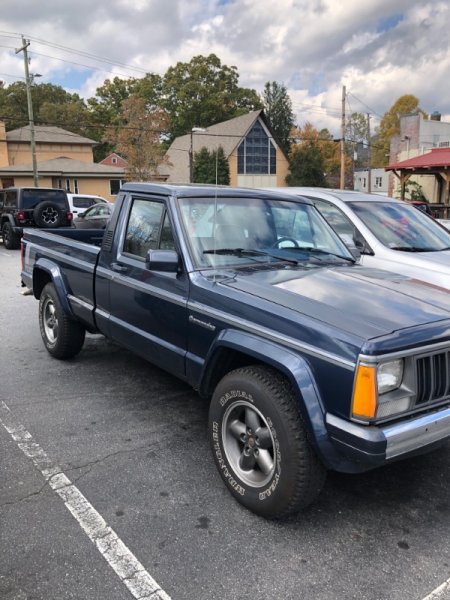
-
Superduty MJ
dustyinthedirt replied to dustyinthedirt's topic in MJ Hardcore Tech: Epic Journeys to Greatness
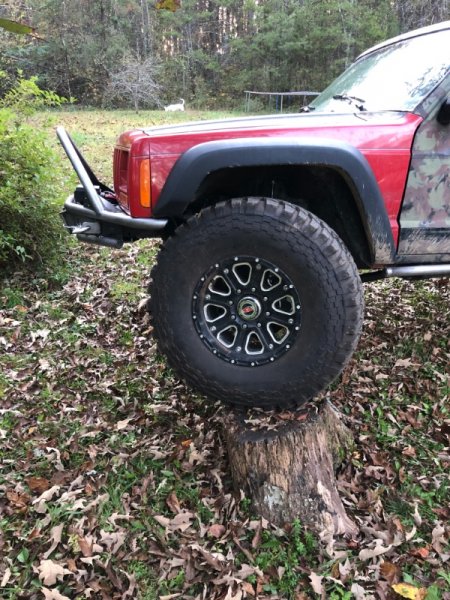
to step Up into the bed easier as said before but also to push it off a rock around the tire is the hope -
Superduty MJ
dustyinthedirt replied to dustyinthedirt's topic in MJ Hardcore Tech: Epic Journeys to Greatness
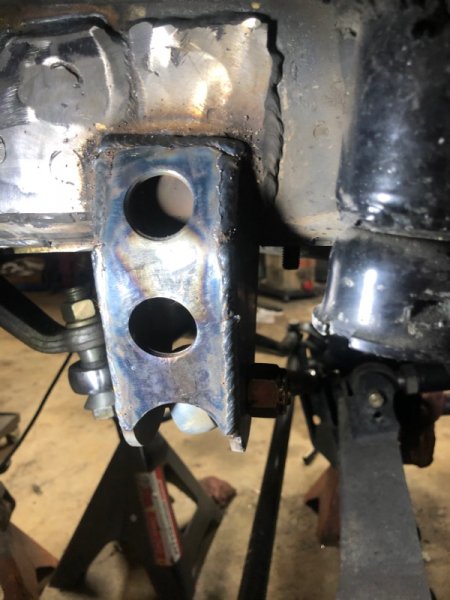
old trac bar mount new one I also remade the trac bar mount. It was never supposed to be permanent but ended up that way. Couldn’t cut all of it off so I had to scan a piece beside it to make a good mounting point to the unibody. Really should have added frame stiffeners when I had it apart. also added limiting straps from wide open designs. I didn’t get a picture of all that but I will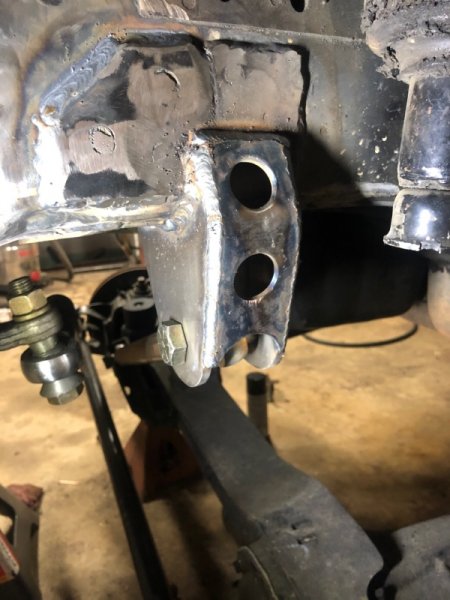
-
Superduty MJ
dustyinthedirt replied to dustyinthedirt's topic in MJ Hardcore Tech: Epic Journeys to Greatness
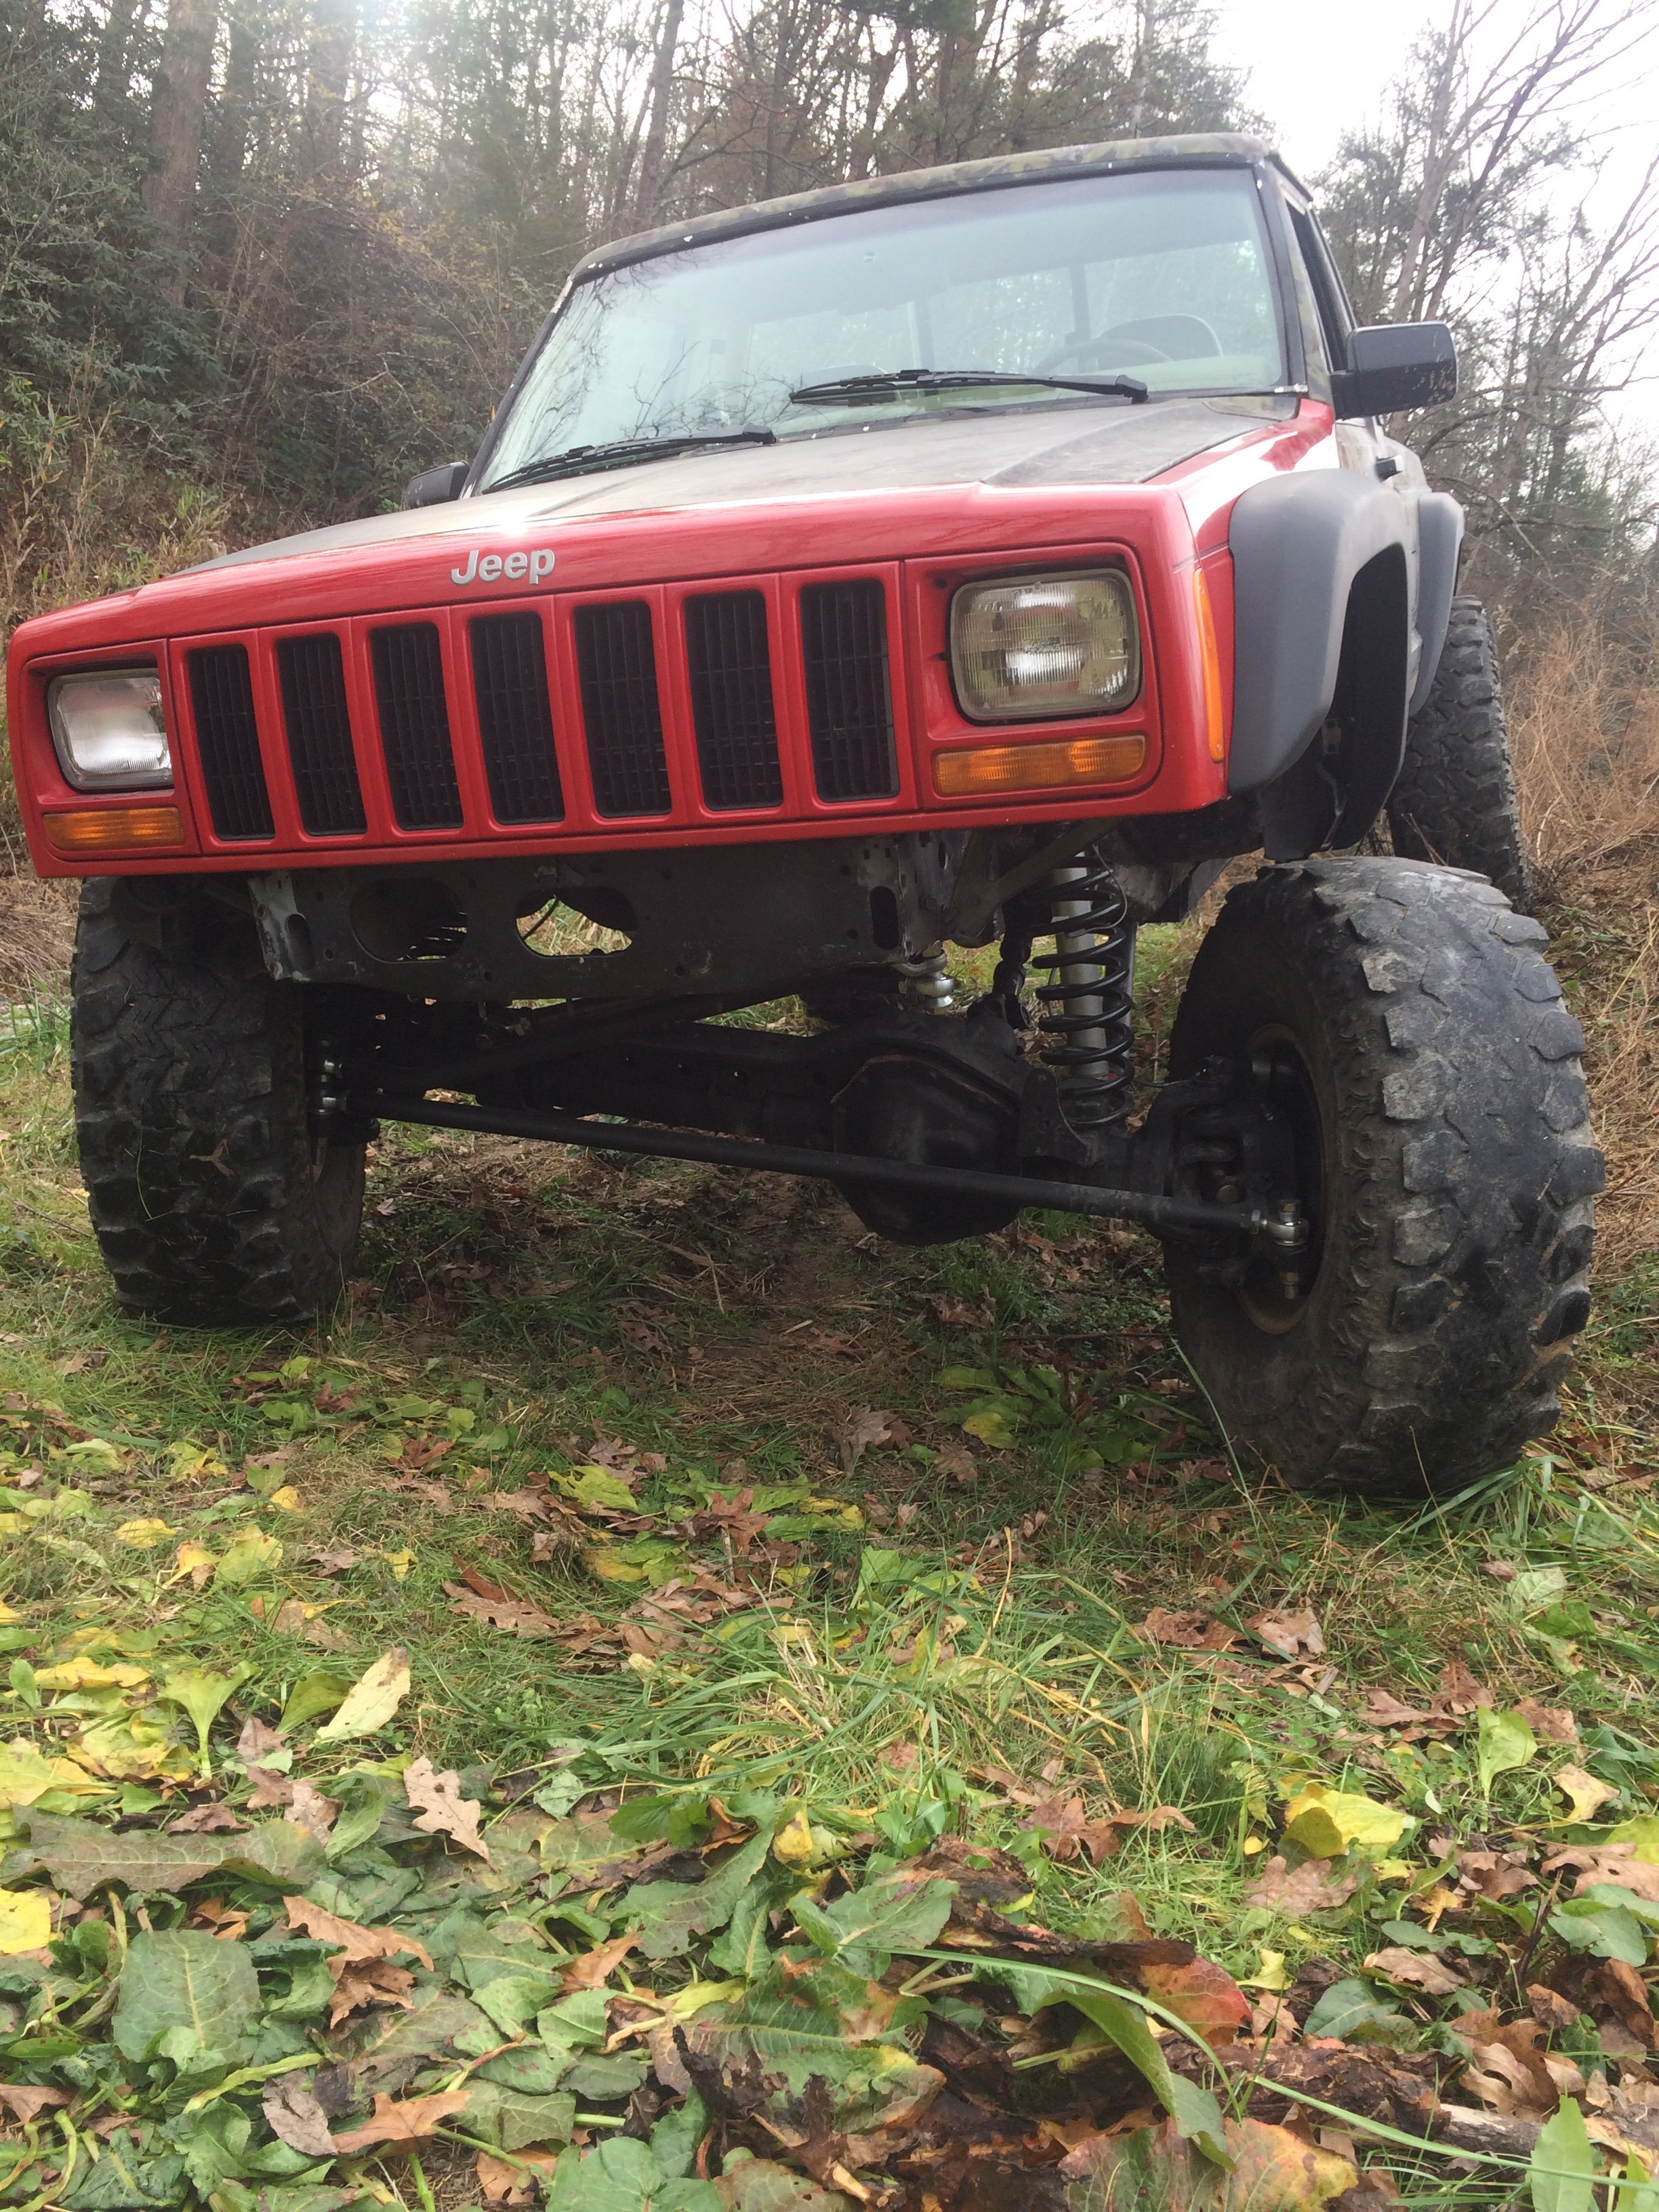
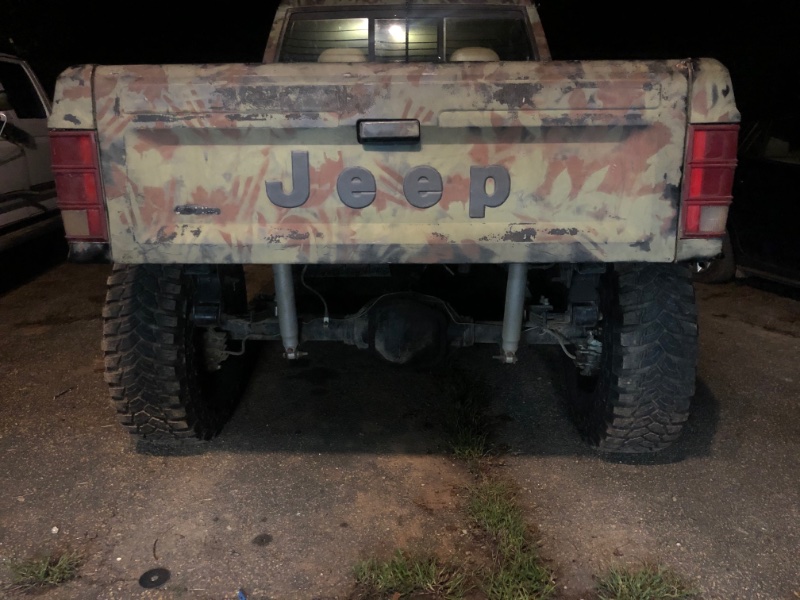
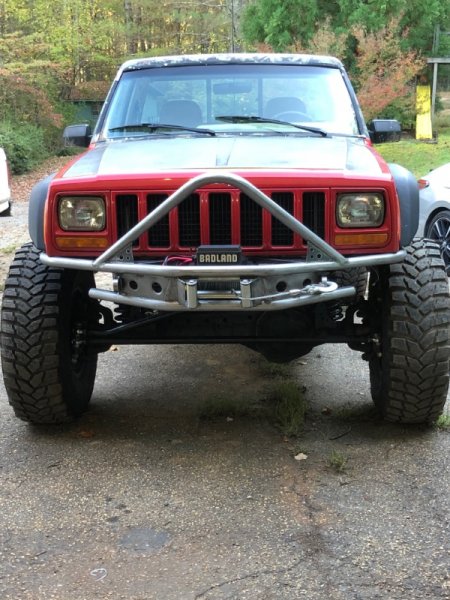
I notched the rear quarters... I had already bent both sides. From coming down on a rock. I do still have them if anybody wants them I will stick in a box and send it your way. I sprayed the raw edge woth some primer for now. finished the front bumper up. Started on a reaR bumper. not a huge fan of the bumper so it will probably change. this is 1” off the bump and full lock to passenger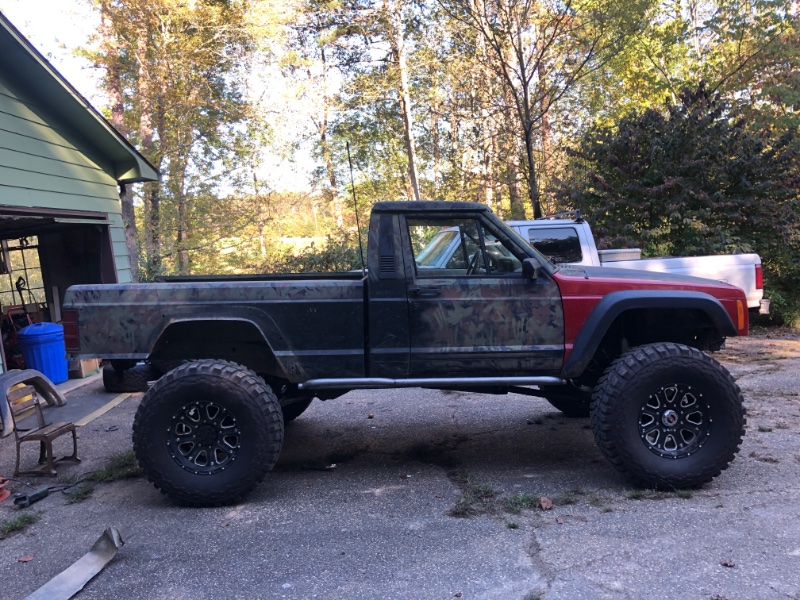
-
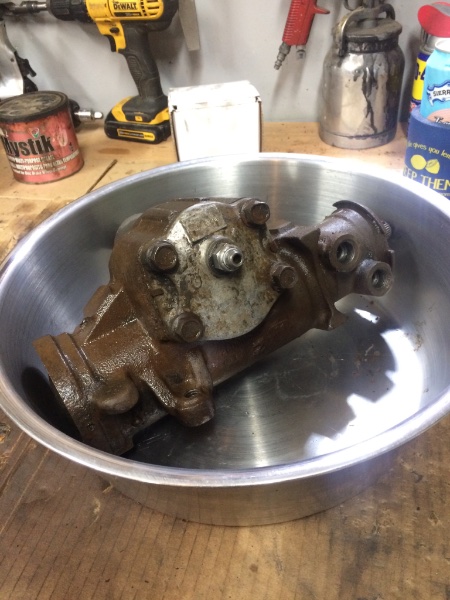
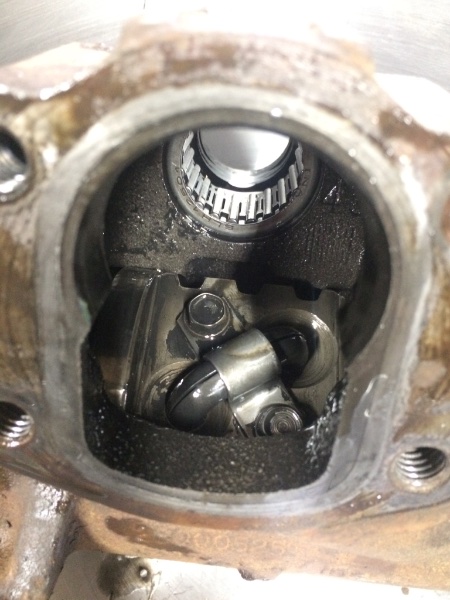
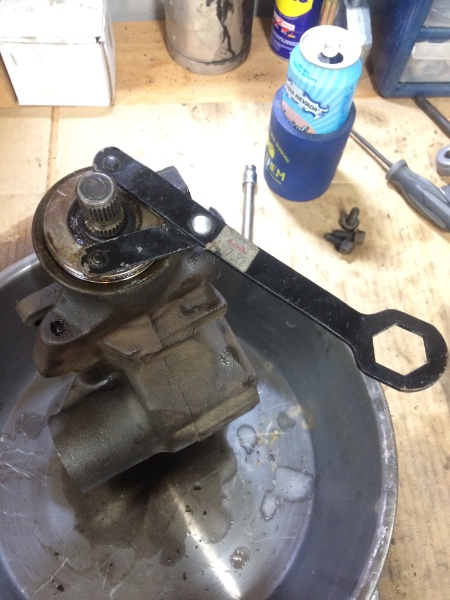
Thanks guys! If y’all get stuck rebuilding yours shoot me a message and I’ll try to help. very satisfying when you put it back together and everything works smoother and doesn’t leak
-
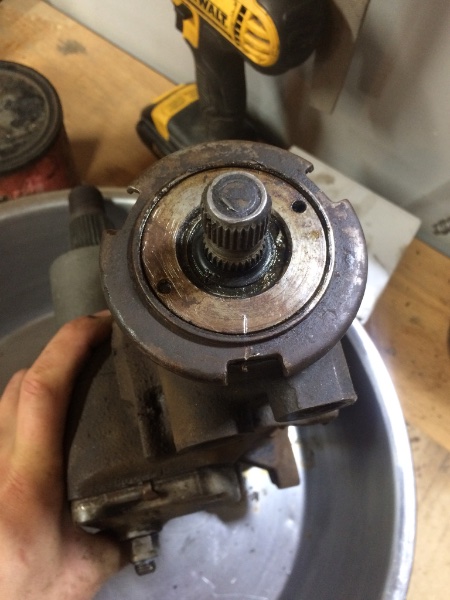
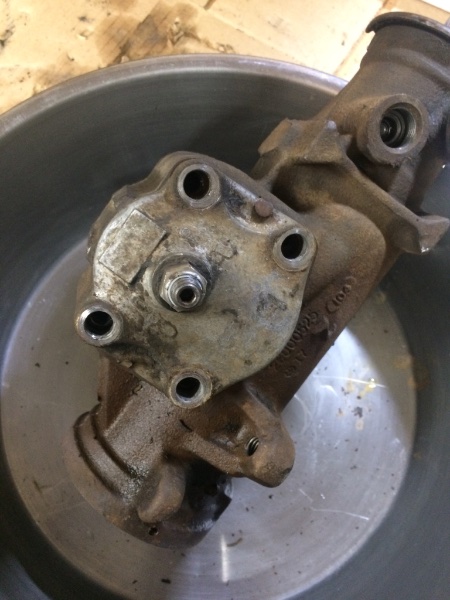
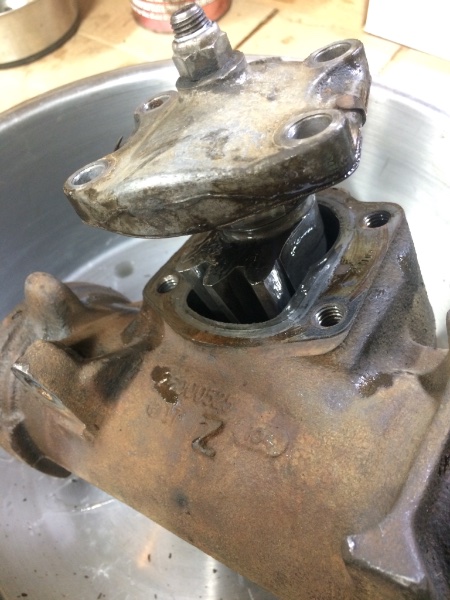
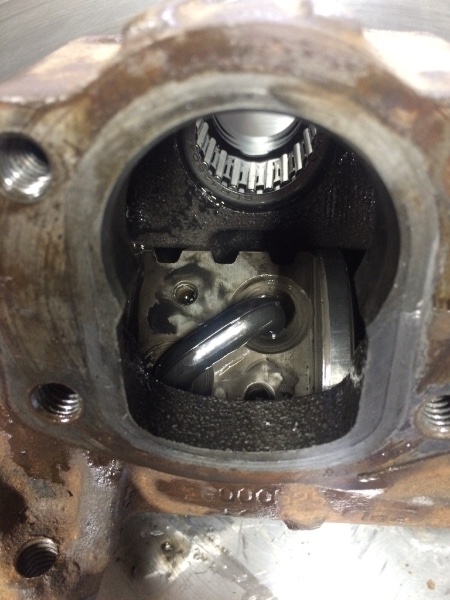
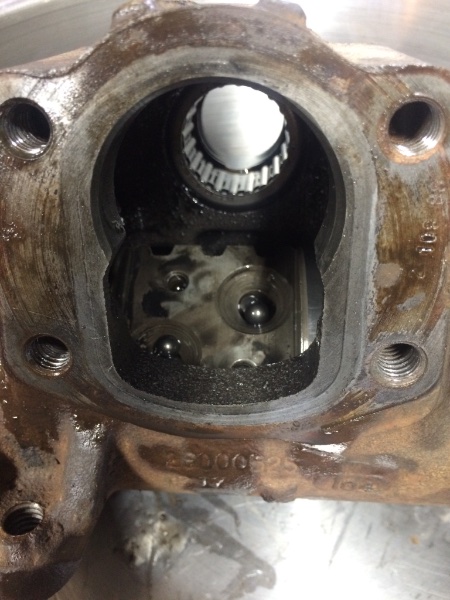
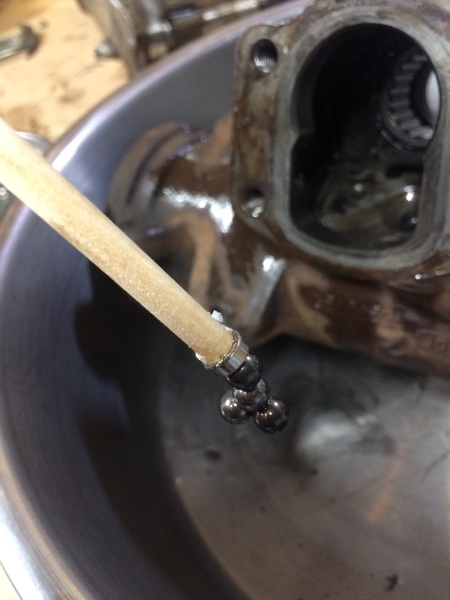
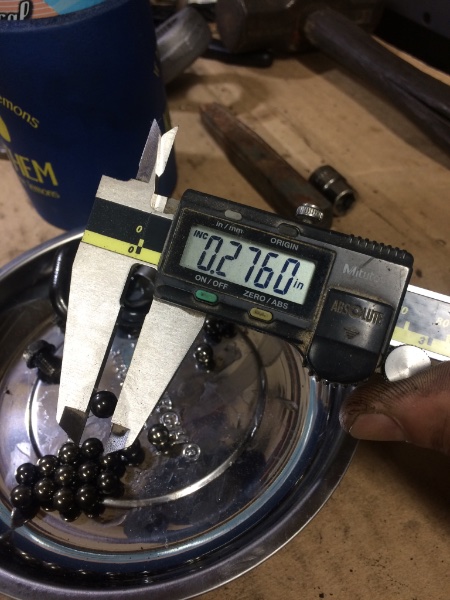
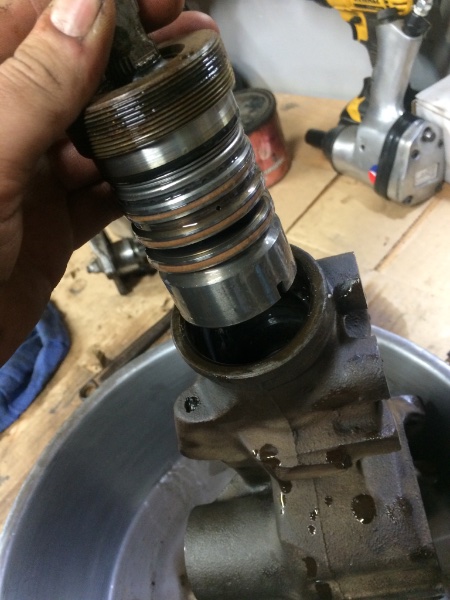
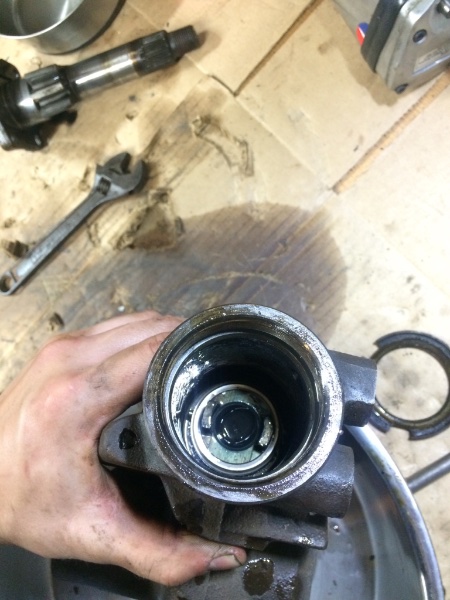
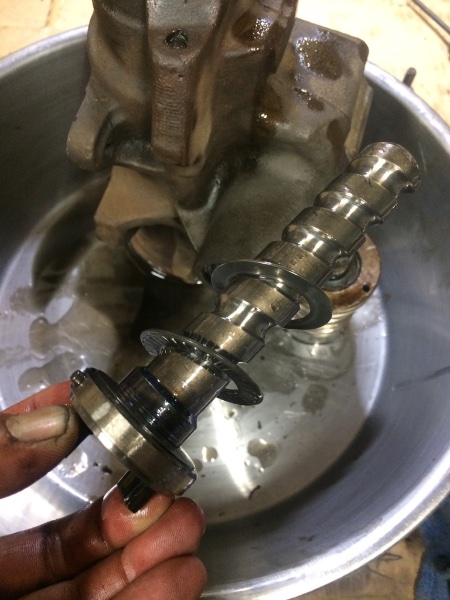
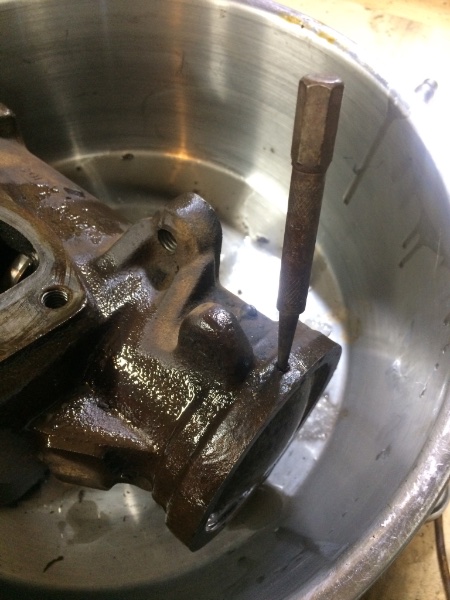
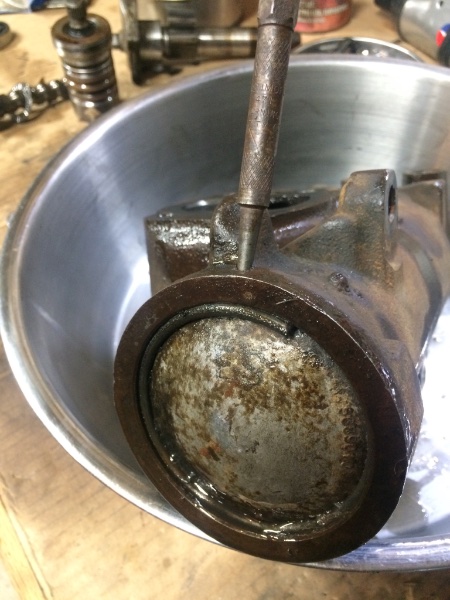
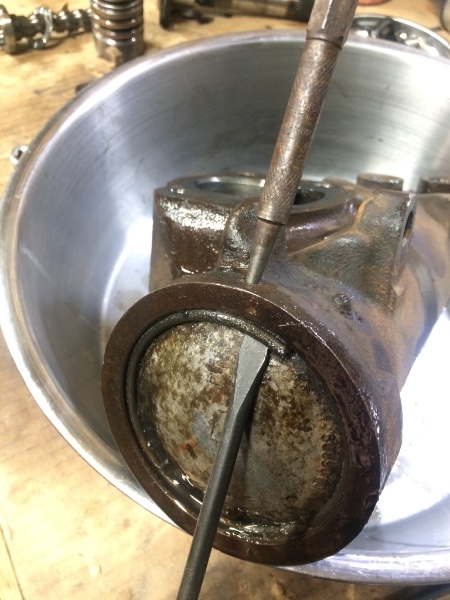
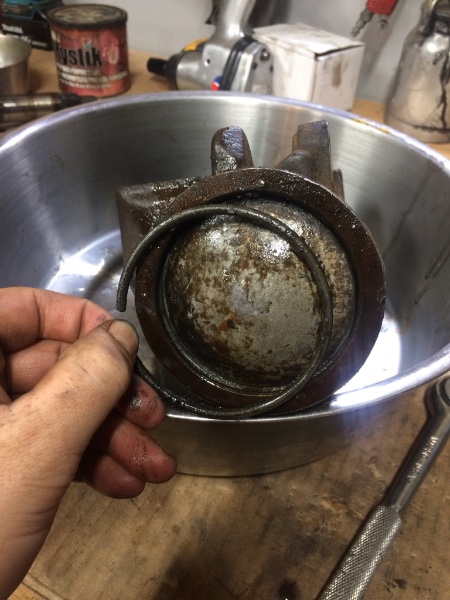
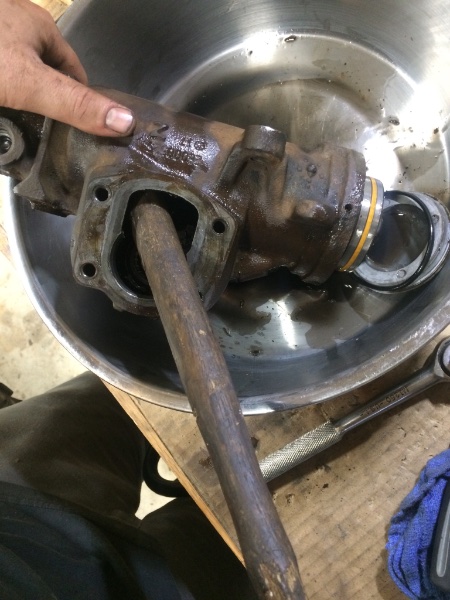
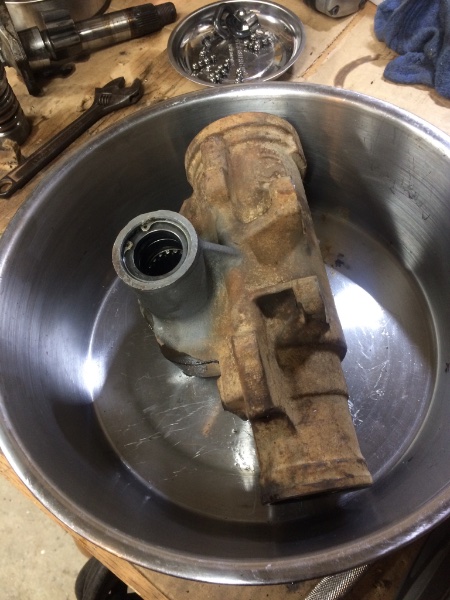
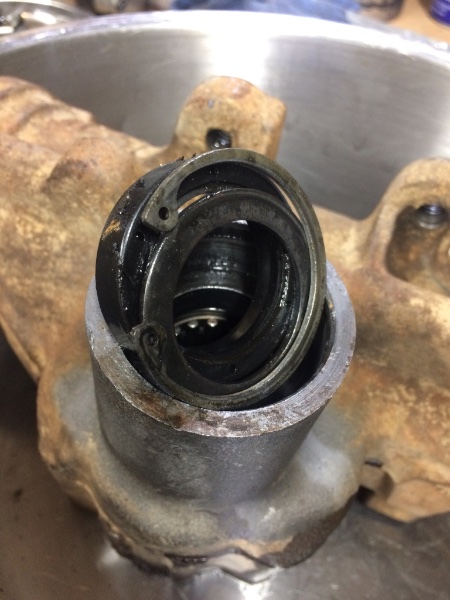
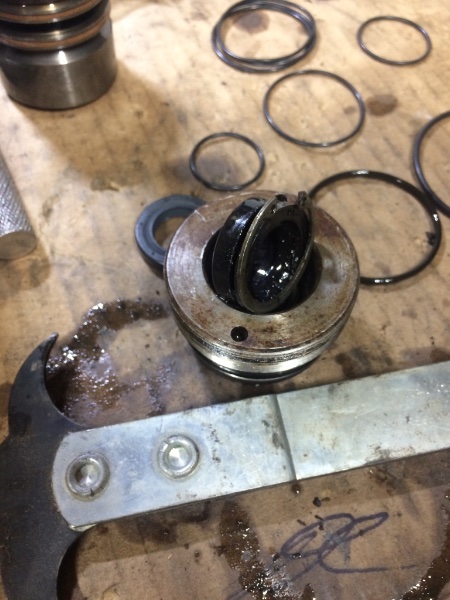
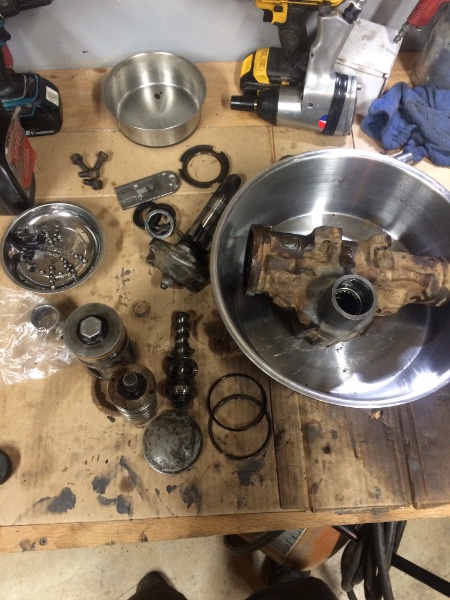
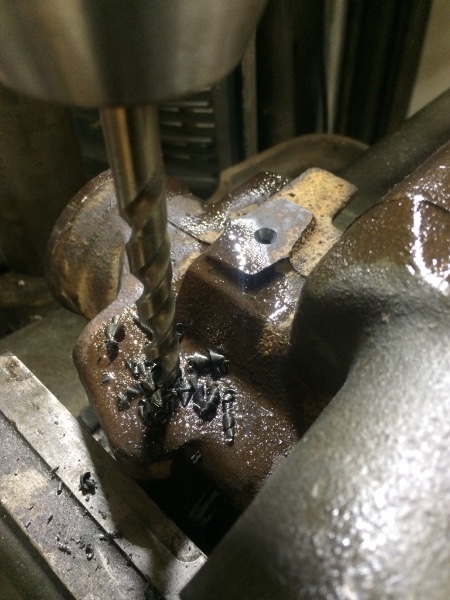
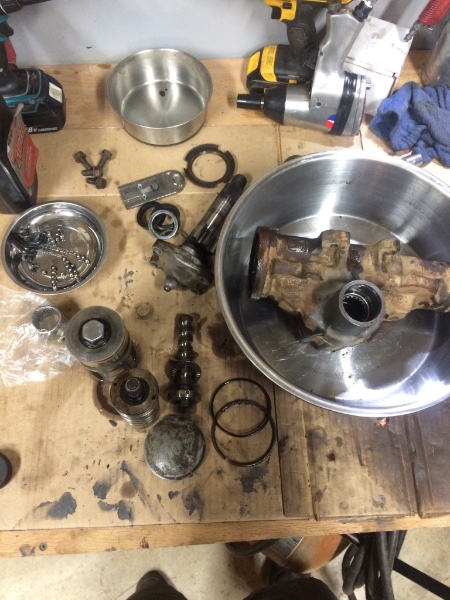
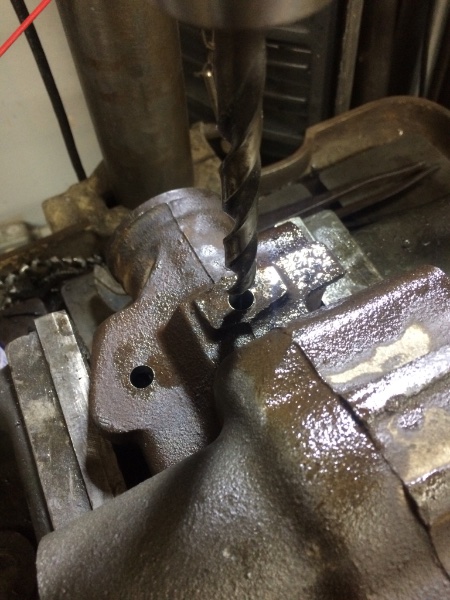
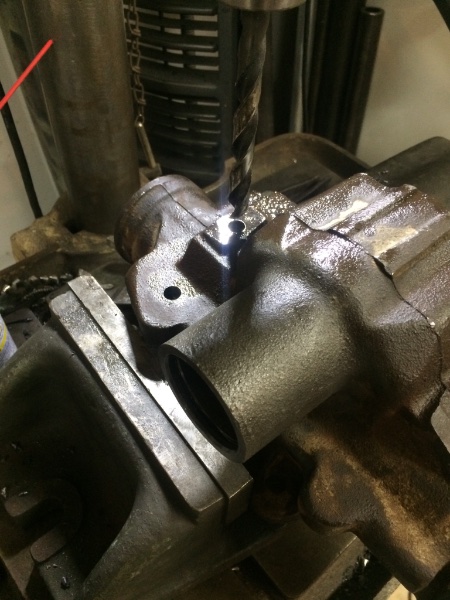
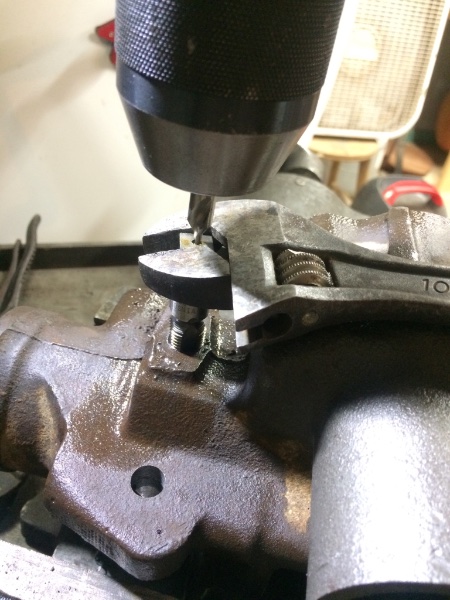
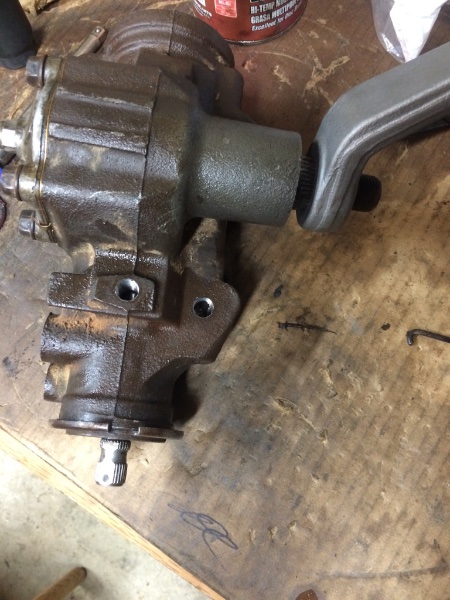
stock gear box cleaned Remove the four main bolts inside you’ll find the retaining clip on the ballbearing case the bearings travel side to side in I started out by pulling as many balls out as possible. I didn’t have a magnet on a stick so I glued a magnet to a stick. take the shaft side nut loose with a spanner I don’t remember the number of ball bearing. But did get a pic of the ball bearing size. In some of the case there is two different styles of bearings some chrome. And some dull finish. Mine had both styles alternating but the same size. use the cylinder to push the aluminum end cap out with a wooden hammer handle to pry with after removing the lock ring Remove the snap ring from the bottom . Pull the seal out and then press the old bearing out while you have it this far apart. My deal was melted from trying to get the pitman arm off. The spot to drill is pretty easy to find. The castings are flat in this area. drill into the veins of the box but not to far as to go through the other side. I used a 1/4 npt tap Then blow through the box a few times with compressed air and maybe oven pour some fluid through the holes and then hit it with some compressed air. When reassembling the most important part is the bearings on the worm screw. The need to be added evenly along the screw. I had to move it back and fourth a few times as I was dropping them in. I used a little grease to hold them inside the u shaped case And filled it up before sticking it back in place and fighting the bolts down if you get it back together and it moves for a moment then stops your bearings are out of wack. Take it back apart and make sure the bearings are in correctly
-
Do you want the ones that open or stationary?
-
that’s what I’m talking about
-
Superduty MJ
dustyinthedirt replied to dustyinthedirt's topic in MJ Hardcore Tech: Epic Journeys to Greatness
That’s what I’m leaning towards as well -
Superduty MJ
dustyinthedirt replied to dustyinthedirt's topic in MJ Hardcore Tech: Epic Journeys to Greatness
Thank you! it’s all about patience. And lots of grinding. I think I wanna do the rear bumper with the same little kick outs on the side. I’m just procrastinating cutting the bottom part behind the tire of the bed off -
Superduty MJ
dustyinthedirt replied to dustyinthedirt's topic in MJ Hardcore Tech: Epic Journeys to Greatness
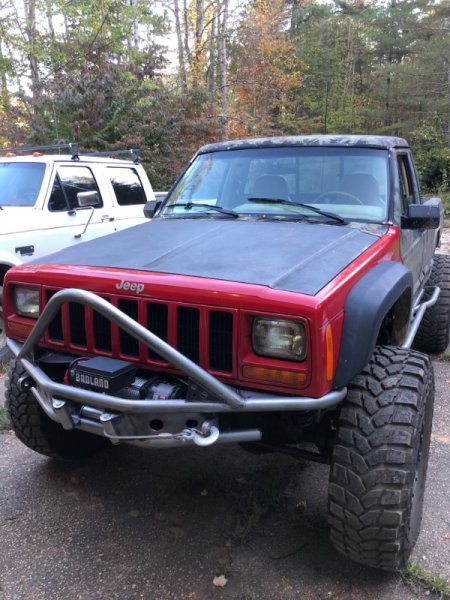
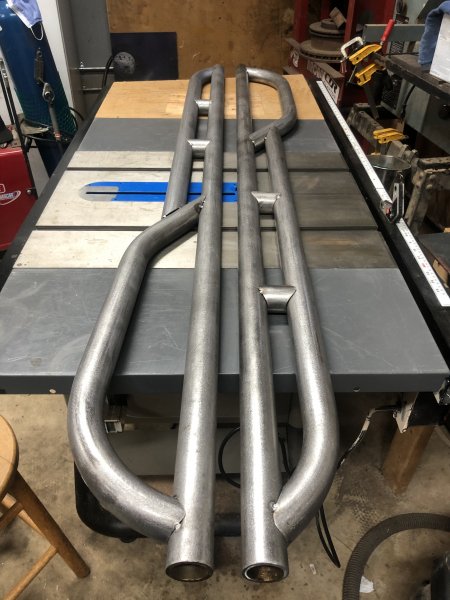
Before I trimed the ends off the lower Tube. not really a huge fan of the bumper. Not exactly how I planned it to look. If anyone is interested I may be selling it. Winch mount and all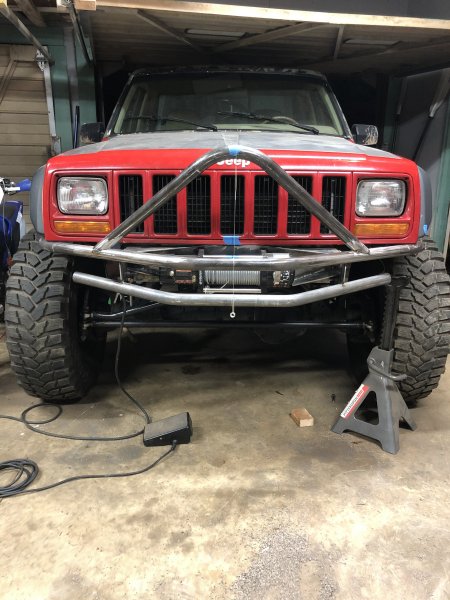
-
Superduty MJ
dustyinthedirt replied to dustyinthedirt's topic in MJ Hardcore Tech: Epic Journeys to Greatness
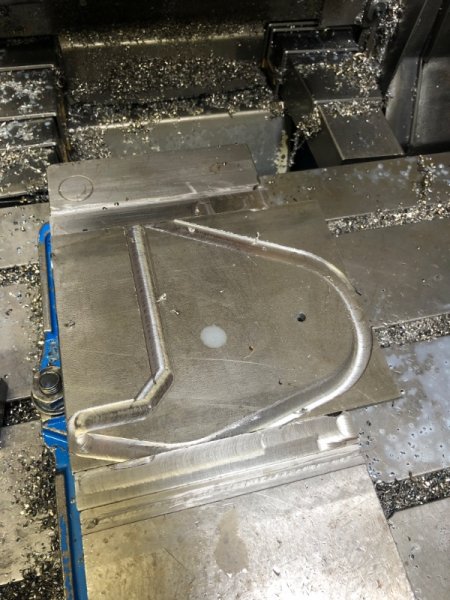
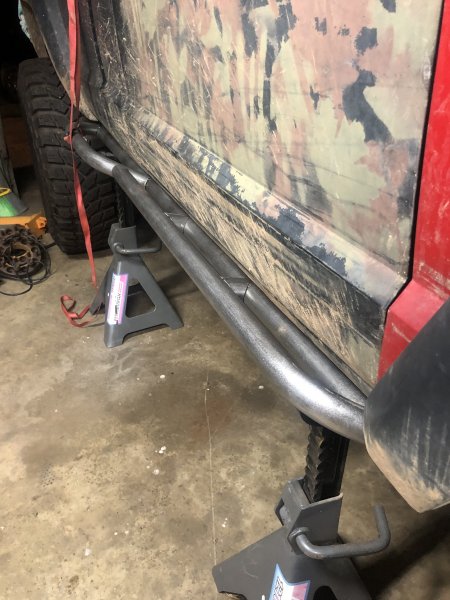
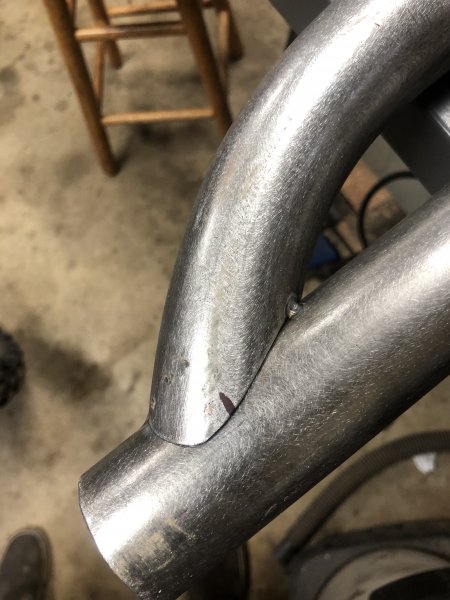
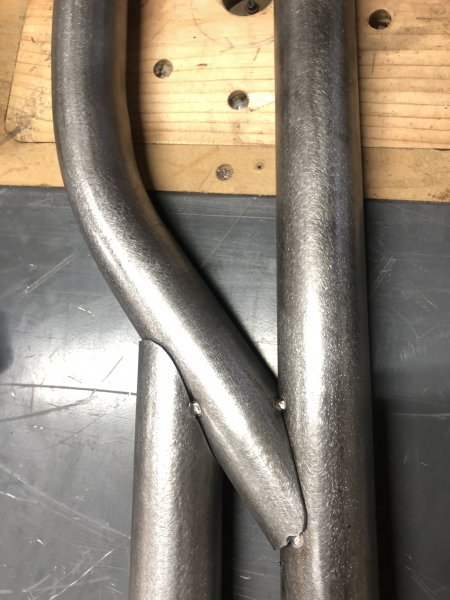
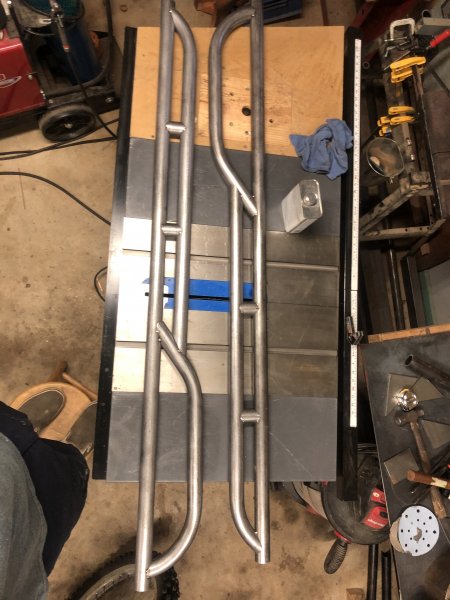
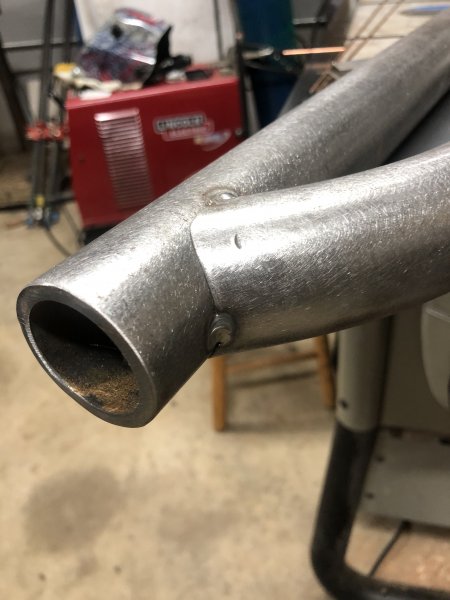
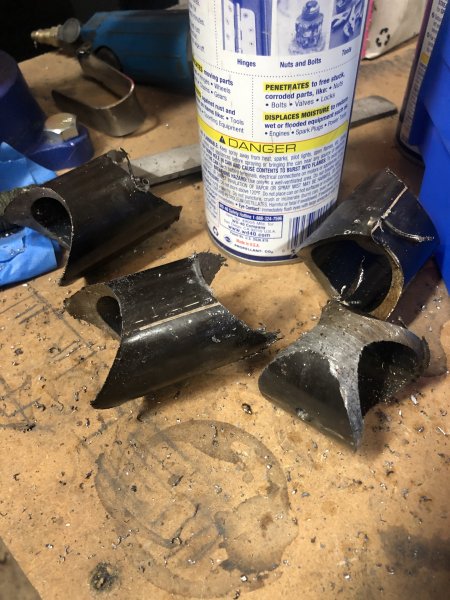
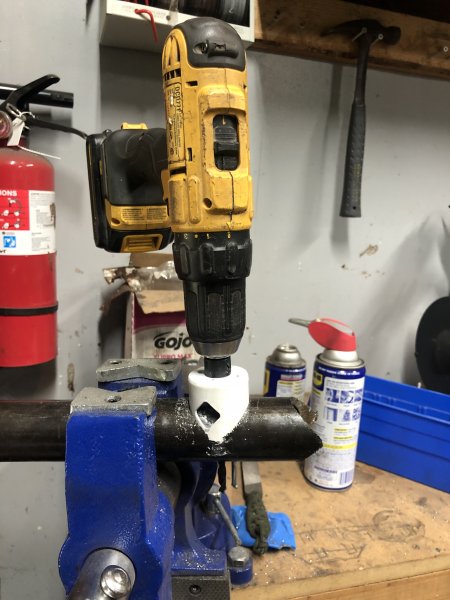
Making progress on the bumpers and sliders. I’ve notched most of the tubes by hand with a bandsaw and flapper disc. much easier then expected once I figured it out. Also used a tube notcher to get the little standoffs for the sliders. My drill press doesn’t spin slow enough so I would start it on the press make a mark and drill the center hole there. Then move to the vice and a hand drill. move tig welded and DA sanded them all. Gotta finish it all up this evening and will post some more pictures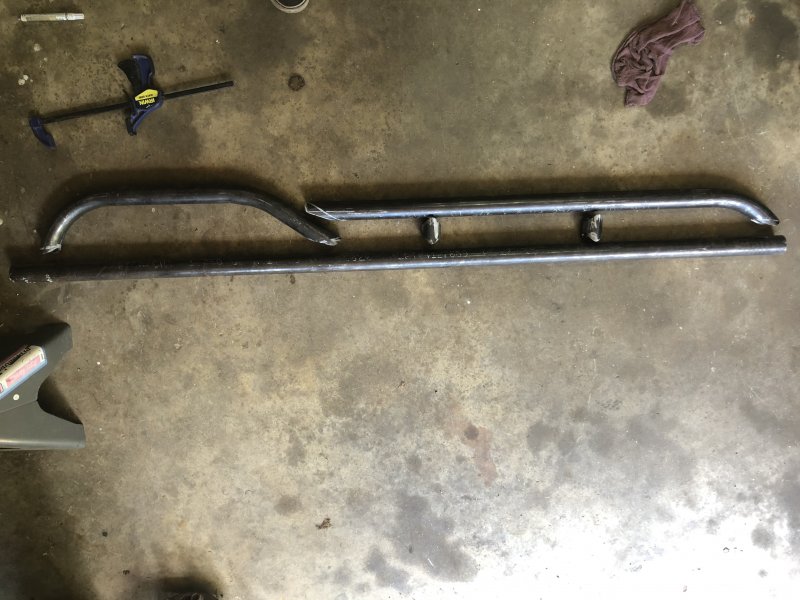

-
Making XJ buckets work in a MJ
dustyinthedirt replied to mfpdm's topic in MJ Tech: DIY Projects and Write-Ups
I drilled that out and then made a plate that bolted to the MJ bracket. Worked really well to keep the sliders. I might have pictures. Let me check here’s my suggestion. Make the sliders bolt to a plate since they are gonna be a little wider then the my ones. And just weld the plate to the my bracket. Mine bolted but is in necessary -
If you were near nc I have a set of metric ton leafs
-
Superduty MJ
dustyinthedirt replied to dustyinthedirt's topic in MJ Hardcore Tech: Epic Journeys to Greatness
When you get them they do not have the body lines cut in. I used a sharpie laid against the body to trace the shape of the fender. I liked that I got to mold them to fit my application instead of being premolded. I was able to move them up 1.5” and forward1” the same with the rear except I went back 2” It took me roughly 5 minutes to shape each fender to fit using a flapper wheel. Getting the two sides to match was much more aggravating then fitting them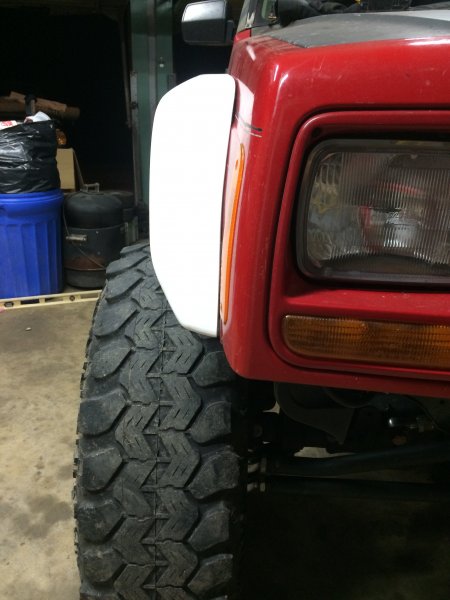
-
Superduty MJ
dustyinthedirt replied to dustyinthedirt's topic in MJ Hardcore Tech: Epic Journeys to Greatness
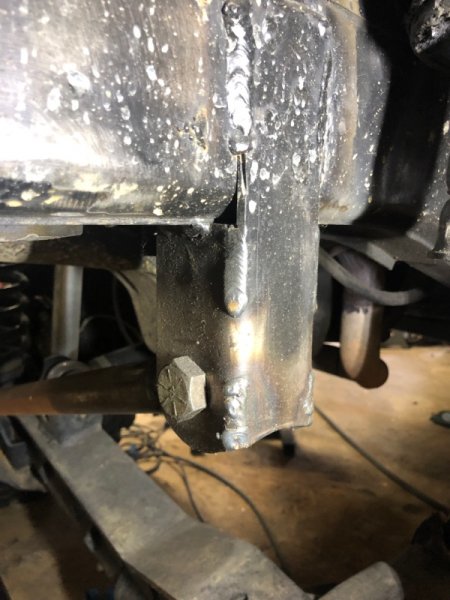
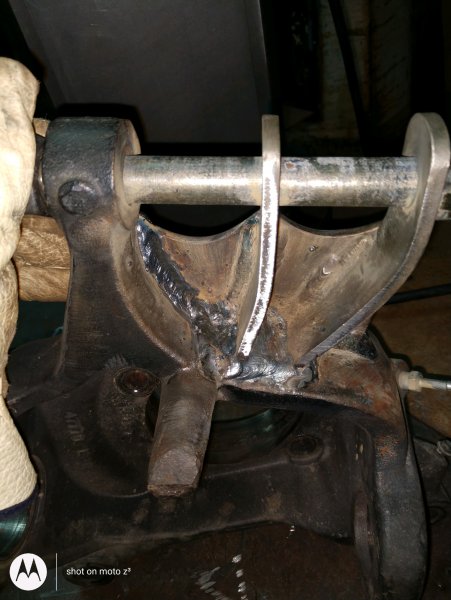
Got the knuckle welded with a much larger bead and different rod. We shall see this time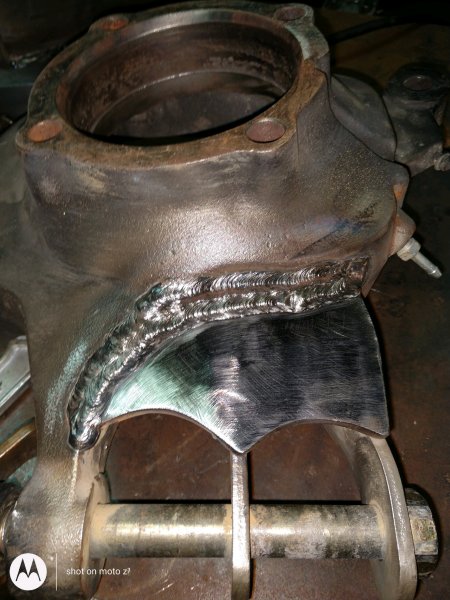
-
Superduty MJ
dustyinthedirt replied to dustyinthedirt's topic in MJ Hardcore Tech: Epic Journeys to Greatness
Thanks man! The D50 are pretty tough. Most people who talk crap about them don’t know that they are pretty much the same axle as a 60 on the knuckles outward and the inners are a beefed up 44. Also they are made for a vehicle that weighs 6000 pounds and our trucks weigh in at less then 3000 with way less horse pressure. The big bonus is they are pretty cheap. I got my set with 4.10 gears for $700