Gjeep
-
Posts
1221 -
Joined
-
Last visited
-
Days Won
3
Content Type
Profiles
Forums
Gallery
Everything posted by Gjeep
-
Unlike Jeep, GM stamped no part#’s on the switches. The Camaro window switch is #10098781 as marked on the box. I have no idea what part# the C/K switch is because no markings. When I have time I’m going to take a field trip to a local yard and explore those 80’s and 90’s GM’s as I think there can be much to share. Have you even seen the rear control arms on that 3rd gen Camaro/ Firebird… look to be identical to the XJ front arms. What’s also interesting is that some of those — and I want to say the ‘89 or ‘90 — could be ordered with a rear Dana 44, most likely with same back plates as MJ/ XJ. I never got digging that far as I decided to go rear disc setup.
-
Congrats — looks clean and sounds good.
-
I forgot about the brushed and smaller emblem on the nose of the first 2 years, horrible. Know for fact '86 all went chrome as I had two of those turkeys -- and XJ and later a parts MJ.
-
True, mostly, 84-85 had brushed, 86 and up polished/ chrome.
-
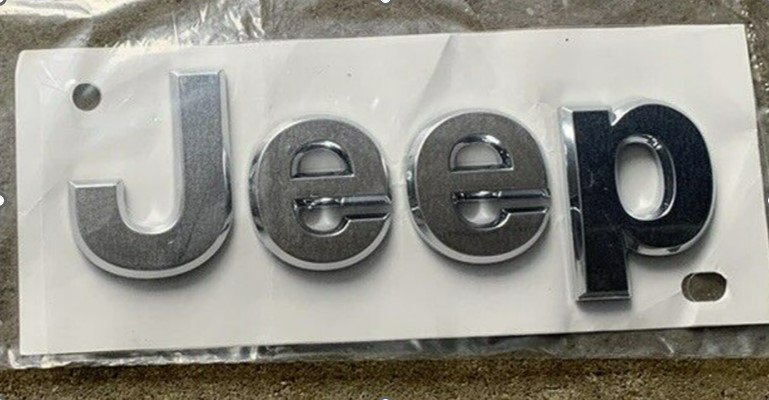
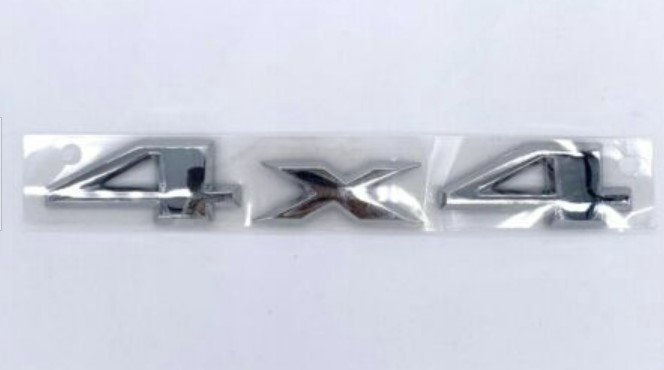
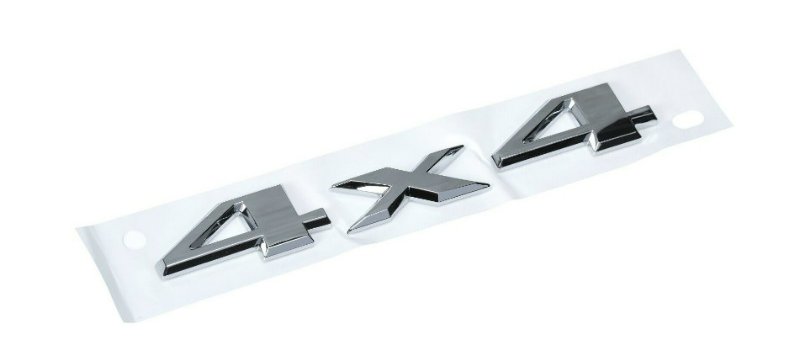
A nit I’ve always had with Jeep throughout the first gen XJ/MJ years was the inconsistent look of their emblems. Jeep’s font during this time was Helvetica, but the fonts used were all over the place. The best matching emblems were the first few years, ‘84-’90, as at least the Jeep on the header panel was polished Helvetica with a black outline as all the other badges were. Once Chrysler took over and the header ‘Jeep’ was adhesive, with a font look/angles didn’t match any of the others and didn't have the black outline. It took ‘Comanche’ emblems until ’88 to get the font right bodyside. The ‘4x4’ looked good but had too tall a black rise. The Limited models once they arrived were flatter and looked right – but were gold. There was no winning. At first I was going to go all vinyl (no emblems), but since I have the chance to select my badging and decided I need some bling on the flanks... Modern day ‘Jeep’ and ‘4x4’ badging were selected as they're more consistent looking. I’ve got new Mopar Grand Cherokee WK emblems coming and also Liberty ‘4x4’ badges (since the angles on the ‘4x4’ may match the ‘Jeep’ better and are more similar to angles on the XJ 4x4 badge of old). Will see. Either way, these will give the MJ the right amount of bling needed to tie into the rally wheel trim rings, while offsetting the matte black ‘Chief’ graphics. Libby: WK:
-
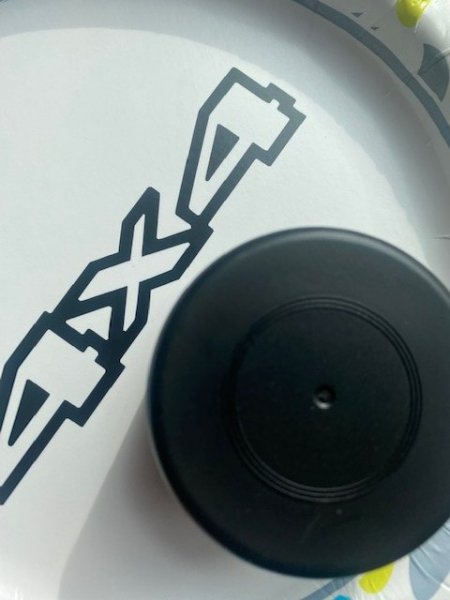
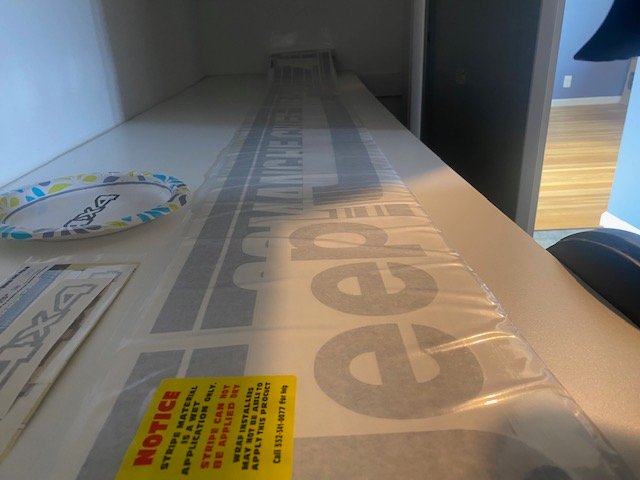
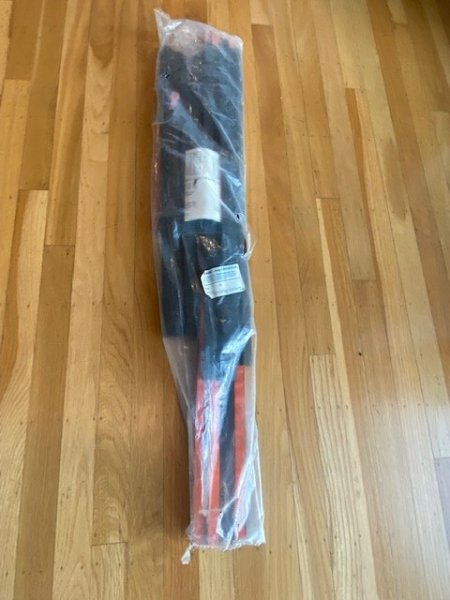
Took delivery of the Chief decals and happy to see the matte black is near spot-on matching the SEM exterior trim paint the flares are painted. Graphics Express looks to have done an excellent job reproducing these. They arrived wrapped in plastic rolled neatly into a box. Ordered another set, just in case I goof laying them out. Time to remove the flares and degrease the areas where they lay.
-
Amazon sells it. Comes in gray, black or white typically. Not sure what color your xj is. An auto body supply store would have it also if you have one near by.
-
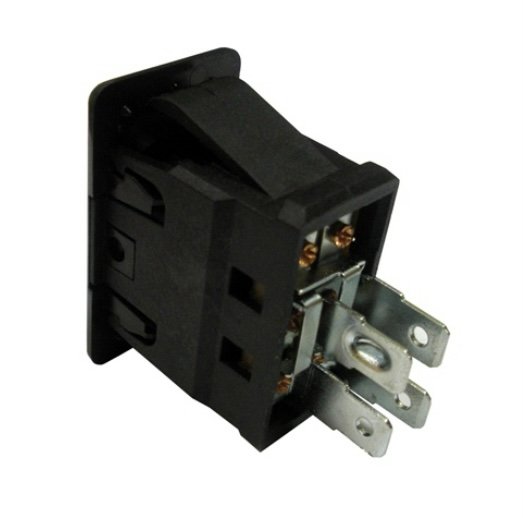
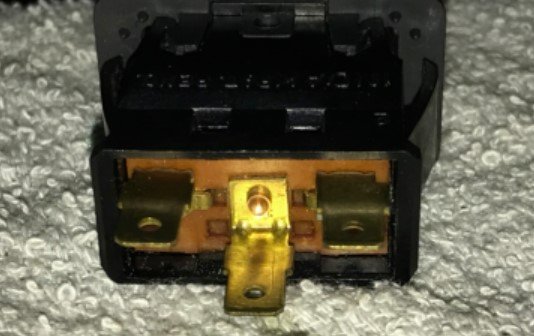
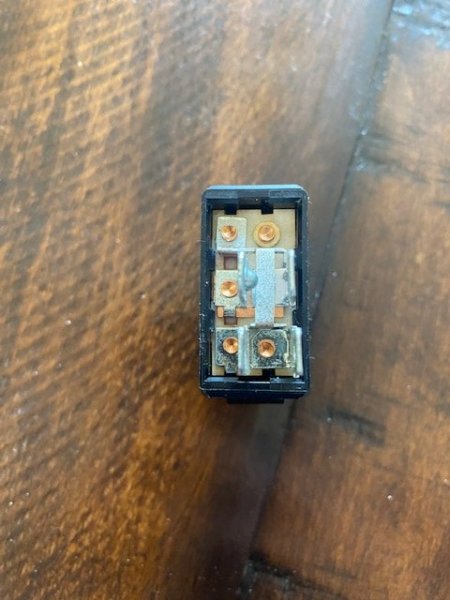
Nothing like a failed attempt to drive me insane/ find something that works. The above post of me converting an XJ wash/wipe switch to a momentary didn’t work. Only could get it to go in one direction. Infuriating. I knew INDAK (manufacturer of XJ rockers) probably made switches for a number of domestic cars in the 80’s and 90’s…so I jumped on eBay and came up with two things: The ’74-‘80 C/K Blazer tailgate switch and the ‘90’s Camaro/Firebird window switches. The Camaro switch has new aftermarket availability, or you can still get GM NOS; but the C/K is not readily available, so used was the option. I ordered them up -- and the Camaro aftermarket arrived first… and when I cracked it open, I immediately saw it would work with the XJ switch face. Only difference to this rocker switch and the XJ’s is the face that is clipped to it. Wired it up and tested it out to be sure – SUCCESS! Now I can have the XJ switch face I want without a color difference. I’m going to wait to install the NOS GM switch, but at least I know it’ll work. Curious to see the internals of the C/K switch as it's an INDAK also. My guess is it will work also. 3rd gen Camaro window switch: C/K Blazer tailgate window switch: As side note, both of these switches use the same backend terminal connector as Jeep – the Camaro uses the XJ wash/wipe connector; C/K uses the XJ rear defrost connector. Nice and easy.
-
I added a roof rack to an xj using nutserts surrounded by seam sealer (wiping excess off). For the torx that held the rack to the roof I used gasket maker on the threads.
-
For the MJ's cab I think they're perfect. Don't take up space and sound full. And I've only got them dialed up a little more than 1/2 way. I've had Alpine 12's in cargo area box of XJ (bigger cabin area) and currently have a single 10 in back of XJ quarter panel. The MJ by comparison sounds close to the XJ with 12's believe it or not. (Clarity on the XJ was a better on high level as was running ADS separates, but the system I have in the MJ sounds good. I first tested it with an aftermarket head unit and was able to crank it a good amount more over the NOS factory head unit I decided to run through amps. I don't think you'll be disappointed.
-
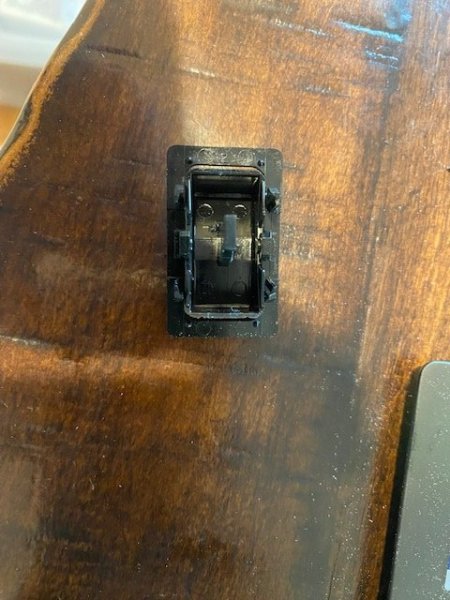
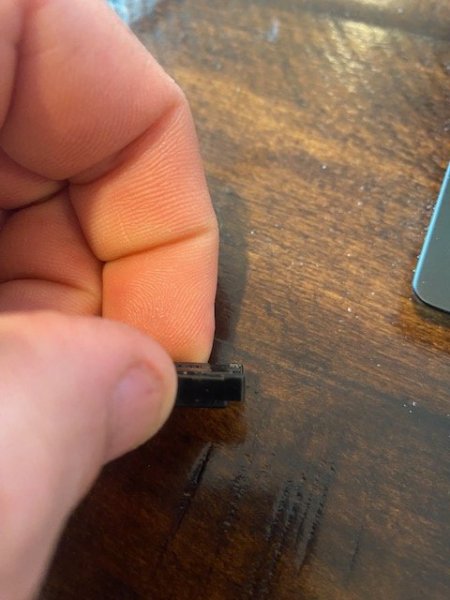
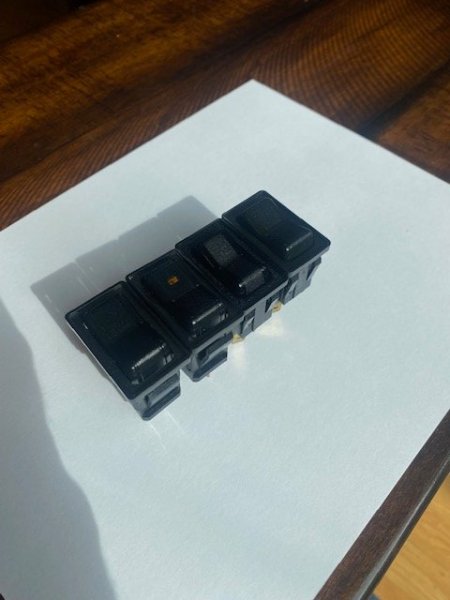
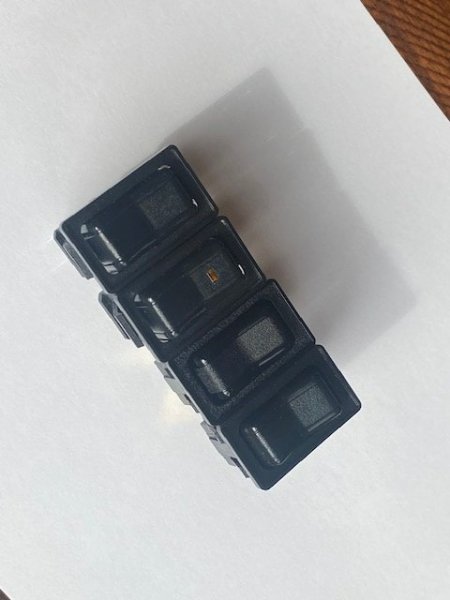
I’m waiting on some parts, so in the meantime I’m addressing things that are driving me nuts – first up, mismatching rocker switches. All are NOS but probably due to year of production there are color differences between them. Painting isn’t an option for me, as it can wear off then I’ll have to address it in the future (which I don’t want to). As you may or may not be able to see, the two right most are NOS SJ rear tailgate window momentary switches. I’m using this kind of switch for the fine-tuning in/out of my hidden winch. One of these switches is jet black and heavily textured in comparison to the others; The second is black with a strong hint of green (especially noticeable in daylight) that is God-awful. I started with NOS XJ wash/wipe and rear defrost switches to create something like the SJ momentary switch. I started by completely disassembling both switches – You’ll use the board/pins, main body, and face of the wash/wipe switch. The rear defroster switch provides the behind the rocker face spring needed to make the assembly truly momentary. The small sled at the bottom of the main body that travels back/forth with needs to be removed and bottom-facing four corner notches sanded smooth. Pic below. By doing this, the switch won’t stay stuck in the up or down position. And finally, the backside of the rocker post needs all the tabs around it trimmed off. I think I see how I need to wire it up for winch in/out but need to head to a wrecking yard first for the terminal wiring connector for proper backside connection. Fairly certain I need to modify one of the connecting terminals as it's set up to run dual items in one direction (and that would be winch in/out at the same time -- and we don't want that). Pic below highlights the 2 left finally matching as they should be switches – factory fog and cobbled together XJ momentary. Woo-hoo!
-
Just kidding. Sort of.
-
Bringing back the Chief, final year MJ! I’ve been gathering all the photos I can find of these, taking my time and studying up on the nuances of properly laying the decals out. For example, the very top skinny decal line from the factory was actually trimmed out around the fuel tank door. And the lower gap of that fuel door serves to carry out the line until the decal picks back up.
-
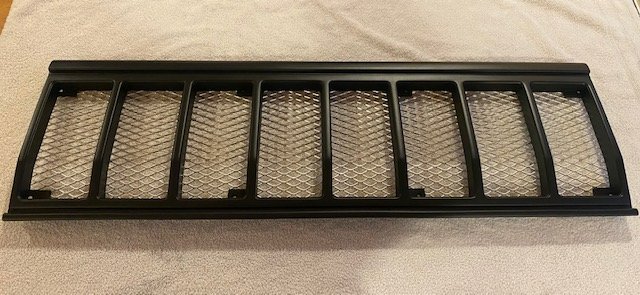
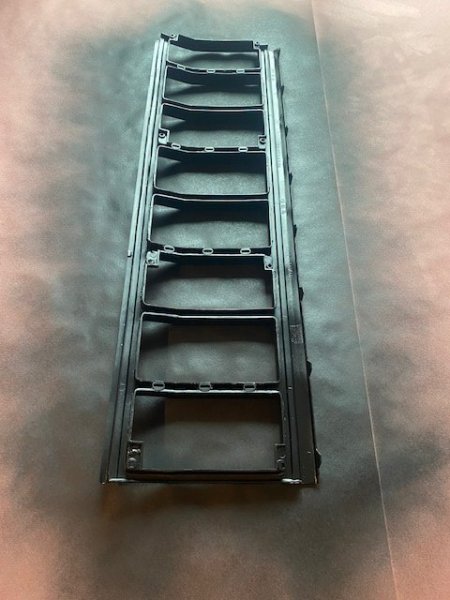
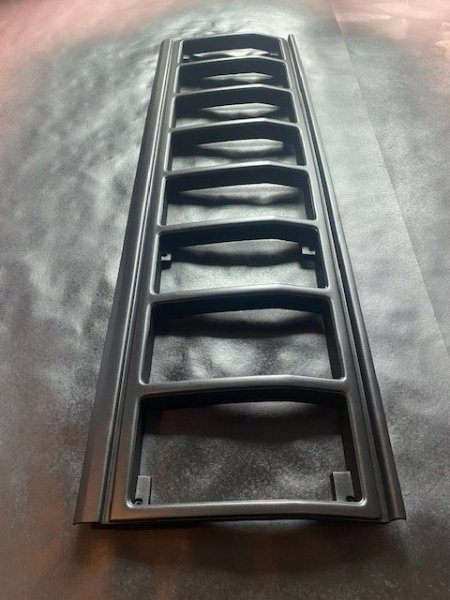
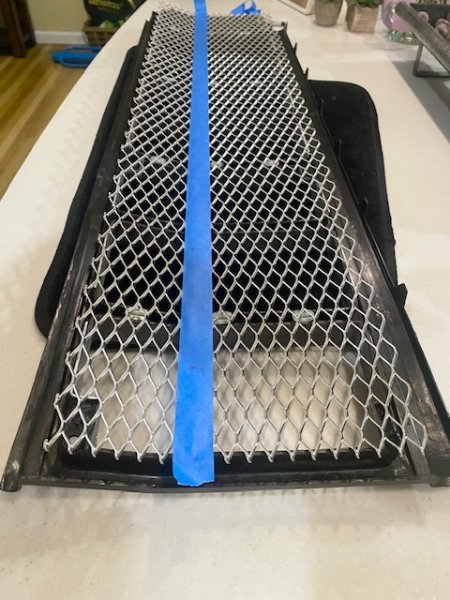
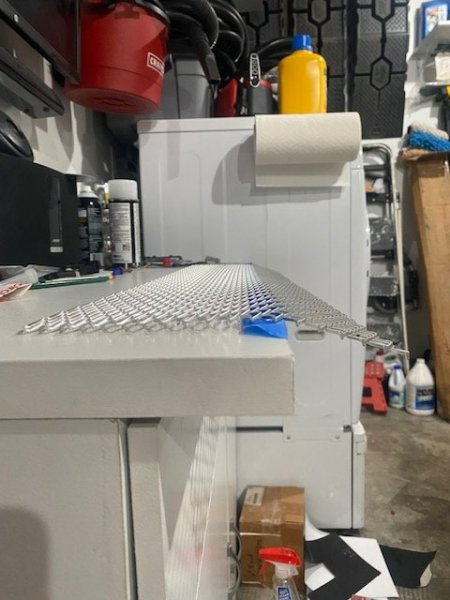
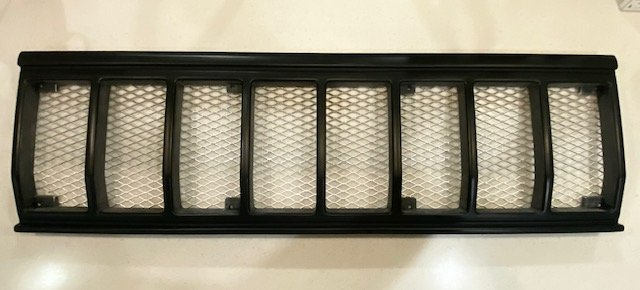
And here it is finally assembled... The backside screws hold it tight against the plastic and provide the grille the rigidity it needs. Won't be mounting it up until I'm done messing with the front end/ get the bumper on for complete and total fear of accidentally damaging it.

-
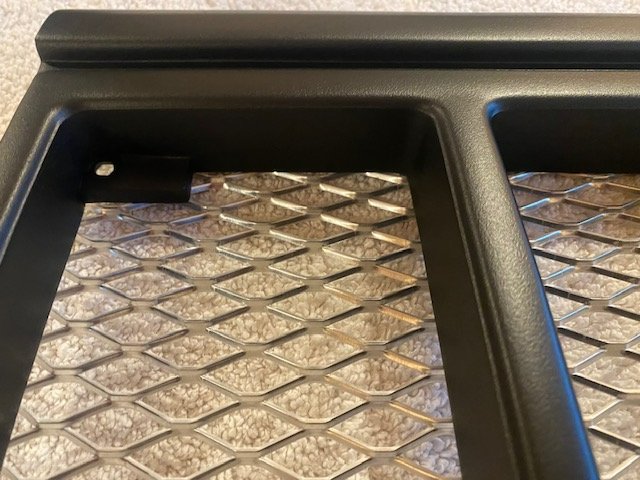
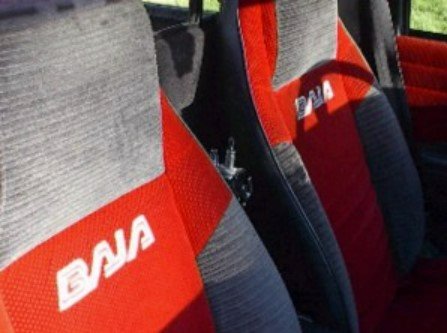
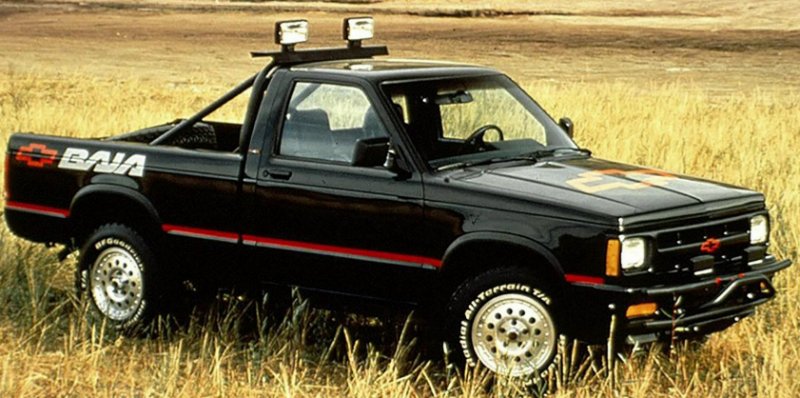
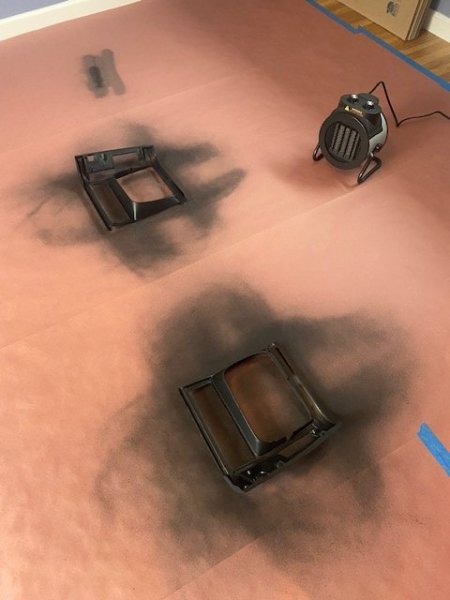
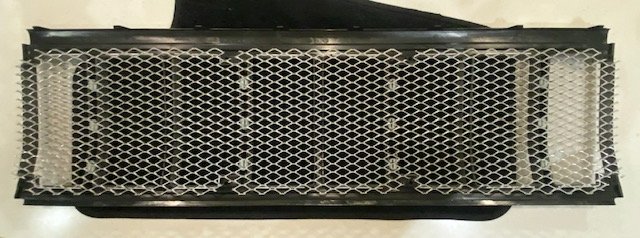
Because it’s mid-30’s to low 50’s in California these days, I continue to paint parts inside in a spare bedroom we have. I crank up the heat, plus a space heater set to 95 degrees and paint. Got to painting the grille and headlight bezels recently and they came out great. So glad that’s over though. I truly lost track of the days and hours I spent on that thing. Nearing done. Backside you can see the in the ‘inserts’ of the 7-slots where I secured attaching tabs for the stainless screws to hold the mesh grille in place. Will let it dry for a day or so then attach the mesh. Also, been rethinking the exterior of the MJ. There’s a chance I’ll be going Chief on this one. Need to lay the graphics out once I get them to see how it all comes together. I remember as a teenager going to the Chevy and Jeep dealerships, looking at small utility vehicles and pickups at the time. Always preferred Jeep…but got to say Chevy did a great job carrying their bold exterior graphic look inside the cab. Kind of like the Jeep patterned upholstery I have in my MJ. Jeep kept the Chief conservative inside with their picnic-table patterned interiors that (to me) gave the graphics only subtle justice. I may want to do what I think they should have done. Will see. Forgive me for posting Chevy pics… 1991 Baja.

-
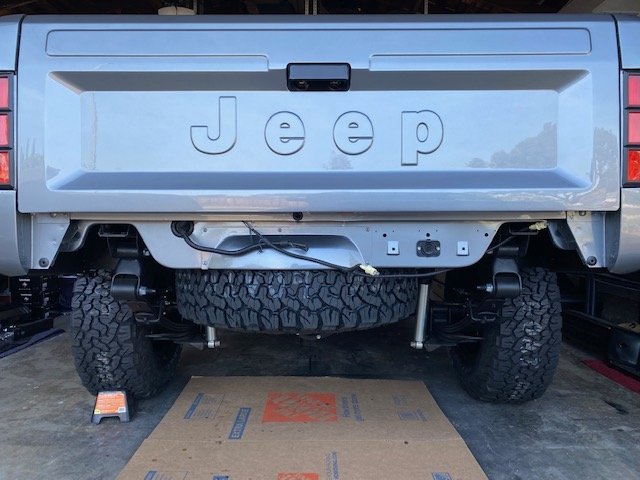
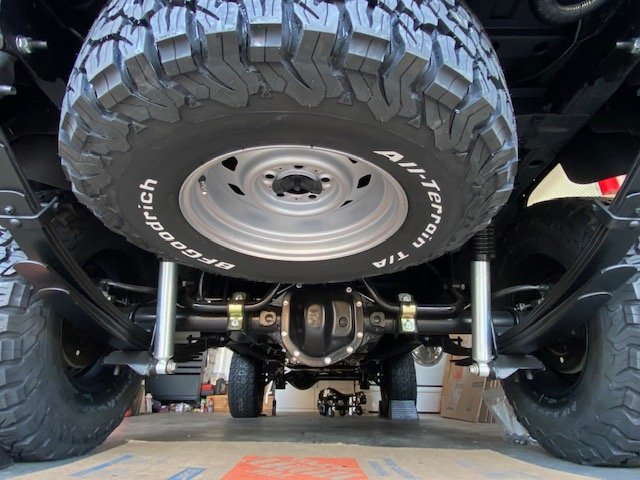
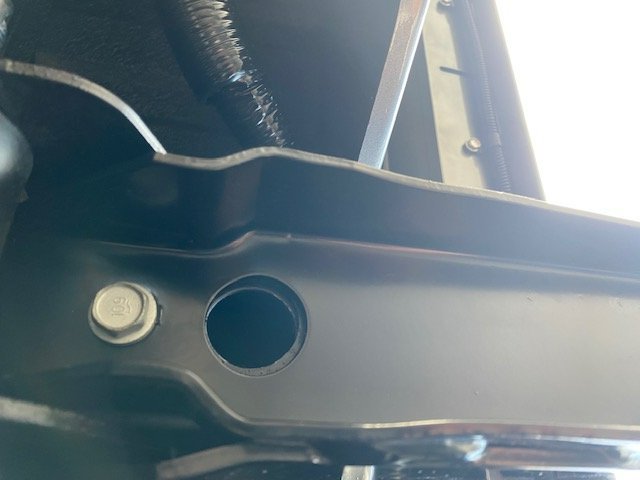
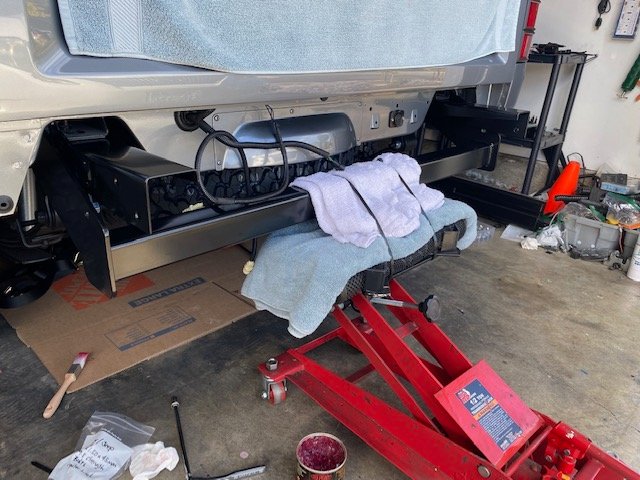
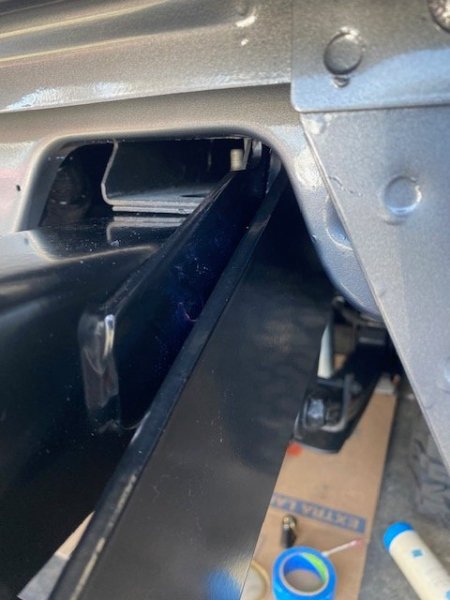
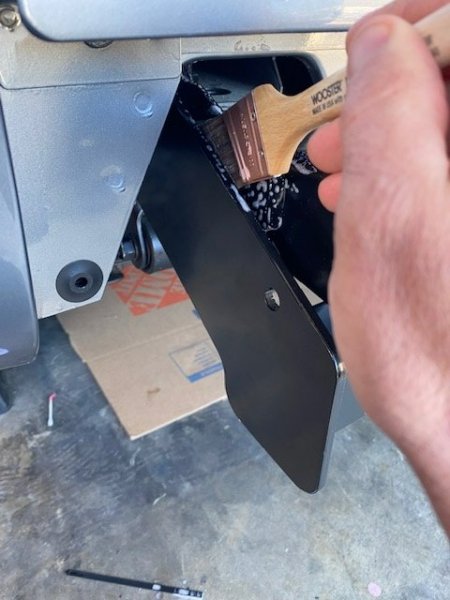
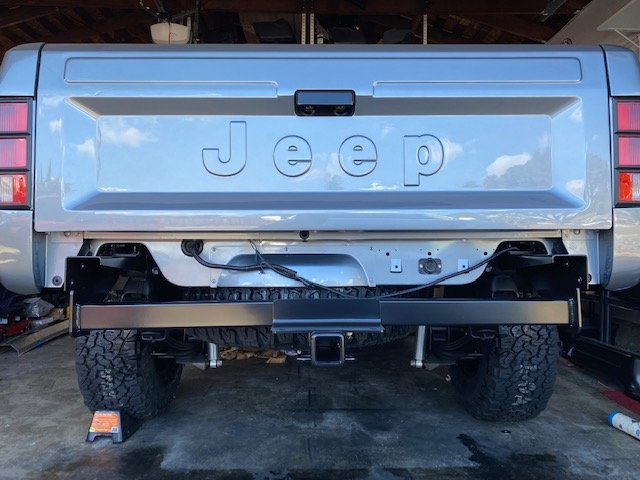
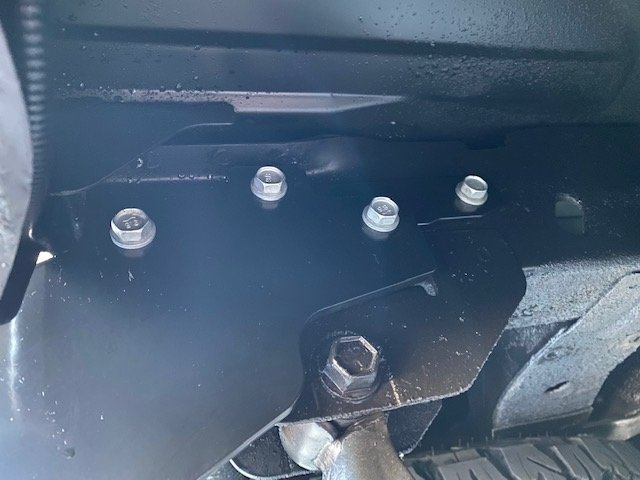
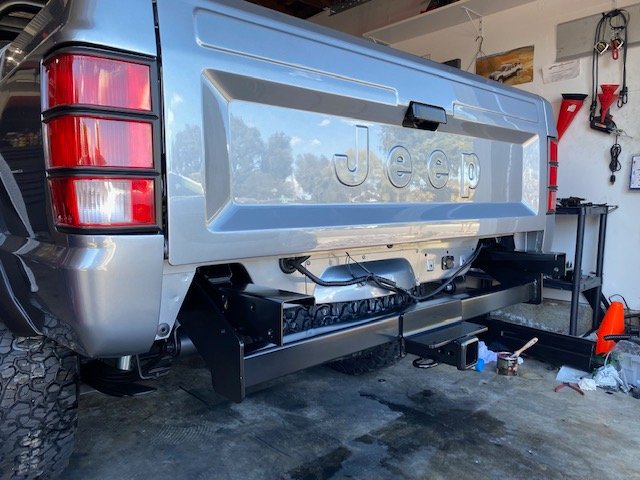
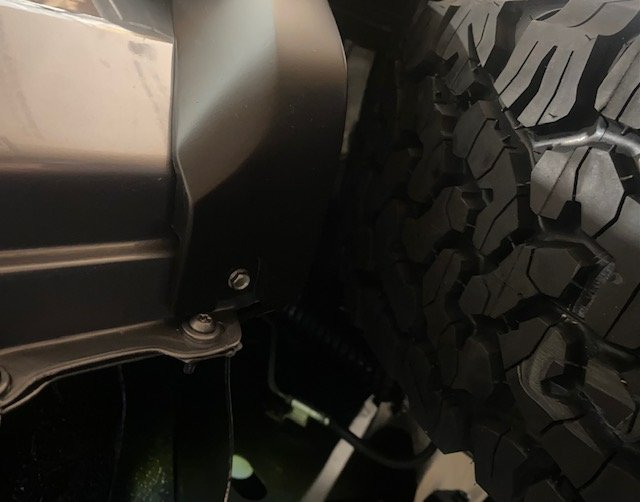
Got the bumper brackets back from the powder coater and mounted them up along with the hitch. I forgot how much fun this all was to install. Step one was setting up the transmission jack. What nice about the trans jack is you can adjust forward/ back/ side to side angle throughout the install. Next up was Teflon greasing both the brackets and back side hitch (mounting sides). I sourced some new 10.9 grade Mopar proper length/thread bolts to use, in addition to thick stainless-steel washers that shim two of the three side mounts, hitch to bracket. Lots of patience/ adjustments...and it’s up. Next order of business was cleaning all the Teflon grease off with various paint brushes and dishwashing soap. Though I had a hitch on the Comanche prior, it was the first time I’ve seen it with a 31” spare tire. It looks good and hides most of the visible tire.
-
1986 Comanche Xls Resto
Gjeep replied to 19comanche86's topic in MJ Hardcore Tech: Epic Journeys to Greatness
Looking good! -
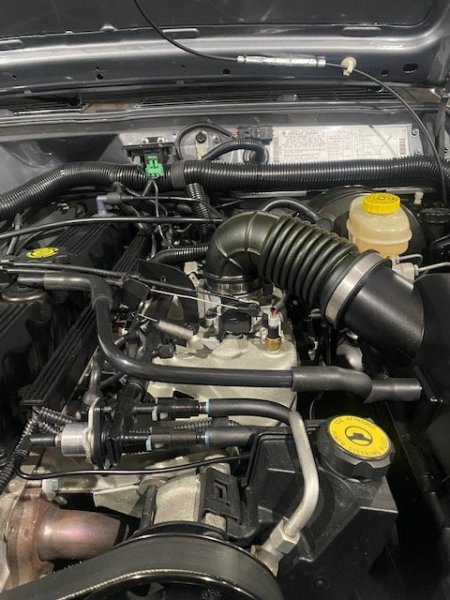
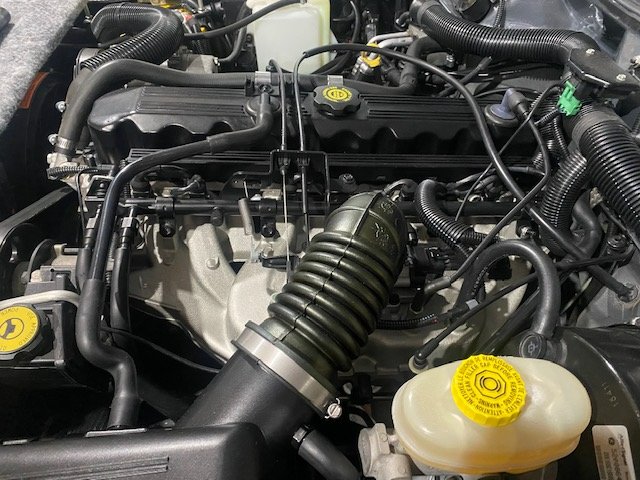
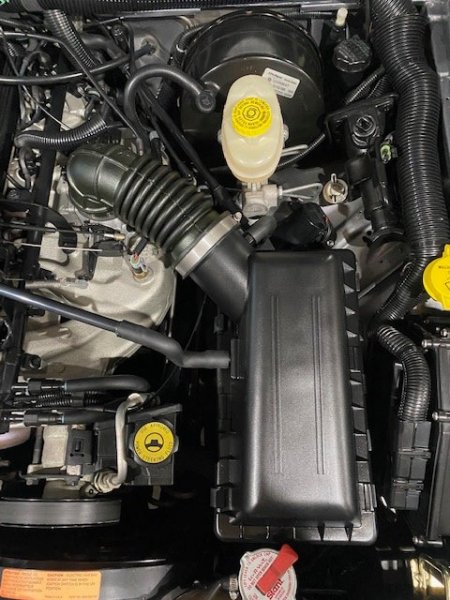
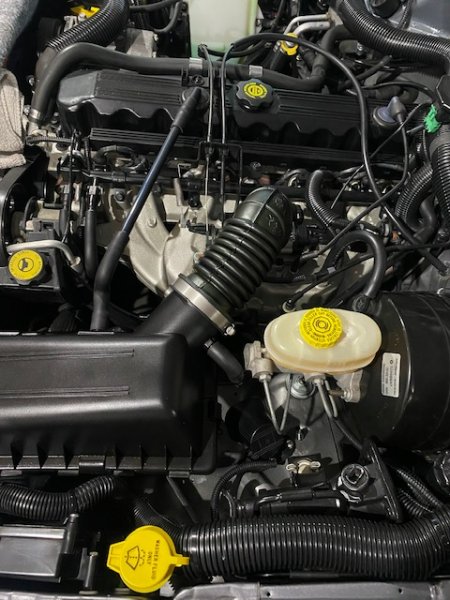
I didn’t like how the 97-01 XJ air box breather line traversed at a 45 degree angle towards the engine. (Reason it did is because the 96-01 4.0L valve cover had the CCV grommet hole moved significantly forward, while the older gen was closer to the oil filler cap.) So, I found a NOS 91-95 style line and used the ‘Z’ shaped rubber end from the 97-01 XJ style to connect at the air box. Had to cut about 3” off the straight end of the 91 line. (Couldn’t use the 91-95 line entirely as it arched across engine. Wanted things to look symmetrical.) Looks right now. This to-do can get crossed off the crazy list...
-
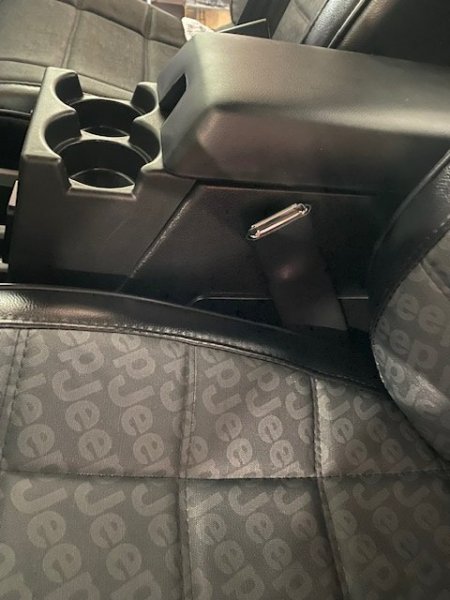
Wasn't 100% satisfied with the seat belt buckle sleeves as they made tumbling the seats challenging because they were hard plastic. Black C4 Corvette seat buckle sleeves proved to be exactly what I needed -- they're a soft, moldable sleeve that won't scratch and doesn't touch the center console at all -- and best yet, absolutely no issue tumbling the winged back bucket seats. Happiness achieved.

-
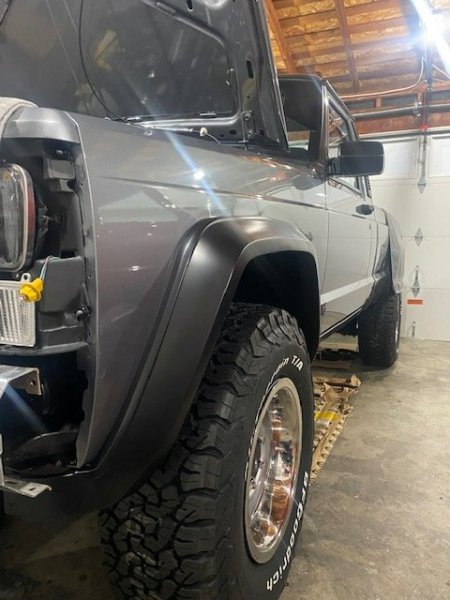
The flares are NOS and unfortunately no longer produced/ no longer available. The aftermarket only makes the original, narrower XJ style front flare. Wrecking yards would be your best bet.
-
Got the flares on -- as mentioned in an earlier post, I went with the '95 XJ flare as it is wider at the front than previous years. And '95 was the only year of the wider flare that offered black withOUT texture. The full texture looks good all around on an XJ, but I needed to match the MJ rear flares.
-
91 Eliminator 83K miles refresh with NOS parts
Gjeep replied to Red Mistress's topic in Member Projects: Your Comanches
Looking good! Moving forward... MJ will be lifted in no time. -
You may have something there...
-
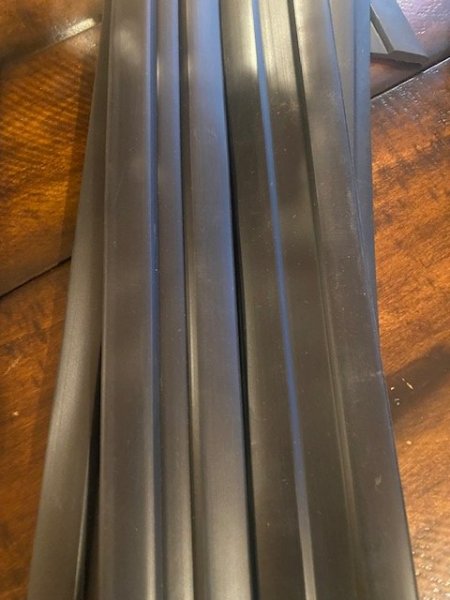
NOS sometimes disappoints… Have had this MJ bodyside molding for 25 years. Was planning one unpackaging, cleaning, possibly replacing the 3M tape backside and sticking it to the Comanche. Instead in looking at the strips I noticed there were 2 different versions of the trim – one with a narrower center strip. Good grief, got to pull out the reserve 2-door strips and cut them down so I can have everything matching. Nothing is ever easy. But on the bright side, after I don’t know how many hours of trimming, styrene strip patching, filling, and sanding, the grille is ready for a high build primer and sand-down prior to final SEM trim black paint. Before painting however, I needed to bend and cut the mesh drill for a good fit. Did that with the help of a Dremel and the edge of my garage work desk.
-
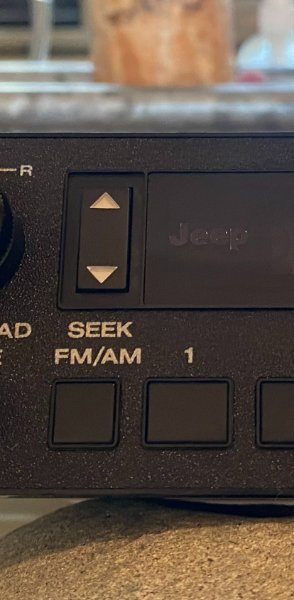
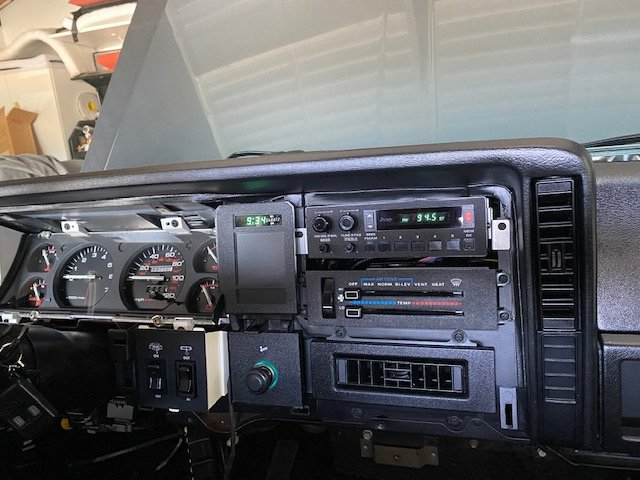
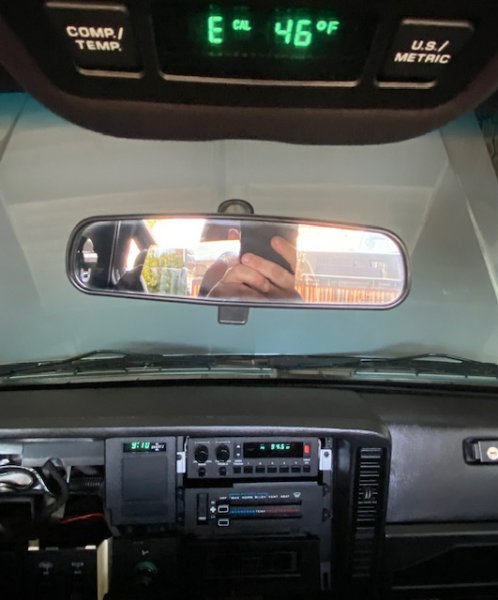
A bit all over the place, but I got a lot done… Started with plastic polishing an AMC logo off a NOS AM/FM radio, putting in its place a ‘Jeep’ metal logo (sourced from a 1/10 scale R/C Jeep) as I figure Chrysler might have done it if this radio was available in ‘92. Audio sounds awesome thanks to the Rockford amps and subs (though I'm going to dial them up just a bit more). I was hell-bent on getting all the digital displays from the same era so they would match. And in addition to displays matching, illumination of the lettering needed to be the same as well. First NOS AMC Renault radio I purchased had green lettering illumination – and I about lost my mind. There was nothing that could be done to change it either, as it’s painted as part of the faceplate assembly backside. (The rest of the functionality is the same, though the wiring and antenna exit the unit in different locations/ directions). Also got the instrument cluster in and fired the MJ up. So far so good with everything seeming to work as it should. Will test a bit more before I put the dash overlay and lower panel on just in case. Painted and again widened spare rally wheel and had it mounted up to a new 31” BFG KO. 31” seems to be the biggest size that will fit in the factory location without carving out the rear valance panel. I’ve got a Y tie-down strap coming that I’ll put over the top of the spare just in case.