


ghetdjc320
-
Posts
5212 -
Joined
-
Last visited
-
Days Won
1
Content Type
Profiles
Forums
Gallery
Everything posted by ghetdjc320
-

Project “Tomahawk”
ghetdjc320 replied to ghetdjc320's topic in MJ Hardcore Tech: Epic Journeys to Greatness
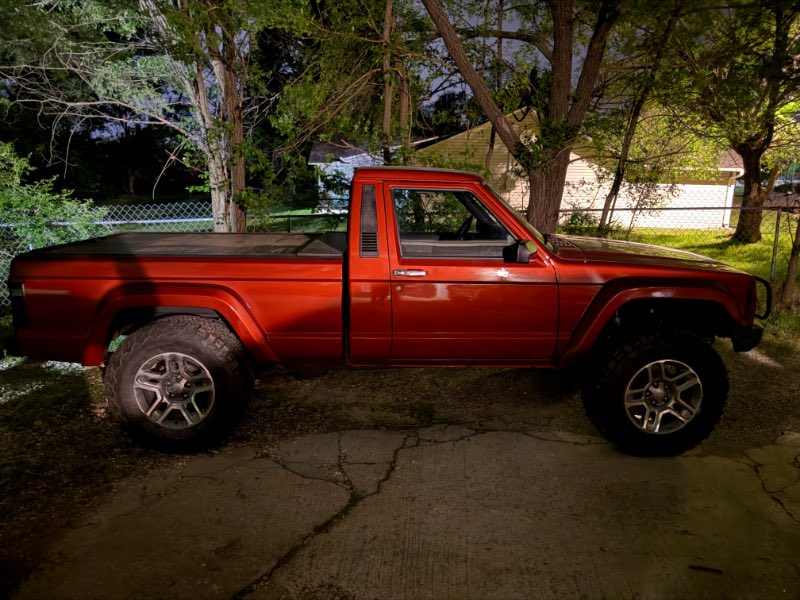
Some final shots before leaving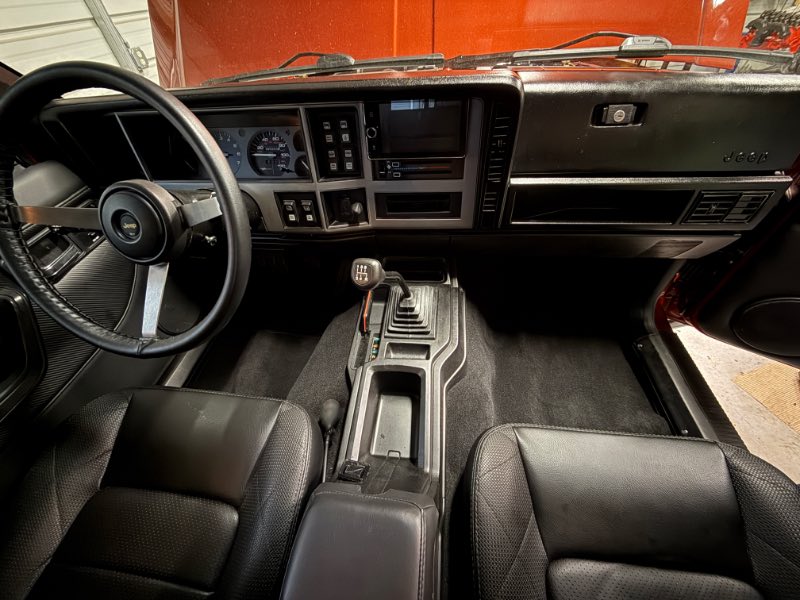
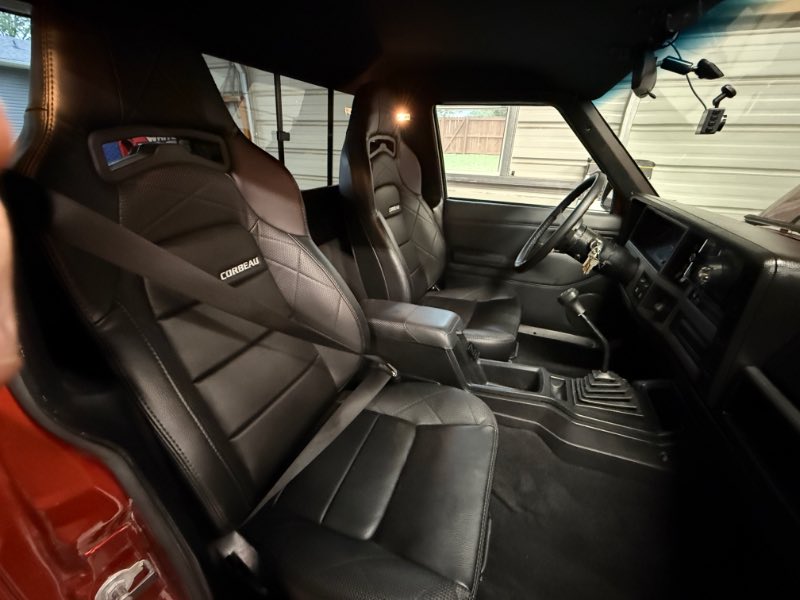
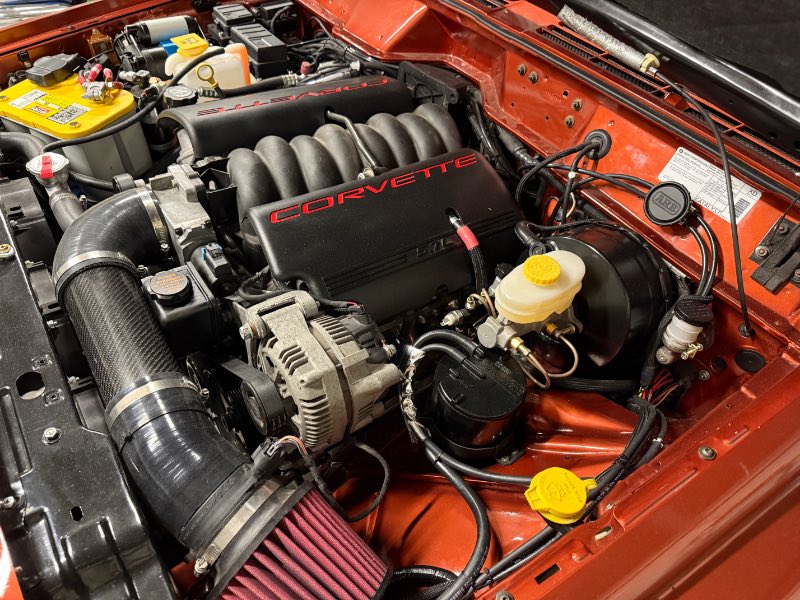
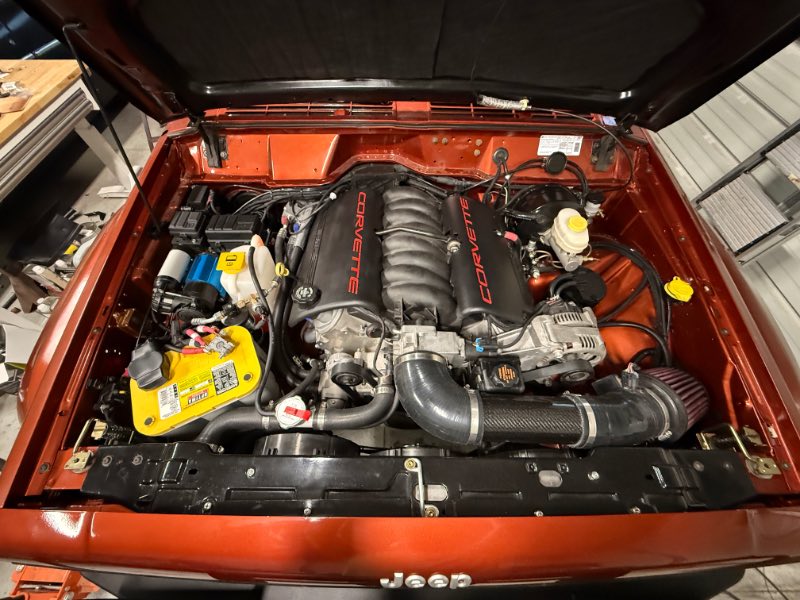
-
How to lower the rear 1.5-2 inches?
ghetdjc320 replied to Ricky8227's topic in MJ Tech: Modification and Repairs
Looks like a custom pack. No overload springs and all the leaves are about the same thickness. Good spring recipe -
How to lower the rear 1.5-2 inches?
ghetdjc320 replied to Ricky8227's topic in MJ Tech: Modification and Repairs
I’d pull the bottom two leaves and some regular MJ shackles. Bet that will get you close -
You’ll be hard pressed to find a new radio without Bluetooth. Crutchfield will be helpful here. You can filter out result for single din and Bluetooth. This is a nice option that has a somewhat period correct look without all the gloss black and rainbow color displays https://www.crutchfield.com/S-ddSZZRedSVP/p_020M508/Clarion-M508.html?XVINQ=GZ0&XVVer=13XP&awcr=628067979022&awdv=m&awnw=g&awug=9060252&awkw=pla-423311294129&awmt=&awat=pla&gad_source=1&gclid=Cj0KCQjwzrzABhD8ARIsANlSWNNjSly0K9Bk3wFzBxrdGn_OCrTnY-WBKK0mYaXo-iynFypePdJn36gaAjRJEALw_wcB
-
Yep that’s right
-
This is a good idea and the same things I do after rebuilding the parking brake. Really helps the pawl and sprocket
-
I think the grey one? The one that matches the HO cluster
-
Need a passenger side air vent (I think it’s the same as the center vent). Let me know what you have.
-
Need a renix fuel gauge (just the small one in the dash). Turns out my sending unit has a Renix sweep vs the HO sweep I was needing. Since I heavily modified the sending unit for the 255 pump, it’s easiest for me to just switch the gauge in the cluster.
-
Could I get that from you?
-
Project “Tomahawk”
ghetdjc320 replied to ghetdjc320's topic in MJ Hardcore Tech: Epic Journeys to Greatness
A guy has it stored indoors as part of his car collection. The things never really sees the light of day so It’s rust free. I really don’t let any rust start up. I use DOM16, fluid film, and ceramic coatings all the time to stay on top of any oxidation -
Project “Tomahawk”
ghetdjc320 replied to ghetdjc320's topic in MJ Hardcore Tech: Epic Journeys to Greatness
Yes -
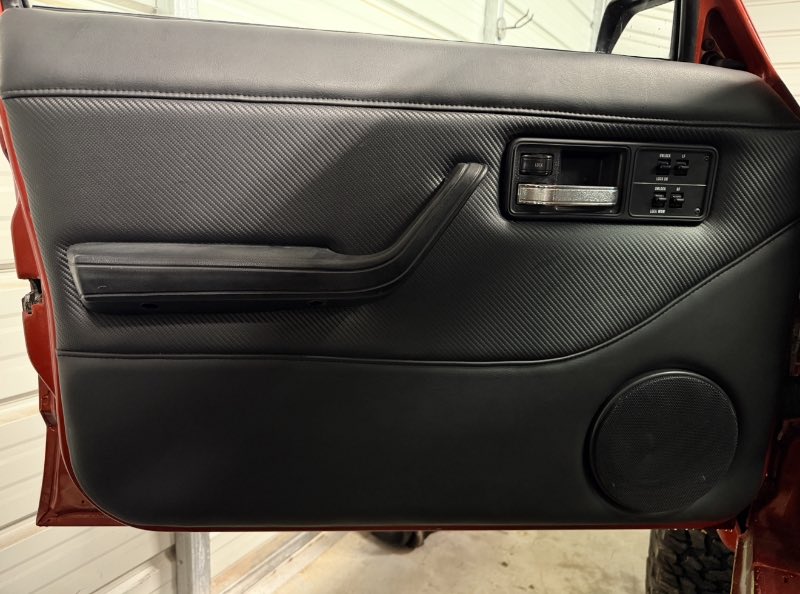
So it turns out that I need one more of these clips . Anyone have another they could send me in the mail? It’s not super urgent. The retainer clip for the drivers side is broken and I hadn’t noticed until installing the armrest @The86manche @watchamakalit
-
Project “Tomahawk”
ghetdjc320 replied to ghetdjc320's topic in MJ Hardcore Tech: Epic Journeys to Greatness
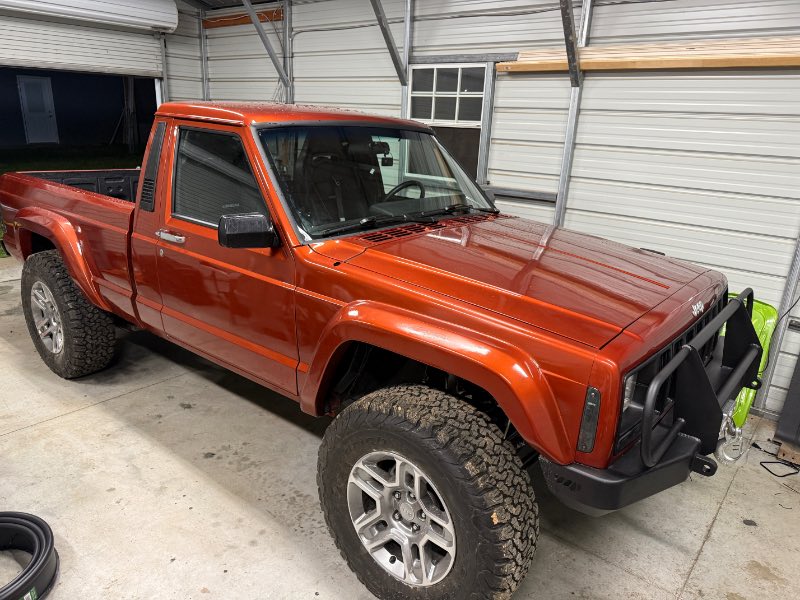
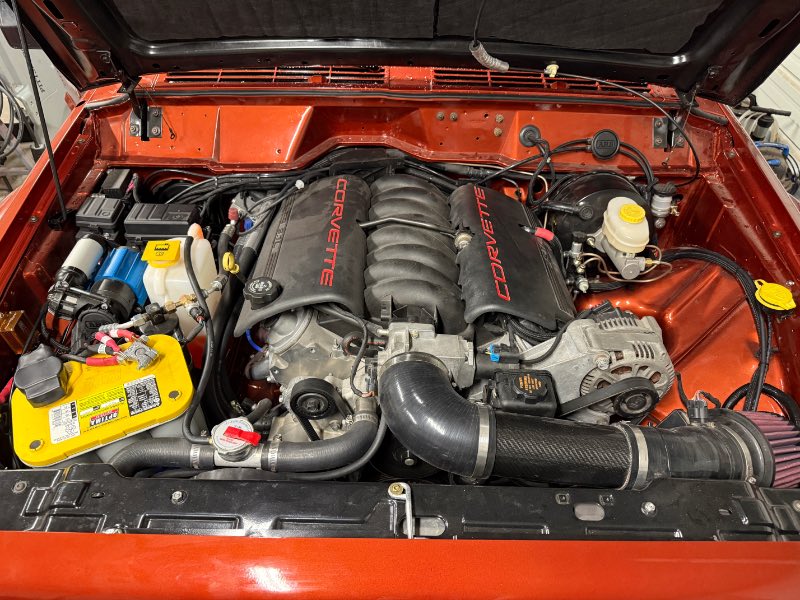
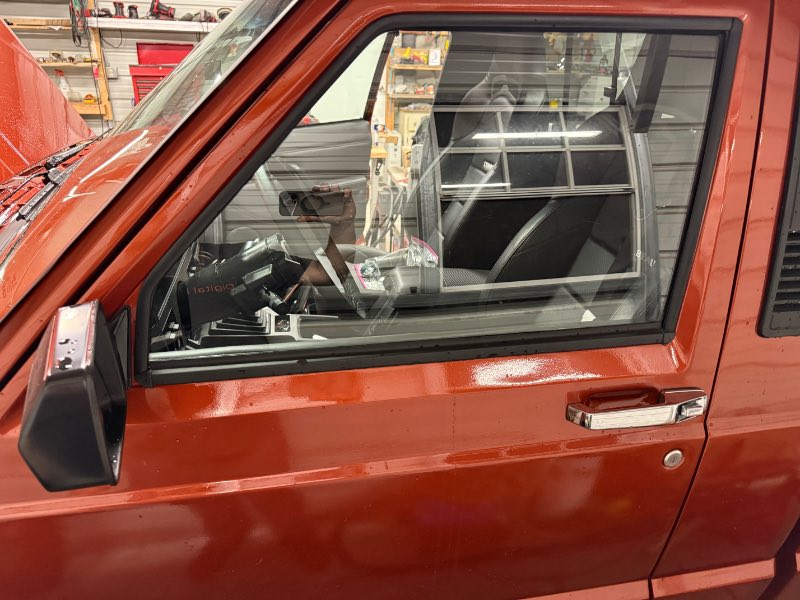
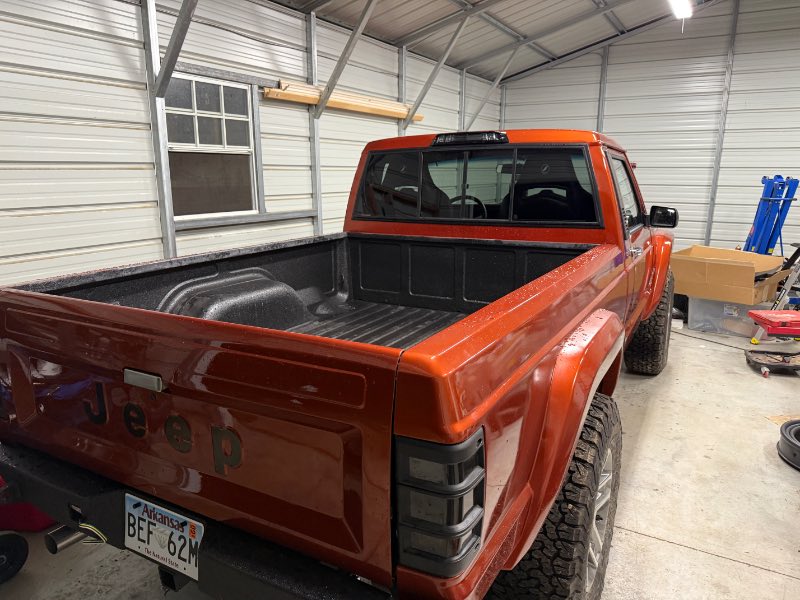
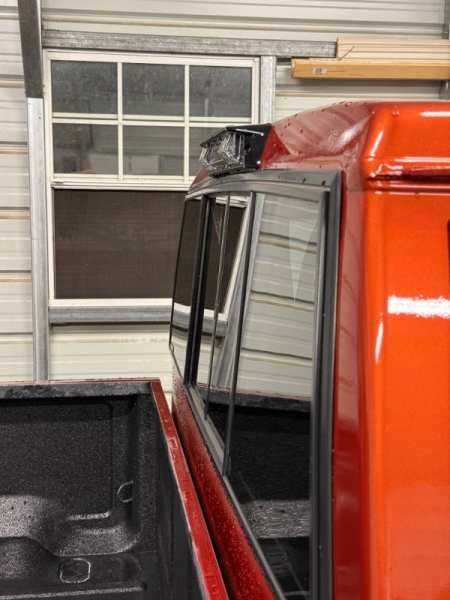
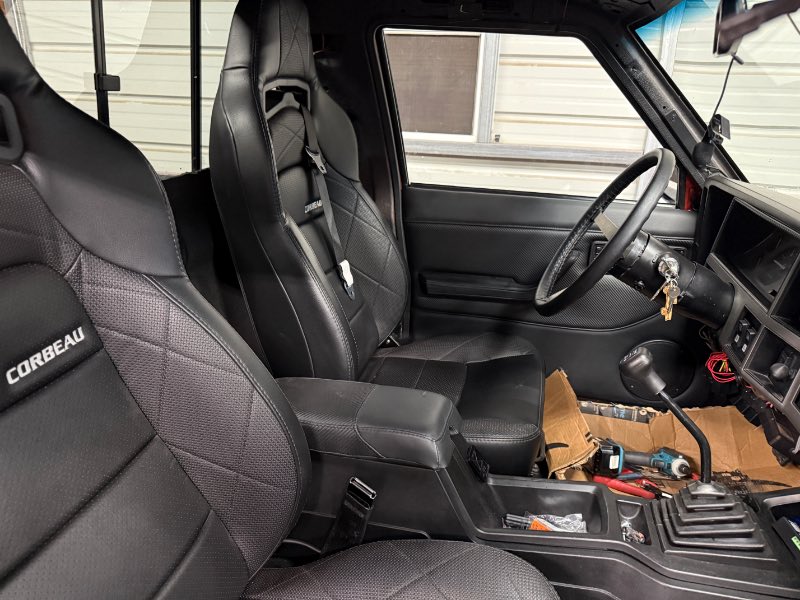
A few shots of the mostly finished product. Only have a few punch list items left. The exhaust shop bent the passenger side tube a little too close to the driveshaft yoke so that piece will be replaced and rerouted in a few days. Then the truck will be on its long journey overseas. This has been a mind blowingly epic amount of work thus far. This project took me deeper into the build of a Comanche than I ever thought I would go. But in the end I’m very pleased with the end product. I’ll get plenty of glamour shots and keep updating with info along the way once o receive the truck overseas. Should be mid - late June.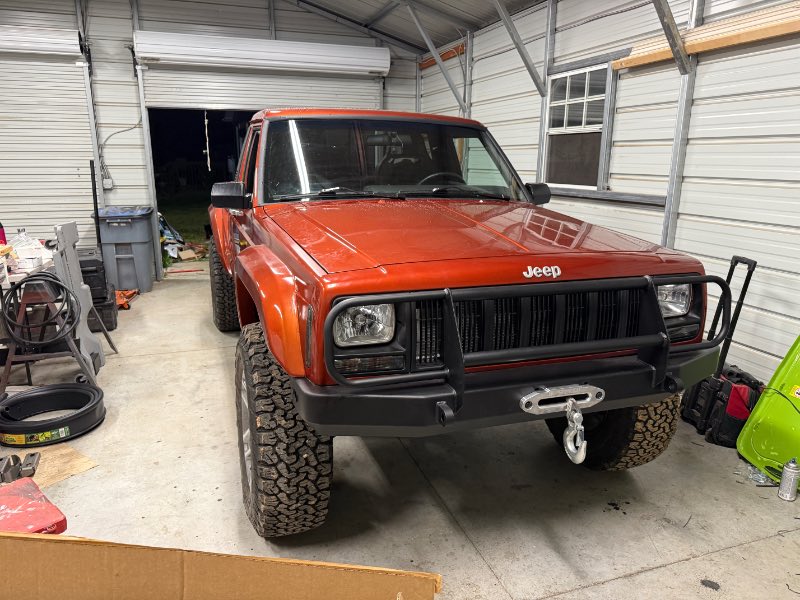
-
Roof Flex (oil canning?)
ghetdjc320 replied to Boilermaker's topic in MJ Tech: Modification and Repairs
Oil canning is common on the roofs of MJ’s. You can use map gas and compressed air to reduce it (shrinking the surrounding metal) or, use some dynaplate on the back side. It’s and body panel reinforcer used in subwoofer applications. It will resist oil canning once installed. Or just leave it alone, it’s not critical -
Modifying MJ Tach for V8
ghetdjc320 replied to Anthi4078's topic in MJ Tech: Modification and Repairs
Yep, should work for most applications -
Modifying MJ Tach for V8
ghetdjc320 replied to Anthi4078's topic in MJ Tech: Modification and Repairs
V8’s use 4cyl mode most of the time. -
Dana 35 Rebuild Questions
ghetdjc320 replied to Yellowoctupus's topic in MJ Tech: Modification and Repairs
You can grab a new grip pro for the same price with free shipping to Guam. Amazon part number GT443527 It’s the powertrax version of the truetrac. Summit also carries it and has great rates for fedex to island (summit will price match Amazon most of the time). Rock auto has these sometimes as well. It will have the c clip windows but otherwise it’s the same setup. I’d suggest grabbing some new set 10 bearings while you’re at it. -
Project “Tomahawk”
ghetdjc320 replied to ghetdjc320's topic in MJ Hardcore Tech: Epic Journeys to Greatness
All paint work is complete. Final reassembly and a few remaining punch list items begins tomorrow. Should be complete very soon. I’d be satisfied never picking up a paint gun for the rest of my days .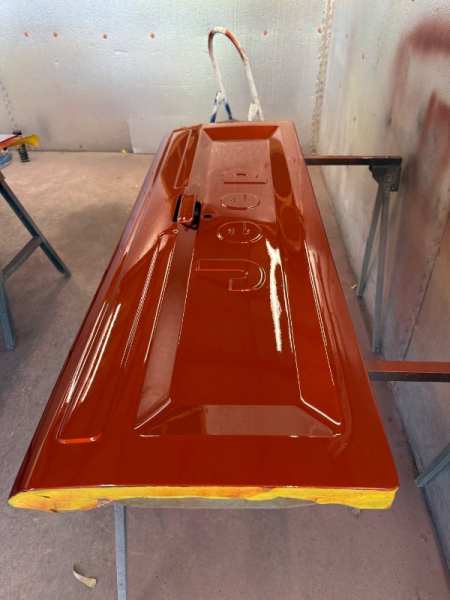
-
Project “Tomahawk”
ghetdjc320 replied to ghetdjc320's topic in MJ Hardcore Tech: Epic Journeys to Greatness
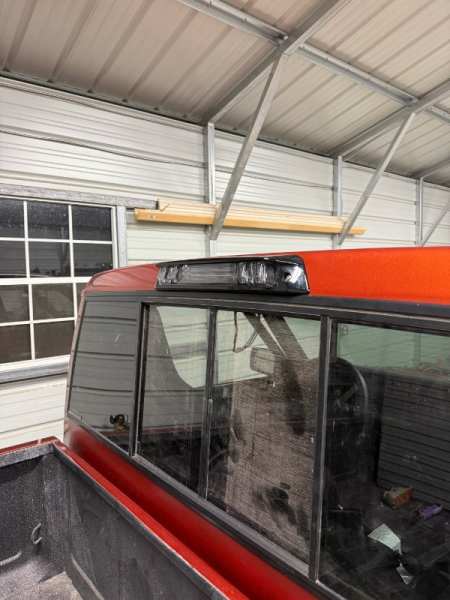
Surprising how well the Morimoto 3rd brake light/cargo lamp fits the MJ roof. You do have to make a sizeable opening for it but if aligned properly, it really looks like it was made for it. I added the rapid flash module to make sure it gets attention when I stop. -
Project “Tomahawk”
ghetdjc320 replied to ghetdjc320's topic in MJ Hardcore Tech: Epic Journeys to Greatness
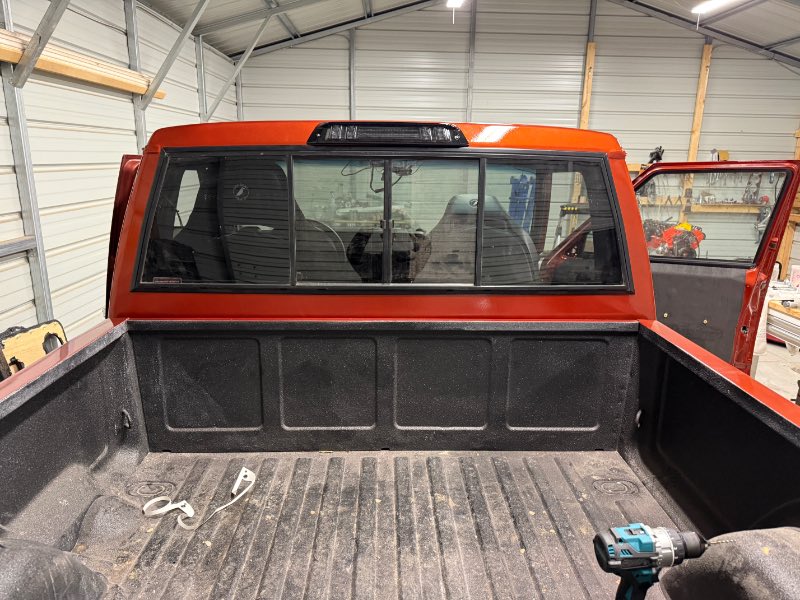
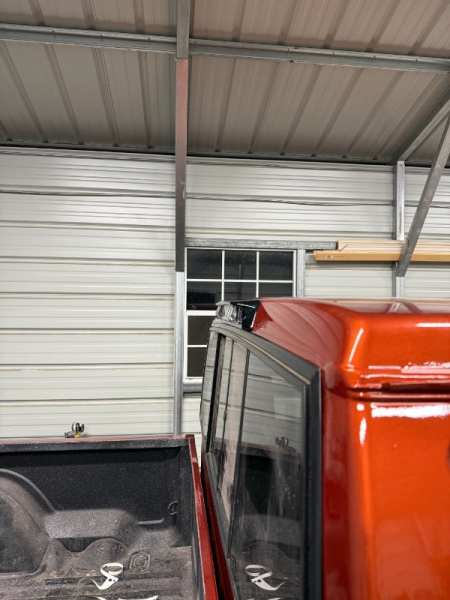
-
Project “Tomahawk”
ghetdjc320 replied to ghetdjc320's topic in MJ Hardcore Tech: Epic Journeys to Greatness
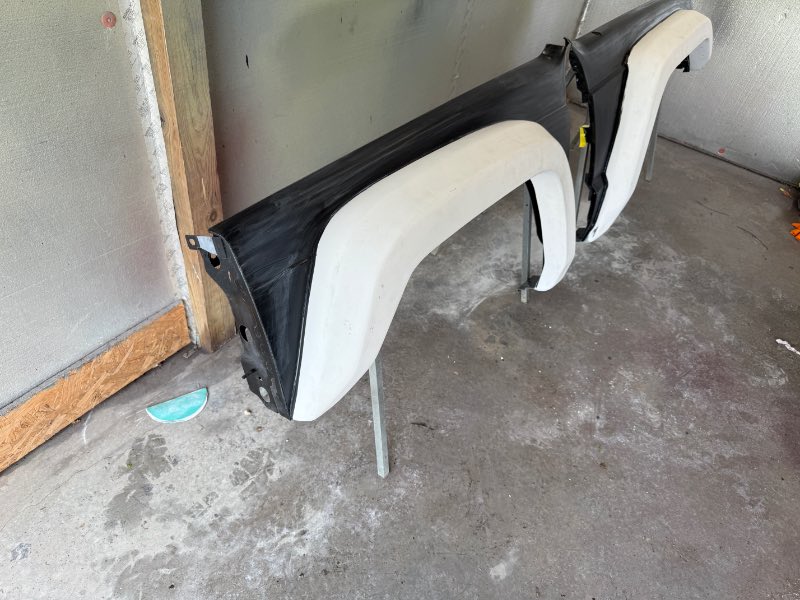
Prepping final pieces for paint. I used fiberglass stranded filler for the flares anywhere the gap was larger than may 1/8”. After the glass work, I seam sealed them all to the fenders with medium bodied, flexible seam sealer. That portion is almost cured so will be spraying epoxy primer next. Cowl panel and header panel are all sanded and ready for sealer. Tailgate has been primed and sanded and is ready for a final wipe down with mineral spirits and paint. Hood needs to be lightly sanded and finished. I chose to paint the bottom of the hood black. It is getting lined with 1/2” DynaCore for thermal and noise insulation. Mineral spirits is my go to for panel prep. It will remove most residues without being too harsh on cured finishes. Plan to begin reassembly tonight. Hope to have this thing out for road testing by Tuesday afternoon.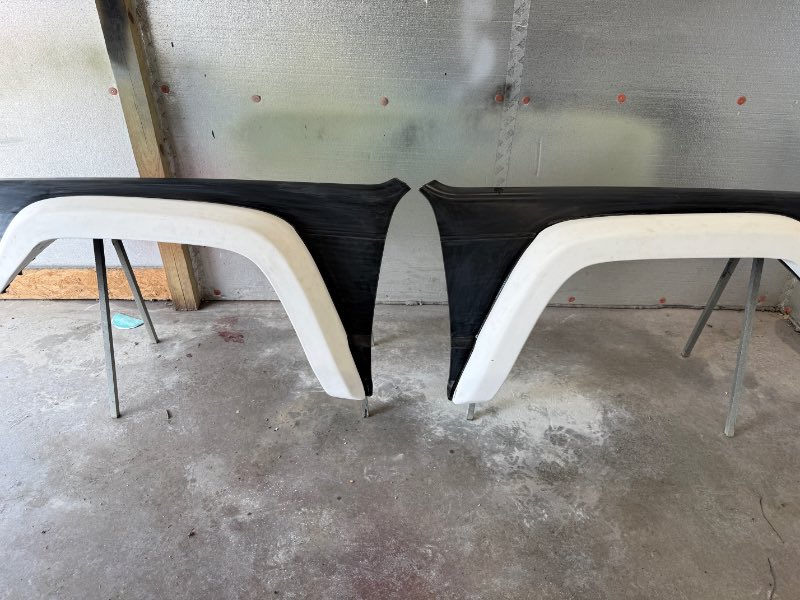
-
Project “Tomahawk”
ghetdjc320 replied to ghetdjc320's topic in MJ Hardcore Tech: Epic Journeys to Greatness
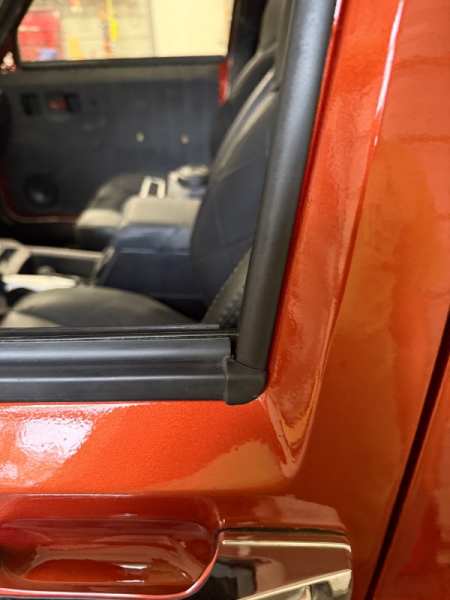
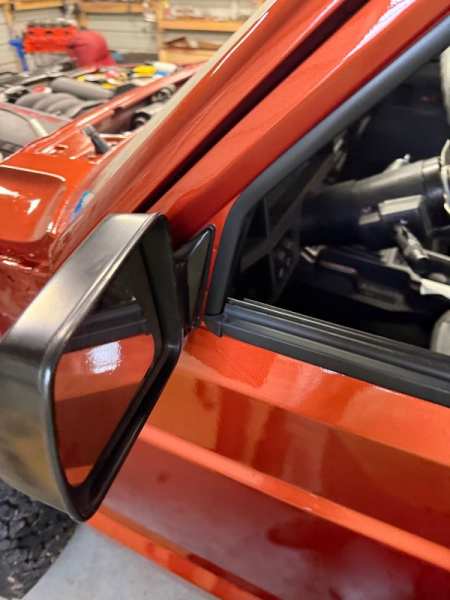
. The one gap you’ll see is in the front near the mirrors. The 97+ mirrors are slightly larger so they come closer to the trim. There is about a 3/16 gap between the mirror in trim in the pics above. Looks factory but I know there’s gap lol. -
Project “Tomahawk”
ghetdjc320 replied to ghetdjc320's topic in MJ Hardcore Tech: Epic Journeys to Greatness
You’ll need all the late model trim for the outside including the glass surround trim. Here are a couple of pics of how they fit. Unfortunately, the original trim is not usable in the swap. Having a pair of donor doors is really handy for this swap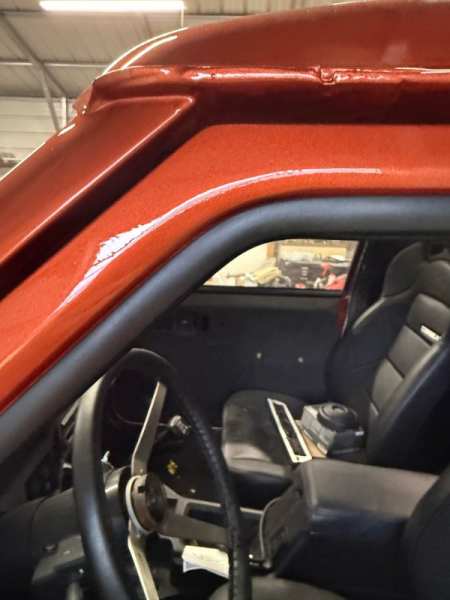
-
Modifying MJ Tach for V8
ghetdjc320 replied to Anthi4078's topic in MJ Tech: Modification and Repairs