


Torq_Shep
-
Posts
896 -
Joined
-
Last visited
Content Type
Profiles
Forums
Gallery
Everything posted by Torq_Shep
-
You won't be able to buy a new one... However, you can buy a plastic welder and fix your mounts. An upholsterer can likely fix your dash cracks by covering over the original but it won't be cheap. If you wanted to do something cheap you can try and repair/fill/regrain the dash and then spray with SEM interior vinyl paint.
-
Only the bed sides. They came off a comanche but I am not sure that they are specific. They fit alright
-
I have 2 diamond plate ones I am selling
-

Black lever on m/t steering column?
Torq_Shep replied to Jesse J's topic in MJ Tech: Modification and Repairs
If you decide you want to sell this column I would love to have it for my truck =P You can use an auto one if you hold the lock back down the column. -
I am sorry. I could have sworn I saw them the other day.
-
I believe team cherokee is selling these.
-
Yeah I also see 996
-
Opinions on XJ tilt seat bases.
Torq_Shep replied to Torq_Shep's topic in MJ Tech: Modification and Repairs
Yes those ones I think. I am 6'2" so maybe I will stay away from them. -
Is it at all worth it looking for a set of tilt brackets? I hear the raise the seat up some but having more adjustments might be nice
-
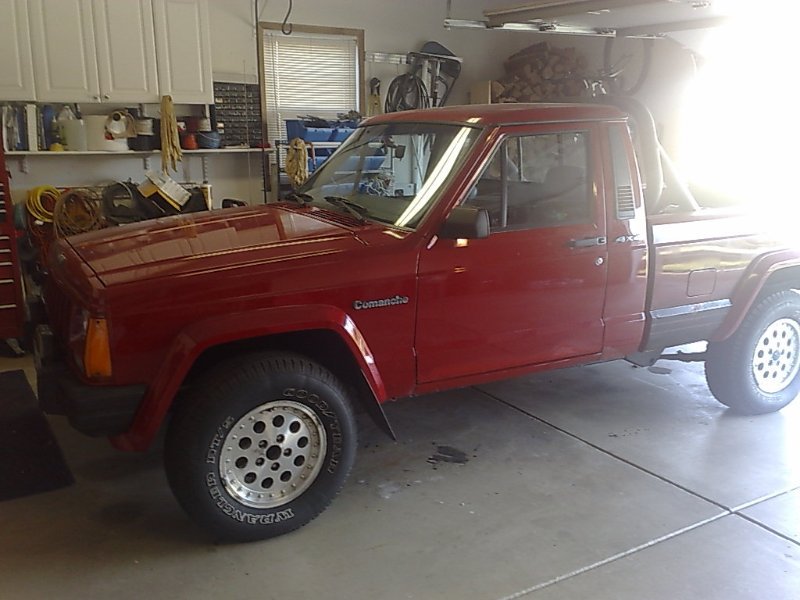
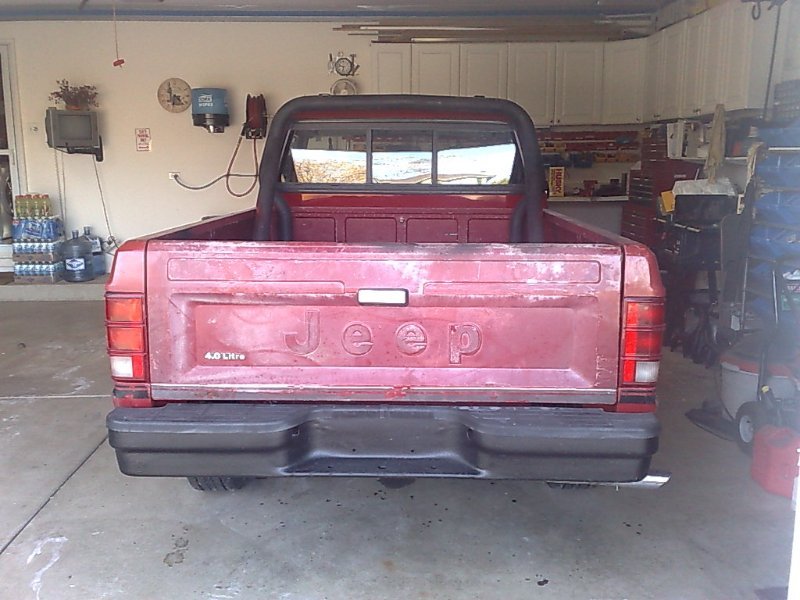
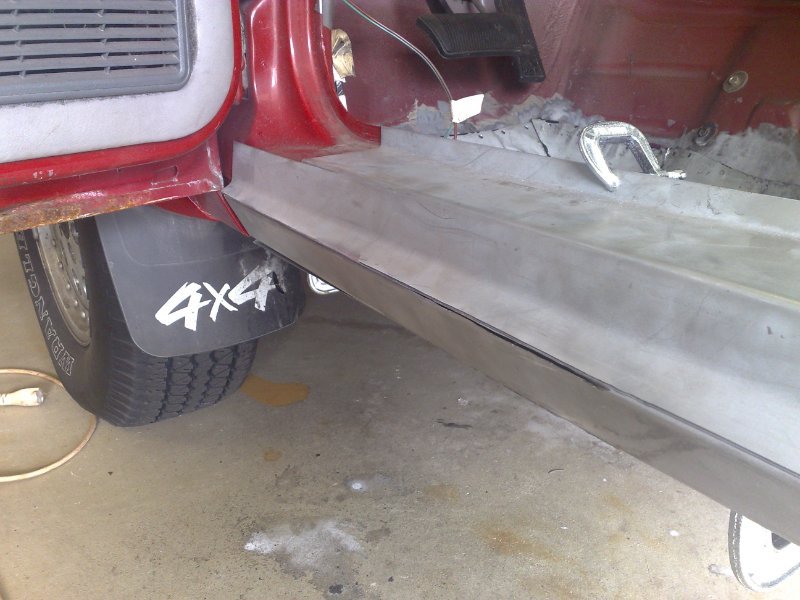
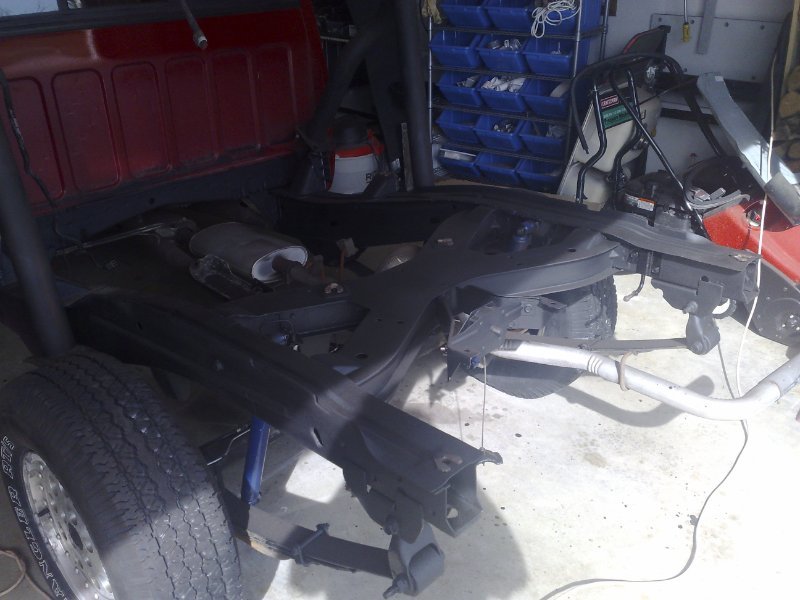
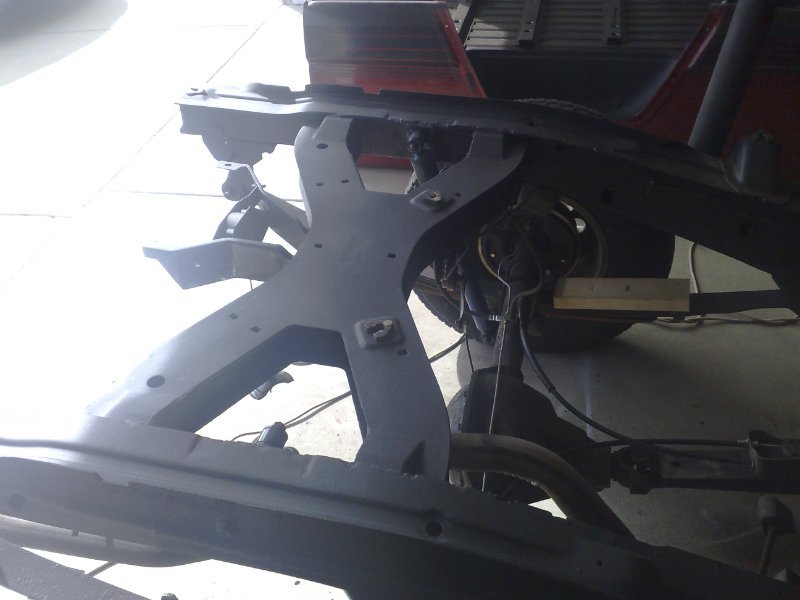
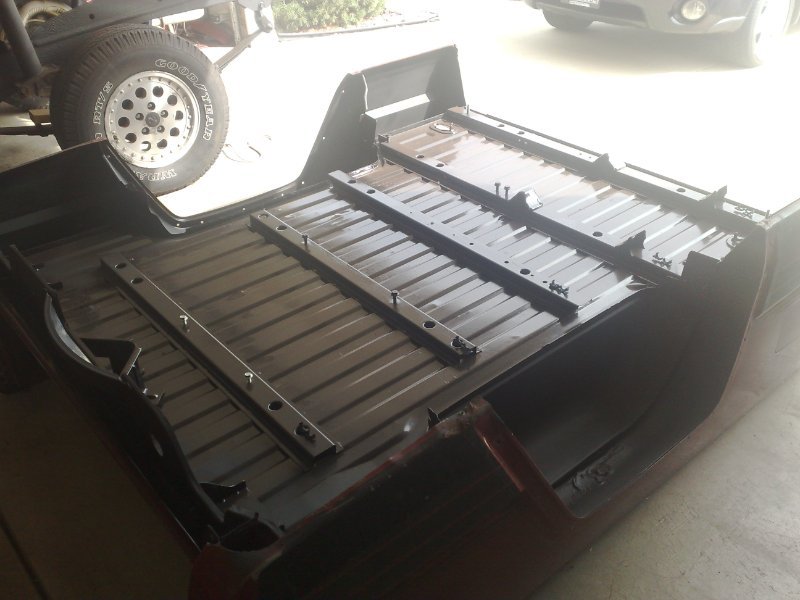
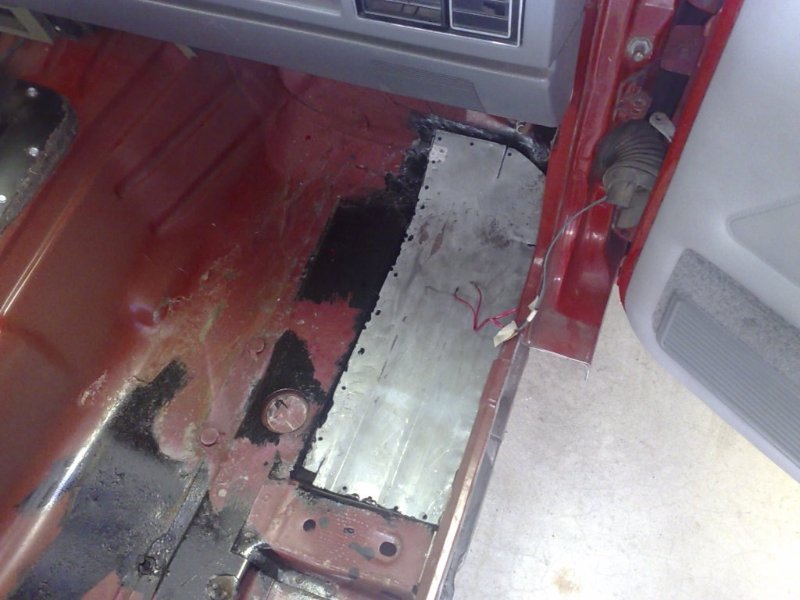
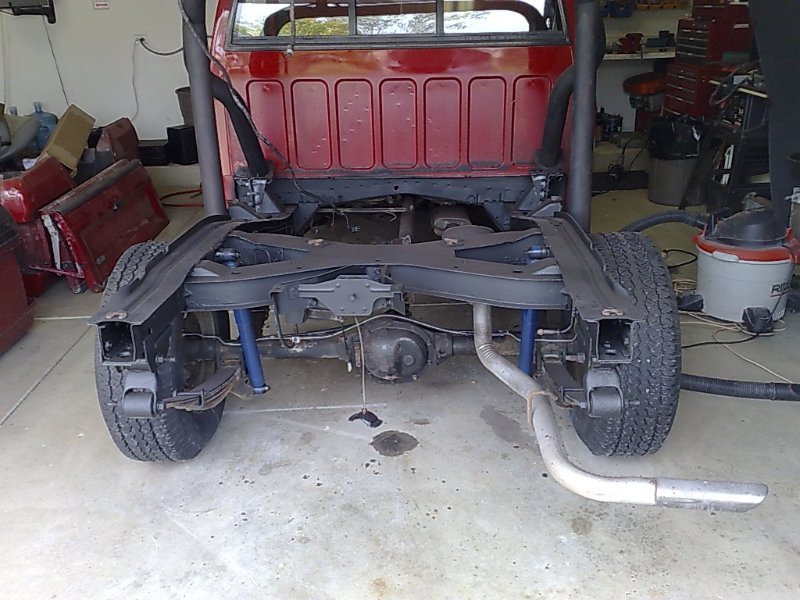
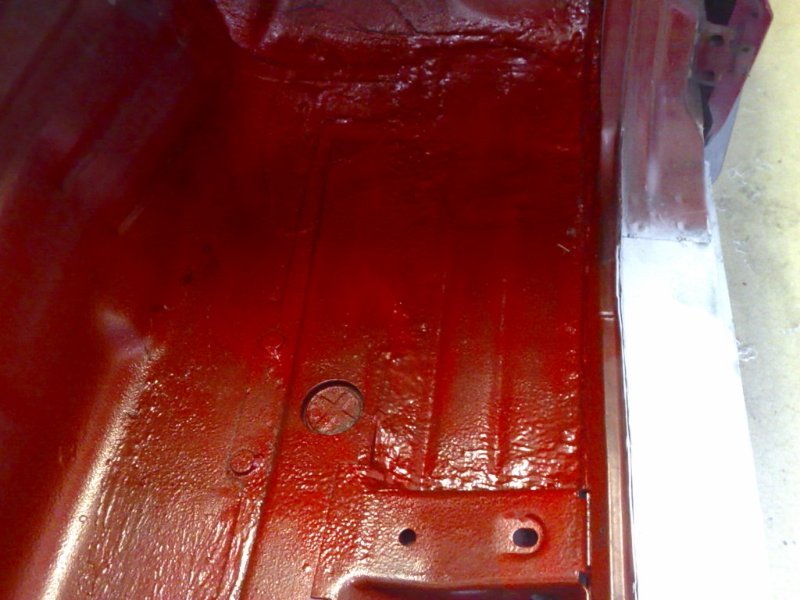
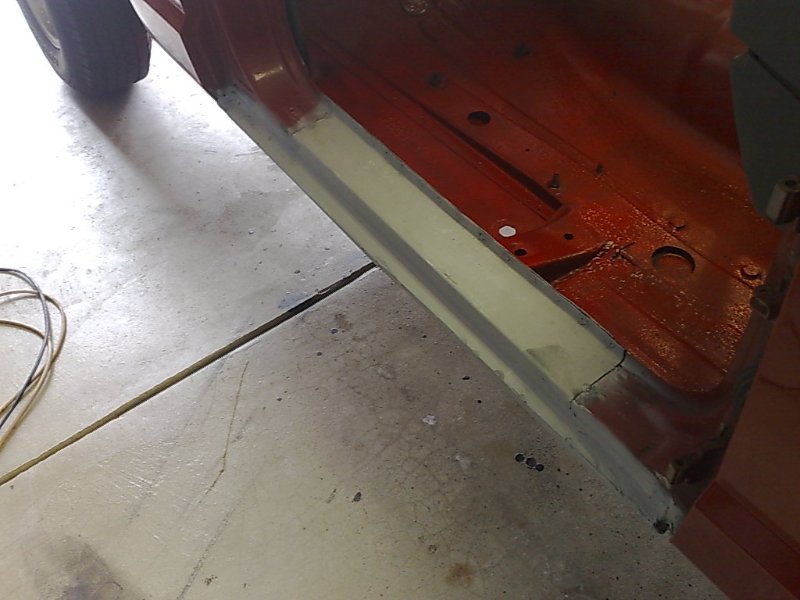
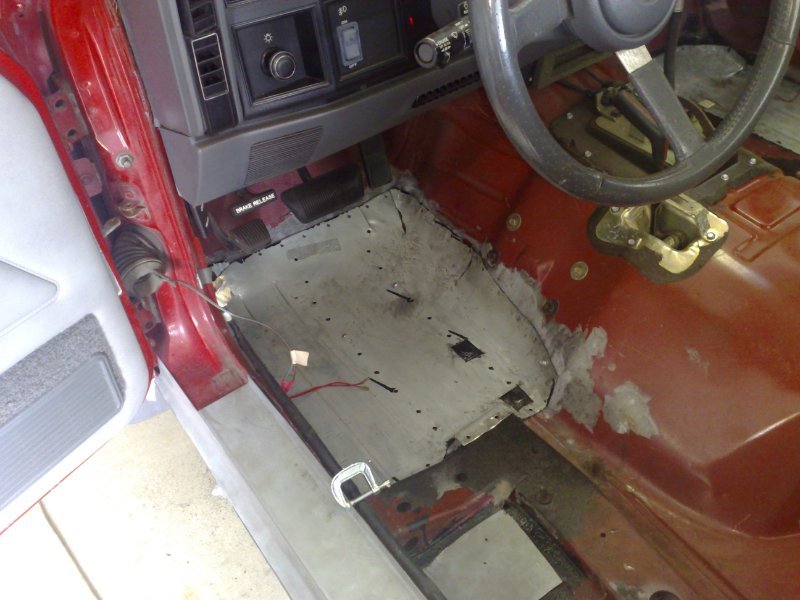
Torq's 2nd 1991 Eliminator
Torq_Shep replied to Torq_Shep's topic in Member Projects: Your Comanches
Plenty more updates to this post and next one once I go through all of the pictures!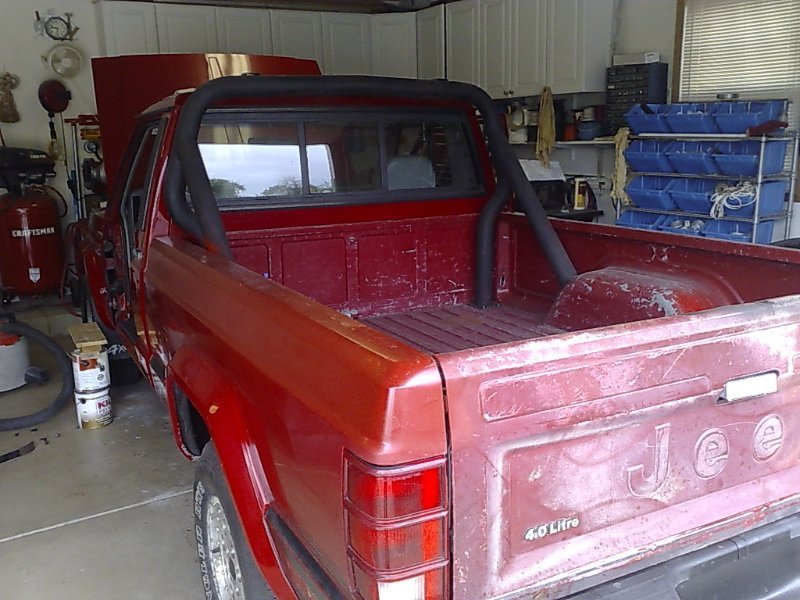

-
I mean "down" in Moab is still like 22 hours from my house =P
-
I am 95% sure that tag goes on a metal bar under the dash somewhere. The oval plug is likely the firewall plug for the transmission controller, the slotted plastic nuts are to hold your firewall sound deadener on, the plastic cap with the rectangle clip on it is for the relay cover under your hood (renix only), The other round plug I do not recognize and I do not recognize the other plastic cover...
-
^Literally hoards vehicles
-
-
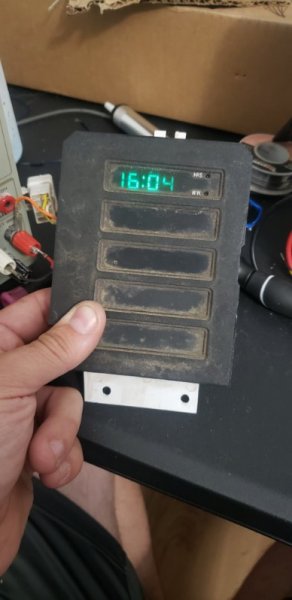
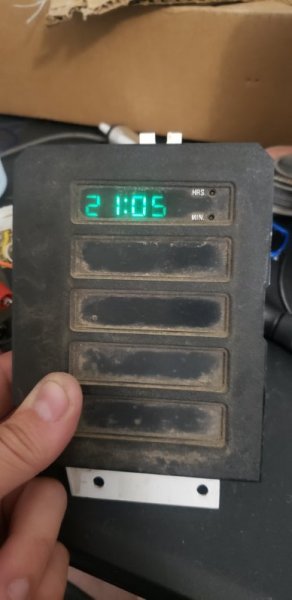
Say for some reason you prefer 12 hour time (why?), but you followed these instructions to convert to 24 hour time. Or maybe you are outside the U.S. where you use logical time keeping and you have a 1991 era clock that reads in 24-hr and you want 12 hour (again why?). Make a jumper wire and solder those it to the two pins we broke the connection on already. You could also choose to install a switch on this jumper wire and have a switchable 12/24hr clock. That would be kind of cool I guess.
-
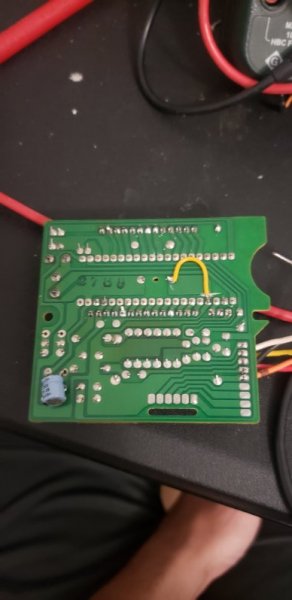
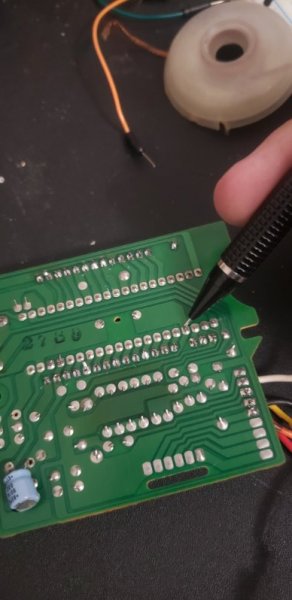
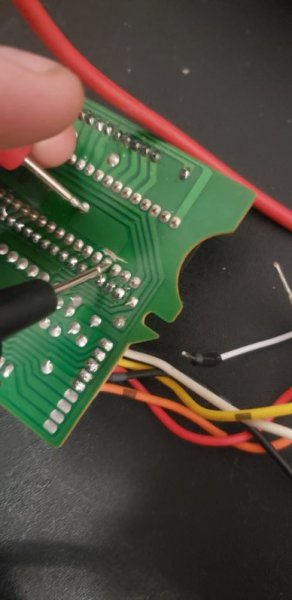
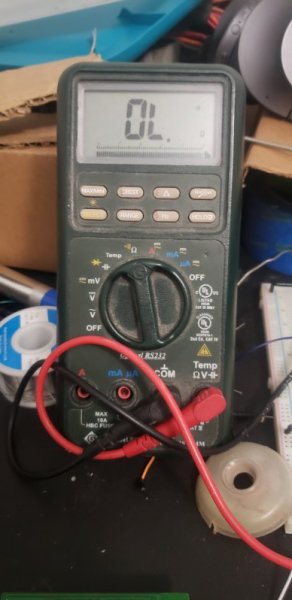
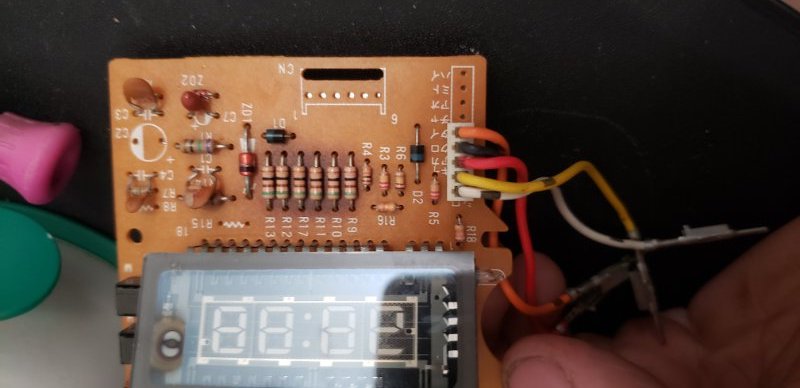
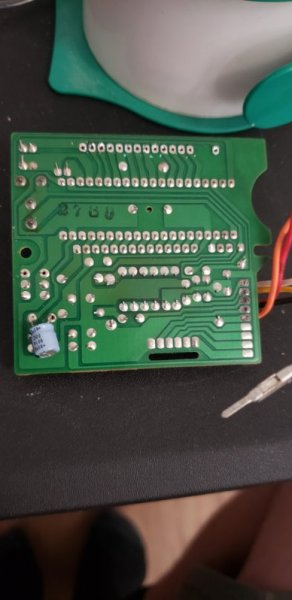
I managed to fry something on my clock display when I soldered it back together. However, I did use the damaged clock (don't worry the clock I used was already trash) to take some pictures on switching the clock between 12 and 24 hour times. Again this only specifically applies to 1991 era clocks but it may apply to other years. I will know more when I can desolder some more clocks. Theoretically... If you want to switch to 24 hour time on a 12 hour clock you should be able to do so without a soldering iron (multimeter recommended). #1 Locate pin 4 on the clock circuit. The front of the circuit board shows where pin 1 is, you need to locate pin 4. Do not get confused with the VFD pins. The inner 2 rows of solder pins are the clock circuit pins. #2 Above this solder pad you are going to score the circuit board to break the connection. I used a razor blade. #3 Check to make sure you have no continuity. #4 put the clock back together and it should work in 24 hour time only now.
.jpg.ca20df8a36fa2248393c36a76ced706d.jpg)
-
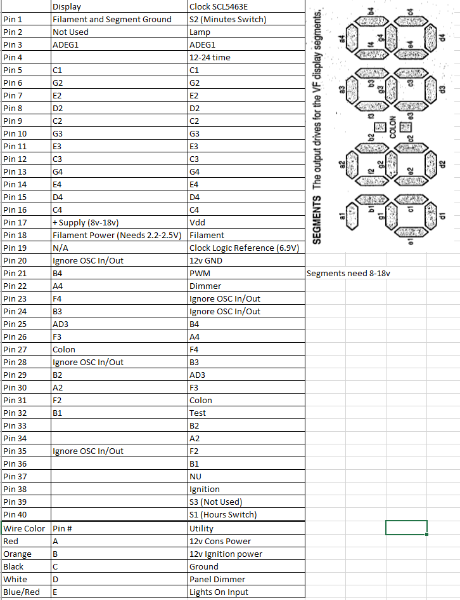
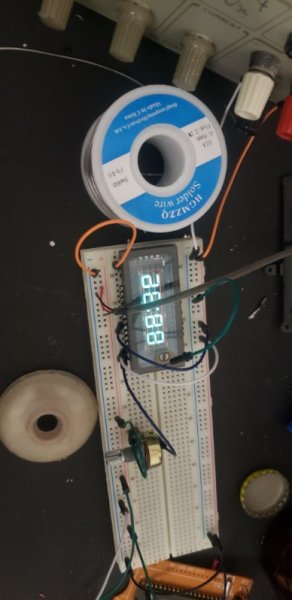
Okay I verified this with a breadboard earlier. My breadboard is cheap and I was having some floating high voltages screwing with me. What I have determined is that this display is kind of a pain in the *you know*. It could be addressed directly with an arduino (uno/nano) and a shift register or with a ATmega 2560. However, you would almost certainly need to use transistors for all 23 input pins to get voltage above the 5v DO on an arduino. Can it be done? Yes. Will it take up a lot of room and have questionable power requirements? Also yes. 1991 Jeep Clock Pinout.xlsx

-
I have made really good progress on this! I have the pinout for the clock that I am 99% sure is correct. I am going to try and run it probably tomorrow night once I can get a hold of a second power supply (Tungsten tube needs lower voltage). Doing reading on controlling VFDs with arduino so I am hoping I can come up with something that will work as a stand alone. There are some issues to be aware of for anyone doing this. The first digit can only output 1 or 2. The 3rd digit can only output 0-6 and 8. Colon cannot be split to be a period. So if you are going to use this for AFR readout you may want to do AFR readout in Lambda instead of actual AFR (Which I actually prefer). I will also make a quick writeup on how to change it to 24 hour time by hopefully just extracting/cutting one pin on the clock chip. I am highly considering seeing if I can find a 7 segment addressable clock display that has the same dimensions and similar look as a secondary option.
-
Very very easy to convert to 24 hour =P I am almost done with my data sheet for the display but I need to check some stuff when I am back home tomorrow.
-
In general yes. The front is the biggest issue and to my knowledge the front springs only changed with engine type. There were several options for rear springs that had various small height differences. You can also run WJ LCAs to help clear a 31 if you really wanted to run that. If you were closer I have a set of TJ rubicons with 31s on them in 16" size that are for sale.
-
If anyone wants to send me clocks they don't care about being potentially destroyed I will try and pin out all of the years...
-
As far as I know this is only applicable to 1991 clocks. I would love to get my hands on the whole gamut and pin them all out.
-
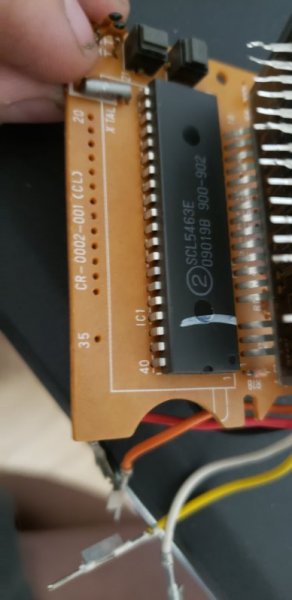
https://pdf1.alldatasheet.com/datasheet-pdf/view/108912/ALLEGRO/SCL5463E.html For the clock module soldered in under the display module
-
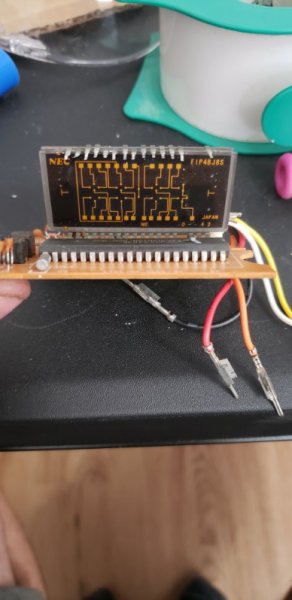
Because I am a weird electronics person I decided to suck the solder out of a 1991 clock and see if I can decode it for (potentially nefarious) uses. In any case, I have decoded 3 of the digits and the blinking colon and have an idea on the 4th digit. Once I have it fully decoded I will share a table with pinouts. However, I also took pictures of the clock LED and the chip underneath it after desoldering. Figured it might be interesting/helpful to some people.
-
Yes you can run 16s on a comanche. Back spacing is important but generally most 5x4.5 16" wheels fit it. Wheel height on stock trucks should not exceed around 31" and even at that height you can run into issues with the tires rubbing on the LCAs. I run 30" tires on a 1.5" lift.