
13 Legion
-
Posts
447 -
Joined
-
Last visited
-
Days Won
6
Content Type
Profiles
Forums
Gallery
Everything posted by 13 Legion
-
-

-
Is this working.. I used photobucket before...it seemed to go right to pic.. with this it seems you have to click on link first.Thanks for any help
-
https://www.flickr.com/gp/91371895@N04/b18b4K
-
Hey bro! Hope all is going well. Just was reading your 5 year build! Awesome work! 2 questions. I saw you replaced headliner with 1500 Ram... how was fit? Much mod or no? Secondly my build is getting back on track. I just took my Jeep on its second trip of the year... 5 miles around town!! I'm redoing the interior. Looking for carpet not the rubber that was in there before. Any recommendations? Thx. Happy Halloween!
-

Well the bench is out......
13 Legion replied to 13 Legion's topic in Member Projects: Your Comanches
My Comanche is a 2.5 RWD. It's not an off road truck. That's why I'm putting in padding and carpet. Obviously if I was a 4x4 this would never have progressed to the point it is now. I would have gone a different route. Yes you are correct though I probably wouldn't advise someone to do this if they have an off road rig for obvious reasons. The material has a sticky background covered with a foil type material. It's peel and stick ( with some cutting around areas). The sections are about 1/16-1/8 inches thick. -
Well the bench is out......
13 Legion replied to 13 Legion's topic in Member Projects: Your Comanches
Thanks for the input. As to your question 'how much will the barrier do?', well until I'm actually driving it again the jury is out on any improvements. I know this product can also be used on the rear interior of cab as well , below window. I asked if it can be used under headliner, answer was no. There is a specific product for that application. I'm using it to see if I can muffle some road sound as well as lower cab temps in the summertime since I don't have AC. This entire process came about when I realized I had to patch the drivers side floor. I will update on this product when I get the Jeep back on the road. Maybe someone else will chime in about use of this product or similar ones. -
Well the bench is out......
13 Legion replied to 13 Legion's topic in Member Projects: Your Comanches
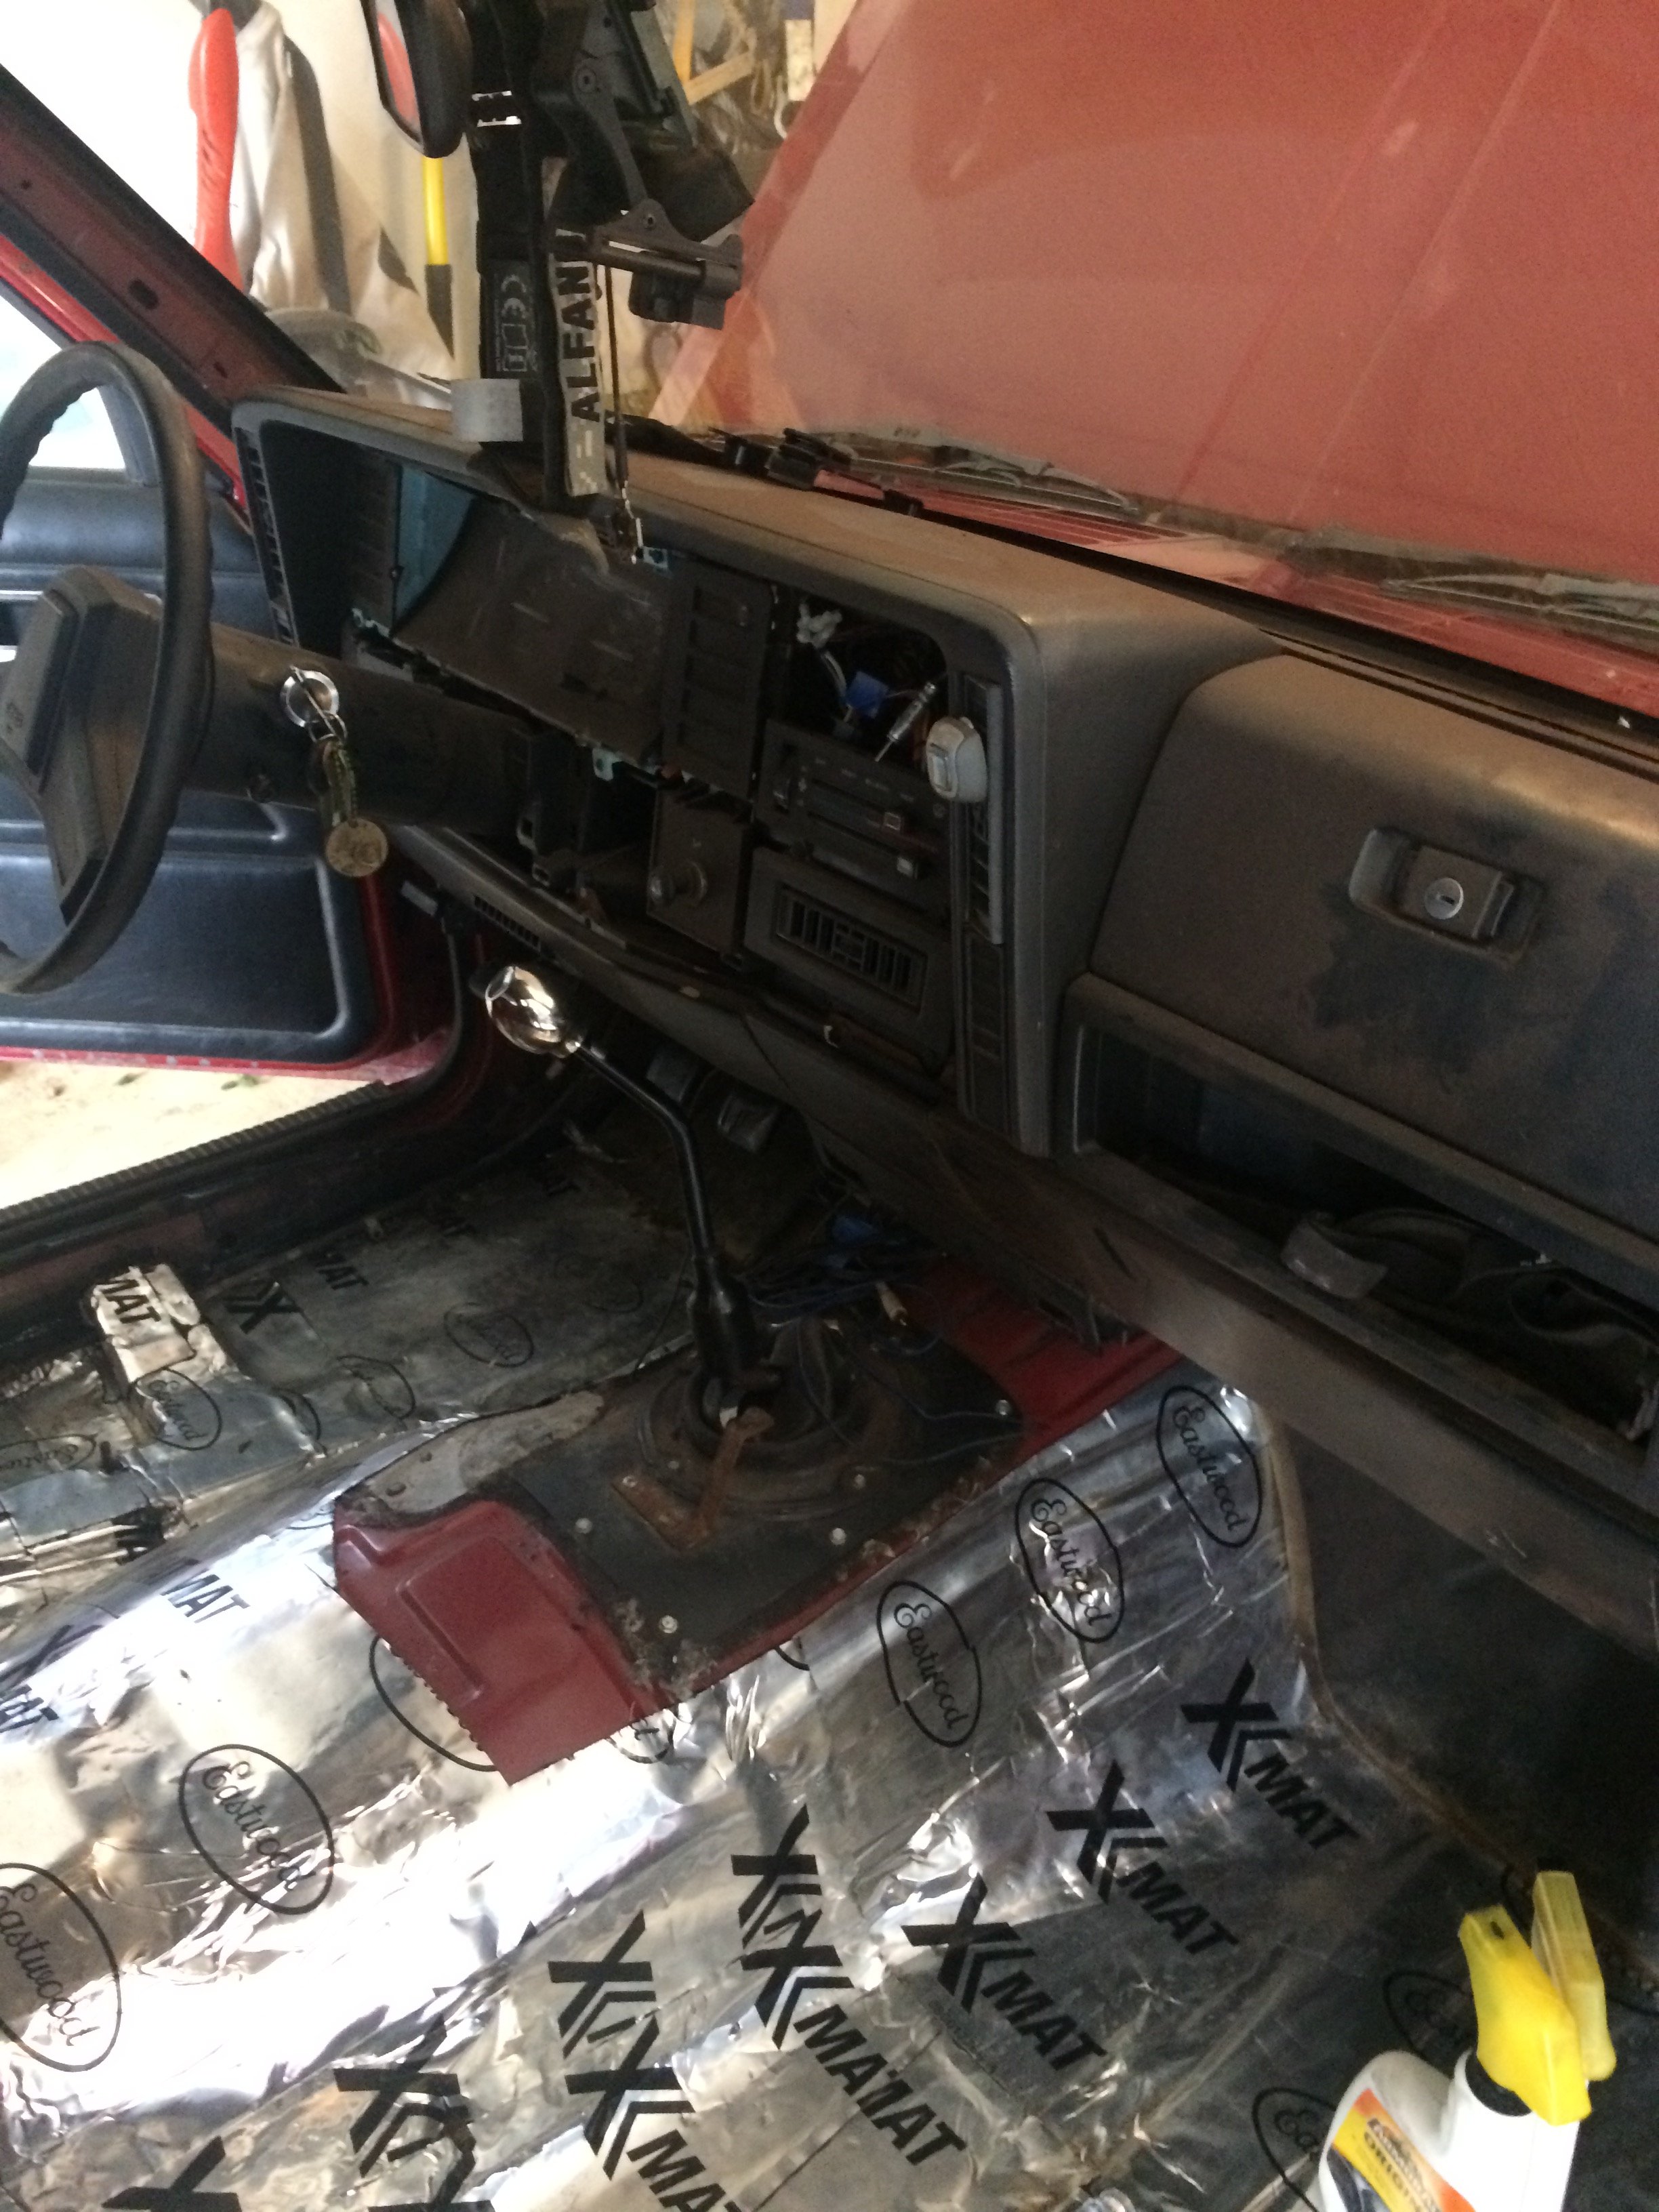
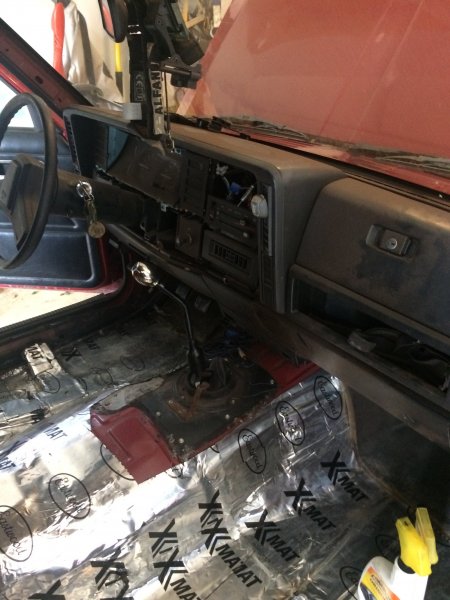
Little update. Bought some Eastwood Xmat sound deadner/heat barrier last week. Got around to installing today. I have to admit I thought it would have went a lot quicker than it did. Think it would be faster to do on an older muscle type car than a Comanche floor!! From the directions it sounded pretty straight forward. Use big pieces to cover large portions of floor...which equated to me that I would be doing lot of cutting. I really think its just the design of the floor which caused it to be time consuming. In the end though I realized it's still going to be covered with padding and carpet. Still like anyone else I wanted to do the best job I could. I'm pleased with the end results though. I also pulled the radio. Plan on installing a new one as well as put in some rear speakers. This truck really put the BASE in base model! ;) Any thoughts on carpet suppliers you've had luck with or a radio brand/ model you like is much appreciated. Take care all. Semper. -
Well called owner to go look at... Sold it last night. Thx XJREV for the 'heads' up info! Pun intended. My wife worked at a Chicagoland Jeep dealership for over 10 years( she has long since moved on) We never owned a Jeep till I bought a Comanche a few years back. I'm now kicking myself for not getting bit by the Jeep bug sooner! Search continues....
-
Title pretty much explains it. I'm going to look at this in the morning. Owner says it needs new injectors and muffler as well as tires. Body and interior looks pretty decent from the pics he sent me. A couple small rust holes on driver side rocker. He says the floors are good. It's an automatic with pwr windows and locks. Has around 170 thousand on it. It has the 4.0 and he says he still drives it occasionally but the bad injector causes it to run a little rough. Anything in particular I should be looking at with this Jeep. Have yet to own an XJ. Thx for any insight. Asking a grand but he sounds flex able with that as well.
-
Well the bench is out......
13 Legion replied to 13 Legion's topic in Member Projects: Your Comanches
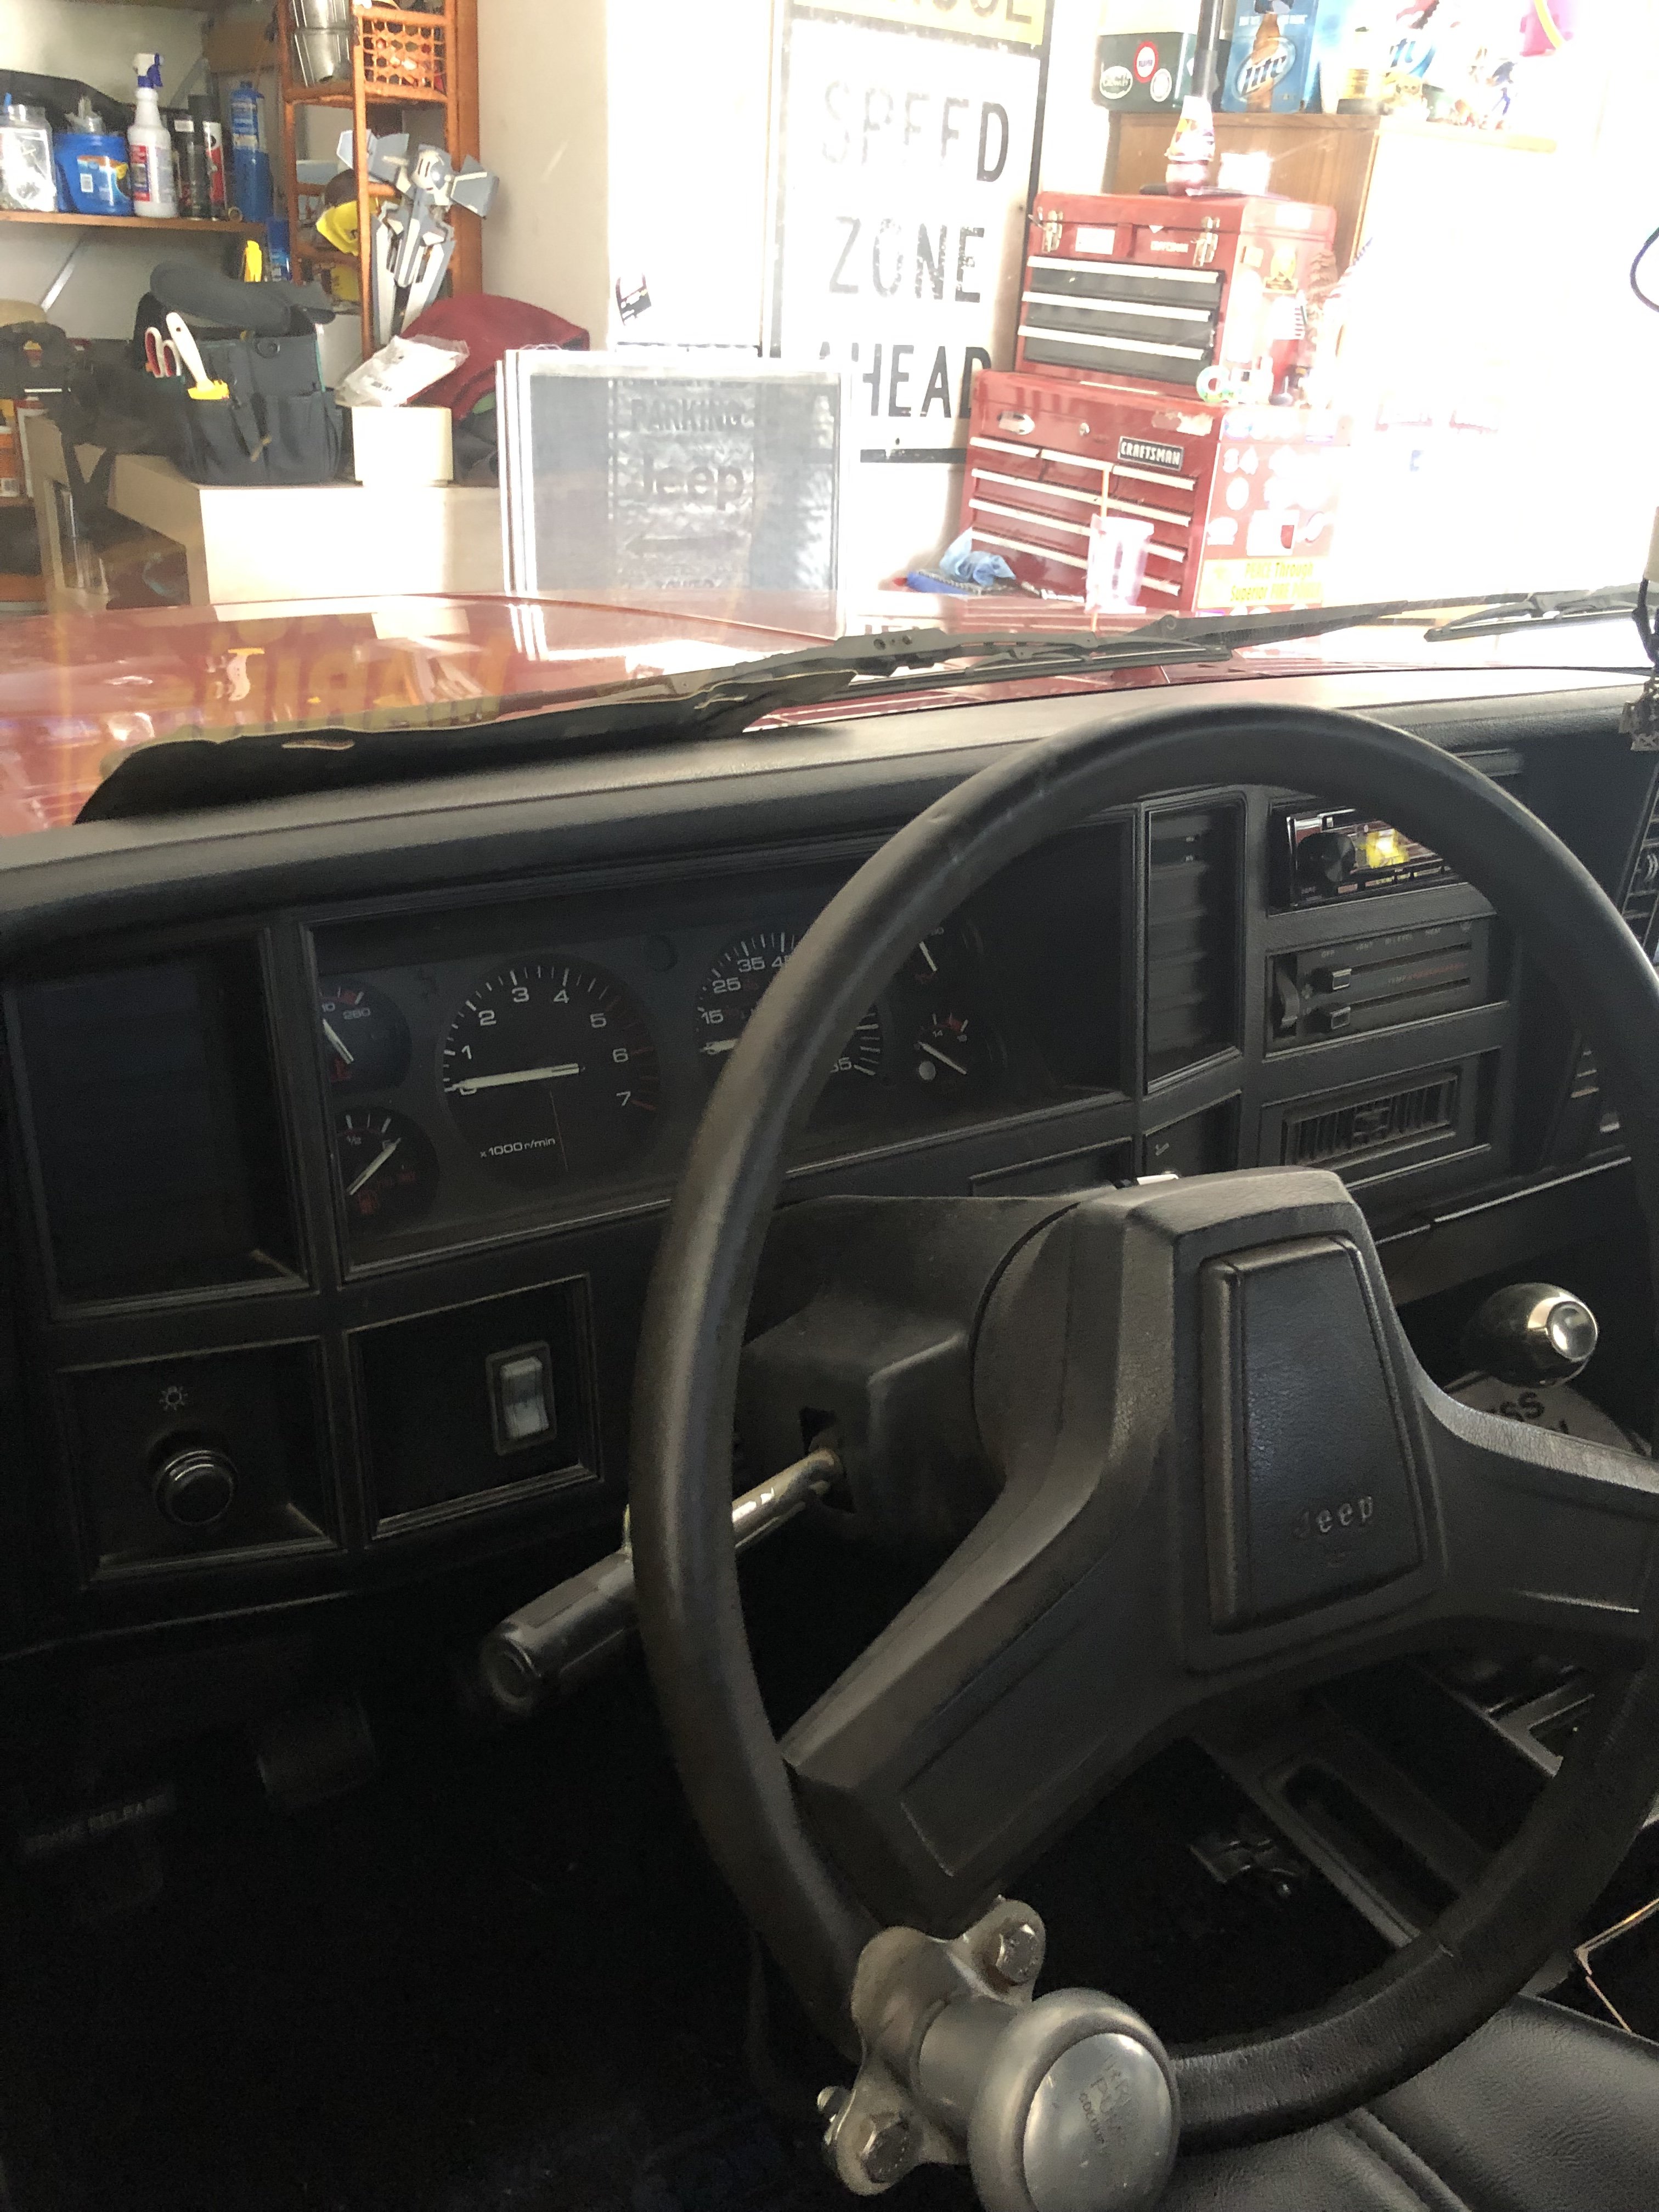
Hey all! Well a quick little update. Cut/fabed some patch panels for the floor. My initial prototype needed some working on. Got it to my liking and welded in. I than seam sealed top and bottom and covered with a rustoleum primer. After I completed that I purchased the POR 15 3 stage kit. Instructions were pretty straight forward. I spent most of Saturday wire brushing, cleaning and getting the floors prepped for actual painting on. This meant my Jeep got to move out of the garage!!!! It's been sitting since October. Last night I finished the second coat. I'm very pleased with the results. Next up is reinstalling headliner and visors, update stereo with rear speakers, dynamat or some type of sound deadener on the floor, jute padding and carpet. -
"Al Unser" Street Comanche - San Diego
13 Legion replied to HOrnbrod's topic in Craigslist/eBay... i.e. Not Your Stuff
Anything horsepower/ drivetrain related? Or just some badging and or aesthetics? -
"Al Unser" Street Comanche - San Diego
13 Legion replied to HOrnbrod's topic in Craigslist/eBay... i.e. Not Your Stuff
Are these more dealer specific? I've never seen one. They were not a factory option for a buyer were they? -
You kidding me? What a junker. Don't waste your money on such a common Xj as that. Let me get that guys number...
-
Well what are some other options than? Like I stated I patched and seam sealed drivers floor. Passenger side is good to go. The cab floor I wire brushed and cleaned up. I'd like to just put some type of coating down to be a rust inhibitor. The rest of the floor is pretty solid.
-
The Good, Bad, and Rusty - 04/09 CL List
13 Legion replied to Bonkers's topic in Craigslist/eBay... i.e. Not Your Stuff
Just want to say I enjoy you doing these. Seems like a lot of work but I for one appreciate these!! It's nice to see what's selling(parts or whole) around the country. -
I want to treat the entire cab floor with this product. Not just the patched portion. I understand it's a paint over rust product. People do the entire chassis of old cars with this type of product. I want to use it as a rust stopper and a preventative. Or am I viewing this products use in the wrong manner? My entire cab floor is mainly some surface rust as well as paint from the factory in other areas. Scale of 1-10...10 being unsalvageable rust bucket, I'd say mine is a 3-4.
-
Recently replaced my floorboards. Welded in my driver side floor pans and seam sealed patch panels top and bottom. My next step is to purchase the 3 part POR treatment. I noticed on the marine clean application is says to spray down, clean and rinse the area off and allow to dry. I'm not to crazy about rinsing off ( with a hose) the drivers side. Reason being the floorboard drain cap is no longer, since that area was patched. I don't really want to drill a 'drain hole' in my newly installed panels. Is it possible to just purchase a paint etching primer and than apply POR? I know many here have used this product and I'm sold on it as well. Any help is appreciated.
-
My 87 as well. Was built in Dec of 86. All my interior panels are marked 86. Still titled 87 as mentioned
-
What insulation did you use? Did you put on floors as well? Did you reuse jute padding or get new?
-
Your doing good work! I'm so envious of all that work space!!!!! I have a 2 1/2 car garage which equates to my Jeep currently in disarray 1 1/2.. Momma's space 1.
-
This happens. See if there's enough of bolt left sticking out to heat. Than grab a pair of vise grips. Broke 3 bolts recently between changing gearbox and water pump. If not you will have to drill out. Was the thermostat housing leaking prior to noticing this?
-
What floor pans for my 92 MJ?
13 Legion replied to 1989 comanche mj's topic in MJ Tech: Modification and Repairs
Very nice job! 'It's not pretty..' Nah it looks good!! What seam sealer did you use? -
Welcome first off! Nice looking truck. My advice is to buy yourself a Haynes Repair Manual for the Jeep Cherokee 1984-2001. This single manual covers the Cherokee, Wagoneer as well as Comanche. Readily available at your local parts store. Chapter 10 covers suspension and steering. Not sure if you have power or manual steering. I replaced manual gearbox and it was pretty straightforward in the Haynes book. Why are you choosing rebuilding original unit over replacing? Just asking unless you know exactly what the culprit is. Some one else will chime in if its a power unit to help you out. Again good looking truck!
-
Well the bench is out......
13 Legion replied to 13 Legion's topic in Member Projects: Your Comanches
I've looked at the illustration in the Haynes repair manual (Page 1-25) The picture only reveals one side of the connection on the fuel filter which is a small clamped hose. The tank side connection is shadowed in the pic. I'm guessing the hidden side mimics the out side with a small clamped hose. I'm taking it than since your fuel filter hookup looks identical than this was a factory installation. Thanks Wiz.