

drcomanche
-
Posts
445 -
Joined
-
Last visited
Content Type
Profiles
Forums
Gallery
Everything posted by drcomanche
-
Quadcab Comanche - Co
drcomanche replied to johnny quest's topic in Craigslist/eBay... i.e. Not Your Stuff
That looks pretty good. I've always thought the cab vents looked out of place on these things, though. -
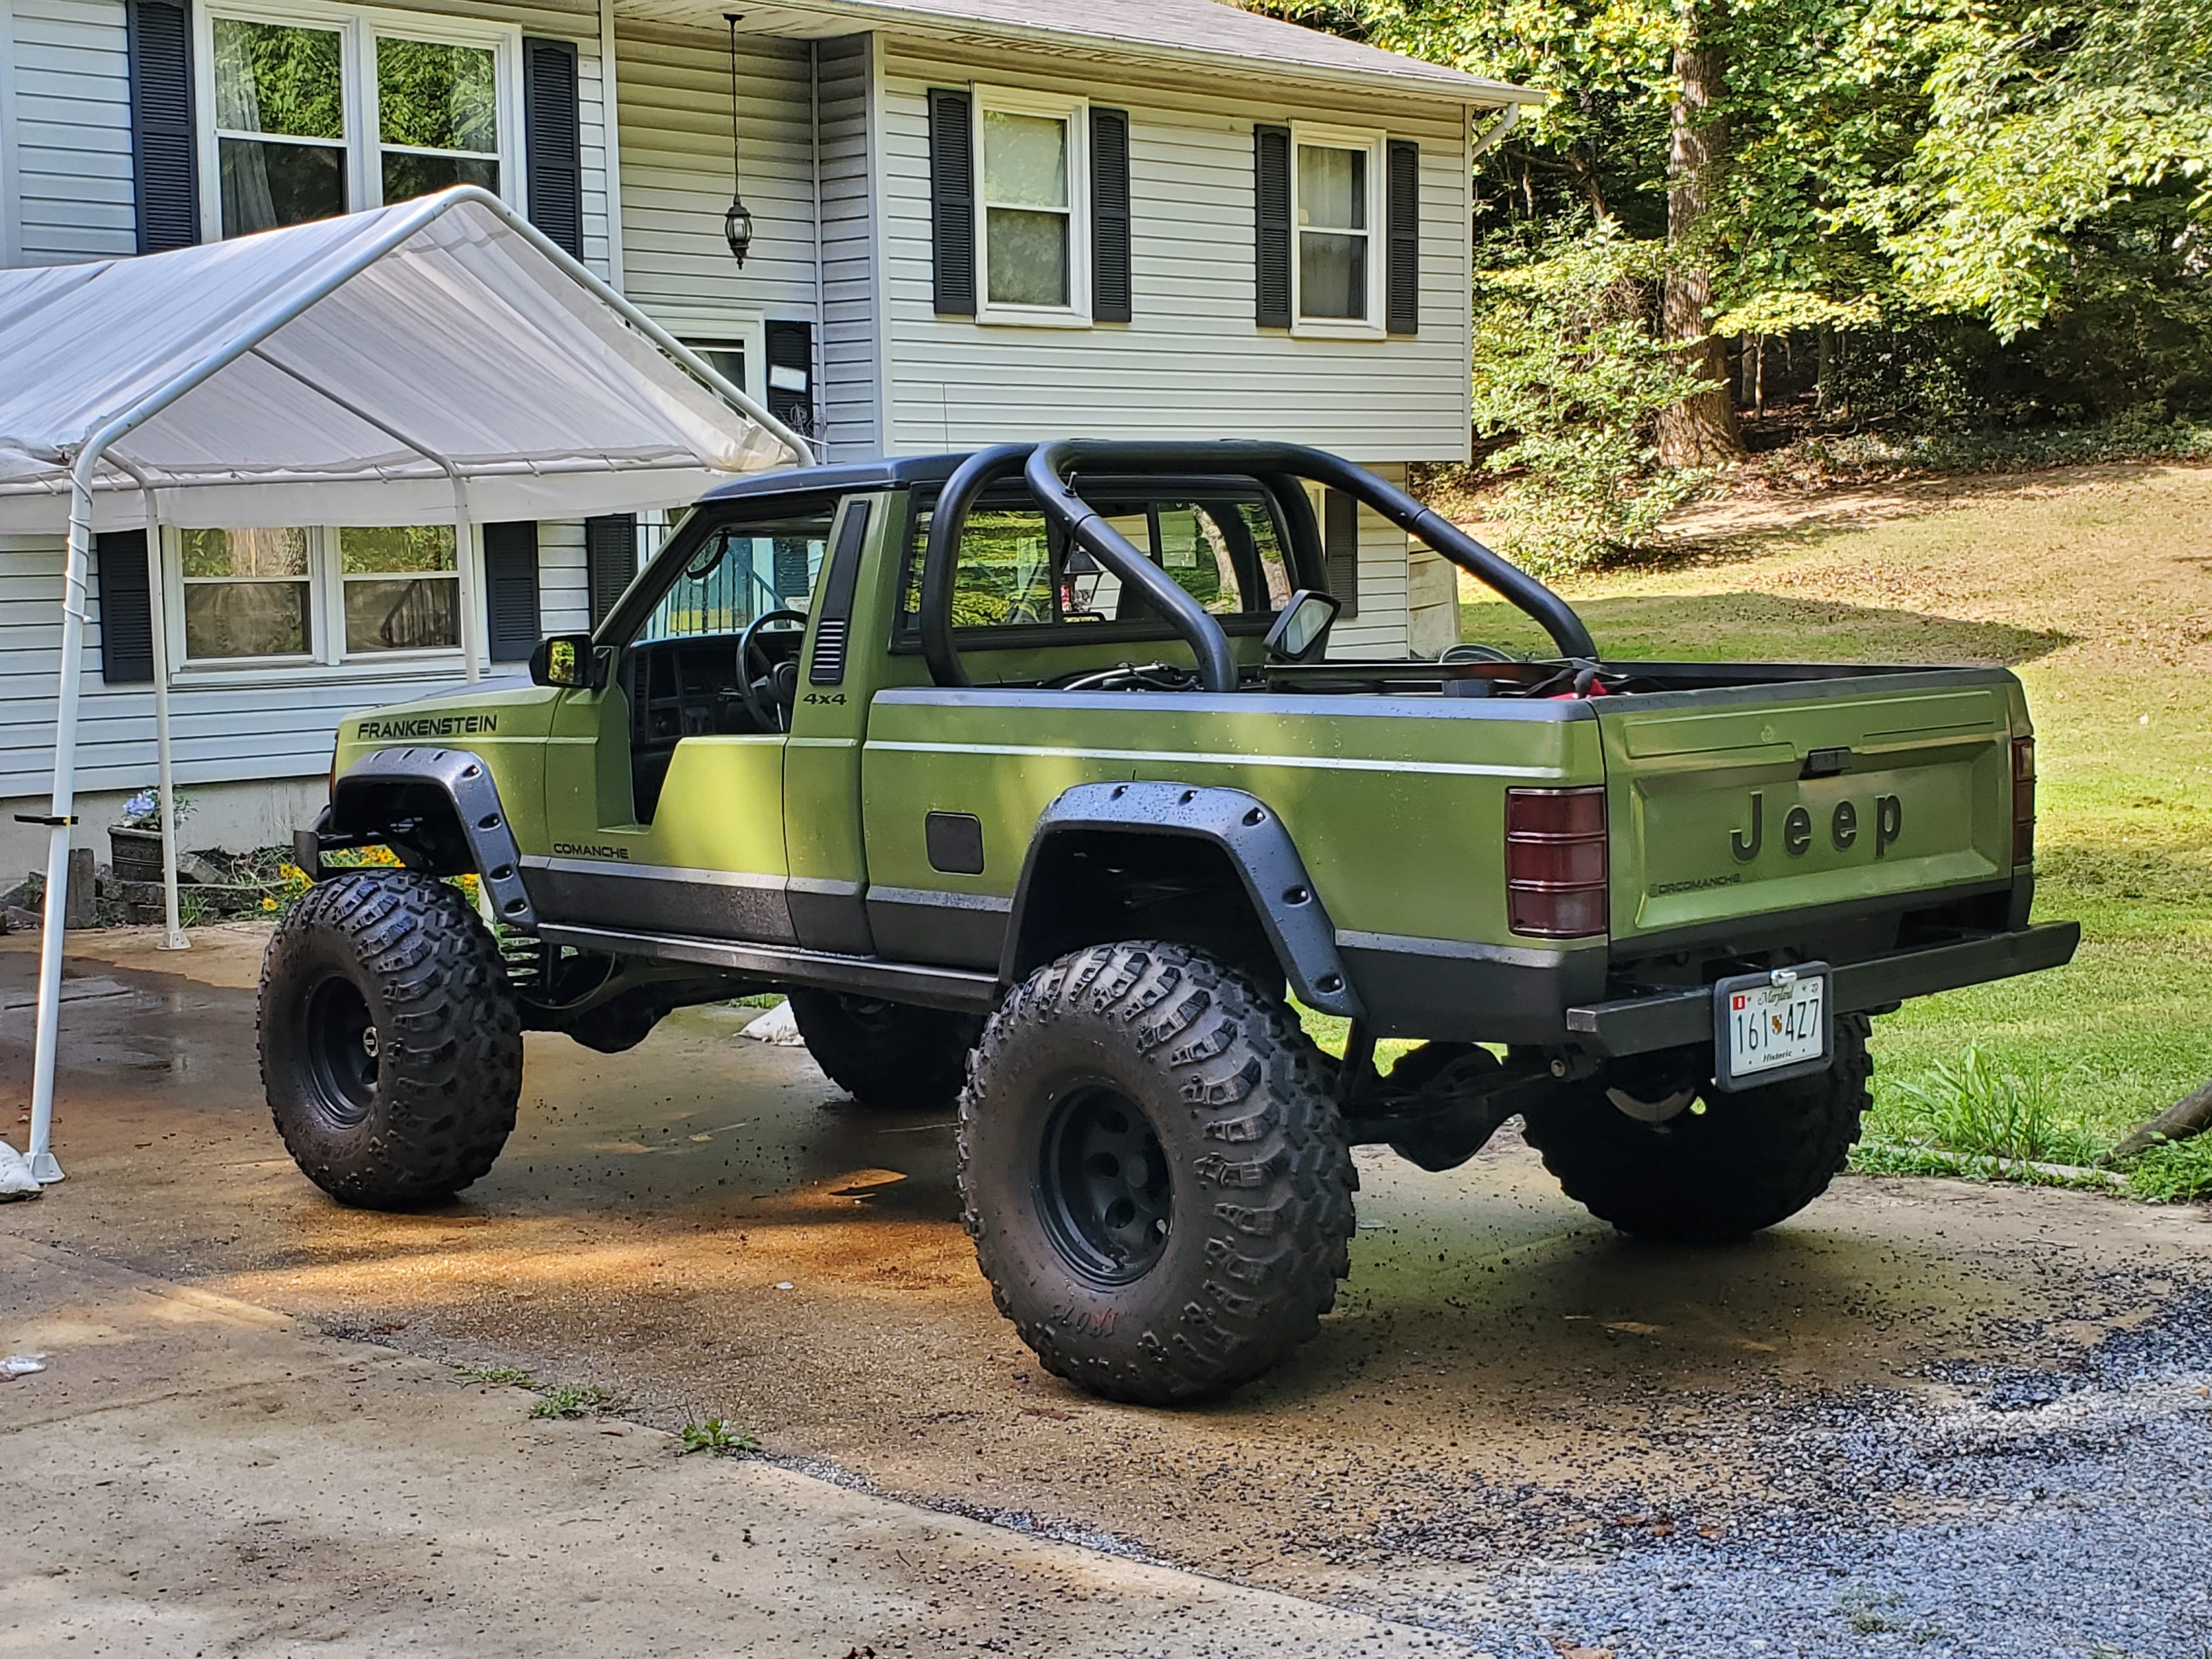
DrComanches Project "Frankenstein"
drcomanche replied to drcomanche's topic in MJ Hardcore Tech: Epic Journeys to Greatness
True story. I managed to get a bit more work done on the 24th. Got the top end all cleaned up, or at least as best as I could. It ran great, but now I need to make time for the oil pan, too. I went to turn in my core and found out that my starter wasn't really the problem, although it was still well worn, so I don't regret the replacement. While there, I got some new battery terminals to try that out. It was an easy repair, and so far, although I haven't tried it warmed up, it seems to fire every time. I also got to work on my bed a bit more, and decided to use some Rustoleum Bed liner as a cheap color match for the bed. It has a good tough surface, but it doesn't cover the bed imperfections quite as well, however, I figure I'll just go over it later with some Herculiner, or maybe a spray in. I put 3 coats on the bedrails and the tailgate, and overall, I think it's going well. I'm liking the lack of red showing. It really adds to the look of the truck. :D -
This seems to only happen when the truck is warm, but I'm not sure of it. I'll go to turn the key now, all the time, and it will crank once and then stop everything. I just replaced the starter, so that isn't the issue. It started doing this every now and then a while ago, but now it does it every time. The only way it starts now is if there is enough in the engine to get everything going off that one crank, but I find myself stranded in parking lots now waiting for a lucky turn of the key. The battery is less than 6 months old, but when I took it to autozone and tried it out with a tester, all of their testers for the battery were broken. The guy put a standard volt meter on there, and it had plenty of power, when the key was turned it wouldn't drop past 11, and when the truck was on, it read a steady 13.5 or so. Any ideas? Kind of need this fixed soon. I can't have an unreliable vehicle for work.
-
Holy Mother Of Valve Deposit
drcomanche replied to drcomanche's topic in MJ Tech: Modification and Repairs
Very true... :yes: -
DrComanches Project "Frankenstein"
drcomanche replied to drcomanche's topic in MJ Hardcore Tech: Epic Journeys to Greatness
Today, after my starter failed me one too many times, I went to the parts store and got a new one, and while there, I remembered that my valve cover was leaking, so I picked up a gasket too, since it was cheap. The starter was a cut and dry repair, took the old out and put the new on with no trouble. Forgot to get a finished pic on it, but you get the idea. After that, I switched over to the valve cover. The bolts gave me no problems, since they were all fairly loose to start with. As soon as I got them all out and pried the cover up a bit, I knew I had unleashed hell... Now, there was so much deposit of gunked up burned oil in here that it was literally an inch of deposit in between every lifter. I couldn't just leave it like that, so I took to cleaning it all out with a screwdriver and a shop vac. I managed to get everything fairly clean before it was pitch black outside, but it will have to be finished tomorrow. This was certainly unexpected, and hopefully, my engine will improve from this. Now I have to look forward to the oil pan... :fs1: -
Holy Mother Of Valve Deposit
drcomanche replied to drcomanche's topic in MJ Tech: Modification and Repairs
Here is a reference for it. I ended up just scraping it off with a shop vac handy. Any time something fell into the channels, I used my fingers to narrow the air flow and sucked it all out. It's amazing what people are too lazy to do on vehicles nowadays. -
I will have to add a picture later to accompany this, but my description may suffice for most. Now, I went to the parts store and happened to get a valve cover gasket while I was there, since mine has been leaking a bit. Got back to the house to change it and took the cover off. What I'm looking at looks like a jumbled mess of mud stuck everywhere under it. I literally, I mean LITERALLY, have inches of burned up oil crowding everything under the valve cover. It looks like a disaster in there. I don't know what this may mean, or how to clean it, any suggestions?
-
That was an interesting read. Had no idea there were so many options.
-
1986 Jeep Comanche $795.00
drcomanche replied to Jschristensen's topic in Craigslist/eBay... i.e. Not Your Stuff
A sound that "mite not supost to be there". Very descriptive of the problem. -
DrComanches Project "Frankenstein"
drcomanche replied to drcomanche's topic in MJ Hardcore Tech: Epic Journeys to Greatness
Today, I decided to paint my rear axle up, since the pinion seal has been fixed and there's no worry about it leaking on anything. Unfortunately, I couldn't get the torque on my wrench to loosen the leaf spring bolts, so I only did the center section. I chose the Hammered style paint, because the axle housing itself was pretty rough, and trying to smooth that out would take forever. I did notice some odd divits in the metal around the drivers side shock and the breather. Not sure what that's from. And, all finished up with paint. -
89 MJ Totalled, the Resurrection!
drcomanche replied to xjtrailrider's topic in Member Projects: Your Comanches
Man, am I glad to see this. I had thought that would be the end for it. Keep posting! I want to see how this turns out. By the way, any extra modification plans since you are doing all this metal work? -
DrComanches Project "Frankenstein"
drcomanche replied to drcomanche's topic in MJ Hardcore Tech: Epic Journeys to Greatness
Small update today. NO LEAKS! So the new pinion seal was a success, and I can proceed to painting the axle. -
Checked it out, and I have the body molding and the chrome bezels. Both bezels are a little dirty, but nothing wrong with them. A bit of shining, and maybe some polish, and it will look great.
-
You know, this topic just reminded me that I do, in fact, have beer in the fridge I had forgotten about. Well this makes my day better. :cheers:
-
DrComanches Project "Frankenstein"
drcomanche replied to drcomanche's topic in MJ Hardcore Tech: Epic Journeys to Greatness
So, yesterday, with the 4 or so hours I had remaining in my day, I decided to scrape some more of my old bedliner off and continue on. I managed to get only a few sections done in that time because, like I said, that bedliner eats sandpaper. I purchased a floor scraper to assist, and that does ok, but ends up digging the edges in, leaving the center still bedlined, but the outer edges all the way to metal. And then today, upon arrival home, I found that my inch pound needle torque gauge had arrived, and after breifing the instructions, went out to fix my pinion seal. I won't get into the details, but I didn't have all the things I really needed for this, but managed to complete it anyway. I was taking pictures to do a write up, but about 30 minutes into it, I was to oily/greasy to hold my phone. I can see it being a fairly easy procedure, if I had had all the right tools, which I didn't. But, a few hours later, I filled the diff back up, cleaned off the bottom of it(so I can tell if it leaks again), and took it for a good 20 minute test drive. So far, no leaks, so I'll keep my fingers crossed for it. I guess Friday will be my next day to work on the truck, so I suppose I'll be back to the bed by then. -
Deep in the heart of Comanche County
drcomanche replied to Comanche County's topic in Member Projects: Your Comanches
Is that a Ranger I see in the background there? :cheers: -
DrComanches Project "Frankenstein"
drcomanche replied to drcomanche's topic in MJ Hardcore Tech: Epic Journeys to Greatness
I clay barred it a few days ago. Most of the cracking and staining needs to be ground off, so tomorrow, I guess I'll get some fine sandpaper and try that out. -
DrComanches Project "Frankenstein"
drcomanche replied to drcomanche's topic in MJ Hardcore Tech: Epic Journeys to Greatness
Yesterday, I went to a car show at my local hardware store, just to look around, and the people running admissions said I should pull the truck around and put it on display with the rest. It was a bit out of place next to all the classic cars and modern muscle(the only other offroad vehicle was a CJ at the complete opposite end of the lot), but I got more than a few looks and quite a few conversations started over it. In general, it got very good review from the lot of people, and a few who offered to buy it from me(to which I obviously replied no). At the show. Now, today, I went to an exhaust shop to have them get my stubborn O2 sensor out which they eventually did, after a while. It runs a bit better now, but it still idles very rough, like it's missing a cylinder every now and then. Guess that leads to the other few sensors I have left that aren't new. I dropped by the hardware store and after eyeing the impact drills and such for a while, I went to the paints section and got a few cans of primer, a few of rustoleum bedliners, and a few hammered black, for the axles. I got a few sheets of heavy grit sandpaper and went home to continue working on my roll bar. Previously, I had ground them all the way down to bare metal and primed them up to be bedlined. Today, I got around to bedlining them, and overall, I like how they turned out. It dried quickly, and seems to be a very durable coating. A few touch up pieces and it will be ready to install, after I get new hardware. And, with some thought, I realized something I hadn't before (and I'm actually ashamed of it) that I could bedline over primer. I hadn't really considered it before because I was going to do some herculiner when I could afford it, and when I could manage to scrape off the PO's previous bedlining job that had failed. Now, my truck bed was a whole new project for me. I started grinding down the bed rails to prime them. While doing so, I quickly realized something. Old Herculiner ate sandpaper like Cupcakes at a weight loss convention. I could seriously go a few inches of sanding before my 80 grit sandpaper became as effective as 150 grit. So I didn't really get far in it, and I'm not terrible concerned with making it absolutely smooth, since eventually, the new herculiner will throw off the uneven edges. I managed to get one bed rail done, the tailgate, and one wheel arc till it got dark. I'll try to get the rest tomorrow. Before During And After I have also been having some trouble with the any paint on top surfaces. It seems to be cracking with very small cracks. I tried waxing it up to restore it a bit, but it didn't work very well, so my next option is to take some fine grit sandpaper and redo the surface. Here is a pic of what I'm talking about. -
So, I need a working condition fuel sending unit for a short bed 4.0h.o. engine. I get the feeling mine isn't quite right when my 18 gallon tank goes through 12 and reads empty and begins to sputter.
-
I may have you on the black side molding and the chrome headlight bezels. I'll have to check the condition on the bezels, but I believe they are in good condition with no chips or anything. I'll get back to you when I check them.
-
I would have redone the material but, alas, it was pretty hacked up. The PO did a number to it trying to get at something up there.
-
Agreed. Thanks a lot for the time input, it looks great in my opinion.
-
Terminals are good. Cleaned it all off a while ago. No oil on the terminals, but because of my rear main leak, the starter has some on it. And on another note, today was the first day where it did the one crank then stop every time I tried to start it.
-
Every now and then, when I go to start my truck, it will turn over once or twice and then stop. If I try it immediately after, it won't crank, but if I wait about 20 seconds and try, it will start up just fine. I have never had a problem getting it started after waiting. Is this a sign of something going bad in the system? I would like to find out before catastrophic failure takes place.
-
My headliner, as it so happens, was ruined long before I purchased the Comanche, so now, I need another one. So, anybody have one just lying around their garage taking up space? :brows: