


ghetdjc320
-
Posts
5079 -
Joined
-
Last visited
-
Days Won
1
Content Type
Profiles
Forums
Gallery
Everything posted by ghetdjc320
-
Sounds good, thanks
-
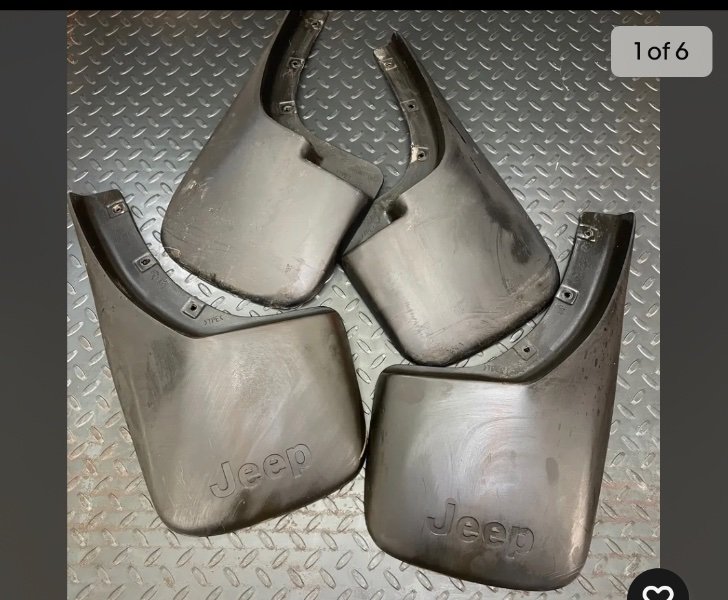
I’ve come across a few of these XJ splash guards from the 97+. Any thoughts on fitment for an MJ? I’m assuming a slightly different flare profile.
-

Project “Tomahawk”
ghetdjc320 replied to ghetdjc320's topic in MJ Hardcore Tech: Epic Journeys to Greatness
Cab getting prepped. Windshield removed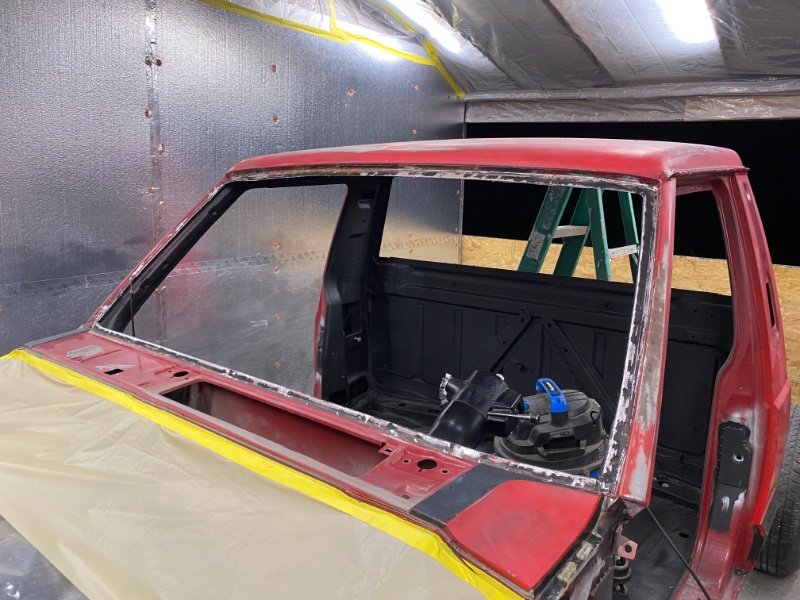
-
Project “Tomahawk”
ghetdjc320 replied to ghetdjc320's topic in MJ Hardcore Tech: Epic Journeys to Greatness
After some polishing…
-
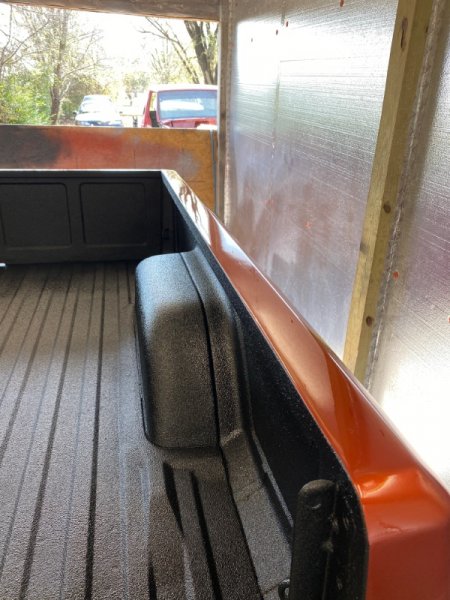
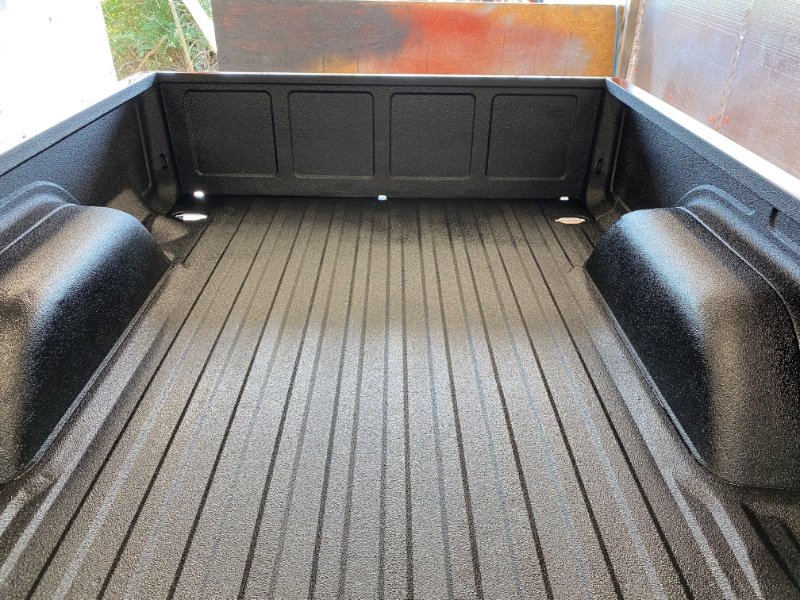
Project “Tomahawk”
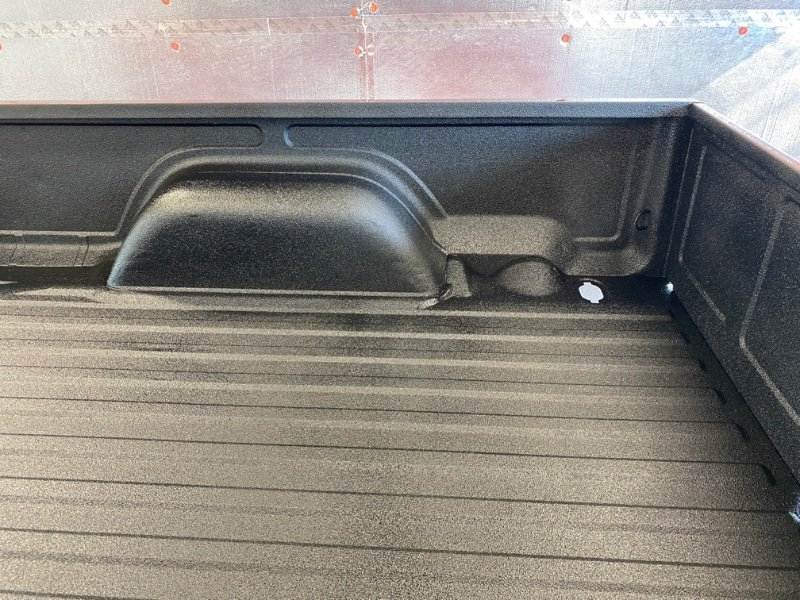
ghetdjc320 replied to ghetdjc320's topic in MJ Hardcore Tech: Epic Journeys to Greatness
Raptor lining completed. Will still line the tailgate but that will be a stand alone project. I lined the tailgate jamb as it always seems to get dinged and scratched and I didn’t want to waste paint on a area that will need touch up over and over.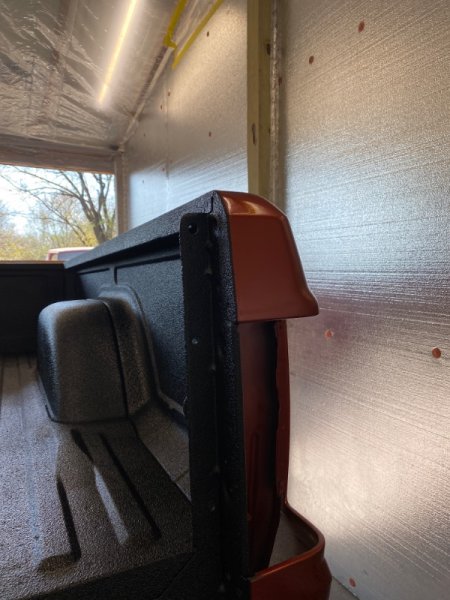
-
Project “Tomahawk”
ghetdjc320 replied to ghetdjc320's topic in MJ Hardcore Tech: Epic Journeys to Greatness
Yep, they are in the parts bag due for cleanup -
That’s one of the pinch welds for the frame. Each one of the bed support “risers” have a drain under them that can easily get clogged up and trap water. That may be what happened in your case. Unless you’re looking to restore or really dig into it, I’d just hit it with a wire brush, throughly clean it out then brush on some POR15. You can get that stuff down into the rust very well on those seams. That will probably stop it for a good while.
-
Need plastic washer things for window glass
ghetdjc320 replied to EUREKA's topic in MJ Tech: Modification and Repairs
Those are the captured nut. The bolt goes through the regulator and screw into those. You may still need a plastic washer between the regulator and glass. The part you bought will go on the back side. -
Project “Tomahawk”
ghetdjc320 replied to ghetdjc320's topic in MJ Hardcore Tech: Epic Journeys to Greatness
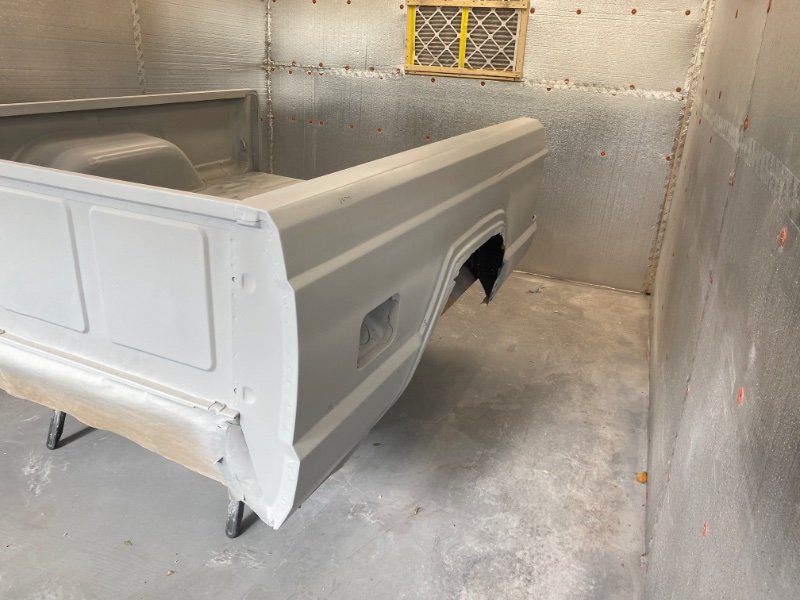
These areas will be raptor lined. I’ve had paint in those spots before but it’s too frequently damaged when using the gate it seems.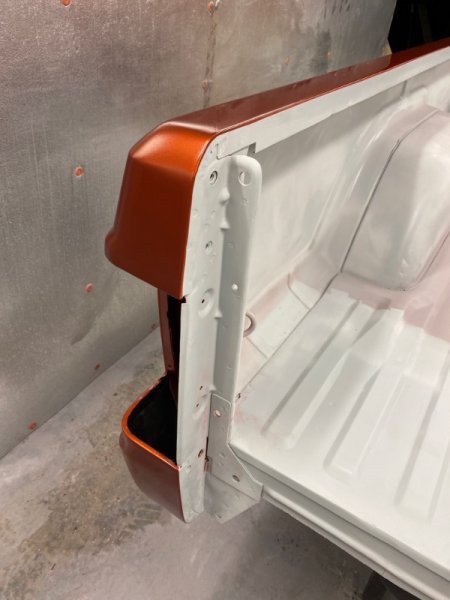
-
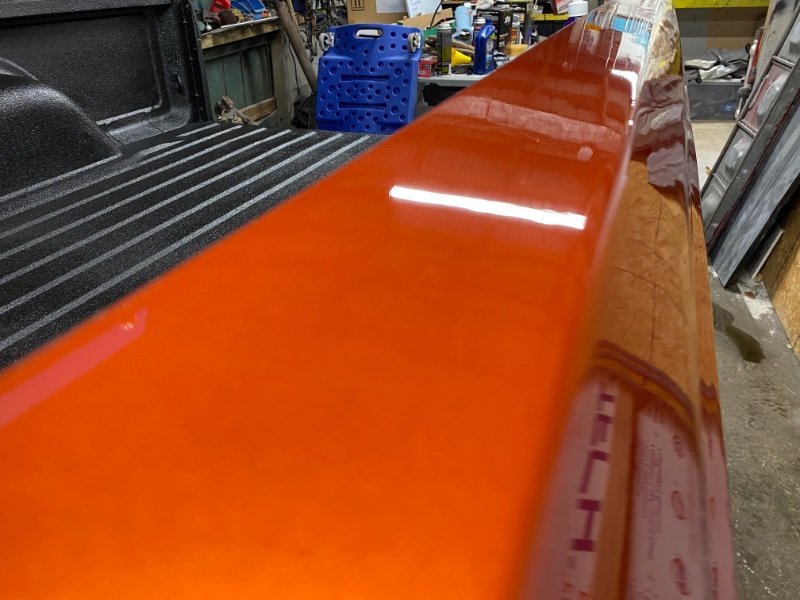
Project “Tomahawk”
ghetdjc320 replied to ghetdjc320's topic in MJ Hardcore Tech: Epic Journeys to Greatness
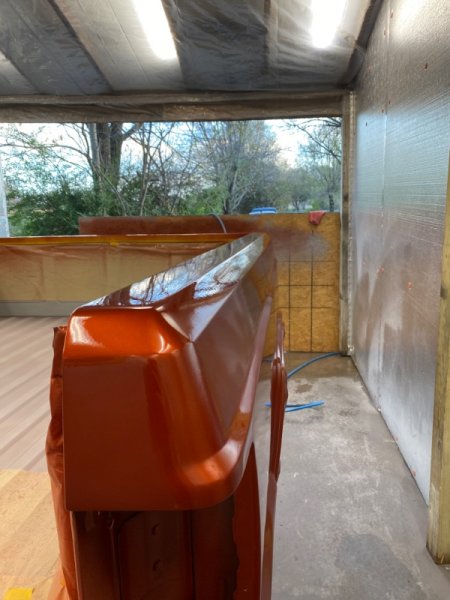
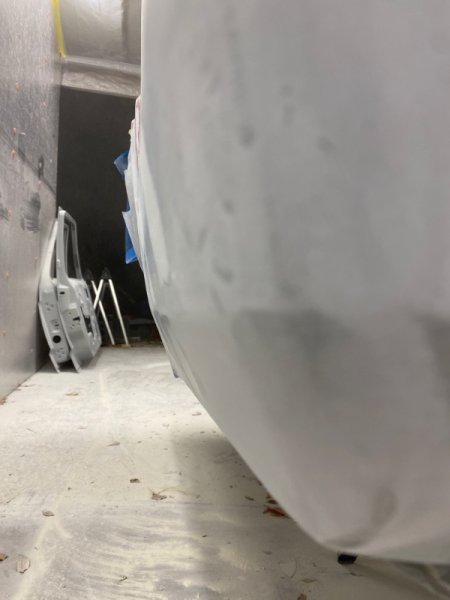
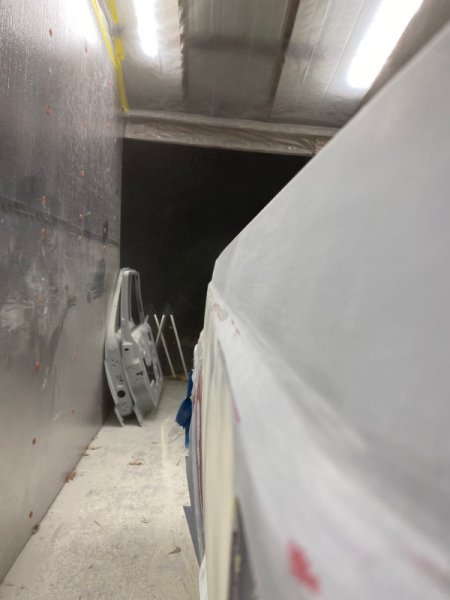
This is what I was looking for. Never seen the bed caps soo straight. Looking forward ti the cut and buff. Had a couple of light clear runs as the fine settings weren’t perfect when shooting.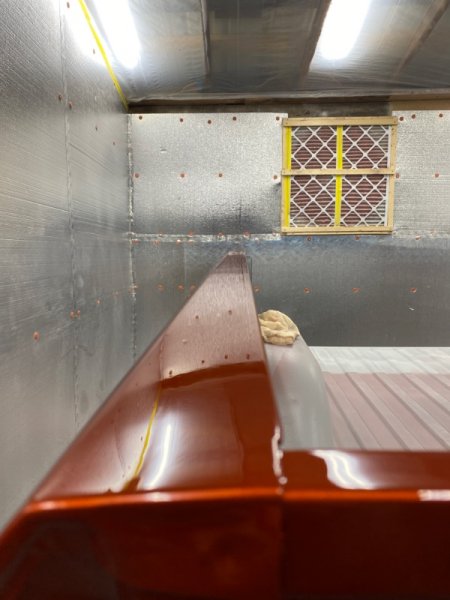
-
Project “Tomahawk”
ghetdjc320 replied to ghetdjc320's topic in MJ Hardcore Tech: Epic Journeys to Greatness
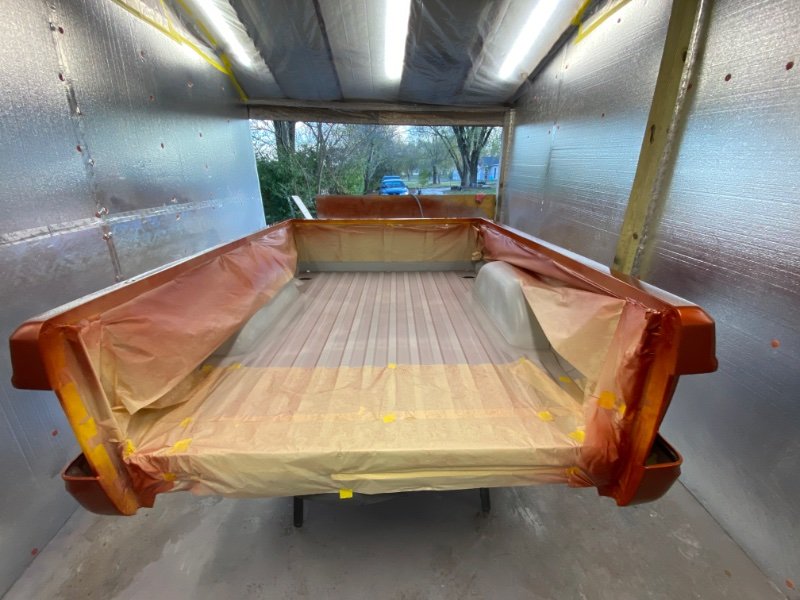
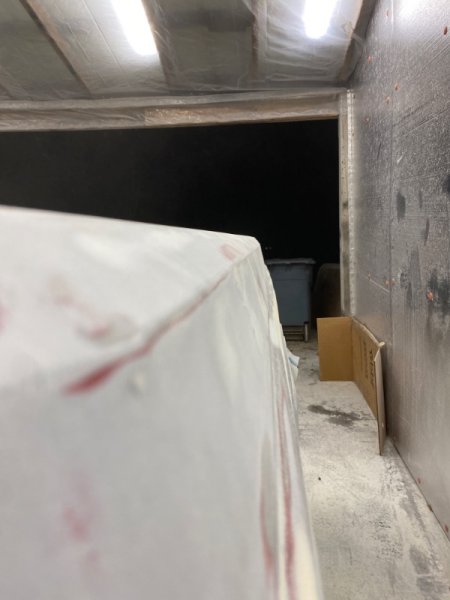
Sealer, base and 1 coat of clear so far.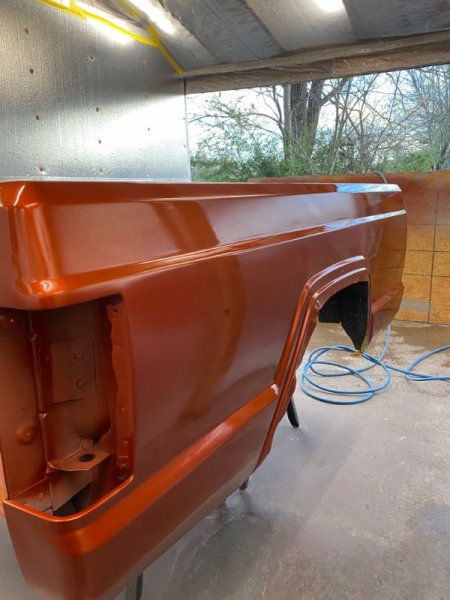
-
Project “Tomahawk”
ghetdjc320 replied to ghetdjc320's topic in MJ Hardcore Tech: Epic Journeys to Greatness
Primer has all been blocked. One final 600 grit sanding, sealer then base and clear going on.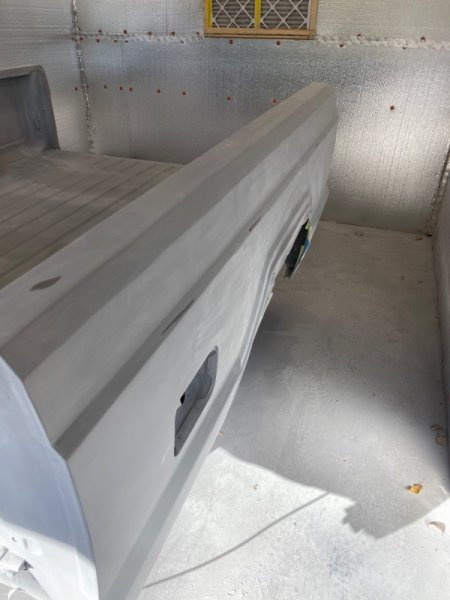
-
Project “Tomahawk”
ghetdjc320 replied to ghetdjc320's topic in MJ Hardcore Tech: Epic Journeys to Greatness
Much appreciated! -
Rear window weatherstrip - Alternatives?
ghetdjc320 replied to CO MJ's topic in MJ Tech: Modification and Repairs
I’d ditch weatherstripping in favor of trim. Should be pretty easy to fab some aluminum or similar trim. That original rubber surrounding the rear window wasn’t really a seal. It was only successful in trapping some moisture between the glass an channel. Aftermarket rear windows do not use the rubber trim and instead use a metal frame that “trims” the glass opening. -
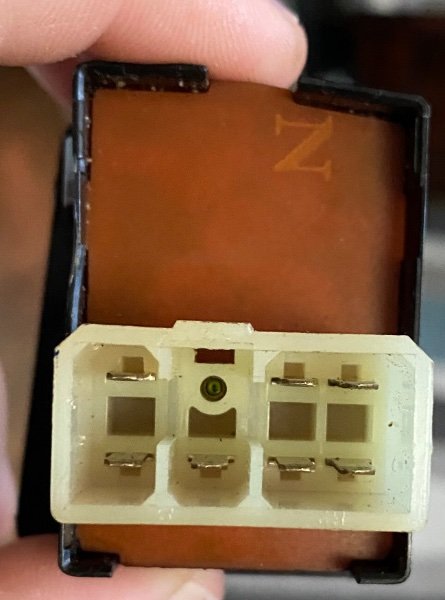
Need to identify a connector
ghetdjc320 replied to ghetdjc320's topic in MJ Tech: Modification and Repairs
That’s it! Wonder if the mirrors themselves are also amp connectors. -
Need to identify a connector
ghetdjc320 replied to ghetdjc320's topic in MJ Tech: Modification and Repairs
No worries. Although I could use all the mirror wiring, I really just need the connector or pigtail and can build my own. -
Need to identify a connector
ghetdjc320 replied to ghetdjc320's topic in MJ Tech: Modification and Repairs
I seem to be in an area void of an power mirror cherokees -
Need to identify a connector
ghetdjc320 replied to ghetdjc320's topic in MJ Tech: Modification and Repairs
Any chance you could spare that part of the harness? -
Need to identify a connector
ghetdjc320 replied to ghetdjc320's topic in MJ Tech: Modification and Repairs
Looks right. Just need the other side of it -
Looking for a connector that plugs in to the back of the power mirror switch. Looks like some kind of molex connector. Here is a picture of where it plugs in. Also, any sort of wiring diagram would be most excellent as I will be building the harness for the mirrors. Tagging @Minuit @eaglescout526
-
Comanche Dawn
ghetdjc320 replied to Limeyjeeper's topic in MJ Hardcore Tech: Epic Journeys to Greatness
My thoughts would also lean towards tuning. Timing? Air in cooling system? The under hood temps in these MJs always seems to be hard to control regardless of the engine under the hood. -
Project “Tomahawk”
ghetdjc320 replied to ghetdjc320's topic in MJ Hardcore Tech: Epic Journeys to Greatness
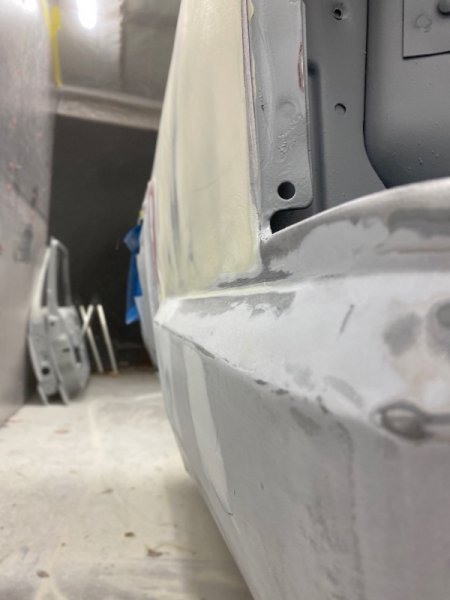
Here are the layers in order after metal prep was finished: epoxy primer, stranded filler over weld joints, rage ultra filler for small dings and general straightening, rage ultra extra as a skim coat, glaze, high build epoxy primer (then a final sanding), epoxy sealer, 2k base coat, 2k clear coat. Most all epoxy primers can be shot as sealer by reducing and using a different fluid tip in the gun. Only reason I shoot a sealer of the high build primer is because you can expose some filler in certain areas and when shooting paint with a lot of pearl and metallics, you really want to spray over a uniform surface color that is at least 600 grit or finer. -
Project “Tomahawk”
ghetdjc320 replied to ghetdjc320's topic in MJ Hardcore Tech: Epic Journeys to Greatness
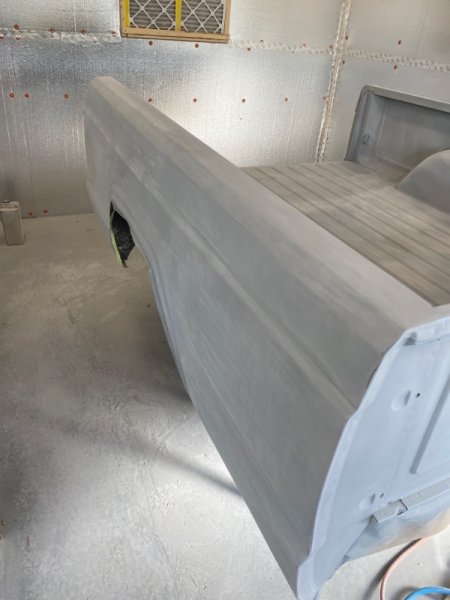
Shot some high build primer since these panels had to be worked so much. Few little spots to smooth out then it’s on to sealer.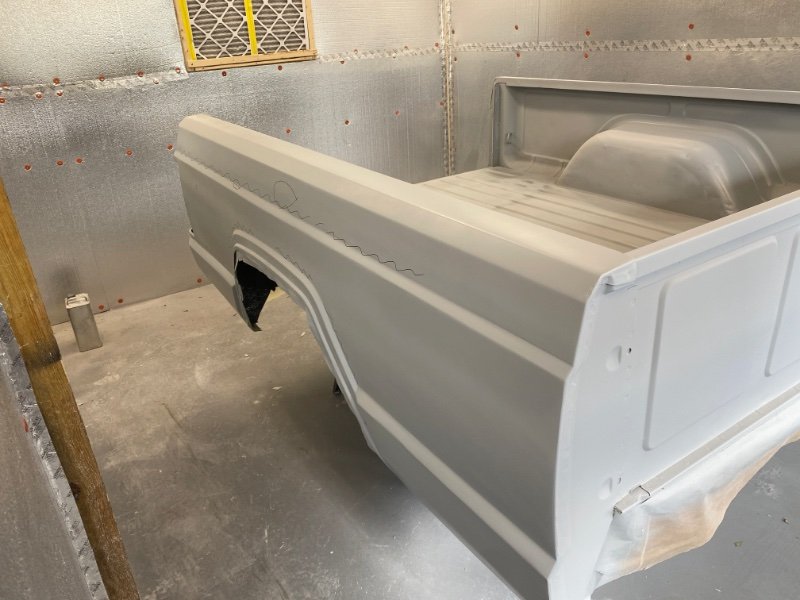
-
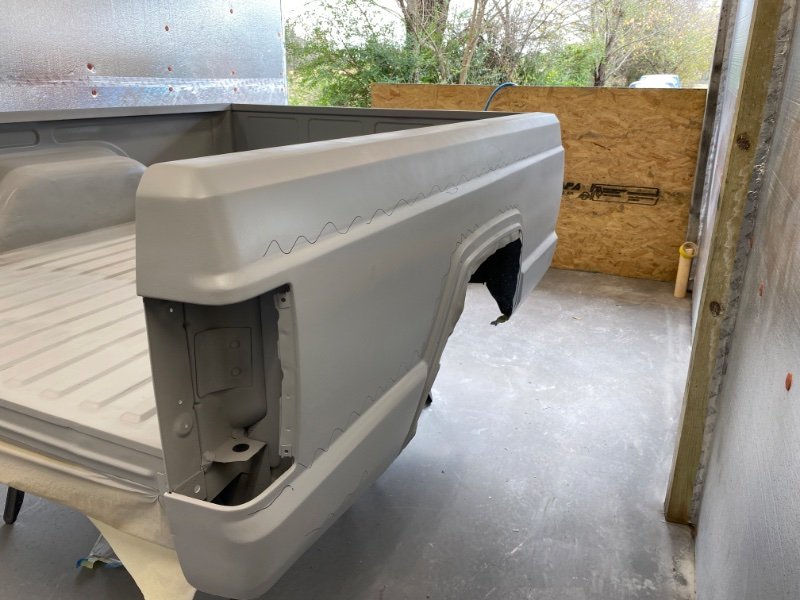
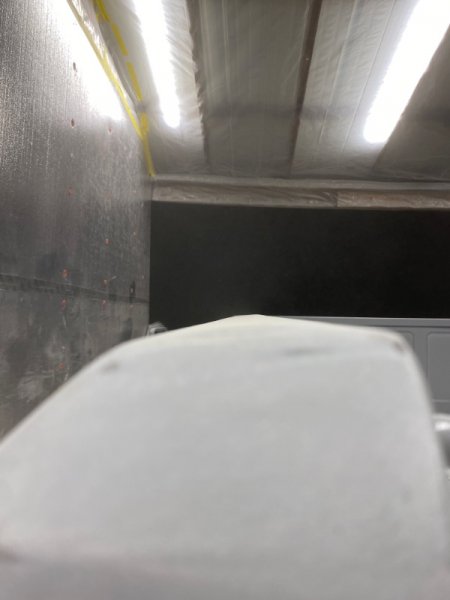
Project “Tomahawk”
ghetdjc320 replied to ghetdjc320's topic in MJ Hardcore Tech: Epic Journeys to Greatness
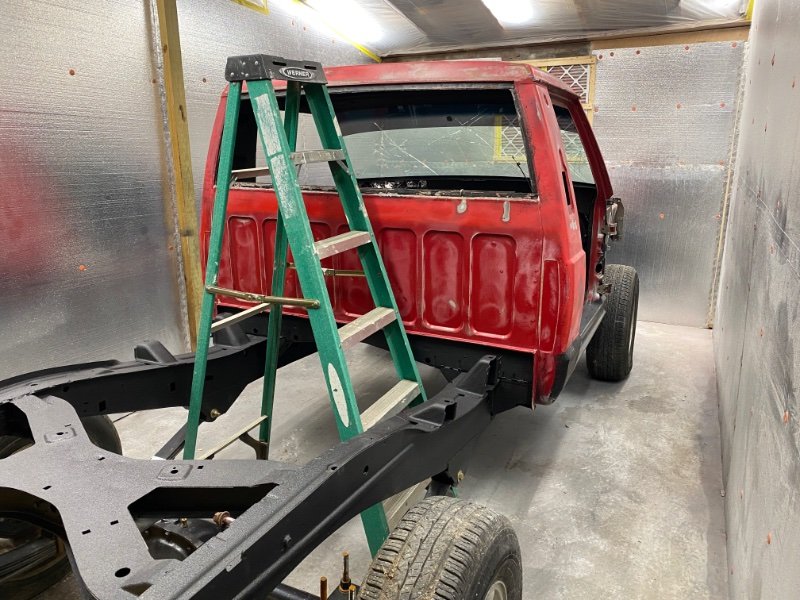
This is what a straight and true bed looks like. Key parts bedside and cutout panels for the lower drivers quarter and bed section. All grafted in and body worked. Epoxy primer, final block sanding then sealer up next. Cab should be getting into body work later tomorrow.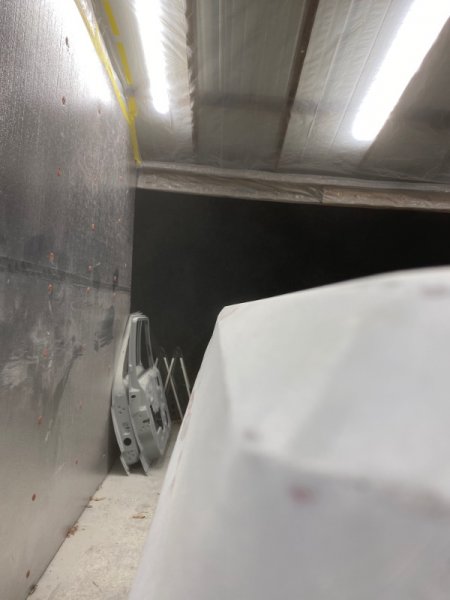

-
First time painting truck
ghetdjc320 replied to Whitaker717's topic in MJ Tech: Modification and Repairs
Show us some pics of what you are going to be working on. Any dents or rust that needs to be repaired? Has the truck been repainted at all? Is the clear coat still intact? As stated above, strip it all down. Bag and tag all the hardware and keep everything organized. You’ll need a good place to paint. If you paint outside (and we’ve all done that at some point) you’ll need a perfect day. Be prepared to redo your work as necessary. Just to put things into perspective, I have at least 80 hours so far in just bodywork on the bed itself. At some point, you may decide that your time is worth more than the 5k to have it done. If you do have someone else do it though thoroughly educate yourself on the process (3m videos on YouTube are very good) and hold them to a high standard. Getting a vehicle fresh out of paint looks awesome, but after a few days of closer inspection, you’ll notice where corners were cut. If you decide to DIY, there are plenty of MJ specific paint projects in the various areas on the forum and in member projects that will give you an excellent idea of what is involved and how far into it you’d like to go. just my $.02