


ghetdjc320
-
Posts
5212 -
Joined
-
Last visited
-
Days Won
1
Content Type
Profiles
Forums
Gallery
Everything posted by ghetdjc320
-

Project “Tomahawk”
ghetdjc320 replied to ghetdjc320's topic in MJ Hardcore Tech: Epic Journeys to Greatness
Will fab up a bracket to relocate the power steering reservoir to the drivers side inner fender. The bottom of the outlet will be at 37” from the ground and the top of the inlet is at 35” so there should be zero starvation issues there. Will take some creative hose routing though for sure. -
Project “Tomahawk”
ghetdjc320 replied to ghetdjc320's topic in MJ Hardcore Tech: Epic Journeys to Greatness
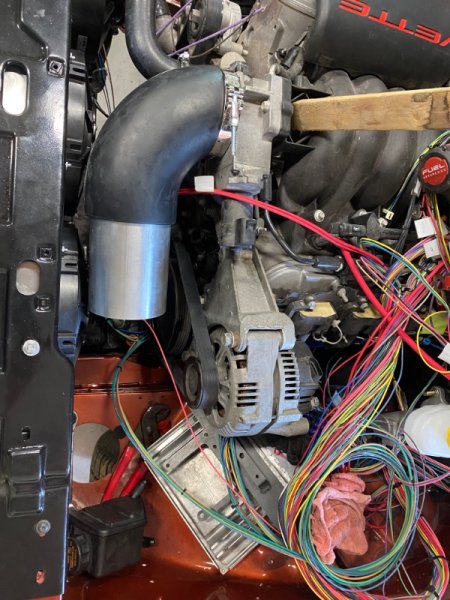
Going to extend the intake 3” longer to get it closer to the factory position. Tight fit but was able to keep 4” tubing throughout and it looks very clean. I just didn’t want the intake in the hot side of the radiator. I’ll duct the original opening for the air intake to dump right on the new filter.
-
Project “Tomahawk”
ghetdjc320 replied to ghetdjc320's topic in MJ Hardcore Tech: Epic Journeys to Greatness
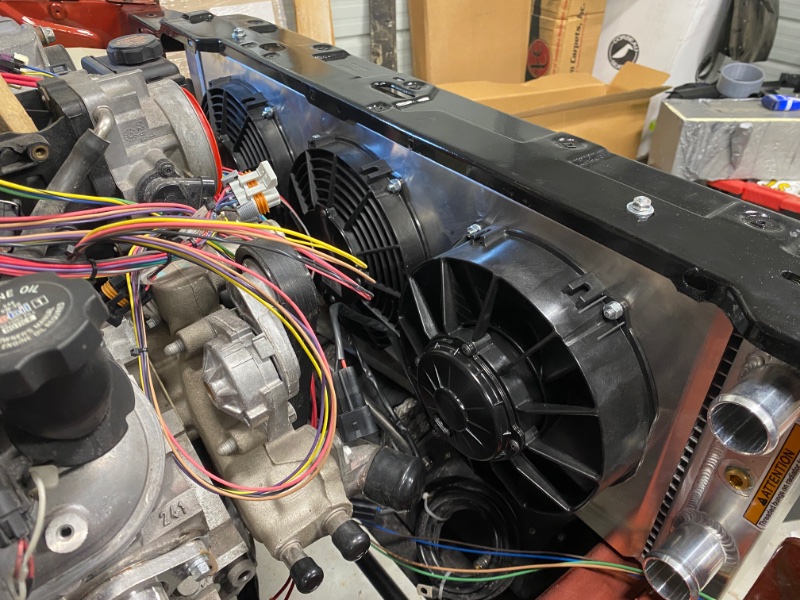
Coming along nicely. Can’t say enough about this Novak radiator. I bought the complete system with fans and shroud all pre-assembled. All the fans are genuine Spal units and the hot side of the radiator has a larger fan that the other two aux fans. It also just so happens that the word “Comanche” is the same length as the word “corvette”… that leads to an interesting idea

-
Project “Tomahawk”
ghetdjc320 replied to ghetdjc320's topic in MJ Hardcore Tech: Epic Journeys to Greatness
Keep in mind that this isn’t a cover they stock. They can custom make it though but you’ll have to send them the specs. I ordered mine February of last year. -
Intermittent wiper module repaired
ghetdjc320 replied to The86manche's topic in MJ Tech: Modification and Repairs
I have one I’d like to get tested and repaired. Let me know -
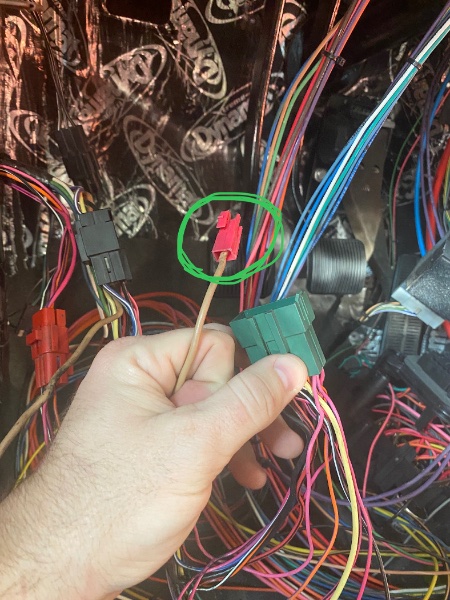
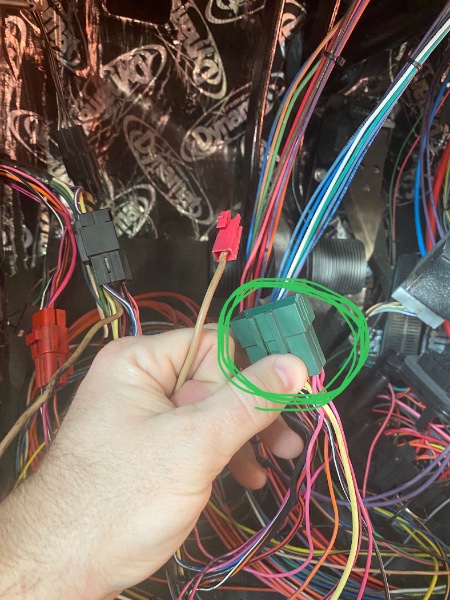
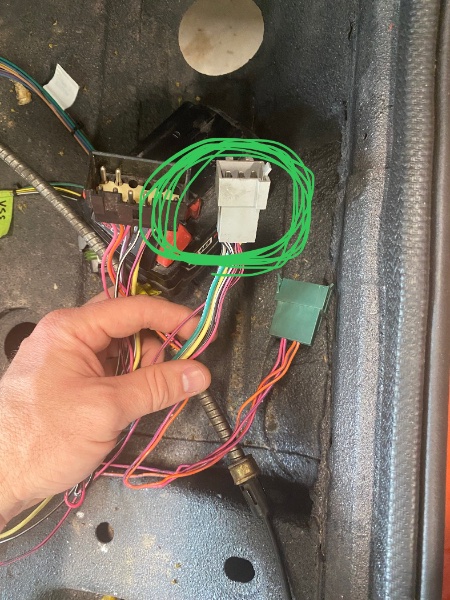
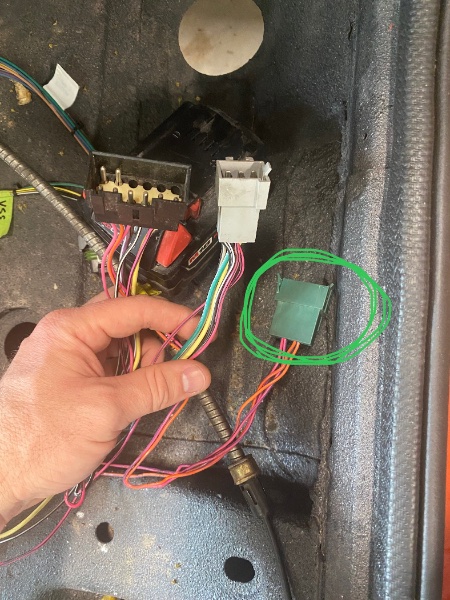
So I have between a 94-96 XJ 2dr door and cross cab harnesses. I have the door locks and window motors all wired to the harness and have connected the cross cab harness as well. Each end of the cross cab harness has a connector that plugs into the door harness. I need to identify what three of these connectors go to as I don’t have an oem harness to connect it to so I’ll have to build it and improvise. Here is what I have so far. In picture 1 (drivers side), I assume this is the power window power wire that goes to the fuse box but would like to get confirmation In picture 2 (drivers side), I need to identify what circuits connect to this green connector. I’m assuming again that door lock relays connect here along with maybe power and grounds? Need some info on this. In the third picture (passenger side), I need to identify what circuits plug into this grey connector. In pictures 4 (passenger side), I believe this is the connector for keyless entry as those two wires are for the door locks only. If someone can confirm that would be great. Thanks in advance for any help as I get this wiring sorted. For reference, this is part of my “Tomahawk” build project in Epoc Tech. I’m running a 23 circuit painless harness. I have fused circuits from the fuse box for both the power windows and locks. I also have a simple 1-way Viper keyless entry/alarm module I’ll be installing.
-
Project “Tomahawk”
ghetdjc320 replied to ghetdjc320's topic in MJ Hardcore Tech: Epic Journeys to Greatness
I did and I’m in the process of identifying everything. The power windows are very simple as they pretty much just get power and ground and the harness takes care of the rest. The power locks are a bit more complex as they use a relay system I’m trying to figure out to integrate into the harness. My harnesses are from a 94-96 XJ. I’m about to post some tech questions about this harness setup to get some insight on the connectors. -
Project “Tomahawk”
ghetdjc320 replied to ghetdjc320's topic in MJ Hardcore Tech: Epic Journeys to Greatness
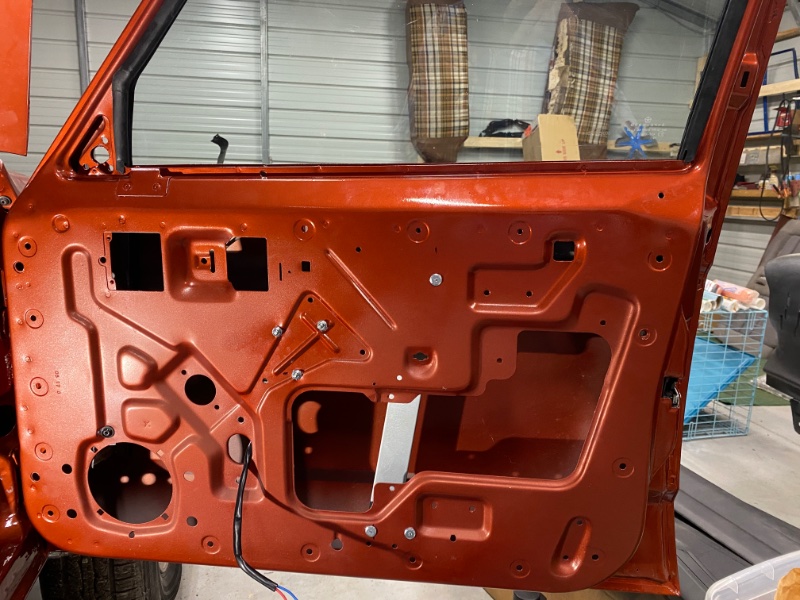
Full size power glass installed with 97+ regulators and power locks installed. Lots of work but I was able to mirror the other side that I had already done.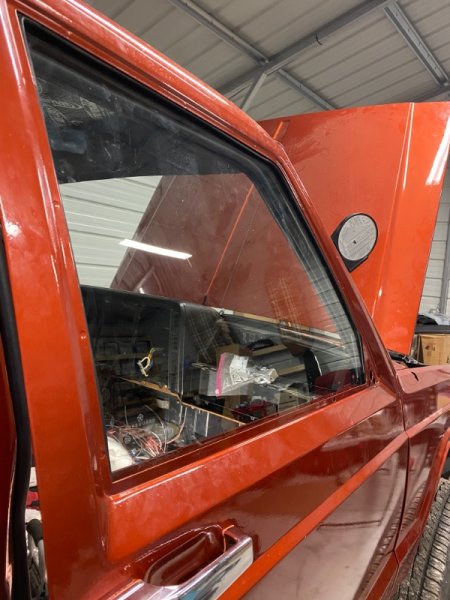
-
Project “Tomahawk”
ghetdjc320 replied to ghetdjc320's topic in MJ Hardcore Tech: Epic Journeys to Greatness
Made new door handle gaskets. Also going to get these wheels wrapped in some 31” BFGs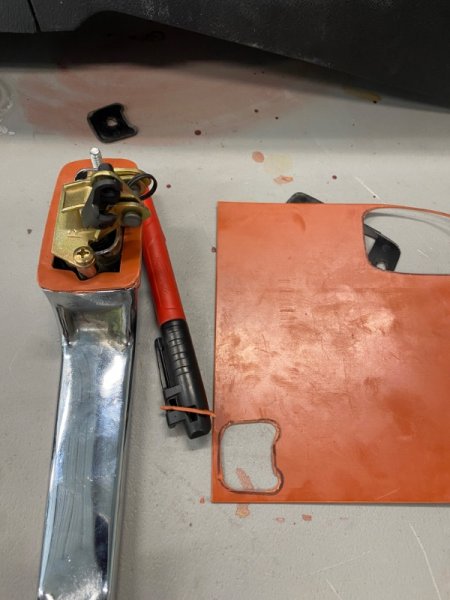
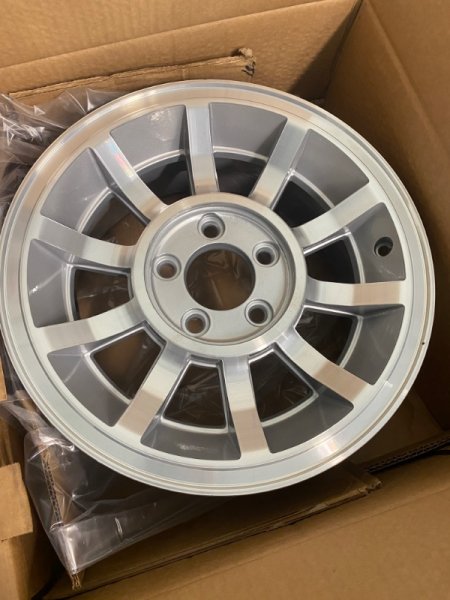
-
Project “Tomahawk”
ghetdjc320 replied to ghetdjc320's topic in MJ Hardcore Tech: Epic Journeys to Greatness
Yes it is. I was able to get the company to make another custom one -
Project “Tomahawk”
ghetdjc320 replied to ghetdjc320's topic in MJ Hardcore Tech: Epic Journeys to Greatness
By far the nicest bed cover I’ve ever come across.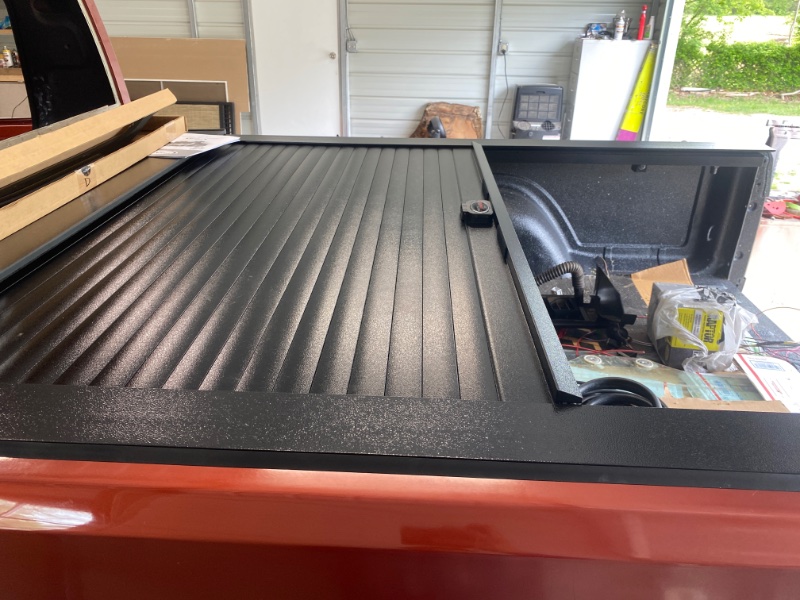
-
The TDS for most window urethanes indicates there should be no paint in the jamb. Only fully cured 2 part epoxy primer (note that even the factory ignored this). On my build I primed then seam sealed the corners and primed again.
-
Project “Tomahawk”
ghetdjc320 replied to ghetdjc320's topic in MJ Hardcore Tech: Epic Journeys to Greatness
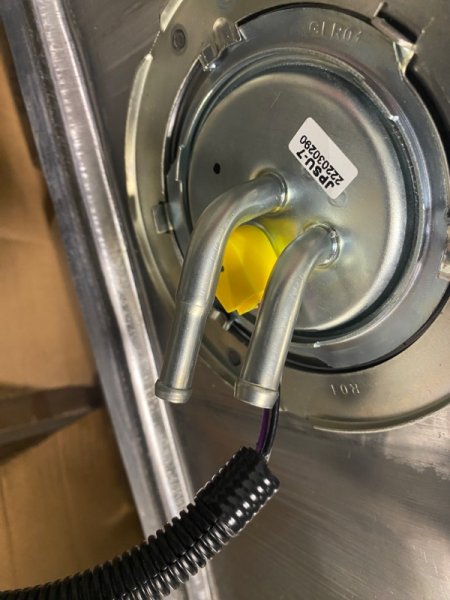
Here is the completed fuel sending unit with the DW200 pump. Tank is ready to install.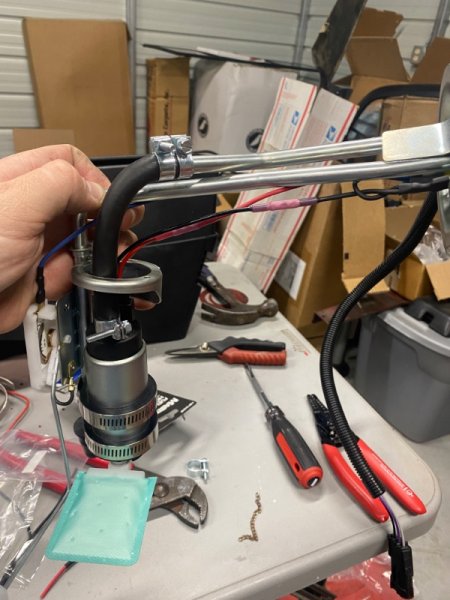


-
Project “Tomahawk”
ghetdjc320 replied to ghetdjc320's topic in MJ Hardcore Tech: Epic Journeys to Greatness
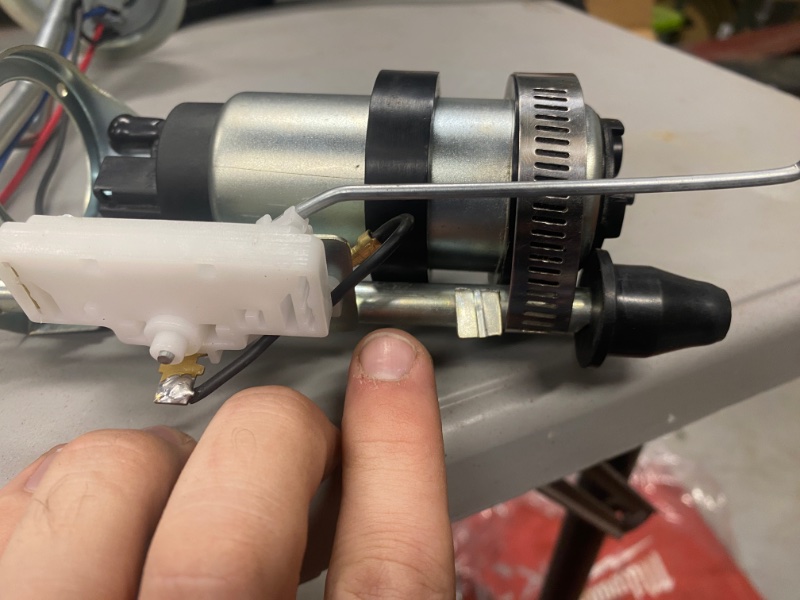
Moved from the garage to the shop. For those who are curious, I’m running a Deatshwerks DW200 pump which is considerably smaller than the oem pump. It’s a turbine unit which is typically smaller. I’m running an MTS sender for the MJ and removed the lower pump bracket. I reused to of the rubber spacers from the old airtex style pump and added them to the DW pump. I then used two stainless band clamps to secure it to the return line tube. I retained the upper pump bracket to keep the clocking correct. Going to browse for an appropriate strainer for this custom setup at the local parts store. I’ve also decided to nix the LS filter/pressure regulator setup in favor of a fuelab regulator mounted around where the old map sensor location was. Will add a Russell silicone filled pressure gauge also and all AN fittings. I think I’ll retain the oem Jeep filter and filter location but that’s still TBD.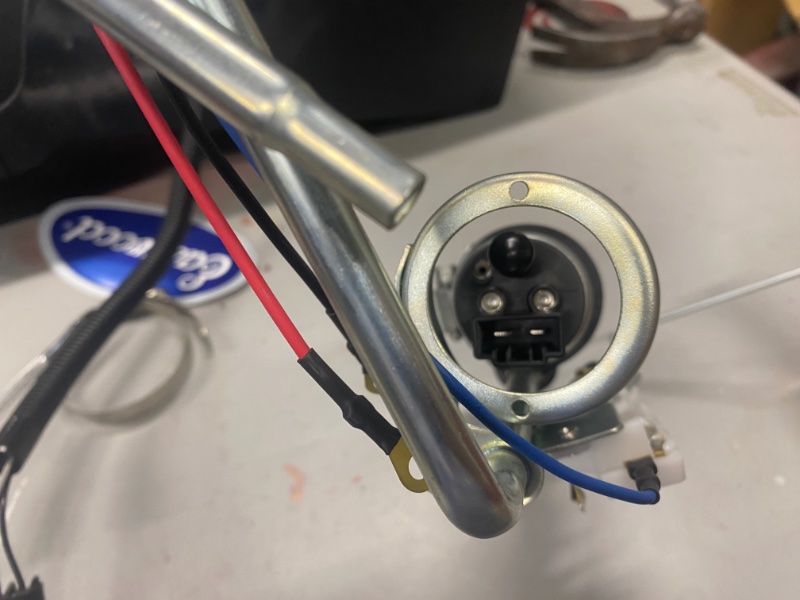
-
Project “Tomahawk”
ghetdjc320 replied to ghetdjc320's topic in MJ Hardcore Tech: Epic Journeys to Greatness
So it turns out that the driver side door is slightly smaller by about 1/8” lol. No wonder I was having trouble with the gaps. Anyways, I kept working with shim packs and alignment until I got it absolutely perfect in the frame. The door to b pillar is exactly 3/16 top to bottom and the a pillar to door is exactly 1/4”. -
Project “Tomahawk”
ghetdjc320 replied to ghetdjc320's topic in MJ Hardcore Tech: Epic Journeys to Greatness
Thanks! Everything is lining up nicely except the drivers door. -
Project “Tomahawk”
ghetdjc320 replied to ghetdjc320's topic in MJ Hardcore Tech: Epic Journeys to Greatness
I swear my drivers door is short by 3/16”. I have a good stack of shims to work with but haven’t been able to get down to less than 1/4” gap all around. Passenger side I got 5/32-3/16 all around. Drivers side is 3/16-1/4 all over. I’d like to get no more than 3/16 everywhere but am having to settle for just a good seal all around the door. I may play with it some more though as I have a nice stack of oem shims to use. -
Project “Tomahawk”
ghetdjc320 replied to ghetdjc320's topic in MJ Hardcore Tech: Epic Journeys to Greatness
Restored wipers installed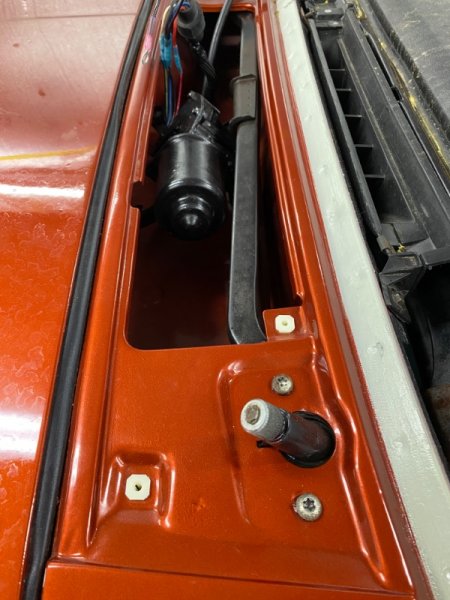
-
Project “Tomahawk”
ghetdjc320 replied to ghetdjc320's topic in MJ Hardcore Tech: Epic Journeys to Greatness
Had to modify the door strikers and remove the captured thick washer. The thickness of the striker reinforcement plates I added was just as thick as the captured washer so the striker was sitting too far out. Works perfectly now.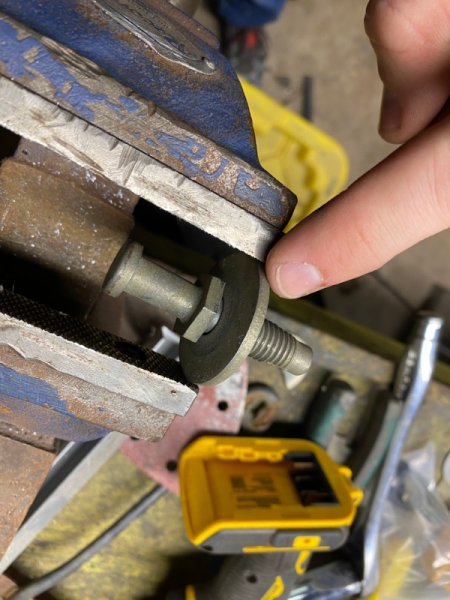

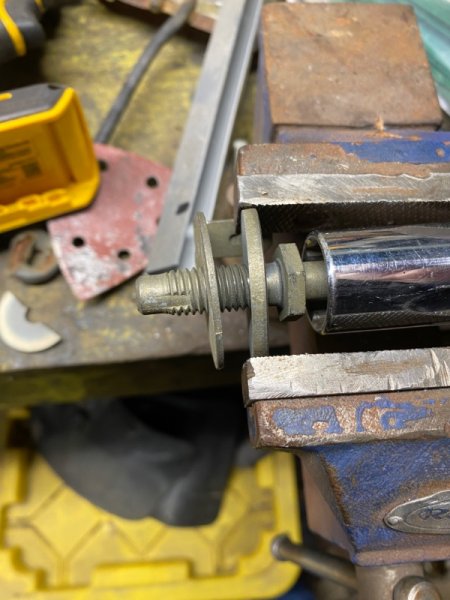
-
Project “Tomahawk”
ghetdjc320 replied to ghetdjc320's topic in MJ Hardcore Tech: Epic Journeys to Greatness
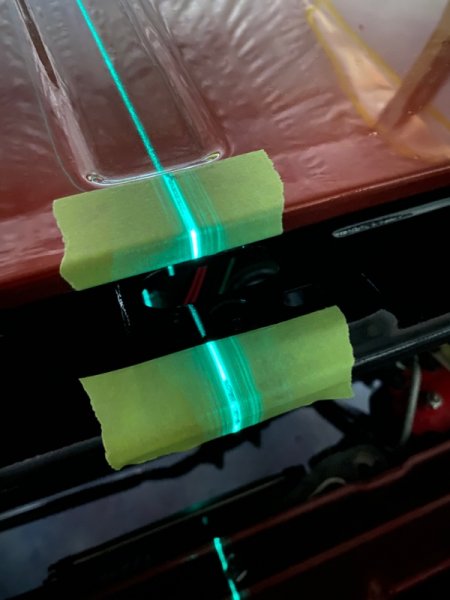
More alignment in progress


-
Project “Tomahawk”
ghetdjc320 replied to ghetdjc320's topic in MJ Hardcore Tech: Epic Journeys to Greatness
Didn’t take a picture of it but I also replaced the horn contact button in the column and reassembled it all. I’d like to still find the “anti-theft” plate that goes over the lock plate in the column though. -
Project “Tomahawk”
ghetdjc320 replied to ghetdjc320's topic in MJ Hardcore Tech: Epic Journeys to Greatness
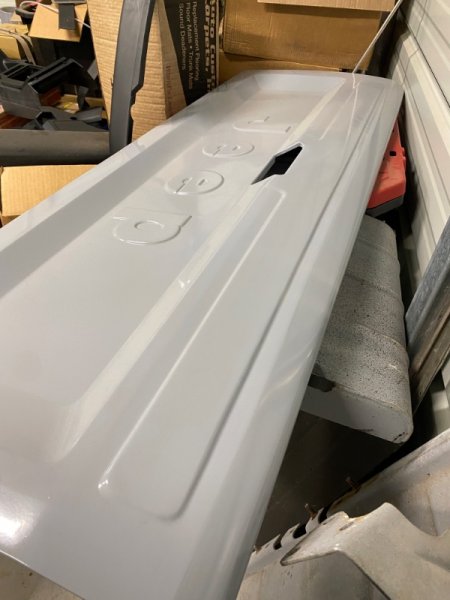
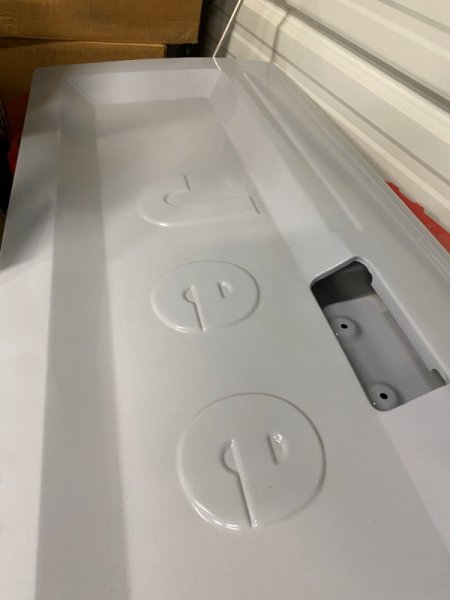
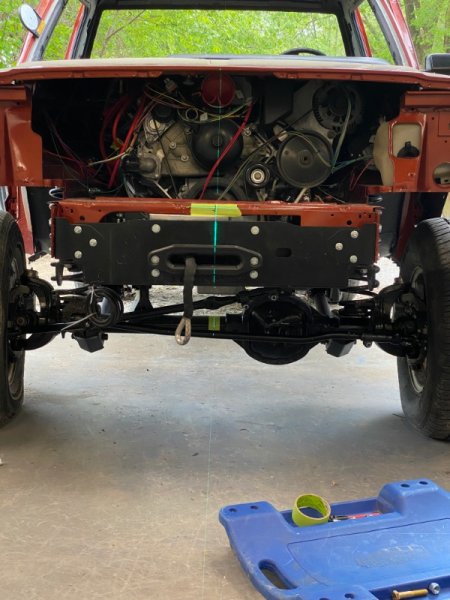
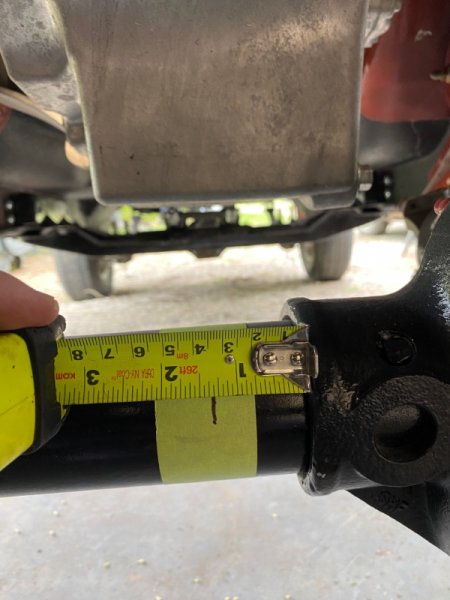
Tailgate body work complete and all imperfections gone now. Aligned the axle to the chasis today. For future reference, the centerline of the XJ D30R is noted in the pic below. Starting with the lower control arms at 16” and the uppers at 15”. I’m at about 8* of caster now which is quite nice. Front suspension is coming along nicely. NOS HD sway bar is up next. Been pretty pleased with all the BDS products I’ve installed so far.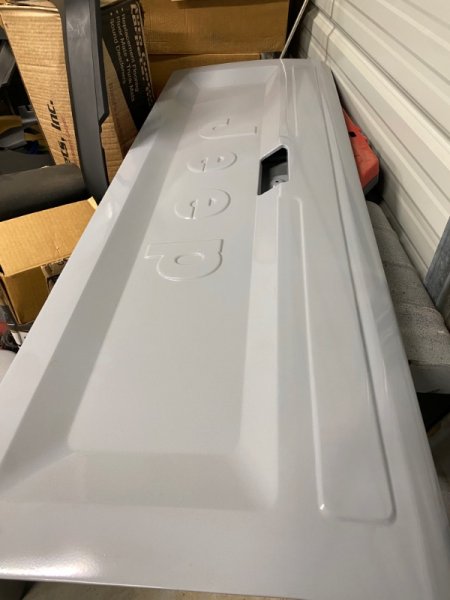

-
Project “Tomahawk”
ghetdjc320 replied to ghetdjc320's topic in MJ Hardcore Tech: Epic Journeys to Greatness
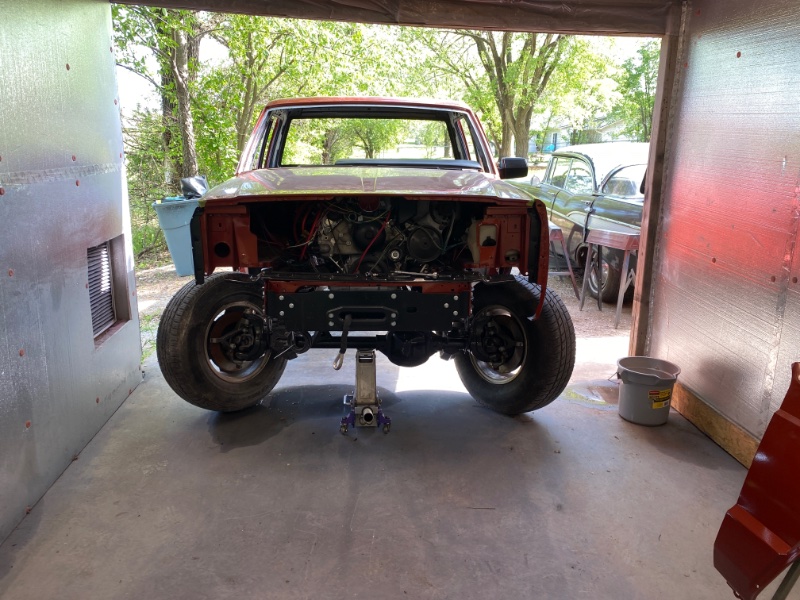
Worked on the passenger door today and getting it aligned before reassembling all the hardware. Also working on all the interior plastics and getting them ready to reassemble. If anyone has any good tips for realigning MJ doors please let me know. It’s a tough process making sure that the seal all around the door is compressed equally for a quiet and sealed ride. Will be working on the steering and front suspension soon to get it all lined up. Hope to crank the engine over and fire it up before too long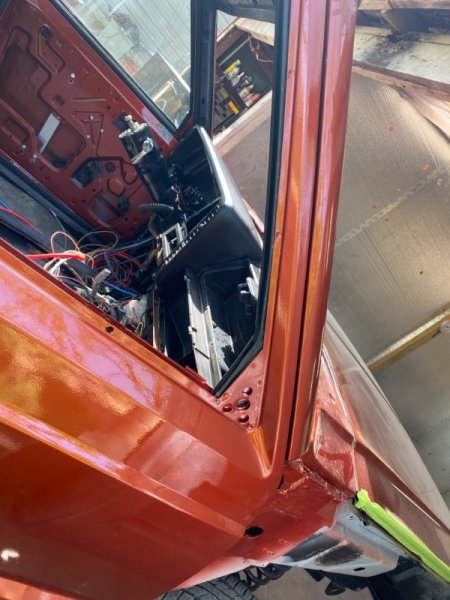
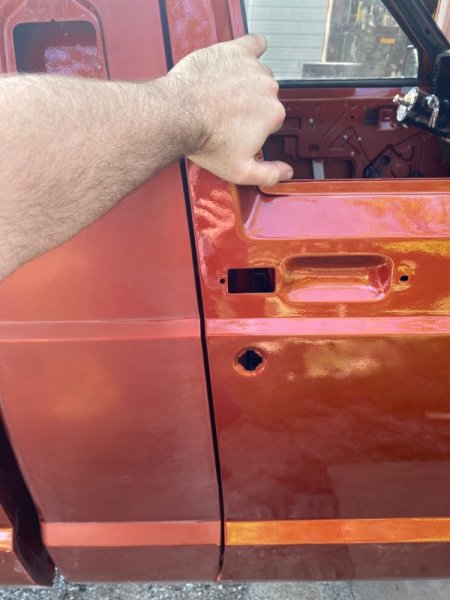
-
Then your booster should be working properly. When you feel the “pressure come back up” that’s because the booster is no longer assisting the pedal effort and you’re back to manual brakes. Pete said the booster fixed his issue . I could see you needing to replace the master cylinder though.
-
Leaf spring shackles flipping forward
ghetdjc320 replied to CO MJ's topic in MJ Tech: Modification and Repairs
When the shackle isn’t inverted, what is the distance eye-to-eye?