
Airborne Janitor
-
Posts
481 -
Joined
-
Last visited
-
Days Won
1
Content Type
Profiles
Forums
Gallery
Everything posted by Airborne Janitor
-
 Black sport style. Is there a wiring diagram of sorts showing how to test it?
 -
I want to say the junkyard tach is either an 88 or 89. It's renix for sure, manual speedo cable and it's blue.
-
Is it possible to "bench test" a renix gauge cluster? I'm really concerned with the tachometer. I did a full cluster swap in my MJ and the tach "sticks", it sort of works, sort of doesn't. I'd like to be able to test the cluster I just picked up from the junkyard before swapping it. Thanks.
-
I have a HP non-disconnect Dana30 out of a 97 XJ that's under my 89 MJ. I believe the parts for the pinion are the same as the disconnect axles? Anyways I'm planning on keeping the current gears in there (3.55) but I believe the pinion bearing(s) are toast. Looking for part numbers for the rebuild (bearings/race, shims, slingers, seals, etc), preferably Spicer/Timken numbers if available. Thank you.
-
I know. I got rid of the old crappy lift and replaced it with a more expensive one just to end up at the same height almost haha. I was aiming for about 6" to run 33s, so I figure with the weight of steel bumpers front and rear, tool box in the back and a spare tire, hopefully over time it'll settle down. If the rear doesnt drop then I left the original spring under spring perches on the axle, so maybe going with SUA and longer shackles?
-
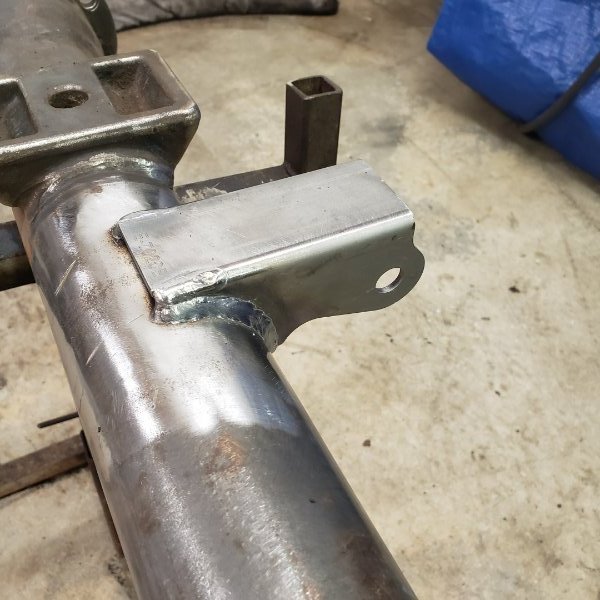
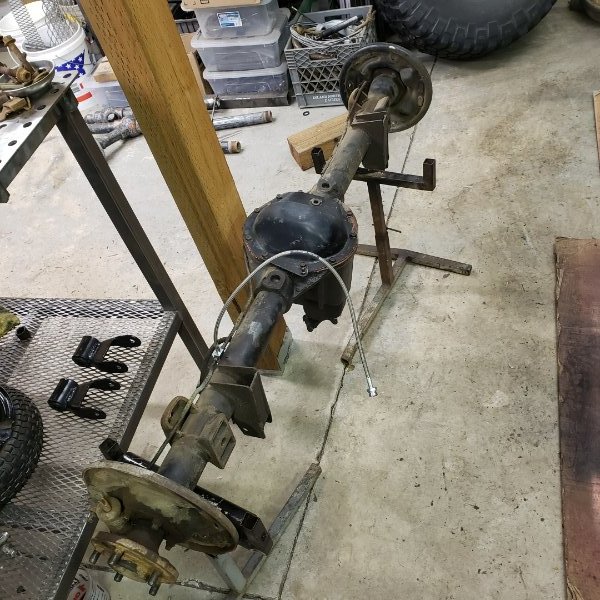
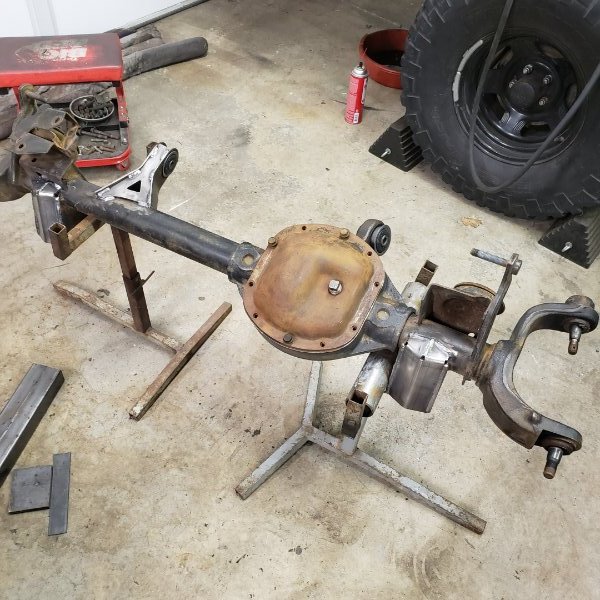
Clean up the 44. It had 30 years of dirt, mud, and grime on it. Cut off the old crappy shock mounts and spring perches. Welded on new Currie shock mounts and Barnes spring perches. Axle painted with POR 15 and back under the truck. All the suspension is in now minus new shocks. Sitting at 7" of lift up front and 10" of lift in the back. Hope it all sags!


-
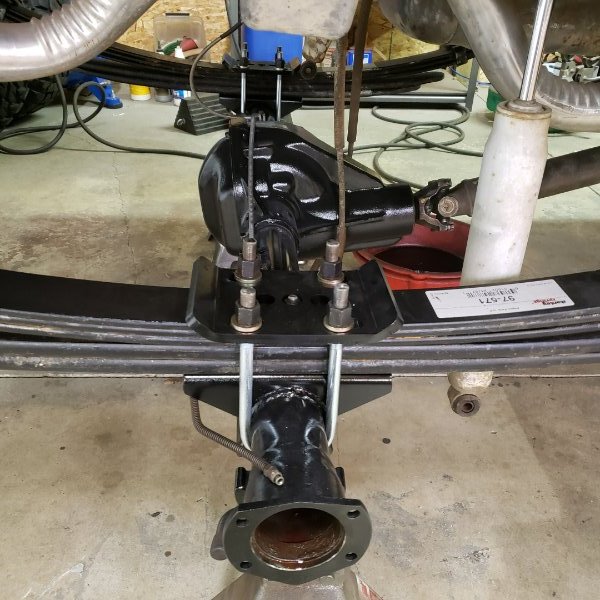
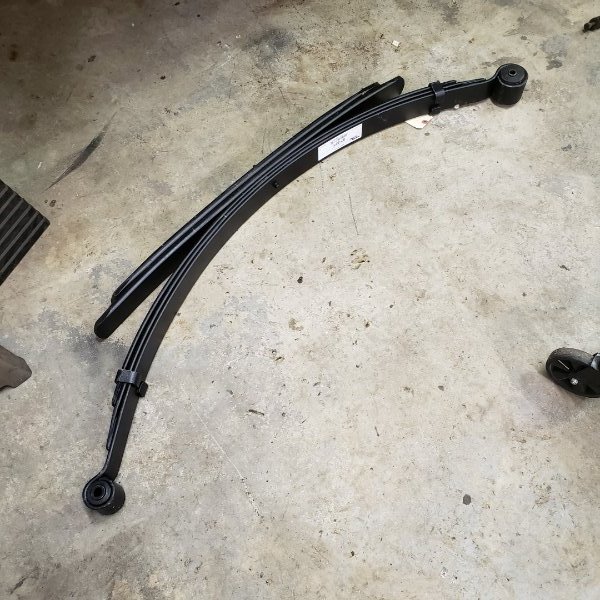
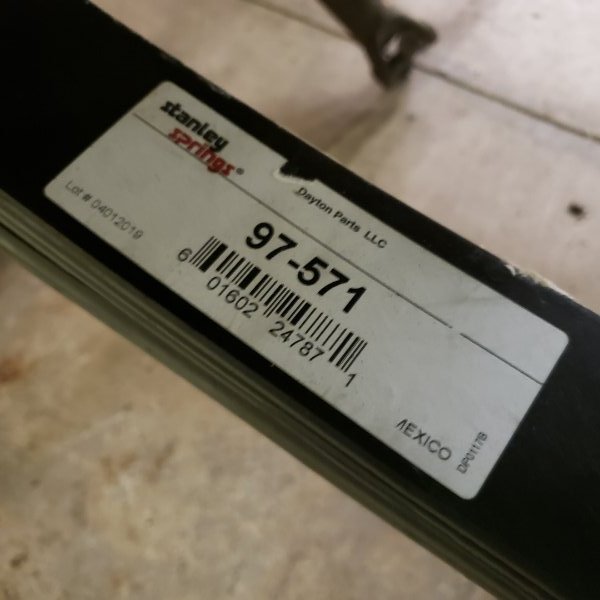
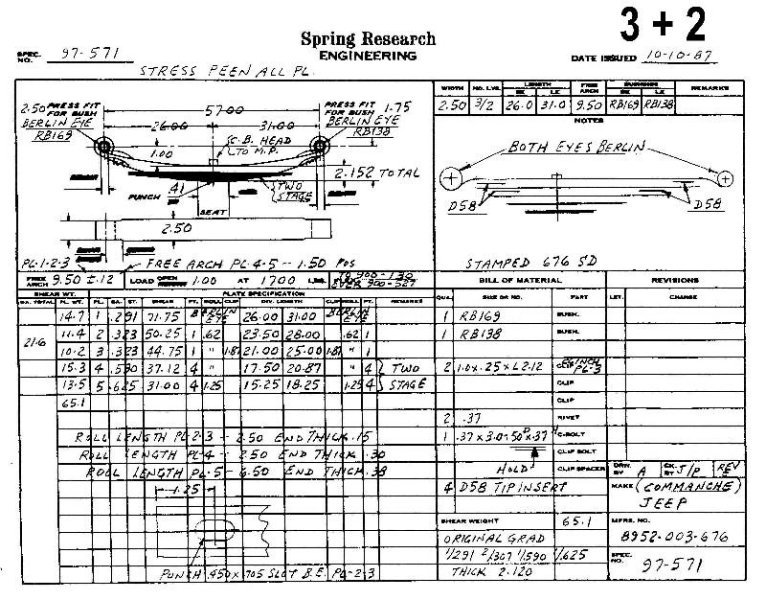
Got the leaf springs installed with the stock shackles. In my hunt for leaf springs I went to a local spring shop, who ordered the 95-571 "metric-ton" springs from Dayton spring in PA. Now I was told that Dayton was a US mfg who used US steel, so I was self assured when I saw the Mexico stickers on the label. The spring shop said they could build me a custom set locally, but it would cost 2x what I paid for the Dayton springs, which were already $375 a piece. I downloaded this metric-ton spring blueprint a few years back from CC, and was able to match up these specs to the Dayton springs and they "should" be OEM quality.
-
The truck had SOA, longer shackles, and what looks to be either a home made leaf pack or the stock pack with a helper spring added when I got it. Ended up netting like 9" of lift. I'm aiming for 6". I'm going to keep it SOA, and put on stock (spec) springs and shackles to see if that will work.
-
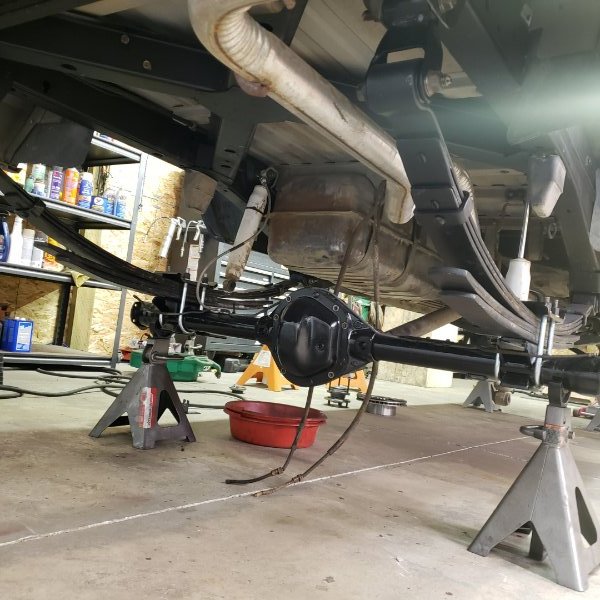
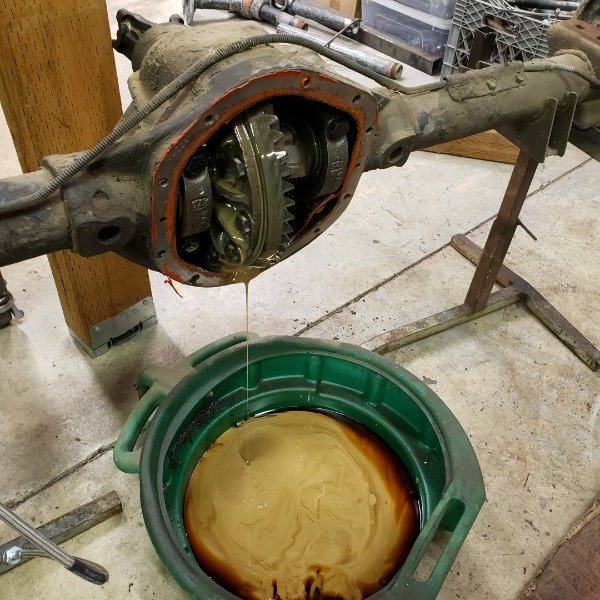
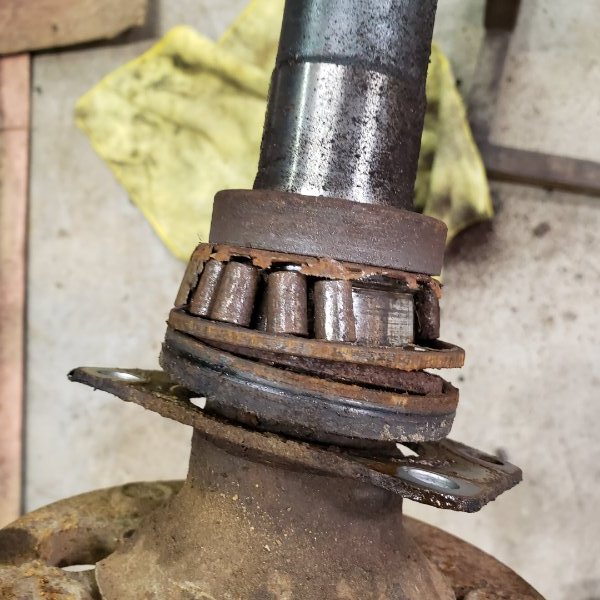
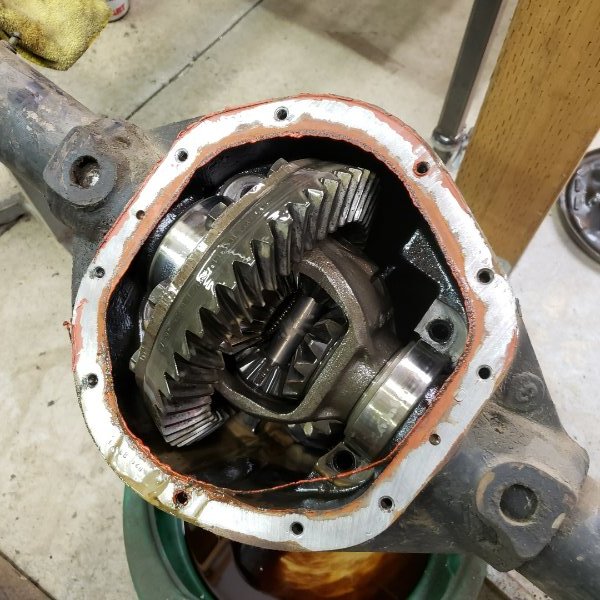
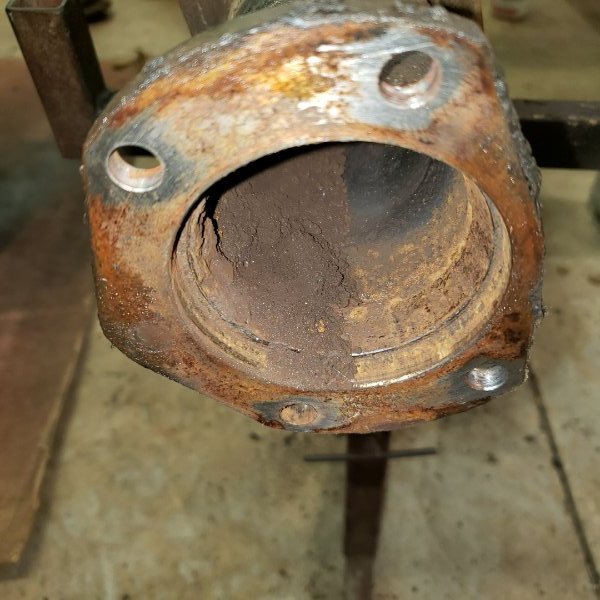
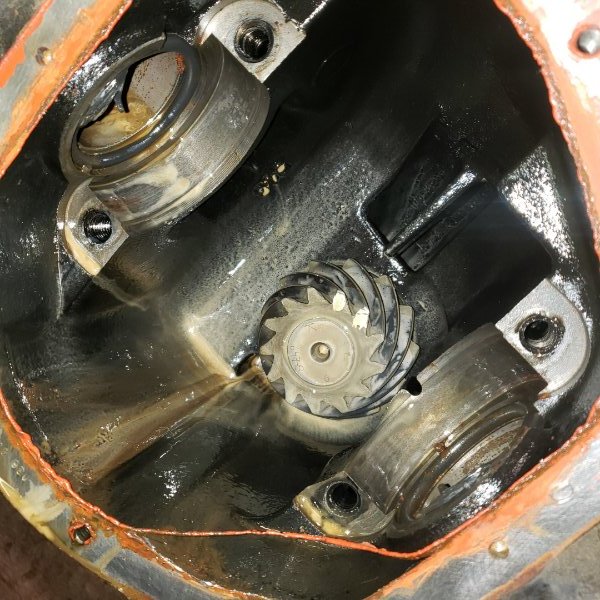
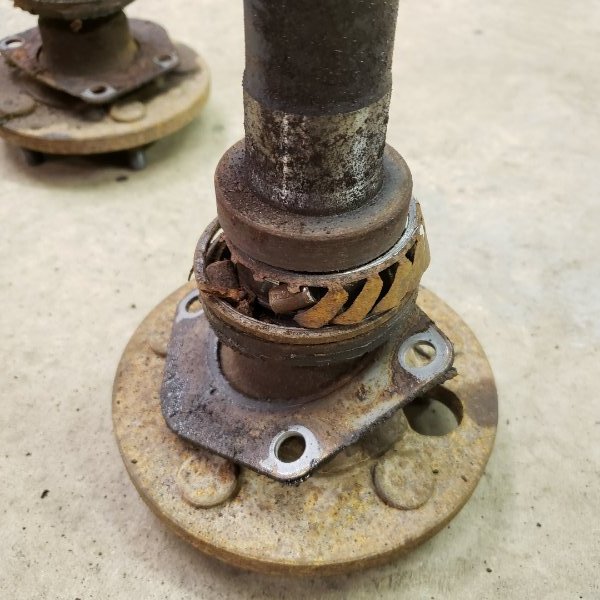
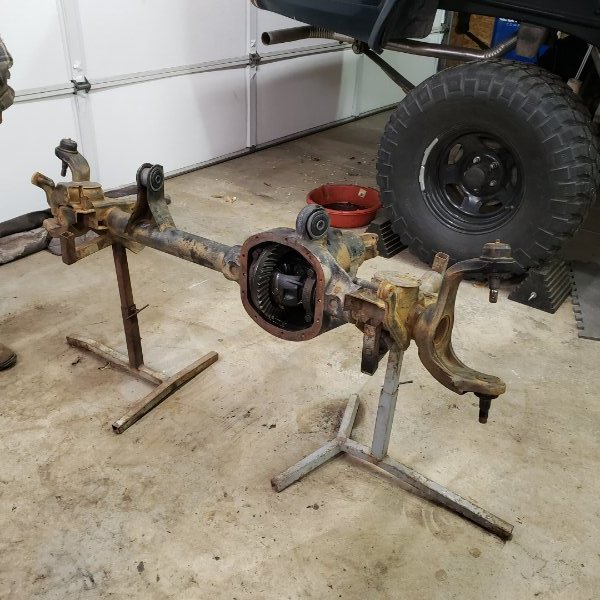
The first time I pulled the D44 diff cover (years ago) chunky chocolate milk was coming out of the pumpkin. I refilled it with 75w90 and probably have put 15 miles on it since then. Still some milk coming out of it today. The passenger wheel bearing probably needs to be replaced... The ring and pinion gears look good though. Bearings look ok. Pinion could probably use a seal.
-
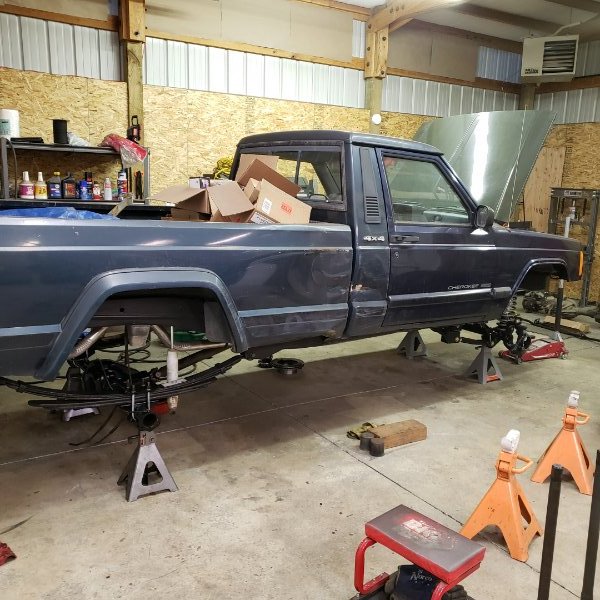
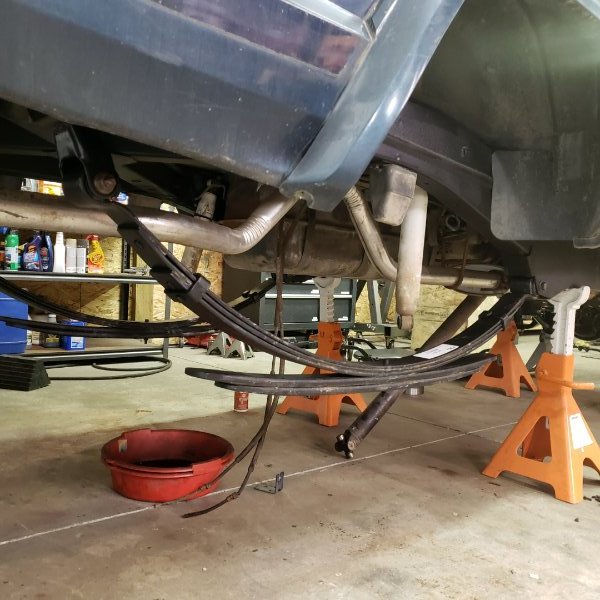
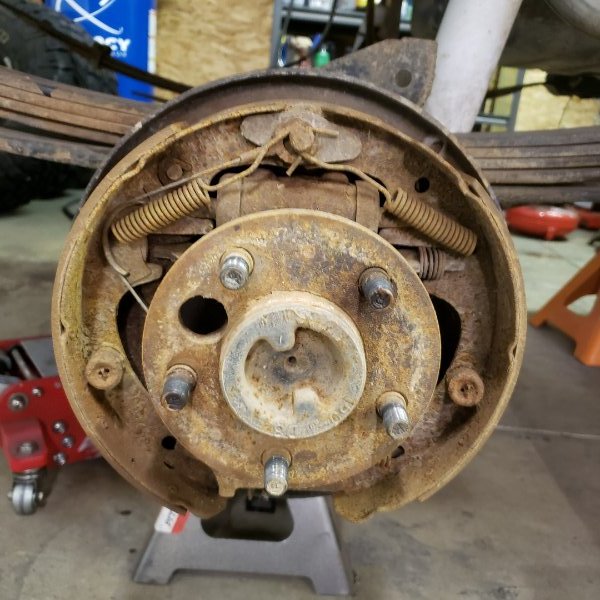
Started pulling out the rear axle. Brakes were pretty crusty. Pulled apart the brake hardware, removed the leaf springs and pulled the Dana 44 out. Plan to clean this bad boy up over the weekend. Curious to see what the differential and axle bearings look like under scrutiny, but I'm sure we will be replacing more parts very soon.

-
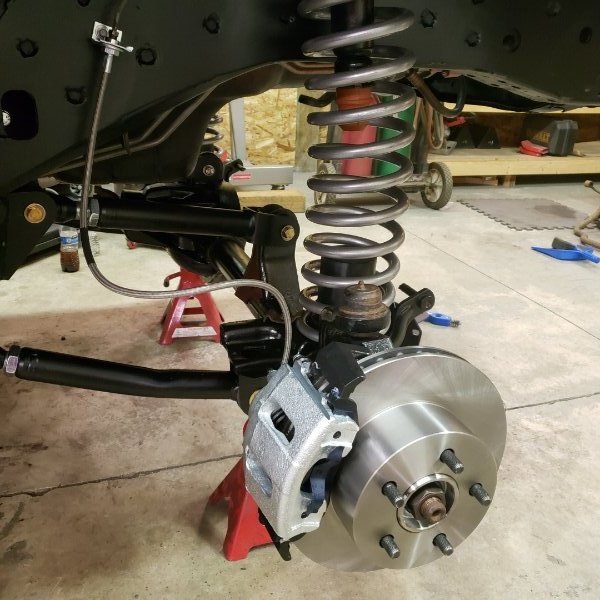
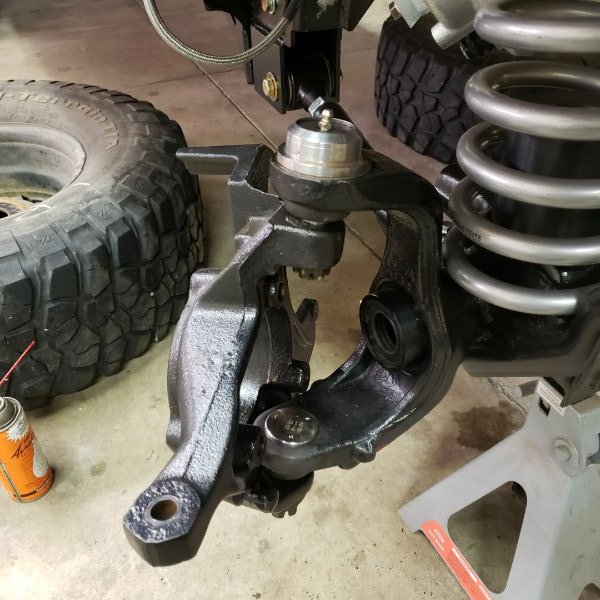
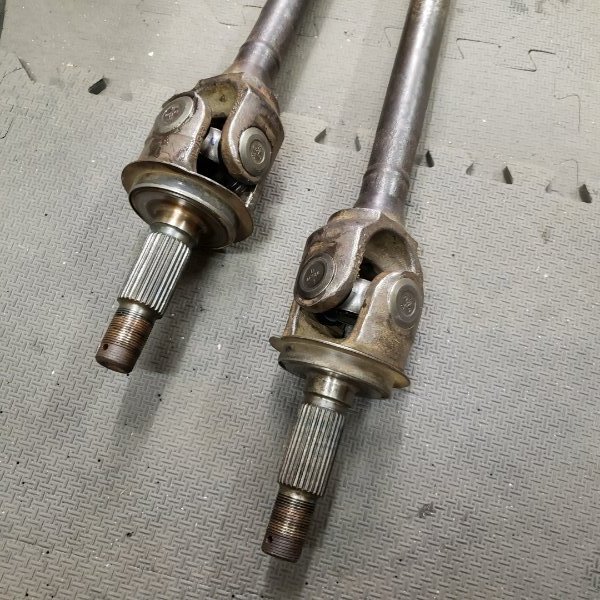
About 95% done with the front end. Still need new carrier bearings, but got the new u-joints (Spicer 760X) and ball joints (Spicer 40583 & 40916) installed. Got my "NOS" banjo bolts from the junkyard and finished bolting up the lines.
-
Let’s discuss taillights
Airborne Janitor replied to ghetdjc320's topic in MJ Tech: Modification and Repairs
They're available now.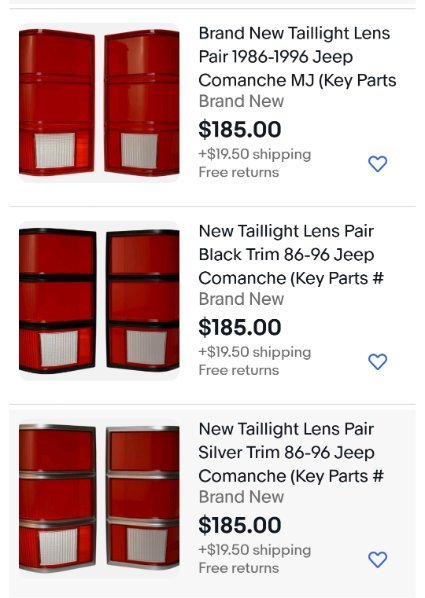
-
Column shifter knob
Airborne Janitor replied to Rubikahn's topic in MJ Tech: Modification and Repairs
Dorman 76935 was a good fit for me, I did glue it onto the "splines" of the shifter.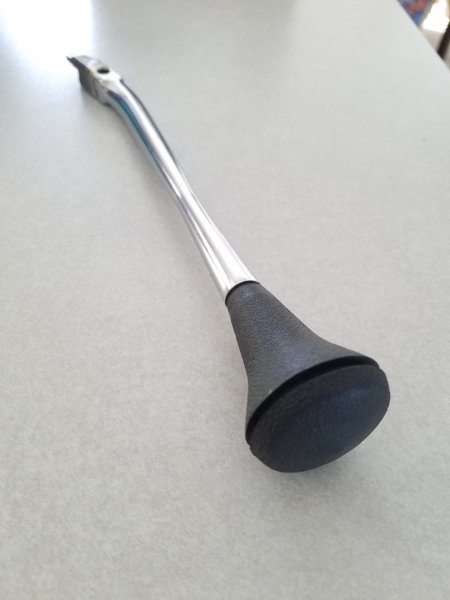
-
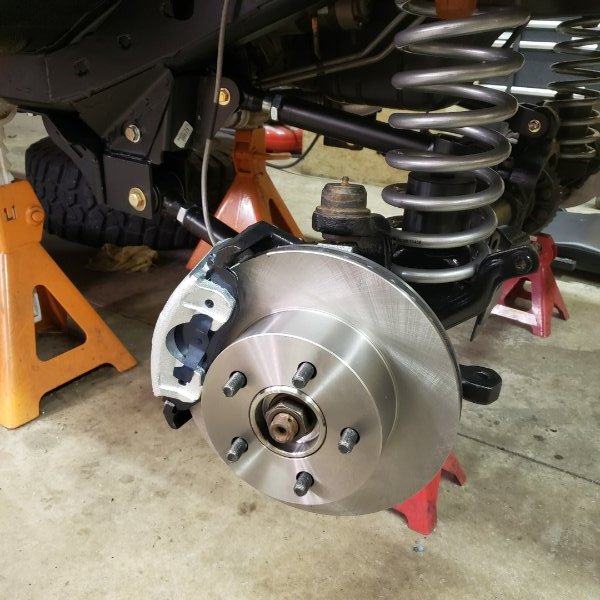
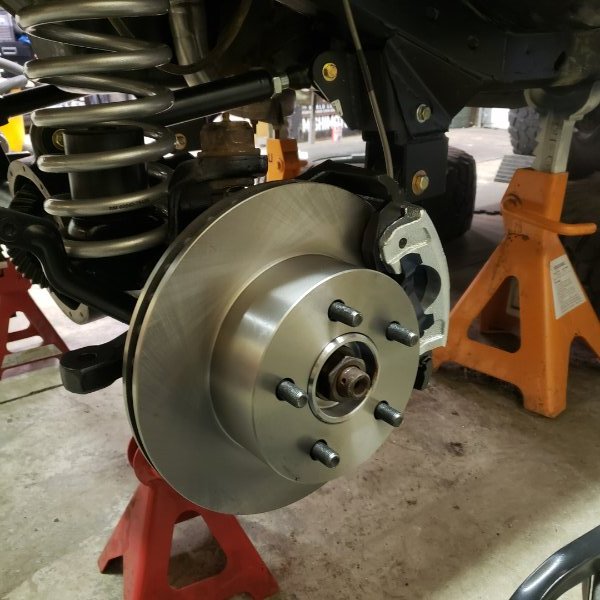
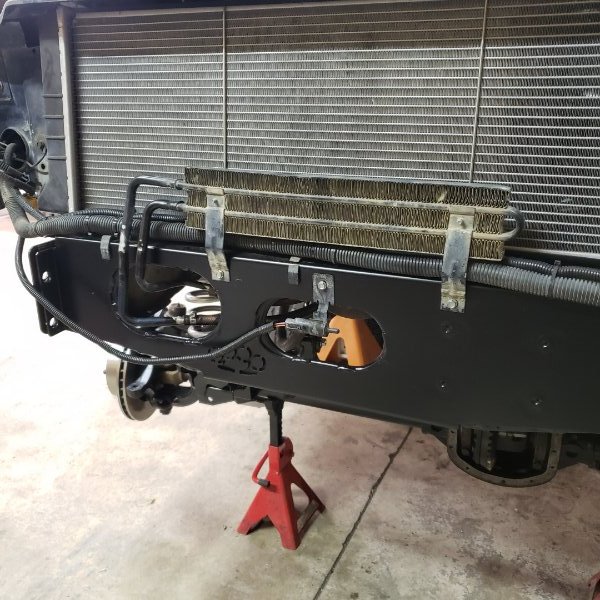
Thanks! They're pretty beefy and reasonably priced. Was able to get a little more work done today. Front brakes are on minus the banjo bolts. I got the Powerstop KCOE2119 kit so all new hardware, but no banjo bolts, and of course no stores in town stock them. So I'll have to make a junkyard trip to get some more. Had to drill a few holes in the Hooligan stiffener to mount the trans cooler and temp sensor.
-
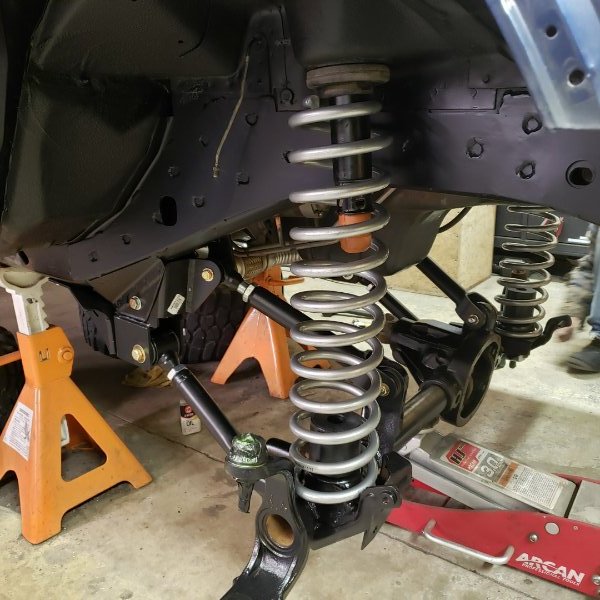
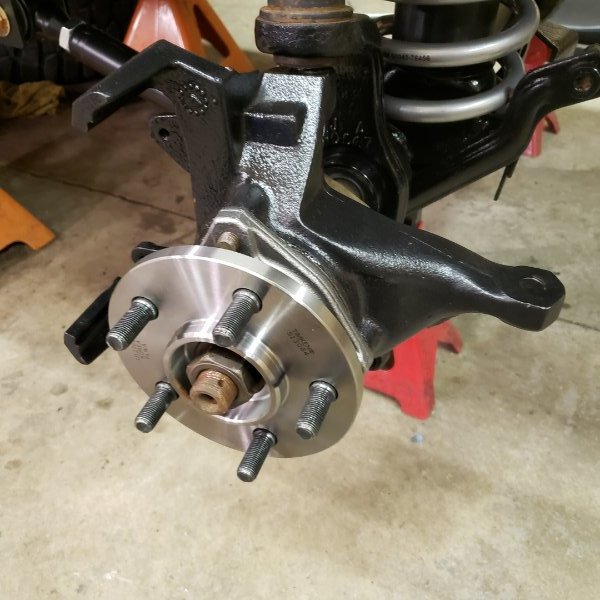
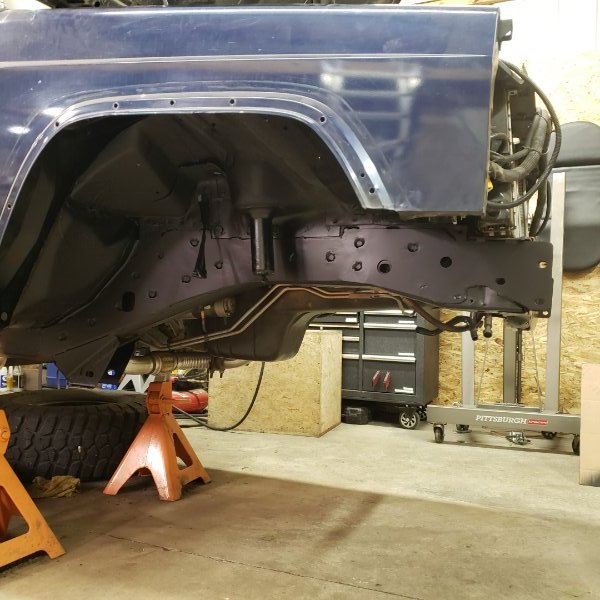
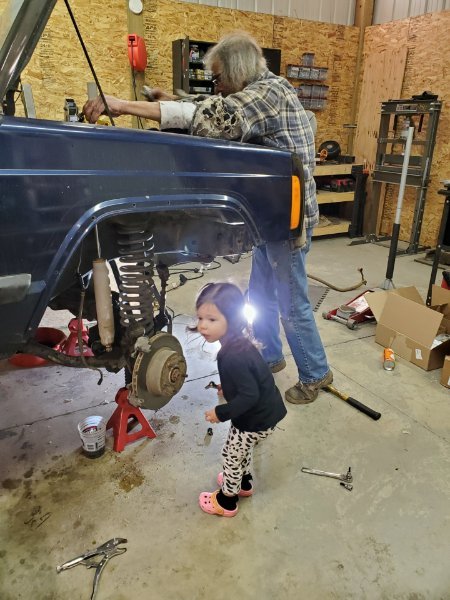
Since I decided to stick with the 33s I installed a new 6" suspension lift. I went with the RE1345 5.5" coil springs and with the CORE4x4 Tier 1 kit with control arms and trackbar. I also decided to run the Rough Country drop brackets instead of going with a long arm kit. My plan with this MJ is not to wheel the piss out of it but to keep it more as a work truck, I'm not worried about maximum suspension articulation and all the headaches that go along with it. Popped in new inner seals (Timken 710068) and some of those aftermarket aluminum greaseable outer seals (Amazon MG21103) into the 97 XJ Dana30. Also installed the RE1383 3" coil spring pad bump stops and Crown 52004749 upper bump stops since mine were missing. Stuck the axle under the rig and started bolting everything up. I need to replace the ball joints and axleshaft u-joints but I'm sort of pressed on time and lacking a proper ball joint press, so they'll be replaced after Christmas. Went ahead and installed the axle shafts and bolted them up to new hubs (Timken 513084). Also got my master cylinder lines from the 96XJ master cylinder to the 87 XJ proportioning valve squared away,


-
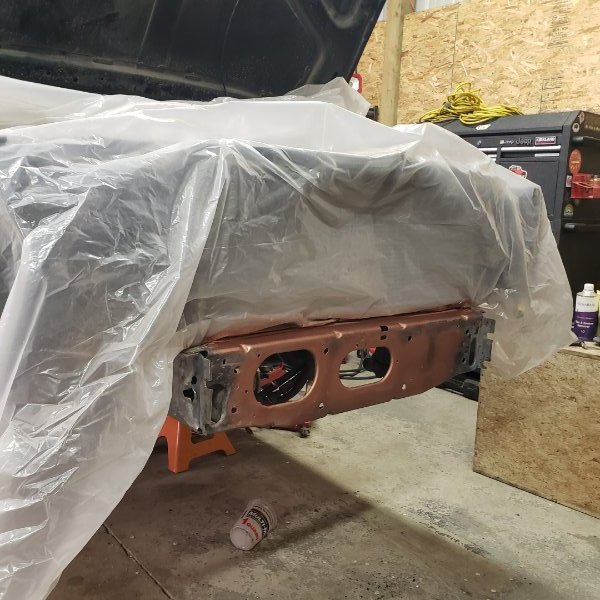
Thanks! Paint is on and drying. This weekend I hope to wrap up the brake lines and get the axle & suspension installed. Paint is curing until then.
-
86 LWB build-SoCal
Airborne Janitor replied to Cali Steve's topic in Member Projects: Your Comanches
Nice build. Don't ever remove that Wu-Tang sticker from your camper haha! -
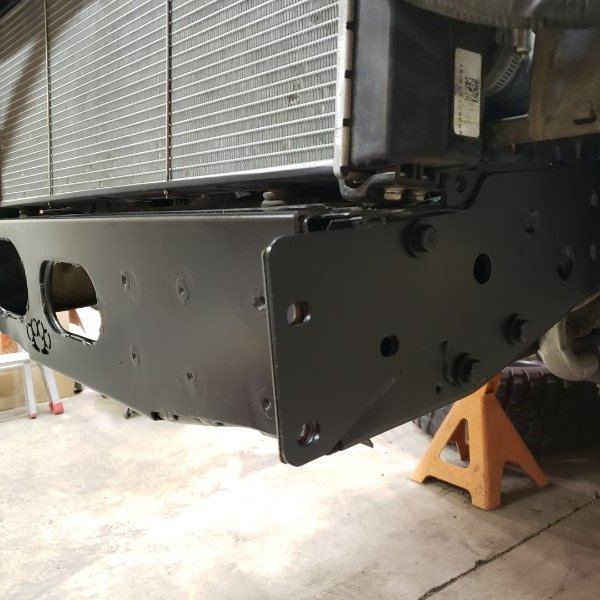
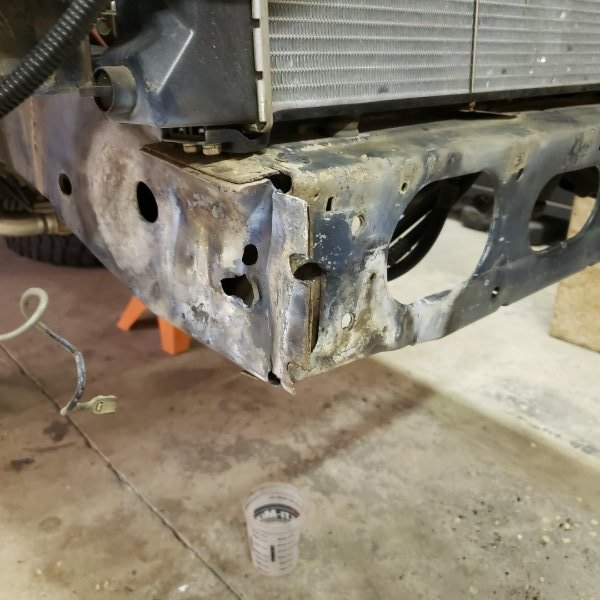
Dirtbound stiffeners fully welded in. Front end should be plenty strong now. Paint tomorrow.
-
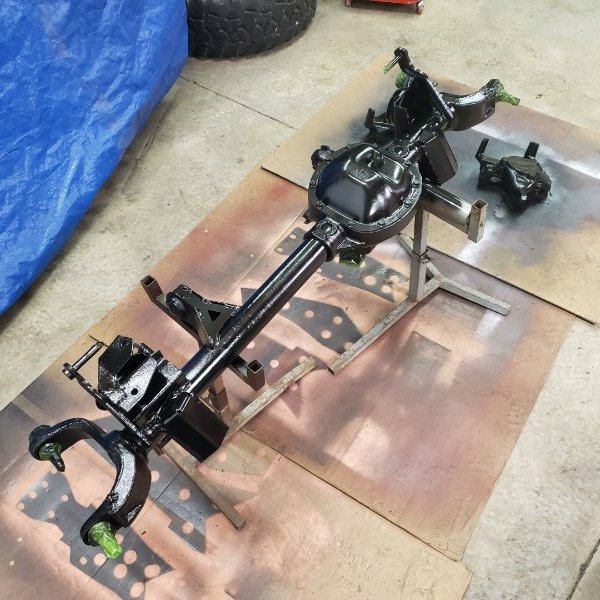
The Dana 30 from the wrecked 97 XJ I bought a few years back had been sitting in my driveway for years. Waiting for some TLC and to be put to good use. It had a good bit of surface rust on it sat out in the elements for awhile, but I kept the cover on and it protected the R&P gears thankfully. Used a wire cup brush on an angle grinder to start cleaning her up. Also welded in an UCA brace and some LCA skids from Barnes4WD. Sprayed it with POR15 topcoat. Once this is under the MJ I will be rid of the Renix era 4WD vacuum system completely and basically have the drivetrain of a 97 XJ (minus the rear axle).
-
Brake booster upgrade.
Airborne Janitor replied to jeeptec1's topic in MJ Tech: Modification and Repairs
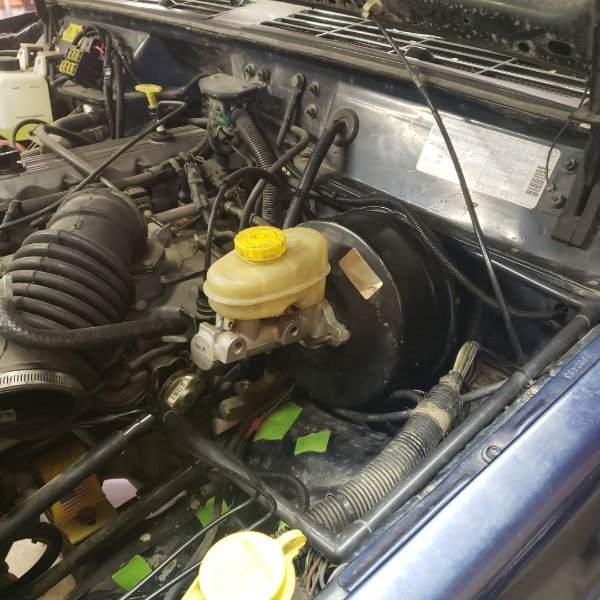
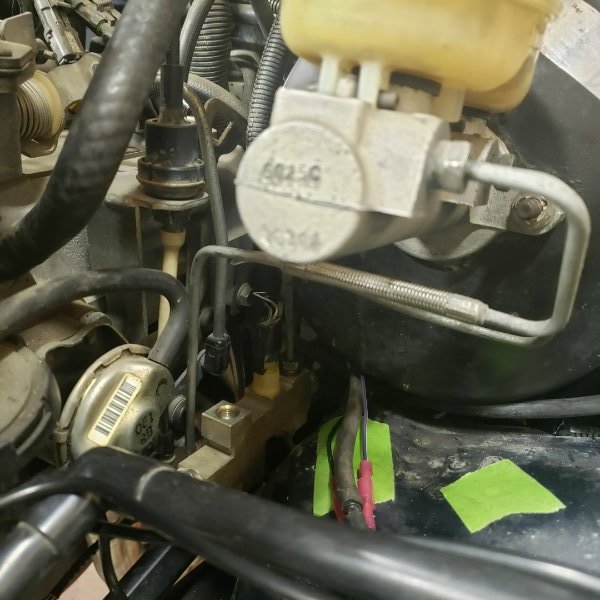
Just did this today, here's a pic to help.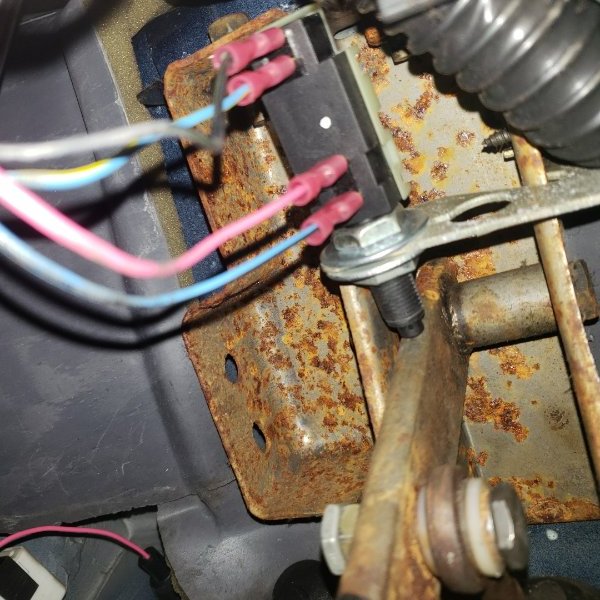
-
Thanks! Yours looks pretty sweet as well! Today was brake booster day. I scored a 96 XJ booster/MC a few years back, waiting for this special day. Decided to remove the rear load sensing valve LSV and the MJ "proportioning valve". I referenced these threads: https://comancheclub.com/topic/54855-load-sensing-valve-delete-yj-prop-valve-recipe/ https://comancheclub.com/topic/53274-mj-load-sensing-valve-delete-procedure/page/4/#comments Installed the 96 XJ booster along with an 87 XJ proportioning valve instead which has all the same ports sizes as the MJ valve minus the front port which is plugged and no longer used anyways with the LSV delete. I noticed the proportioning valve on the 96 XJ had the rear port plugged, same as the 97 and 98 XJs I checked, so I used the 87 which seemed the most plug n play. I was able to salvage some of the MC lines I had lying around from various XJs and some WJs I believe. I did have to rebend them and I need to cut and reflare the line to the front of the prop valve. I enlarged the hole in the booster rod to 5/8" using a step-bit and a drill. I decided to leave off the brake switch and remove the stock TCC switch and replace it with NAPA #SL186 so I didn't have to bother grinding down the "flat" on the end of the booster rod. Referenced this thread: https://comancheclub.com/topic/67719-brake-booster-upgrade/?tab=comments#comment-707848

-
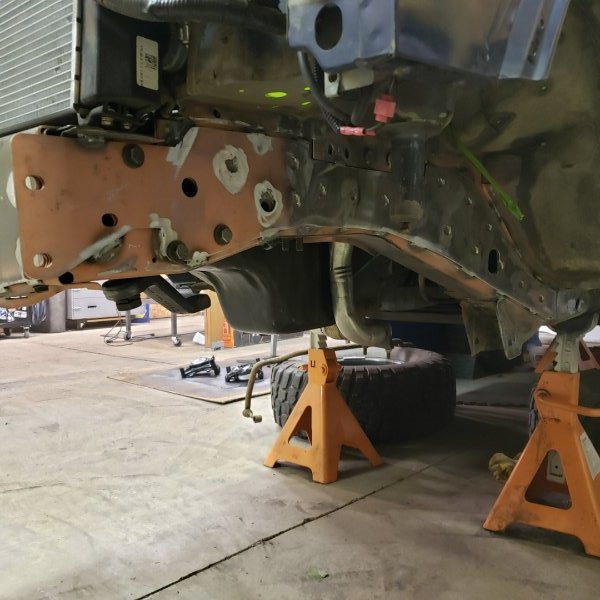
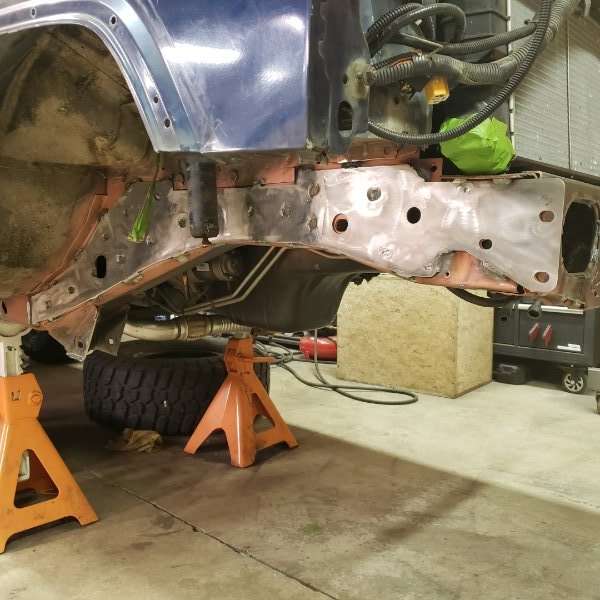
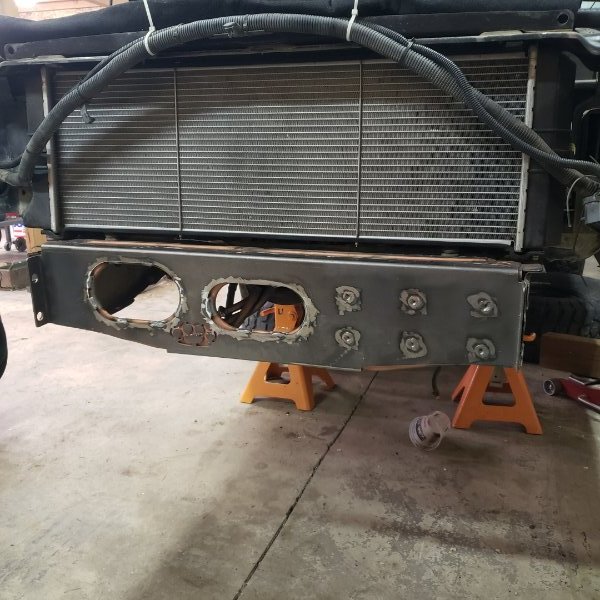
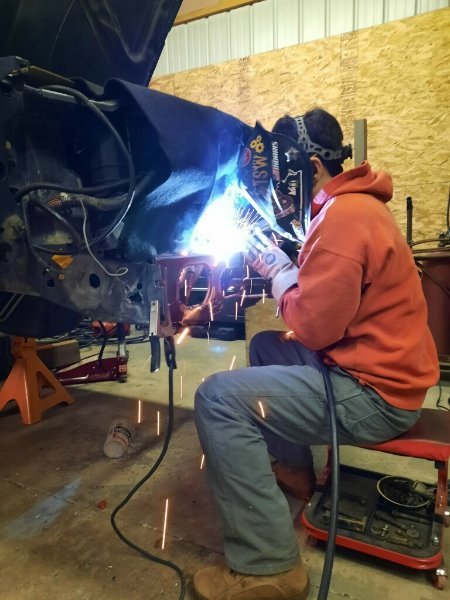
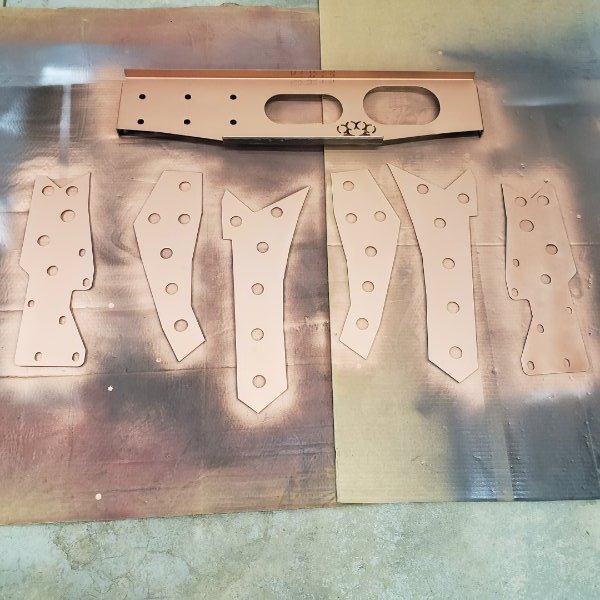
Prep and welding in the front unibody stiffener.
-
Had a little help from my friends...
-
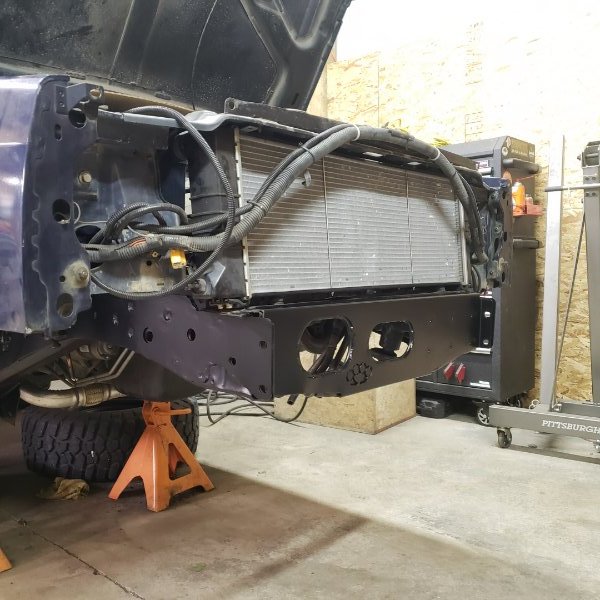
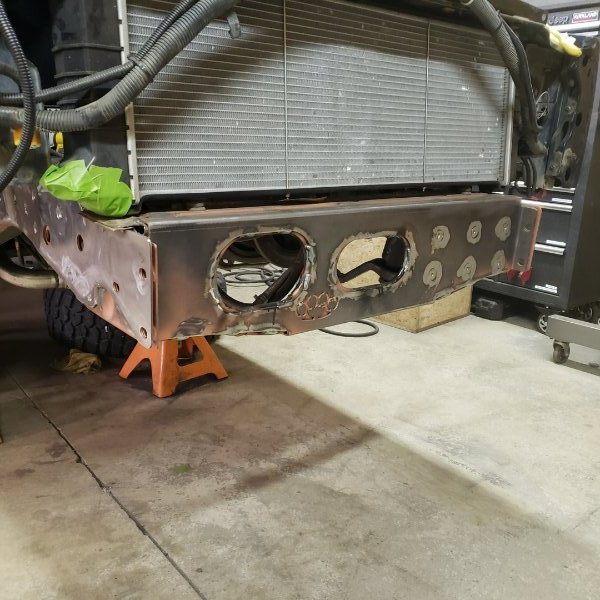
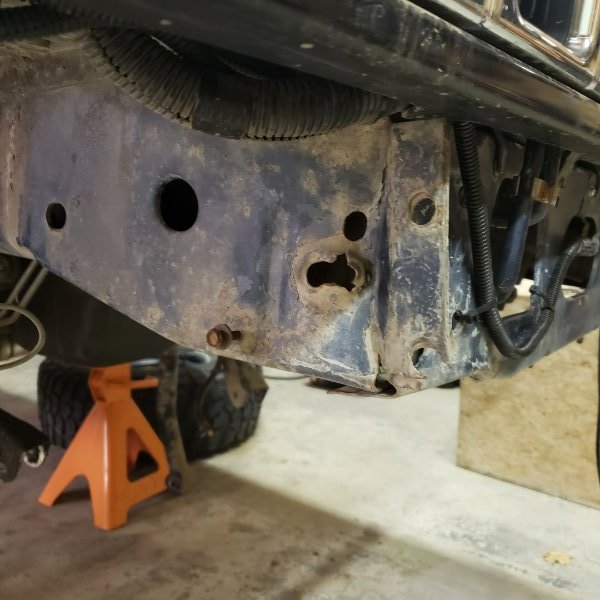
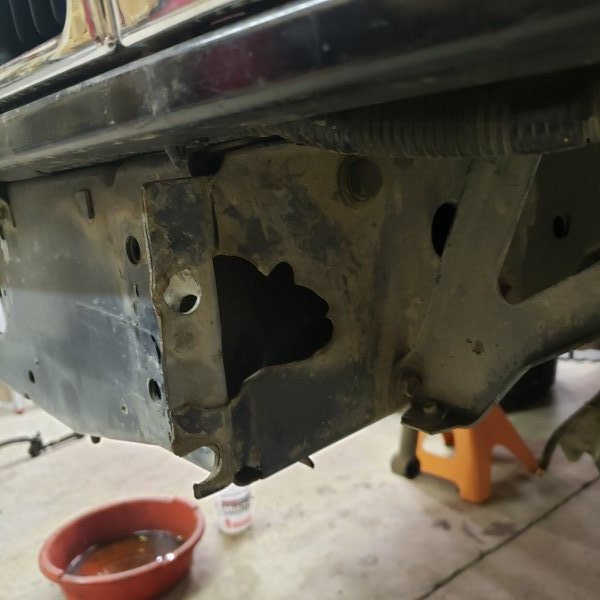
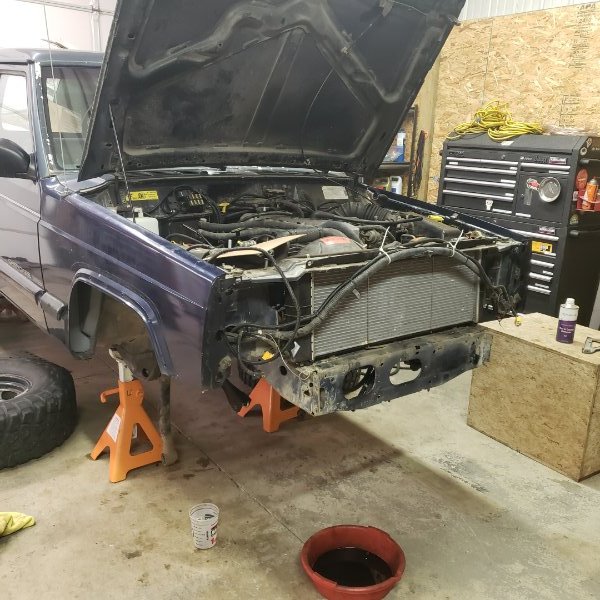
I had mentioned before that this truck was in a front end collision, and after spending a few years with this truck I believe someone smashed the front end and got it stuck in a giant mudhole, same night I wonder? There was so much mud and dirt packed into the frame rails when I got it. The previously repaired tear in the rear of the frame was probably from idiots putting a hook in there and trying to yank the MJ free. The front end around the bumper mounts show the same type of damage. Now I'm not planning on wheeling the piss out of this truck, I want it mainly for a work rig and sometimes DD. But I do want to put a winch bumper on it, and there's no way these compromised mounts are gonna fly. So I ordered the front unibody stiffener from Hooligan Offroad and the side stiffeners from Dirtbound and prepped them with weld-thru primer. Pulled the front end out as well as all of the crappy old piece together suspension. Pulled the header panel too to have more room for welding. I had to use oxyfuel and a hammer & prybar to get the passenger unibody somewhat straight. It still looks like $#!&, but its straight enough to weld the stiffener plate onto.
-
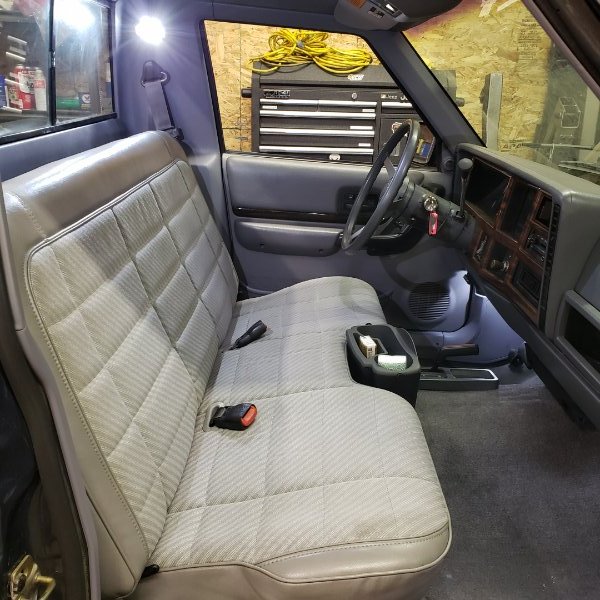
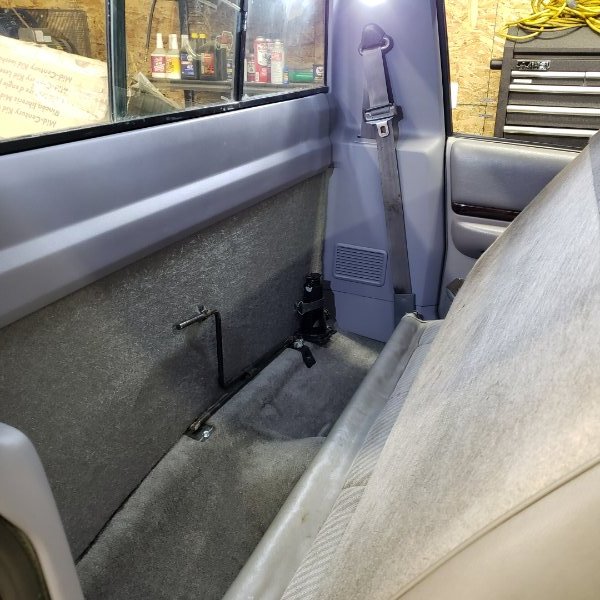
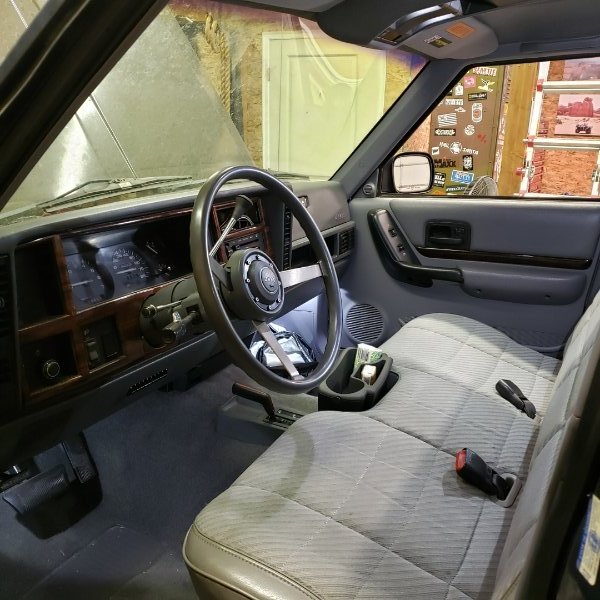
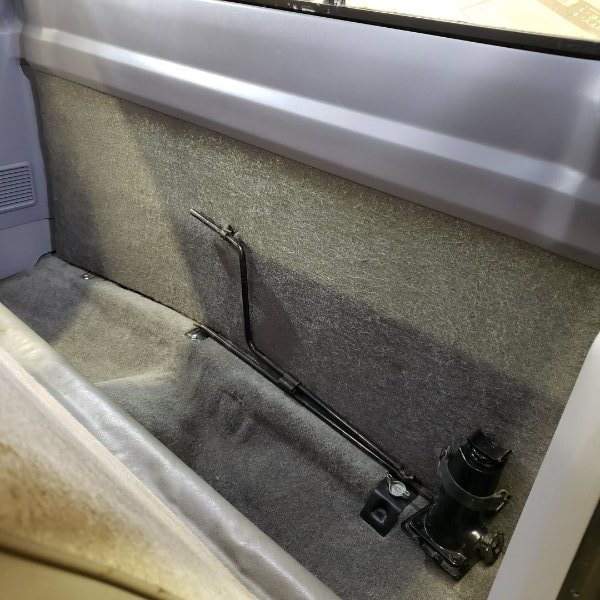
Well another year's gone by and my MJ is still not driveable. I was hoping to get it road worthy by year's end but I'm having to push that back a month or two. In the MJ's downtime I was able to put the interior back together and start ordering parts.