Search the Community
Showing results for tags 'np242'.
-
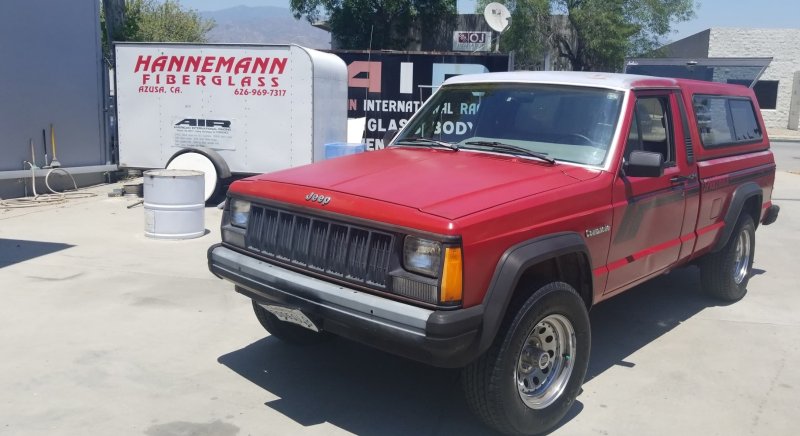
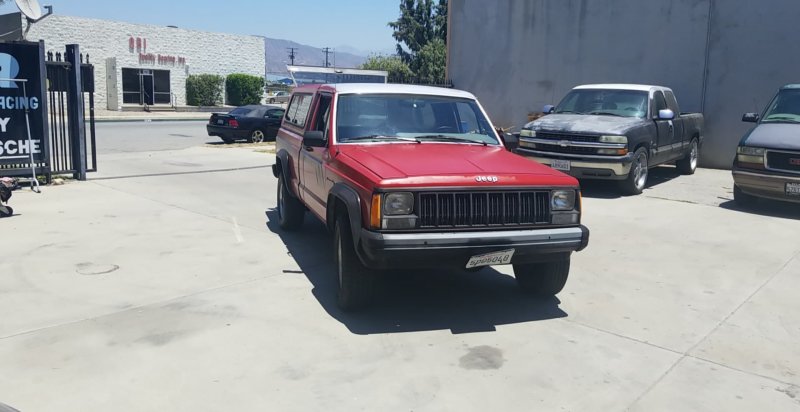
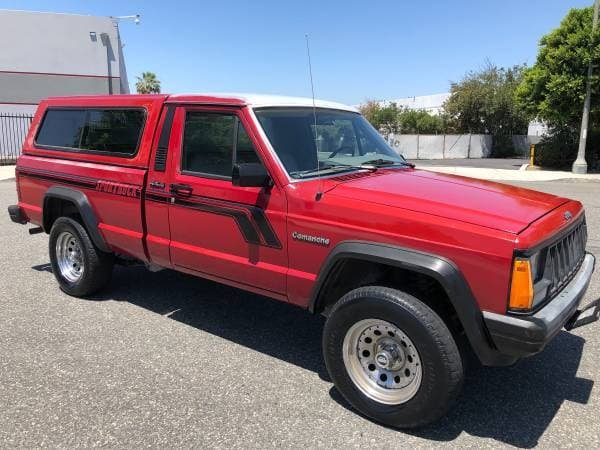
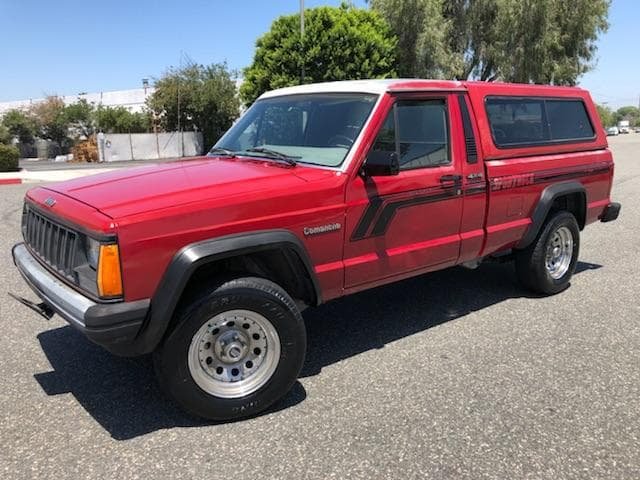
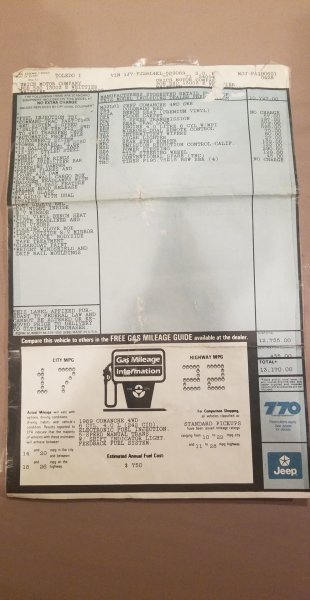
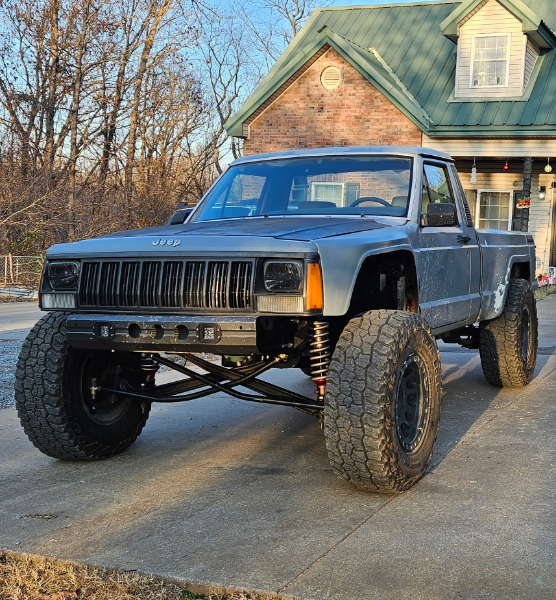
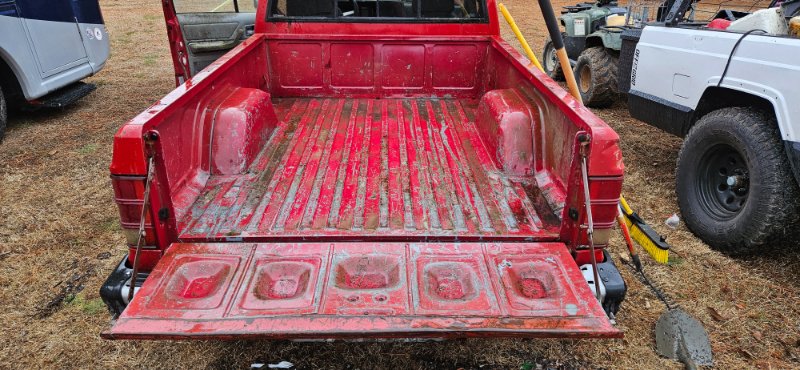
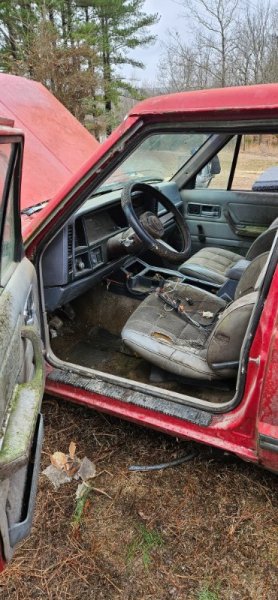
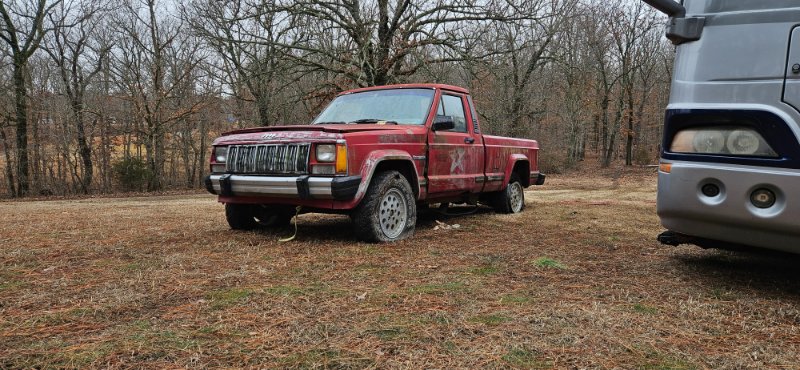
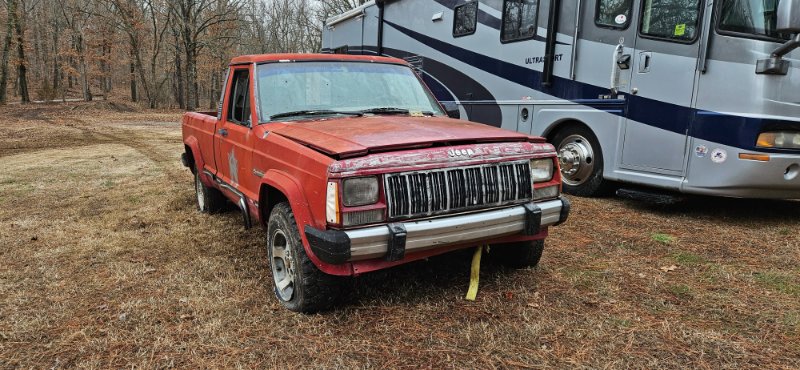
So, round three of MJ for me begins. Street comanche, LS comanche, and now starting with a stocker to build it my way this time. I sold my fully built XJ for a great profit and am able to start a build I have wanted to do for a long time. This is NOT a prerunner, I have built and driven real $500k+ prerunners that actually prerun baja and whatnot. Thats not what this truck is meant for. This truck is going to have that look of a prerunner although. But that is because the wide fiberglass fenders are a supporting mod for the rest of the build. The true theme of this build is going to be a LCOG build. Having a street comanche I really fell in love with the way it handled like it was on rails because I had a nice healthy tire patch, lightweight truck, and low center of gravity. With my XJs I really enjoyed how well 35s felt off road, but still had a nice patch while on road. So this truck will be low, roughly a 2'' lift, with a nice wide stance. A good adjustable sway bar, adjustable ride hieght, and adjustable shocks. I really want to have the ability to dial it in to whatever type of driving I am doing. Id like a truck that I can daily drive, or blast down a dirt road, do some mild crawling, or take a nice canyon road at some speed, all with the adjustment and tuning of a few things. This truck is being built to not be perfect at anything, but decent at many things. With that said, I picked up a steal of a deal on the truck. It is an ORIGINAL owner 89.5 SWB Sportruck. Options are as follows: AX-15, NP231, HP-D30 vacuum disconnect, Trac-loc D44, bench seat, mini console, tilt steering, and some other odds and ends. It was originally sold in Whittier, CA, and I know this because I have the original window sticker and original registration along with it. I picked it up about 5 miles from where the dealership it was sold at used to be, still in Whittier, CA. It came along with all service records, all original manuals. The exterior is truly impecable, paint is dulling, and one small dent on driver door, otherwise astonishing for its age. There is not a spec of rust inside or out, floor boards, rockers, and even the battery tray. The interior is imaculate, one stain on the driver floor, seat has been reupholstered, and one panel is missing behind the seat. Again, not a big deal. I picked up the truck and got it on the freeway and quickly blew two tires that had been dry rotted beyond use. I saw this ahead of time but thought I'd try to make it home to San Diego where I had new tires, proved why I invest in AAA though. Got some cheapy tires and made my way to Hanneman Fiberglass where Hal, and Harold helped me to some 6'' Front fenders, and 6"' bulge bedsides. Got to have them fresh out of the molds. Cruised down interstate 15 at 85MPH for about an hour and 45 mins, didnt break a sweat or have any issues whatsoever even on the small grades. Will hold 90 in 5th gear like a champ. I quickly realised the brakes were shot so I stopped and picked some up to throw on in the morning. As everything opens at 8AM tomorrow I will be ordering a few parts. I will be purchasing a currie antirock sway bar, JKS acos spring spacer with bump stop, 15x10 Aluminum wholeshot rims, 35'' General Grabber ATX tires, and possibly a 97+ header panel kit. Some things I still need to research are regearing, and I want with this jeep I want to learn some painting and autobody skills. This jeep will not get beaten, and I sort of want it to be a pretty truck, that new ford avalanche gray just has been on my mind since the first time I saw it. So any info on those would be very helpful. Join me for this build, I have been anticipating this one for years, and funds finally came through!! If anyone is intrested in the shell, the rims and tires, or possibly trading plus cash for a bed I won't feel bad about hacking up let me know. I am located in San Diego.
-
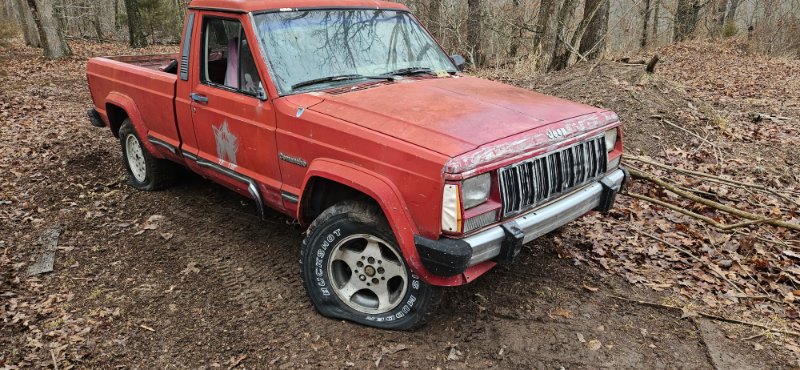
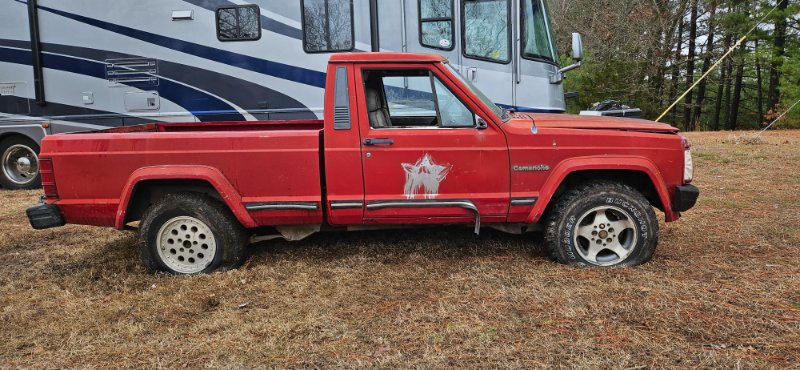
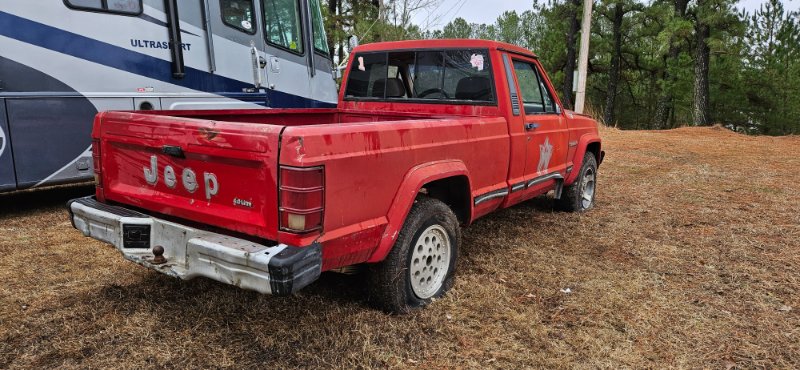
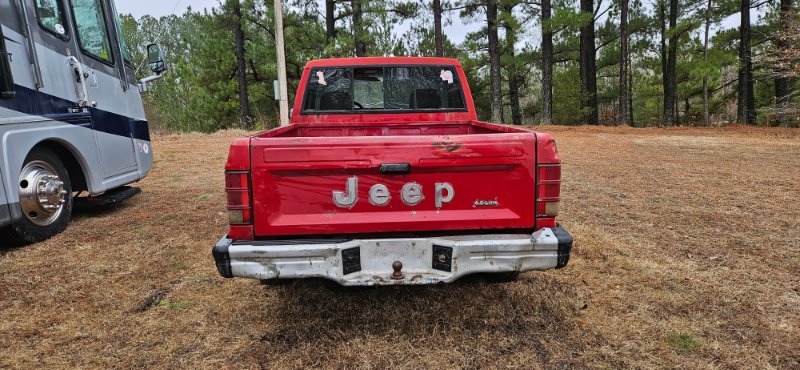
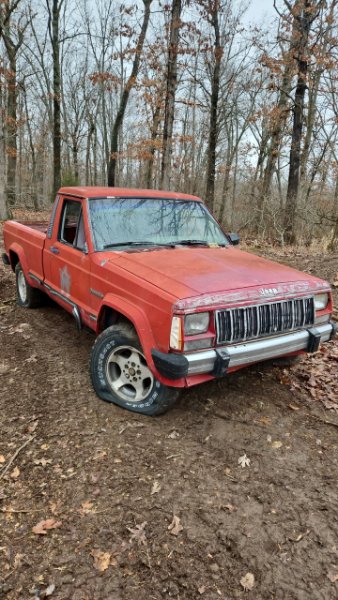
Here I am, posting another new build...again LOL. I wasn't really actively looking, just browsing the local marketplace and came across this SWB, 2WD, 5 speed, 4.0 comanche that looked pretty clean. It hasn't run in a few years at least, and the trans is known to have problems. It was headed to the scrapper the next day. So I scraped together $500 and got myself my 4th MJ. I loosely told my fiance the other day, after the Wagoneer restoration is done, and some loose ends on the others jeeps are tied up, I'd like to start a sport/muscle truck build. And then this happened to pop up for sale, on my birthday weekend, so it was a sign lol. This jeep likely will get the drivetrain, electronics, and some other odds and ends scrapped off of it in the next 6mos - year. It's got some rocker rust, and I'm sure the floors need love too, since it was $500 truck, it'll likely get some sort of budget oriented build, as my other three were very high budget builds. Currently it is: -Renix 4.0 -BA-10 2WD -Dana 35 The plan is: -LS (likely 4.8 or 5.3) -GM ECU/Harness -Cam setup for high RPM power -AX-15 W/LS bellhousing -NP242 or NP249 -D30 with CV axles -C8.25 with KJ Disc Brakes, and an LSD of sorts. -WJ Master/Booster -Nice stereo -Working AC, Heat, etc. -JK Sahara 18'' wheels -V8 ZJ Sway bar -coil Spacers/leaf mods to level it at near stock height -WJ lower Controls arms -Tie rod upgrade -Bed toolbox? -New bushings/bearings front to back. Going for a really fun and reliable road cruiser, be able to slam gears and get sideways at will, or slap it into AWD and do some sprited driving. Where I live, a lot of fun, and smooth curve roads. Also I live up a dirt road that is slick when weather decides it is lol. After I bought it I found out it was an Eliminator, not that I mind either way, but a nice perk. See Photos:
-
Instilling the Novak Cable shifter on an AX-15/NP242 combo I was in need of a new transfer case linkage setup after I replaced my BA-10/5 & NP231 with an AX-15 & NP242. I purchased the Novak Cable Shifter Kit for$195.85 shipped from Novak-Adapt.com. If you don't want to spend nearly $200 on a cable shifter, then take a look at THIS DIY Linkage, I rediscovered it after I ordered my Novak kit. Before I installed my kit I read over Flint54's install thread. I did not do all the modifications he did, such as to the shift gate. I don't know if Novak changed the kit between the time Flint54's installed his kit and I bought mine. The install took about 2 hours. A second person may be needed during the install. I did not need to remove the cross member or lower the transmission to install this kit, however it would have made things simpler. This kit is not exactly "bolt on" if you have a NP242 like me, some modification may be required. If you had Rhino liner sprayed in the cab you may soon regret it as I did. Keep in mind this is for General Instruction. This is how I did the install. This install was on a 1988 Jeep Comanche, 4.0 I6, AX-15, NP242. Also note my MJ does not have all the factory sized bolts as some have been replaced over the years, I may give a bolt size that is different from factory. Tools Required: Saftey Glasses Gloves Box Cutter (If you have Bed liner in the cab) Wrenches (8mm, 10mm, 13mm, 15mm, 17mm, 1/4, 1/2, 9/16, 15/16, these are what I used) Allen wrenchs Drill Needle nosed plyers Floor Jack (if you decide to remove the crossmember) Start by blocking off the tires and setting the parking break. The Jeep may need to be shifted into neutral during the install. Here are the parts in the Kit: Body side bracket, Transmission bracket, Shifter cable, and a bag containing 4 Allen head bolts, transfer case lever, ball joint of some type, and a clevis yoke. If you haven't already remove the front drive shaft. Use 8mm Socket or wrench to remove the bolts on the front diff yoke and 1/2 wrench for the transfer case yoke bolts. Removed was the body side linkage bracket. It is located on the driver's side of the transmission tunnel. I had the joy of removing bed liner from the bolts holding the body side bracket on. Its a PITA getting that stuff off. Use a 10mm wrench or socket to remove the bolts. After all the bolts are removed the bracket should fall off. I had to use a wrench to pry the linkage bracket from the shifter bushing. I then used a knife to remove the Bushing it self. Installing the new Novak body bracket did not go on as smoothly as I would have liked. I also needed a second person to put the bolts on while I held the bracket in place. Use an Allen Wrench (sorry not sure what size) to install the body mount. Not all the holes lined up properly, but it did not take much to fix the problem. Next I moved on to the Transfer case lever. Use a 9/16 wrench to remove it. There are some Differences between the stock lever and the Novak lever. As in Flint54's thread I later discovered I needed to add a new hole to the Novak lever. I used a drill bit the same size as the hole... Sorry I don't know what size it is. Before you copy my placement please read THIS thread by Flint54. But After I had everything together I guessed where it needed to be based on the placement of the clevis yoke... The new hole placement between My TC lever and Flint54's lever seem to be about the same. Reinstall the Transfer case lever using the 9/16 wrench or socket. These two bolts will need to be removed with a 9/16 wrench. (I did not have any of the AX-15 linkage brackets.) Place the bracket on the Transfer case studs and replace the bolts. I attached the Cable as instructed in Flint54's install thread. Note: My cable did not line up directly to the Handle lever and Transfer case lever. Both cables are adjusted by two 15/16 nuts. Like in Flint54's Install both cables are installed as to where the aft bolt just has full thread engagement. This picture shows the Transmission mount adjustment. This picture shows the body mount adjustment. Here are how the two ends attach to the handle and transfer case levers. Handle Lever Transfer case Lever Reattach front drive shaft... Now everything should be hooked up. Thus far the biggest difference between My install and Flint54's is the shift gate. I currently have the 231 gate on the truck, I have a 242 gate somewhere I just need to locate it..
- 12 replies
-
The donor Cherokee for my Comanche has a NP242 in it (I'm fairly sure) I was wondering what the major pros and cons over an NP231. thanks
-
I'm looking for a single piece off a broken or other wise unusable transfer case. I'm in need of a 23 spline, short or medium input gear. if anyone knows of one please let me know, I'm located in portland oregon.
-
Just got a '92 NP242J out of a '92 4.0 HO, automatic. What I want to put it into: 1990 4.0 AX15. Will I have to switch out the shaft? I believe it's a 23 spline, I'm just not sure about the length.
-
Title says it all. Will an NP242 that came out of a '95 cherokee 4.0 auto(blech) mate to my '90 4.0 and ax15, and if so will it need mods? Foremost in my mind, anybody know if the input shaft won't mate into the '90 ax15?
- 9 replies
-
- Transfer Casetcase
- 242
-
(and 1 more)
Tagged with:
-
yesterday i finally swapped front axles on my MJ. and i was finally able to hook up the front drive shaft as well as put it into full-time 4wd. and it makes a odd clanking sound whenever i turn... last year sometime my stock BA-10 /w 231 died (the TC was fine) I replaced the old transmission and TC with an AX-15 / 242, i drove it home with the stock axles (D30 with CAD locked and D35 with 3.07 gears) it had the same strange sounds. I locked the cad to the open position and the sounds stopped. so i replaced the front and rear axles to a non cad D30 and a D44 with 3.55 gears. and hooked up the 4wd and it makes the same sounds. before i put the new D30 on i checked the gears for cracks and broken teeth, it was good. if i go straight there are not any strange sounds only when i turn.
- 10 replies
.thumb.jpg.809559baf7c47f3daaed1622c0992004.jpg)
