
oleskool
-
Posts
305 -
Joined
-
Last visited
Content Type
Profiles
Forums
Gallery
Everything posted by oleskool
-
Found a little time today to throw the new mopar fan shroud on. The old one was broken in the top and bottom and I really hated working around the engine with it running.

-
4.0 Front crank seal replacement
oleskool replied to Htchevyii's topic in MJ Tech: Modification and Repairs
I was trying to figure out what the PO did. What ever it was they almost messed up big time 😂 -
4.0 Front crank seal replacement
oleskool replied to Htchevyii's topic in MJ Tech: Modification and Repairs
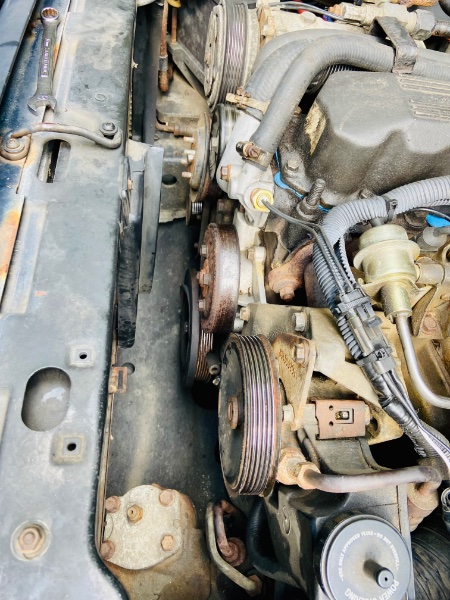
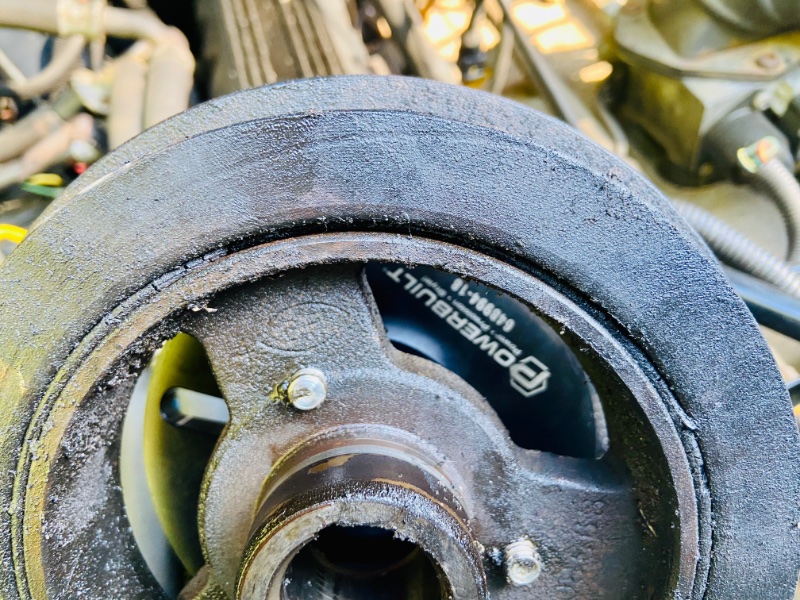
Just knocked one out last week. Works like a charm. I used a small rubber mallet to tap the seal in. Make sure to grease the seal or the area the balancer will ride in before putting it back together. My balancer had seen better days 😂 the chunk missing from the timing chain cover wasn’t from me.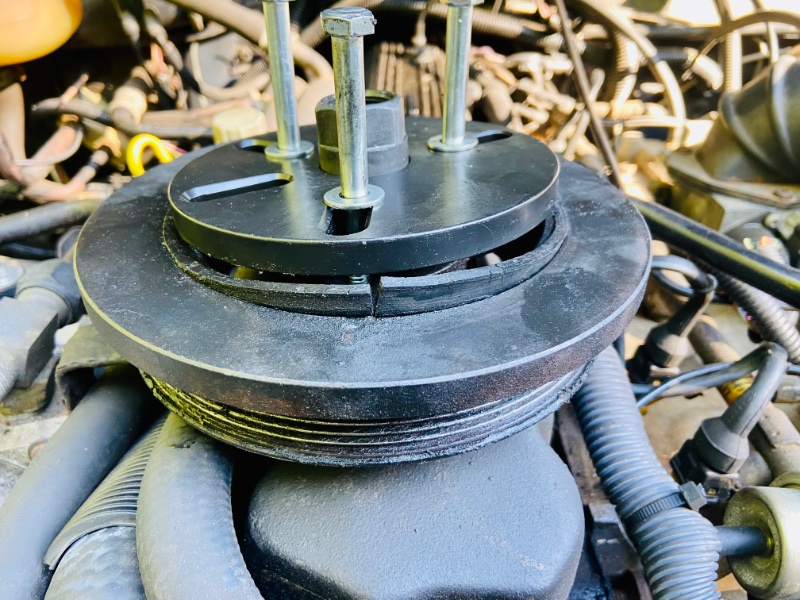
-
4.0 Front crank seal replacement
oleskool replied to Htchevyii's topic in MJ Tech: Modification and Repairs
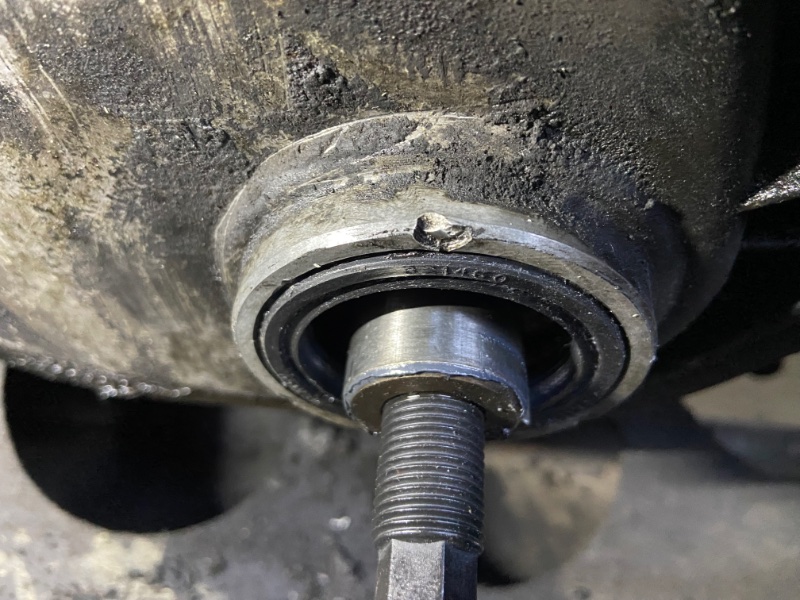
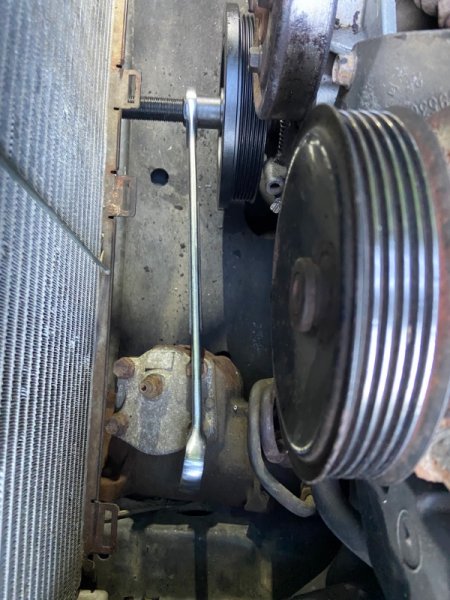
A 14mm open face wrench and a little pop of the hand will knock it right out. I use wrenches as seal pullers all the time. 😊 -
Sliding window latch
oleskool replied to fiatslug87's topic in Craigslist/eBay... i.e. Not Your Stuff
I sold 3 of these for $100 each so I’d say it’s possible 😉 -
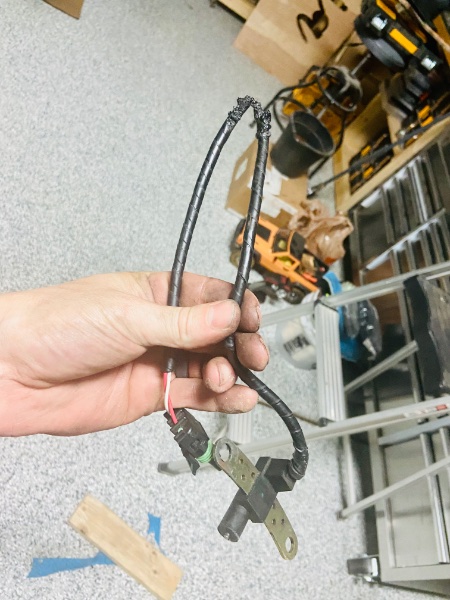
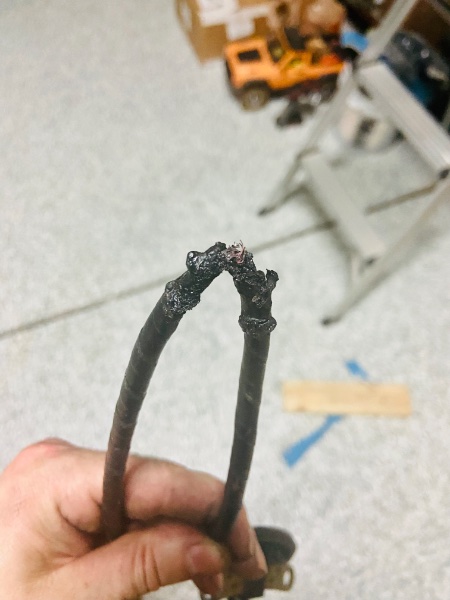
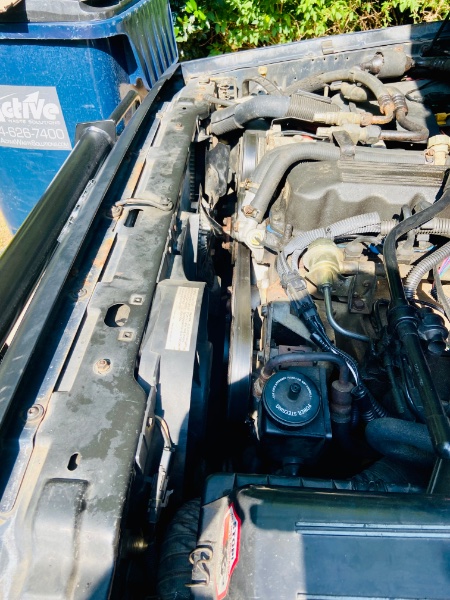
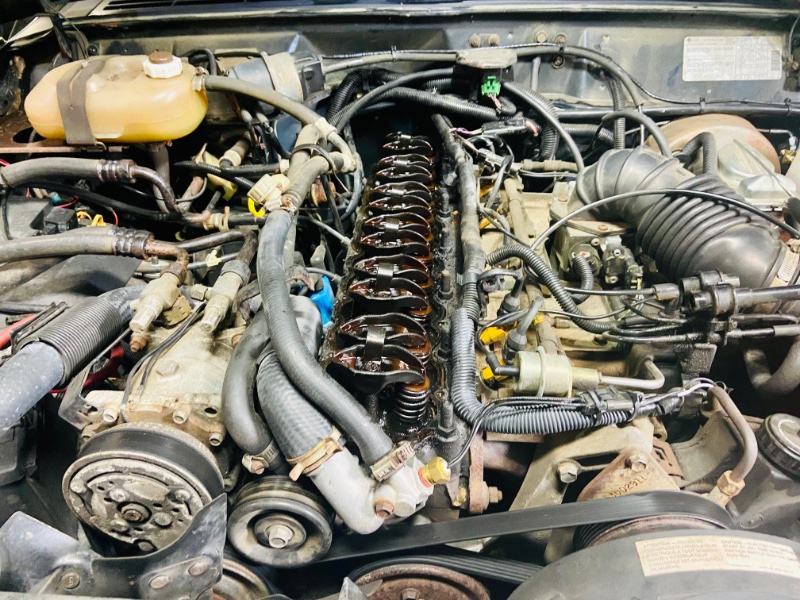
What a week. First the truck decided to die going out my drive randomly. This allowed me to wave at every neighbor heading to work that morning while the hood was up. God knows what they think of me and my ole truck 😂. Next day I go to drive it and find a nice puddle of fuel spraying everywhere. The connector hose to the fuel filter cracked and out on quite a show under the truck. I got that buttoned up just in time to get a severely rough idle / no power or acceleration / REM loop fault lean code and many more. After cussing the truck out several times over and validating every sensor on the damn thing I found this. I didn’t start with the CPS because it fired right up flawlessly everytime. I guess it got good enough signal to crank but not good enough signal to sync the cylinders etc. 🤷♂️ I guess when I swapped the internal slave for an external slave I let the wiring slide off the clamp that holds it in place. Who knew the damn thing could crank so well but not idle for $#!& with a bad cps.
-
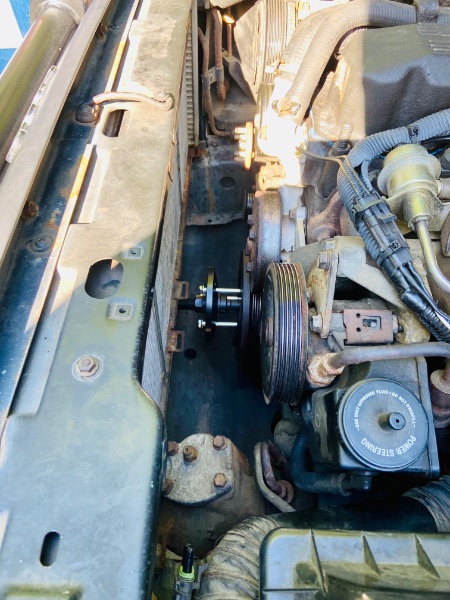
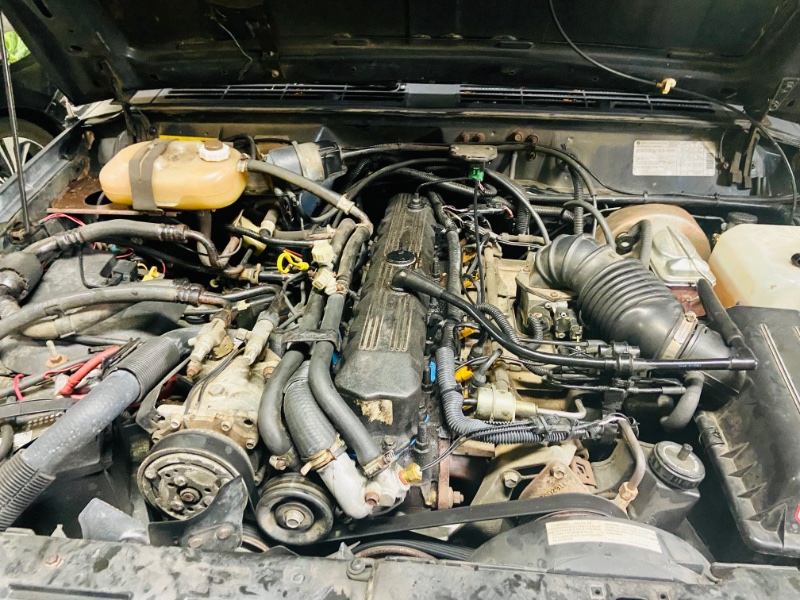
And that’s a wrap. Back to her old self. Quick tip for anyone trying to replace the crankcase seal, an old trick I learned long ago was how to use a open end wrench to pop out seals in tight places. A 14mm works great on the crankcase seal 😉
-
harmonic balancer. Go check yours!! right now!
oleskool replied to Pete M's topic in MJ Tech: Modification and Repairs
Just did this myself 😂 to be fair I’ve known it needed to be replaced since I pulled the truck out of a barn 2 years ago 🤦♂️. I waited until it started making a knocking noise at 2k RPM to do anything about it 😳

-
A little Saturday evening fun 😉


-
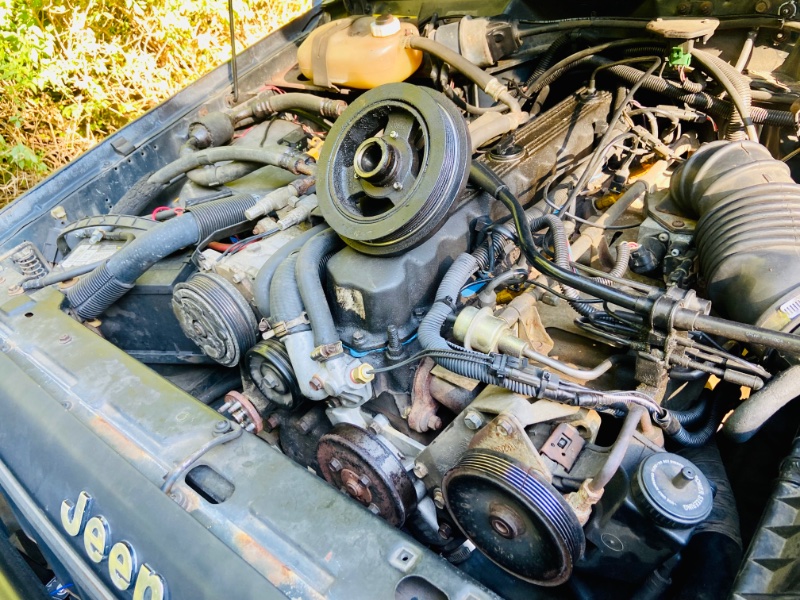
Well it looks like a harmonic balancer is next on deck 😢 Been getting a knocking noise under load around 2k RPMs. Been trying to track it down for a couple weeks. I guess this is the culprit 😂. It’s also squeaking a little 😅

-
Thank you. I’ll see if I can find it.
-
😂 sadly it’s true. To much filtering goes on. Most of the time the noise is amplified terribly. I hated when customers would send me videos like that for a quick diagnostic.
-
I know it is a long shot but I am looking for a longbed roll bar to add to the truck. Any help finding one is greatly appreciated!
-
Haven’t installed it yet but there is a write here on CC. It’s supposed to be faster but isn’t plug and play 😊
-
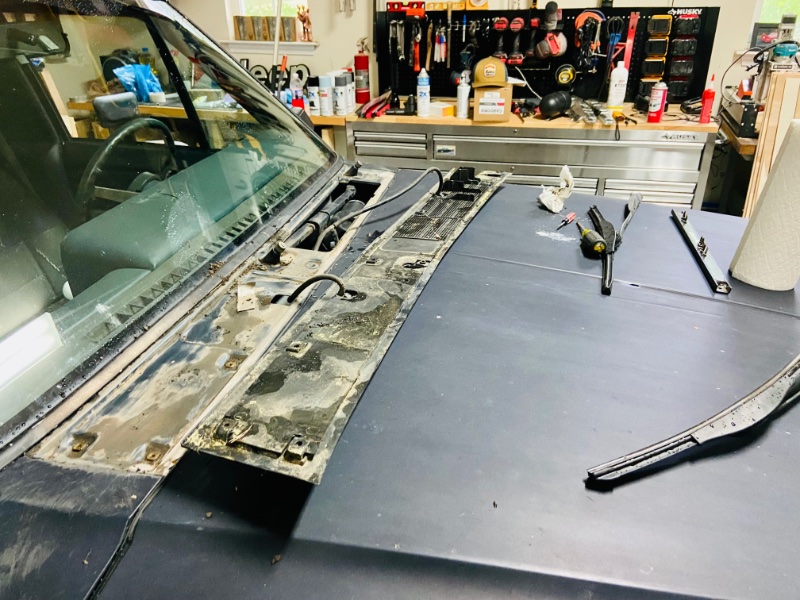
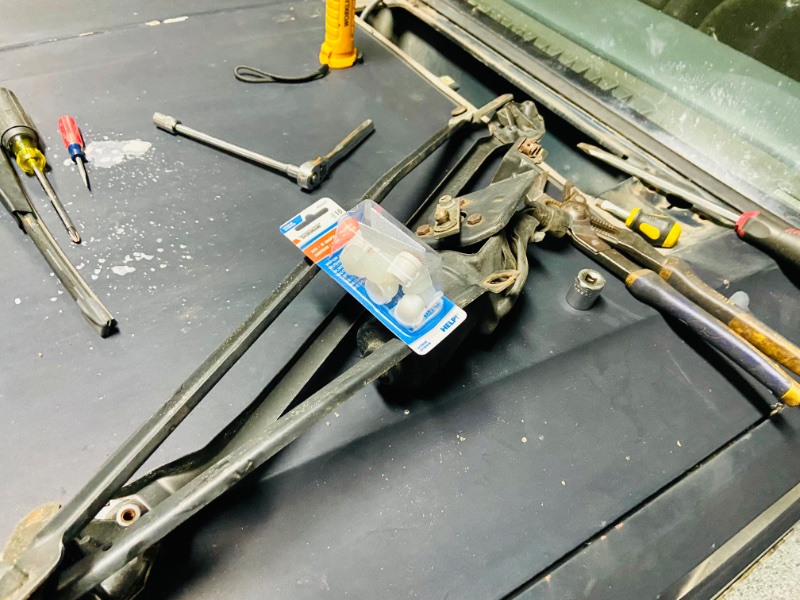
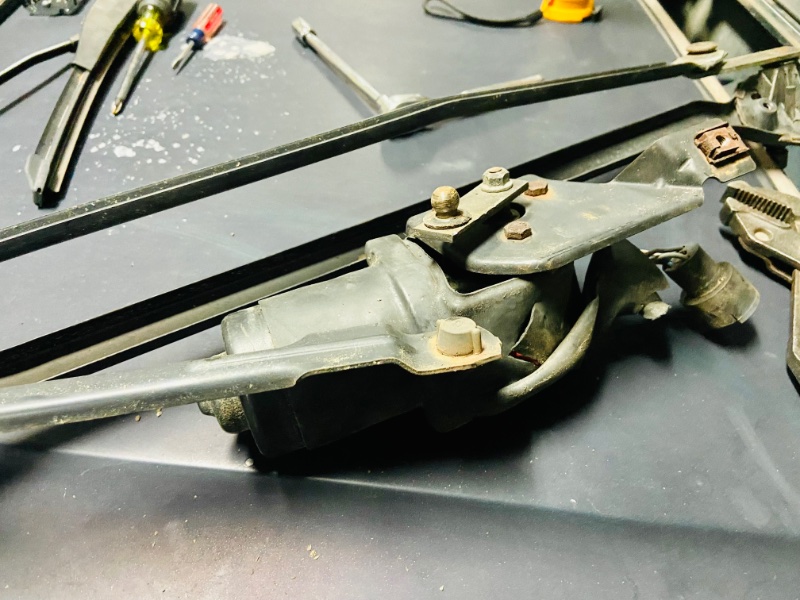
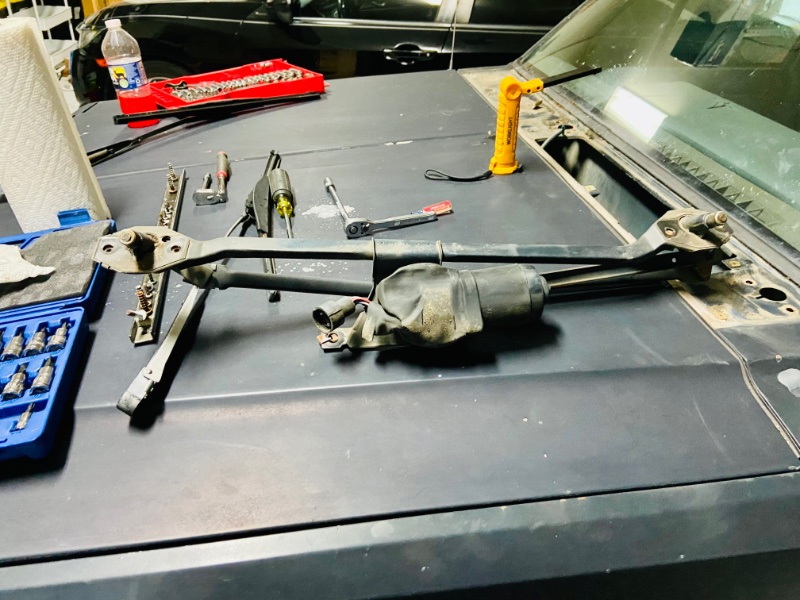
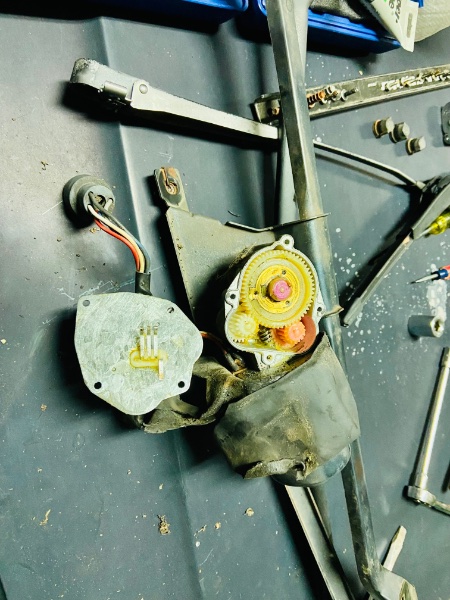
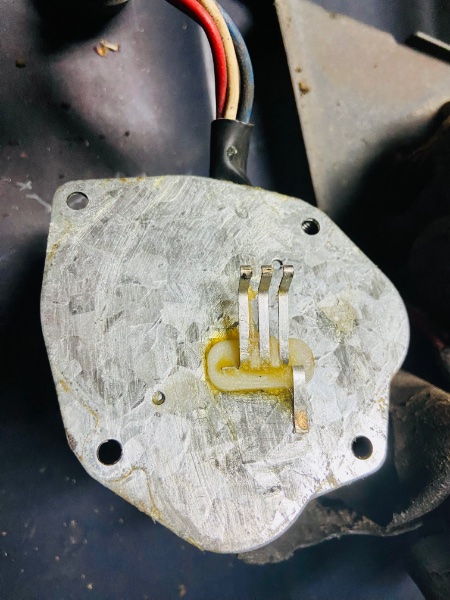
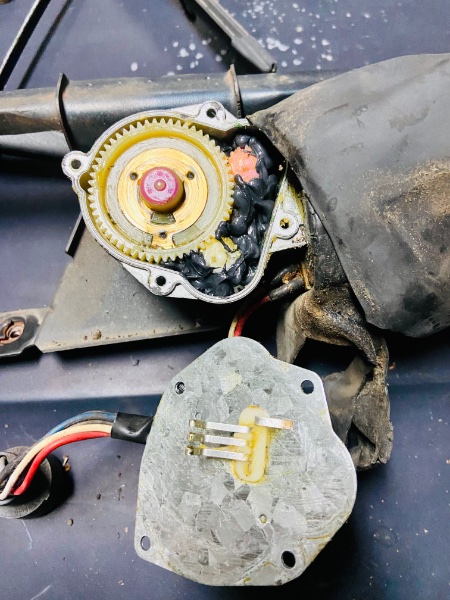
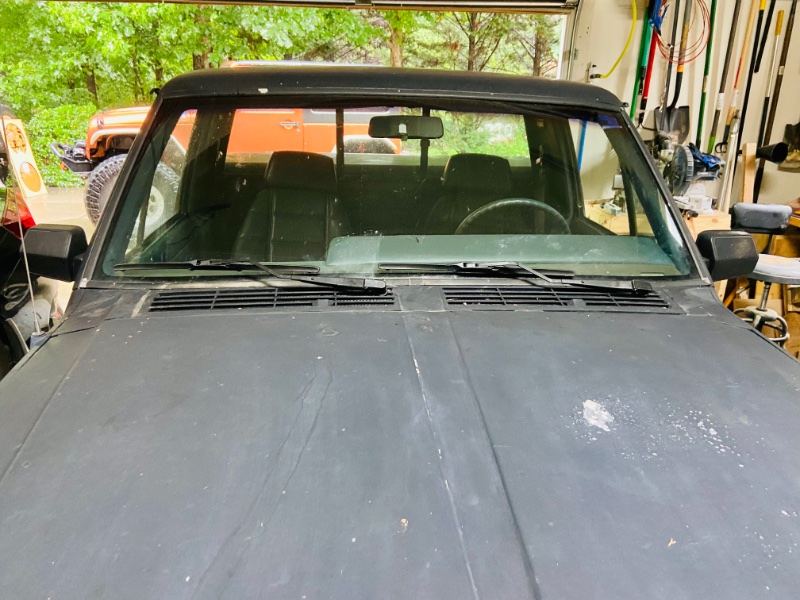
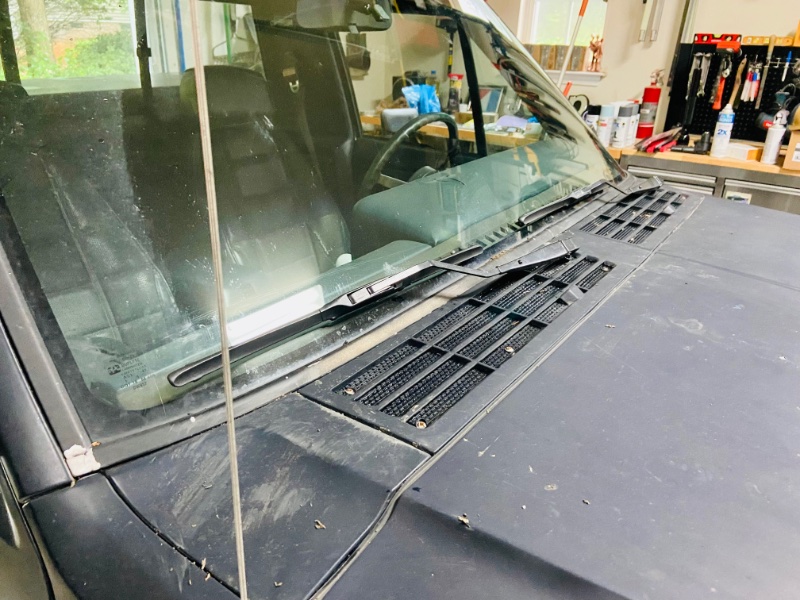
Well I’ve been kicking the wiper rebuild can down the road long enough. Honestly it’s super easy to do. Grabbed the bushing rebuild kit from doorman, some 97+ wiper arms, new wipers and a 97+ motor. I disconnected everything, removed the wiper arms and snaked the system out of the cowl. Easy to get out but a pitta to get in 😂. Removed the old joints using a large flat head screwdriver to pop the joints loose. Using a 18+ mm socket and a pair of channel locks each plastic bushing was removed and popped back in. This takes about 5 minutes on a slow day. I did use some super lube on the ball sockets to make me feel better 😂. Next I removed the gear box cover on the motor and cleaned out the 30+ year old grease. Replaced it with some good pressure rated grease, cleaned and used dielectric grease on the contractor that controls the position of the wipers and sealed them back up. Played Tetris again to get the assembly back in the cowl and slowly bolted everything down. I did run the wipers once to reset the home position before putting the arms back on. Let’s see how this helps things before I go to the 97+ motor. I’m hoping this will be good 😊
-
Finally installed.
-
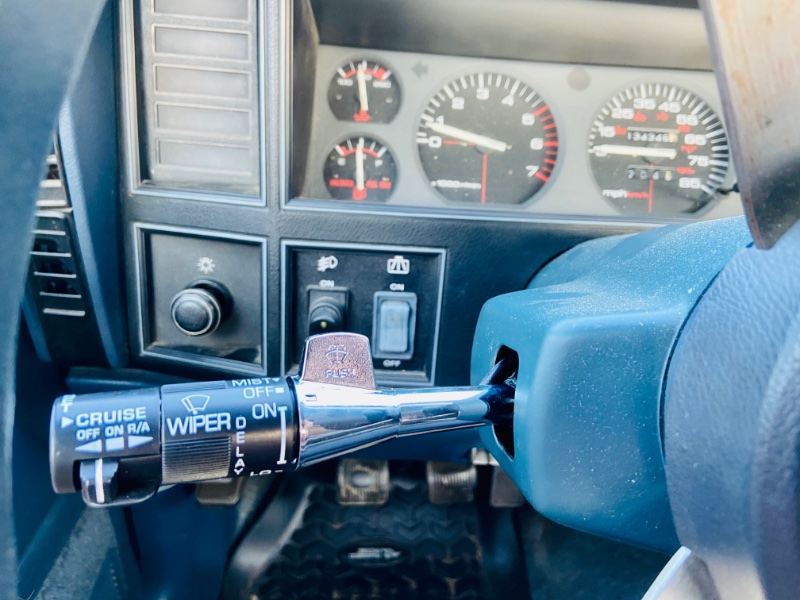
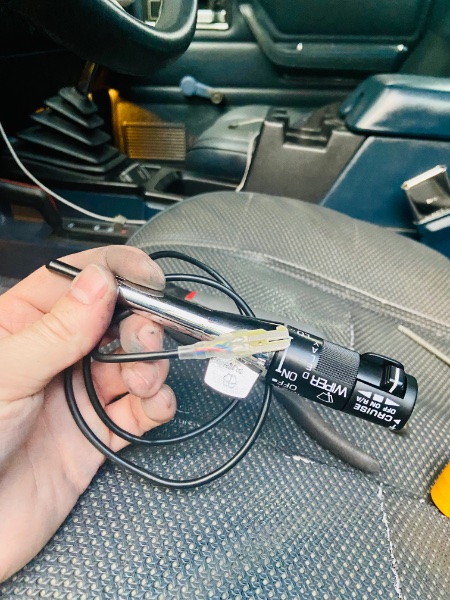
Picked up a new turn signal stalk / cruise control switch. Fingers crossed this fixes my cruise issue. Seeing how the current one is being cut in half by the plastic surrounding the steering column I’m 80% confident 😂
-
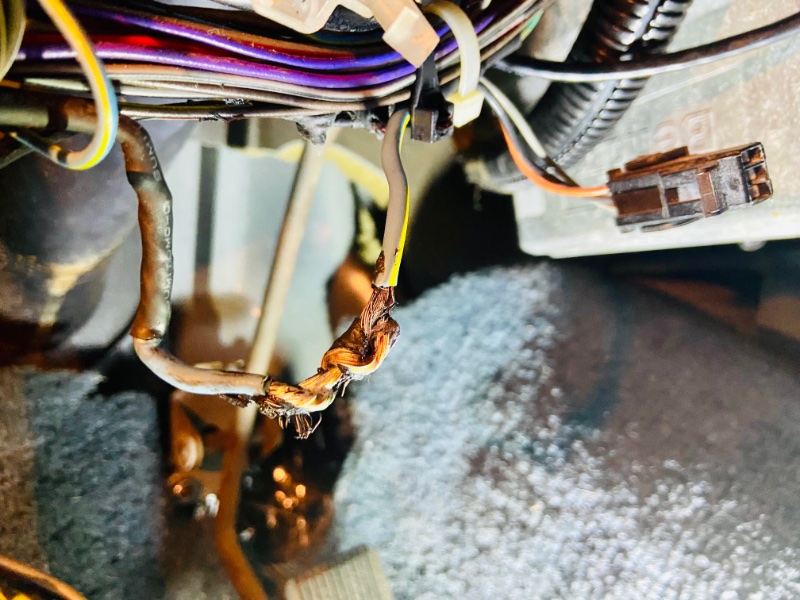
Does anyone know what this wire is for under the dash of my 89’ 4.0? It appears to be spliced and poorly soldered to something else in the harness. Trying to figure out what it is before I start messing with it. Appears to be a fairly heavy gauge which makes this even more concerning 😂
-
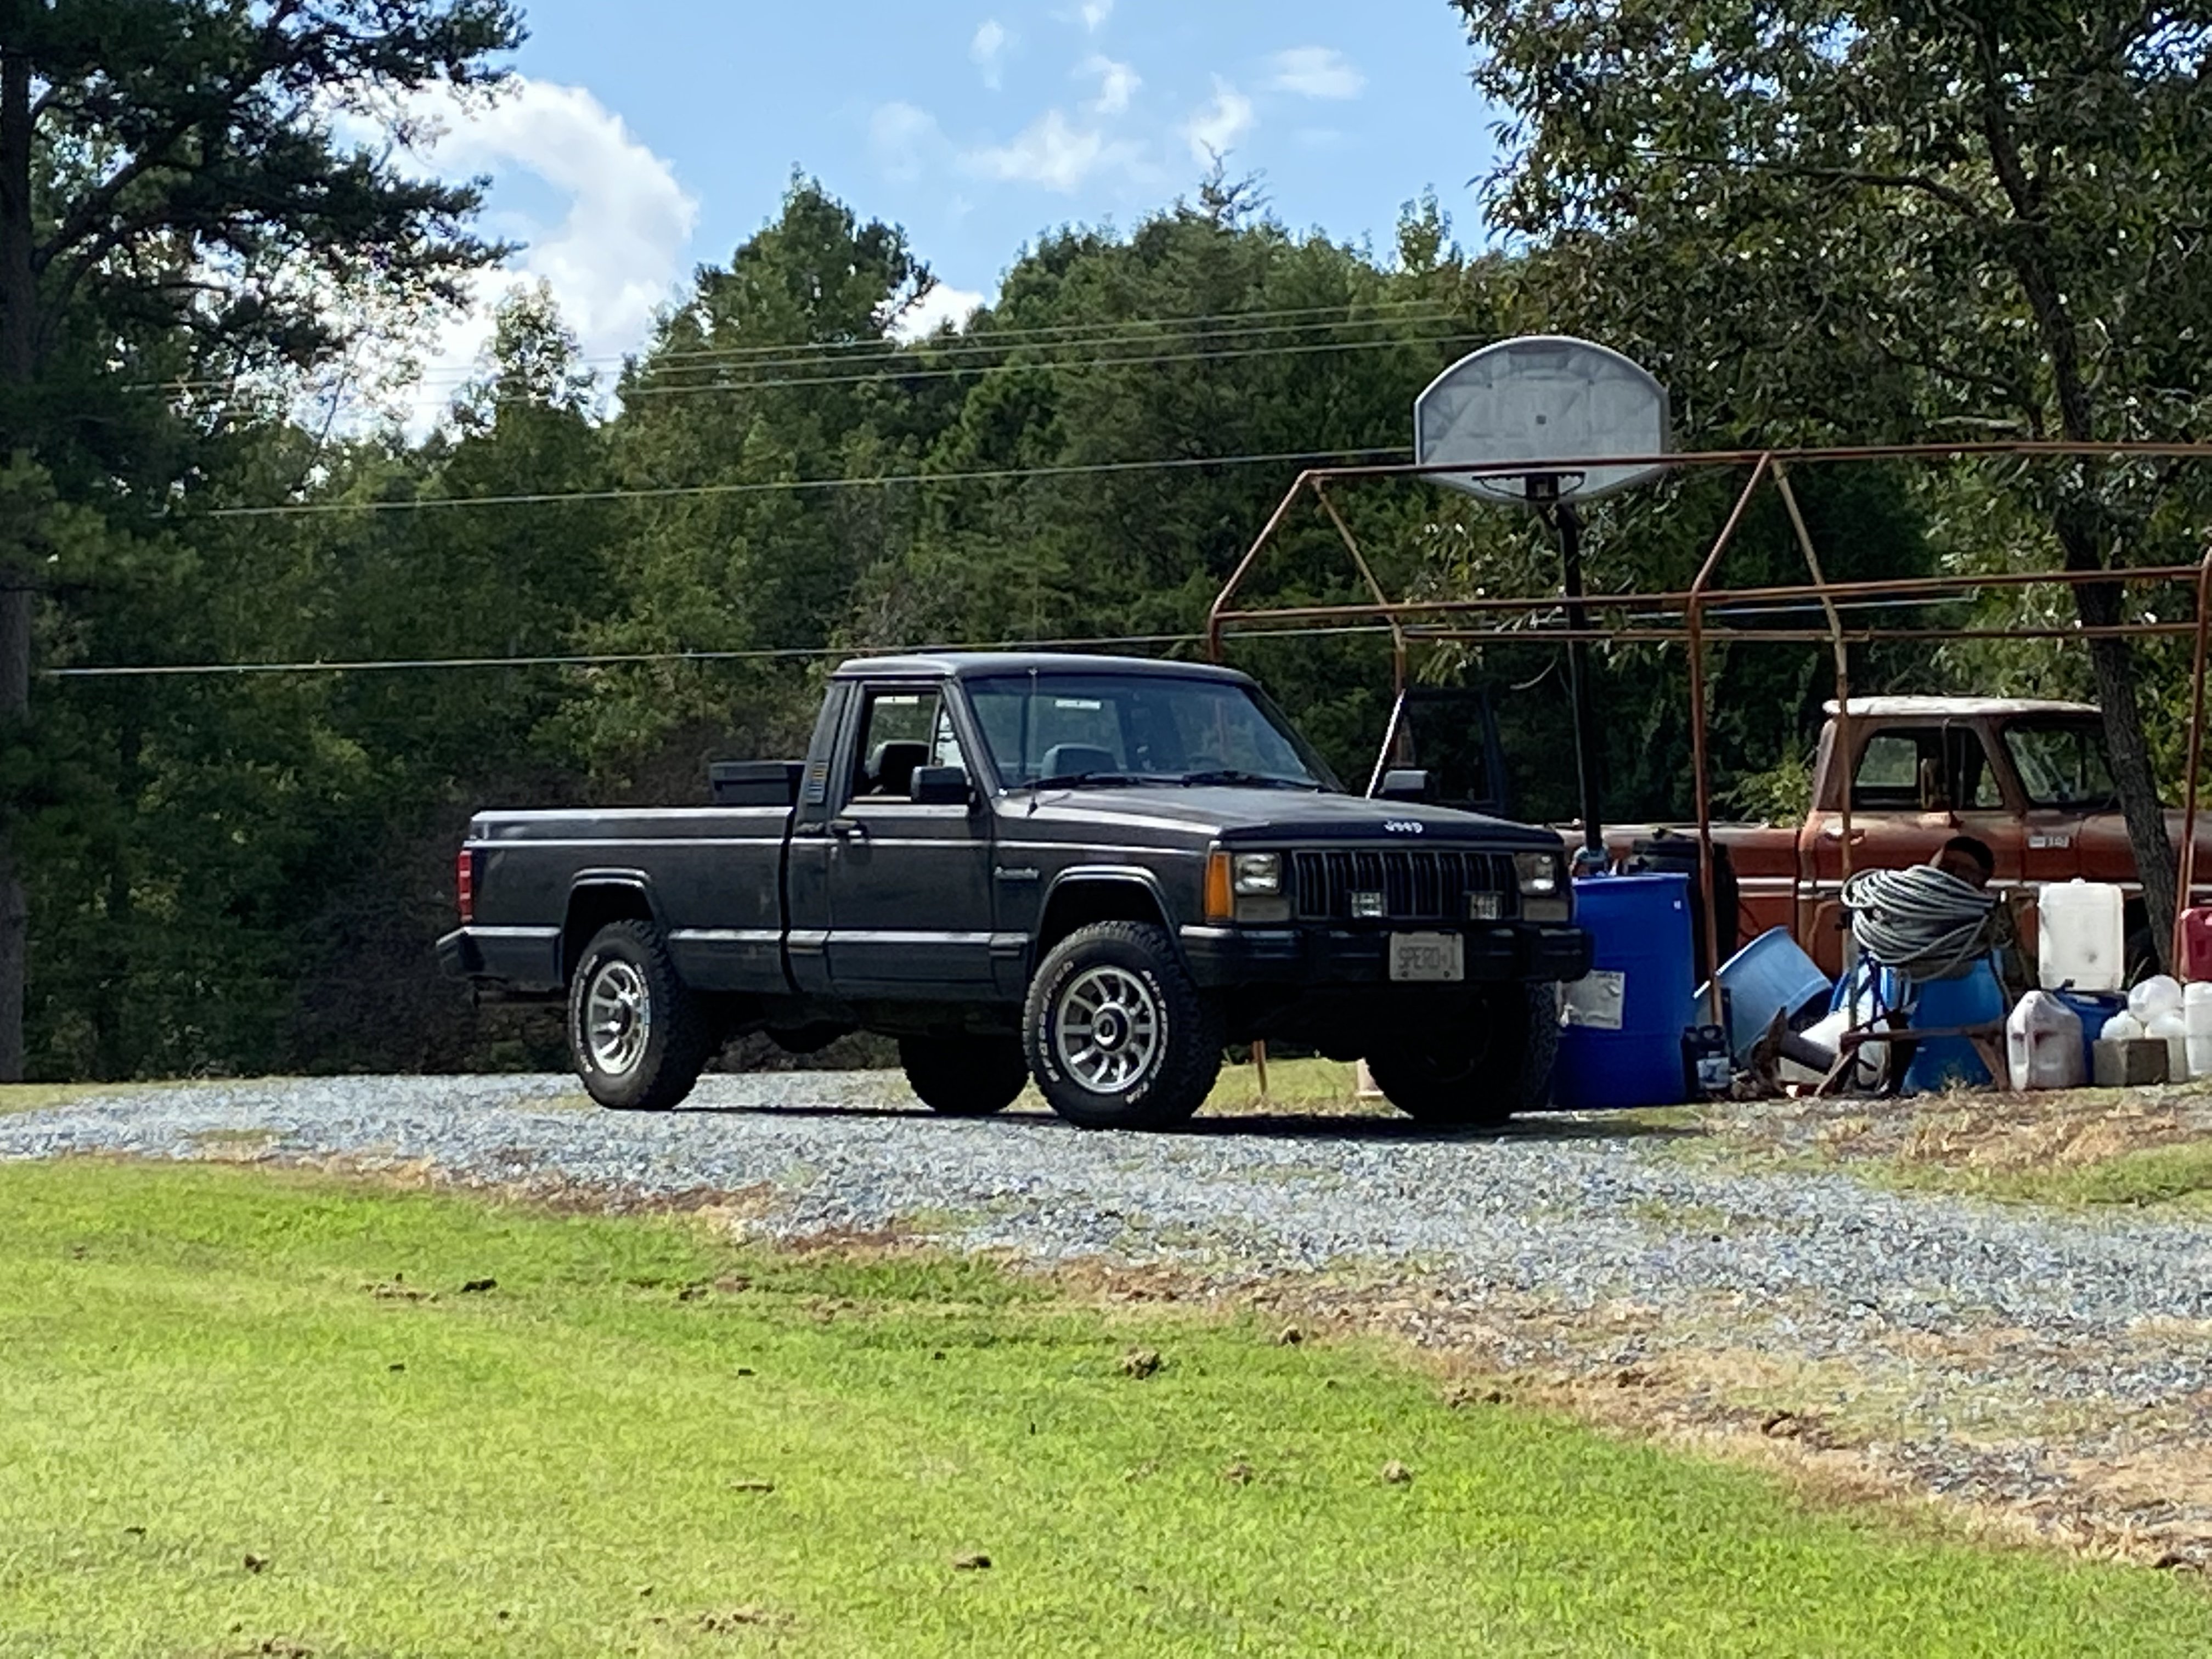
I cruise through Asheboro every 3 weeks when I'm back home to visit / help my parents with house work etc If you see a dark blue long bed rolling through its probably me haha.
-
Brake line parts source
oleskool replied to DetroitComanche's topic in MJ Tech: Modification and Repairs
The hard line on the axle? The rubber line running to the hardline on the axle or? -
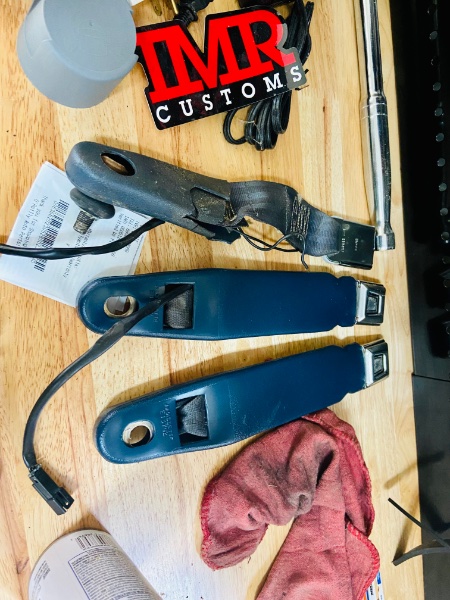
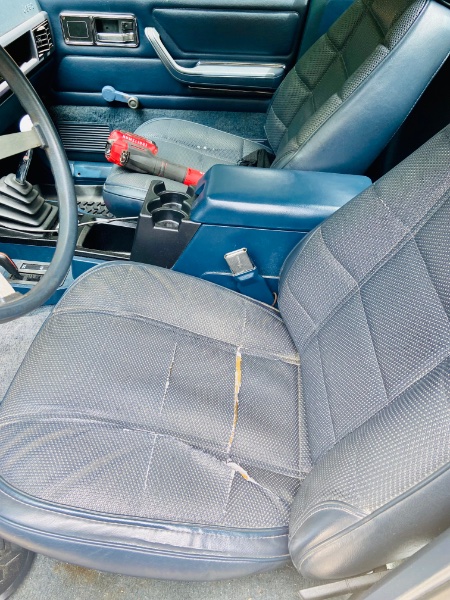
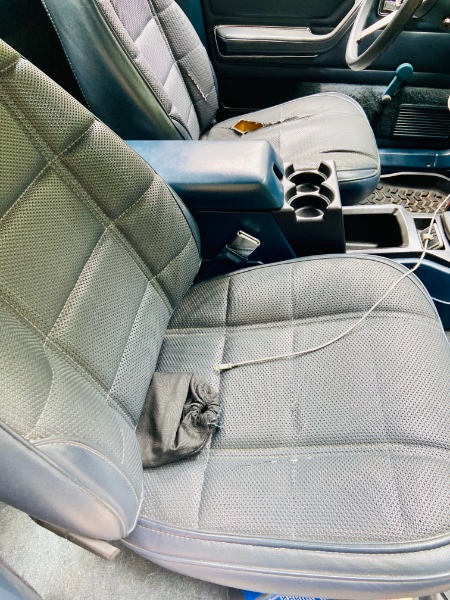
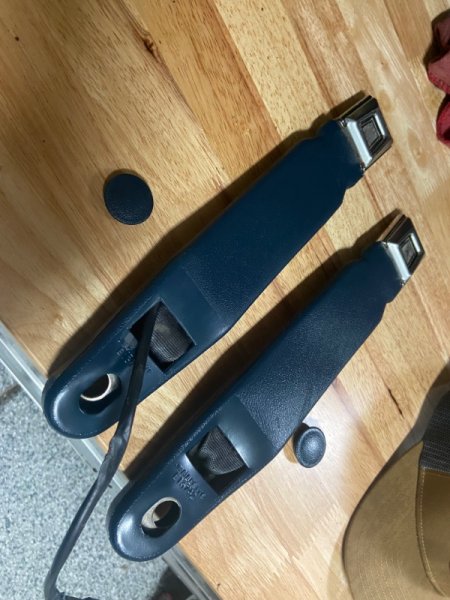
Finally got a minute to throw the new seat belts in. They finally stay in place 😂 a comparison of how crumbled the drivers side was compared to the donors.
-
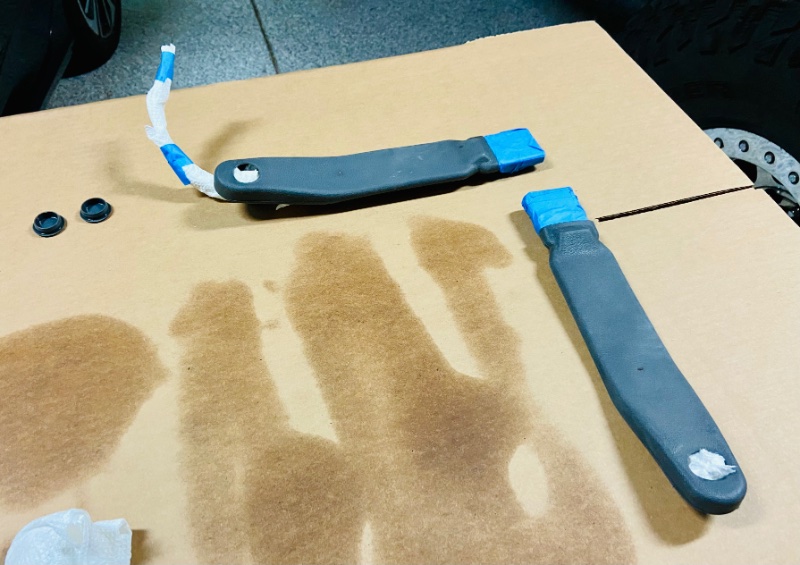
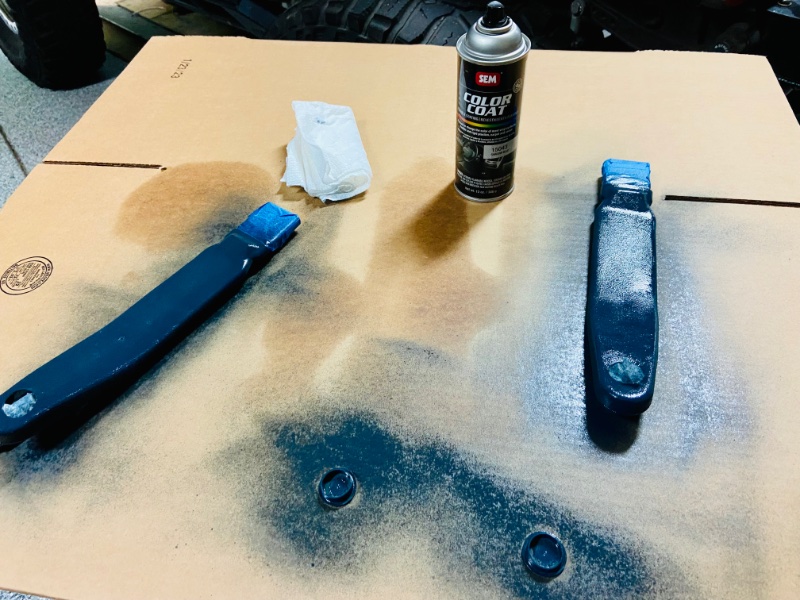
Also took some time to clean up and restore a set of seat belts for the truck. I need to polish the metal and they will be ready to go!!!
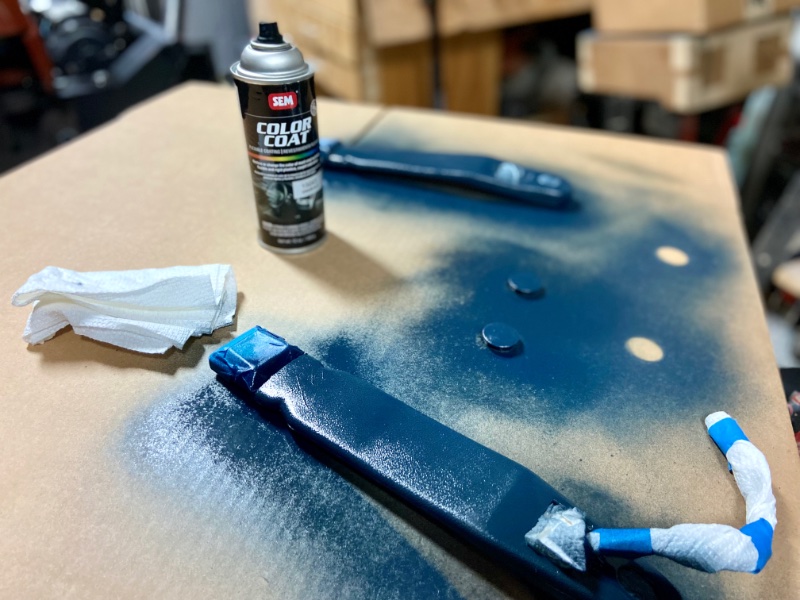
-
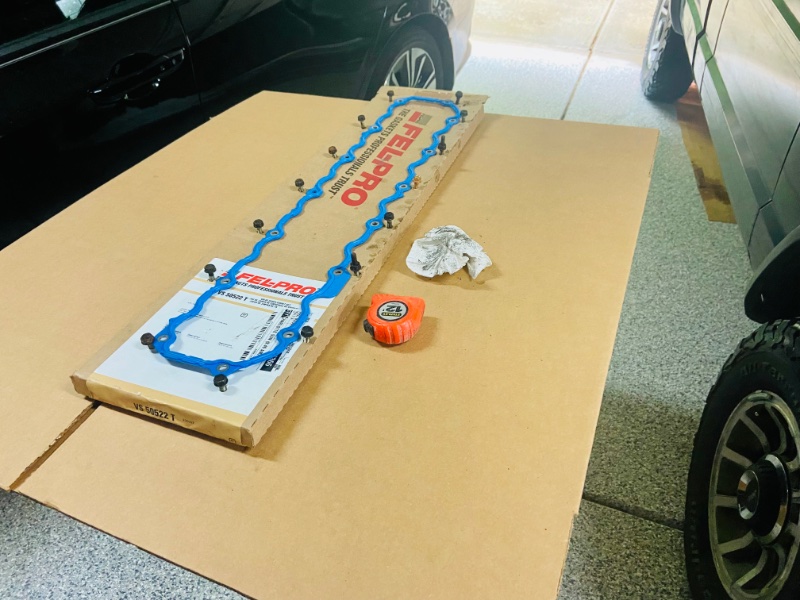
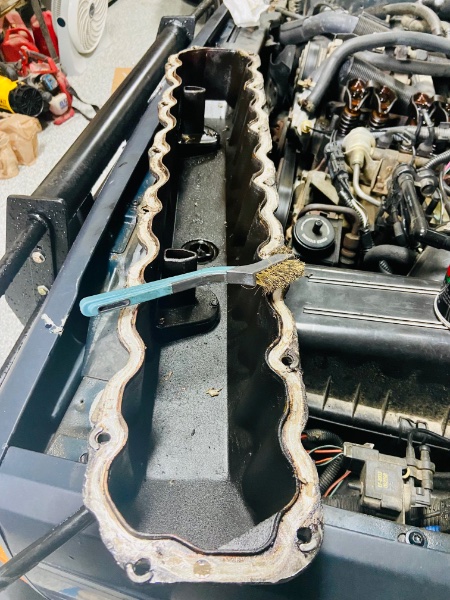
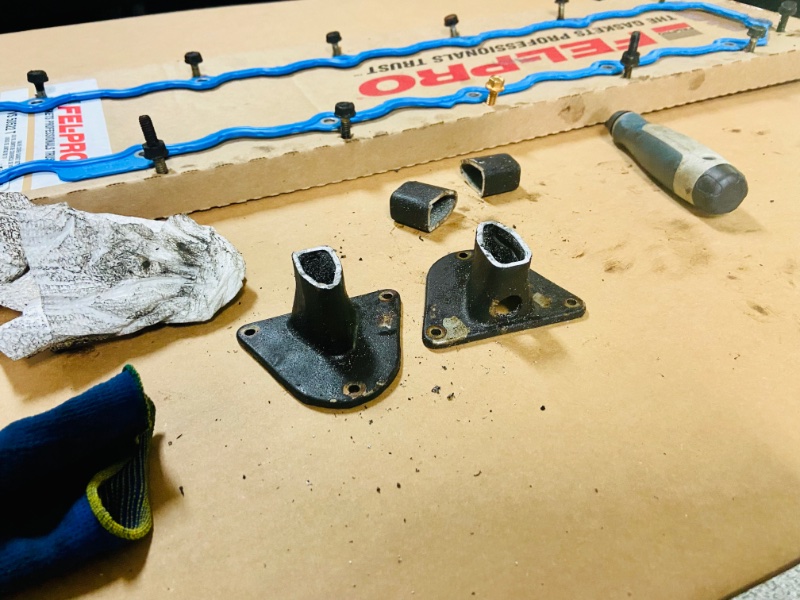
Well with the weather here on the east coast rainy and dreary I figured it was a good time to knock out the valve cover gasket. To my surprise the valve cover ports had the 1/2” hole drilled into them but they were not shortened. I went ahead and cleaned it up and took out the 1” of material before putting the cover back on. The PO used some nasty gasket former (not RTV) and left me a surprise broken bolt on the driver side 😡. After a little persuasion with the welder we were back in business 😂. New felpro rubber gasket and fingers crossed no leaks!!!
-
If that’s the case I can fill that section up. I’ve made a special tool for several areas on these trucks 😂. You should see the tool I made to make removing the clutch slave cylinder easier 😂
-
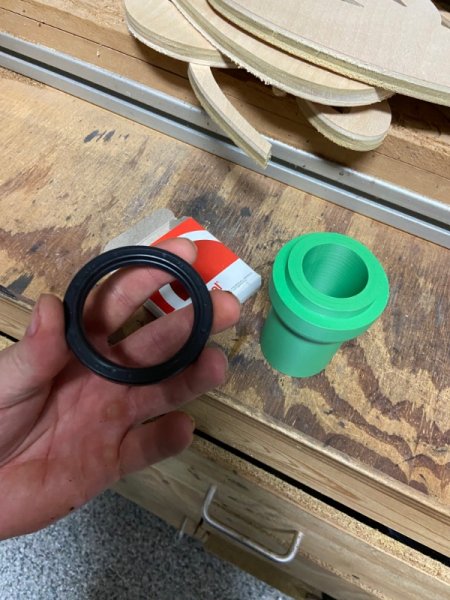
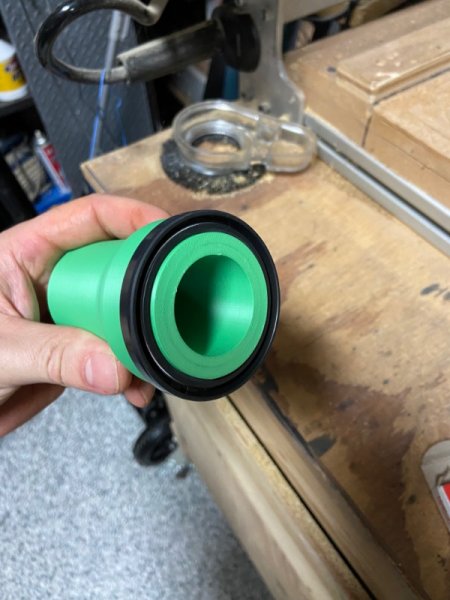
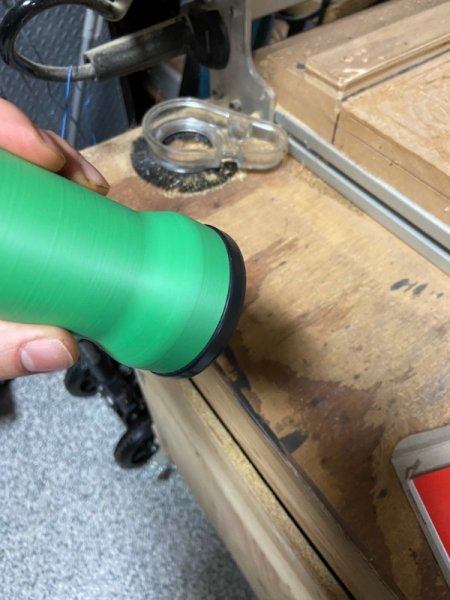
Well I’ve had a hell of a time getting the AX15 rear seal pressed in square and it keeps causing a very small weep of Redline MT Fluid. That stuff is to expensive to lose it going down the highway so I printed a seal insertion tool 😉 let’s see if this thing keeps the seal square during assembly 😂. It holds the seal center and it pilots off the 23 spline output shaft so it can’t shift side to side or at an angle. 🤞