billyblankss
-
Posts
154 -
Joined
-
Last visited
-
Days Won
1
Content Type
Profiles
Forums
Gallery
Everything posted by billyblankss
-
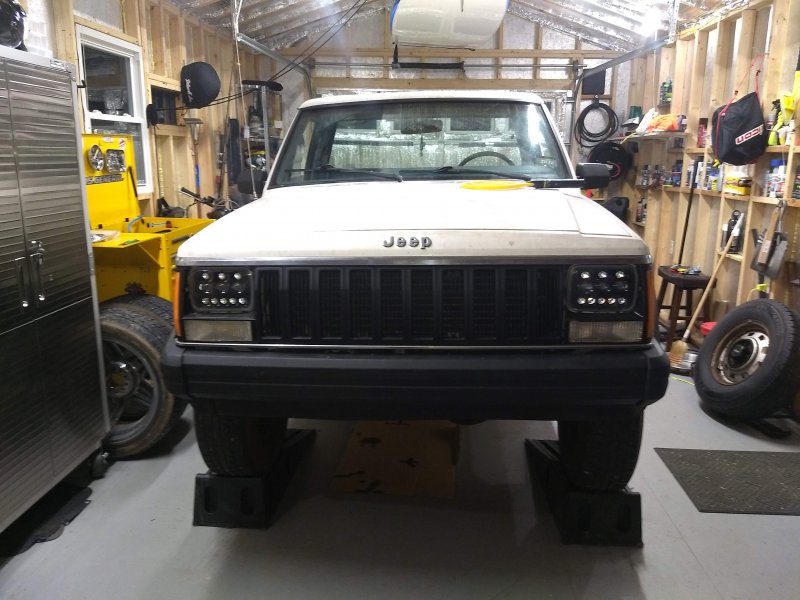
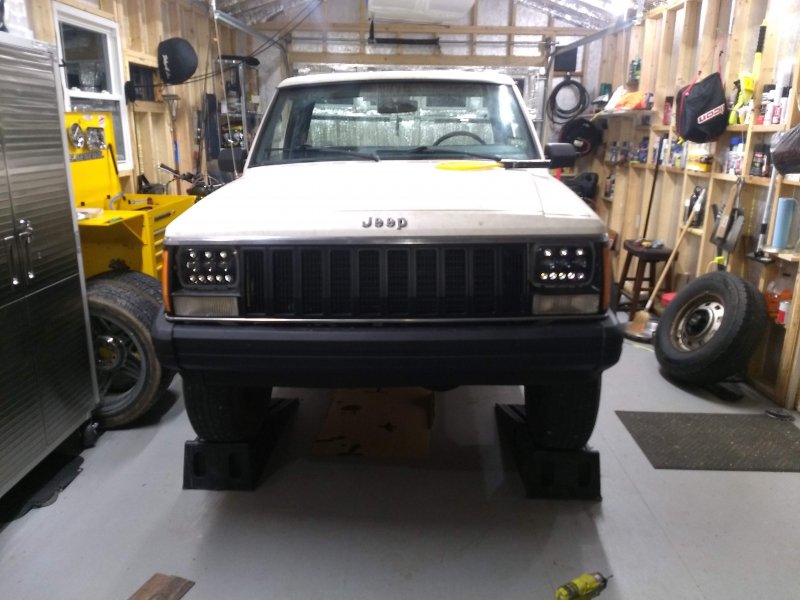
Damn so i saw on another thread - i didn't even realize but my grill was upside down of course... Before: after Also, I managed to extend the brake line. Not sure how tight but i got it as wrench tight as i could. I thought about putting anti seize on it but i figured that was not gonna work.
-
Got it, thanks man. Does the vent line just stay like that or was it supposed to be plugged somewhere? I'll look at the manual i have. This rocky road lift kit said they shipped me the following: - RRO MJ Parking Brake Ext Tube - RRO MJ Parking Brake Bracket - RRO MJ Proportion Valve Riser - Brake line Extension, YJ rear, CJ Now i just have to figure out which parts are which in that picture haha
-
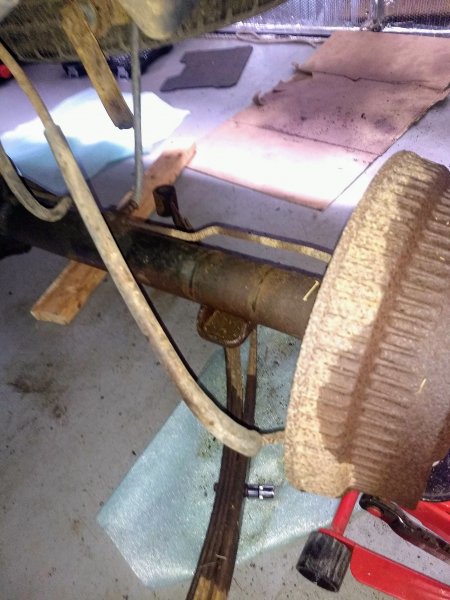
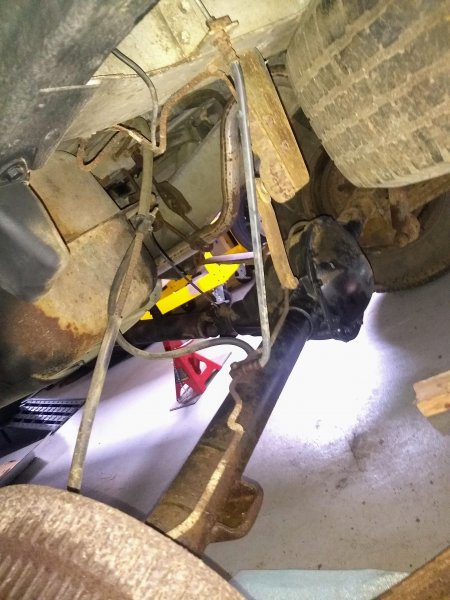
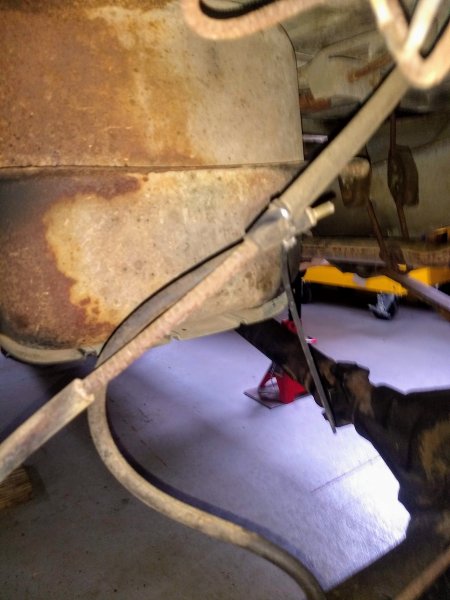
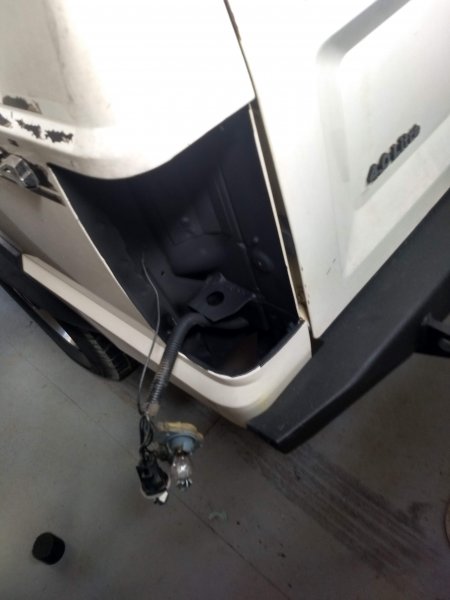
Here's what I see Sorry for potato quality... looks like in this picture there's the line coming down but also the line coming from the axle there... also just noticed it looks like a vacuum hose has been zip tied but isn't in use... sorry for nooob posting but i'm still getting acclimated while putting this lift in ha
-
Great point - thanks for this infographic. I'm not sure why but the instructions mention it as a step. I'm thinking maybe they mean remove it from the wheel/rotor? Is that even possible? I don't know why.
-
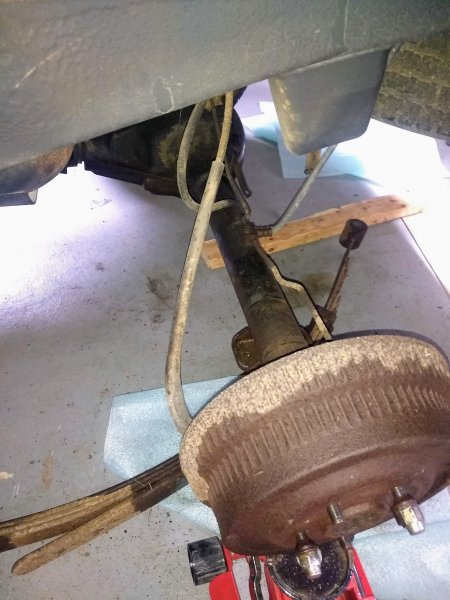
Hey I noticed that the proportioning valve arm thing is totally disconnected, you know just there loose. You think it's a sign this thing might be corroded or should i go ahead and connect and go through with it? You don't happen to know how to disconnect the parking brake do you? Man you are a wealth of knowledge, i appreciate it!
-
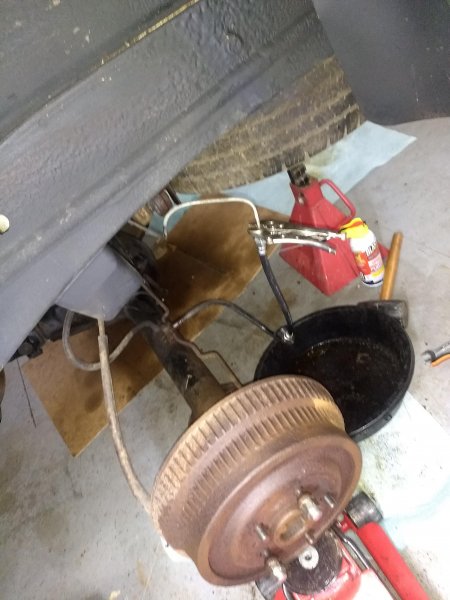
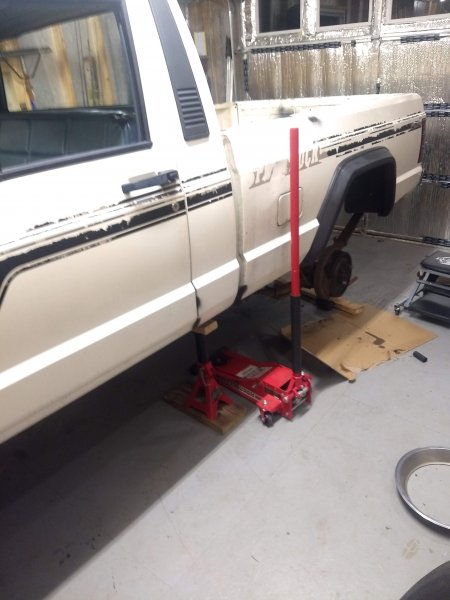
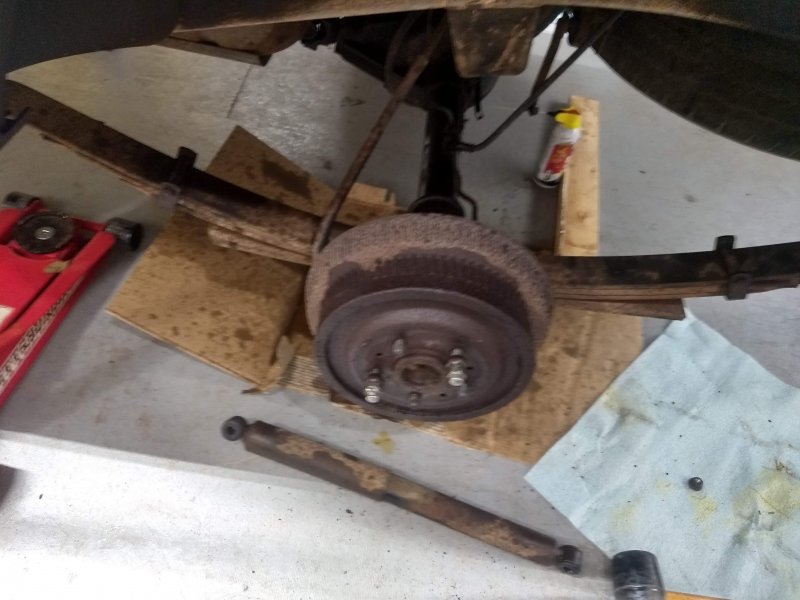
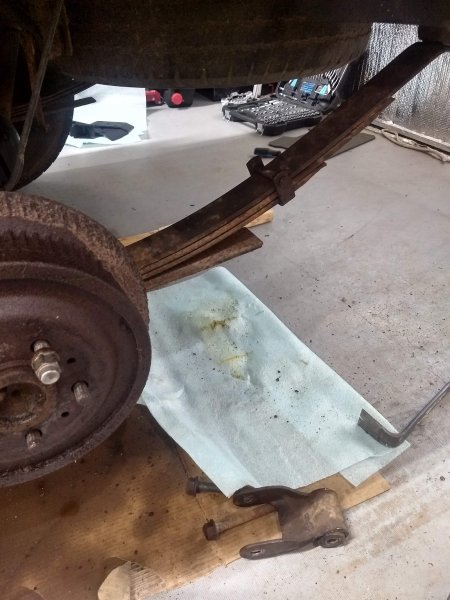
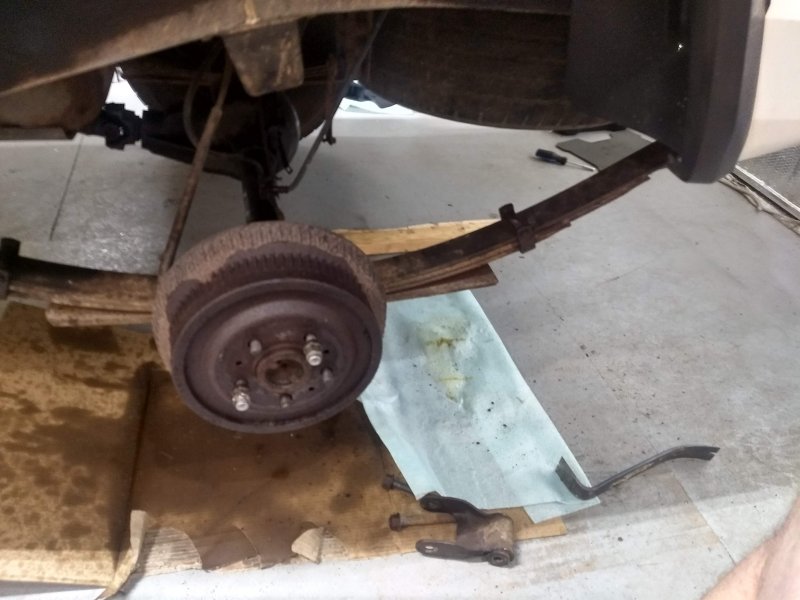
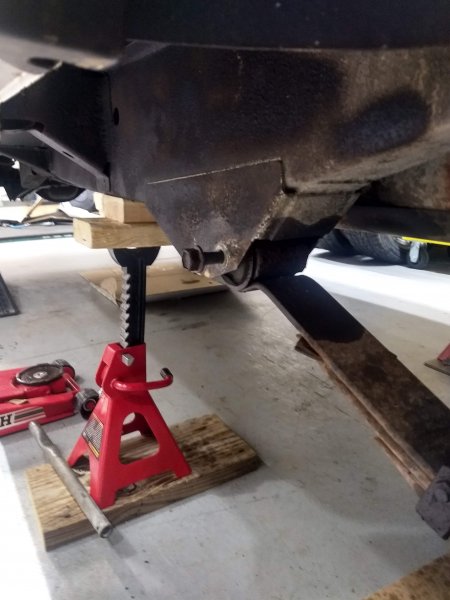
Here we go. It was hell even getting the wheel off, it had seized and rusted to the rotor. Over the past month I've been intermittently spraying pb blaster or liquid wrench on anything i thought may need to come loose for this job. Got the shock off... Got the rear shackle off, Bout to drop the leaf springs: I've been really pleased with how simple it's been to remove bolts so far... Ok now i have the leaf spring off and removed the u bolts. Now, reading the directions I need to: "Disconnect the parking brake." - gonna go youtube this... embarassing... next instructions are: "Extend your rear brake line. If you do not have experience with this or are unsure, enlist the help of some who knows how to bleed a braking system. Clamp the top of the stock brake line with some vice-grips to minimize fluid leakage. Undo the bottom of the brake line from the axle. Mount the new brake line extension to the end of the old one. As quickly as possible, mount the extended brake line to the axle to minimize fluid leakage. Please see a service manual for proper bleeding of the brake system. Do not drive the vehicle without properly bleeding the brakes." I will try to take pictures as i go.
-
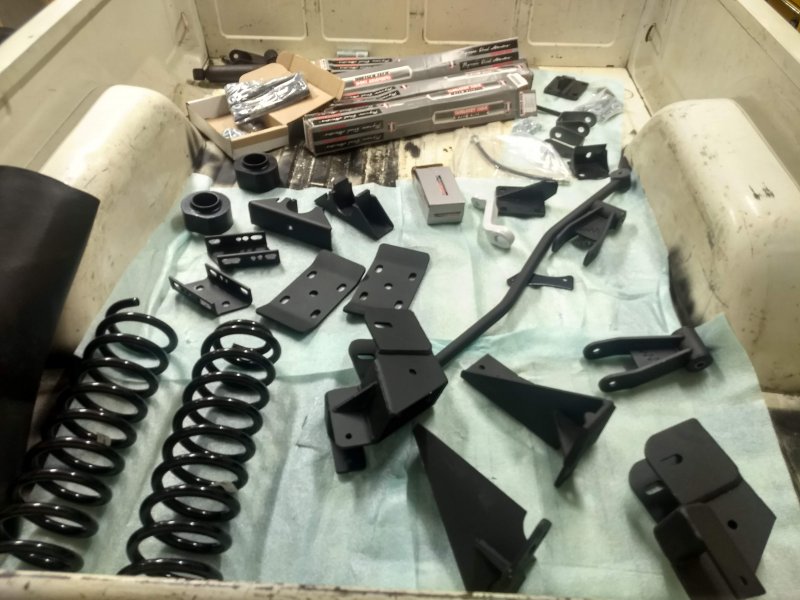
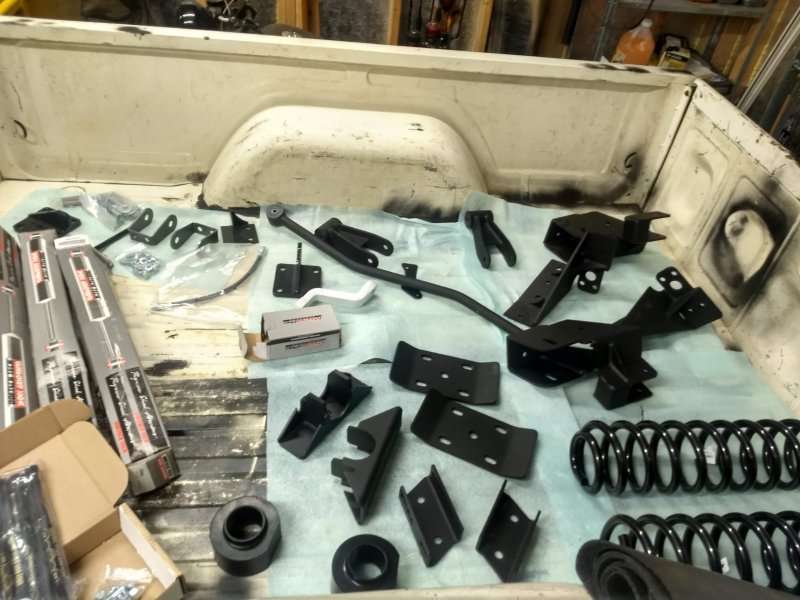
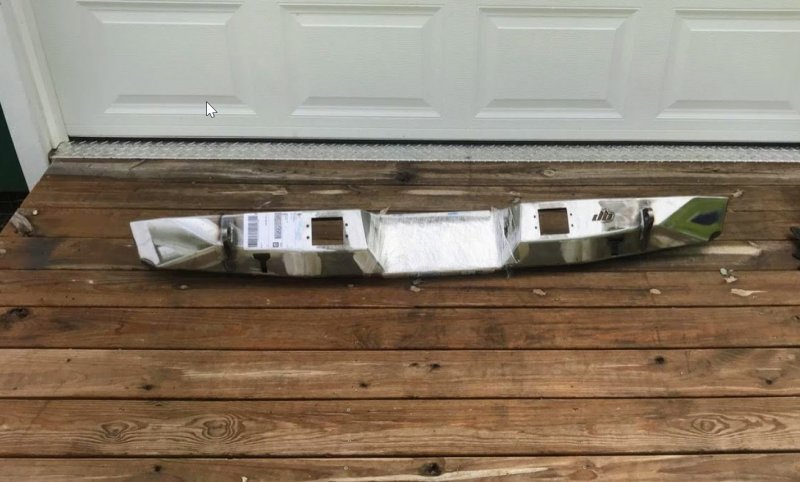
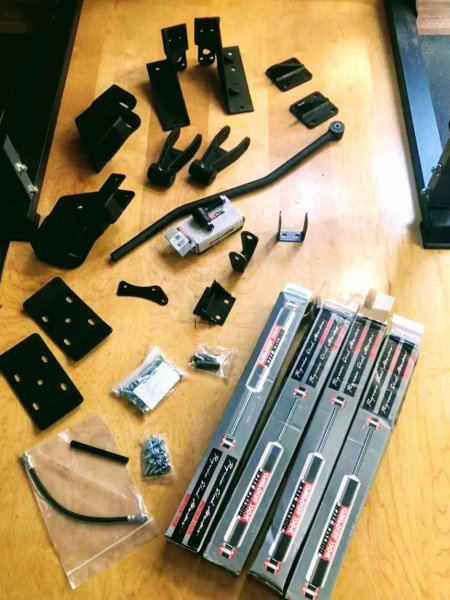
Starting the 6" Rocky Road Outfitters Lift.... Kind of intimidated because instructions don't include many pictures and there's a lot of assumed information that i'll just figure out... things like "Disconnect the emergency brake cable" which i'm going to figure out as i go. Here's the parts all laid out: I wish i knew what all the individual brackets were: specifically i'm trying to figure out what the brackets at the bottom of the picture above me are...
-
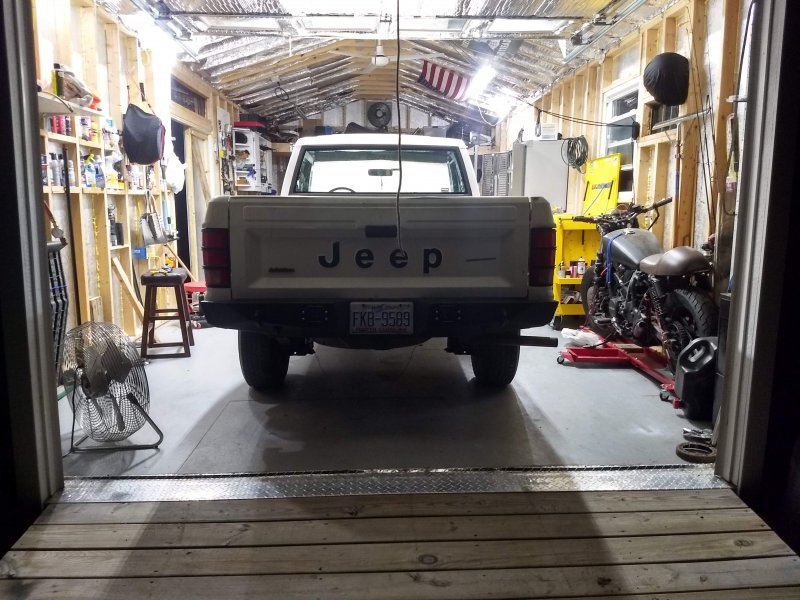
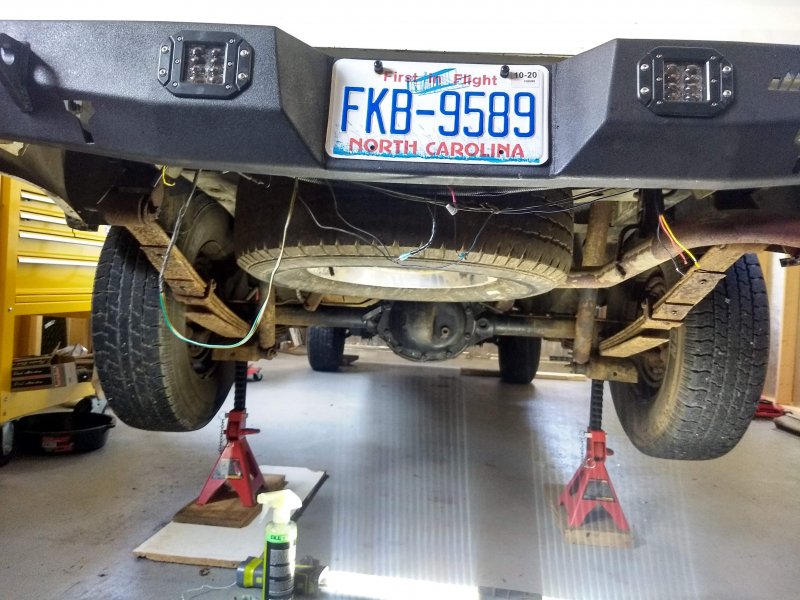
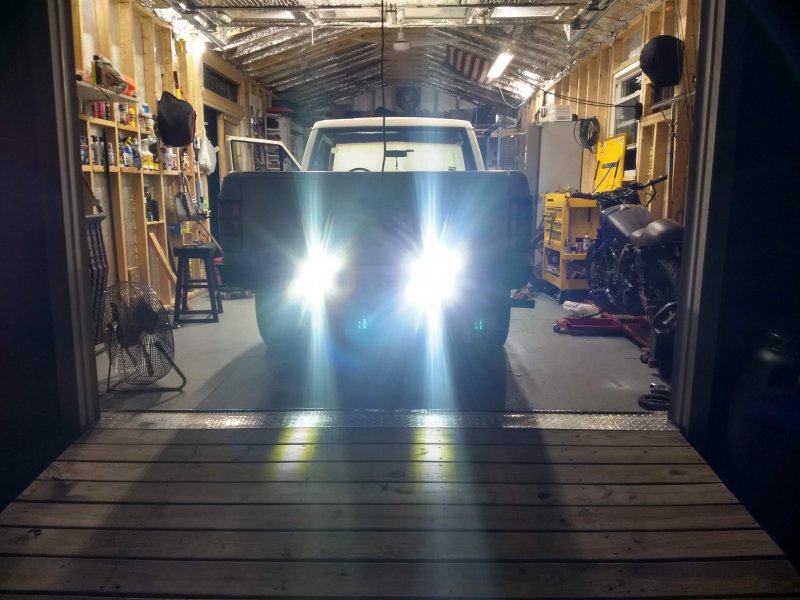
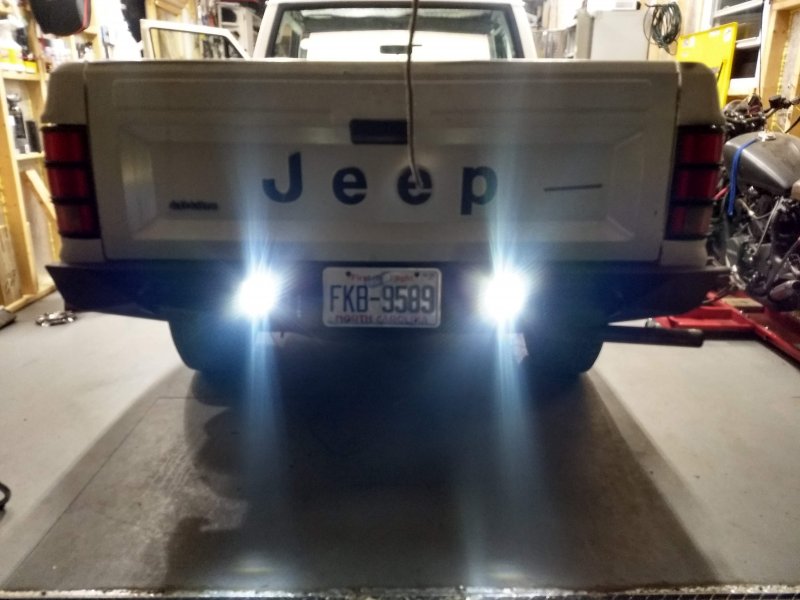
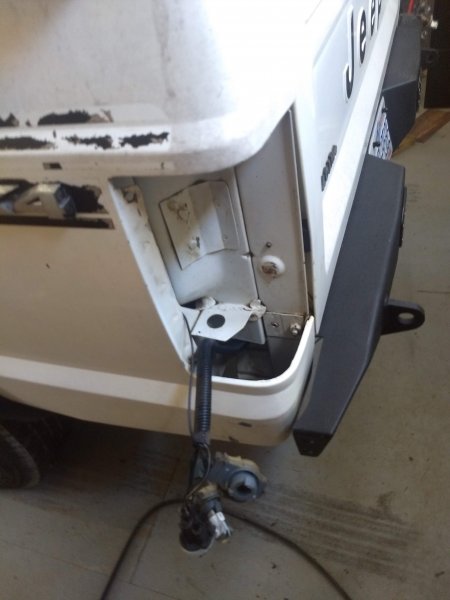
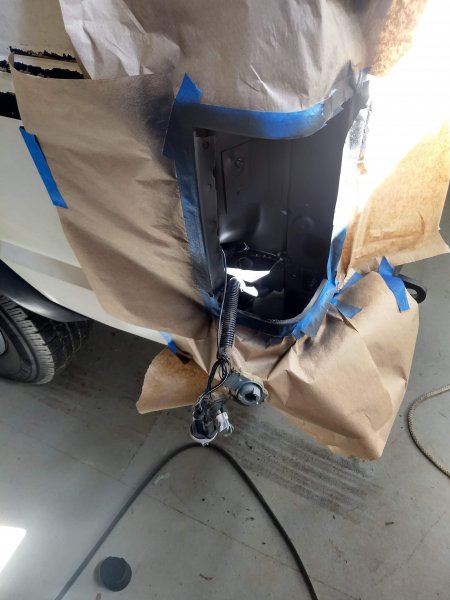
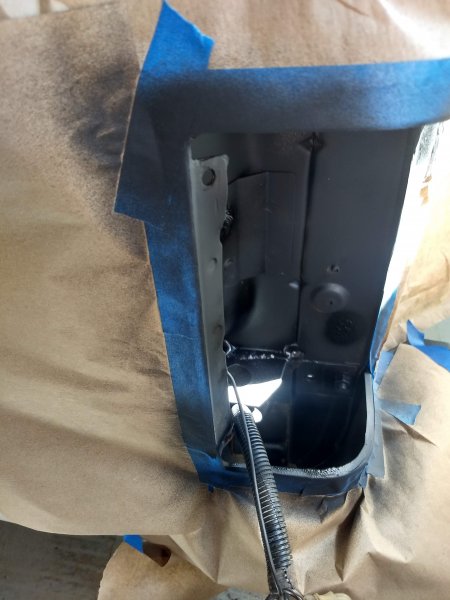
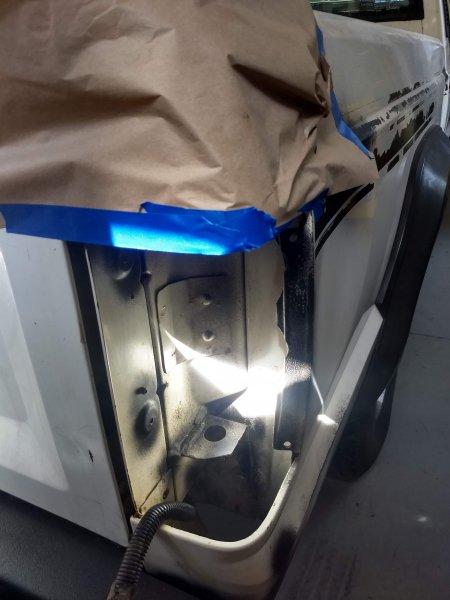
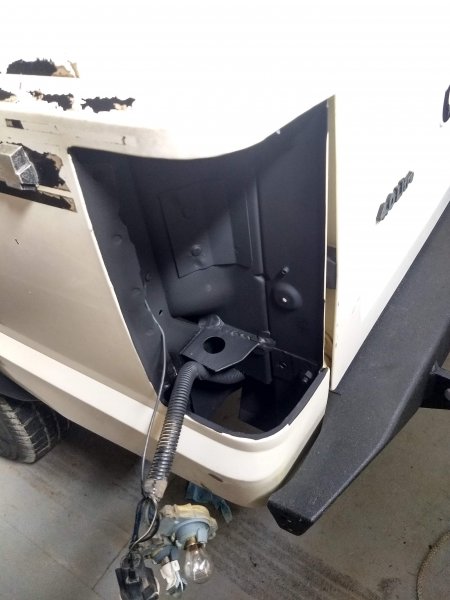
I don't know if i should be posting updates on my own truck here or in the projects section. If a mod sees this, let me know if i should be posting these somewhere else... I wired up some reverse light pods in the bumper finally. This is just a picture of them, the wiring below is what was there when pulled open the conduit and took out the wiring for a trailer connection from the previous owner. Right now they are on a relay switch in the cab on the panel by the steering wheel. I'm trying to figure out if i can wire them in a way that i can both switch them on or they will come on automatically based on the transmission switch but for now, they work. They also have a flashing lights module that I can wire to the brake light / switch.
-
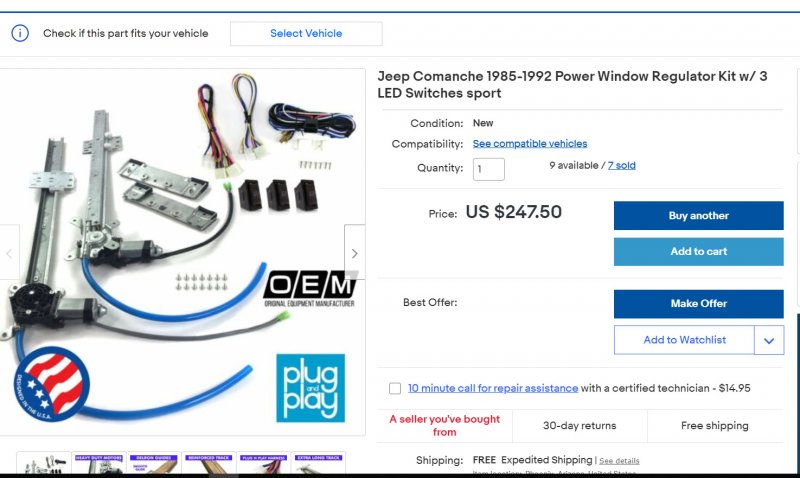
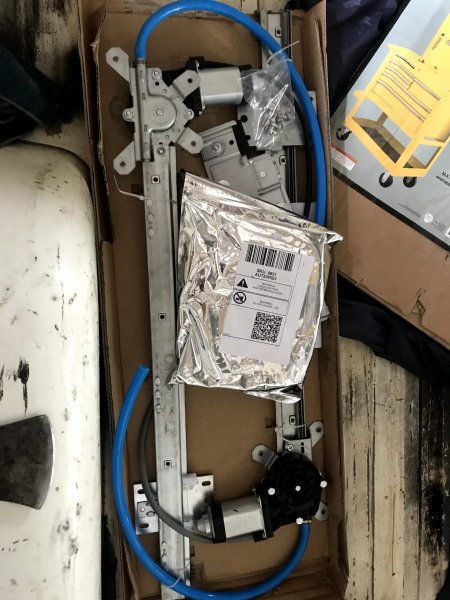
Unfortunately - a window regulator on the drivers side was rusted clean through so I could not roll down my window. My truck came with manual window cranks. But when I was looking online the replacement parts for a manul crank was more expensive than buying an electric motor. So i went through the daunting task of upgrading both windows to electric. I did not take a lot of pictures, I am disappointed i forgot. That said, i did make the mistake of buying an "aftermarket electric window kit" that said it was specific to my vehicle. This is the kit i bought. I'm embarrassed i paid this much but thought it would work based on the components it had: Here's what the parts look like shipped: It was useful because the wiring and switches were easy to install and i was able to use those... but the worm drive and track.... the motor was nowhere near powerful enough to consistently and smoothly move the heavy glass window through the track. What's worse, there was no good way to mount it inside the door to be perfectly straight... The original worm drive track for our jeep's windows is curved and has specific mounting locations. This track needed to be aligned perfectly straight for it to go up and down and I could not get the placement right. I had just changed all the weather seals on my doors so they were brand new and had a reasonable amount of friction. Once i went back to ebay and bought two salvage window regulators, one for each door, from a cherokee, the motors were wayyyy more powerful and easily moved the window along the track. Posting only as a warning - i thought it would be safer to buy a newly manufactured product but it was not adequate and the salvage power window motors were way more powerful.
-
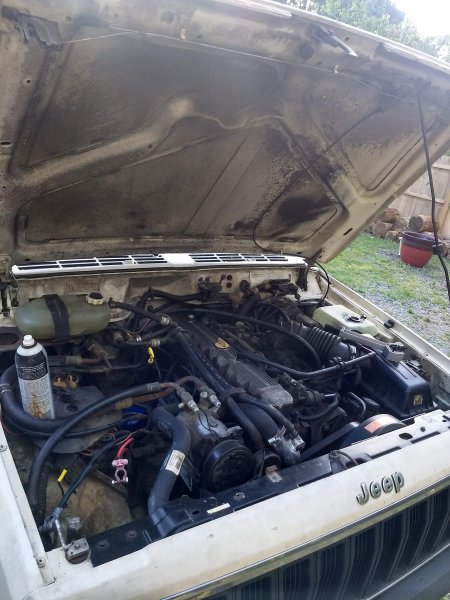
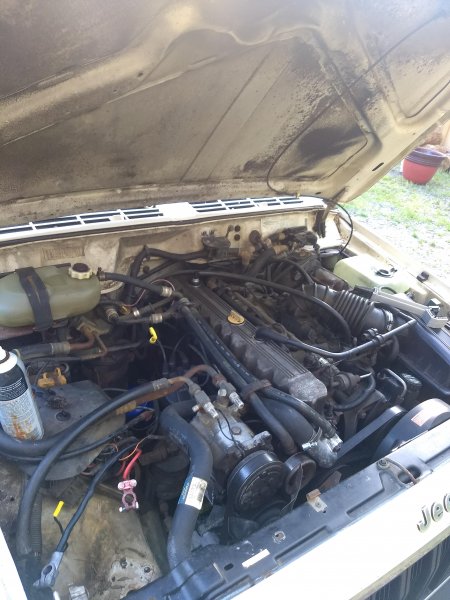
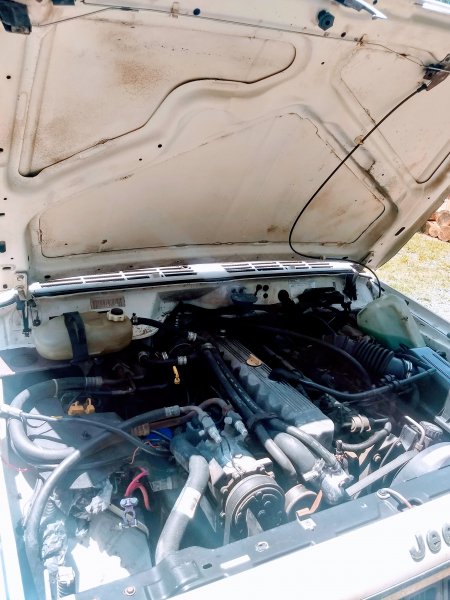
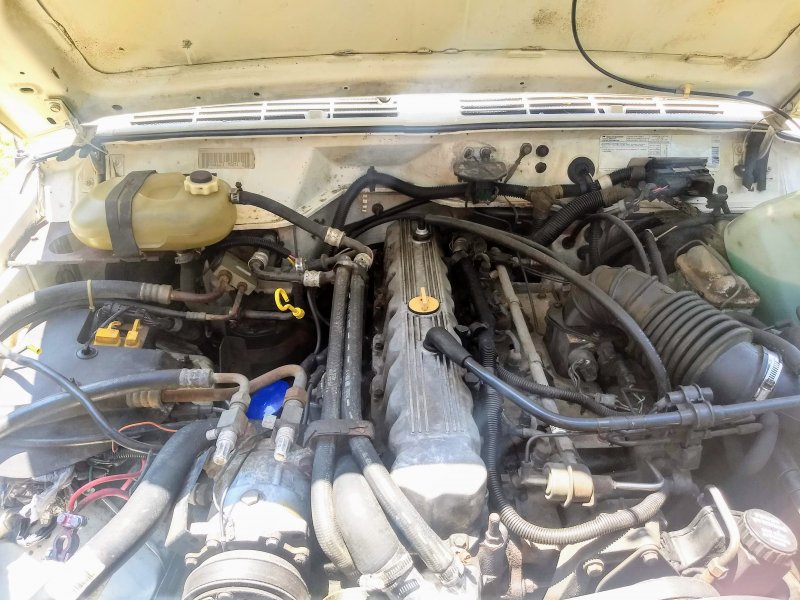
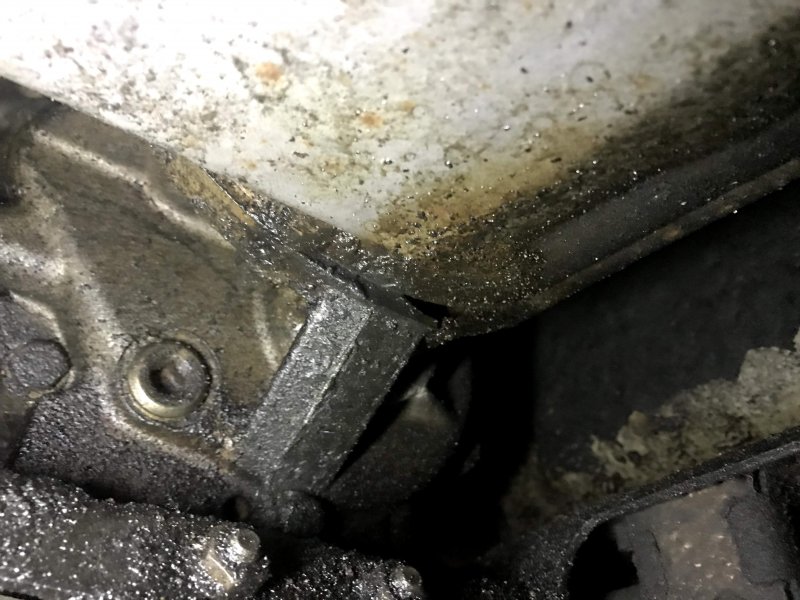
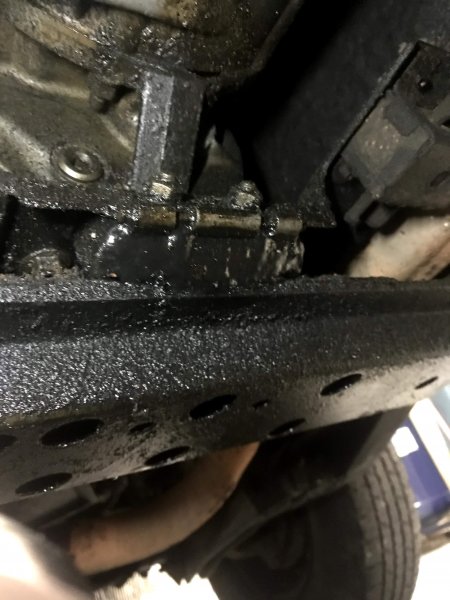
Also killing time - i spent a couple days cleaning inside the engine bay. There was clearly a nasty oil spill going on, probably from the valve cover as someone had mentioned on one of my prior threads. I ordered a new fel-pro rubber gasket that i will put in soon. Thought i'd show you can really clean up your engine bay and it's ok to use water... I mean you can see it's pretty gross in there and the hood has just a horribly stuck on carbon film. I'm not sure if it's worse than anyone else's but i wanted to make sure i got stuff in there cleaned up to diagnose any future leaks. I only realize now how bad the pictures are i took... my bad. But i basically used a mixture of dish soap and water and an electric pressure washer (the battery powered kid, nothing too crazy) and went through with a brush on anything that was stuck on. also sprayed some rust converter spray on any spots with rust that i found. I actually let the whole thing dry out for a day before I fired it back up. No electrical issues. At first i covered the valve cover and some of the electrical areas with a garbage back to keep water from soaking. But then i saw another youtube video that showed a pro detailer going through an old truck like mine with the pressure washer and said it was ok (even though the commenters were going to light him up for getting the engine wet). My only point in posting this is it wasn't difficult, i didn't run into any problems, it looks better and will allow me to better diagnose if there are issues down the road. I also got started on cruiser's tips for refreshing grounds. I did that for the main ground that connected to the dipstick attachment to the engine. it was pretty gross - i don't notice any amazing difference in how it idles or anything but you know it can only be a good thing to clean up your grounds.

-
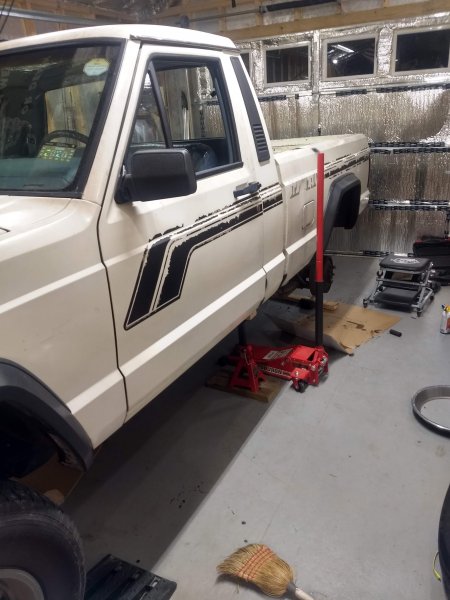
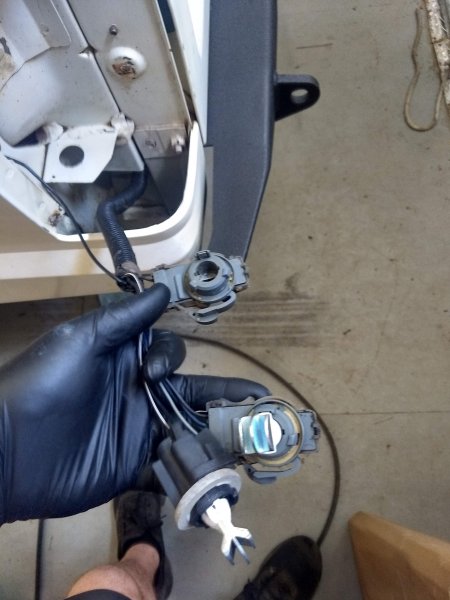
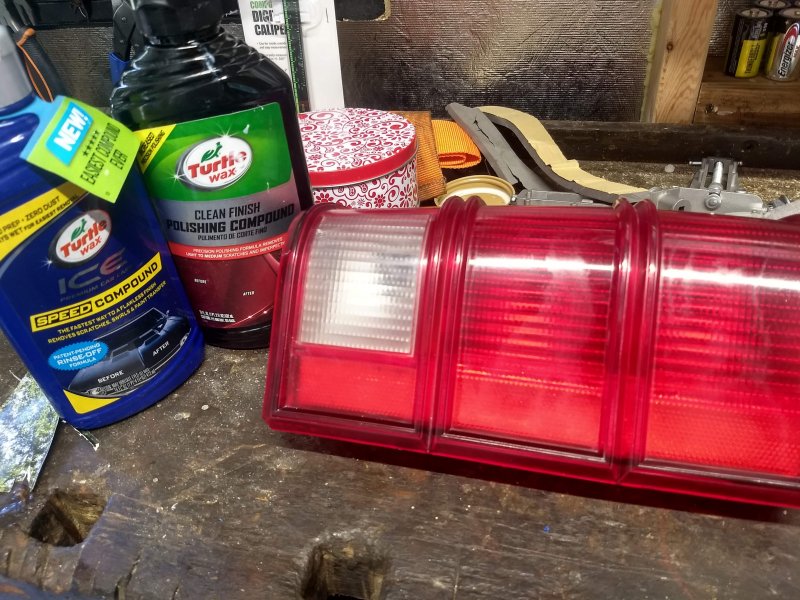
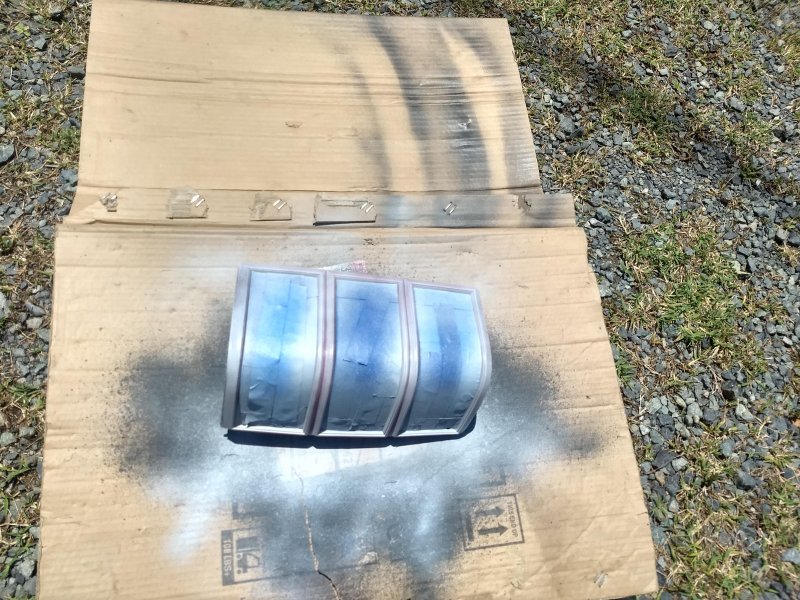
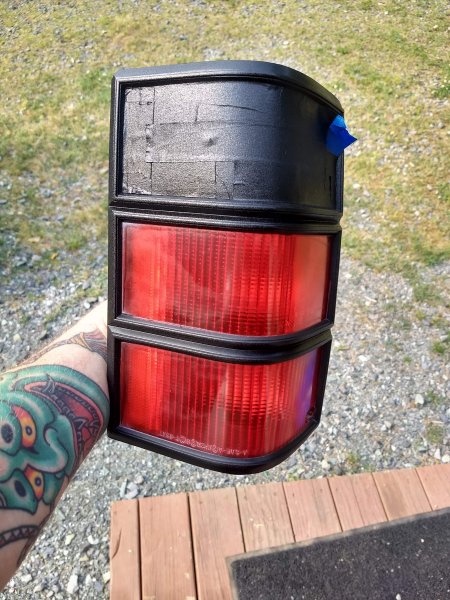
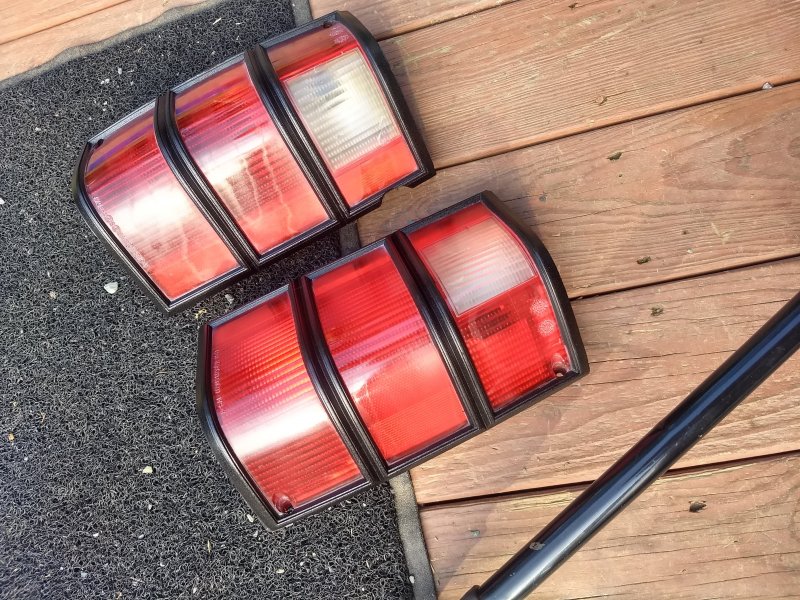
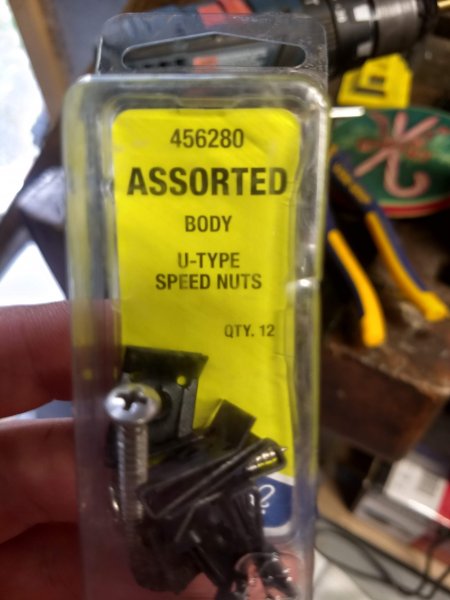
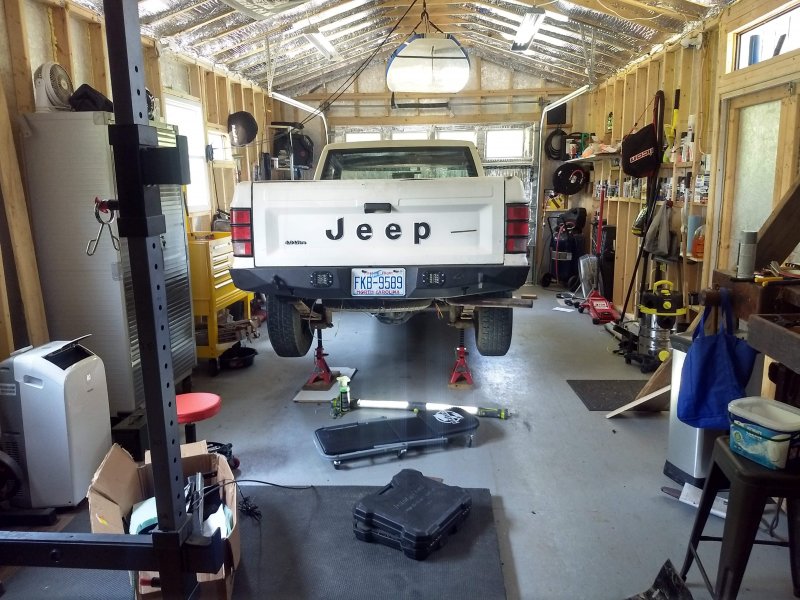
I've been working on a number of different projects while waiting to get started on the lift from rough country. I decided to kill some time doing the taillight mod cleanup everyone does: Cleaned out the taillight holes. Also cleaned the actual sockets: made sure to use the chassis coating to prevent future rust: Had to use the angle grinder to cut a couple of the screws and u nuts holding them in - but found some replacements at autozone: Then i started the work polishing the taillights, using both rubbing compound and polish: It worked well but these headlights still have some problem sections.... taped them and shot them with the universal primer since i had just polished the plastic. May have been unnecessary but who cares it was easy to do: I hit them with the Rustoleum satin black and then a top layer of the rustoleum premium truck bed coating. It may be weird but i like the shine and texture. You can see they look way better but there're still some sections that could use more but i'll try to go back and spiff them up later. Here they are while i'm lifting it up to get to wiring those pod lights. In my next post.
-
Nope - good idea. I just checked out their website.
-
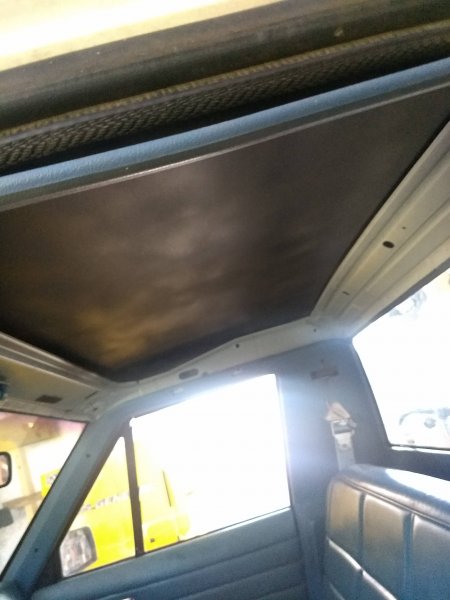
I think you're right but i'm not sure where to go from here. I checked out SMS headliners and it doesn't look like they carry that any more. I'm going to need to do more research :-/
-
Tail Light Install
billyblankss replied to Ls2xjcomanche's topic in MJ Tech: Modification and Repairs
Nice work and great looking jeep. I also worked on my taillights yesterday and picked up some of those snap nuts or u nuts from auto zone because I had to use an angle grinder to get the rusted screws out. Cool bumper BTW. I noticed you have pods in there, I'm in the middle of wiring some up myself. How did you wire them? I first connected mine to the reverse wire but then realized that wasn't going to be enough power or something because they did not want to work. Thinking I might run a lead directly from the battery but try to get the connection to the reverse light connected to it in the back. -
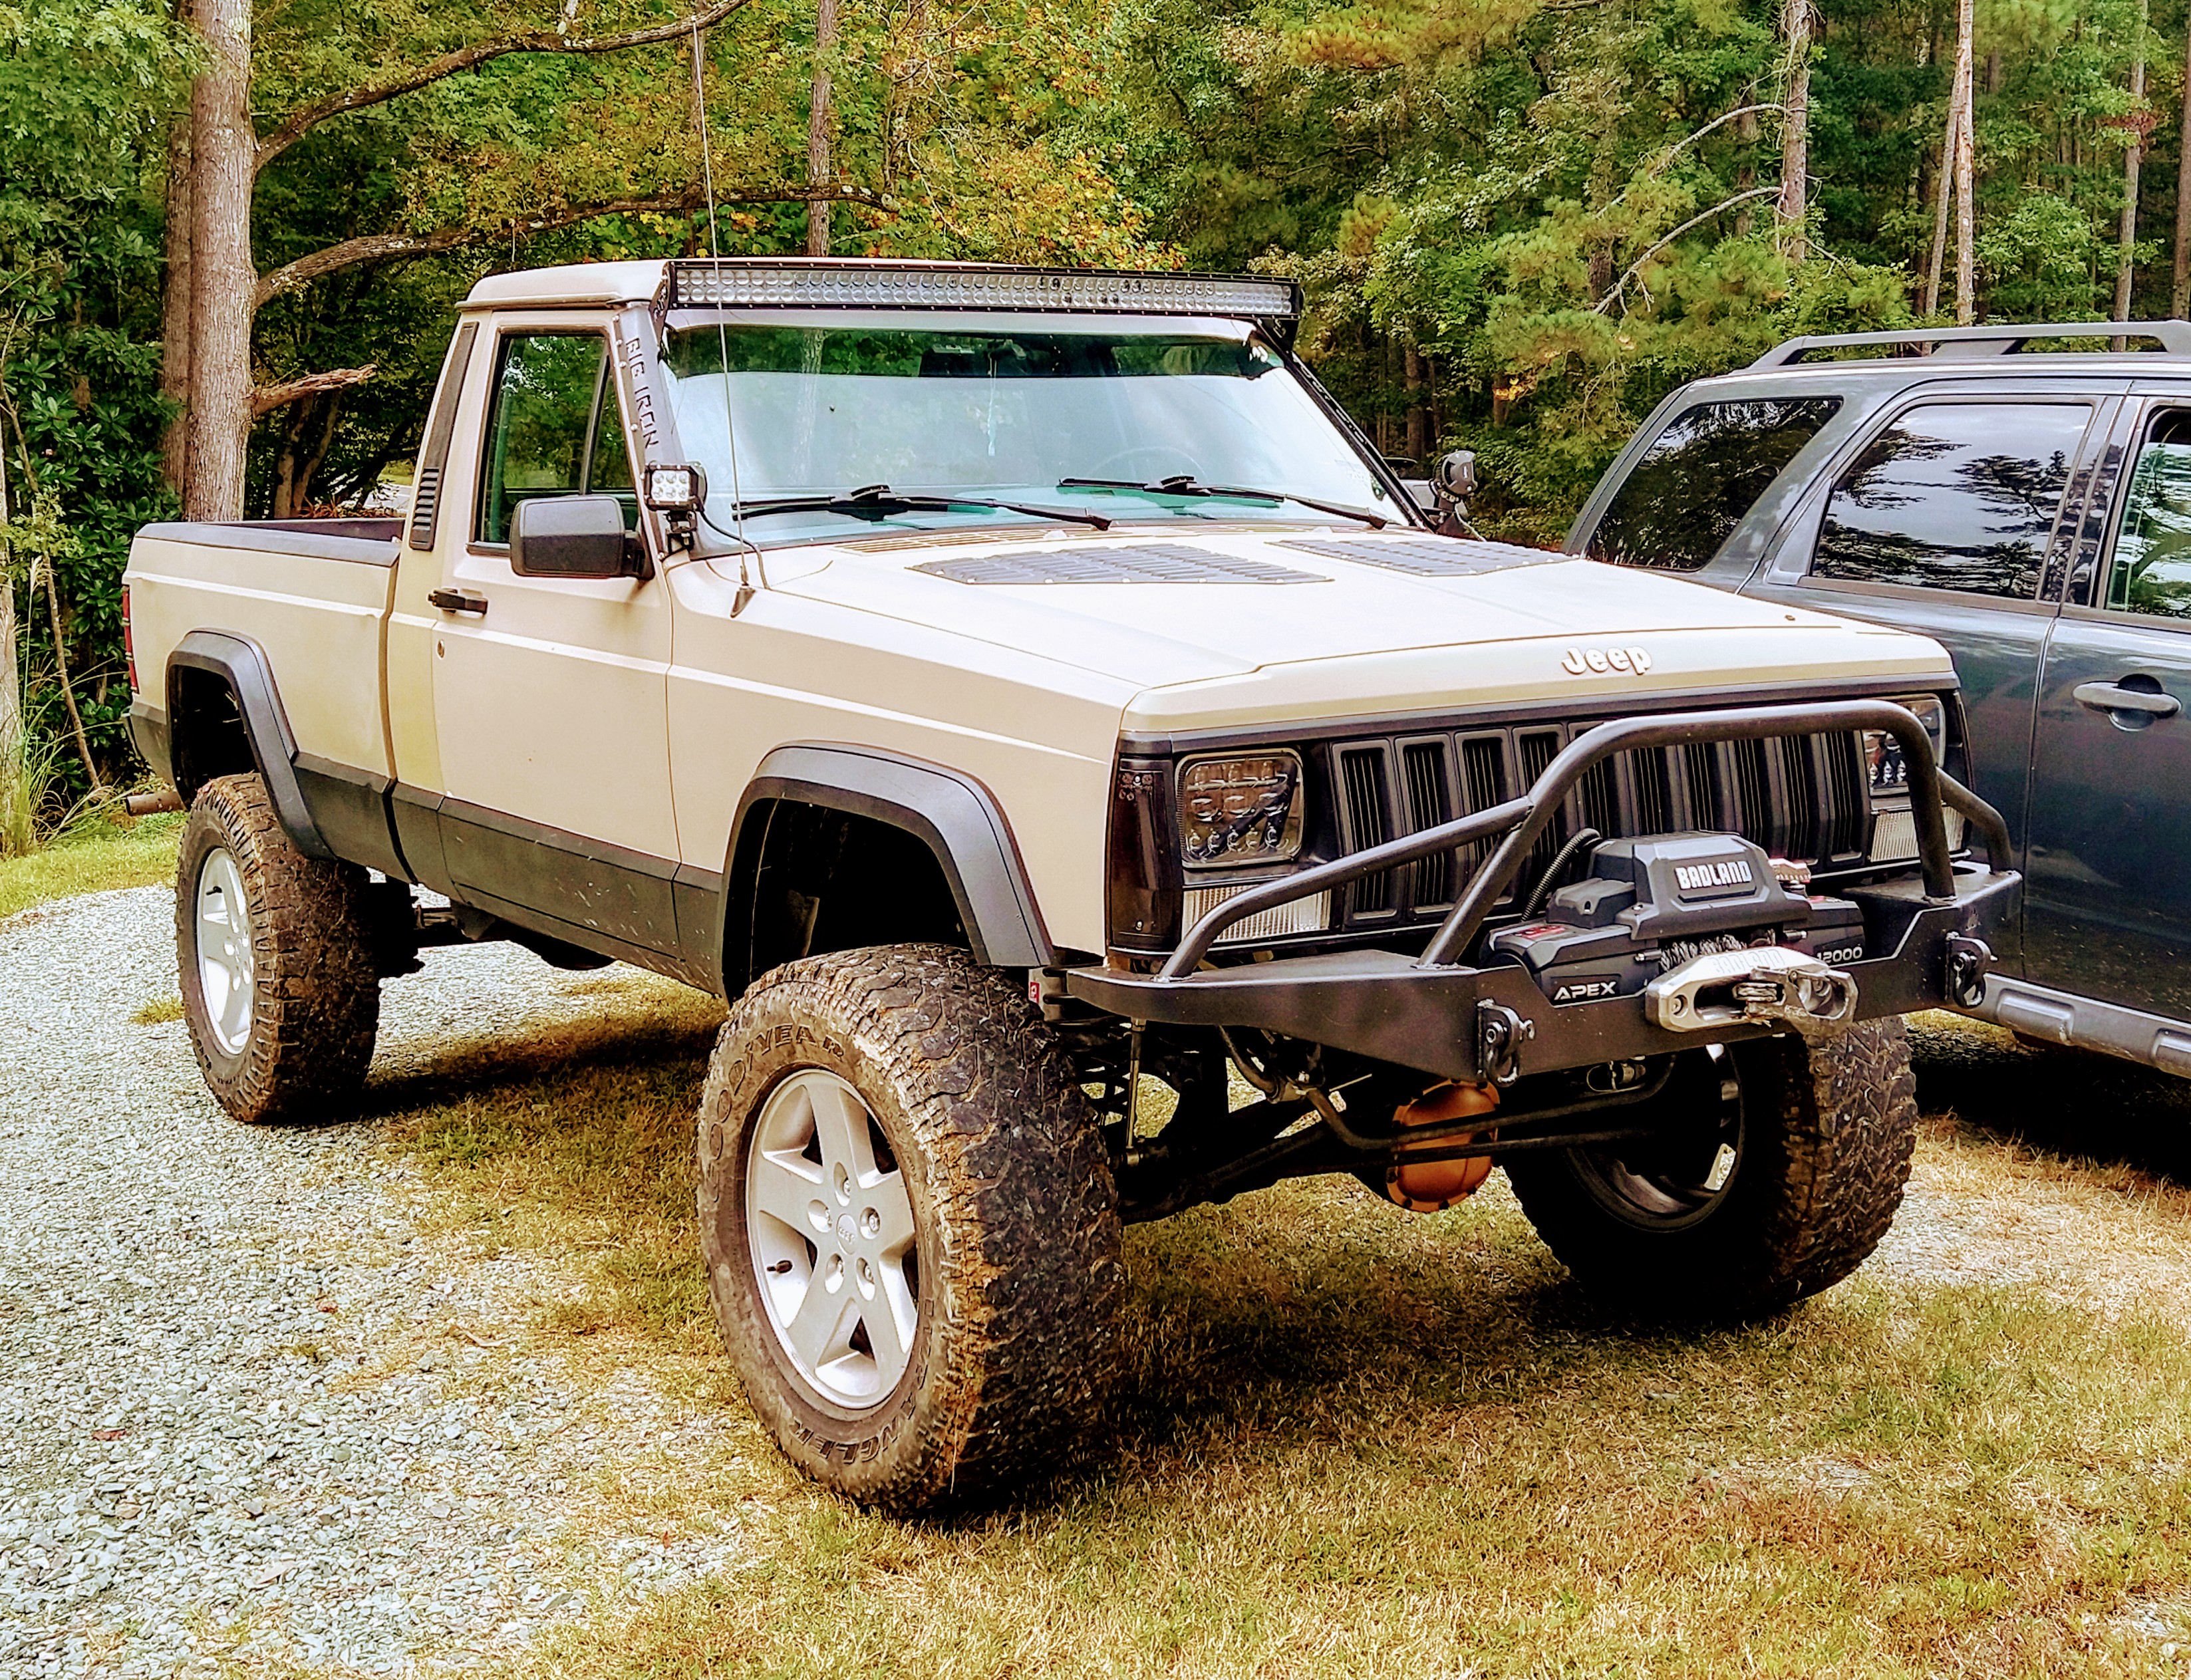
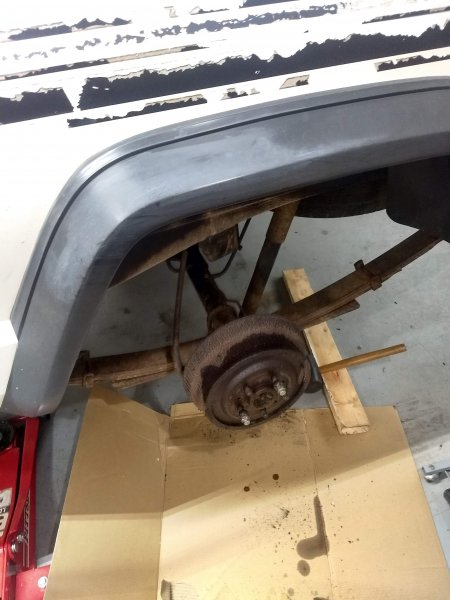
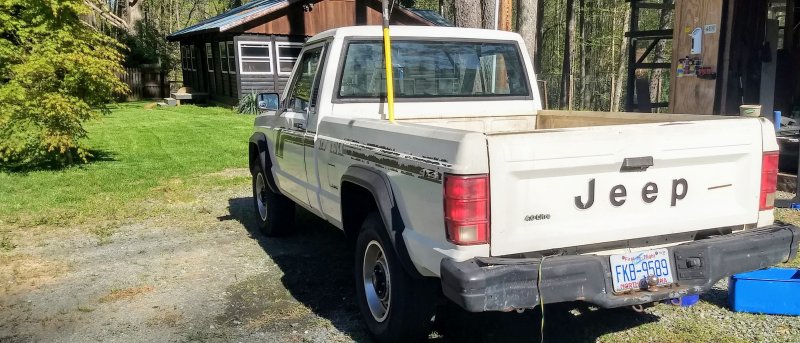
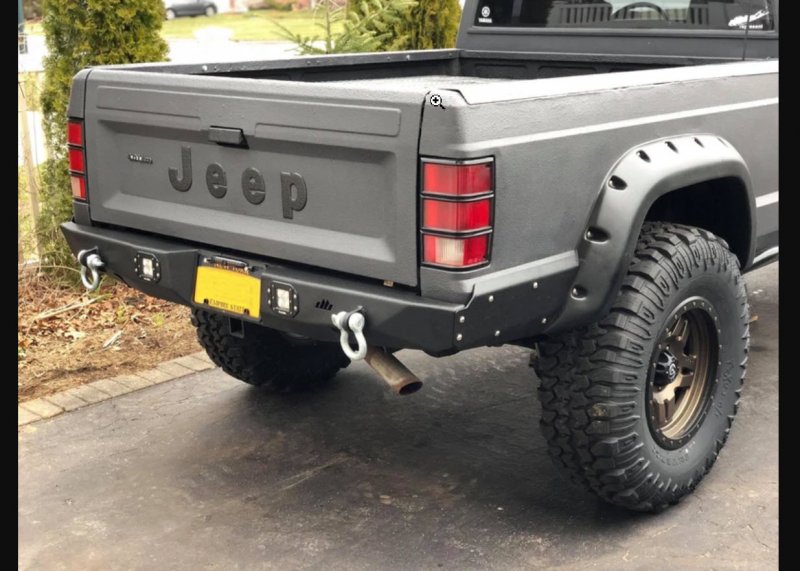
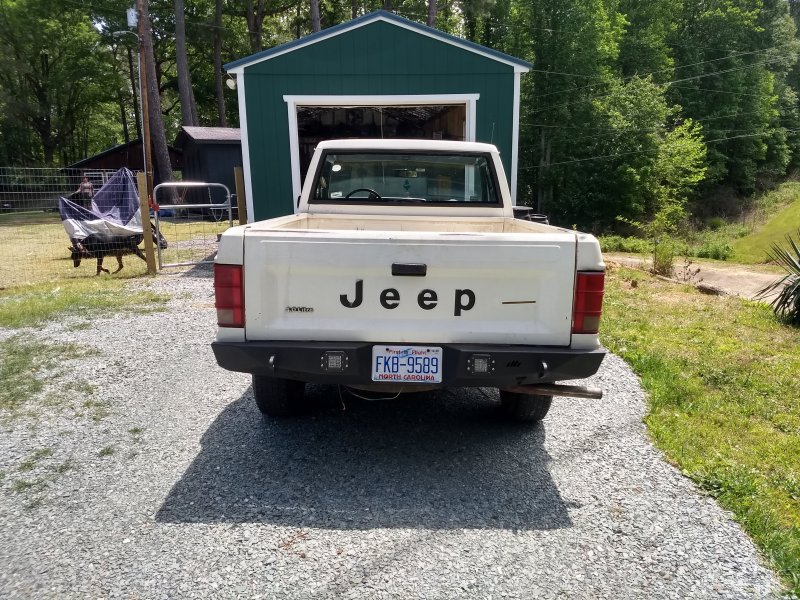
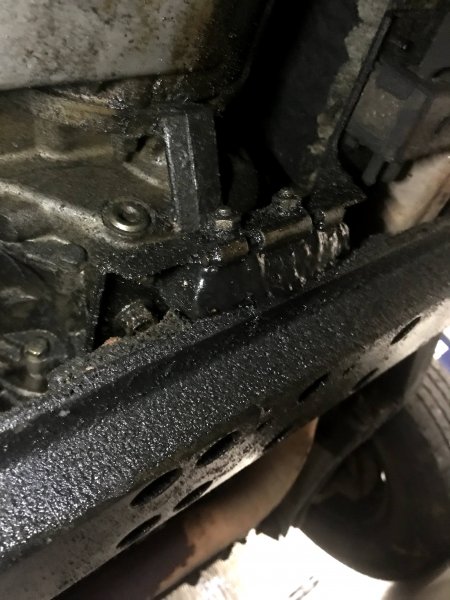
I forgot to add, the original bumper was in bad shape... I looked around and was feeling patriotic and decided to splurge a little and buy american so I went with the dirtbound offroad bumper (https://dirtboundoffroad.com/collections/jeep-comanche-mj-84-92) - they have a ton of good good parts specifically for th MJ. This is what it looked like on the site: This one has the side armor that i'll probably end up getting at some point as well. It comes in raw finish: I coated it with some self etching primer and then some rustoleum automotive premium custom rugged black, which is textured (https://www.rustoleum.com/product-catalog/consumer-brands/auto/general-purpose-paints/premium-custom-lacquer). Here's what the truck is looking like now: Now I have to figure out what's going on under the frame. There's a pretty decent oil leak I believe, but i can't tell: it's a combination of oil and some sand I believe,
-
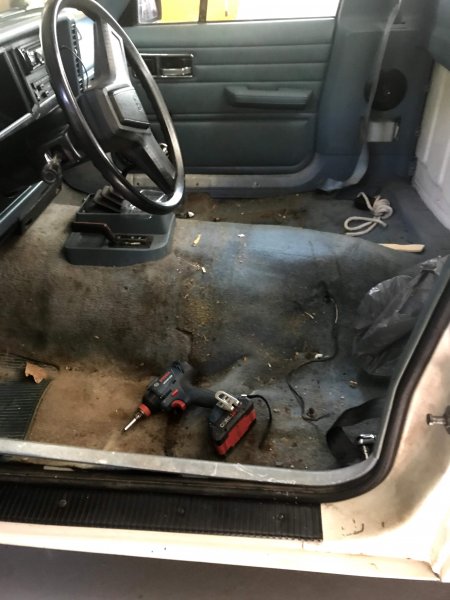
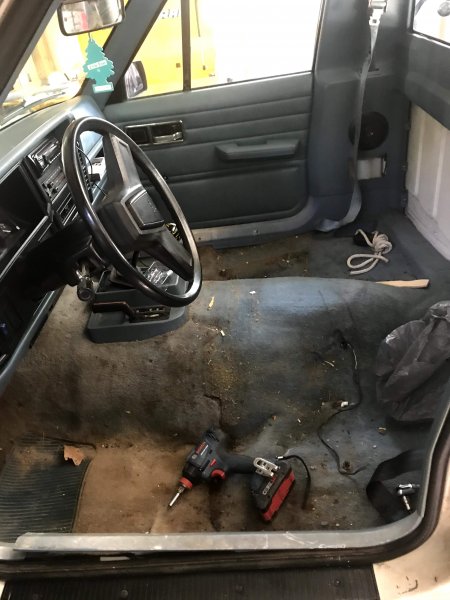
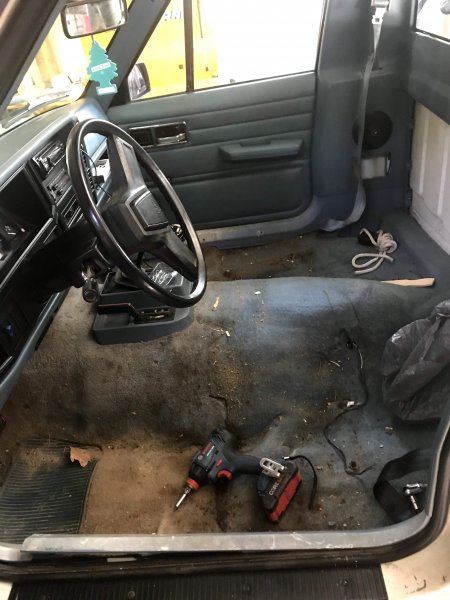
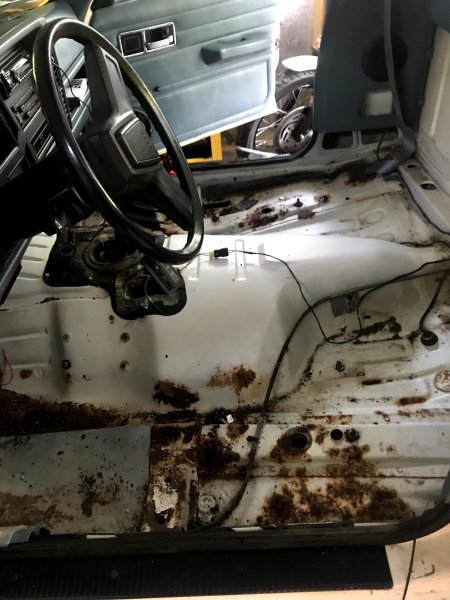
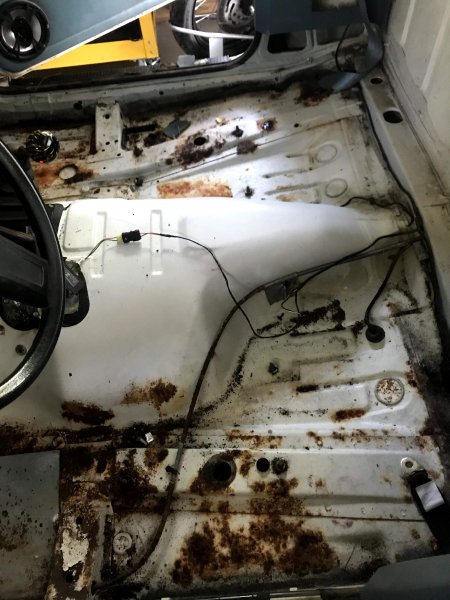
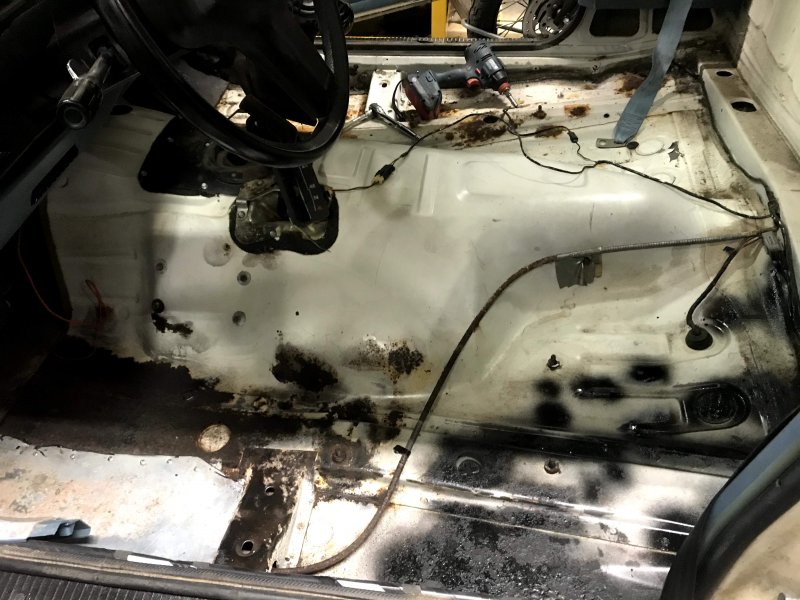
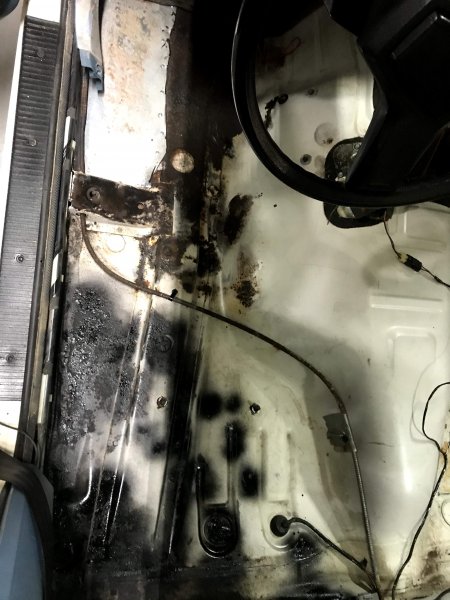
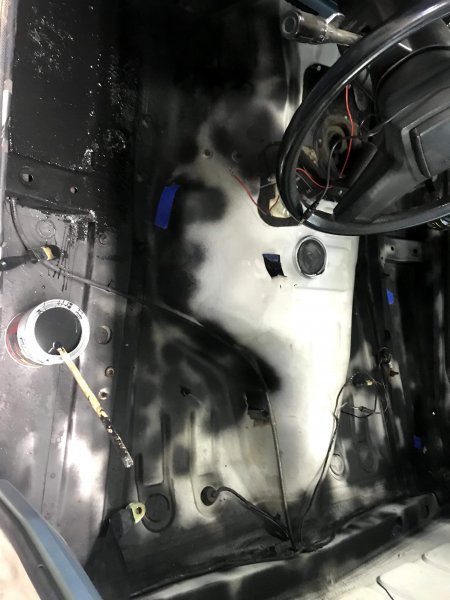
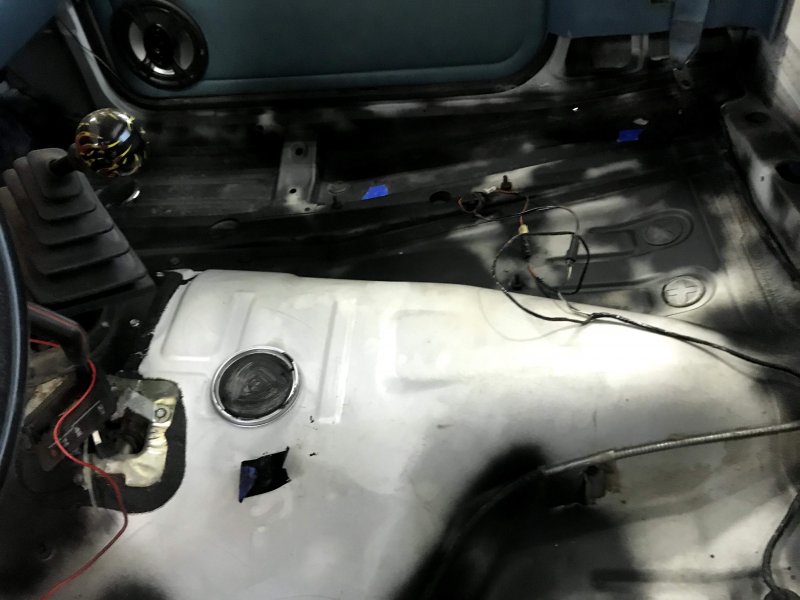
I ordered a lift kit from rocky road outfitters. I got the control arm drop kit, the 6 inch lift kit that's spring over axle, 4" old man emu springs. I'm still waiting for delivery but they sent a lot of it so far. While I wait i have worked on different things - i pulled up the carpet and started taking care of any bit of rust I could find. The carpet was terrible, so I ended up throwing it away. I used a wire brush and sanded down the chunky rust spots, then i sprayed them with loctite extended rust neutralizer (in the blue can), rustoleum rust converter, naval jelly, whatever else I could find . The drivers side was way worse, and i ended up having to use some sheet metal to cover the holes. You can see below where i sprayed the rust 'neutralizer' which is clear on the rust which then turns black. You can also see where the previous owner (my buddy) had riveted the sheet metal over the complete hole that was there on the driver's side. After the rust converter and rust neutralizer, I used the rustoleum 2 in 1 rust reform and seal (https://www.rustoleum.com/product-catalog/consumer-brands/auto/truck-bed-and-undercoating/2-in-1-rust-reform-seal). They didn't have por-15 where i looked and i'm not sure why this wouldn't be useful for the same reasons. I hope i don't find out years from now it's off-gassing but i still don't know how it would be any different than any of the other products like por-15. i couldn't decide at first whether to do the middle section but i ended up doing the whole cab up to about 8 inches up from the floor in the back and all the way up to behind the pedals at the front of the cab.
-
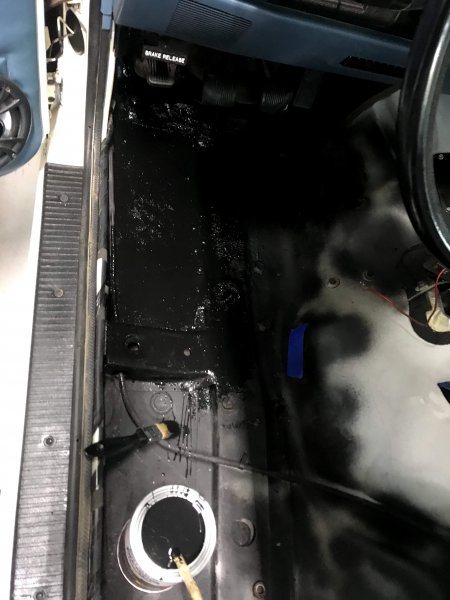
are you going to put a rug above it? my rug was so gross - i used the rustoleum 2 in 1 after i used a bunch of rust neutralizer and then rust reformer on the spots on my floor. But i'm really reticent to put a rug back on top because i feel like that rug was half the problem. I am debating just going a couple coats of the rubberized rust reform and seal and just using vinyl floor mats.
-
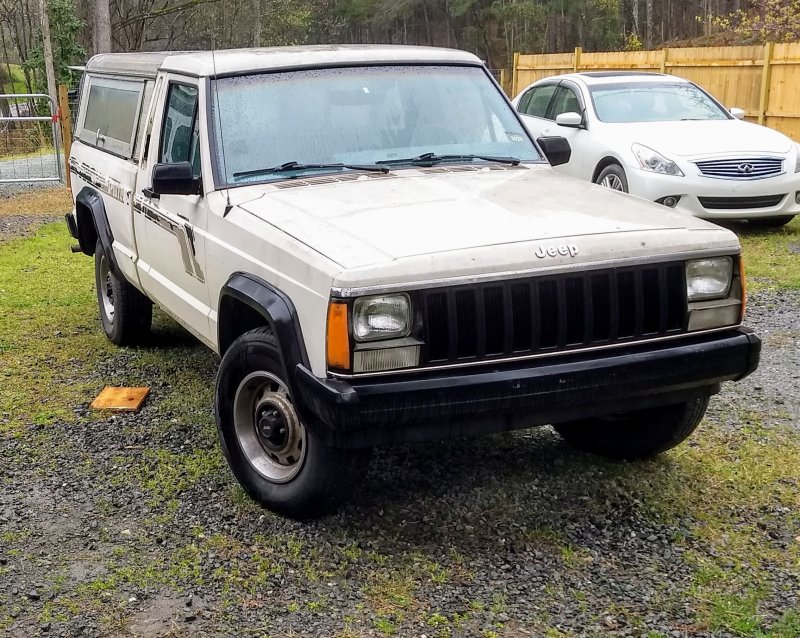
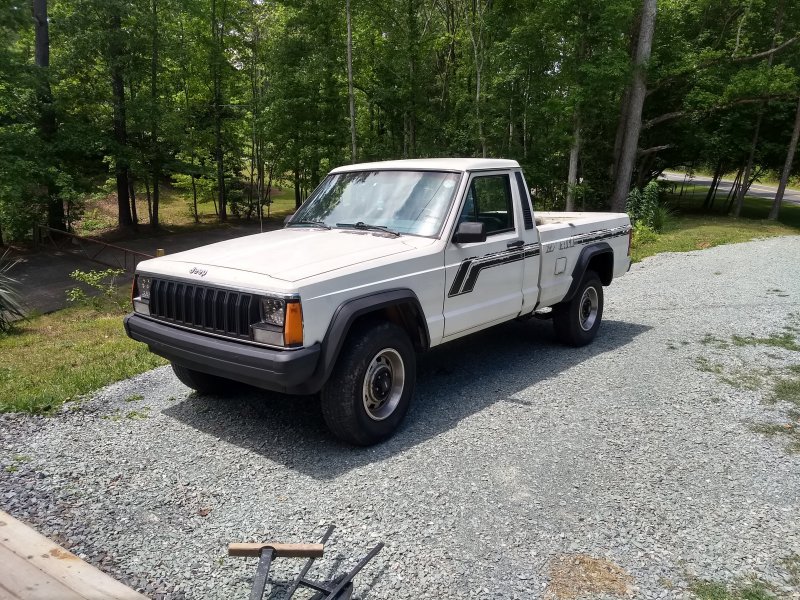
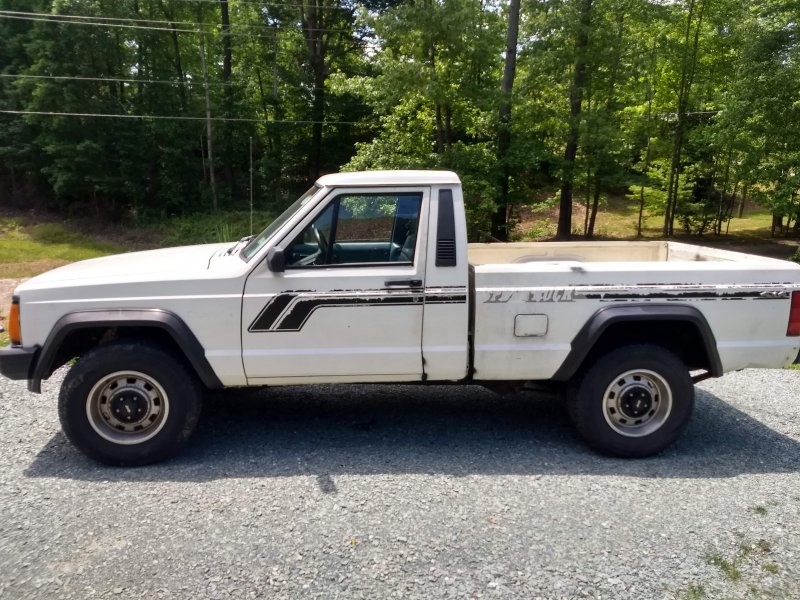
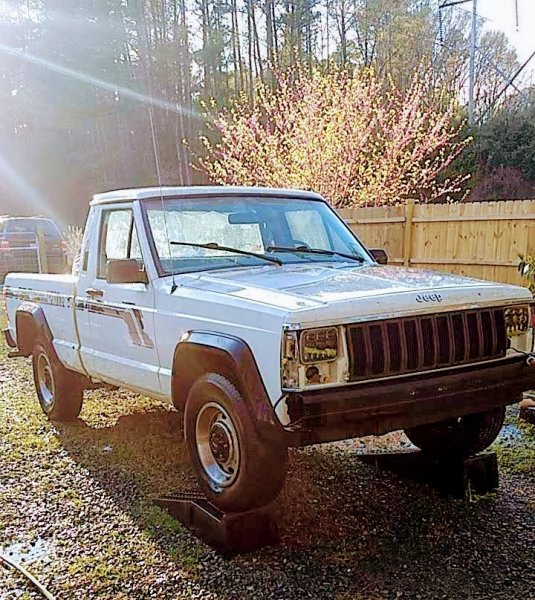
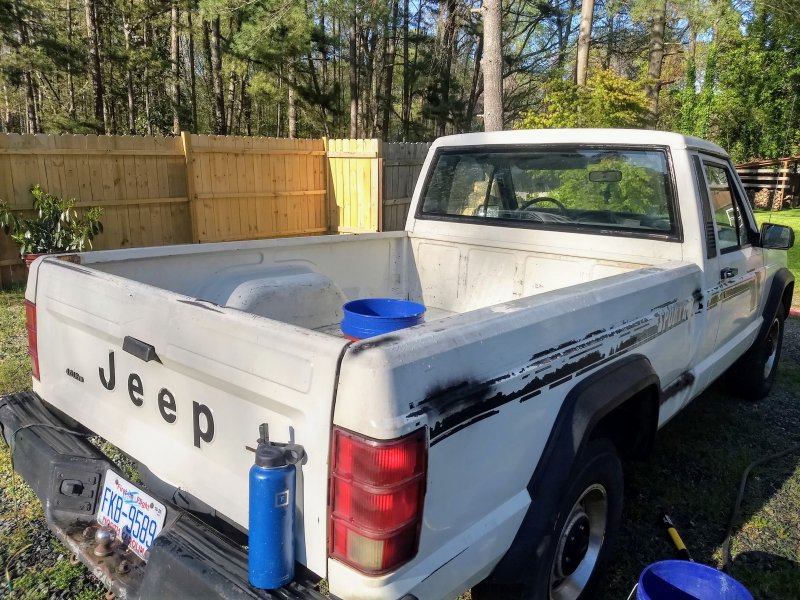
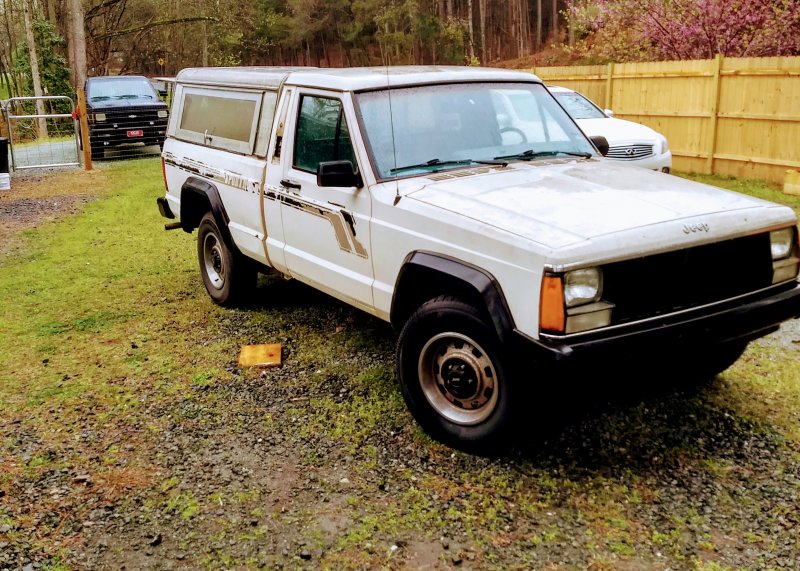
1987 Jeep Comanche . VIN - Image, if available 4.0 / 5 speed manual / Selec-Trac 4wd / Not sure front axle / Dana 35 rear / 113 Wheelbase Shortbed Build date: Mystery - sticker on driver door was gone Current Location: Jordan Lake, North Carolina Status: It is on the road and driving but soon to be overhauled for wheeling. Notes: Upgraded LED headlights; "Sportruck" design graphics, white exterior paint (highly faded); Blue vinyl bench interior floor shift Current owner: Billy

-
That is a ridiculously clean looking rig. Very nice, what kind of bumper?
-
I will definitely add it. Long term i would love to have it be a daily driver that is also capable offroad - maybe not a full blown rock crawler. I live in the country in North Carolina (outside Raleigh) and volunteer as a firefighter. There have been multiple calls i drove my S10 down a dirt road after a rainstorm and when we finished putting out the fire i needed someone to pull me out of the mud (no 4x4). I plan on putting bigger tires, therfore a lift, and have it be a workhorse hopefully.
-
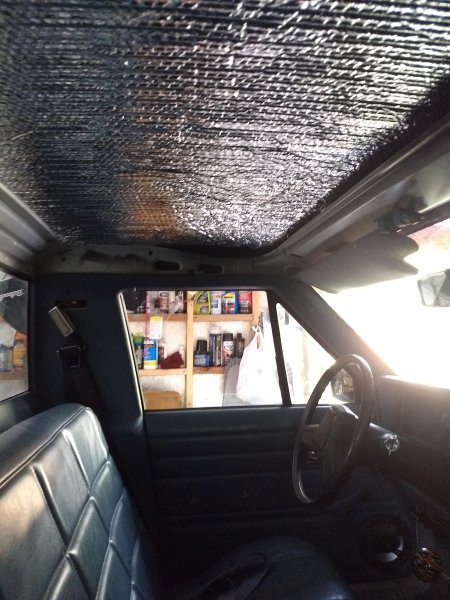
Got a chance to take out the nasty headliner and unfortunately it was falling apart. Rather than try to source another one at the junkyard during this pandemic, i coated the roof from the underside with rustoleum undercoating, and then used reflectix as the new headliner. At least for the interim until i decide to get a different headliner this will help deaden the sound and keep some heat out.
-
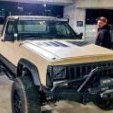
Decided to start posting my build finally after lurking for awhile. I had my eye on this truck since two years ago, but i had just bought a 93 S'10. I convinced my buddy to buy the truck instead for his son's first car. Luckily a month ago, he realized his son is a brand new driver and needed something with airbags. I took it off him immediately. It has 180k miles but runs great. 4x4 5 spd base . Already took the nasty camper shell off and washed.

-
It's crazy that initially i would shy away from these brands and go with a brand i've heard of like rough country. Thanks for sharing these but for my own knowledge, why would those bigger brands be junk compared to "stinkyfab"
-
Looks great. Do you notice any significant power loss from the larger wheels and everything? Any pros / cons you want to share?
-
Go on... I'm not familiar with this. I realize i could google but it sounds like you may know something specific to use.