

billyblankss
-
Posts
154 -
Joined
-
Last visited
-
Days Won
1
Recent Profile Visitors

(1)(1)(1)(1)(1)(1)(1)(1)(1)(1)(1)(1).thumb.jpg.cbd03b9af7e11340c1cb7d7e4a0d0c16.jpg)


billyblankss's Achievements
")
Comanche Aficionado (4/11)
-

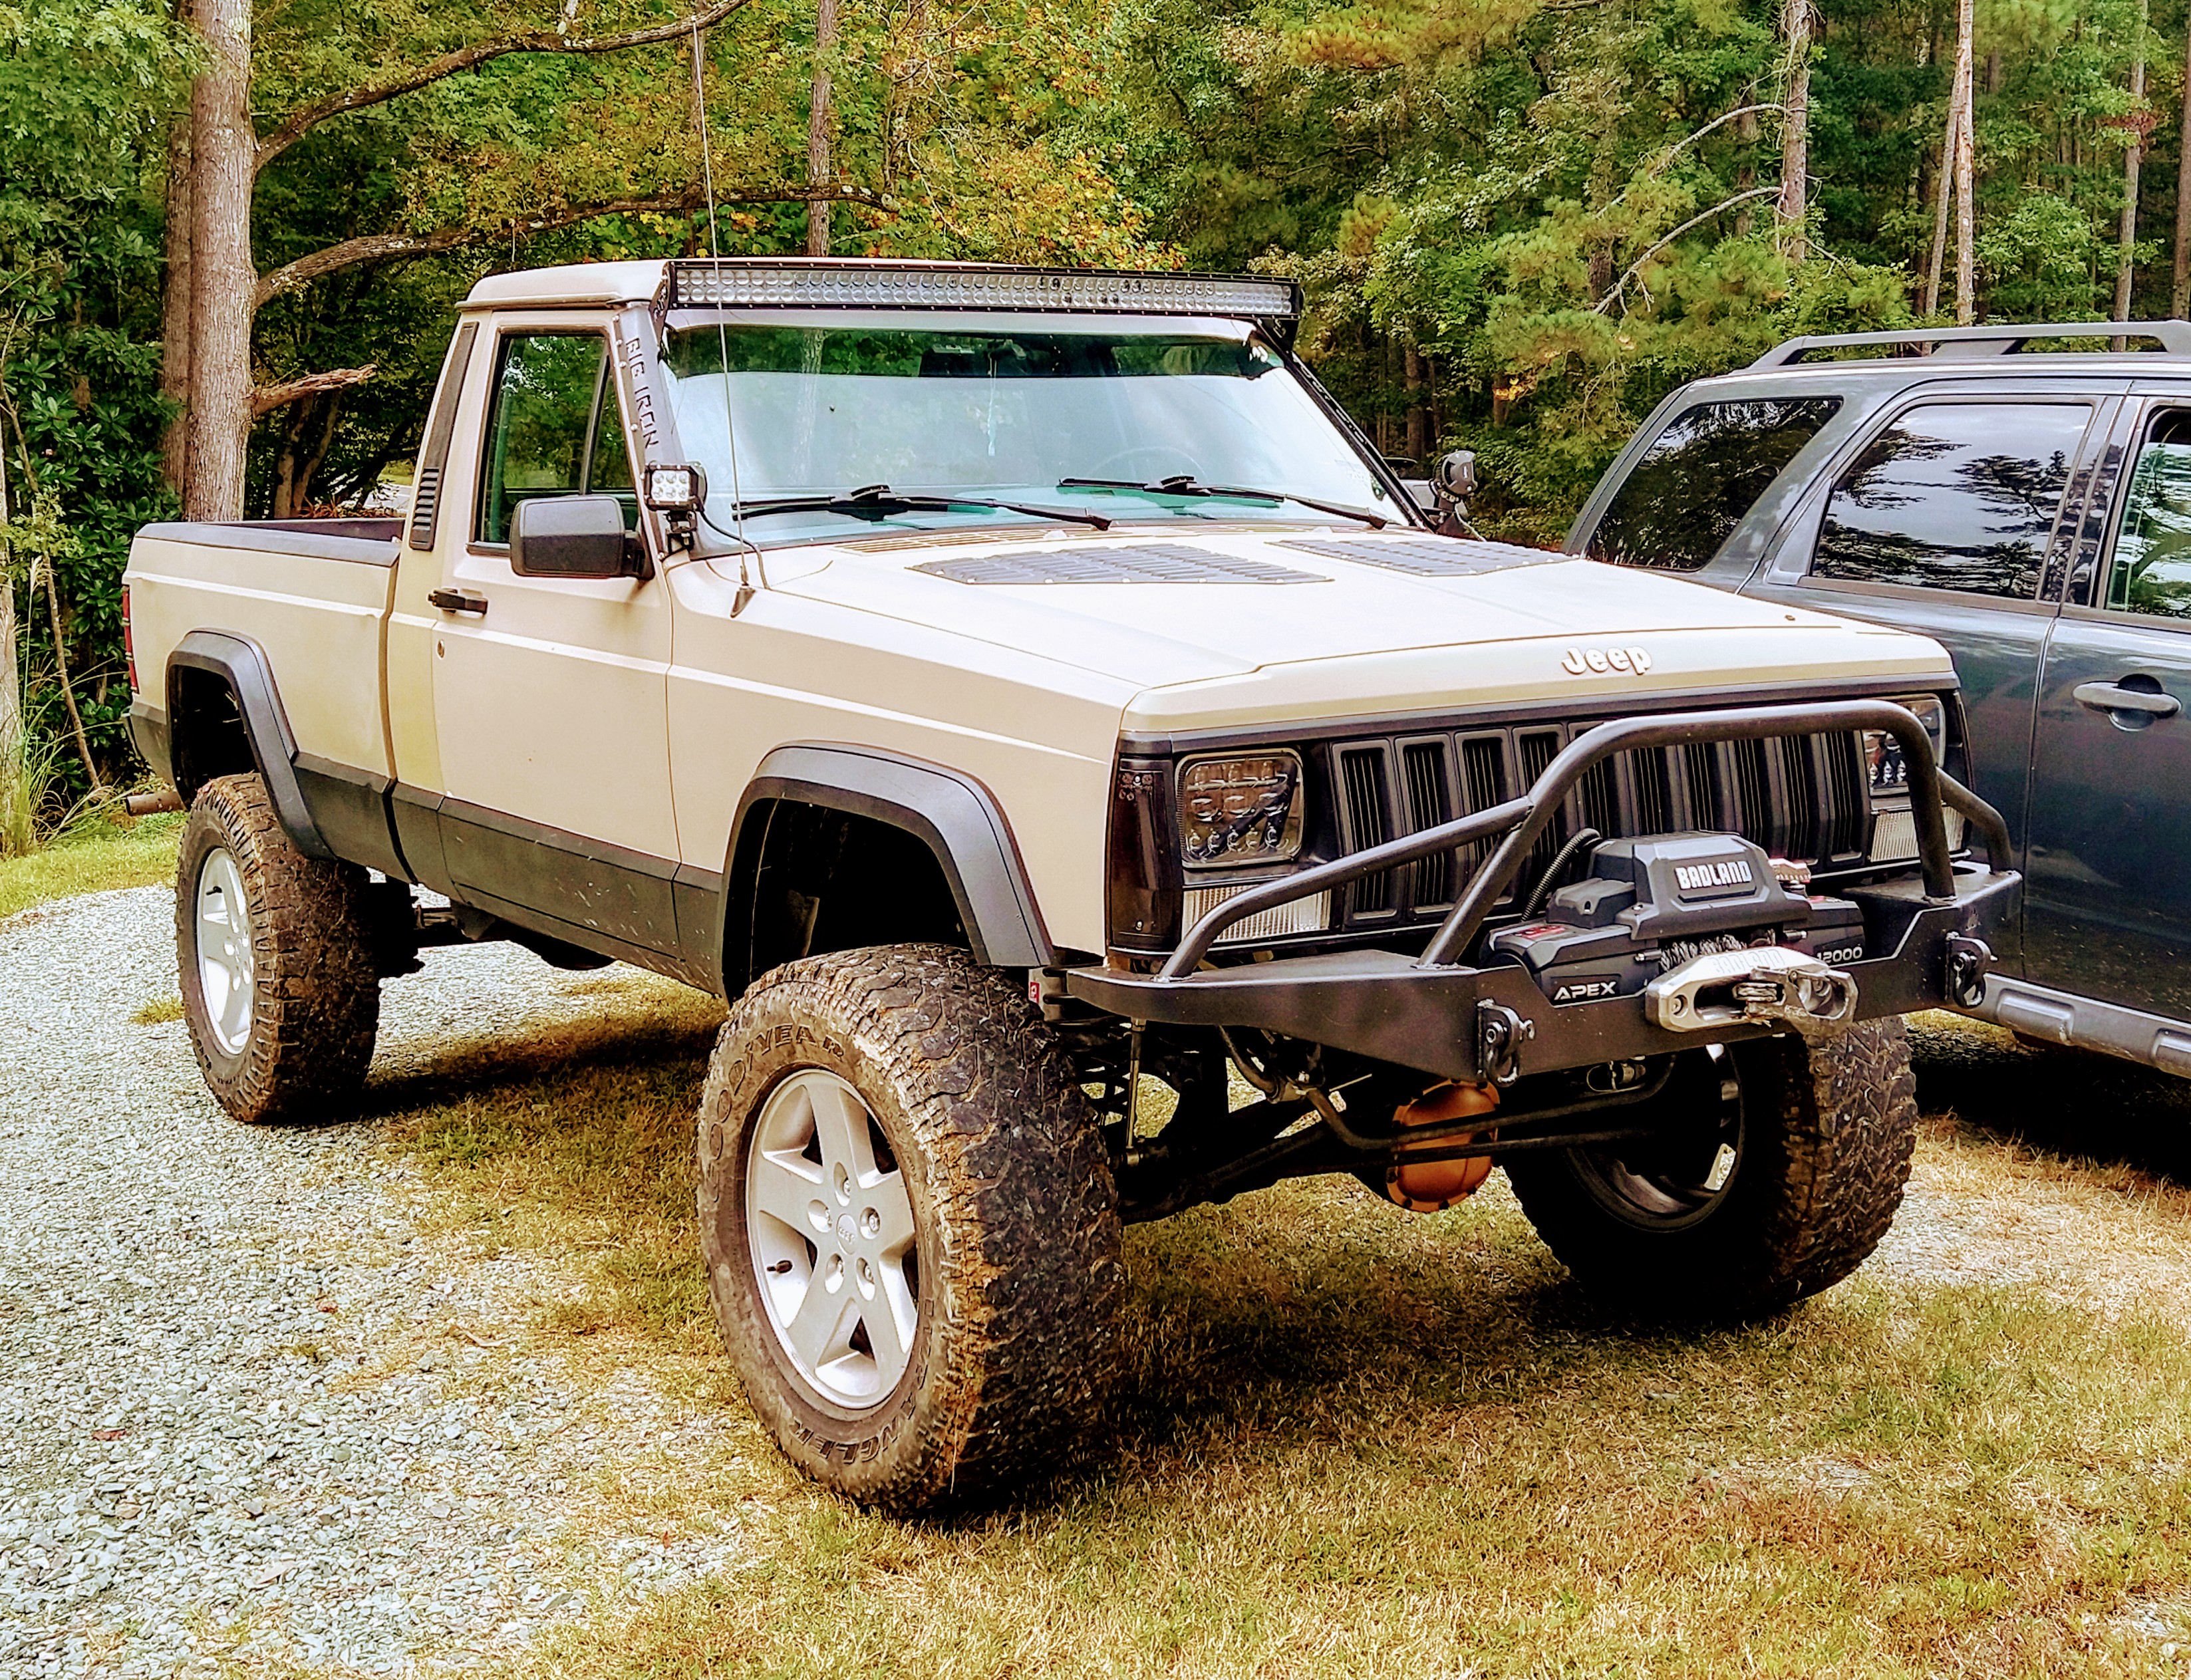
Project “Tomahawk”
billyblankss replied to ghetdjc320's topic in MJ Hardcore Tech: Epic Journeys to Greatness
I used this armor but got it with the tubing for the rub rail. Really heavy duty stuff. I love it but beware it is heavy. Also the nutserts you want to be careful they seat well so they don't just spin when you tighten the bolts to hold it on. Unfortunately that happened to a few but it still worked out well -
Coolant hose connector help
billyblankss replied to billyblankss's topic in MJ Tech: Modification and Repairs
Hey cruiser this is a great write up and I'd love to reference the pictures you mention. I went to your site but the link to this one tip is not functioning. Can I still view that page somehow? -
Coolant hose connector help
billyblankss replied to billyblankss's topic in MJ Tech: Modification and Repairs
My hero. I'm thinking replacement seems less complicated than bypassing the heater valve. -
Coolant hose connector help
billyblankss replied to billyblankss's topic in MJ Tech: Modification and Repairs
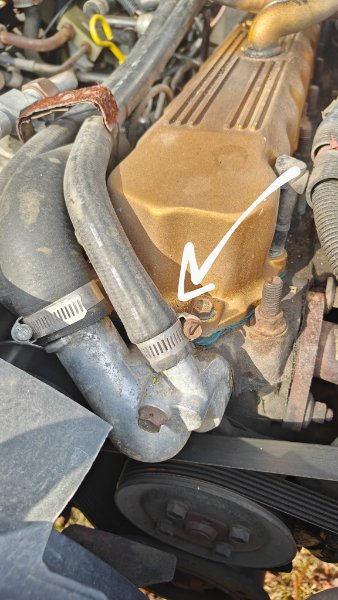
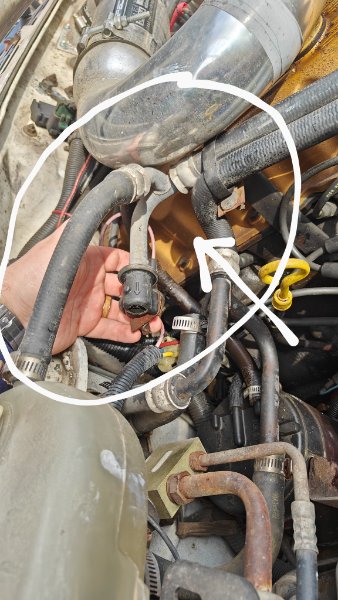
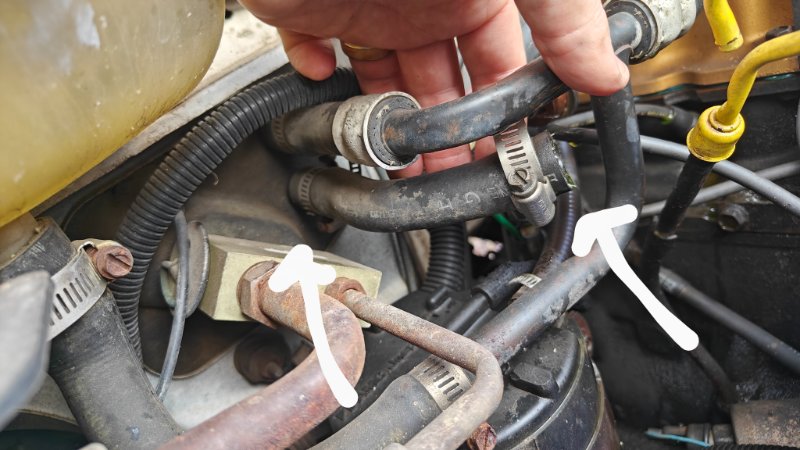
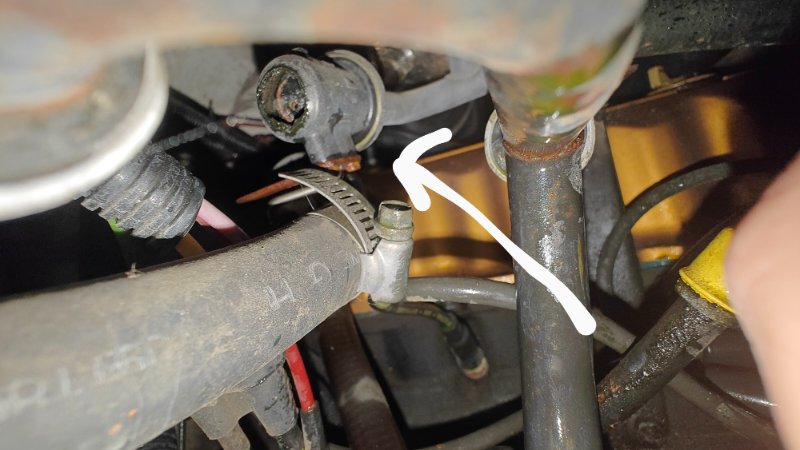
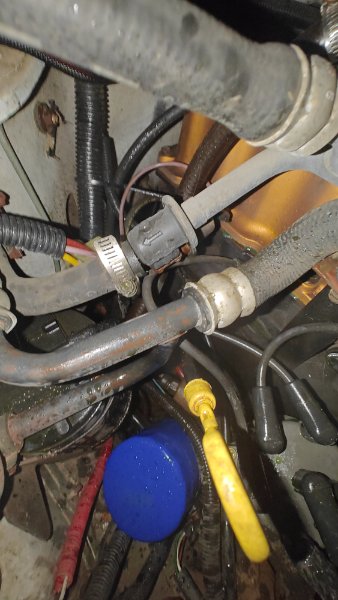
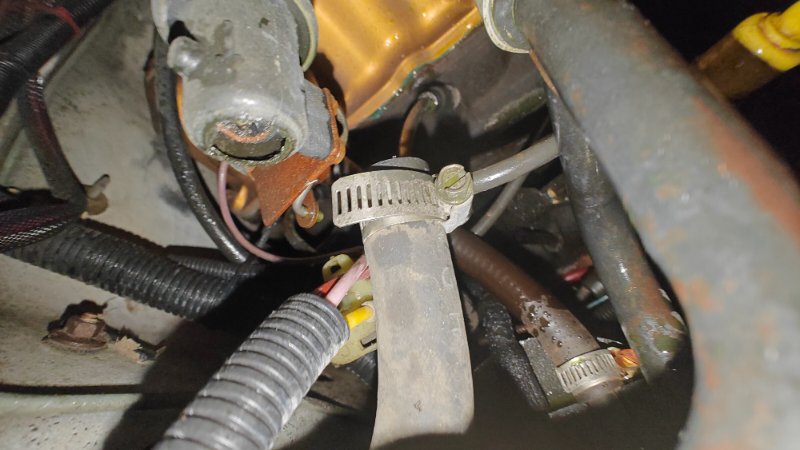
Ok update, it looks like this is a whole metal part with crimped ends that has rusted out at that connection site... The house branches off from I think the water pump To I think this is something like the heater core? So now the question may be do I need to be a replacement for this whole assembly? And then I guess all the hoses that are crimped as well? Does anyone have any experience with this? Is there a secret to removing these crimped hoses or do I need to buy a whole new replacement octopus?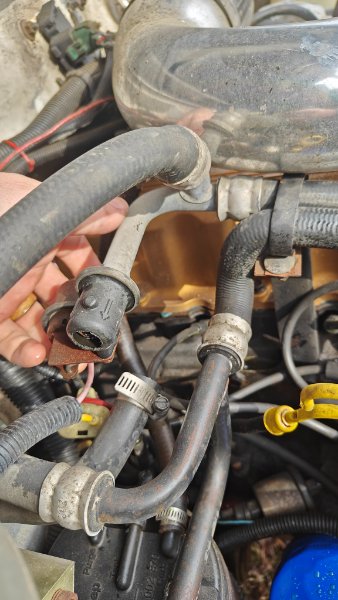
-
Coolant hose connector help
billyblankss replied to billyblankss's topic in MJ Tech: Modification and Repairs
Yeah that was my instinct too and I've got the burp kit since I had to do it for my Infiniti. Still can't really figure out what to call the part that broke and how to find it though. -
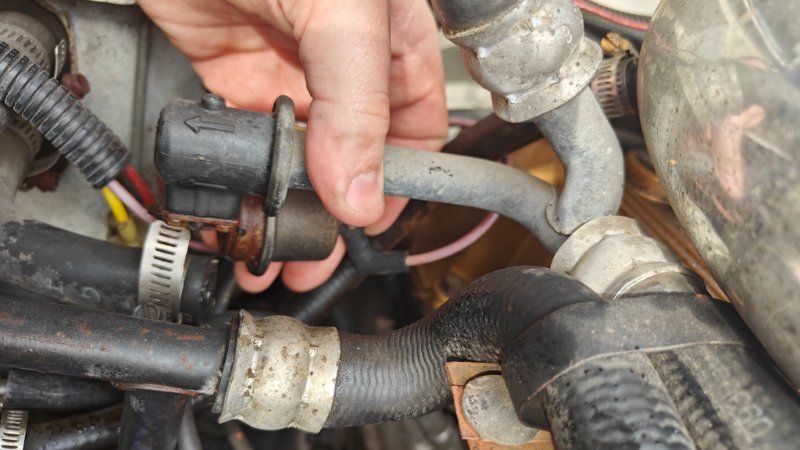
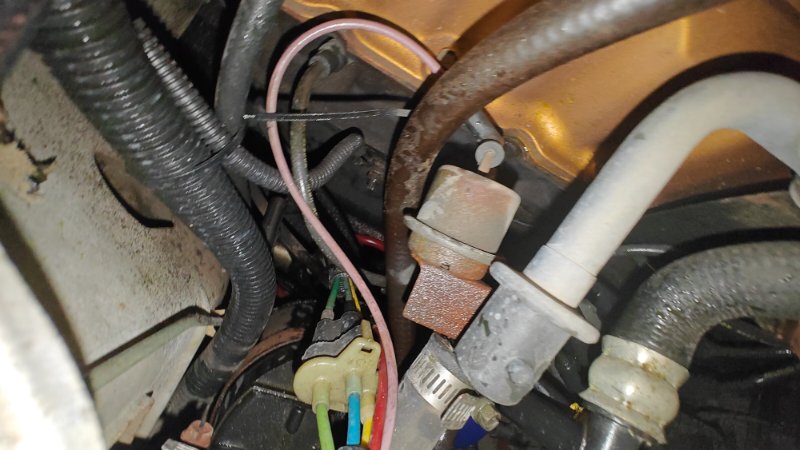
Man I was pumped last night I got to change my oil and grease everything... Hard to find time with little kids. I celebrated by taking a drive and got exactly one mile before the cabin started smoking... I find a coolant leak and the source... It looks like maybe it's a check valve and connector for the coolant overflow, it has a directional arrow pointing towards the coolant overflow tank.... I think it's a plastic connector but it was late and dark. My questions, 1. Is this a standard part I could pick up at a big box? Or is this a special part I would need to order and from where? 2. What could I call this part, or how would I search for it? 3. Does this present an opportunity to improve the cooling system? I have seen people talk about switching from open to closed system but I've never dived into that, and I'm not sure what benefits that provides... Any wisdom is appreciated! P.s. what is this gray metal part that is attached to a clip next to this part of the cooling hose?
-
Any chance I could just pay you a small fee and get the stl?
-
Yeah this happened to me as well. I got half the order and then the OME springs and some other stuff came in a second shipment about a week later. It was about 5 weeks two years ago when I ordered it. I will say you can pick up the phone and talk to a guy, and you can email them stupid questions and they will get back to you. Or they did for me, maybe it was a good day. Good luck - what size did you end up getting?
-
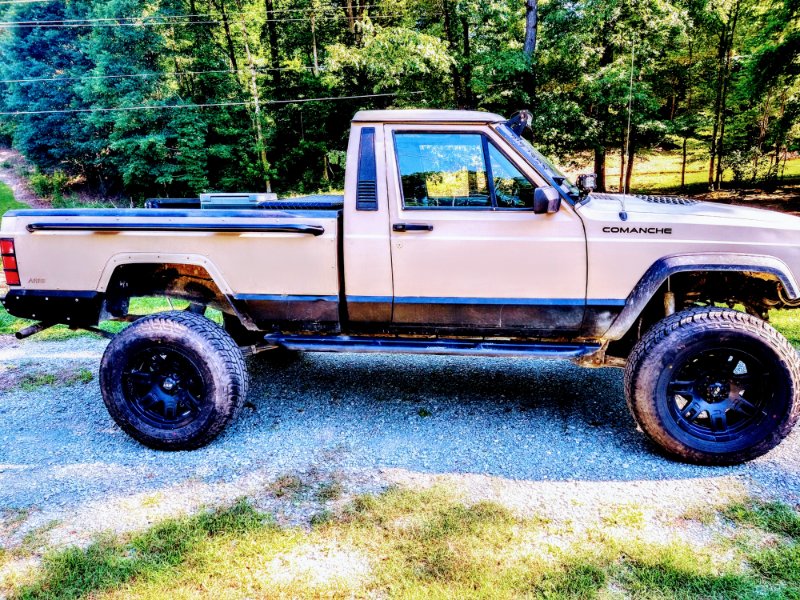
Hey - Sorry I didn't see your comment. Thanks for the compliments... 1) I liked the Rocky Road Outfitters lift although I have been told by many it was overpriced, and it may have been. But honestly before I got into it I wasn't really sure all the things I needed and I got some confidence from their team. They were very responsive on the phone and email. I have no complaints with the kit, and they even include the little things that i had a hard time finding anywhere, like the emergency brake extension thing. Buy with confidence if you're ok with the price. 2) I'm running 33s. It was the best I could do without re-gearing. I have the 3.07 gears and still occasionally take it on the highway. Re-gearing was intimidating early on. It still kind of is. 3) I did use those quick latch hood pins from amazon. DO NOT GET THEM. They worked great for a while but one of them started getting stuck. To the point i couldn't get the hood open and had to take off the whole front fascia. I ended up getting the traditional kind of hood pins. I guess you get what you pay for here.
-
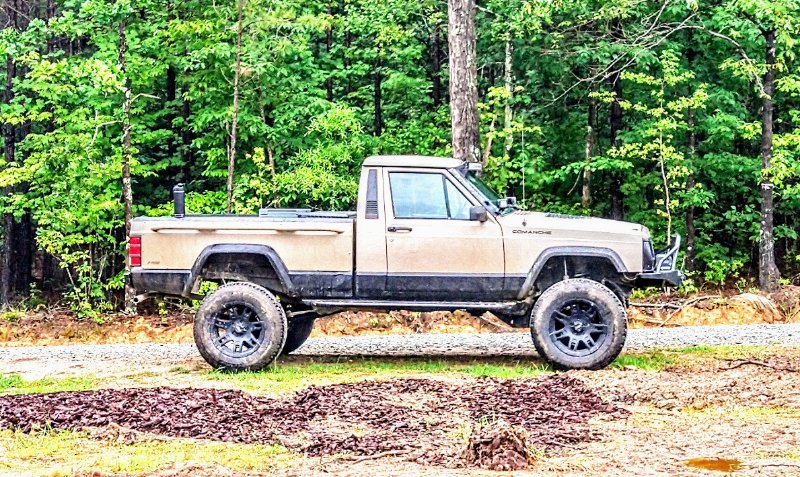
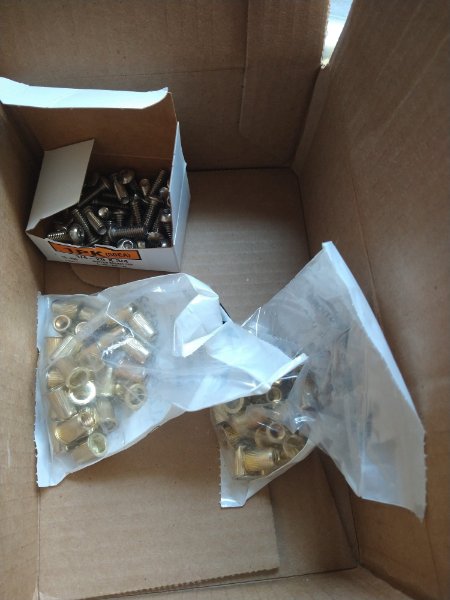
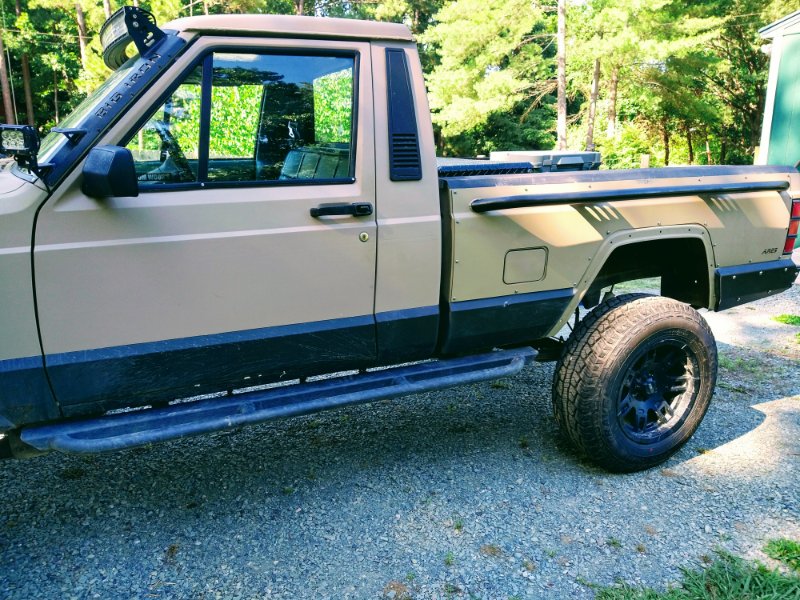
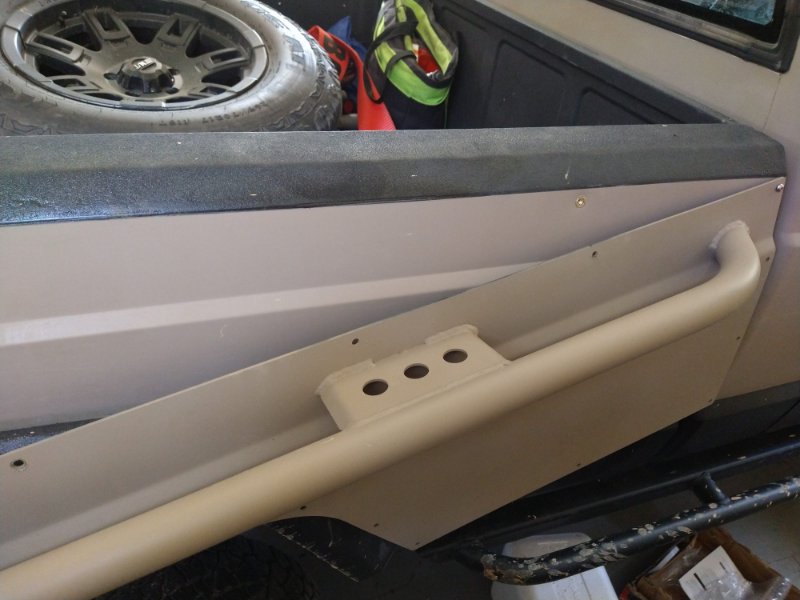
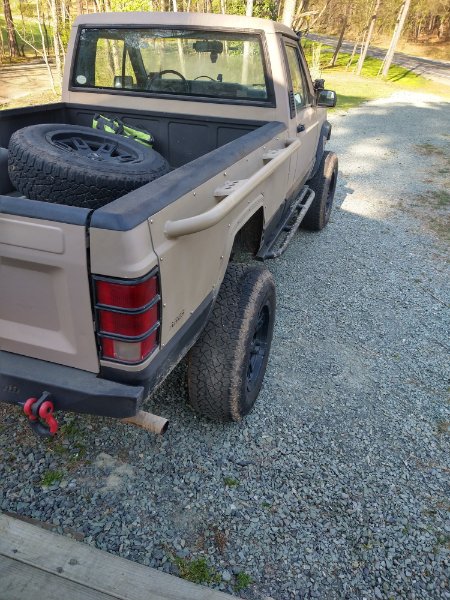
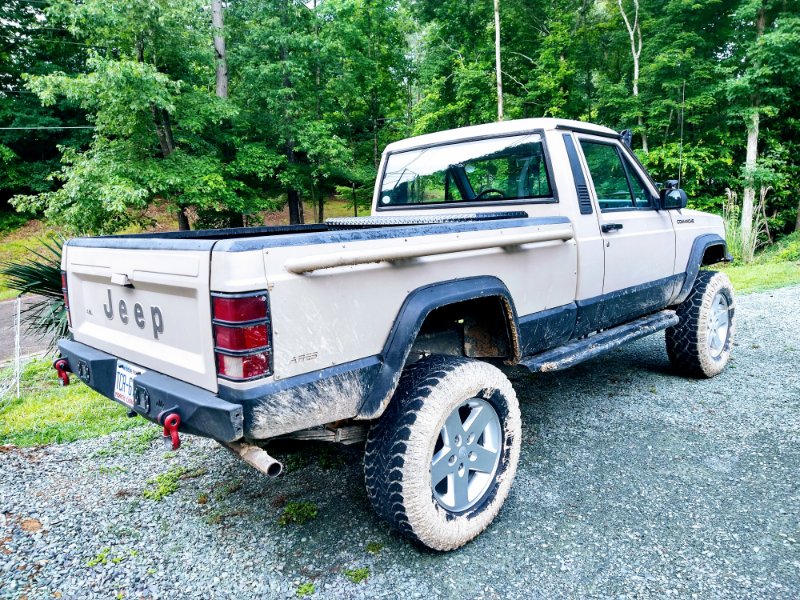
After @Pete M pointed out the black made it look like a junkyard bed and I cried for awhile at such a hurtful comment, I decided to rework the ares bed armor Ares sent a bunch of riv nuts so I was able to remove the panels to paint again. It was nice hardware but to be honest even with my little rivet nut tool I couldn't get most of them to seat without them spinning once any kind of torque was applied to the bolts holding on the panels. The panels are super heavy duty and in the end I decided to just use the bolts with lock nuts for anywhere I could swap out the rivnuts. You can almost reach most of the bolt locations from the inside of the panel under the truck but I don't think there's any way to get to the holes above the rear wheels. I couldn't see any way to really remove the inner fender liners to be able to put a lock nut back there. Went back and sprayed everything tan and kept it like that for awhile. Then I thought about it and after looking at a YouTube xj project, I really like the way he painted the tubing part of his bumper. I decided to do the tan with black tubing. That last picture the tan paint looks a different shade on the panel but it ended up drying in a way that matched the rest - which is the benefit of using the rattle can flat matte color. Now I need to figure out if there's a simple effective way to use the rear fender flares, or alternatively what I need to do if I don't put them back on. Right now to put them on is a b*@ch and the inner part of the flare I can't reattach, so they get horrible caked up with mud every weekend I'm out in the field. I'm gonna look around for a solution. I'd love to do something other than the $500 bUshwhacker flares.

-
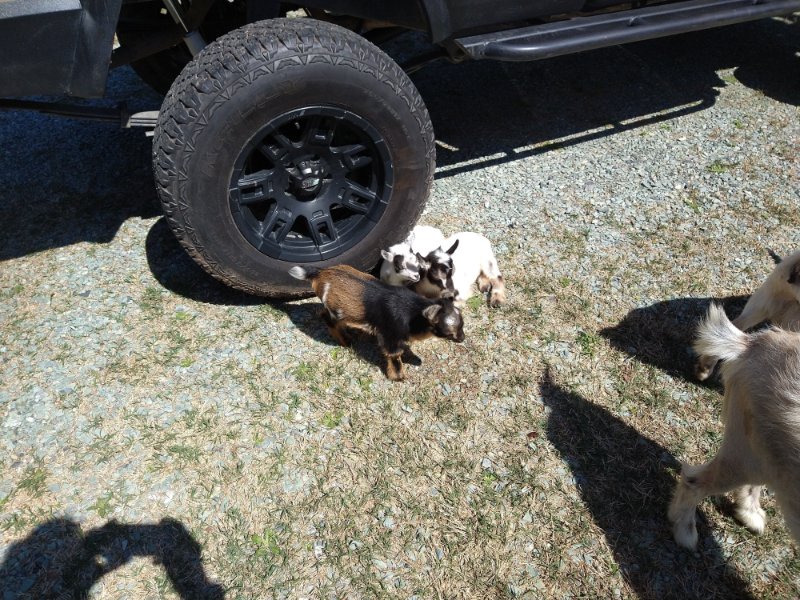
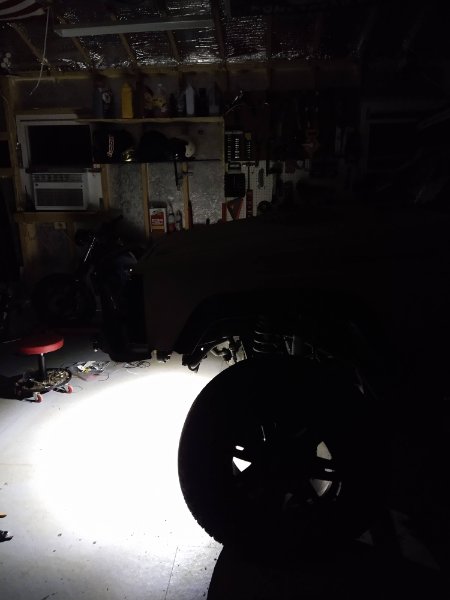
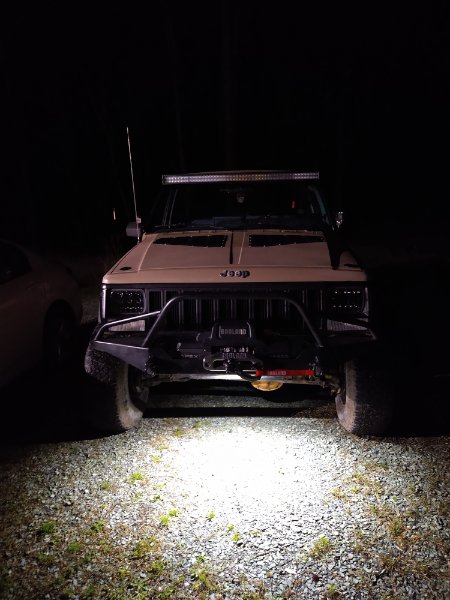
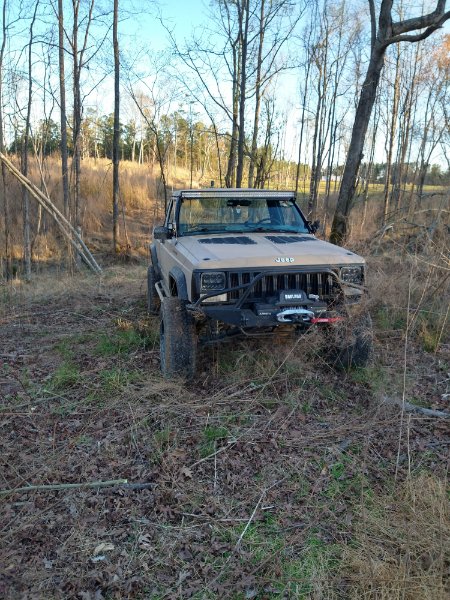
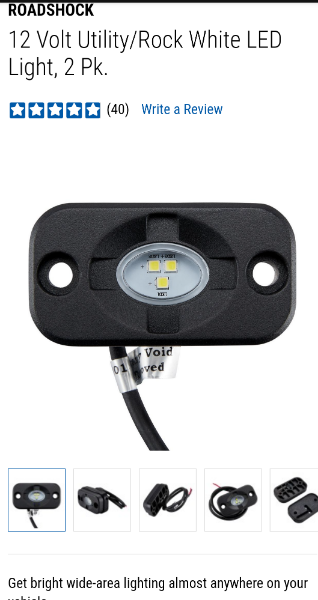
Added some rock crawler light for when I'm out on the land trying to figure out what I'm stuck on. Harbor freight started selling these led flush mount rock lights that were super bright. Bonus picture of my baby goats hanging out under the truck. They like it
-
November 2020-Fryedaddy's 88 Bucket List
billyblankss replied to 89 MJ's topic in Comanche of the Month (MJOTM)
Most Definitely brb gonna go post pictures -
November 2020-Fryedaddy's 88 Bucket List
billyblankss replied to 89 MJ's topic in Comanche of the Month (MJOTM)
Love going back through MJOTM posts and this truck slaps. Had a couple questions for you, - what is the thing on your hood in the first picture? looks like something... on the front corner of the hood - I see in some of the pictures you have the bushwacker flares, but in others it's naked with the dirtbound panels - do you normally run flares or no? I'm trying to problem solve for my truck, bought the ARES bed armor and trying to figure out if i need flares - what was your favorite mod and maybe a separate question what was the most useful mod, or the one you noticed made the most improvement? -
1986 Comanche Xls Resto
billyblankss replied to 19comanche86's topic in MJ Hardcore Tech: Epic Journeys to Greatness
God bless you and what you're doing. -
+1 for flappys