
DIRT_NASTYY_
-
Posts
72 -
Joined
-
Last visited
-
Days Won
2
Content Type
Profiles
Forums
Gallery
Everything posted by DIRT_NASTYY_
-

Still has no name :) "Comanche Siojo"
DIRT_NASTYY_ replied to siojo's topic in Member Projects: Your Comanches
This is awesome, can't wait to see more! -
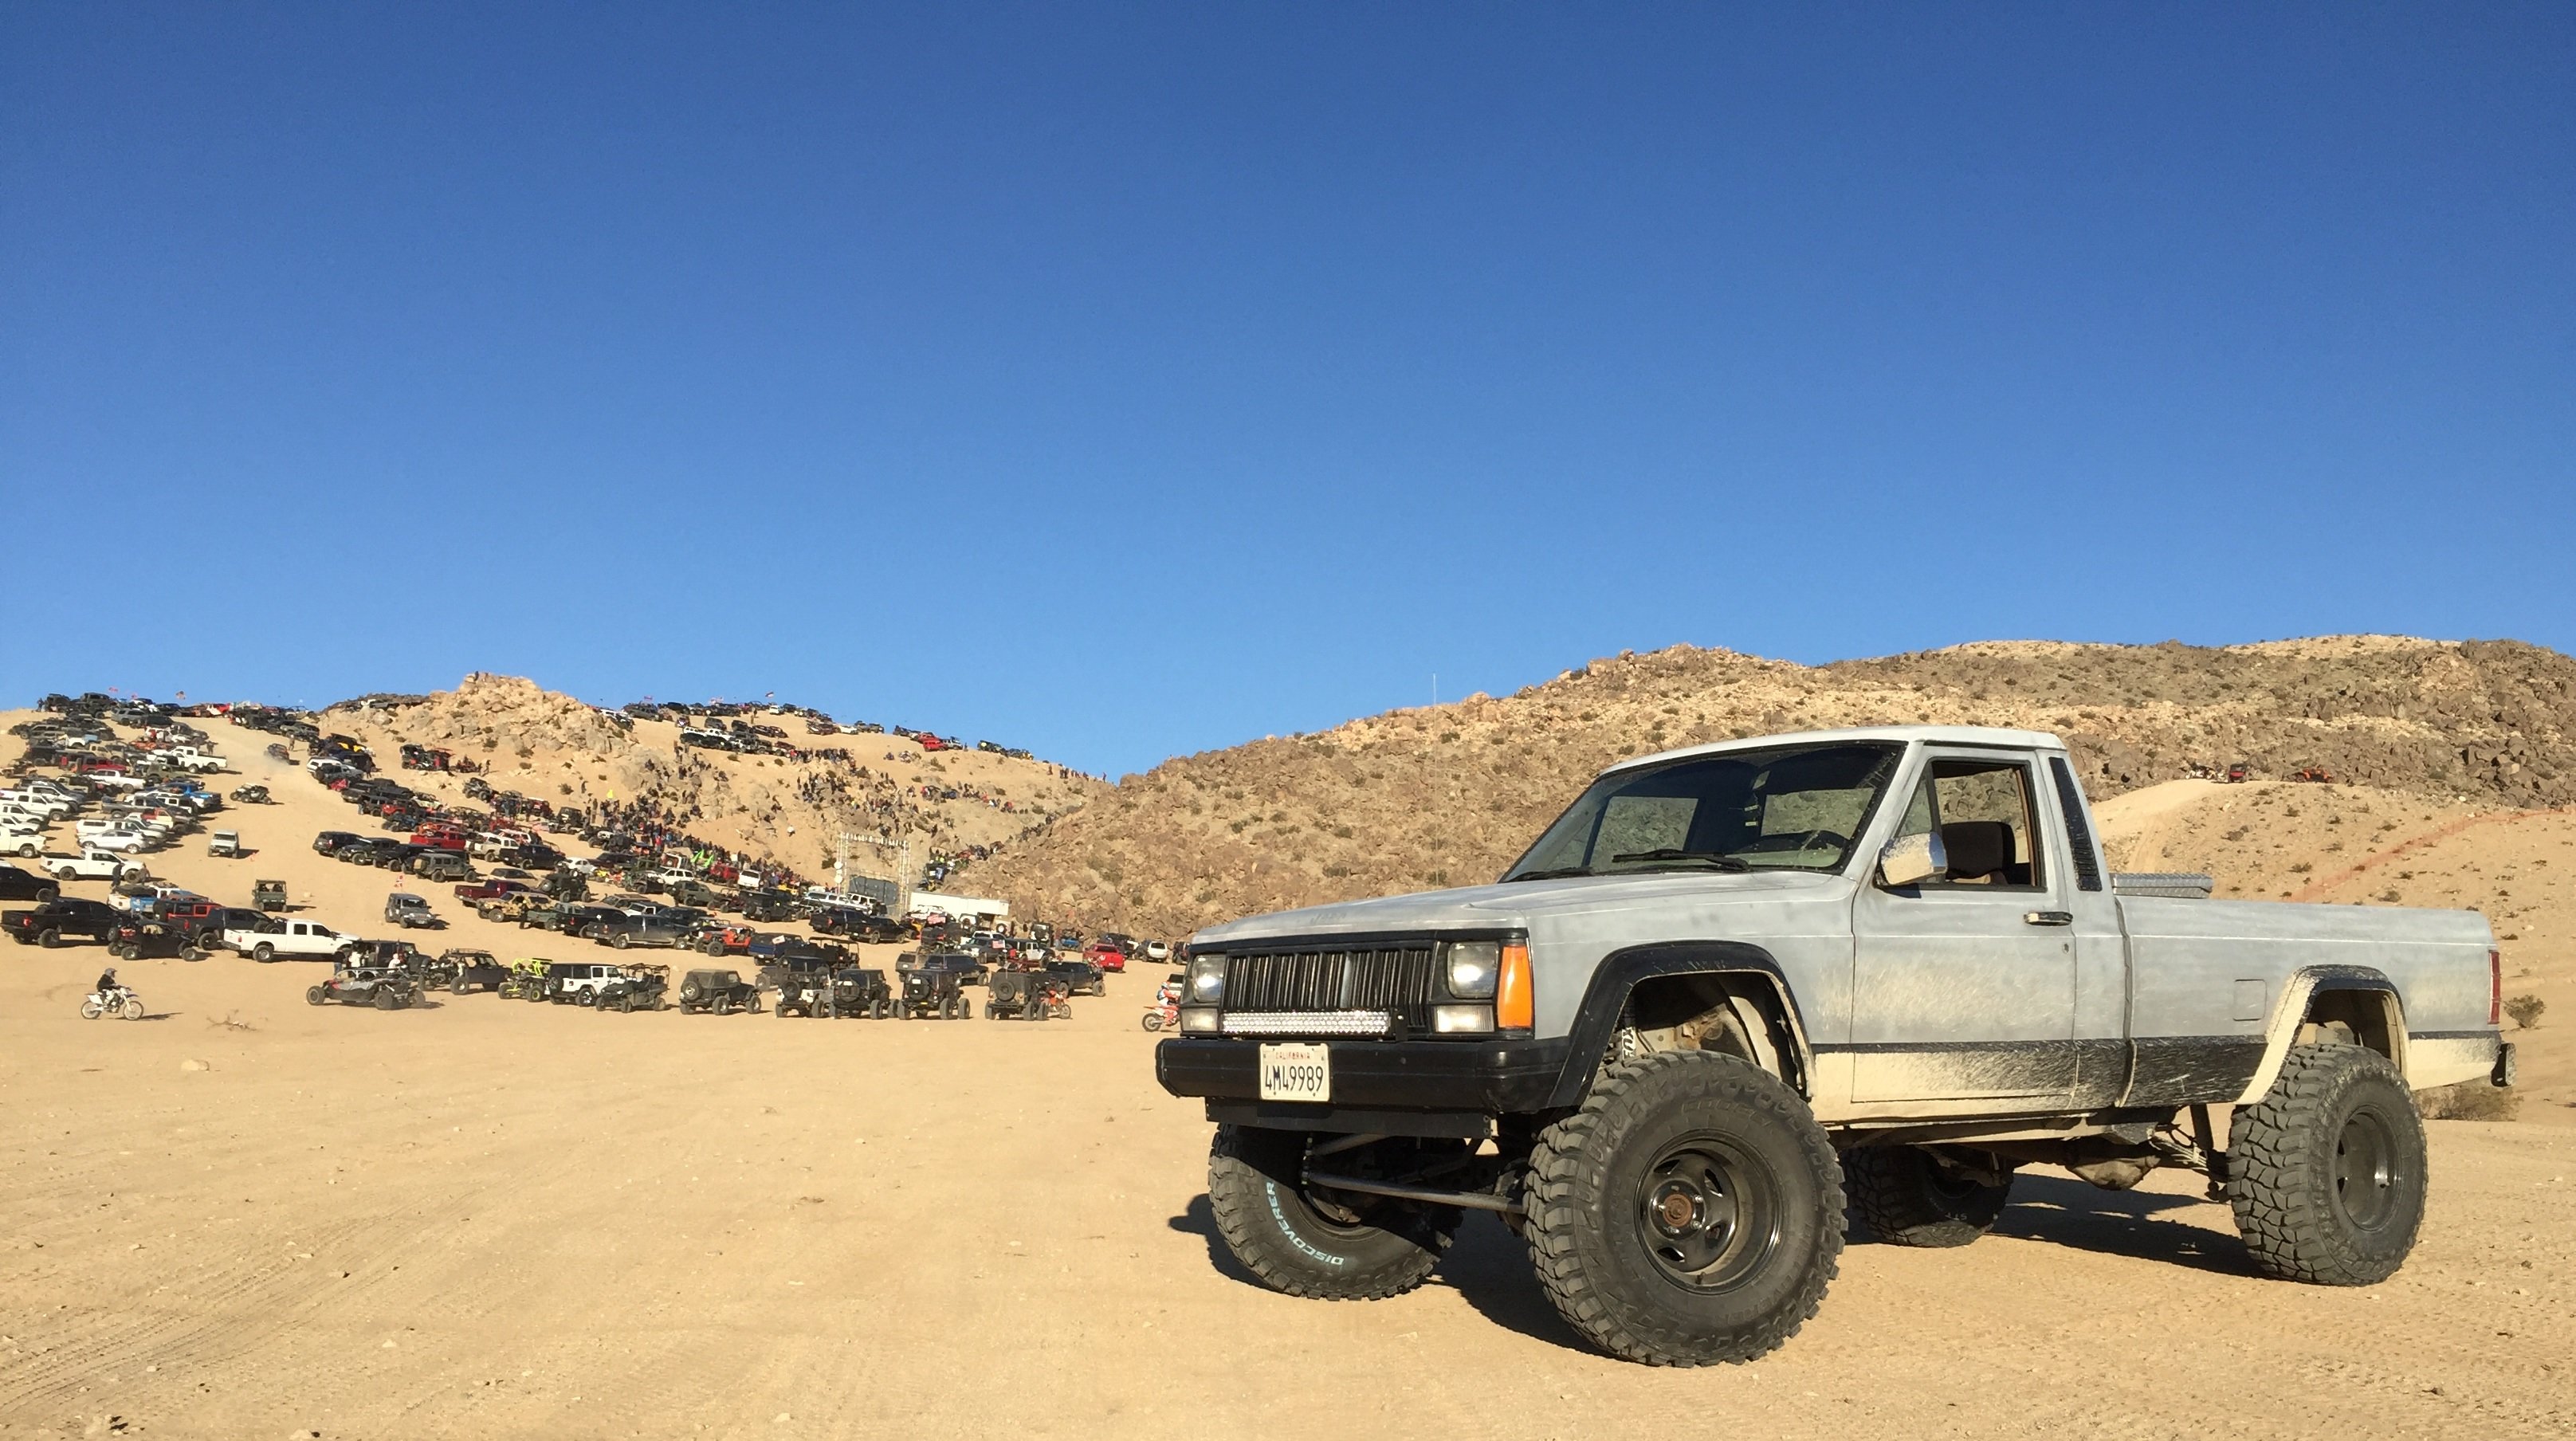
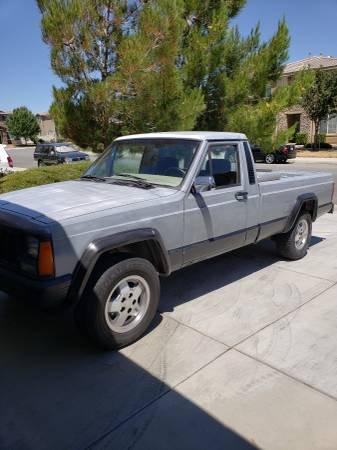
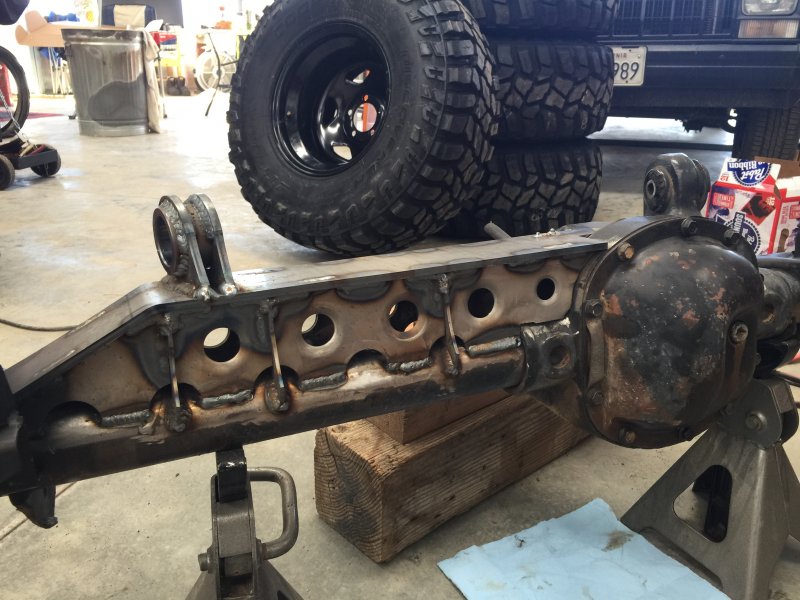
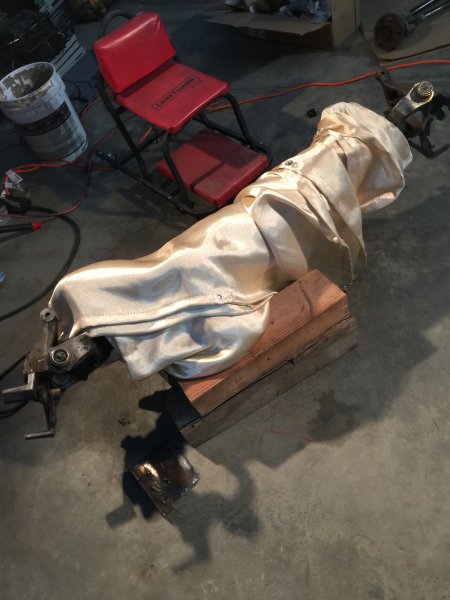
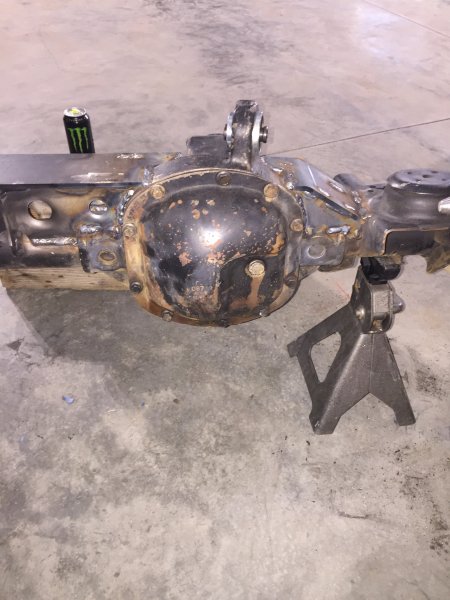
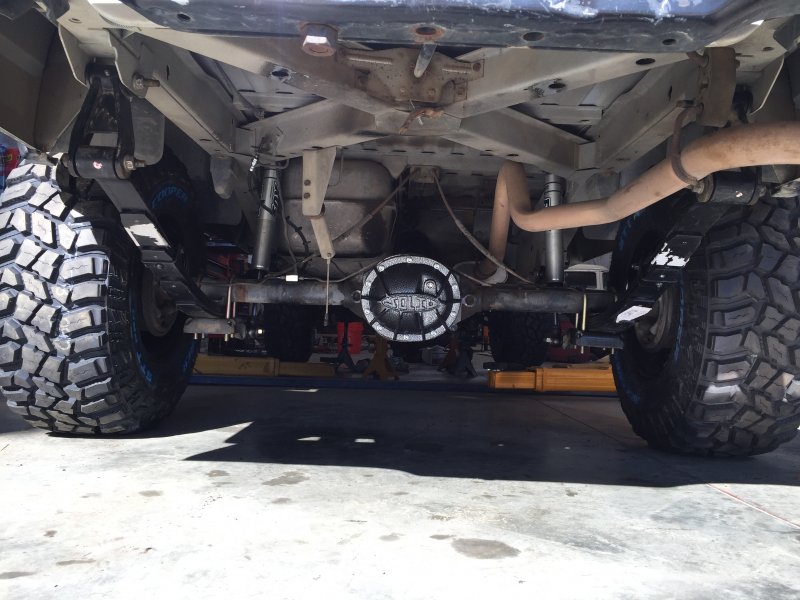
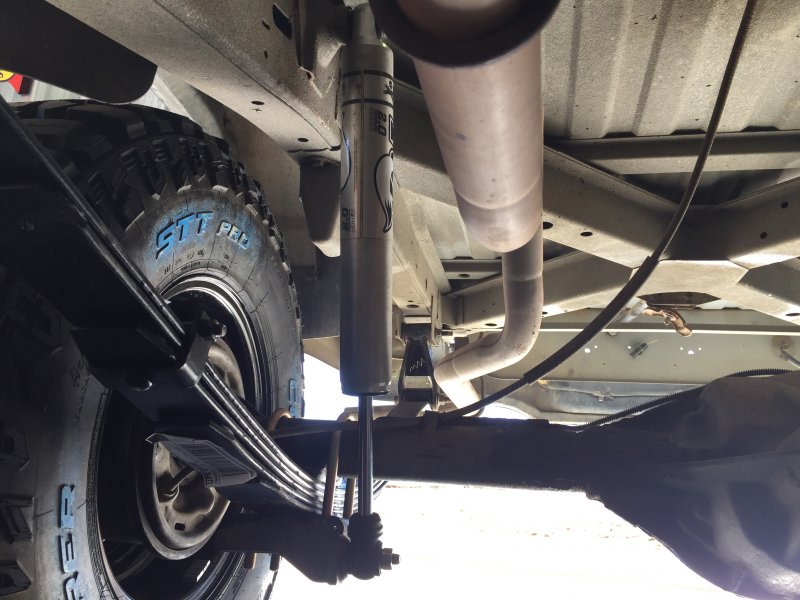
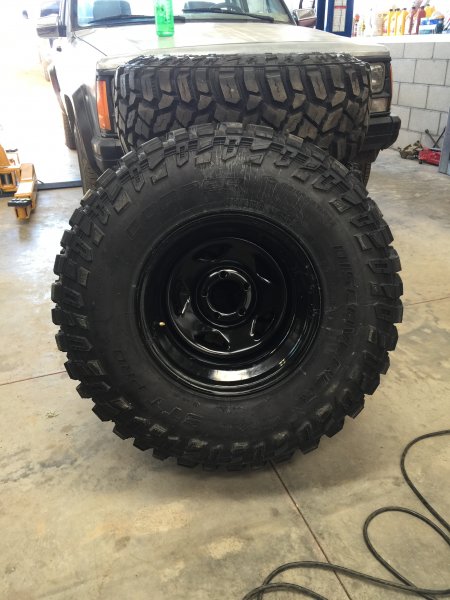
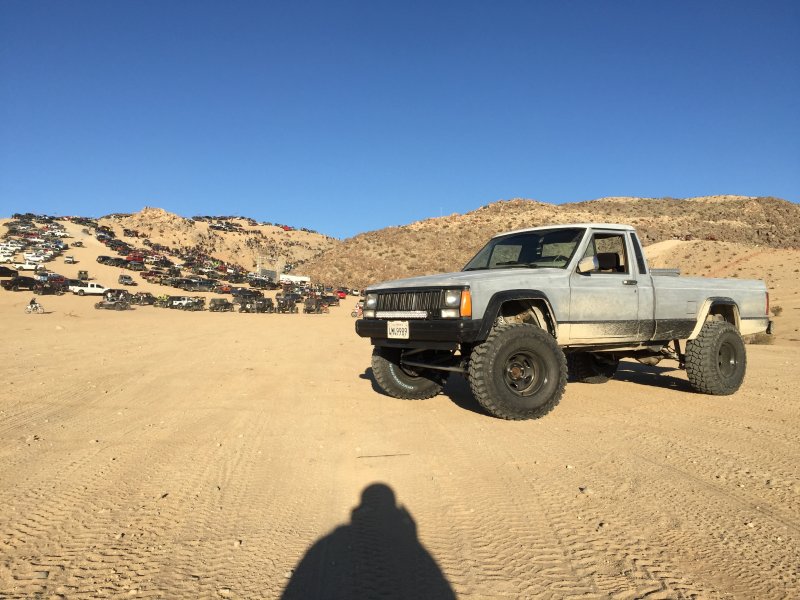
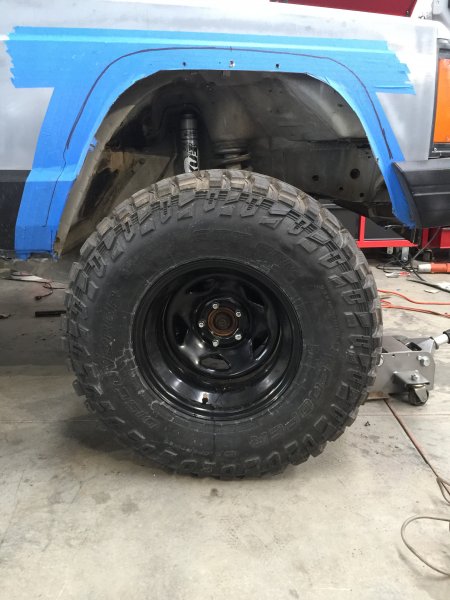
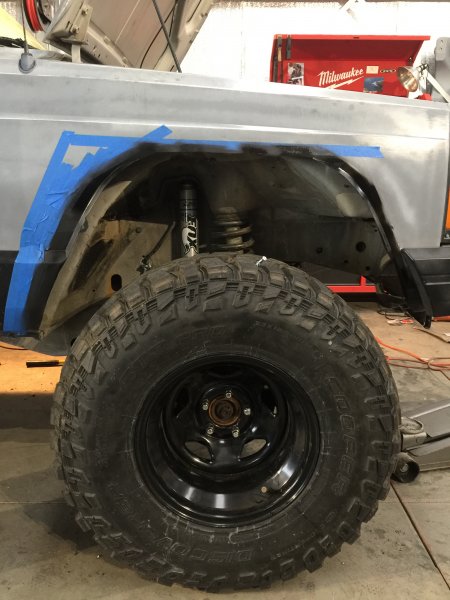
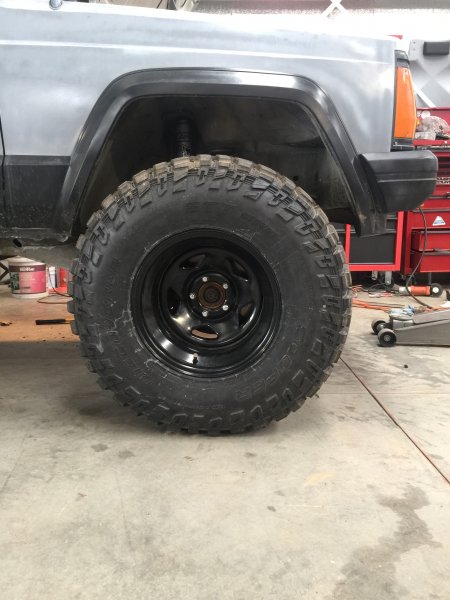
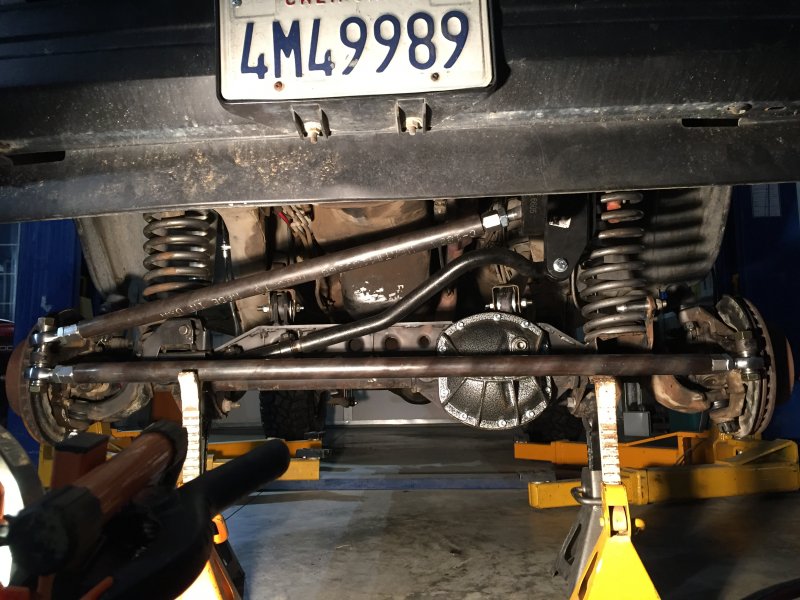
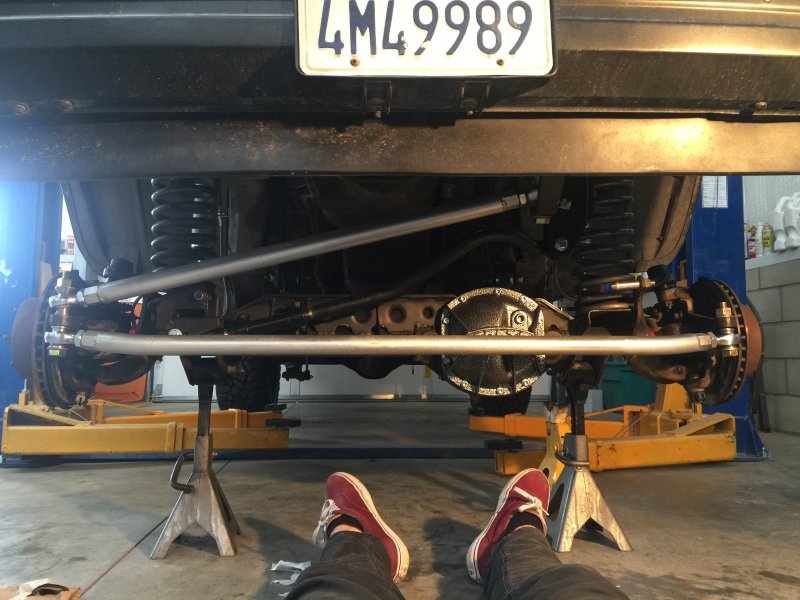
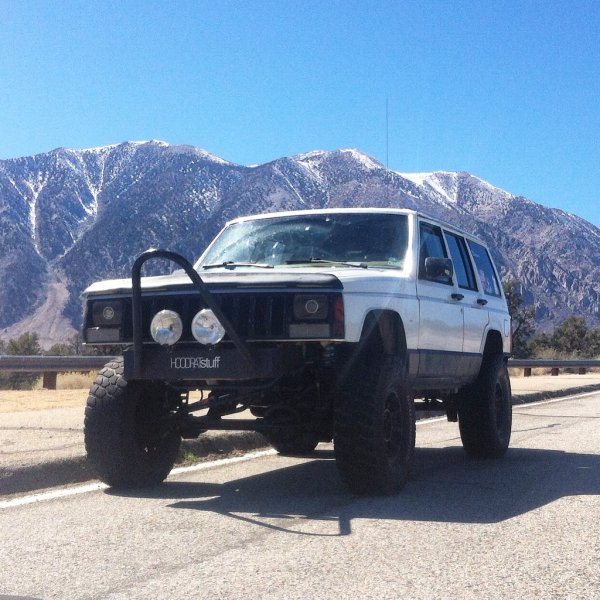
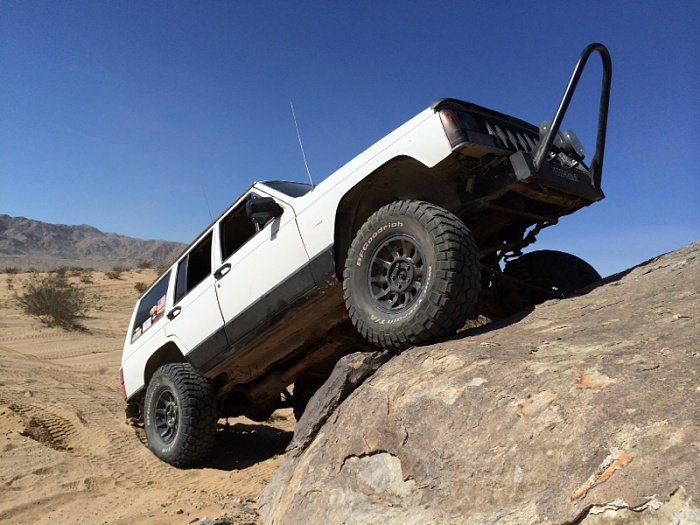
I grew up driving Jeep Cherokees, and my daily all through college was a budget rock crawler XJ. Ultimately the motor died from abuse at around 200k miles a few years ago. I got a reliable daily and the goal was to rebuild that Cherokee from the ground up…. until I spotted this Comanche on Craigslist. I’ve always wanted a Comanche, and after going to look at it in person I was sold. It’s a 92 2WD long bed with the HO 4.0, and I have all the parts needed to convert it to 4WD. The game plan was to drive this truck to KOH, which gave me 4 weekends since I don't store the truck at my place. So I pulled the front axle, drivetrain, suspension, and any little piece I could use off my XJ. First job was to give the front axle some love. I purchased an Arctec truss with Currie Johnny Joints, Solid diff cover, Ten Series tube seals, ball joints, and started to replace everything. I cleaned the axle down, propped the truss into place, and followed the instructions I got with the kit. The truss needed to be clamped down onto the axle on the backside as there was some gap between the truss and axle tube. First I just tacked all touching parts to help prevent any warping. Next I welded it on opposite sides for 1” intervals, and allowed it to cool for 15mins between welding the next spot. Once all the tubes and end were done it was time for the cast. I read a lot about this, and was a little nervous as this is my first major welding project. My buddy held a torch and heat sensor and warmed it up, but the air was so cold so we couldn’t keep it above 200-250 without constant applied heat. (using MAPP gas) So while it was sitting at 250ish, my friend would concentrate on one area until it hit 325, and when he moved to the next spot I would weld behind him, and I chased him around the axle. When we finished 2 people picked it up by the knuckles, and one person wrapped it in a welding blanket, and we let it sit overnight around 12 hours. (sorry lack of photos, it all happened so fast) Next morning it all looked good to me, and seems strong! With that done and the axle assembled, it was time to start putting parts on! The rear was pretty straight forward, new leaf springs and used a Dodge Dakota brake line. One thing that surprised me was the shock, I had Fox 2.0 shocks on my Jeep (for a 4.5” lift kit) and wasn’t sure the rear shocks would fit after reading some posts. After measuring in the OEM shock mounts I have around 3.5” down and 4.5” up, and figure the leaf springs would settle with weight in the bed. I also lucked out on the leaf shackles, as the stock ones were too short. I had some aftermarket extended hangers from my old XJ and they worked out well. I’m hanging onto the stock springs for SOA down the road. Originally I was planning on using my old steering linkages as I had the solid tie rod from a Grand Cherokee, but the tie rod ends were super worn out. I ordered some new steering parts with my ball joints, but I didn’t check the steering parts when I got them and none of it fit together. I decided to pull the trigger on Ruff Stuff’s Heim steering kit. Link to steering build; https://comancheclub.com/topic/57502-ruff-stuff-34-heim-steering/ As for the front end the whole thing came off, we just unbolted it from the body and rolled it out on the stock wheels. . From my old Jeep I had those Fox shocks, 4.5” rough country coil springs, and some generic extended lower control arms. We got the axle bolted in and the coils in place. I decided to change the lower shock mount because the pin bent the mounting area pretty bad. I welded on a square plate with shock tabs, and gave it a little lean into the body. I also picked up some extended brake lines from Rough Country along with one of their HD Track Bars. I plan on doing a lot of weekend highway driving in this thing to go wheeling and camping, so I chose to get some Cooper Discovery STT Pro’s since I read they are not as loud as traditional mud terrains. I have about 350 miles on these tires now and they have been great so far. I also took a chance and mounted them on Crager V5 15x10 rims. I’ve read some people saying you can’t air down as far on 10” rims, and some people say they’ve never had a problem. I just liked the idea of a wider footprint and the look of a more filled out tire. After putting the tires on it was time for some fender trimming. The rear doesn't rub bad, but the front needed a lot cut. Here is a guide how to trim and keep your stock fender flare! https://comancheclub.com/topic/57504-relocated-front-fender-flares/ After installing everything I put around 50-75 miles on the truck to find any other issues and then I hit the road! I loaded up and drove 2 hours out to Johnson Valley for KOH. Although it was still only 2WD, I was stoked to get a lot done and put about 300 miles on the truck and see how everything was going to work. This truck cruises 65-70mph on the highway with no issues, and felt great ripping around the desert all week. I'll be doing the 4WD conversion early March and plan to document the swap as I go.


-
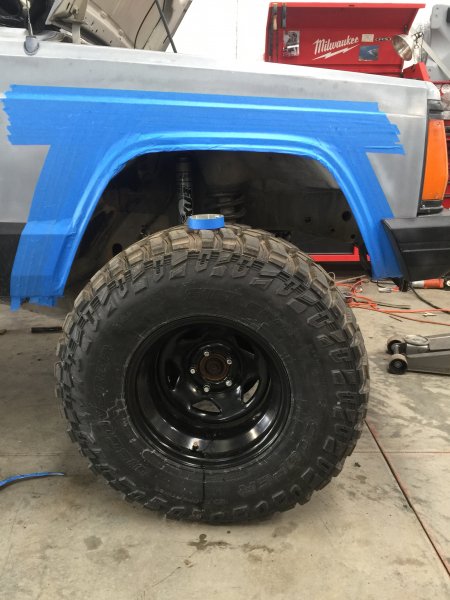
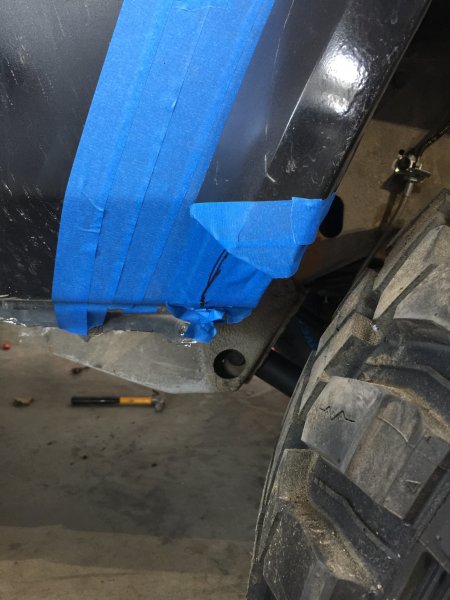
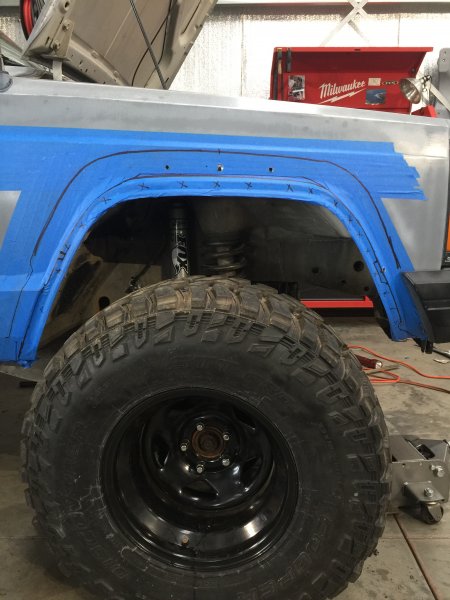
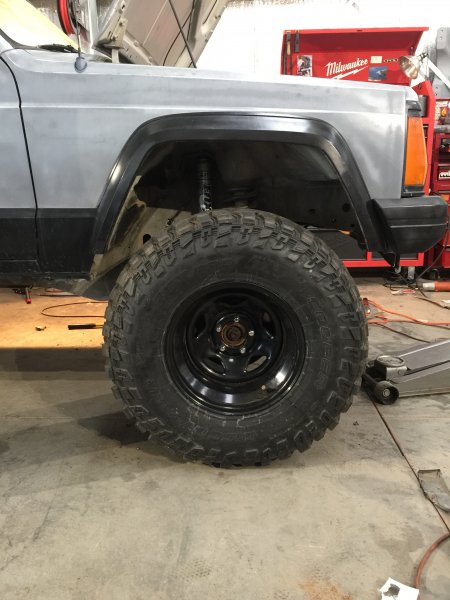
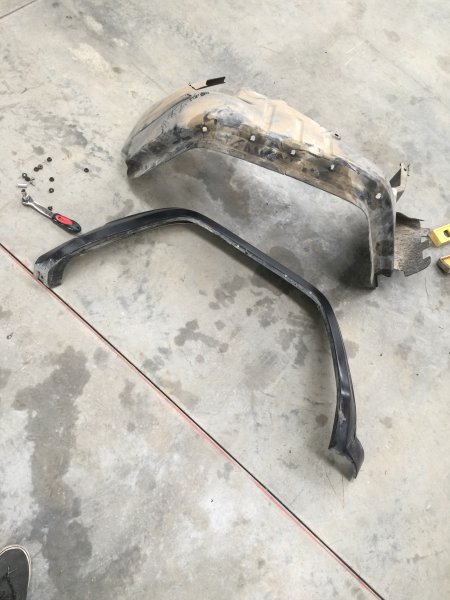
I wanted to keep my stock fender flares after trimming, so this was my solution. This is for 4.5" of lift with 33s, I only rub the ends of the plastic on the flares at full bump now. Here is the stock clearance. First step is to remove the inner wheel well and flares. I ditched the wheel well liner, but if you plan on keeping them, they will need to be trimmed and you will need to be careful when removing them. Mine ripped before becoming undone. Clean all the dirt off and cover the area is masking tape so you can use a Sharpie to sketch out where you plan to trim and drill. Place the fender flare when you want to position it, and trace it with your sharpie. I moved mine around 1.5" up or so. There will be 3 metal plates in the fender flare, however I opted to ditch those, and just use plain nuts and bolts with washers. With the flare in position mark all the bolt holes you plan to use and drill, I used a slightly over sized drill bit to allow for some flexibility. I also added tapes to the ends of the flares, the plan is to trim along the body line to keep it clean. With everything traced, its time to cut away as much as you can. I could have cleaned up the lines but figured it would be covered so it didn't matter to me. With the fender now cut, add some paint to keep any of the now exposed metals from rusting. All you have to do now is bolt the fender flare on after you trim it and it should look like this.

-
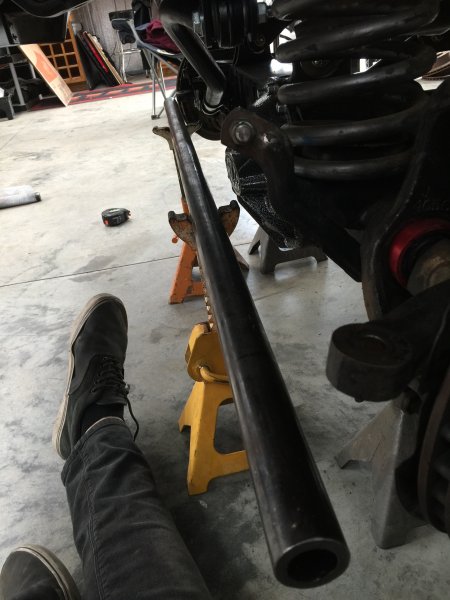
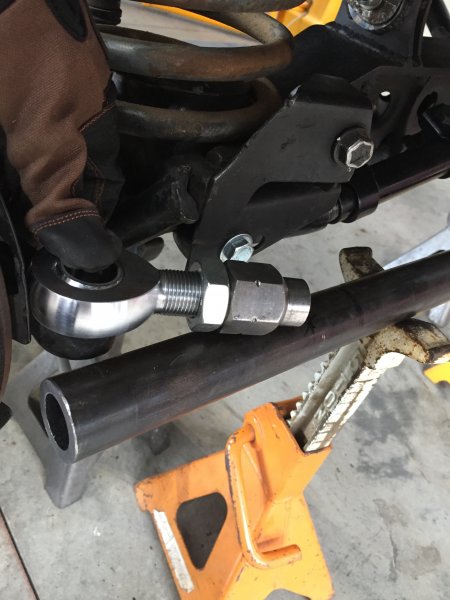
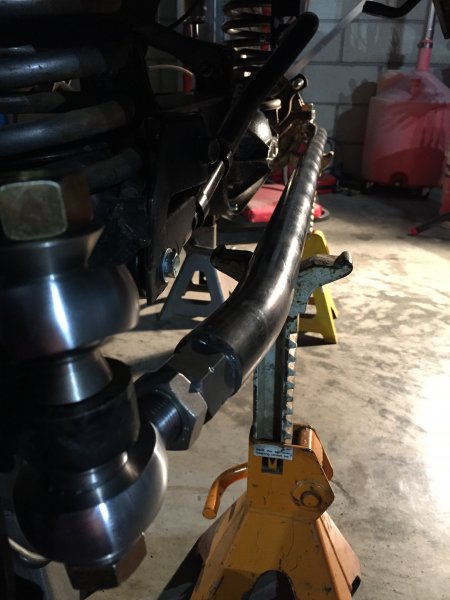
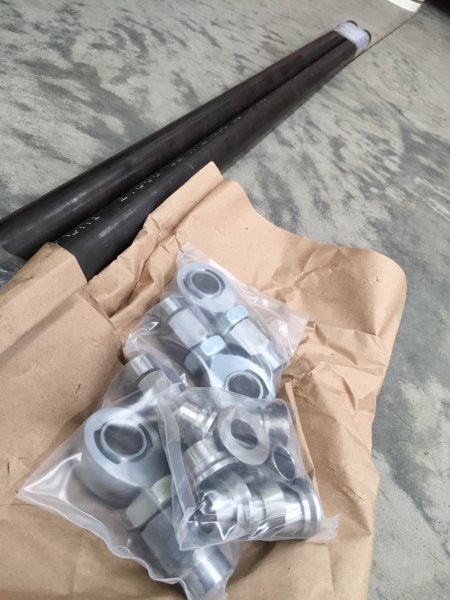
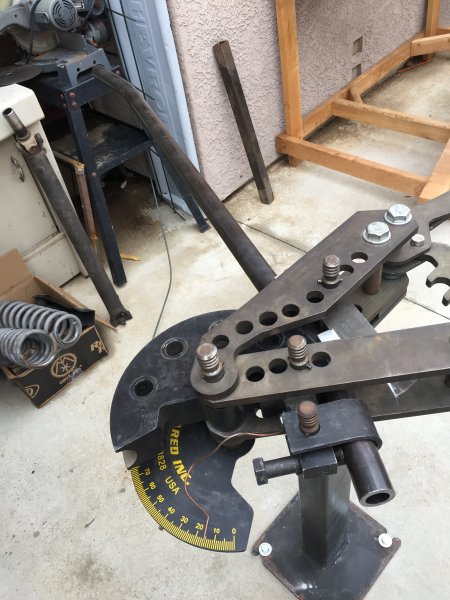
Sorry for lack of pictures, I was kind of doing this with no guide so I didn't think it would turn out so well. My stock steering was totally blown out so I opted to get a good replacement. http://www.ruffstuffspecialties.com/catalog/78STEER.html First thing I did was mock up the tie rod on some jack stands. Because I was using 1.5" tubing, it was going to need clearance. I eyeballed some different angles and measured, and figured 15 degrees should be good. I put the bends in 9.5" from the end of the tube. With the bends in I started to mock it all up to see how much I would need to trim, Ruff Stuff gives you pretty long tube just in-case. With the heim threads screwed in halfway, I trimmed off the ends until it sat aligned, and ended up cutting around 4.5" off either side. I used the same method for the drag link, heims half way threaded and cut to fit. You will need to drill out your knuckles and pitman arm to fit 3/4" bolts. Took me 2 drill bits to get through it all, I am also running a drop pitman arm to match the track bar angle. (sorry for no photos!) Once I had everything mocked up, I welded in the bungs, bolted it on and cycled the steering to make sure everything cleared and there were no binds. The last step was to add some metallic silver paint, and had it aligned. I have about 350 miles on this steering now and it has been great, it didn't wobble or anything before the alignment and feels great driving through the desert at speed. I realized after I should have welded a tab onto the pitman arm to double shear the heim so I'll be redoing that at another point in time.
-
Lookin good!
-
this had me dying
-
Link is working for me. I love pre 97 burgundy interiors
-
That would be so fun to walk around with
-
That would be rad! I'm sure if you're cooking enough for everyone the HOA might be into it as well haha
-
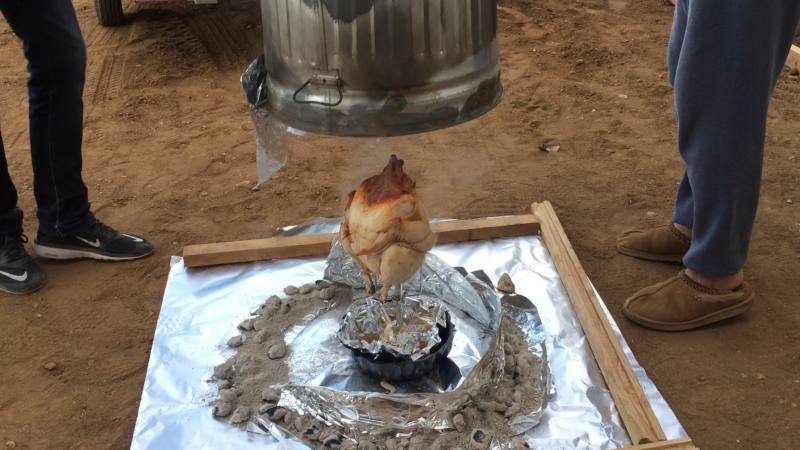
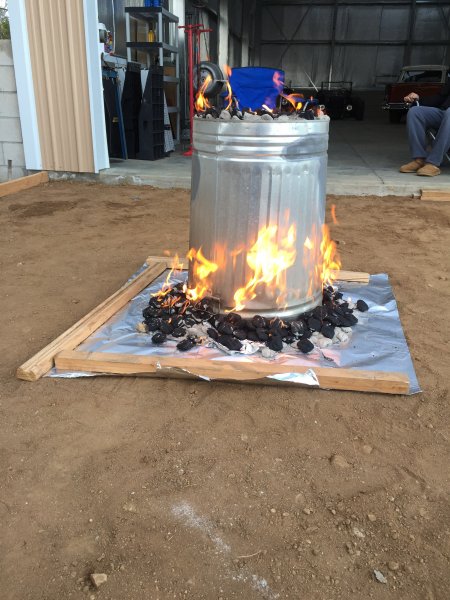
I know this is late, but my family has a "Trashcan Turkey" tradition... It sounds weird, but we cook 2 turkeys every year, 1 deep fried and 1 one done in a metal trashcan with coals. You want a bowl or something under the turkey as well to catch the juices and keep it humid in the trashcan. We've done brined turkey before but a smoked turkey cooked with the trashcan method has been one of the best tasting turkeys I've had.
-
Well I technically have an XJ and MJ, however the XJ is currently being cannibalized into the MJ Here's some photos while it was still running. It threw a rod bearing when the oil pumped failed. Originally I was going to rebuild it and do some other stuff, until I found a pretty good deal on this 2WD LB Comanche. I've always wanted a Comanche and decided to start fresh rather than rebuild.

-
Just wanted to jump on the bandwagon and thank Pete and everyone else on the forum so far. I have been a member of CherokeeForum and Naxja for years while I had my Cherokee, but after buying my Comanche this summer I found this forum shortly after and I have really enjoyed reading and seeing other builds and ideas on here. Everyone on this forum has been awesome in my limited experience, and I appreciate the vibe you all seem to have here and I hope to contribute more as my build begins.
-
the new Jeep truck. it is what we all thought it would be.
DIRT_NASTYY_ replied to Pete M's topic in The Pub
Saw this concept from Dirt Alliance, I'm already excited to see the race builds based on the Gladiator.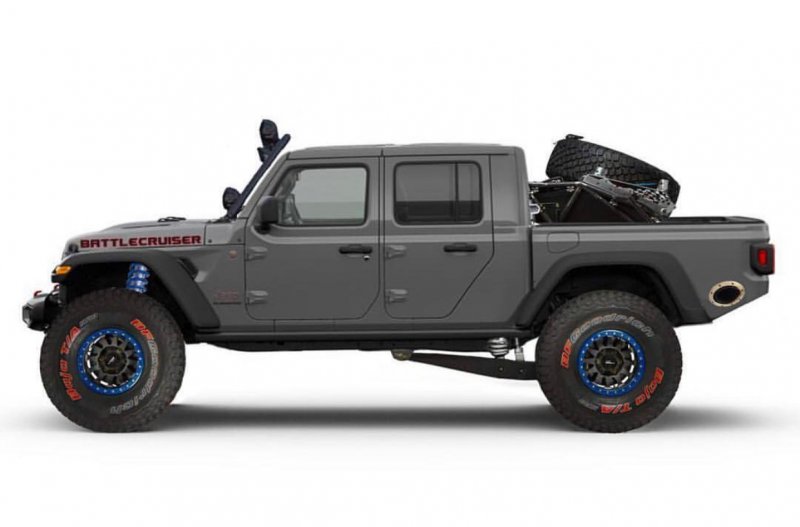
-
I checked the rear awhile back and it's a Dana 35, which is weird because it has all the other options that would come with a tow package. Will the gauge cluster work in a 92? I thought the speedo was driven by something else, otherwise I prefer that cluster over the one with a giant gas gauge in my MJ. I'm also trying to see if the CC will work because this truck will see a lot of highway driving. Sounds good, I'm currently looking at things to swap into my MJ, I have a few friends with XJs that are going to pick the rest apart then scrap what's left. I want to post whats left on here, just depends on how long I can keep it on the property all pulled apart.
-
Good idea! Once I begin to tear it down I'll be posting the left over stuff if anyone is near in SoCal! It's the Laredo, power everything and I believe it might have had the tow package. Forgot to include that! I thought about using the doors but I would prefer manual locks / windows this time around. I'm fer sure using the front axle and T case for a 4WD conversion, but going through interior looking at stuff currently.
-
I have a 1990 Jeep XJ that is going to be scrapped beginning of next year, and I'm trying to decide on what I can pull off it to use on my 92 MJ, current ideas: Steering Column, the one in my XJ has tilt steering, and I was thinking of converting to the floor shifter while the trans is out as well. Cruise Control? Not sure if the renix era is different, it's all there so is it plug and play with a 92? The top dash is a lot cleaner (one in the MJ has a big hole on the top)
-
Stock Rear Drive Shaft at 4" of Lift?
DIRT_NASTYY_ replied to DIRT_NASTYY_'s topic in MJ Tech: Modification and Repairs
Awesome, at least I can get out in the desert sooner than later! -
Hi everyone, New to this forum but stoked to get working on my new project! I just picked up a 92 Comanche, I was going to rebuild my old Cherokee but couldn't pass up the deal I found on this MJ! It's bone stock, LWB, 2WD. I am going to use the parts off my Cherokee to convert it over to 4WD. I know I have to get the rear drive shaft shortened when I convert it, but it's going to be a month or two before I can swap in the transmission and transfer case. I'm wondering if I can can add 4" of lift and run the stock rear drive shaft for the time being, couldn't find anything about this.