
MancheKid86
-
Posts
1594 -
Joined
-
Last visited
Content Type
Profiles
Forums
Gallery
Everything posted by MancheKid86
-
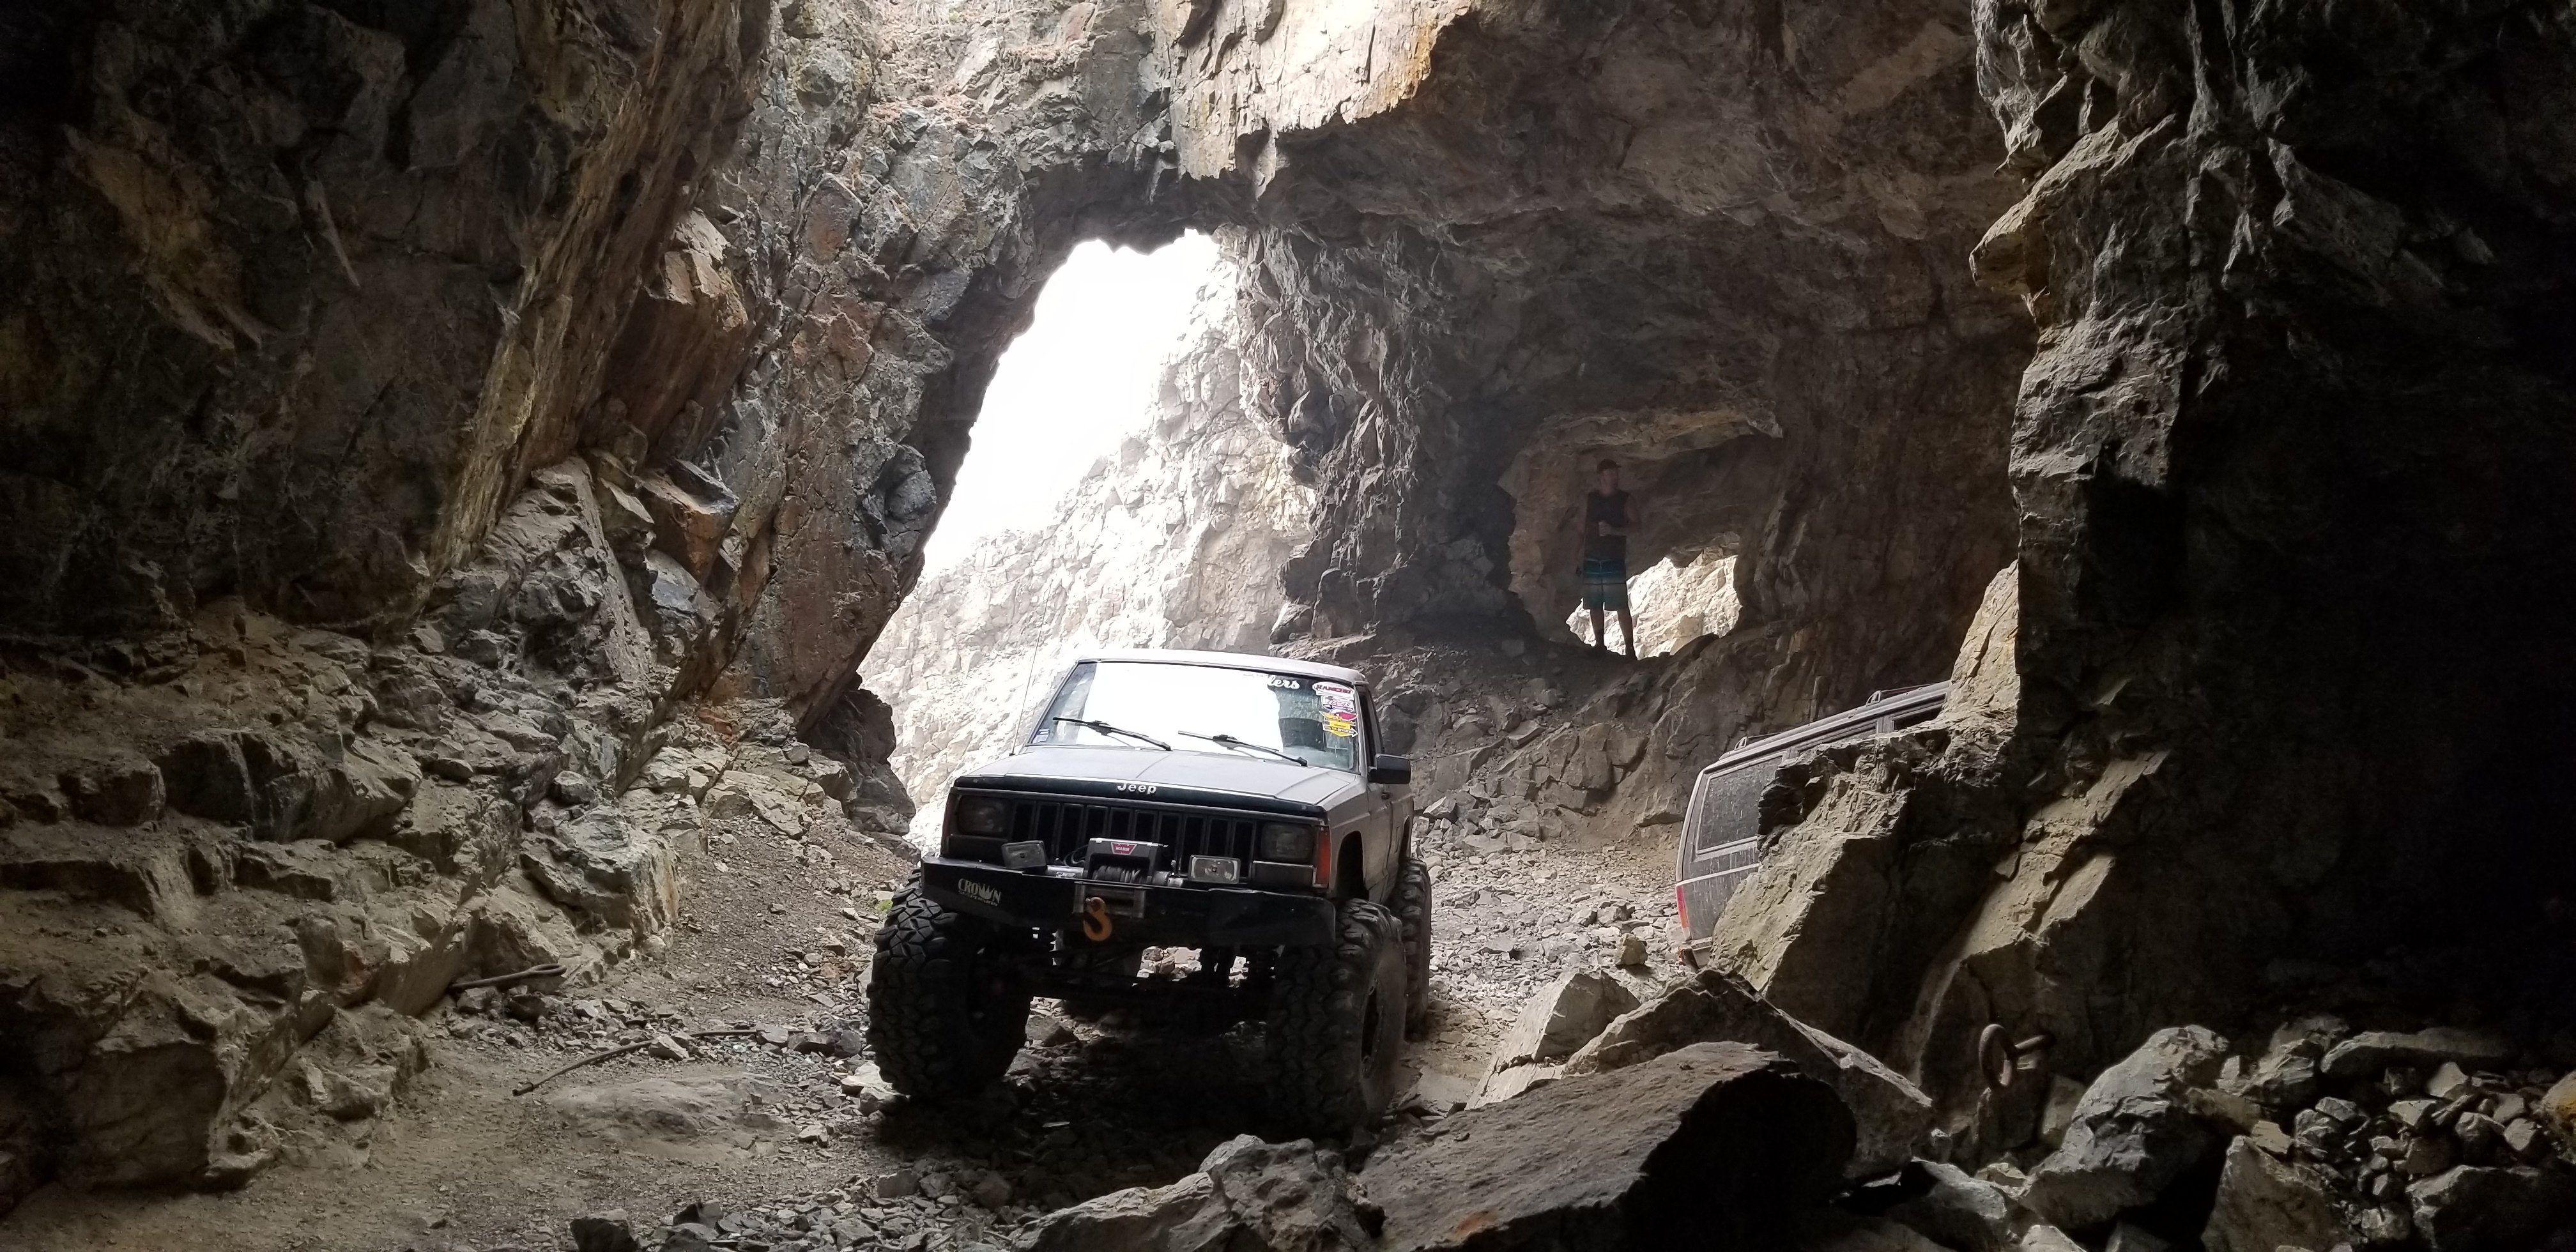
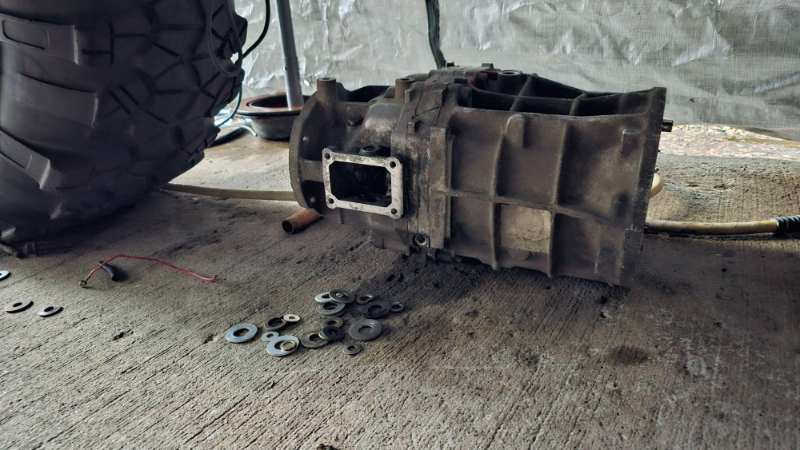
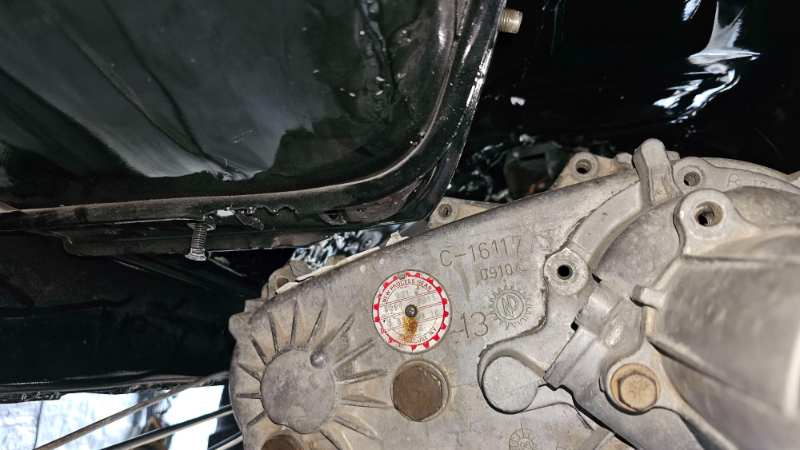
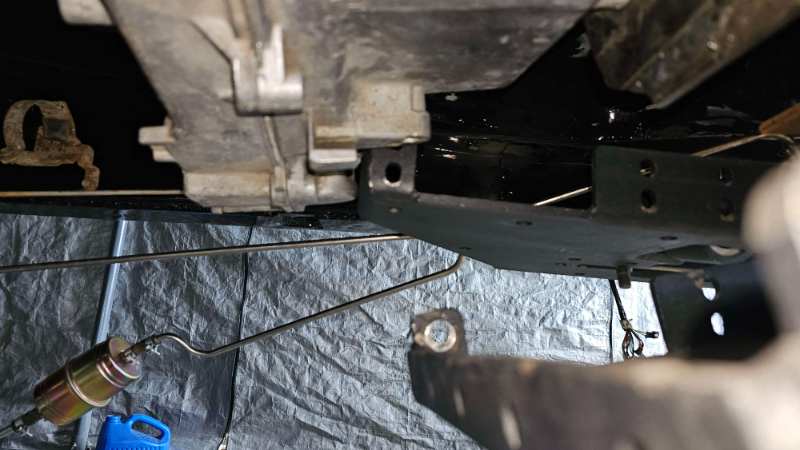
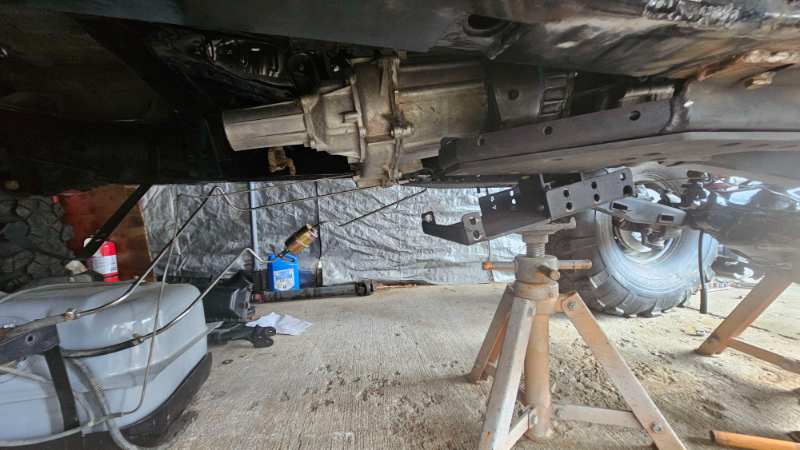
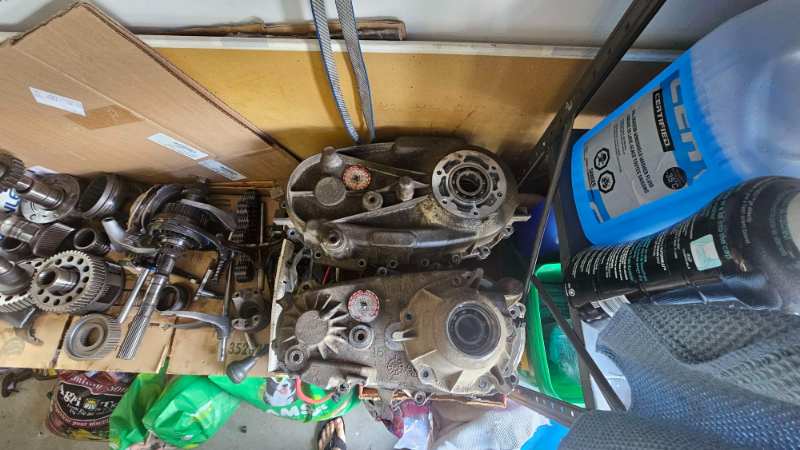
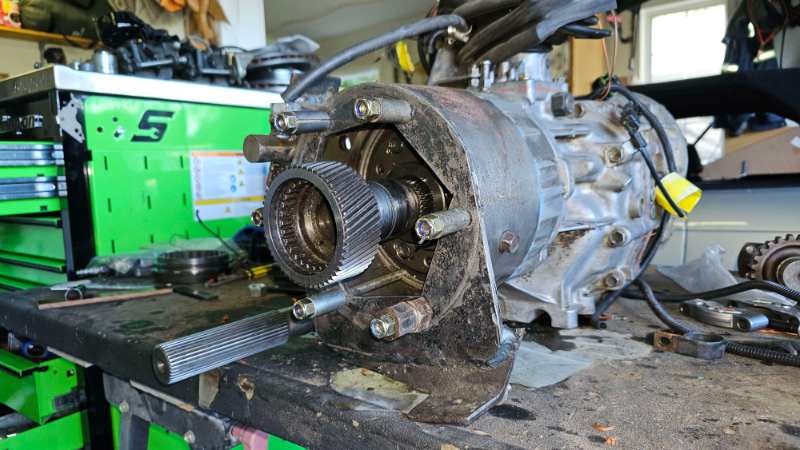
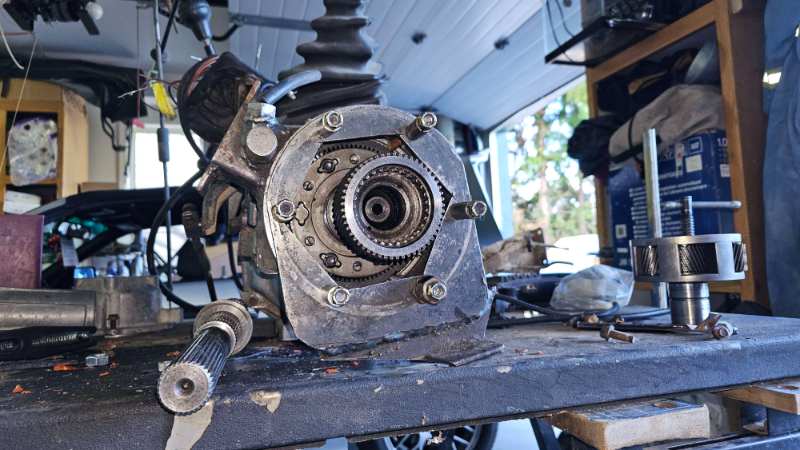
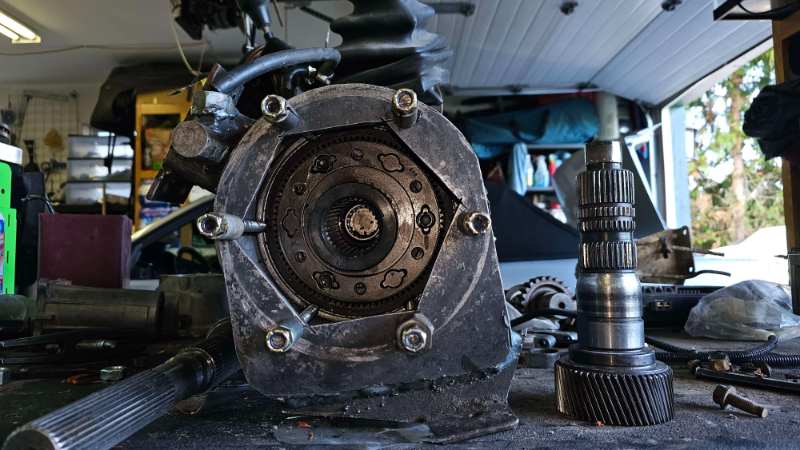
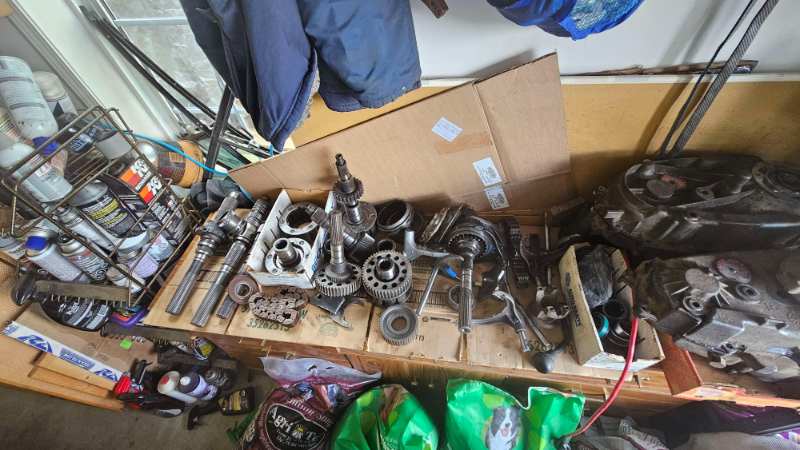
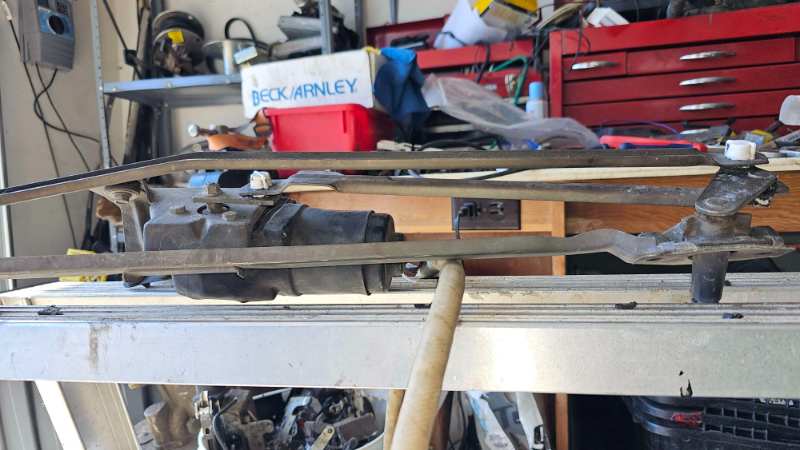
well the clearance washers worked boys! our clearance is clearancing!!!! no cuttin for this guy!!!!!!!! clearance washers in action 20250524_170031 (1).mp4 and removed after adequate clearance achieved all jokes aside, IT CLEARS! I can't believe it. it is extremely tight but its doable I would also like to redact statement two on page 5 "2. the ironman 4x4fab xmember is so wide regardless of the doubler it makes it extremely difficult to install tcase/trans at the same time. to the point I am cutting the floor out I have made and turning it to an access panel" it actually clears perfect with the doubler. granted I still need to make a custom driveshaft for the front thinking if all goes well, I can maybe take it up and down the street in a week or two. brakes have to be done first. not much flat land in these parts. now with all the empty casings out. time to work on the transfer cases. I have acquired an np 2005 241 D I was planning on using because it has bigger internals than my current np241 AND supposed to have a 6 planetary gear setup. after taking it apart and examining carriers its only a 3 planet. what a shame.... I tried to put my 6 planet in, and it didnt fit so I tore open the 99 np231 J i had lying around to use the casings and stuff my orginal np241 internals into it. that also means, no machining on the legendary homemade sector shaft required! there were few that believed it would hold up. but 30+ years, i'd say it has done well starting to mock up the doubler and set up hi/lo shift rail (i destroyed the otherone being dumb years ago)
-
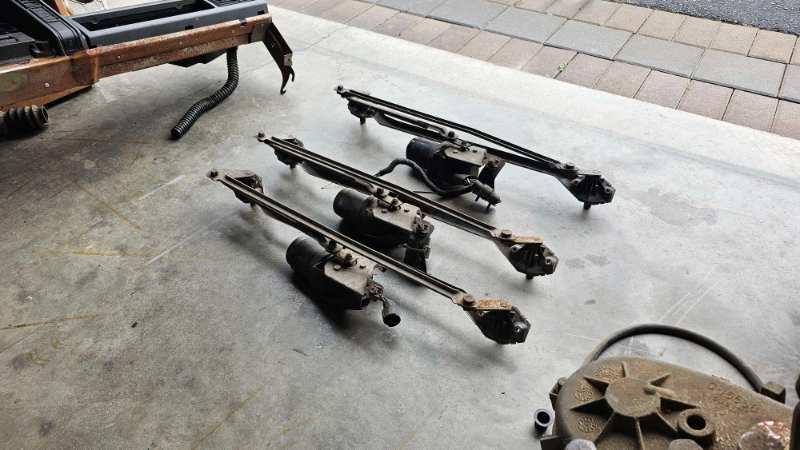
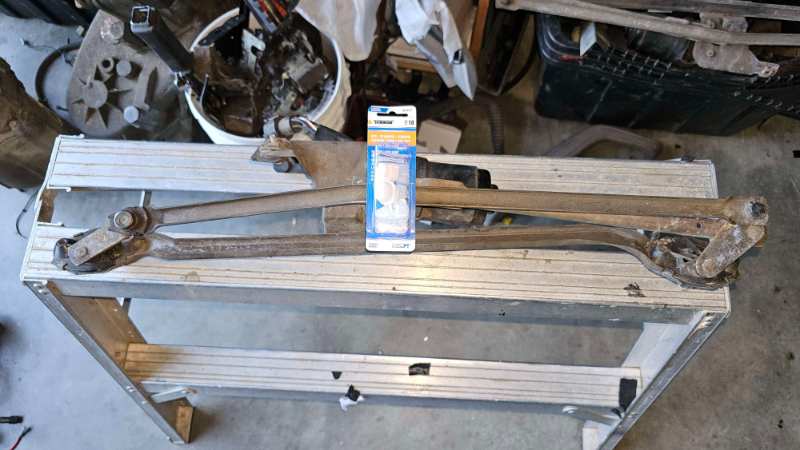
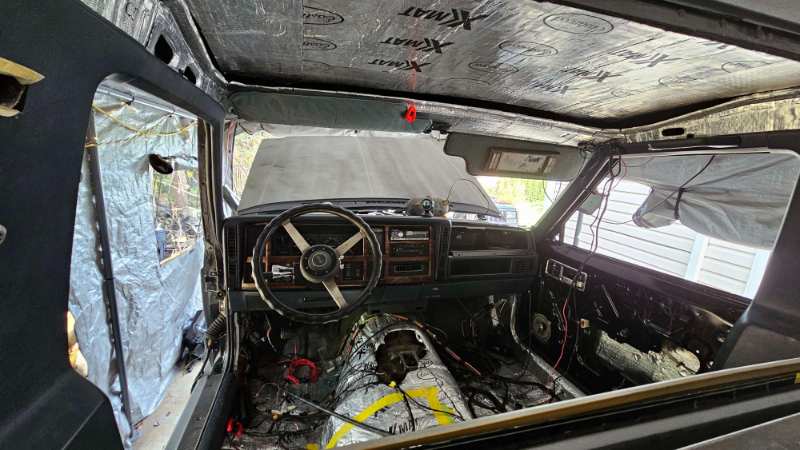
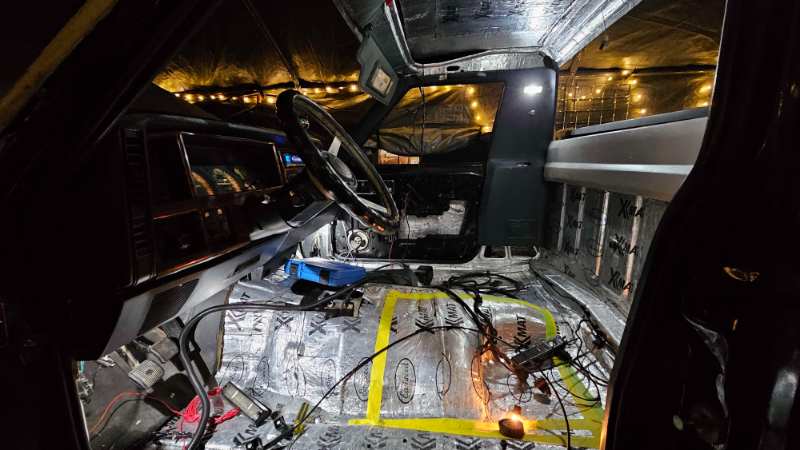
the battle of the motors has begun.... and finished. in rapid succession. the winner recieved new bushings. dash all buttoned up. all switches functional. need some custom switch placards. cab fully wired. time to cut my floor and turn it into an access pannel
-
gave it some washers 20250524_170031.mp4
-
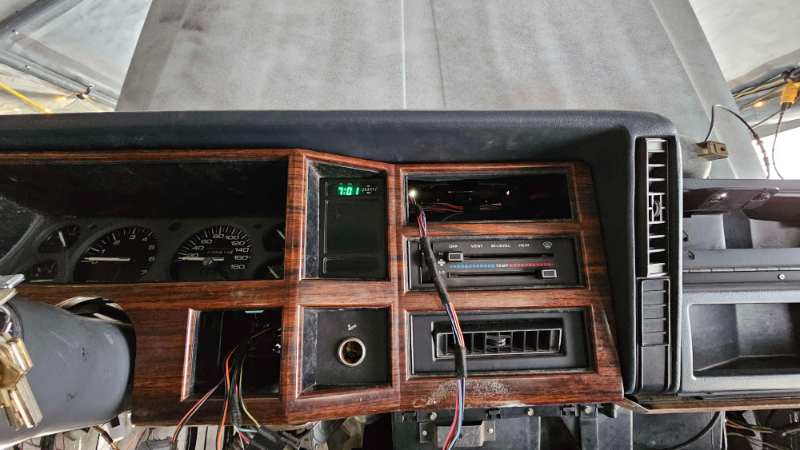
clock works!
-
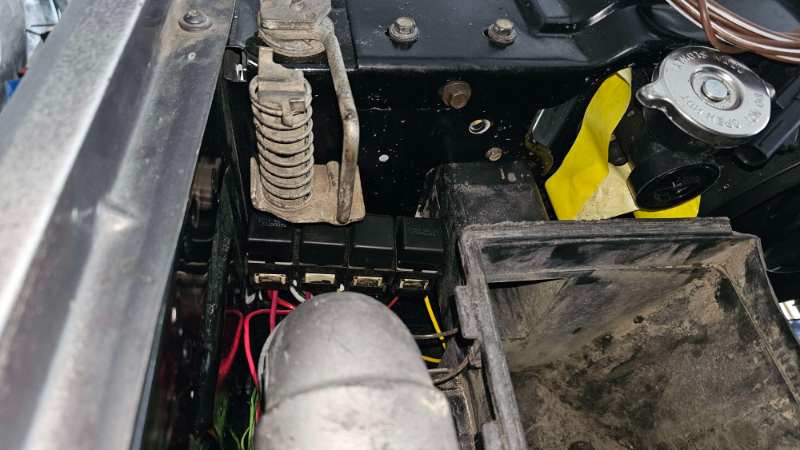
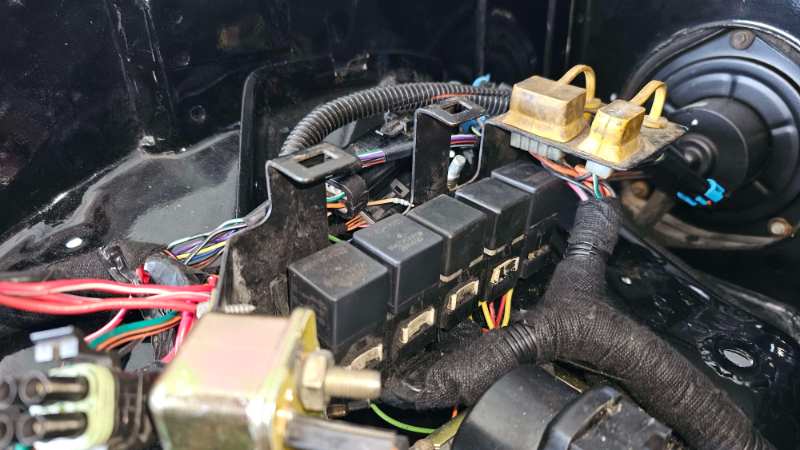
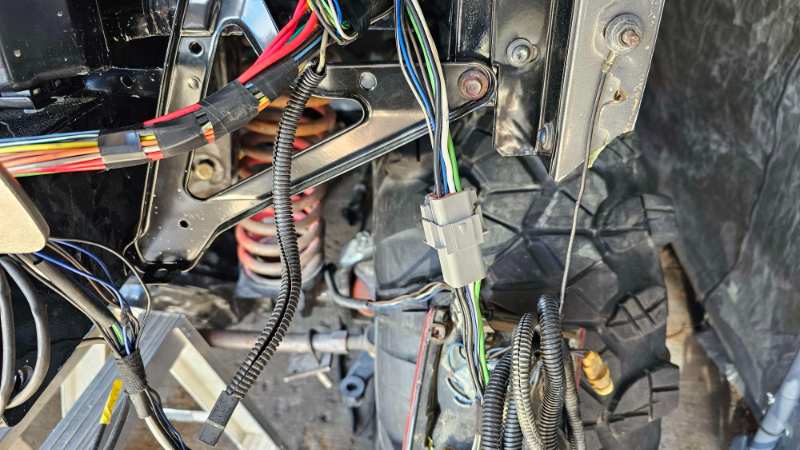
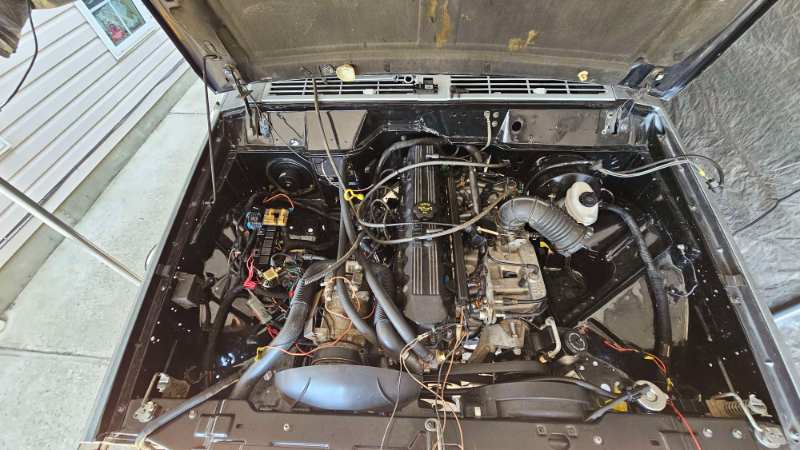
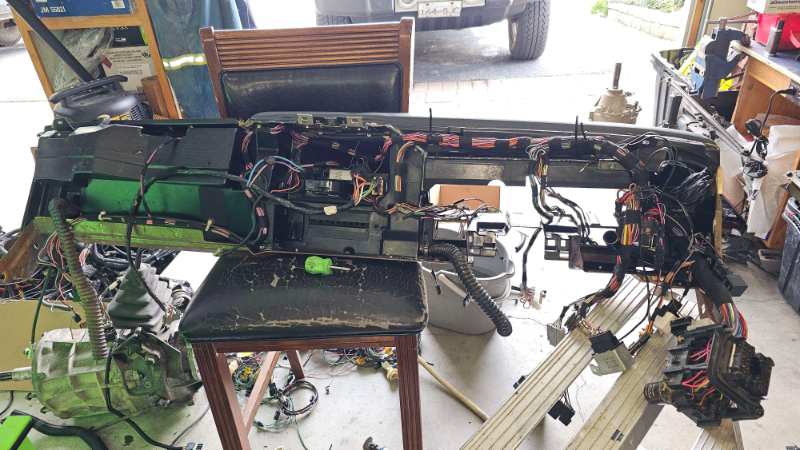
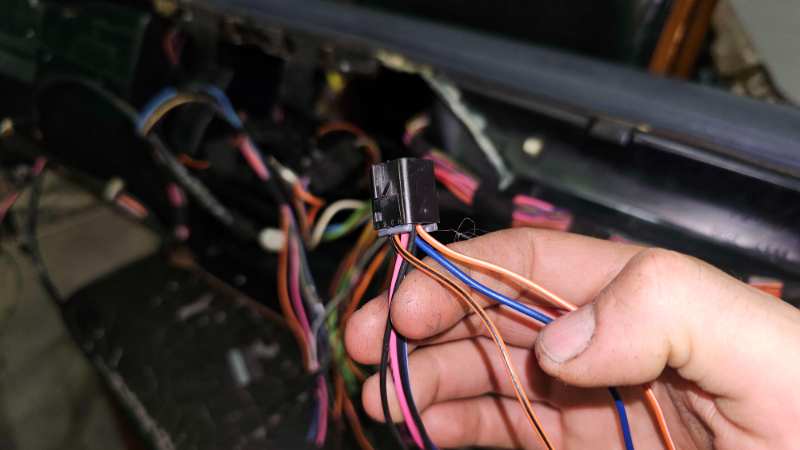
been a few days! headlight relays fit perfect beside the airbox! (need to add the little grey clips that hold the back of them tight) you can even sneak an extra one under the renix diag ports headlight harness is done you can see the wire beef connectors showed up engine bay is looking better, no more jungle of wires. need to shorten the temp sensor wires, add the onboard air stuff. delete the balast resistor (it is removed. just have it jumpered. but will solder the wires together. doesnt do anything anyways) putting the harness in the dash. had it in and all wrapped up before I realised the clock I want to use (the quartz one) was lacking the wires to function. pulled another harness out and robbed the wires.
-
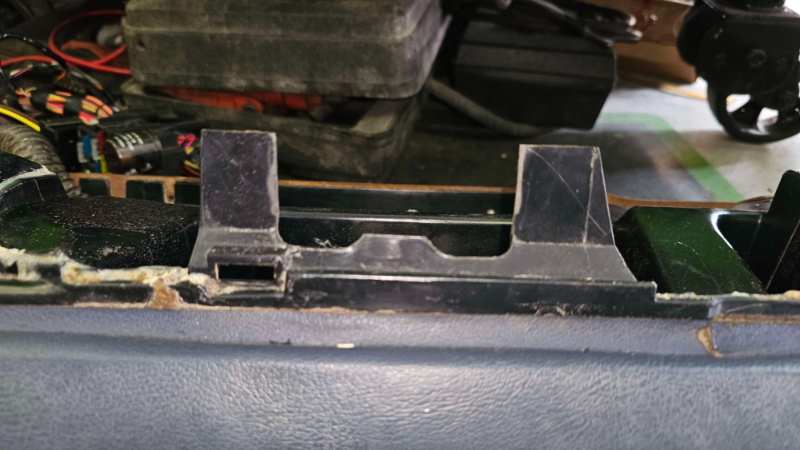
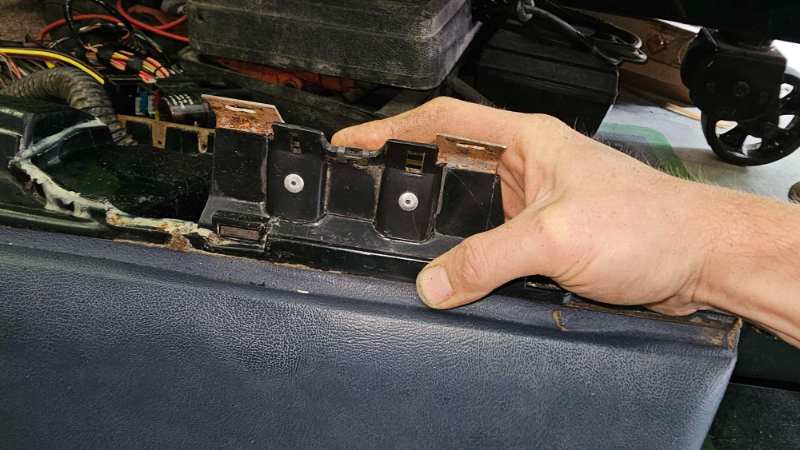
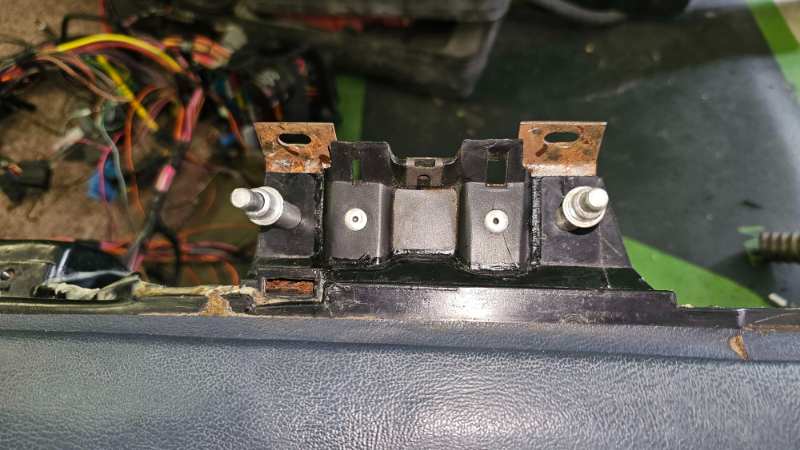
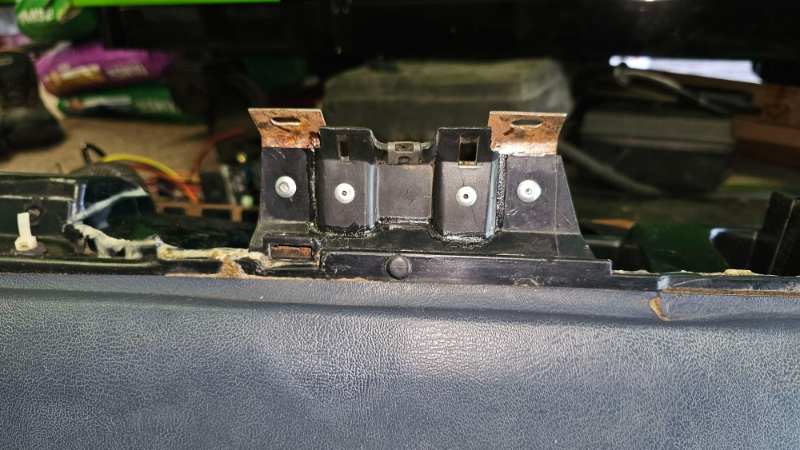
plastic repairs are all done, dash is now somewhat useable atleast it wasnt as tedious as doing textron ducting repairs back to cutting parts out of the donor dash took me a bit to decide how I was going to blend the new peice with the old and this is what I have came up with after drilling some new holes and celco'ing in place I bonded the two together and then added some rivets. disregard the plug in that appeared in the middle, my original plan was to add a rivet there. so i used a spotweld cutter and removed the top layer. after I drilled the center for the rivet I realized there was a big void between the brace and where I wanted to fasten. hence the plug I do have another Idea for that hole, I have this old landcruiser inclinomoter, yes sadly not the one with the altimiter. but the wires need to go somewhere. and that is right behind the area I am going to place it. maybe oneday I'll get to drive this again.... but for now I will keep posting pictures

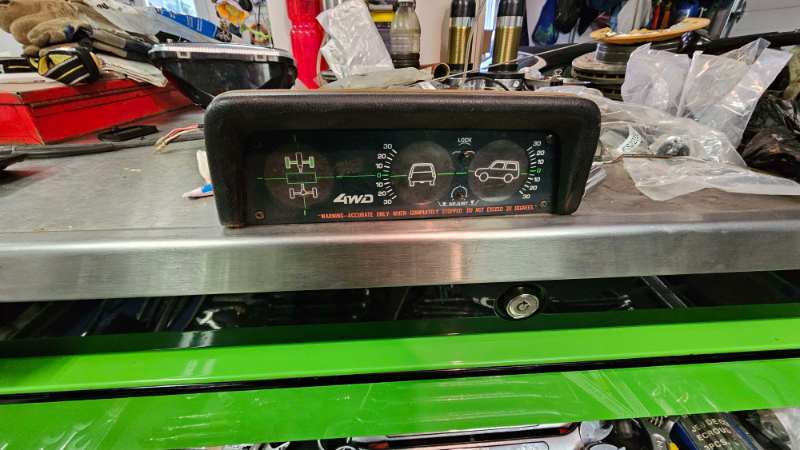
-
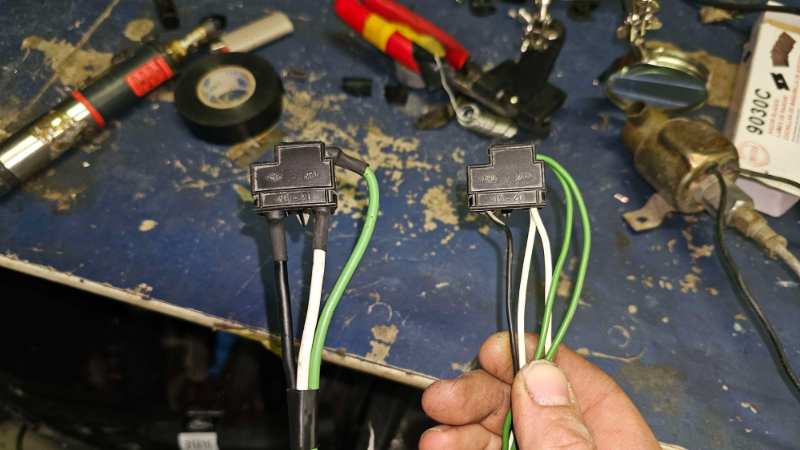
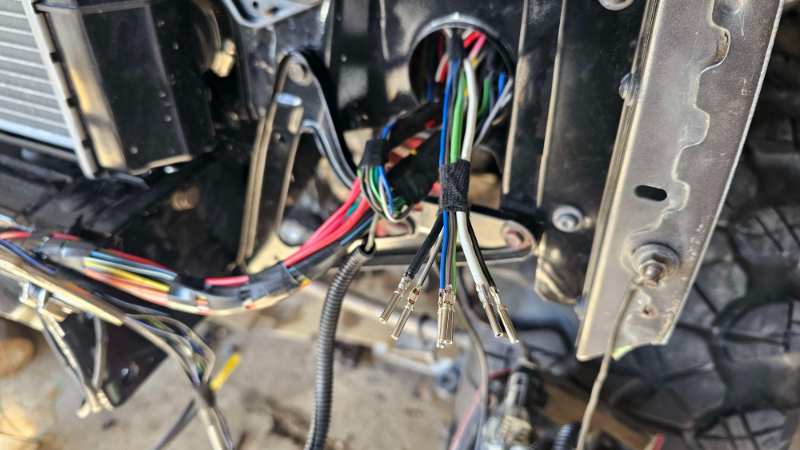
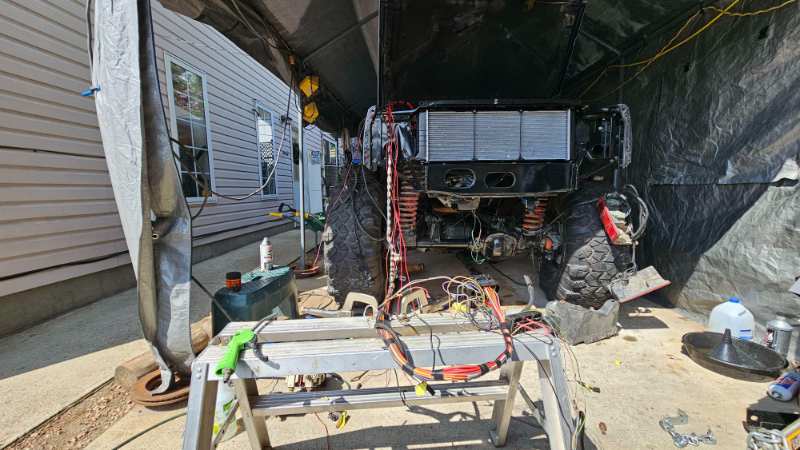
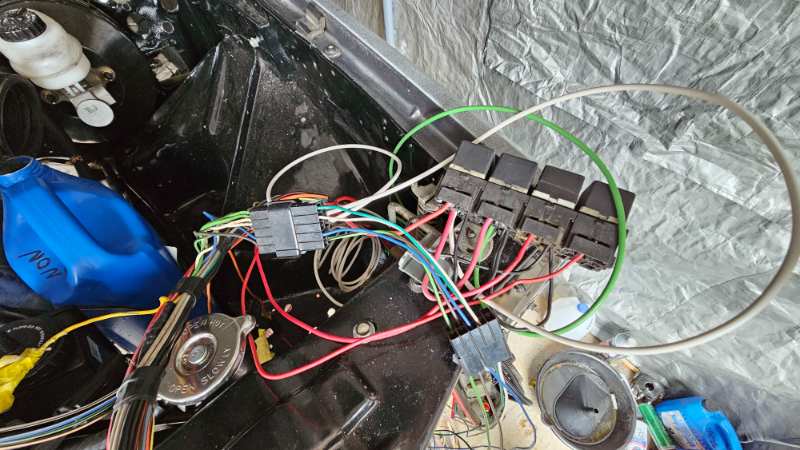
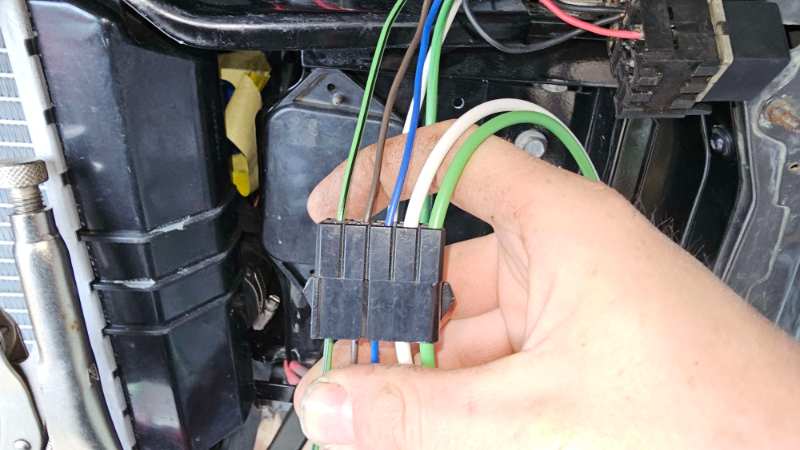
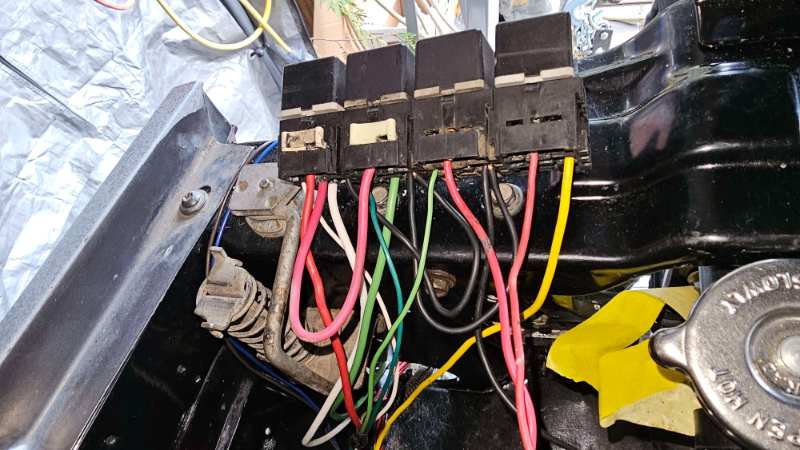
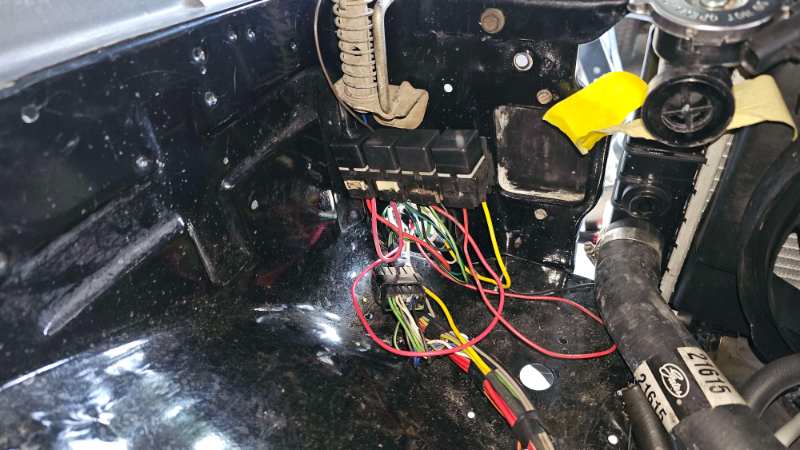
harness now bundled i'm not actually usuing electrical tape, I will be cutting it all off and replacing it with some harness wrap. back to wiring in the relay bank before I went and straightened out the harness. I had a few male/female connectors lying around that matched the front clip, so I started making an adapter for it to be plug and play, sadly I can't use the female end to the front clip since I just cannot find the terminals if anyone has p/n for 12 awg wire terminals for the connectors pictured please comment them here you can see the difference in the wire gauge. I will be running the same gauge in the front clip harness as well. most of the relay bank assembled. once the new connector for the front clip shows up i will shorten the two fusible links to match the rest. here is where they will live. the stock grounds for the relays was like a gaint spider nest. I will be adding a few common ground studs throughout the engine bay and grounding everything to those. essentially those relays control HI/LO beam, foglamps and the aux radiator fan just need to wire in the compressor and linelok but those will go on the passenger side of the jeep
-
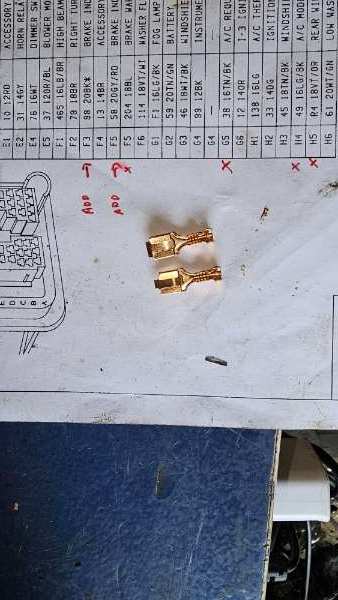
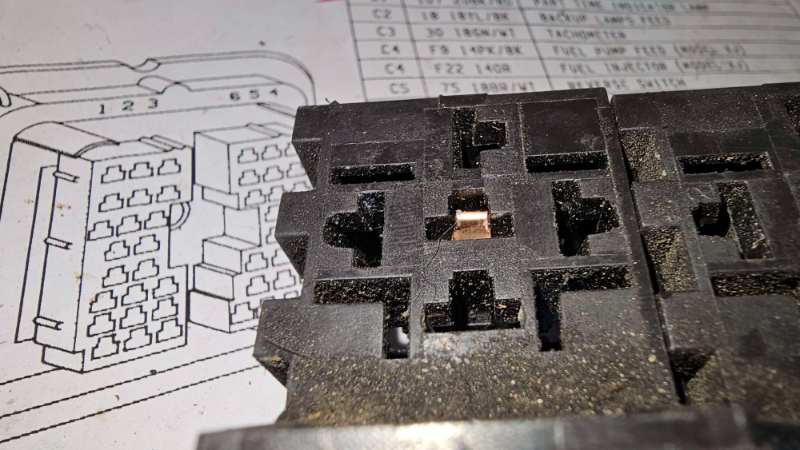
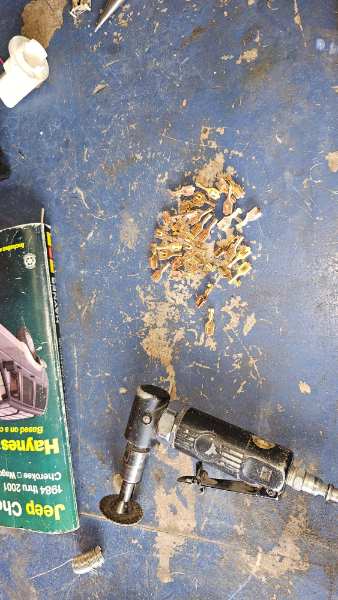
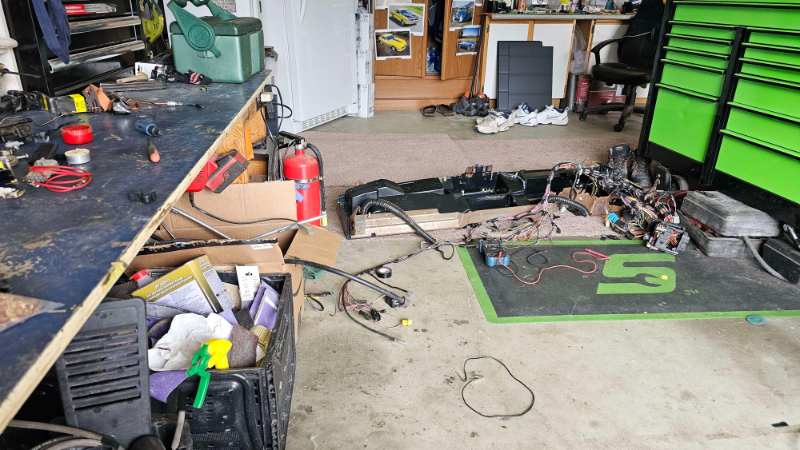
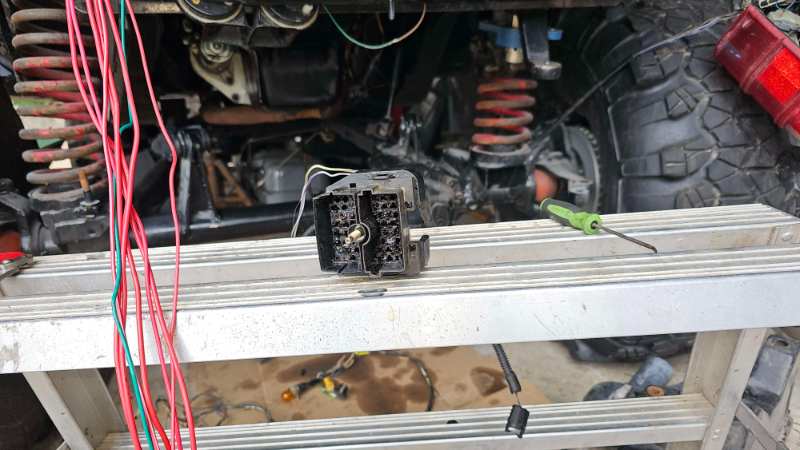
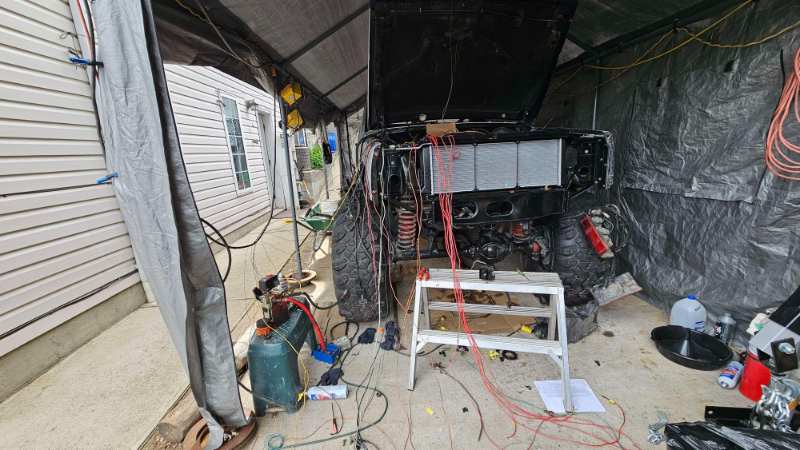
Thanks A-man, it really is. honnestly, if nostalgia wasnt such a thing I probably would have never gone this indepth. I know I have said it time and time again. but Robert Bryce built the original poor mans stroker in the early 90's, thats where the term came from for the 4.0L this is infact THE truck and motor from way back. the early days of the web forums, back when people wrote pages of trip reports and had web spaces dedicated to their craft. there was no aftermarket support like there is now, back then you just had to make it youself. there was alot of firsts Robert "Rye Guy" had done. to building custom suspension making home made tcase doubler/sectorshaft that has still held up to this day and making the famous "jeep poor mans stroker" I am sure there is more all of which I speak of has now dissapeared from the internet as a new wave of fresh content and architecture flushes out the old. the only place besides CC to even mention is jeep40performance I am sure Pete M could agree, reading those trip reports and seeing all the pictures really got me into comanches! then one day I get a message saying "hey I know where the truck is, he will sell it" now this is no exuse why its taken me so long to finish. the older I have gotten the lazier it is to be. but hearing that motor fire up for the first time in over half a decade has gotten me locked in. I modified the terminals I picked up to work with the relay blocks, they ended up working so i buzzed about 30 of them down mocking dash harness into its new home at this point I was wiring in the relays for my aux systems and the main harness was bugging me so I got to de pinning the entire harness out of the builkhead connetor after a while of detangling I just started pinning everything back intoplace making sure not to cross wires and here is what I am left with. much nicer.
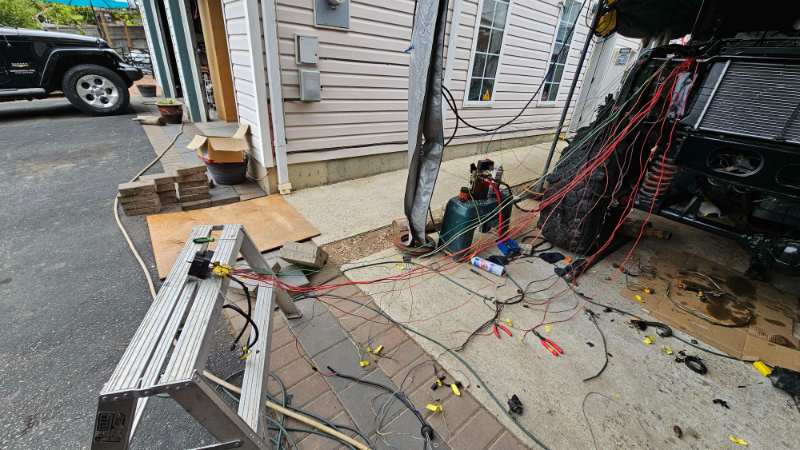
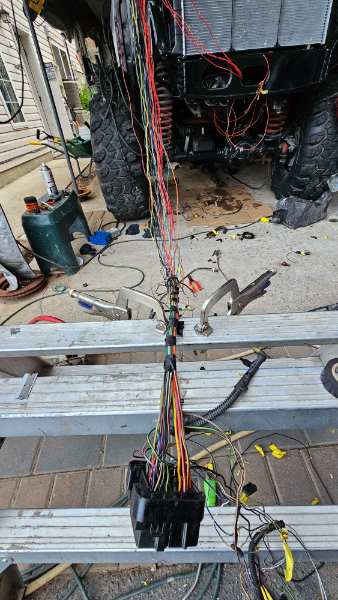
-
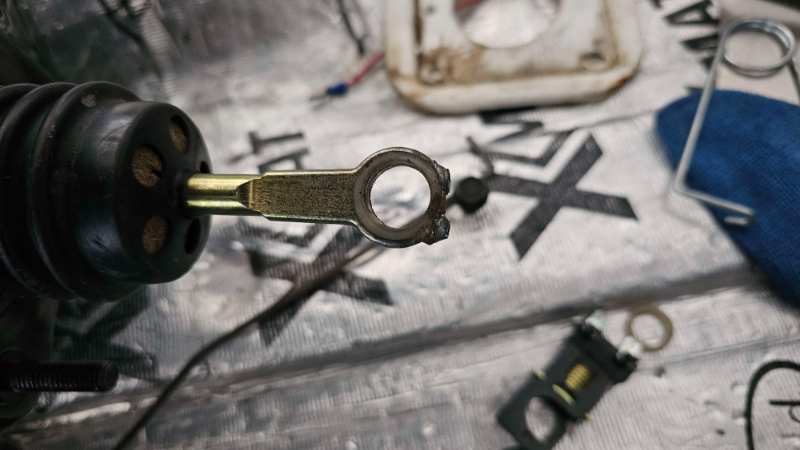
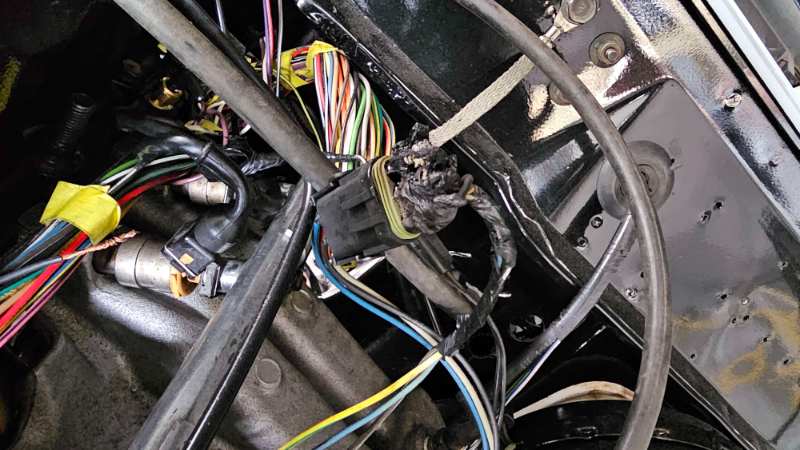
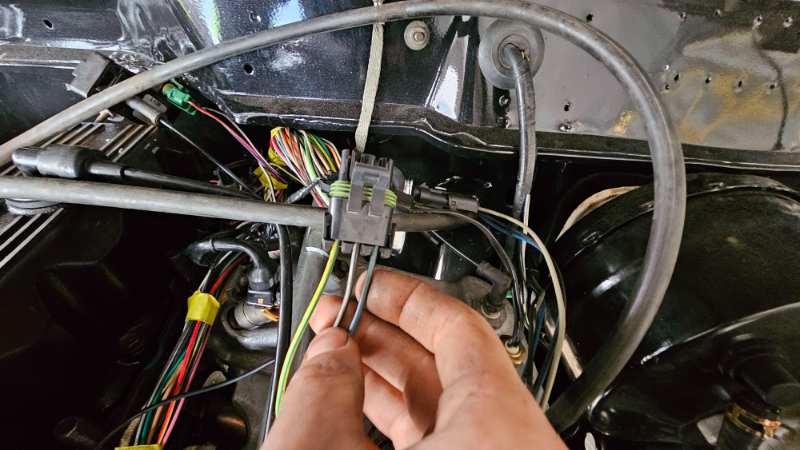
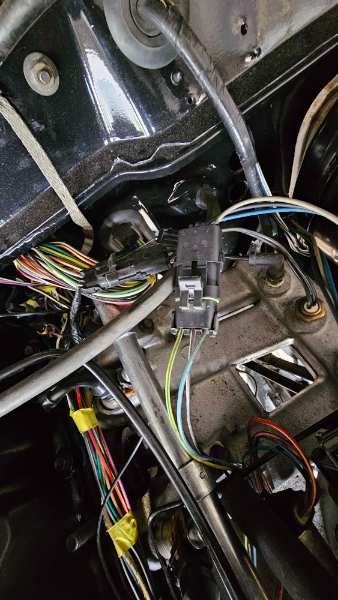
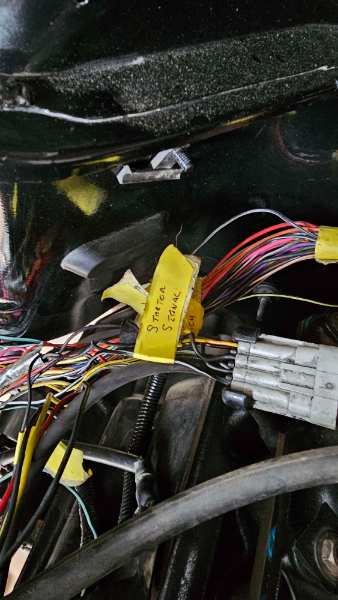
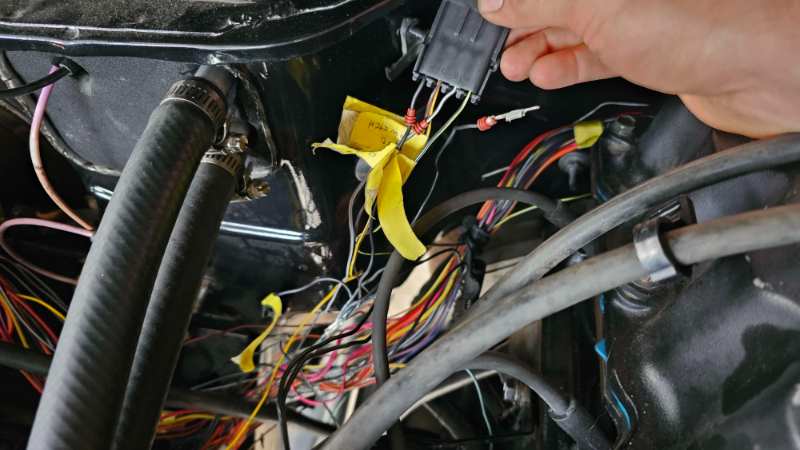
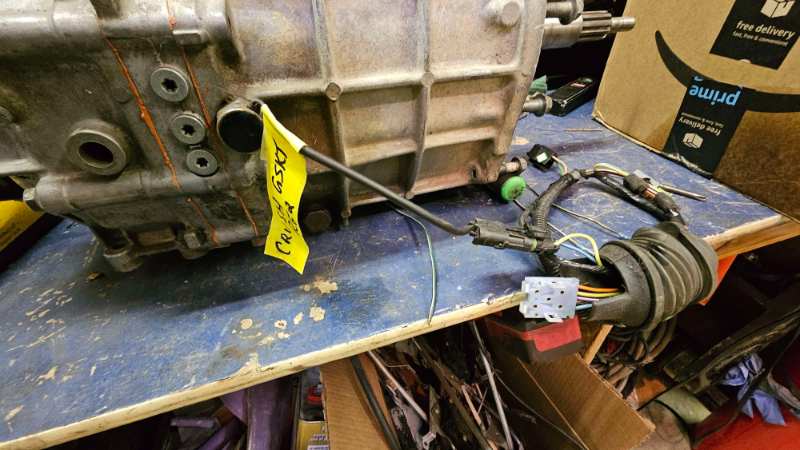
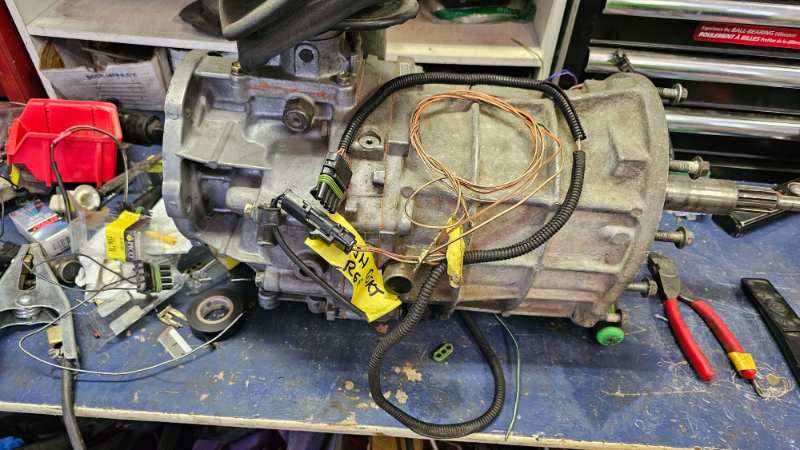
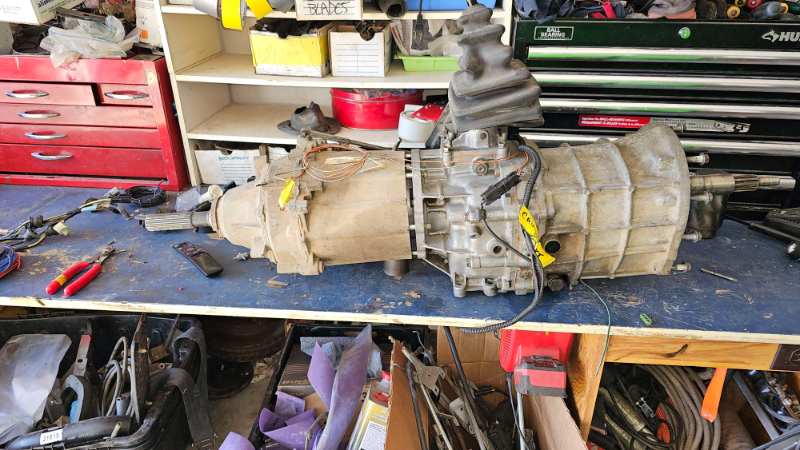
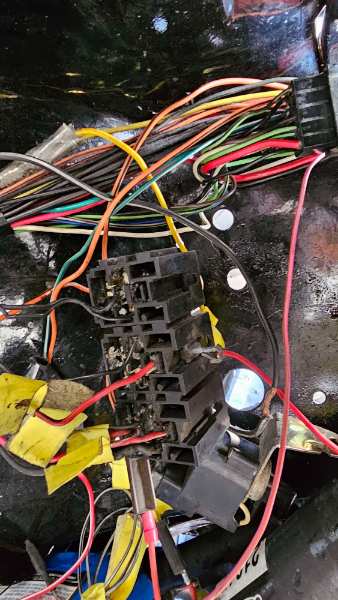
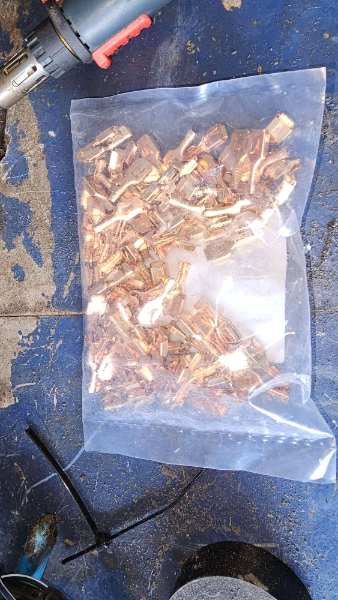
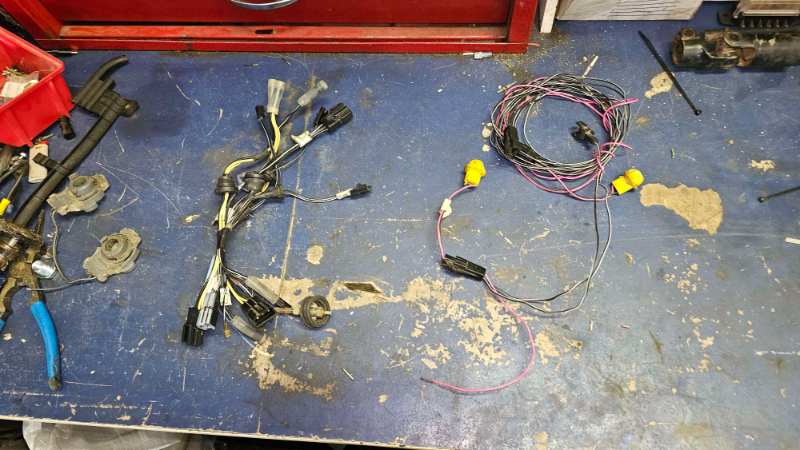
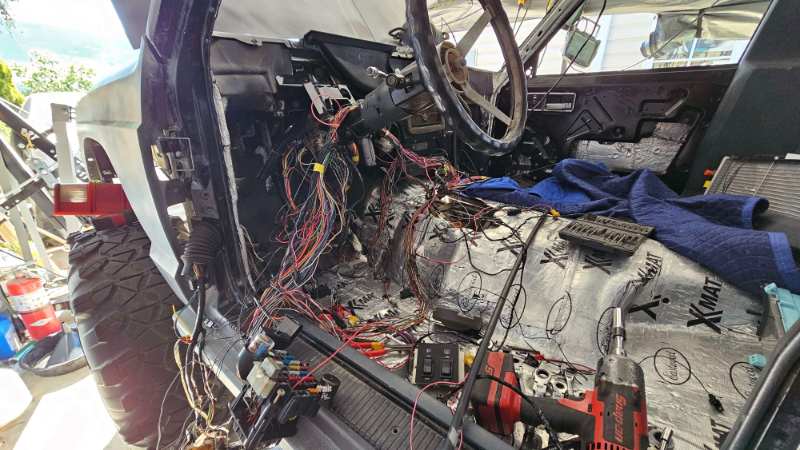
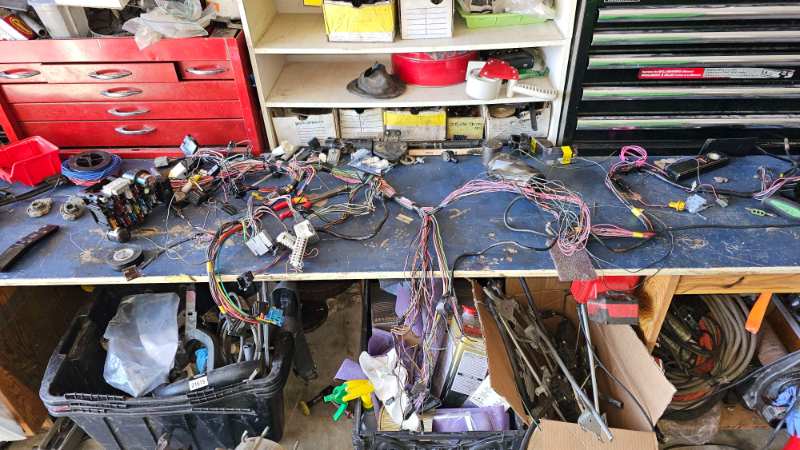
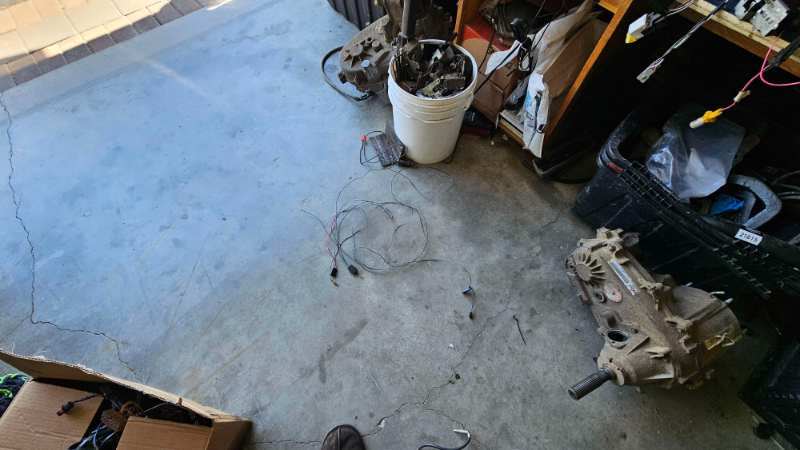
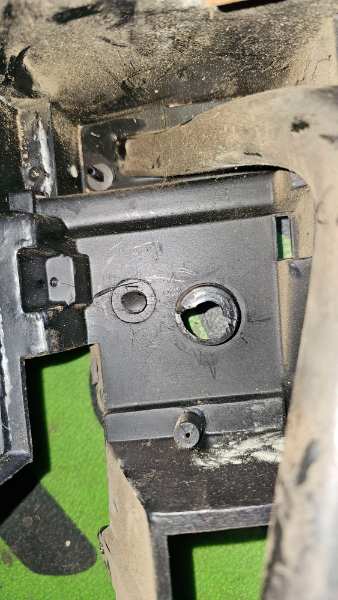
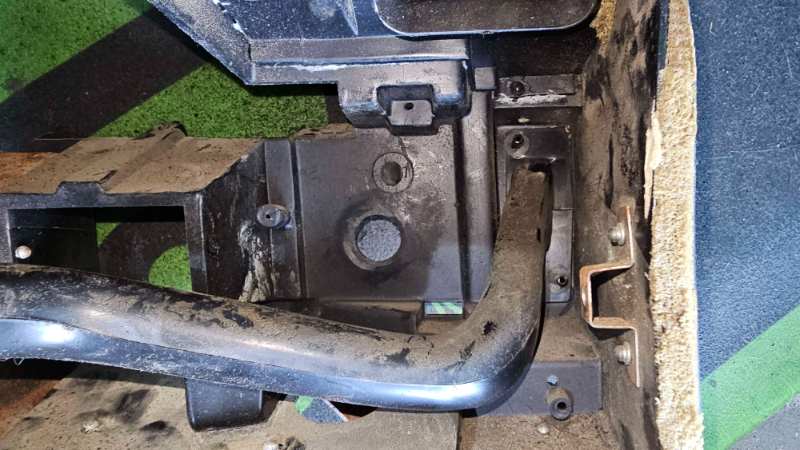
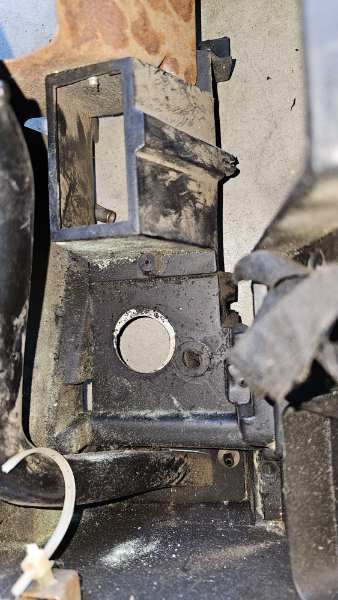
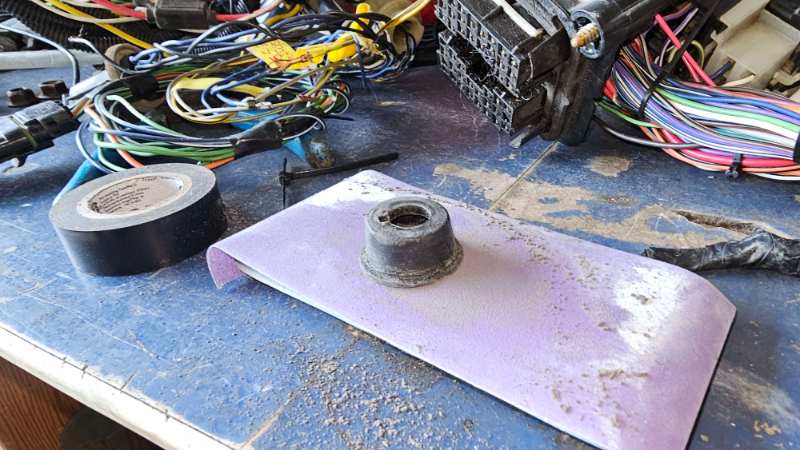
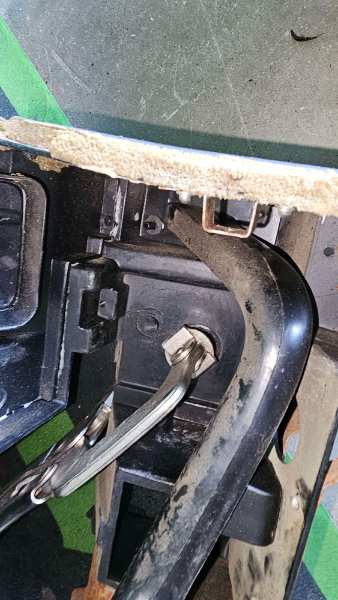
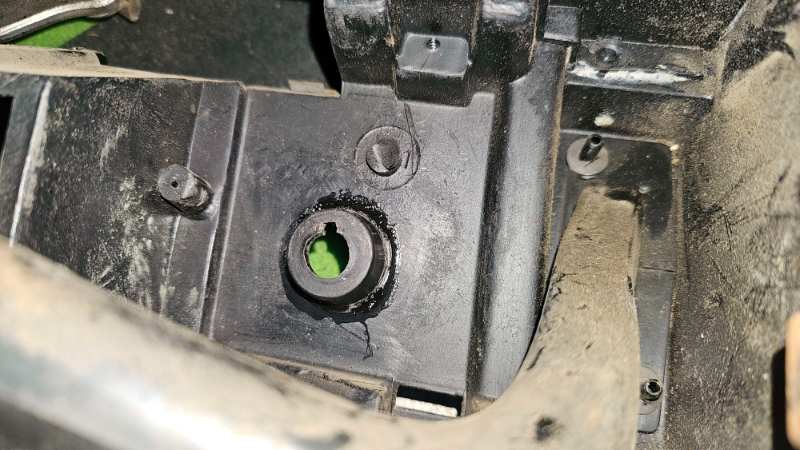
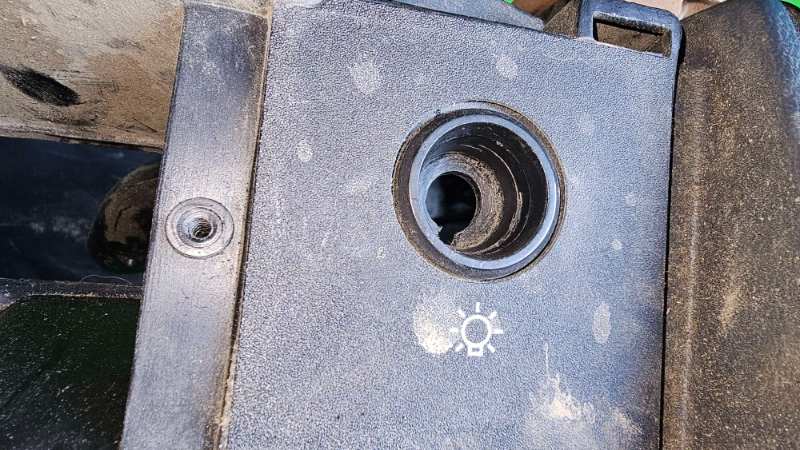
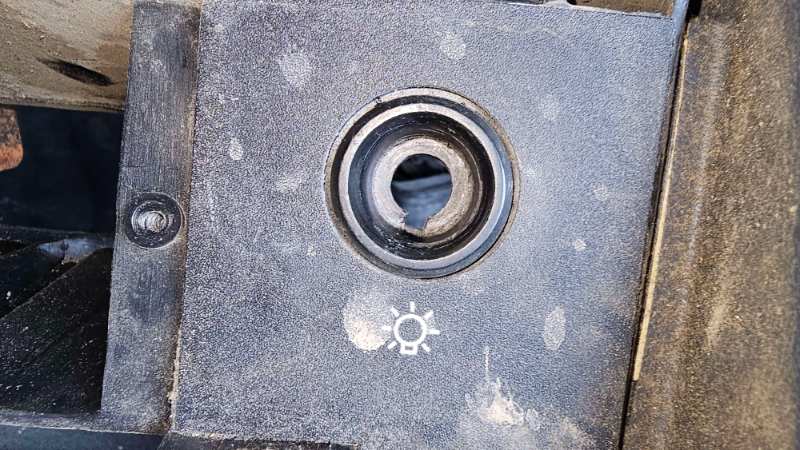
now that the engine runs, cam broken in. it is time to finish the wiring sorry for some photos that are not landscape my phone was on something. I know potrait photos are terrible Brake light switch I have purchased the dual diaphram booster, which to my surprise or lack there of. Does not work with the renix pedal set. now, a sane person, would have probably just bolted in the HO pedal set with the revised switch location. it would happen I even have one but did I use it? no way! I used a unibit and stepped the center bore two steps larger. not sure what the diamenter ended up being. but it was just enough the bushing snugly went into place with a bit of a squeeze from some knipex. bolted that all in place, no dice, the switch was just flopping around, out the booster came again. it needed the old blob and grind to allow the switch rest in posistion and have a slight preload on it. and this is what I came up with. ugly, yes. but effective? very legit just eyeballed it and thought this should be good enough... and much to my surprise it was! first try. switch works perfect. Throttle Posistion Sensor During cam breakin, My headder may have been A little warm. so much so the TPS connector (which I had mindlessly tucked through A nook in the intake manifold and dangling right about said headder) had melted. Which I could smell burning during the run, the friend I had watching the engine bay didnt catch it, which is no big deal. digging into one of my harness boxes I depinned a new 3 pin connector and re pinned the harness into it. Reverse/4wd the harness was from an auto XJ oringinally, so I had to thin it out a bit. at somepoint I depinned the AW4 specific wiring right out of the harness. and was left with a bunch of wires stuffed into this connector. which to my surprise I at onepoint knew about the starter signal wire and had even labeled it I ended up pinning the part time 4wd and fulltime lighting together so both of them come on at the same time since I'm not running a 242 (which I have one! have been toying the idea of putting it in the black mj for like 7 years lmao, maybe oneday) Ignore the extra grommets under the connector. they were too small and I had to run the proper size one over the pins. they will be removed when I wrap the harness. Stealing 2 pin connector for the reverse switch I was going with oem color scheme for wires. but the wires I had were a smaller gauge and I said F it, no one is ever going to see it. and used the wires out from abs circuit becuase that junk aint ever goin in. trans harness is almost done, just need to wire in the 4wd switch once I have the doubler and tcase back on the bench. I will not be using chunks of loom as pictured. it will be replaced with a new single piece. just for laughts, I put a tcase on the back. oh I wish it was that easy. but noooo. because doubler. AUX RELAYS there is so much free power and unused relays in this country edition wiring harness I am going to pin it all into my aux relays the red wires are fusible links direct from the solenoid. and theres alot of them in the engine bay unused. H4 upgrade linelock foglights fan onboard air amazon had a good deal on a 100 pack of terminals. they are slighly different. I will have to grind a little bit off of either side of the top nub and they should work perfect. more on that later Door jam Switch/Interior lighting over the years I have heard the XJ door switches do not work. did not think much of it, until now. straight up thought it was just due to the wiring/connector design and that I would be in the clear since I rewired everything. That is not the case!! they are physically TOO LARGE to fit out came the dash harness to replace the circuit (I hate cutting wires if you can just depin the entire thing, I know soldering is acceptable. but I think it is lazy and hoaky to deilberately cut your wires to do a splice repair when it takes a few more seconds to run an untainted wire.) removed the correct harness from another dash and installed it and xj lighting now on the ground (speaking of the 242, its right there! above the bucket) Start of Dash Repairs I decided to change the interior to navy blue! the only thing I am missing is the back pannel under the rear window, which I will SEM the correct color. The dash I have, is in rough condition internally, mounting tabs are gone and the headlight switch mount is broken. but it is navy blue, do you know how hard it is to find that color where I live? I have 5 grey dashes and only one blue. started the repairs, need to grab some of the correct - of rivet for the brackets. headlight switch on removal destroyed the piece it mounted too. so I took a roloc and buzzed the remaining off until flush with the rest of the pannel. from a donor dash, I removed the new part cleaned it up so all it had left was the extrusion you see from the front. taking some 240 grit sand paper and sanded it flat until it was close but still had some shoulder for it to bond too a red cap from a new battery terminal fit perfectly in the hole to line up the new part. I did mess up on the clocking angle and it is a little offcentered. I have gotten lucky any more and it would interfere with the dash vent. but it works! I did plastic weld some spots of the shoulder aswell for added measure. and here is the overall alignment in the front! turned out not half bad. you can see the scratch from who ever removed the retaining nut before more than you can see where it has been bonded. happy with the result, here dead on you can see my keyway clocking is off. the fix would be to put a notch further over for location, or just don't mess up in the firstplace lmao.
-
Turned it on been a few years since i could do this 20250511_154653.mp4
-
put the pan back on and fixed the starter solenoid ground jeep is learning the cam a bit more here is a quick video of it at idle (second start) 20250511_154653.mp4
-
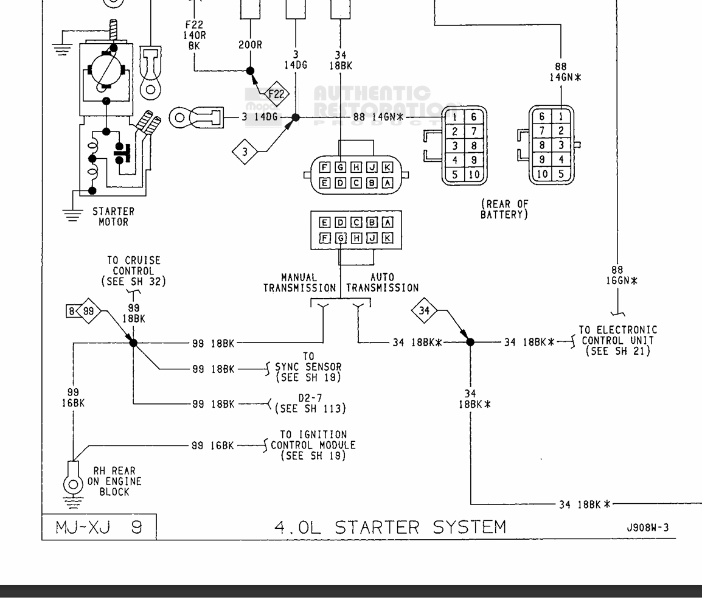
yeah I am pretty stoked! figured out the no start simply overlooked the fact that the harness came from an auto XJ it is currently looking for Park
-
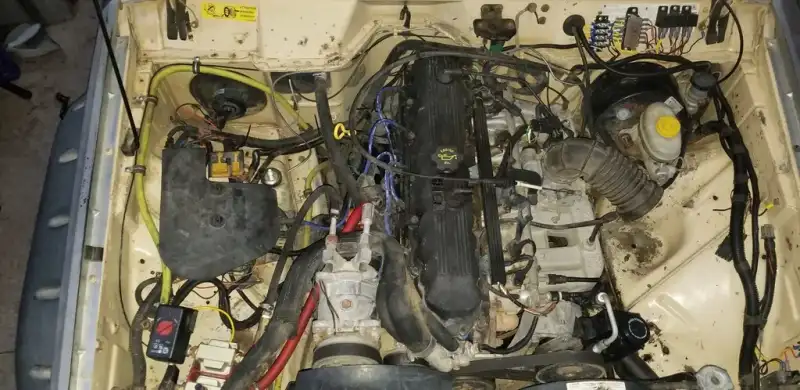
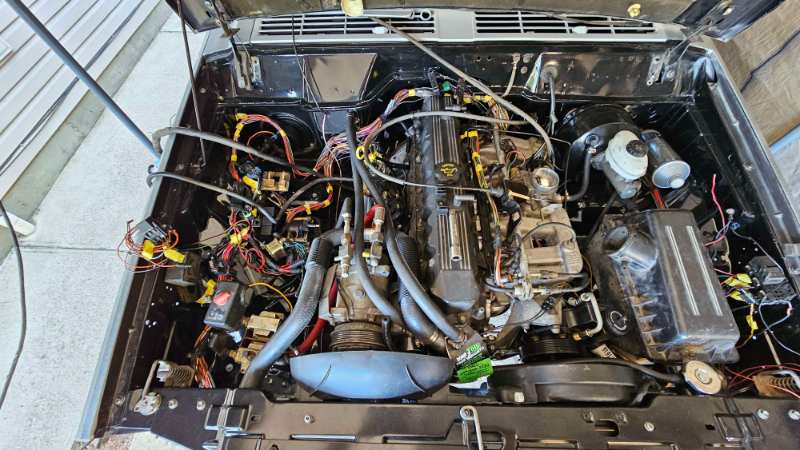
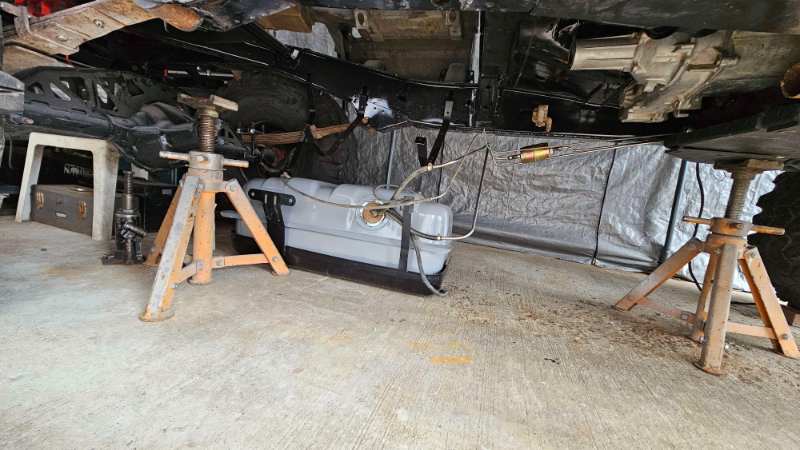
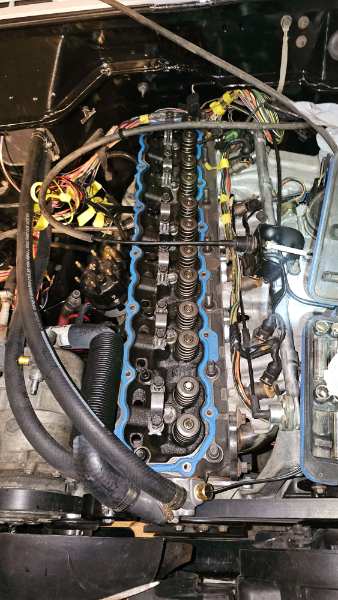
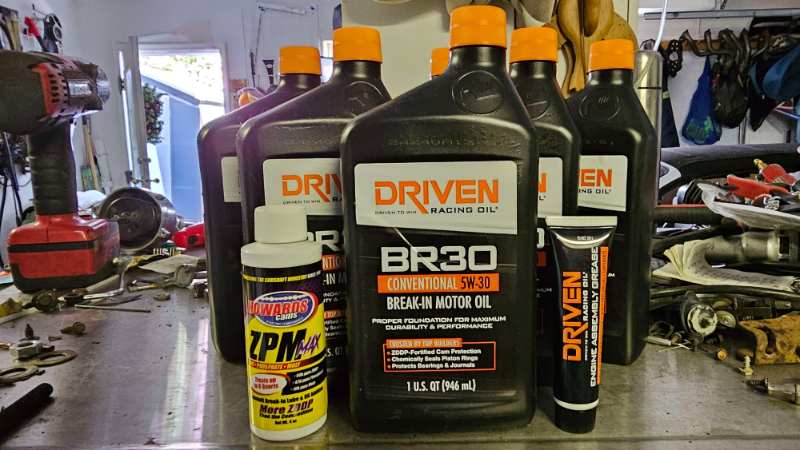
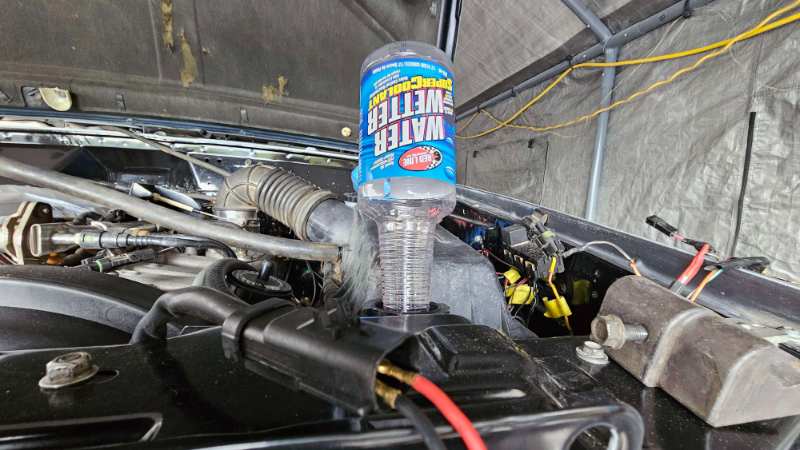
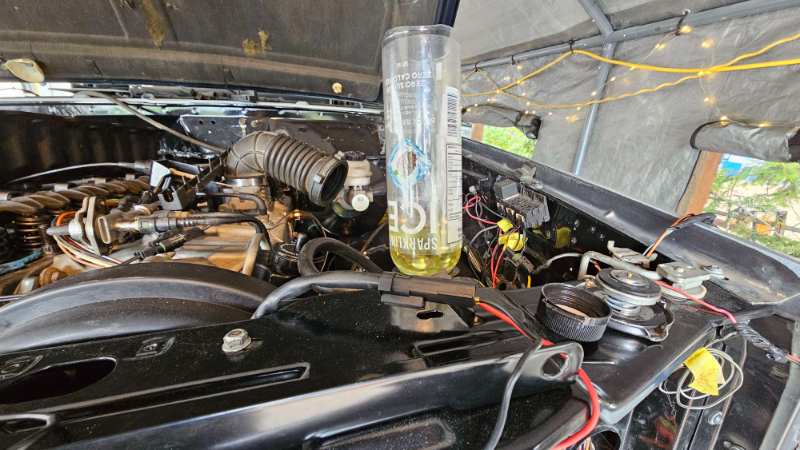
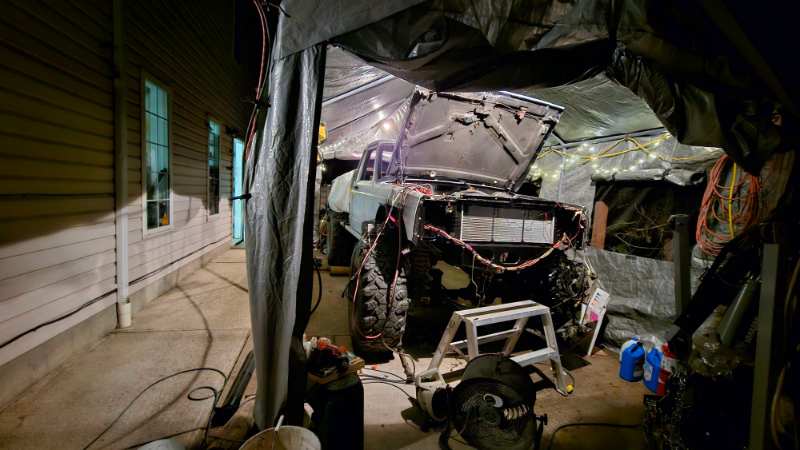
all my oil showed up! here's a before and after of the ol' engine bay. fuel tank hooked up, lines primed. no leaks rockers/pushrods removed and everything liberally coated with driven assembly grease. oil pan removed and cam/distrubitor gear re lubed as well added some good ol' soap to the water to modify the surface tension then added my cheapo burp-o-matic to the system. Aux fan jumpered to Ignition it was go time! starter did not work. tried three different ignition switches an no luck hit er with a screwdriver and it afterfired. FIRST SOUND OF LIFE!!!! checked TDC #1 and was 180 out. restabbed the dizzy and it fired right up 30 mins of cam breakin done. don't mind the powersteering pump groaning. my helper forgot to monitor the levels while i was varying rpm VID_20250509_2040558462.mp4 BUT ITS ALIVE!!!!! pulled the oil pan and cut the filter, everything looks okay. currently diagnosing no crank from ignition. traced continuity to solenoid from switch and from starter to solenoid. either a ground issue or +12v supplied. shouldnt take too long to fix. running a little lean as you can see in the headder. have a friend who went to 80 lb injectors on his mustang, so he has a mint pair of 40lbs up for grabs. will toss those in and see if it helps. need to get a wideband o2 sensor and inculded accessories in the long run
-
blow-by or something else
MancheKid86 replied to watchamakalit's topic in MJ Tech: Modification and Repairs
yep glazed right over that part. Edits have you checked your compression? could straight up be your compression rings are shot. also generally when you change oil to combat blowby you go to a higher viscosity to help try to reduce it. lighter you may see a inverse effect. -
blow-by or something else
MancheKid86 replied to watchamakalit's topic in MJ Tech: Modification and Repairs
cruisers valve cover mod, an old jeep/chrysler service tech I know claims he found this fix back in the day https://cruiser54.com/?p=131 -
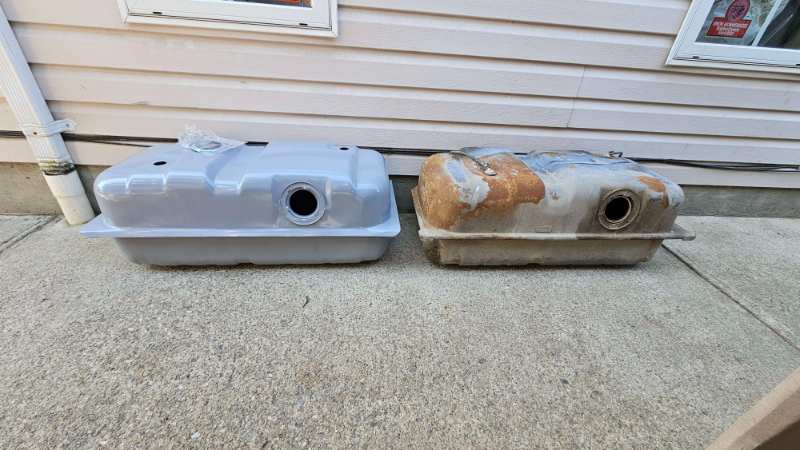
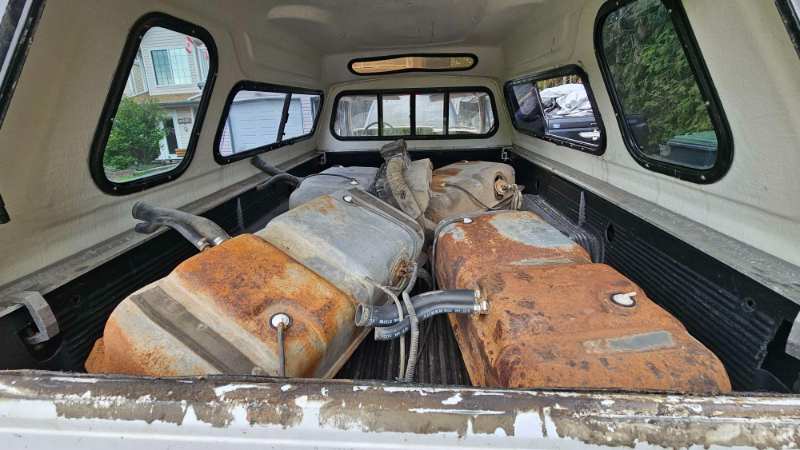
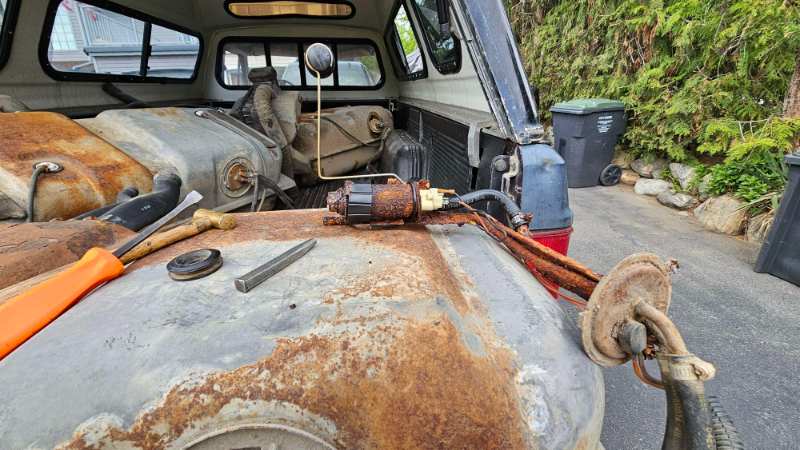
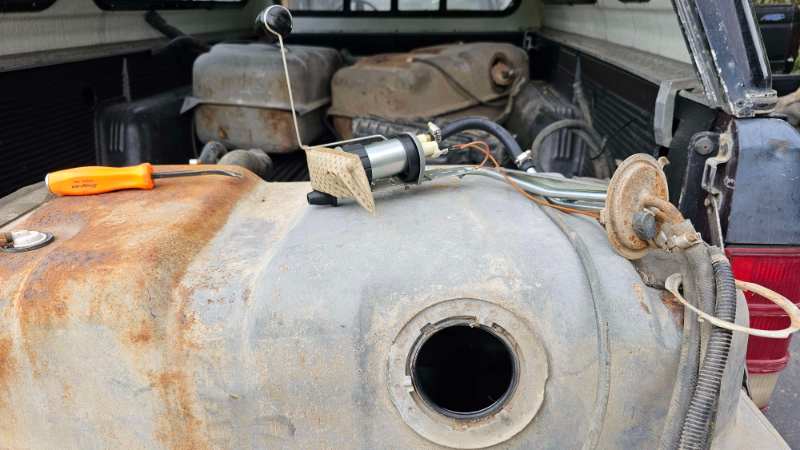
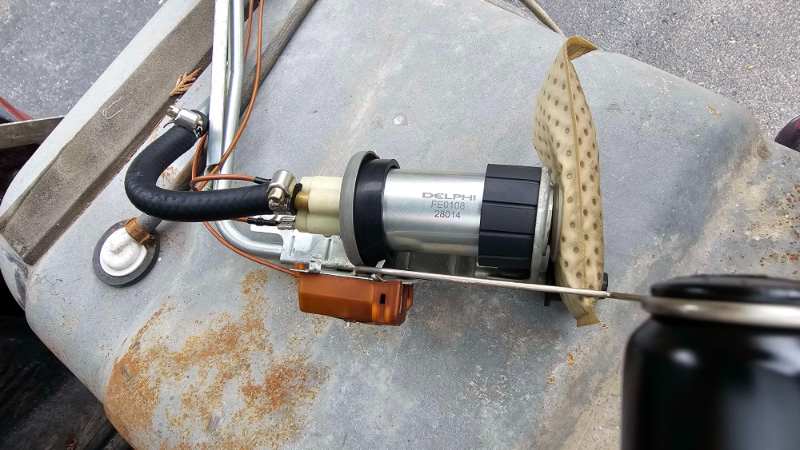
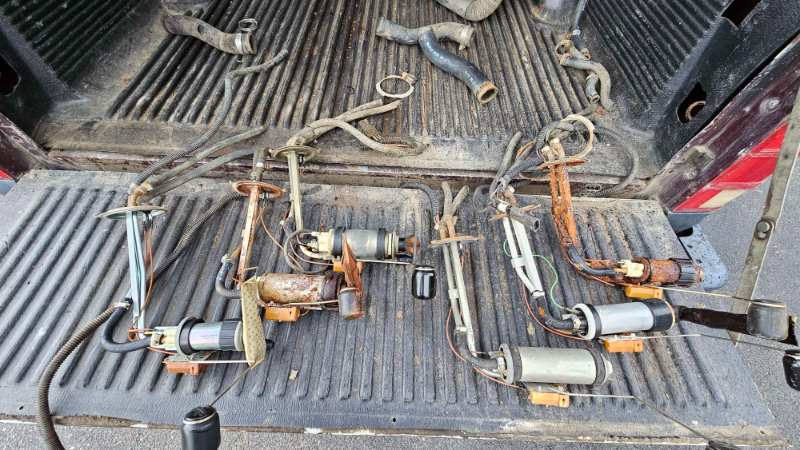
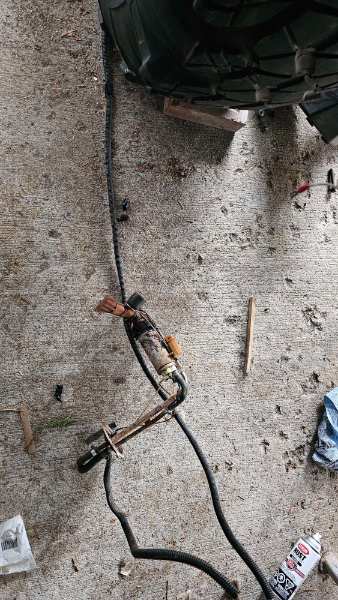
new gas tank showed up! the weight difference between the two tanks is impressive, the one pictured on the right may have a slightly higher concentration of rust scale and sediment. currently using that tanks sending unit for harness testing picked up my other tanks from storage and started hunting for my good pump/sending unit first one open didnt look too promising, I was legit thinking I ruined all my sending units by leaving them in the tanks after seeing the condition of this pump. much to my relief the next one I popped open was pristine and also the one I was looking for. I am not sure where I pulled that first tank from, but it sure has seen better days out of all of the pump assemblys pulled, they were all slightly different, some close but not identical. As to why I pulled all of them from the tanks? I would like to downsize a bit, four out of five spare tanks are 100% junk and take up more room than they serve purpose, they will be part of the over due scrap run
-
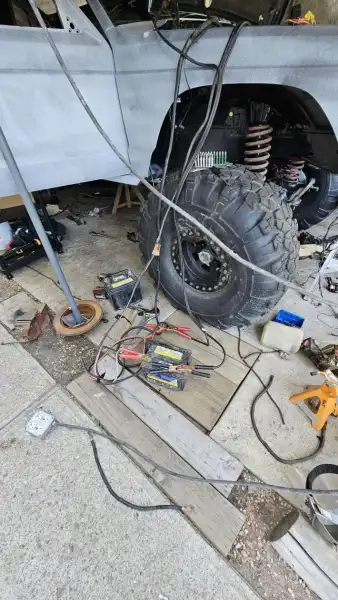
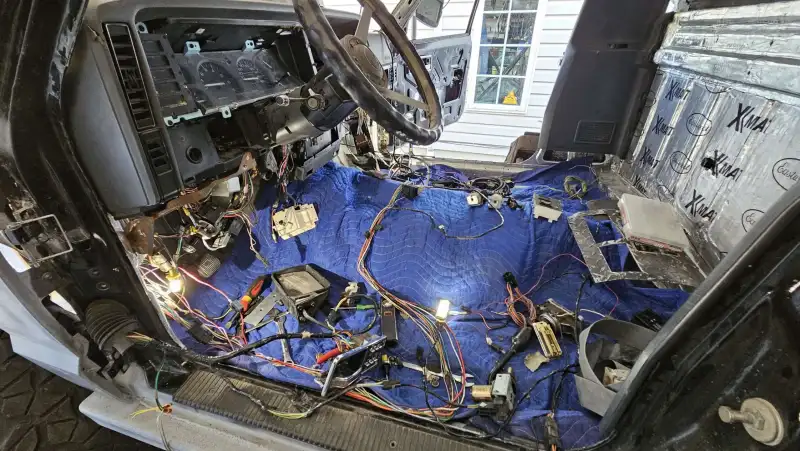
testing the electrical was a success, added some leads to the block and some jumpers for the rest and It had power. everything works! power mirrors windows locks, dash gauges dimmer dome lights hazards sending unit blower ect. I do have to modify my brakebooster a bit more to get the brakelight switch to work properly. initially the door locks were non functional, after a bit of diagnosis there was no 12V power. with it pinned in the fuse box they worked like a charm. after a bit of digging I found the rest of the harness (it was originally from a 4 door, so it was tied in with the rear drivers door/power seat harness) with that plugged in to the correct spot in the fusebox it worked as it should
-
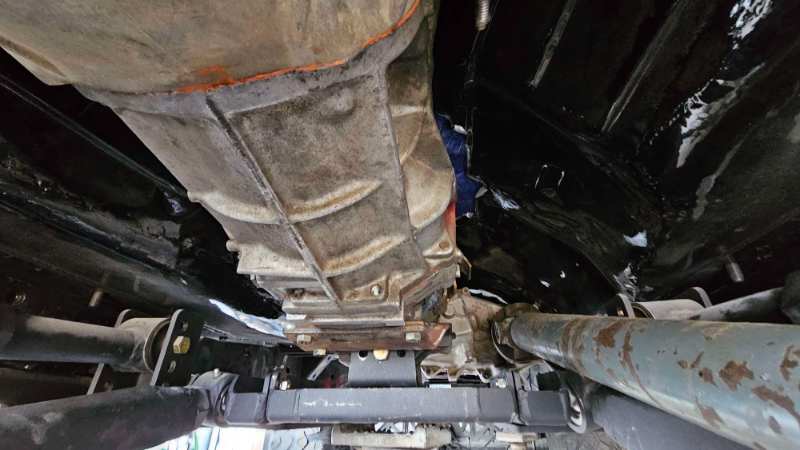
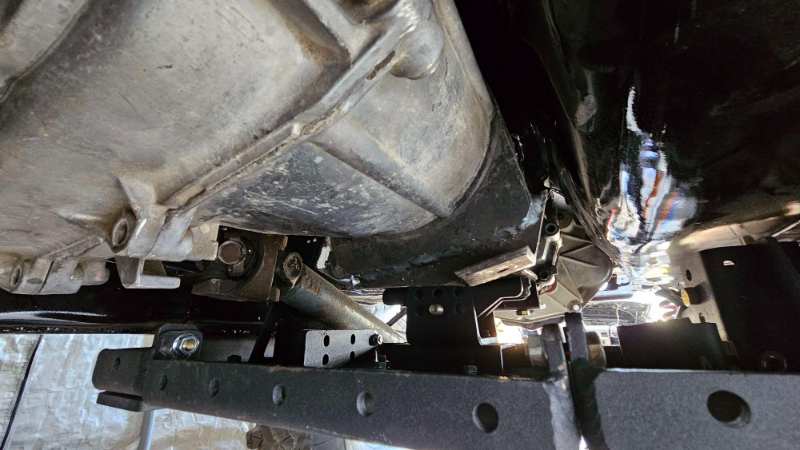
after some messing around I have managed to get the HD mount that was supplied to work ended up torching out the OEM bracket to clearance the adjustable mount and afterwards it bolted right into place. gave me a bit of relief knowing everything is starting to line up. the plate coming off the doubler I cut and had rewelded back in 2015 ( decided to change the clock angle of the tcase, but changed it back the next day, so I cut it and jammed a log under it lmao) it will be remade and will tie in to the OEM trans mount. still have to remove all of this and install the real thing.
-
Why is the rear wheel so far back off centered?
MancheKid86 replied to Ricky8227's topic in MJ Tech: Modification and Repairs
have we ruled out if the previous owner has bobed the frame to fit a swb box on a lwb platform? not sure if that would work can't actually tell what the front mounts look like with the pic resolution -
Mornin' Stellantis, time to dust off the Jeep Comanche
MancheKid86 replied to Salvagedcircuit's topic in The Pub
Looks more like 80s toyota graphics to me -
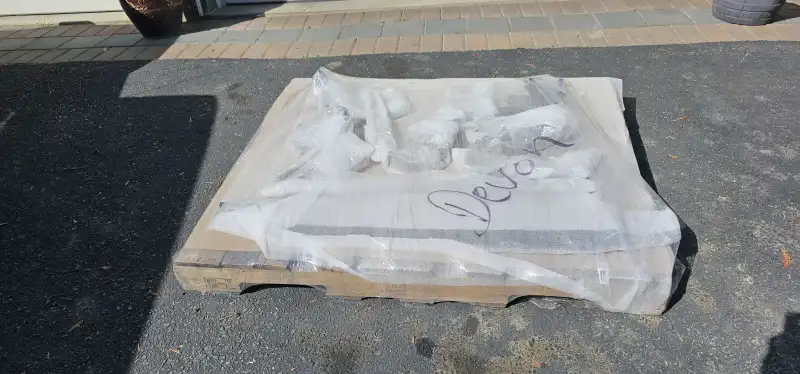
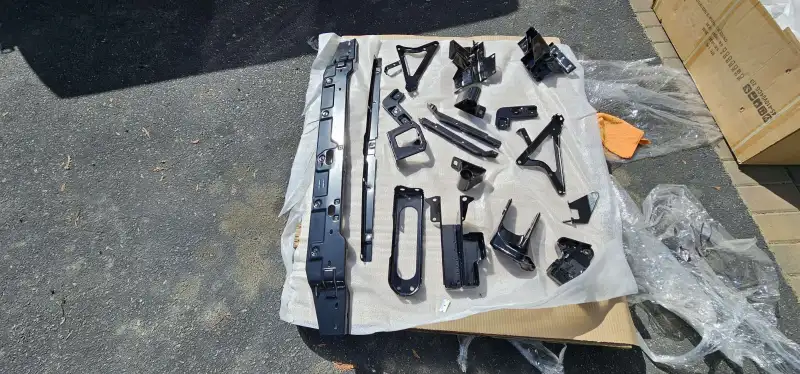
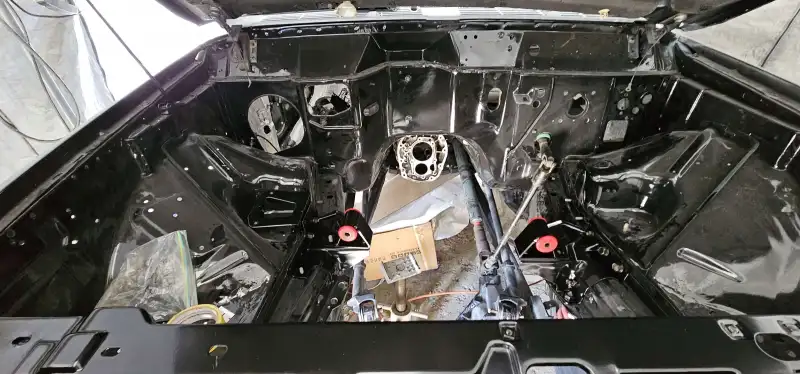
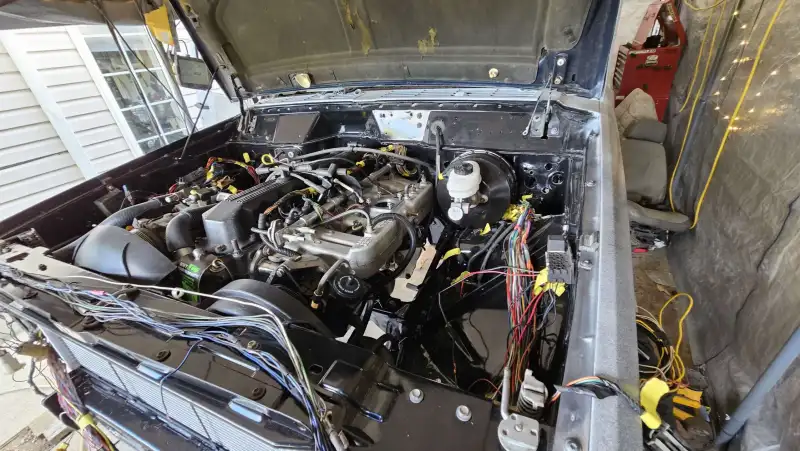
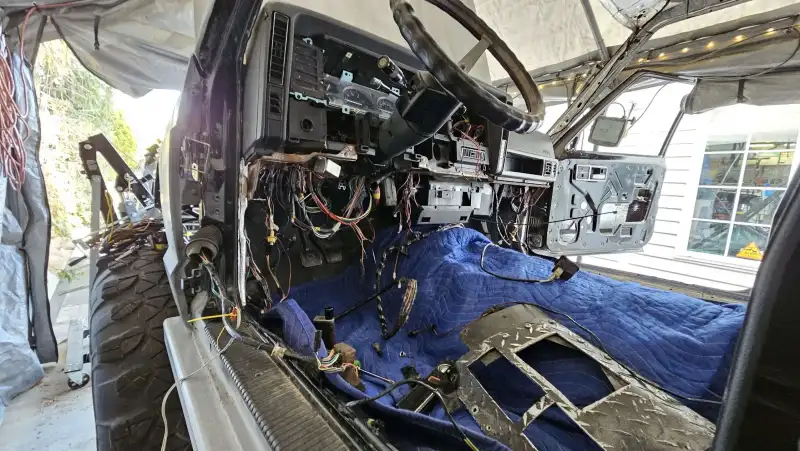
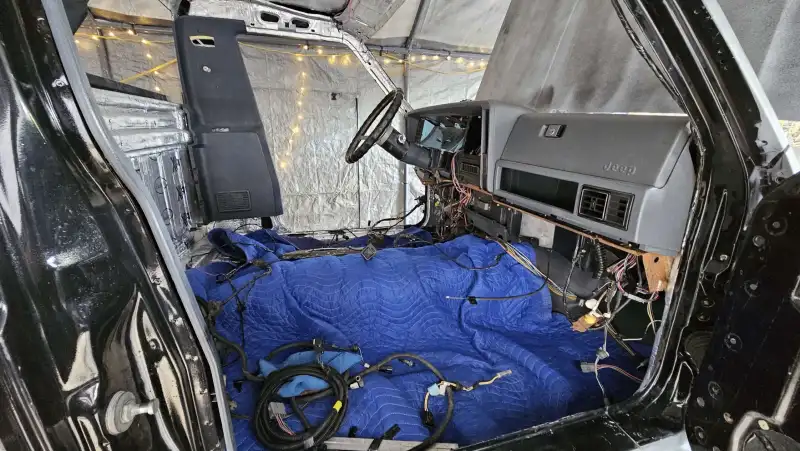
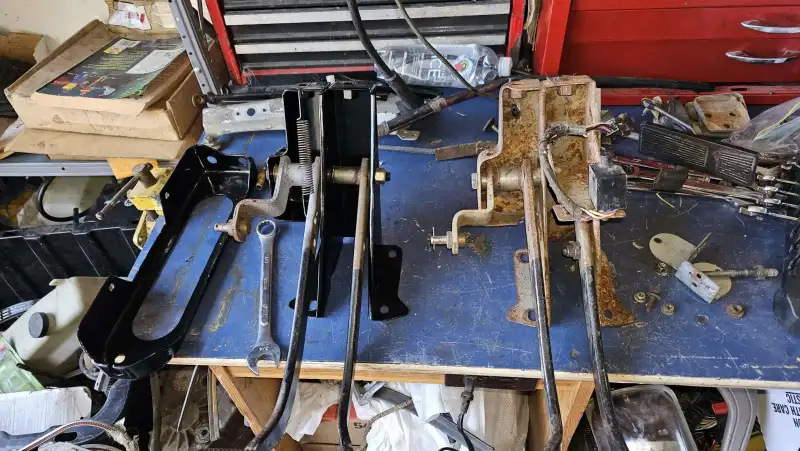
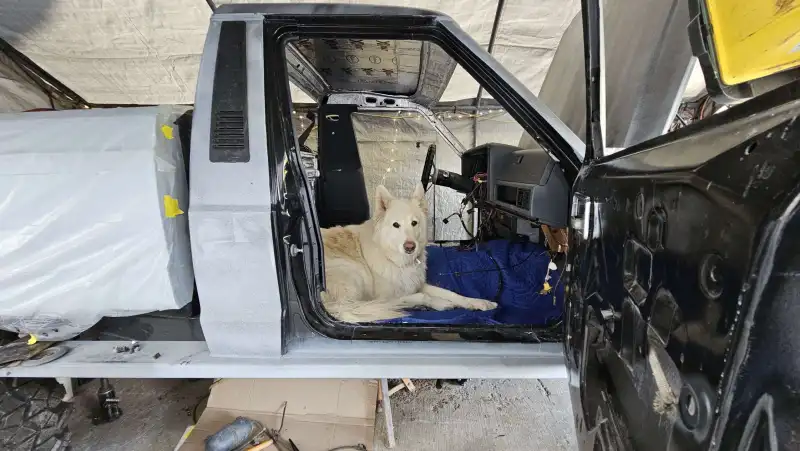
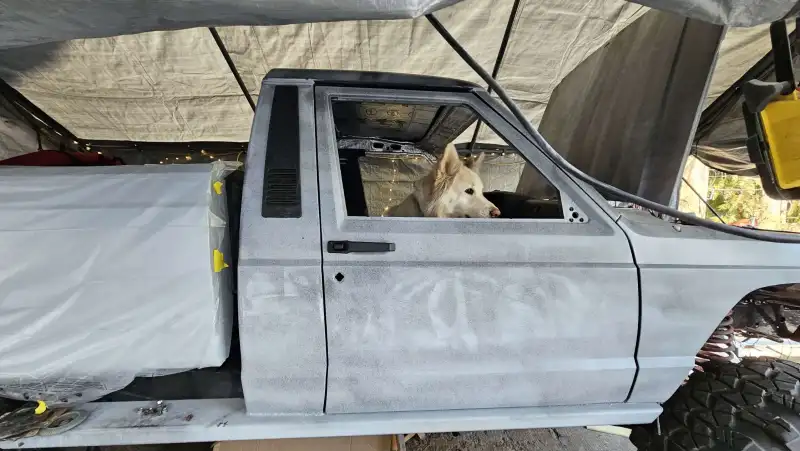
Parts showed back up from powdercoat missed a few but those will go with the next batch welded the clutch pedal up, modified the vaccum booster to work with the renix brake light switch and installed the pedal assembly. after messing around with empty transmission/tcase casings i have learnt a few things 1. the ironman 4x4fab 4link is for jeeps with no tcase doubler. the "it shoudlnt make a difference" i have recieved when I asked is 100% makes a difference. If I had known that it was going to interfere so much I probably would have went with a different kit. granted every thing built is beefy not dissing the quality. 2. the ironman 4x4fab xmember is so wide regardless of the doubler it makes it extremely difficult to install tcase/trans at the same time. to the point I am cutting the floor out I have made and turning it to an access panel that I can unbolt and remove to install the complete assembly/ work on down the road. 3. undercoat has to wait until I complete the tunnel mods I was having issues with transmission aligment and HD mount that was provided with the kit so the only way I knew to be sure was to drop in the motor. I took all my Hvac boxes and stripped down the modules to give them a good clean. picked all the best parts and reassembled it, replacing the foam tape on all mating surfaces. put a new blower motor balast resistor and heater core in it while it was apart. Pictures are MIA. wired the truck up, put A dash in, not the one I'm using just for mock up. once all systems are confirmed working I will pull the dash again and bundle all wires. so excuse the mess under the colum. just waiting on the correct radiator and a new gas tank to show up on thurday before I prep the truck for cam break-in. most important mock up complete, the doggo fits. will have the passenger seat removed for when he comes with me, not the smallest of doggos.
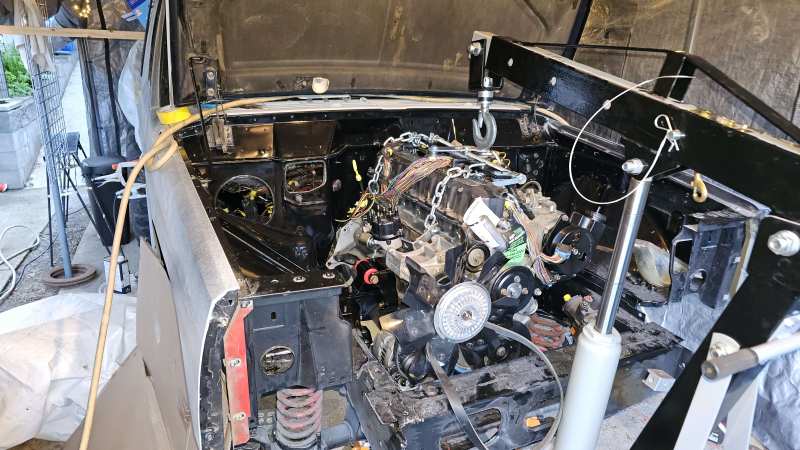
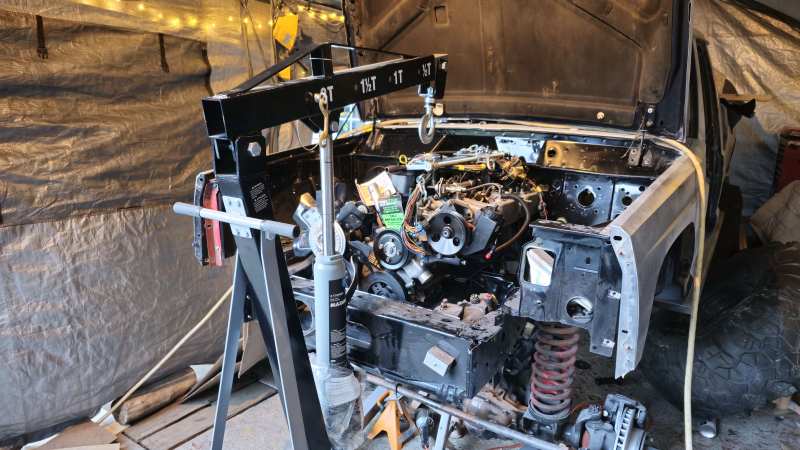
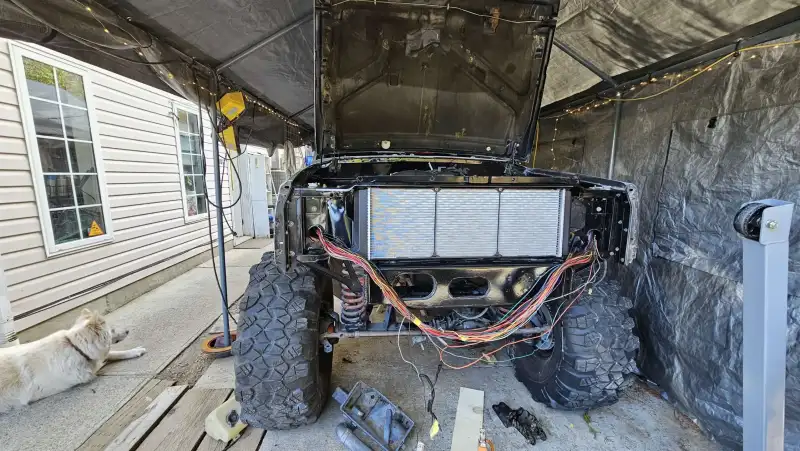
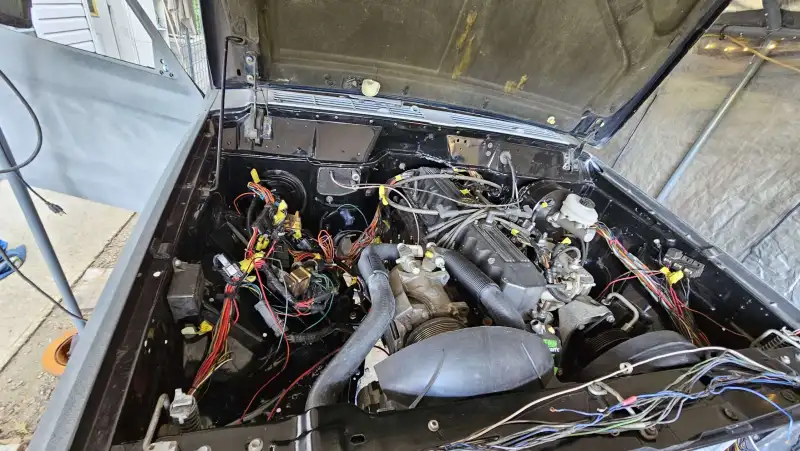
-
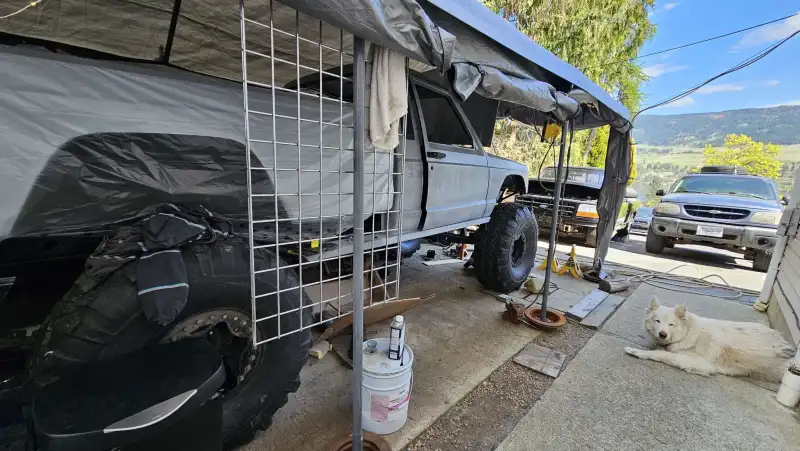
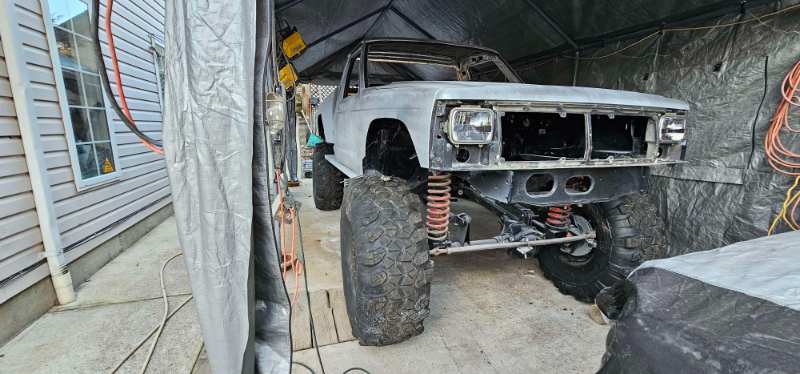
Well in its current state it is just as useful. spring is here, and back at it. put some tires back on because they took up alot of room blew it off and thats about it, going to get majority of it together before I proceed with more blocking of primer so when its in sealer/paint it can rest and I won't be banging it all up until I hit the trails. plans are to tie some things in on the "frame" then undercoat. once undercoated I will plumb the fuel, brake and airlines. then work on wiring the beast up here is some quick photos, clearly can see there is some more blocking to be had on the box. but all things considered very minimal from what I started with. have an idea for mounting some fenderfares for road use without drilling a single hole.
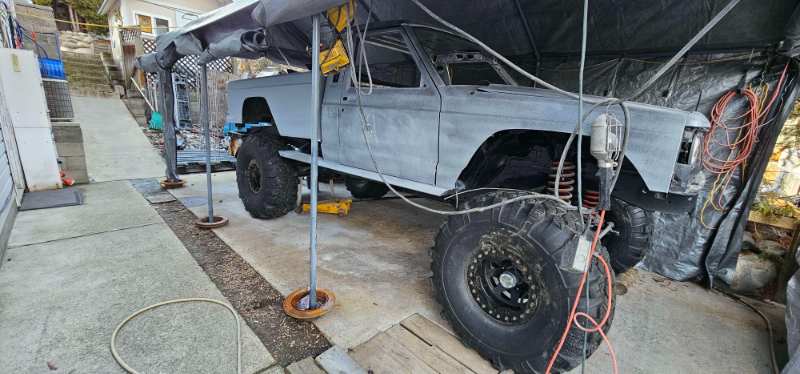
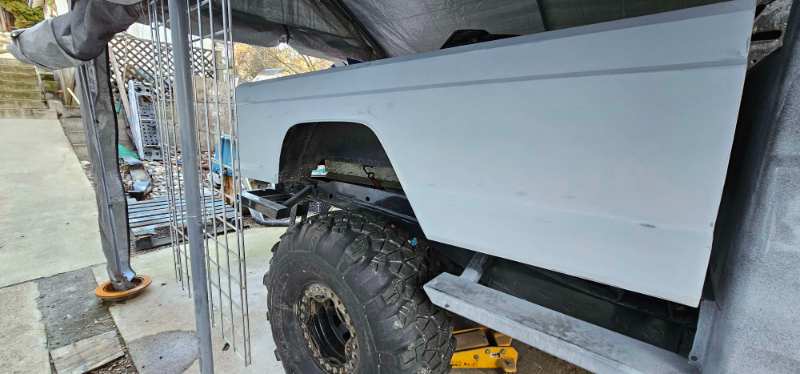
-
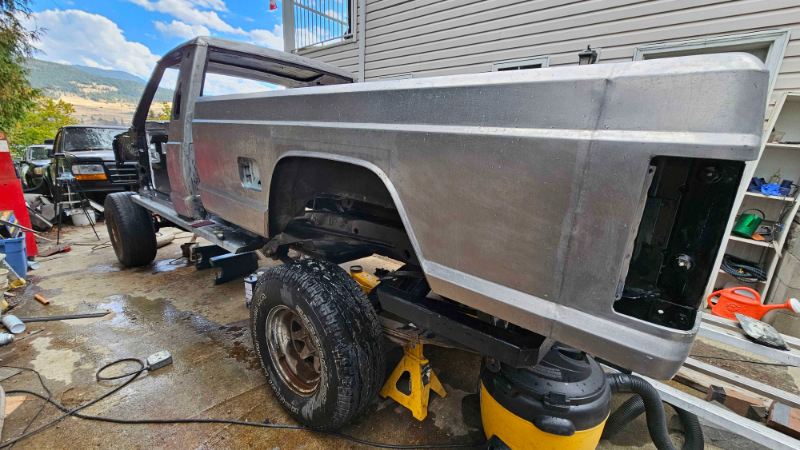
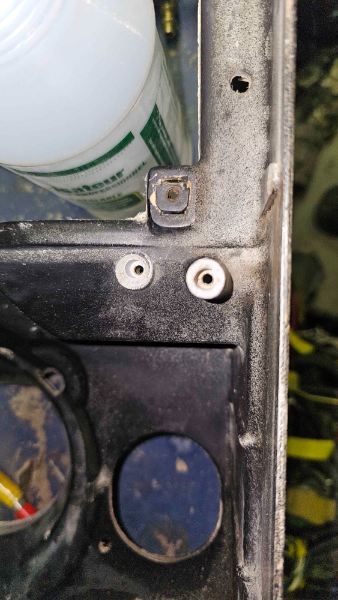
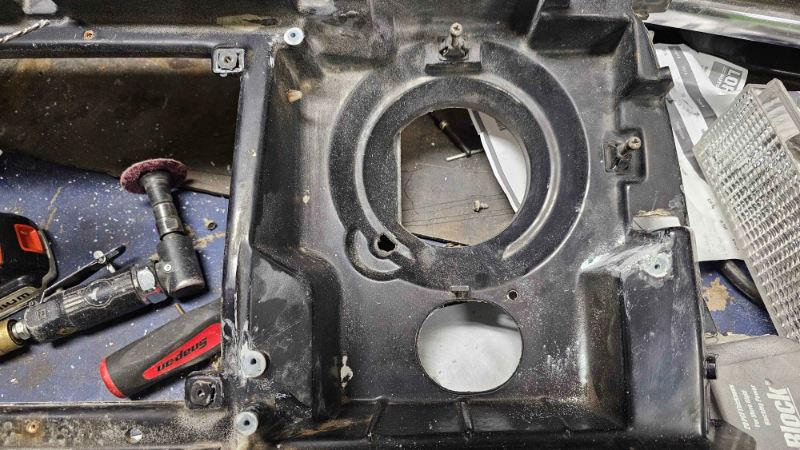
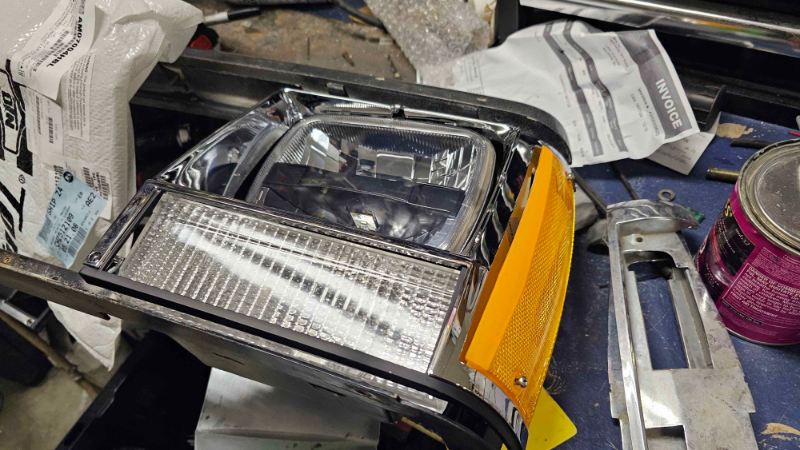
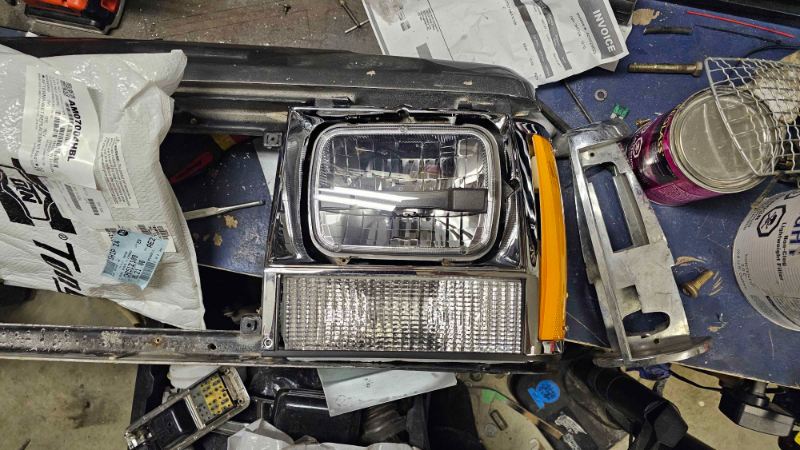
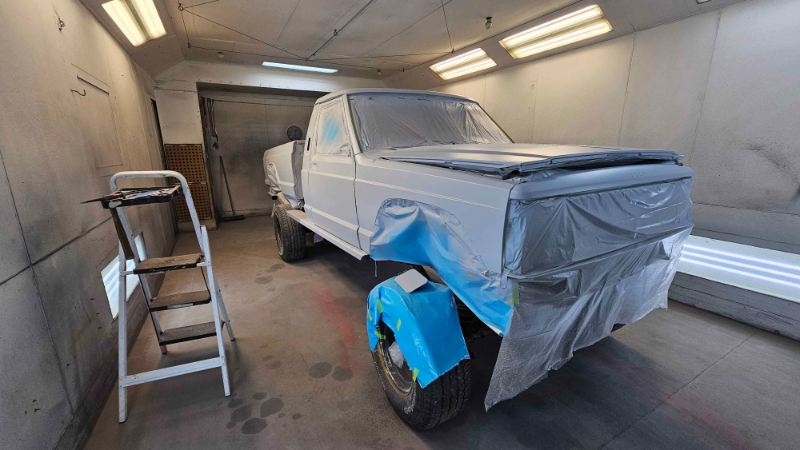
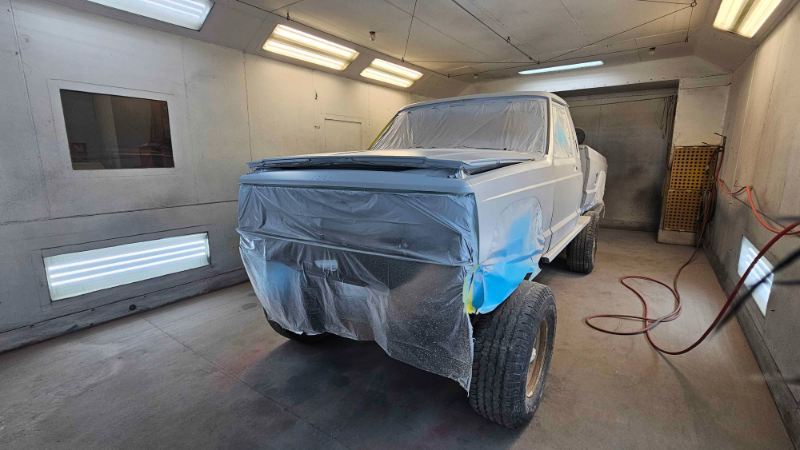
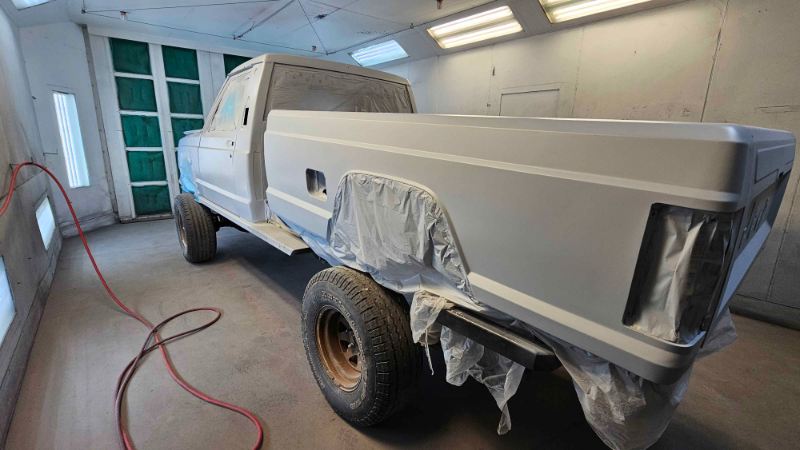
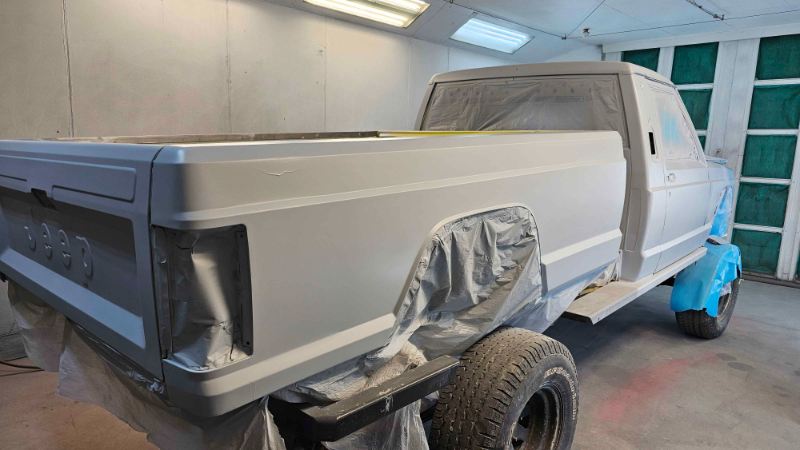
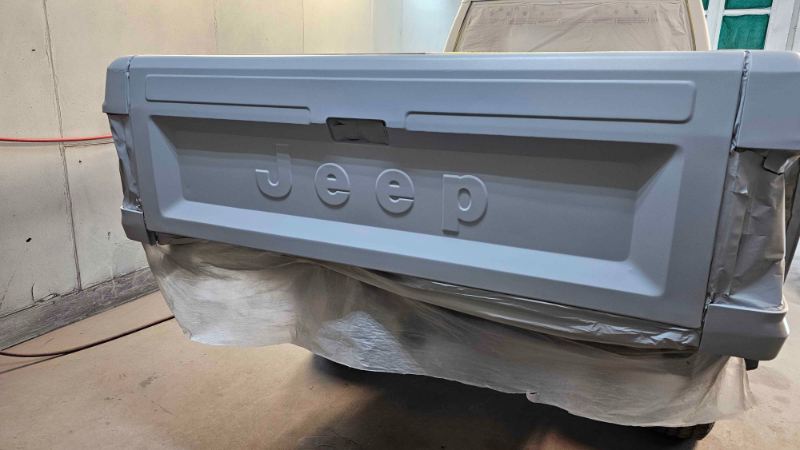
Let me tell you, is it hard to find a half decent priced paintbooth for "rent" around these parts. eventually found one but it took a few weeks to line up a time I could get in I was just going to prime it outside if the weather allowed me too but it ended up getting too cold sooner than I had hoped I spent three and a half days tediously razorblading all the paint off of the wiper cowl. this was a very miserable process. if your thinking doing all the paint prep yourself and if there is reman of these I would 100% buy the raw unpainted version of this cowl. the hood, drivers fender and front clip I spent my time prepping were NFG. so I went and sourced some new to me pannels and stripped them down new to me front clip had the classic rotten fasteners so I drilled them all out and refibreglassed them test fit of the new chrome and lenses. I think they are going to look great tow truck blew me off last week (I wish I had my own trailer lmao) so I had to rebook booth time and finally got in today! all epoxied and between coats of hibuild primer! you can't even tell that the box has been bobbed! there are a few small dents I missed when doing the bodywork so I will have to address them when I block the primer. but finally some real progress.
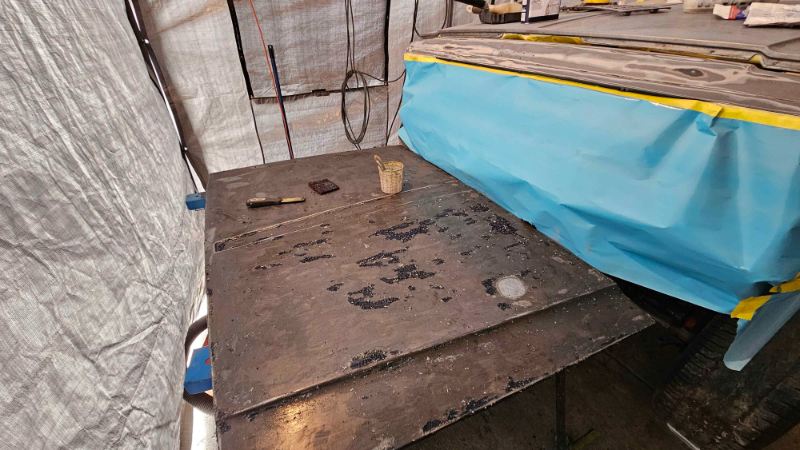
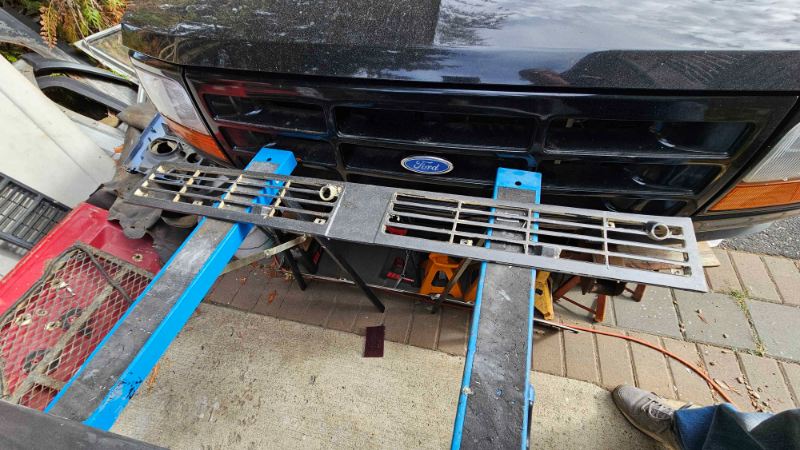
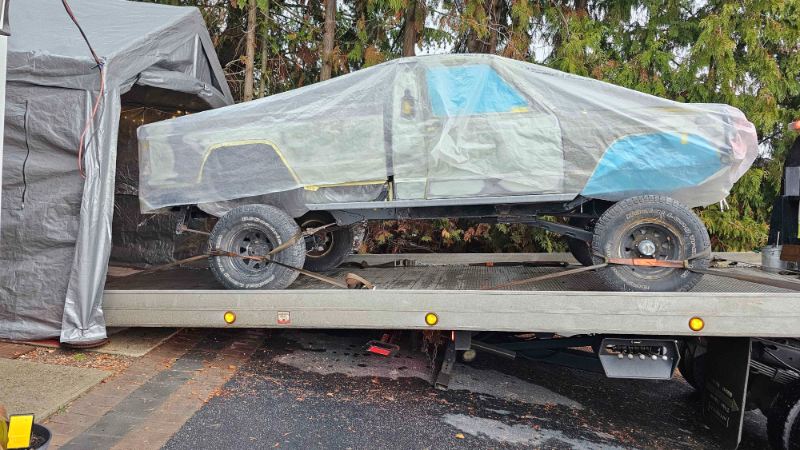
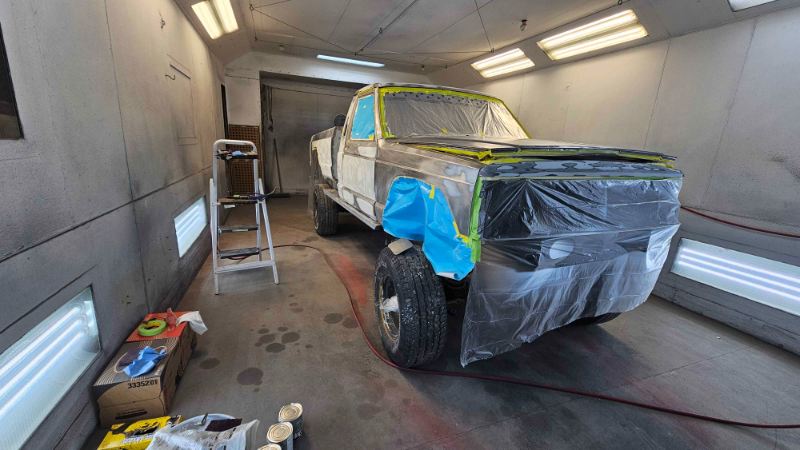
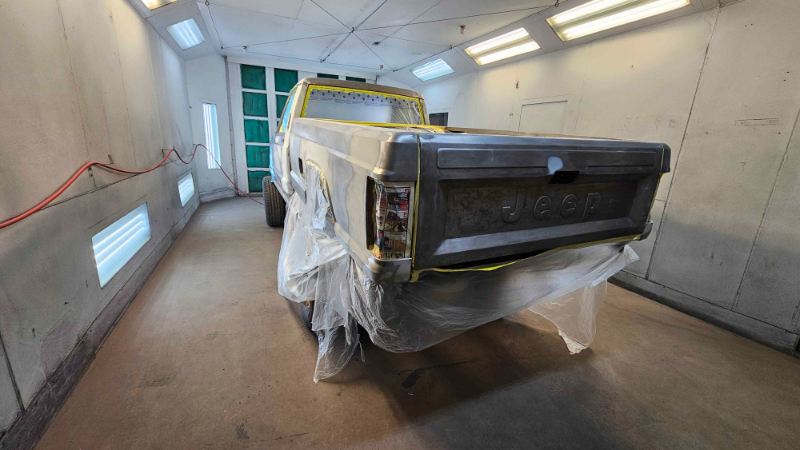
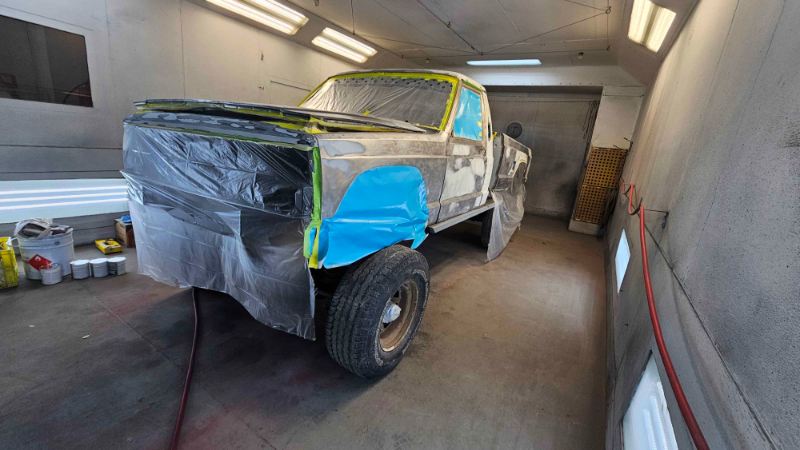
-
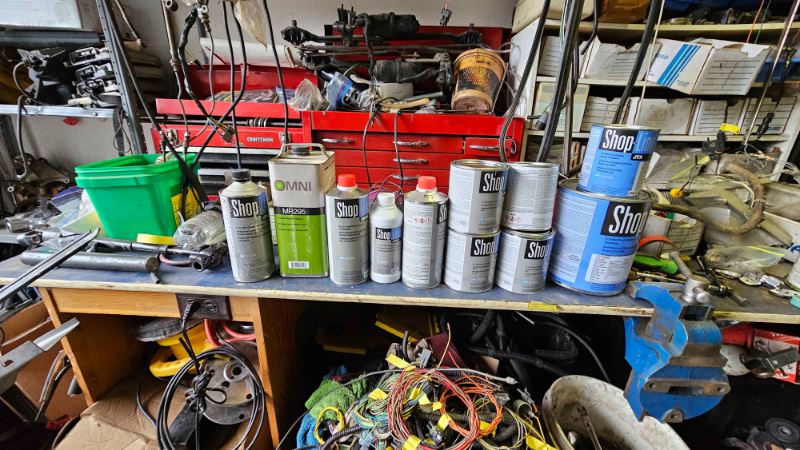
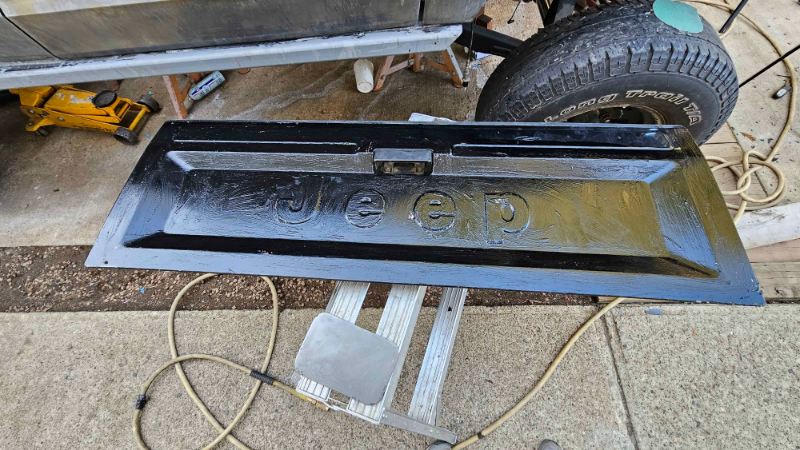
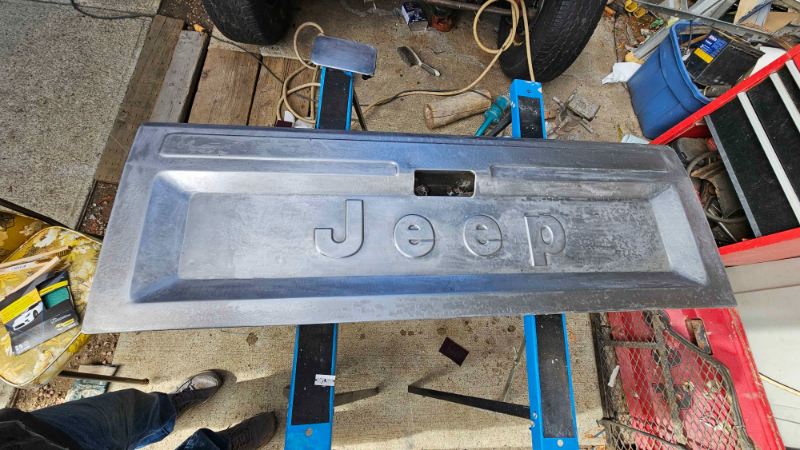
still working away paint has arrived realized I didn't have a tailgate for the truck the rest of my collection just had too much rust and other defects to deal with time wise, so I picked the best one and stripped it down. currently adding the bondo back into the truck. then it will be epoxied and hibuilt and then comes the lipstick lmao
-
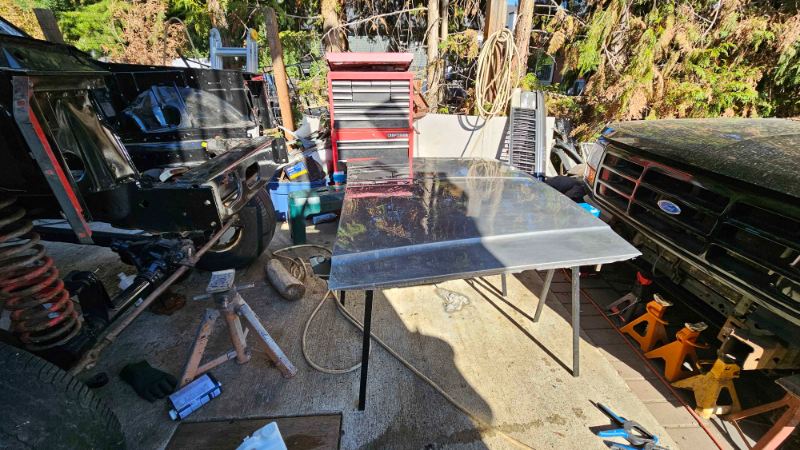
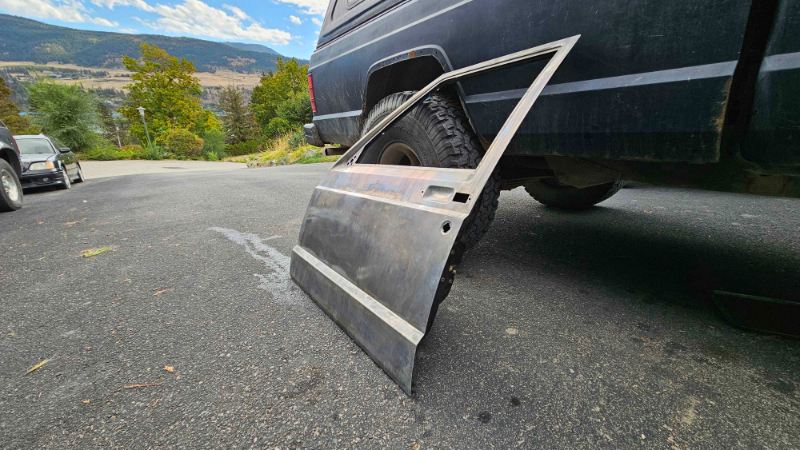
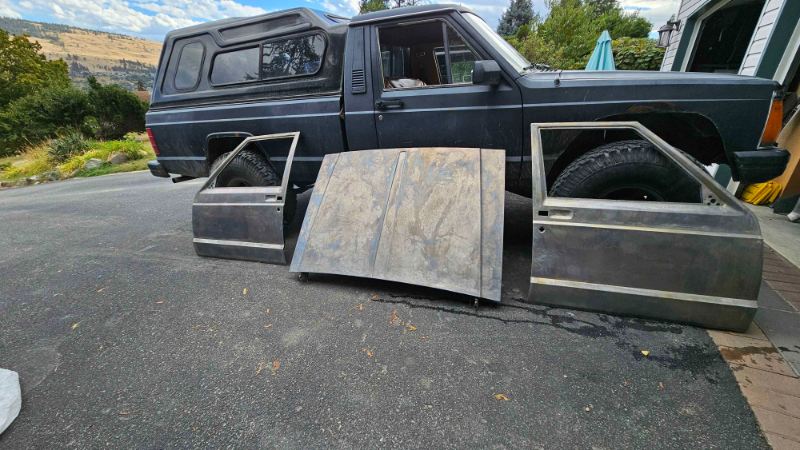
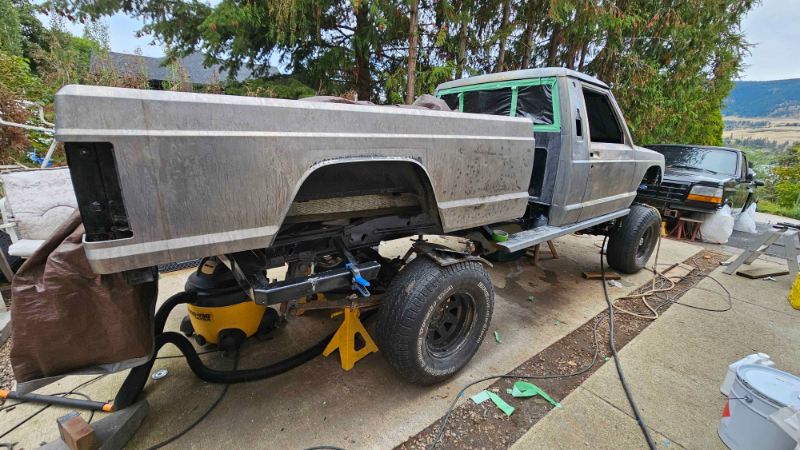
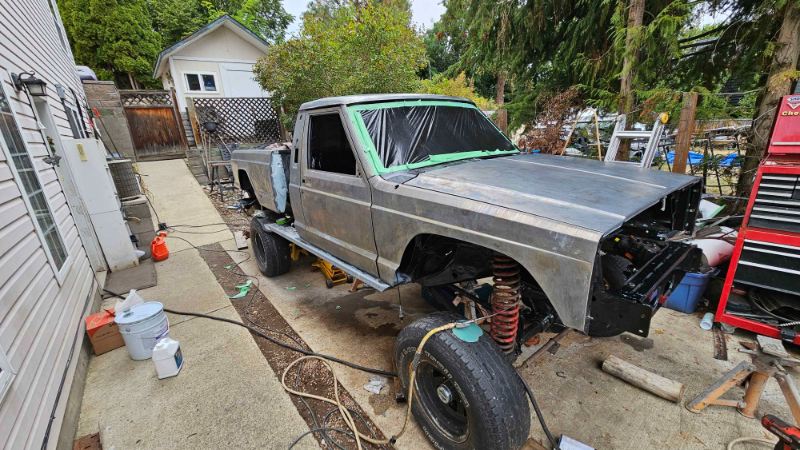
I am using a methylene chloride base paint stripping gel. brush it on and let it do the work, scrape it off and re apply. once the gel flashes off from the chips I just swept it up off the plywood into a dust pan and in the bucket. its nasty stuff but if you don't get any on you its not so bad The panels have now been chemically etched and have a zinc phosphate coating, this includes the cab applying the metal prep and the end results I submit my paint order tomorrow it will be epoxied, body filler then hi build final color will be metallic cyber grey