Gjeep
-
Posts
1221 -
Joined
-
Last visited
-
Days Won
3
Content Type
Profiles
Forums
Gallery
Everything posted by Gjeep
-
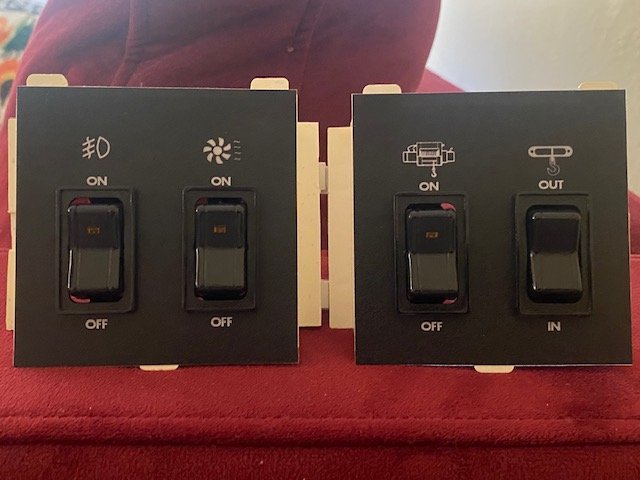
Switch pods came together -- NOS XJ rocker and SJ momentary (winch in & out) switches.
-
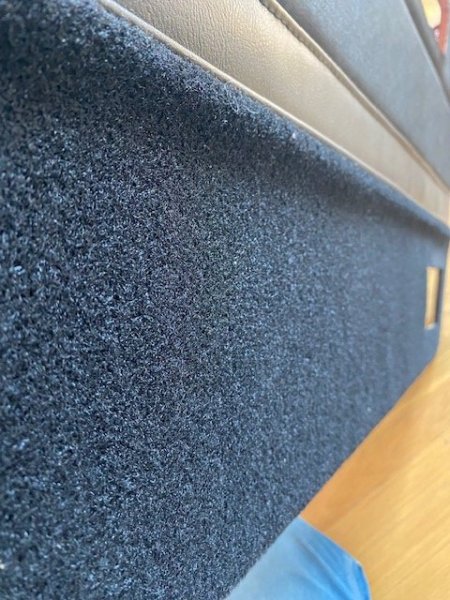
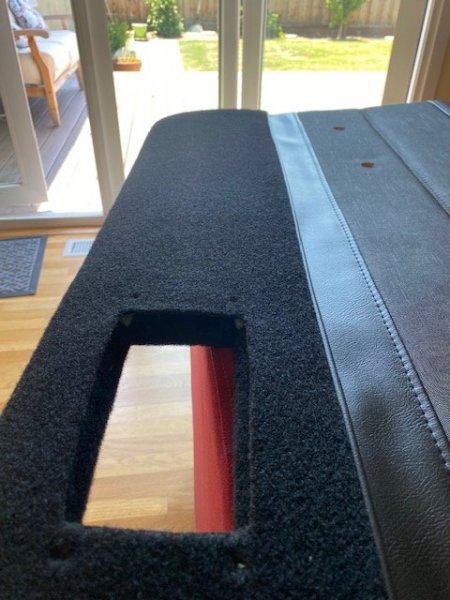
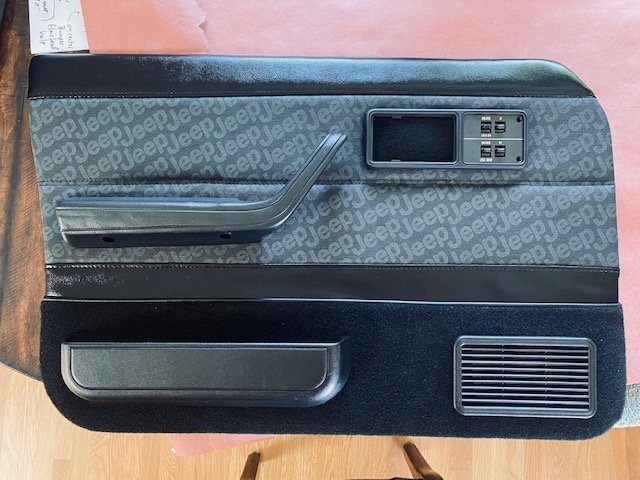
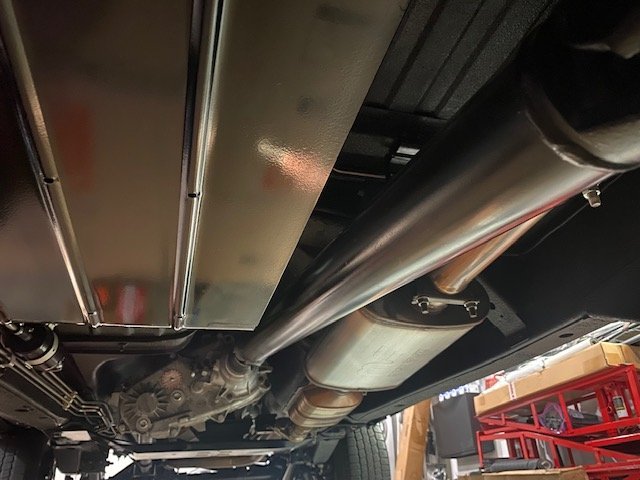
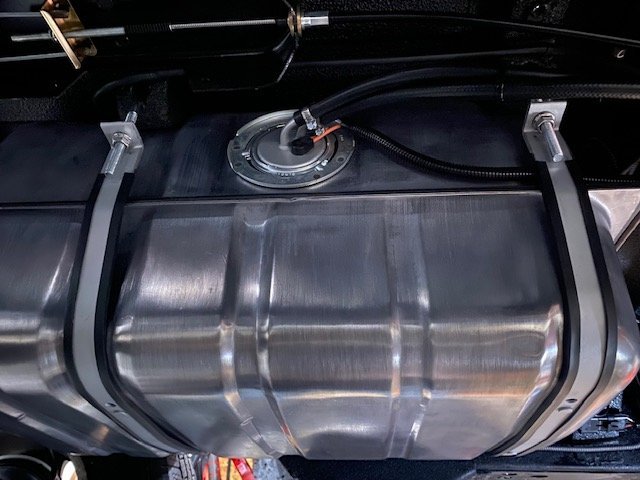
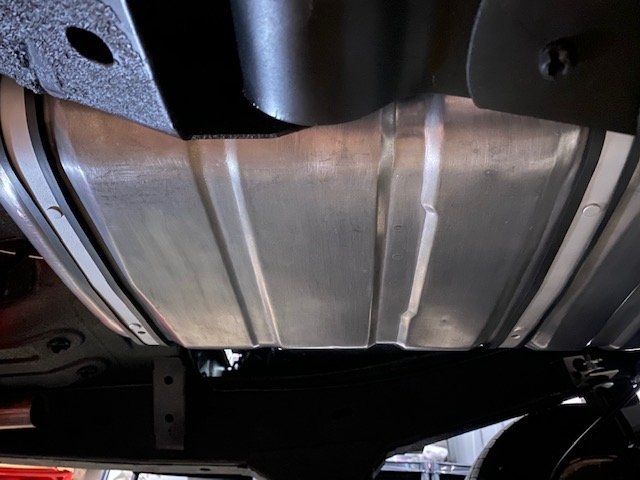
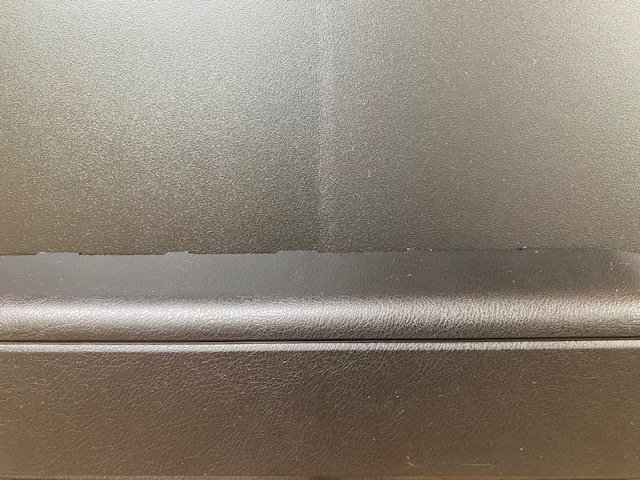
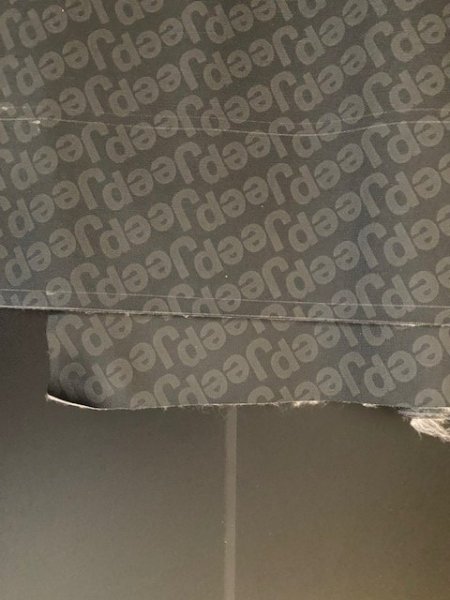
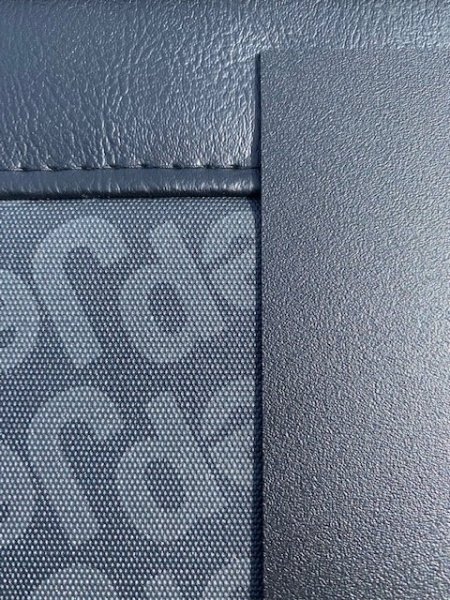
Had some time to get the fuel tank skid plate up over the weekend after the Spectra tank strap debacle. Glad to see the tank sitting level within the skid. Exhaust and driveshaft re-installed also. For the interior -- one thing that had been haunting me since I had these Jeep logo’d door panels made was the fact there was no padding under the carpet. It looked fine without. Just didn’t look quite right to me, so I bought an upholstery staple gun, 1/2” foam, and went to town un-doing the bottom portion of the panel and making it look more factory in appearance. All came out great, but one nit was being able to see the green foam ever-so slightly when the speaker grille is in place. So, I did a carpet wrap from the back side so all looks proper. This was the ‘original’ carpet panel. This is the revised version. Couldn’t resist… Mind you the only item ready to go is the door panel itself. The other items still need to be painted, conditioned, and installed (versus just being placed on top of the panel as shown).
-
Paint looks awesome!
-
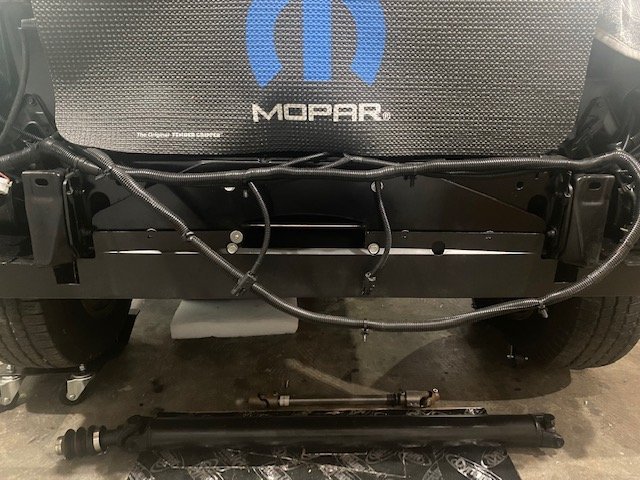
Cut tow hook openings and winch line cut-out on air dam. Came out great. I just need to wet sand the cut lines to smooth them out. Pic shown has it held on by only one stainless, but will be four across as factory had. Lastly needed to drill holes for winch mounting bolt so air dam sits flush up against the crossmember.
-
Lookin good.
-
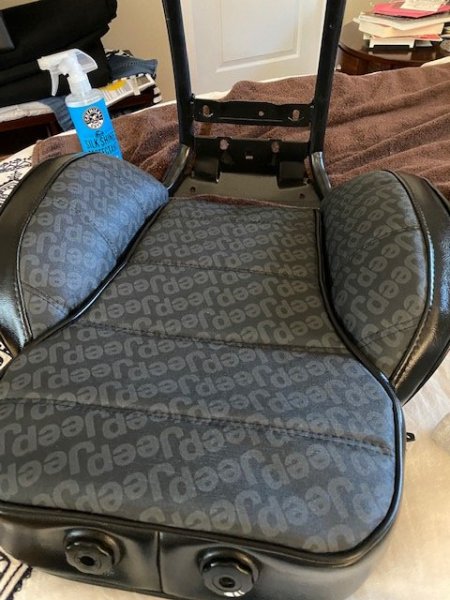
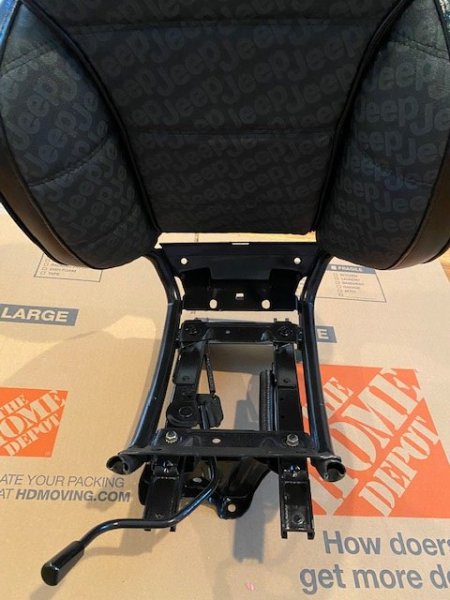
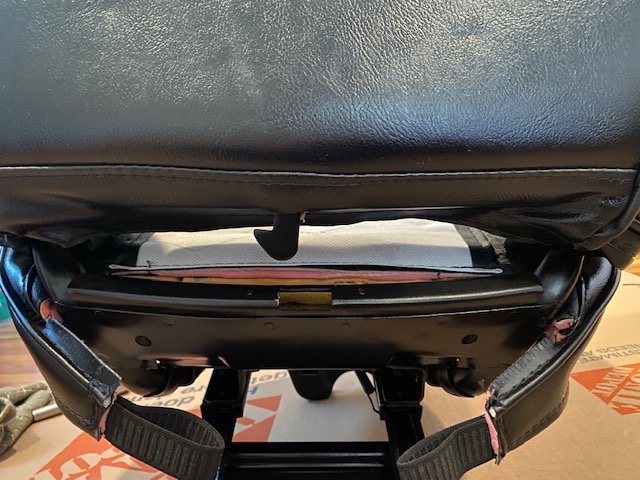
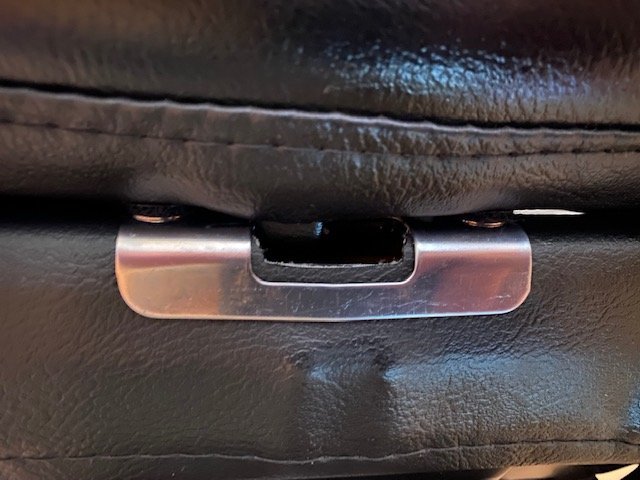
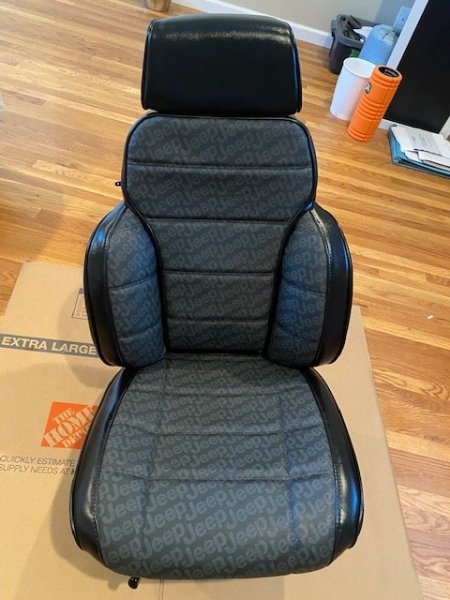
Hard to believe 2 years has passed since I got this upholstery done. Damn times flies... Finished up re-assembly of the seat tracks, cleaned up chalk lines and extra threads on the vinyl -- and took my sweet time opening up holes that were needed. I used some small round black Velcro soft-side dots on the underside of the seat back where it meets the stainless steel latch bezel screws to keep them from carving into the material.
-
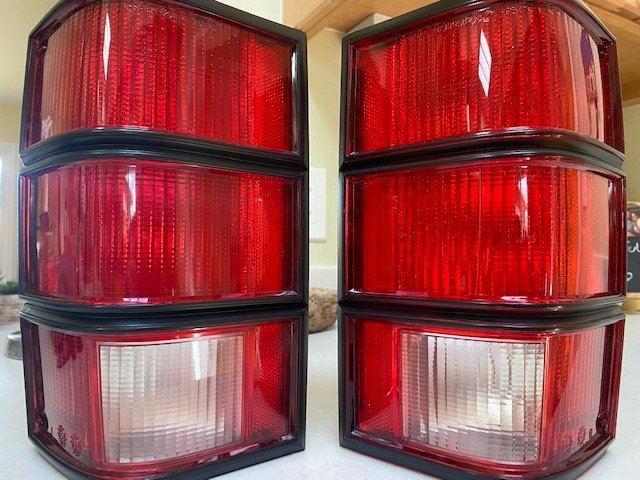
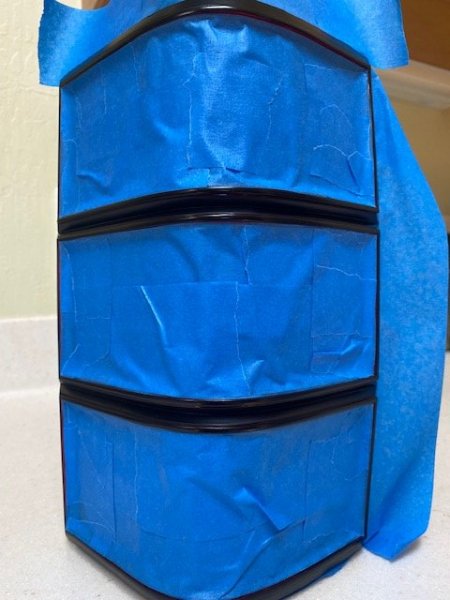
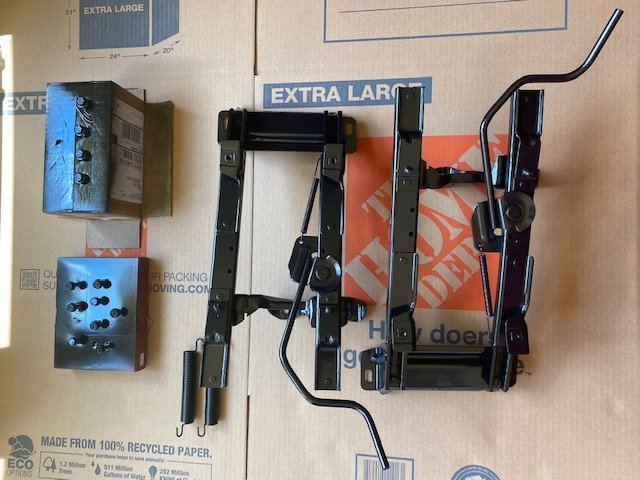
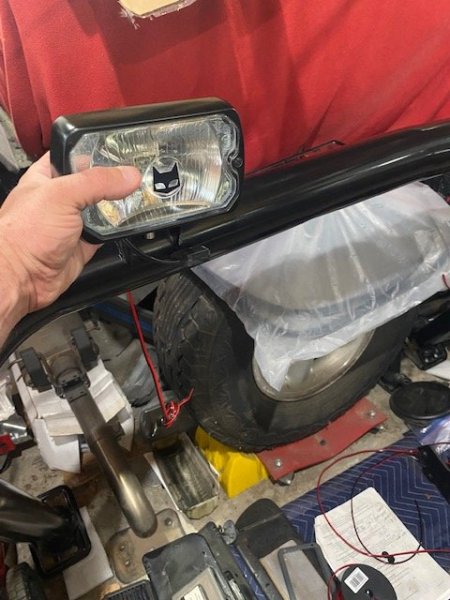
Taillight trim repainted black as the factory’s coverage and quality wasn’t the best. It took some time masking each up to prevent overspray. In the end it came out great. Taillight at left has been painted; the NOS one on the right hadn’t been refinished yet. Also got to refinishing the seat tracks… Thoroughly degreased and removed springs for total access to slide area. I’ll replace the release lever end cap once all is dry and grease the slides up prior to seat assembly (which is the next project on the ‘to do’ list.) Seat and track hardware refinished as well. Onward…
-
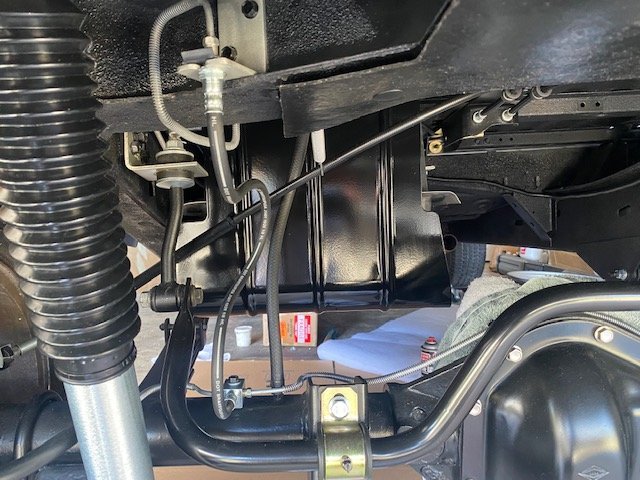
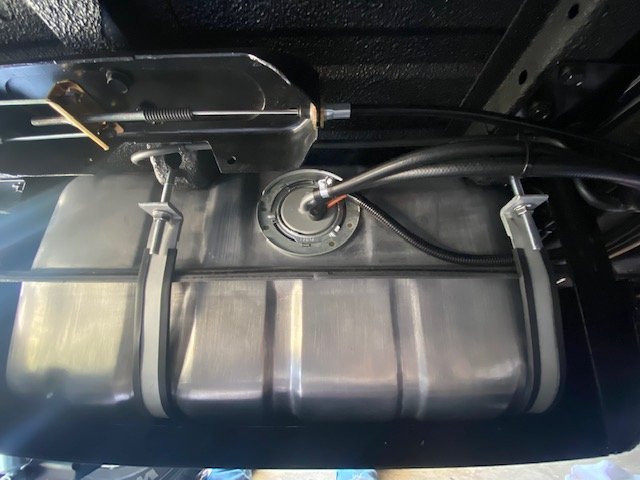
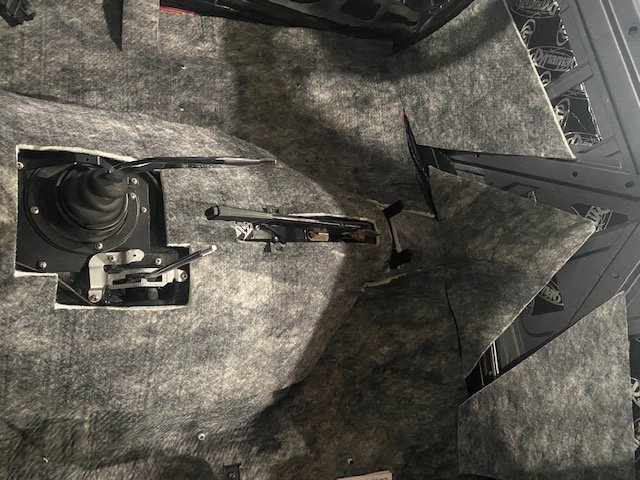
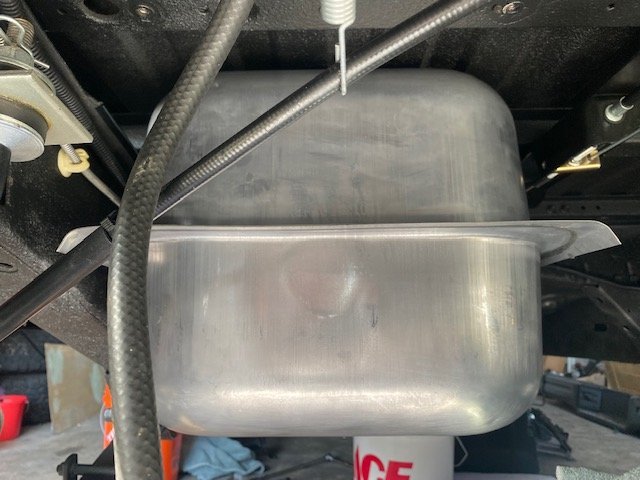
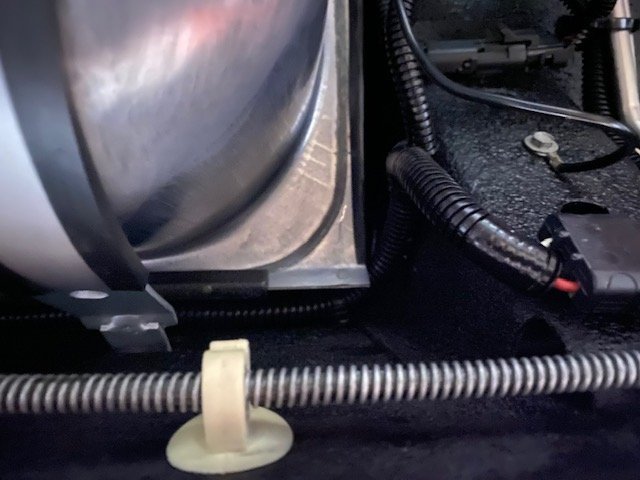
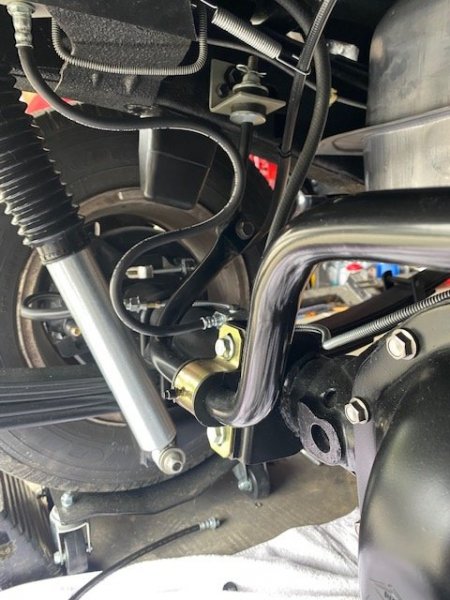
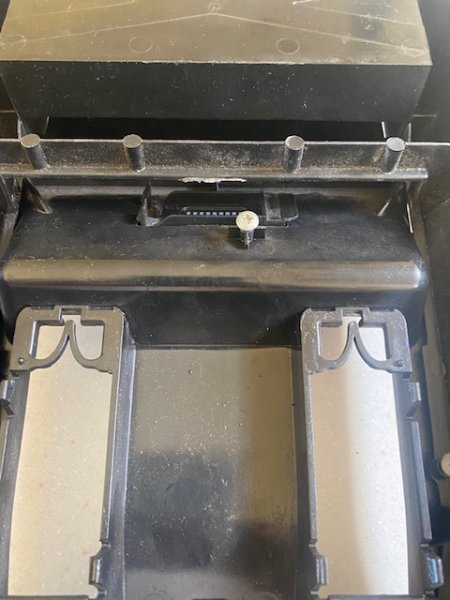
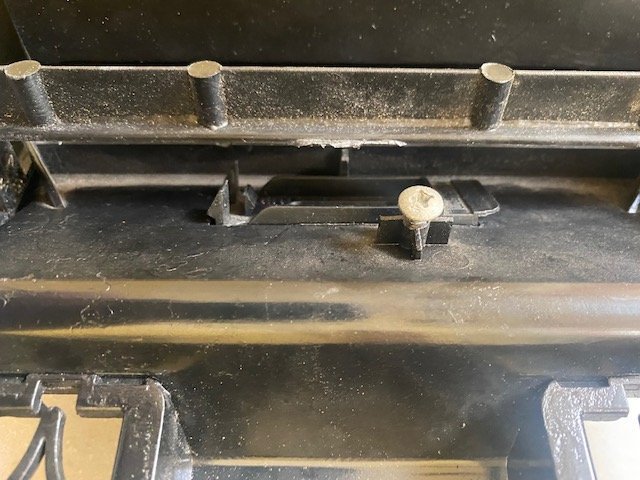
Finally found the patience to pull down the fuel tank skid and replace those tank straps. Many posts back I flagged that although the Spectra replacement tank is a think of beauty, those straps though appearing similar in bend and shape to the factory straps simply don’t take shape as the should. For my install that meant the frame rail side of the fuel tank sat over 1/2” lower than the other side. While having fun with swapping those CC member RedMistress suggested putting rubber on the straps to prevent wear. I found that the XJ, ZJ, and TJ all shared all the same width strap and once tanks went plastic, all had the plastic sleeve around the backside of the strap. Interesting to note that the aftermarket did not have any correct width sleeves. I went with Crown ZJ tank straps and removed the rubber from them and trimmed down to fit the MJ’s. Being a perfectionist always means stuff takes 100x longer than it should. Like 3 hours in this example. I carefully removed the skid plate and ended up having to disconnect a whole lot more from the fuel tank than I was hoping to. The front strap was easy to slip out and replace. The rear was not. Then I got to experience the reverse with the two straps during installation – Since the rear strap is more mid-tank there was no issue with rubber sleeve twisting as I tightened the j-bolt. The front strap however, since it’s placed just at the round corner of the tank was no fun. I lost count how many times I needed to reposition the rubber strap so it didn’t sit funny. Finally got it done to my liking… Also swapped out the way too taut rear axle brake soft line with the custom one I had made. The upper retainer clip corner broke off when removing so a new one is on order. Will bleed the brakes, fill the tank with gas, and hopefully take it for a quick spin some day soon. Looking forward to bugs in my teeth as I don’t yet have a windshield. Just around the block is probably best. (Know that the sway bar isn't anywhere near touching the rear axle. It just looks that way in this photo.) Lastly, I finished up the second layer of insulation that sits under the carpet/ carpet-backed insulation. I cut out triangular pieces that will be glued into place on the carpet board.
-
Bruce has to enroll at MJ academy
Gjeep replied to brucecooner's topic in Member Projects: Your Comanches
Clean MJ! Congrats -
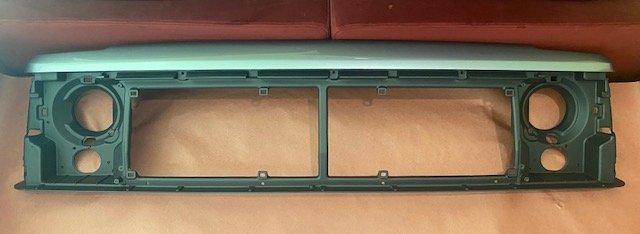
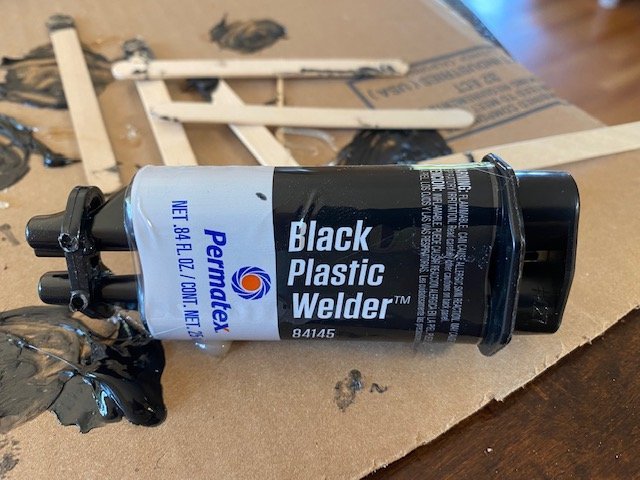
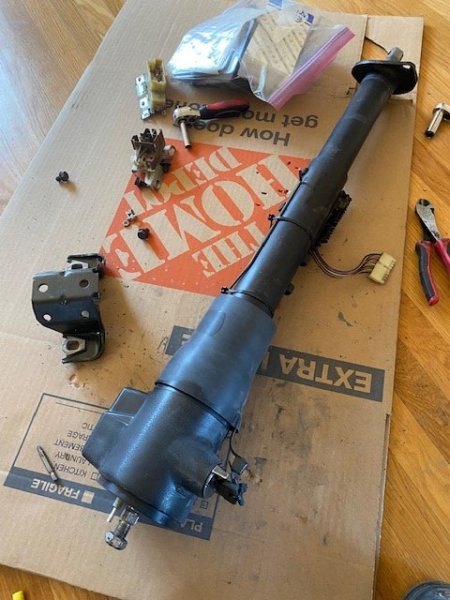
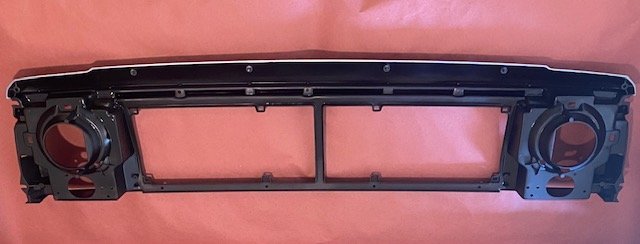
Cleaned up, disassembled, greased, tightened, repaired outer shell plastic, sanded, then wet-sanded, and soon to replace the ignition cylinder (after paint) on the new to me tilt column assembly. All the ignition switches will be replaced with NOS as will all connectors. Takes time! Also, been filling the cut-lines and oem style inserts on the repop seat tumble lever trim, then sanding over and over again before final paint. I like Permatex's Black Plastic Welder as it dries fast and has caused me zero issues in the past as far as breakage goes. I do have to take another 'fill' and sand pass to on these to be 100%, but I'm liking how they look. These bezels are solid plastic on the backside which was what the originals were not, hence the breakage. I can't remember what CC member made these, but I'm ready to buy a couple sets more if they ever go back into production. Lastly, I painted the header panel lower section flat black as I did the backside.
-
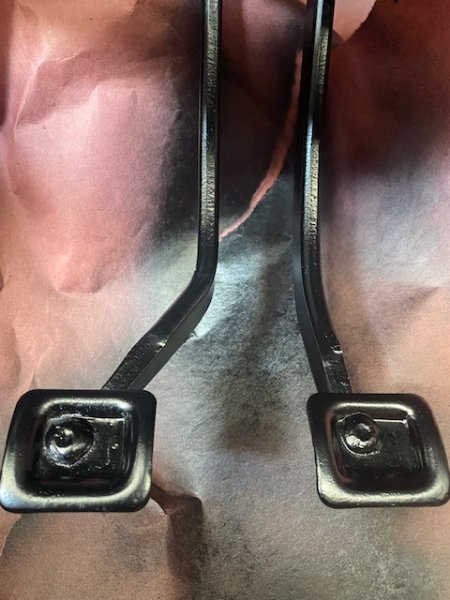
Got the fuel door mounted, protecting the paint as I squeaked through narrow gap to turn the hardware. Also painted the backside of the header panel to match the front side lower portion (flat black). And lastly, taped off and sprayed the clutch/ brake pedal so it would look as fresh as the new gas pedal assembly soon to be mounted.
-
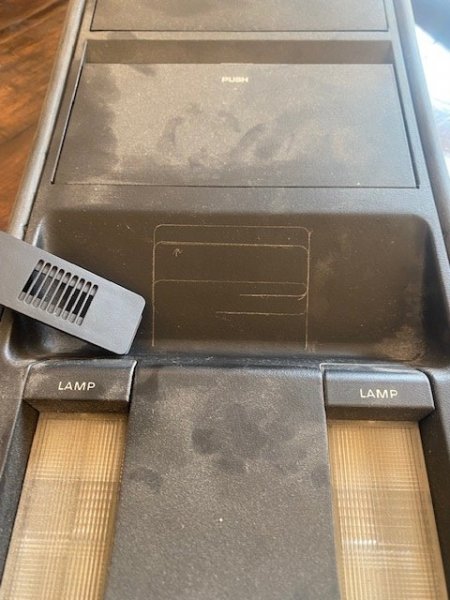
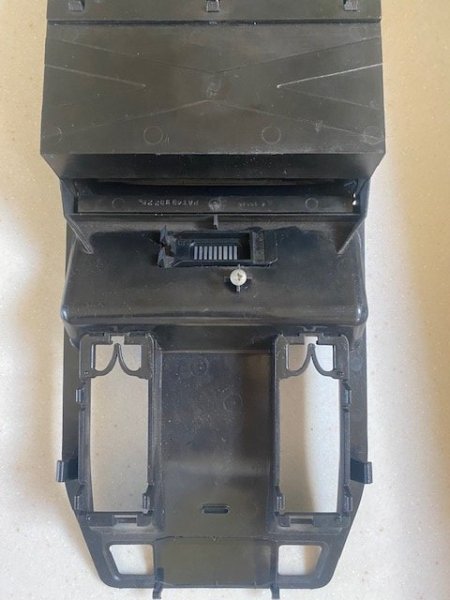
Cutting and filing the overhead console insert area for a hands-free mic that ties into the Bluetooth radio. Like the XJ’s I’ve built before, I use a German microphone that snaps right into a mid-2000’s BMW speaker grille. Looks MJ/ XJ appropriate. Unlike the 97+ XJ’s overhead console that I’ve installed this in, the first gen XJ overhead console has a lot less ‘free space’ behind the scenes. The only place that this could logically go in the above area meant a tight fit of 1/8” cushion on all sides due to console reinforcements, brackets, etc. Still need to pretty it all up, but it’s in and looks good.

-
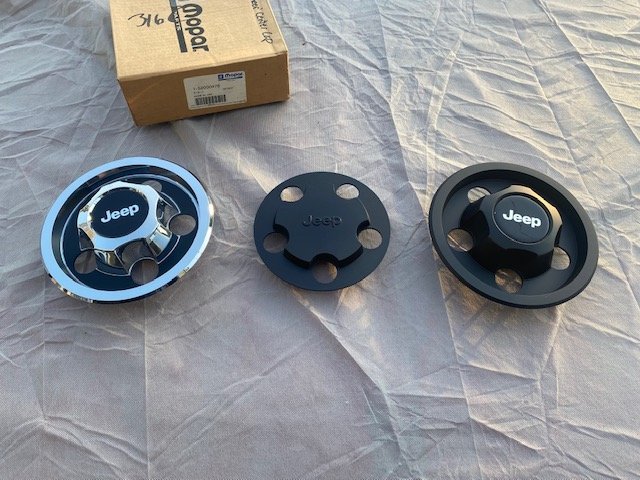
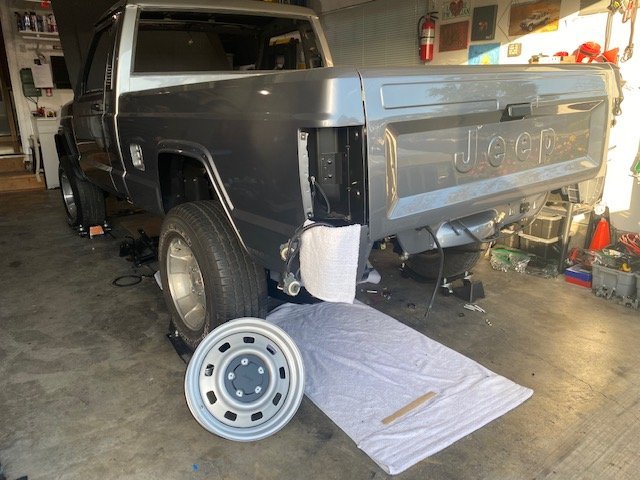
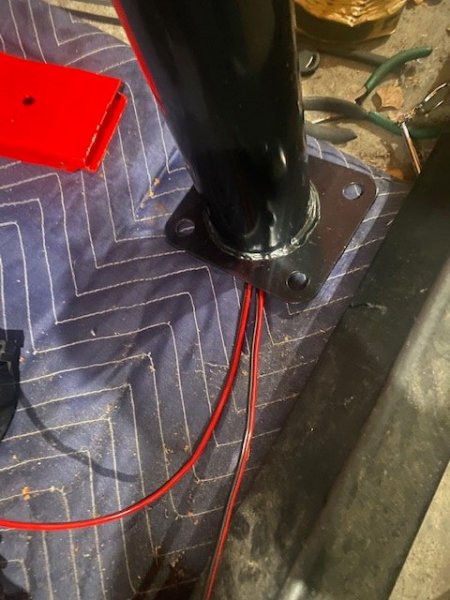
For those of you Comanche faithful out there that ran wiring for roll bar lights, hats off to you. That dime-size hole on the bottom foot of the main hoop driver’s side is beyond fun fishing wires through, but it’s done. Jeep should have drilled out a larger access hole…and I should have caught that prior to having the bar powder-coated and drilled it 1.5" large. I found the best way to get the wires from NOT running down the kicker legs of the bar was tipping the bar 45 degrees forward…and even then it took some doing getting the wires through the main hoop bends of the bar. Also 99% certain I’ll be running different rims than originally planned for this project. Found NOS 15x6 Jeep rallye rims that I’m going to have widened to 15x8 with polished trim ring. Currently torn between powder-coating rims black with chrome Jeep center caps or standard silver rallye silver with black Jeep military style flat caps. Leaning toward the silver, but will see.
-
That’s awesome. Back in the 90’s falore jeep in the Bay Area had a parts runner MJ that lasted over a million miles on original motor and aw4 trans. The owner of the dealership was extremely frugal and I have no doubt only maintenance was done to that MJ. Out lasted 2 dodge full size rams first gen. Was sad to see that MJ gone one day when getting parts.
-
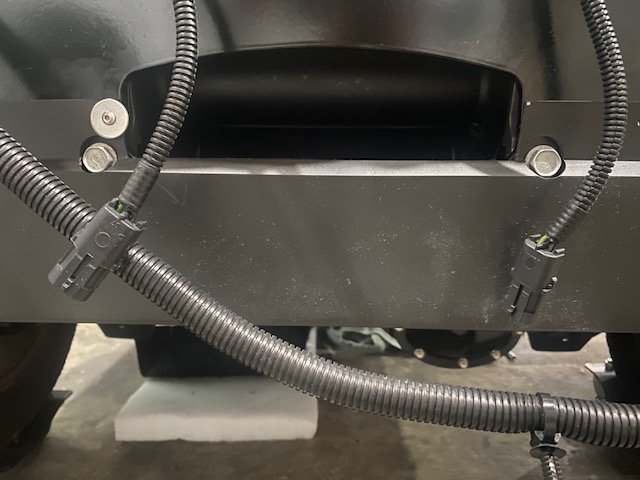
Three holes for the kicker mounts also. The two middle holes are for drainage. I think, as there are matching holes backside of the kicker foot that line up with them.
-
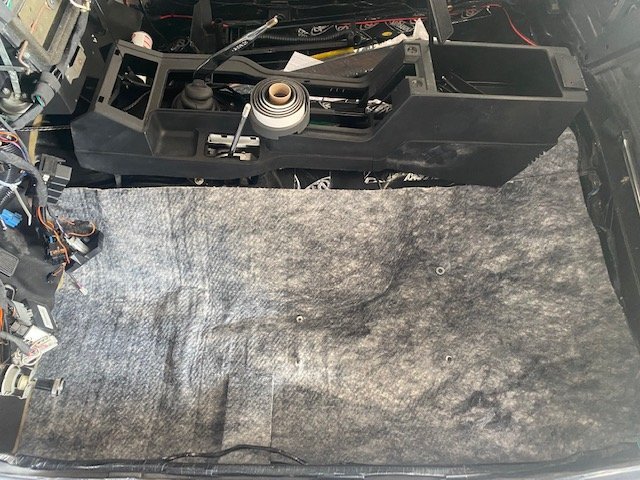
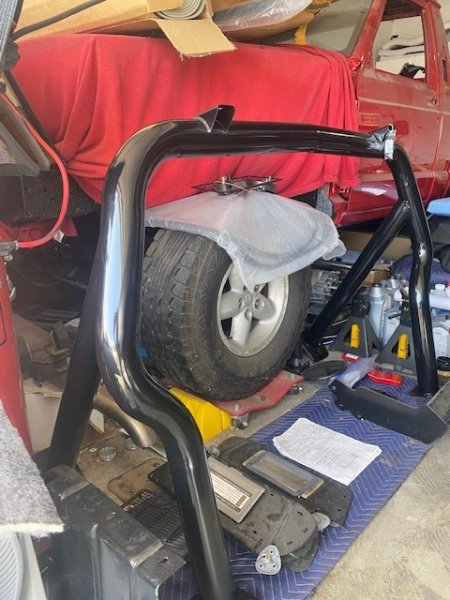
Chugging along at a snail’s pace… Got all the black interior panels cleaned up front and back side. I tucked them away near ready to paint at some point in the near future. I decided to shoot a test panel of SEM’s satin black (#15243) and Landau black (#15013), then spent over in hour in various indoor and outdoor light settings, indirect, direct light – you name it I viewed that test panel against a probably the least faded interior panel I have – the door panel map pocket. The hard plastic map pocket color, in addition to most other interior panels, matched the SEM satin black best…but then I compared the test panel of colors to the dashboard, new seats and door panels vinyl and the Landau black was the closest match. Of course, fueling my insanity. Then I used a wipe-on UV protectant most panels and fabrics would be conditioned with when the truck was complete -- and final color match result landed at Landau black being the winner. Here’s some pics related to the crazy… Took some time to remove the old carpet from the cab backwall and clean up that backerboard panel. I’m filling the spare tire jack related holes as I’ve got all that stuff out of the way, mounted under the hood. I want a nice clutter-free back of cab wall. Next, I dusted off and polished up the rollbar which had been sitting a while. This bar actually came off of my Colorado Red MJ. The owner had removed it soon after buying the truck placing a camper shell out back, so the bar has spent 99% of its life indoors. I’ll be pre-wiring the bar so the install will be less trouble. Also finished up with my kindergarten acquired skills, cutting all the pads that the roll bar will reside on bedside. Finally, working towards completing behind-the-scenes interior details, I sized and placed the ½” extra padding I like to run in my MJ’s and XJ’s. Design Engineering is the manufacturer of this sound-absorbing insulation material that takes shape easily and is of a nice dense quality.
-
This one is a perfect fit and Jeep use to sell as accessory 97+ with Jeep logo. Hard shade, perfect fit. https://www.quadratec.com/products/74181_800.htm?gclid=Cj0KCQjw06OTBhC_ARIsAAU1yOVARe2Pn-9VVgm3lJsClC_Pi0aPtYcuci-dJcwVepaZcg7WIgG12QoaAiMGEALw_wcB
-
Cutting 1/8" rubber for roll bar pads. 3x as thick as factory to hopefully avoid paint contact. Time-consuming fun.
-
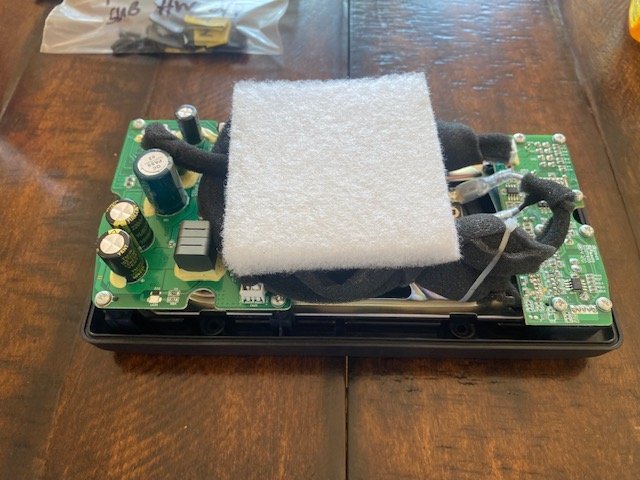
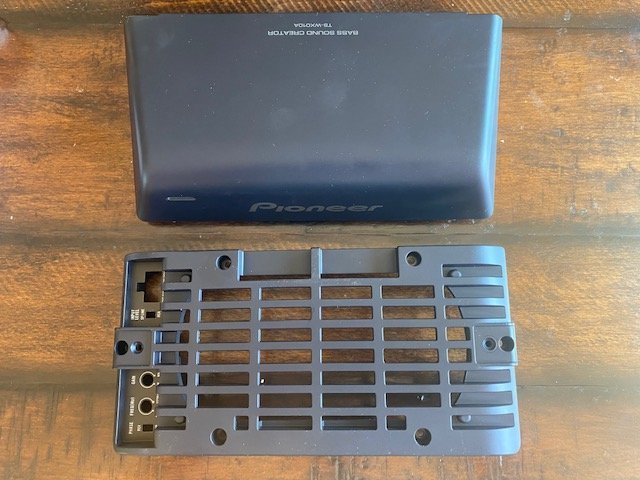
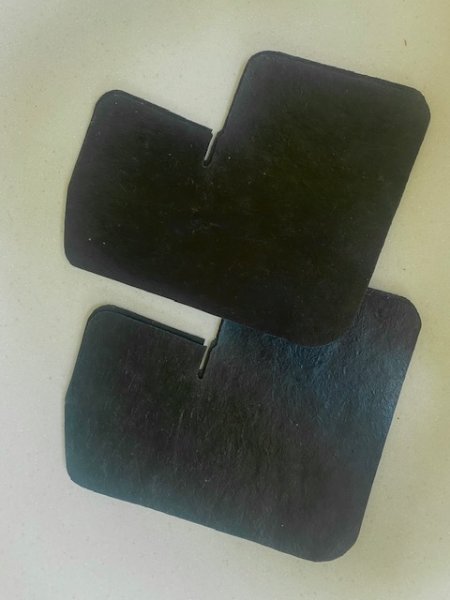
Disassembled the Pioneer sub – ripped it’s guts out to ready the shell for paint. It’s molded in an awful and odd blue/purple color that absolutely no car in the entire world has. Why they just didn’t make it black I don’t know. The speaker itself was surprisingly heavy, so I’m looking forward to hearing it (hopefully sometime in the next couple months when I do full vehicle electrical testing). Also got some metal ready for the powder-coating. Repop roll bar brackets from our very own CC member and a GM steering column security collar from many years gone by. It was a made in USA piece specific and was available for most every US automaker. For the GM column (XJ) there was a choice between manual/ auto trans and tilt and non-tilt columns. It’s a relatively beefy piece that doesn’t look ridiculous when installed. The only other column guard for GM columns that is still available is a bright orange over-sized piece. Also trimmed out some bed-flaps. The hard plastic ones I have I did refinish; and they came out well, but I like the idea of the masticated rubber as it matches what Jeep used for the front fender liner. Next up is trimming out new roll bar gaskets of varied thickness for the kicker bars.

-
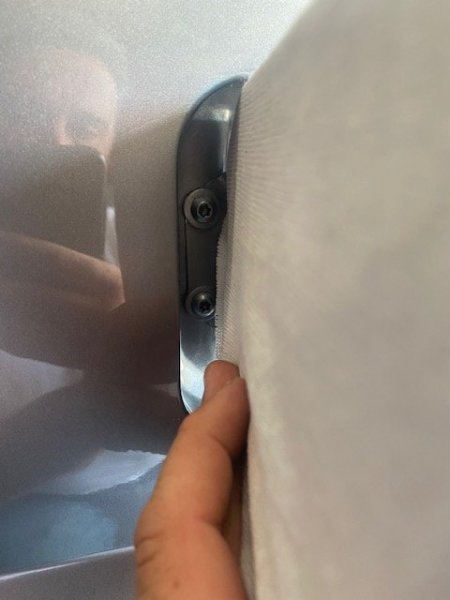
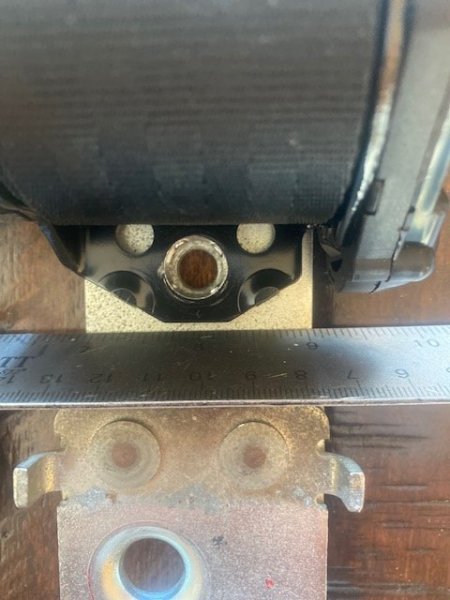
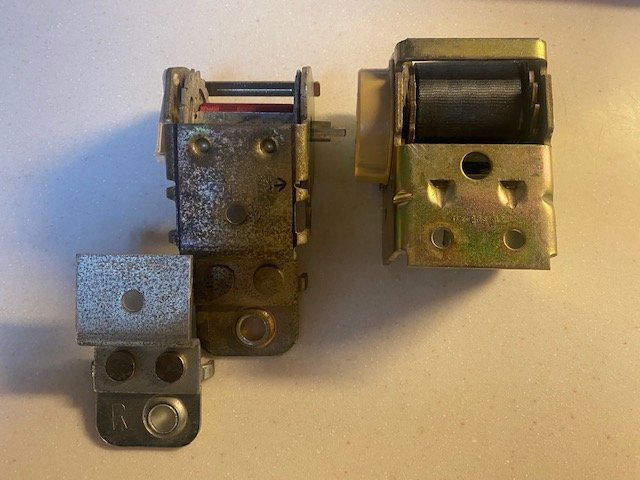
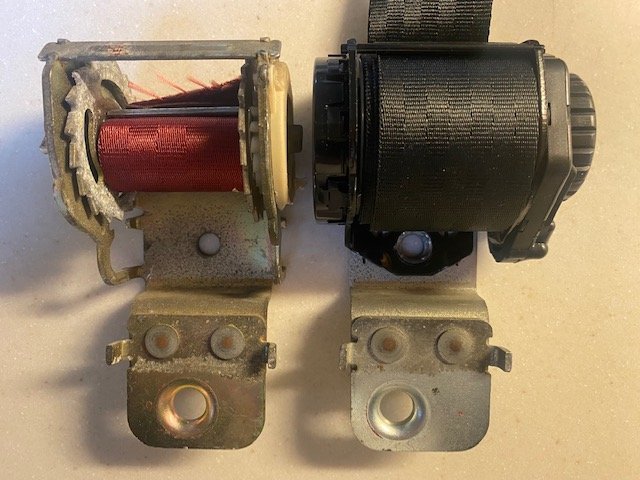
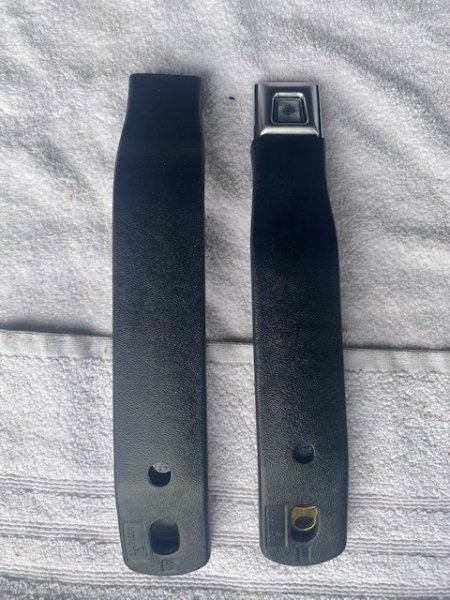
Unknowingly, I ended up digging a little deeper on the seatbelt bracketry… As I ordered some MJ replacement “parts” shoulder belts for my next MJ build, I learned that the first gen (AMC -era) brackets were more easily suited to mount to the new aftermarket shoulder belt setup. See below. The flat bracket of the first gen makes for a simple cut and drill; where as the later gen shoulder belt bracket is not flat. As always, there are different ways this can be done, but for me when messing with seatbelts I want to have as many good, solid attaching points as possible. Also, the main (large) bolt mount just about lines up old bracket to new shoulder belt assembly. Completed shoulder belt assemblies.

-
yep, glow-through
-
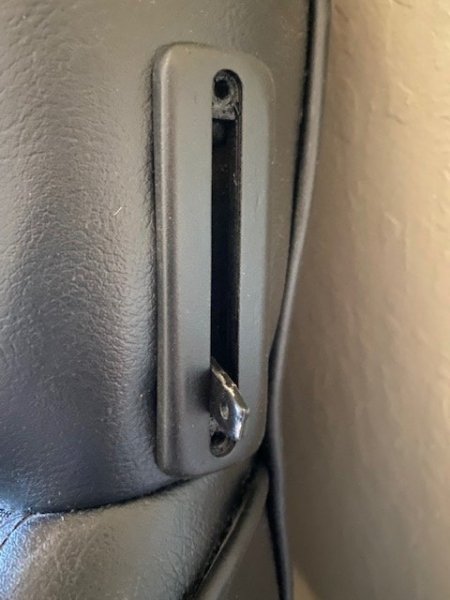
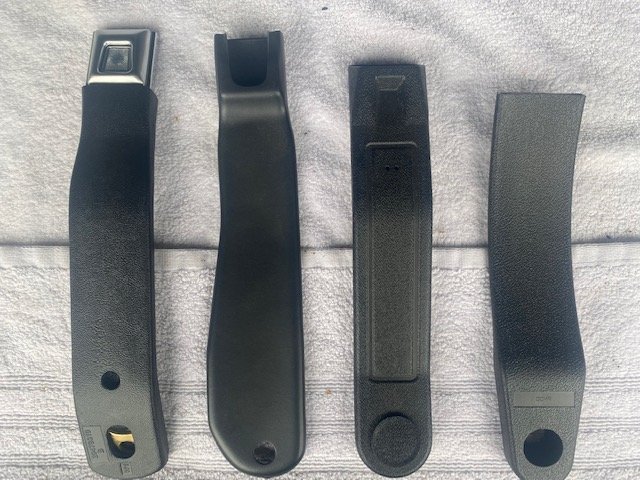
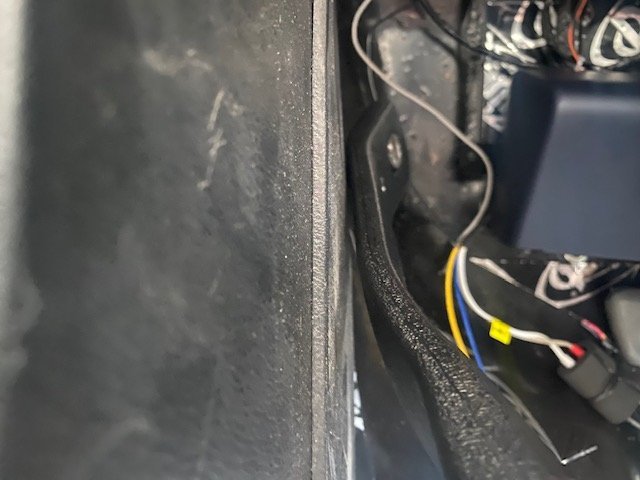
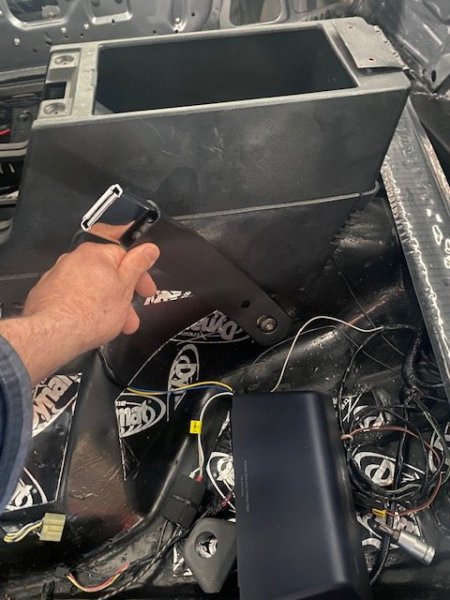
Continuing with the seatbelt project/ working out decisions… I put my placeholder center console into position to test seat belt buckle sleeve options I found. My selection ranges from 3rd gen Camaro/ Firebird, C4 Corvette, 3rd gen Mustang, and a generic sleeve. The only two that were proper length were the Vette’s and the Camaro’s…The Vette’s is just odd looking and the sleeve is straight with no bends toward the seat occupant. Of course, the Camaro’s seat belt sleeves (and belts themselves) are different length driver and passenger side. I’m not sure which is which, but the sleeve that worked for the MJ was the shorter length of the two. My number one goal aside from finding a sleeve proper length is that it not hit or rest against the center console. First gen XJ/ MJ AMC sourced seat belts eventually carved into/ scratched up the center console because they were hard-pressed against it. It took me an endless amount of time to find 2 black center consoles without this damage and I want to make sure they stay that way.
-
Are you saying the lettering is painted on or are decals. If paint you should really be careful removing it. You have no idea how many layers of clear coat were laid. Burn-through would be bad.
-
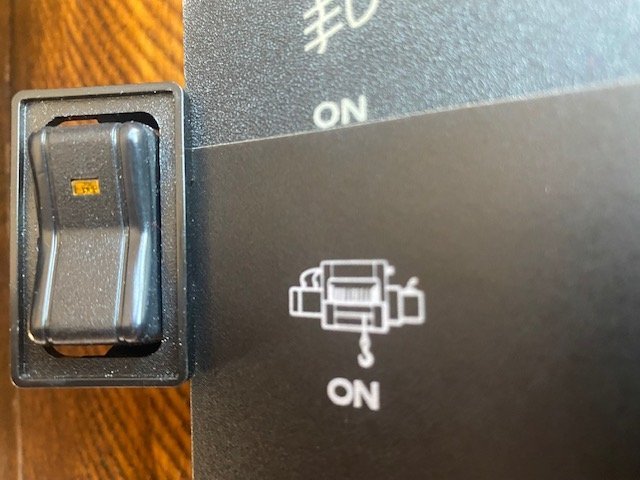
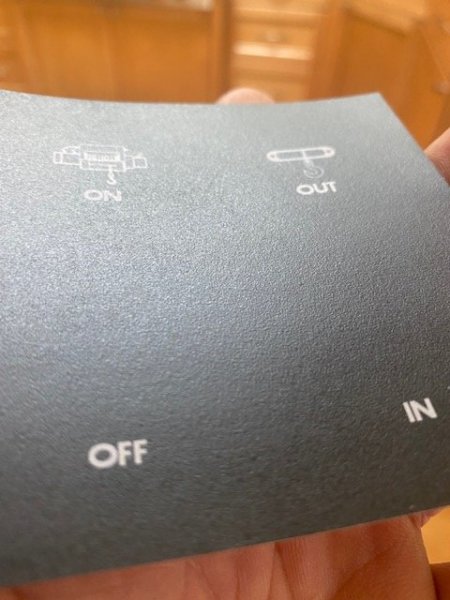
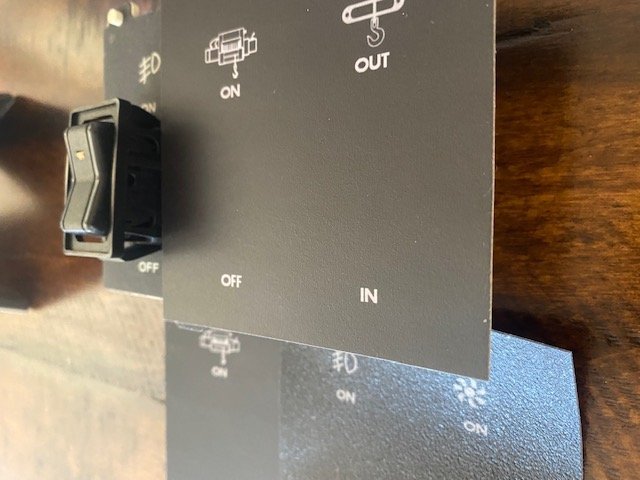
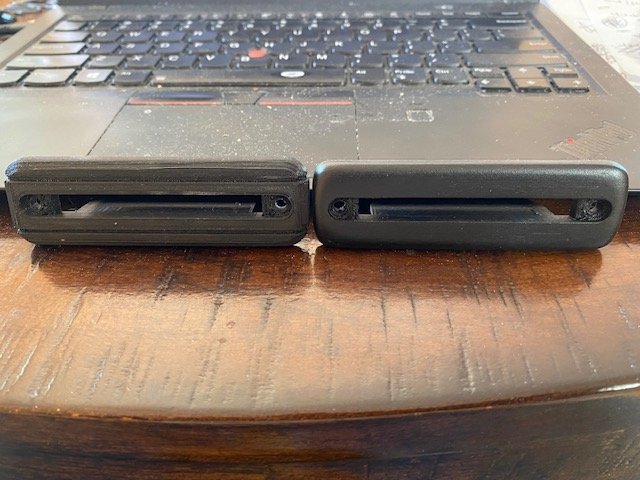
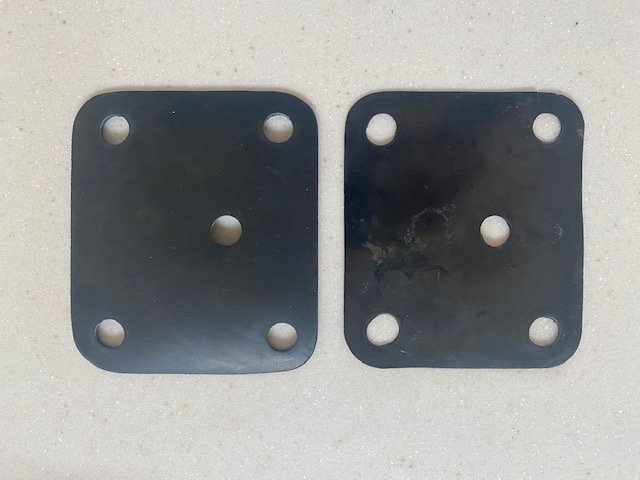
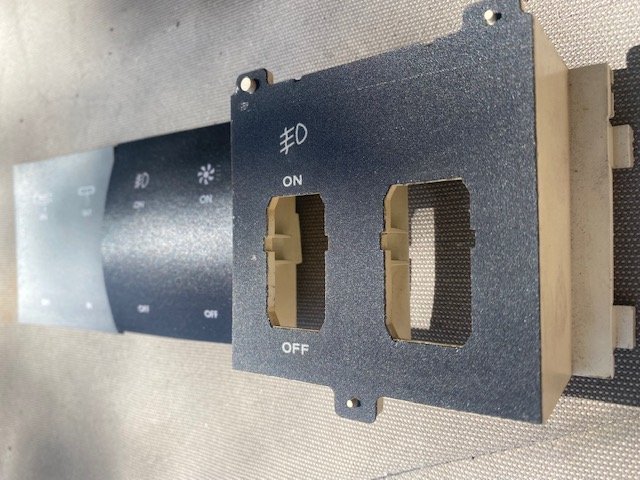
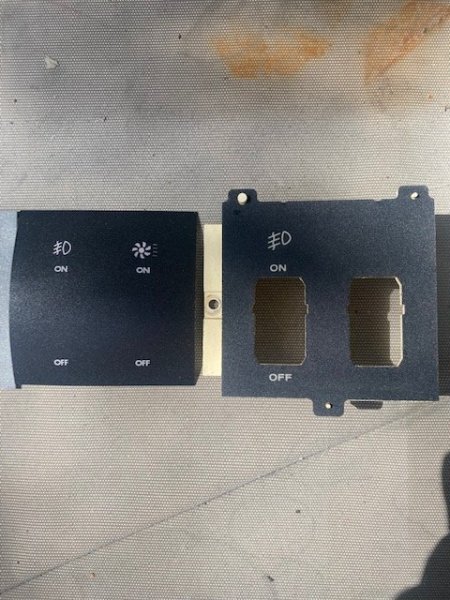
Typically 3rd time is a charm, but this time it was 4th -- Got spot-on color match to new switch and identical texture to OEM switch pod overlay. I can check this 'how-to' project off my list. (Yesterday's attempt is the one in the distance.)
-
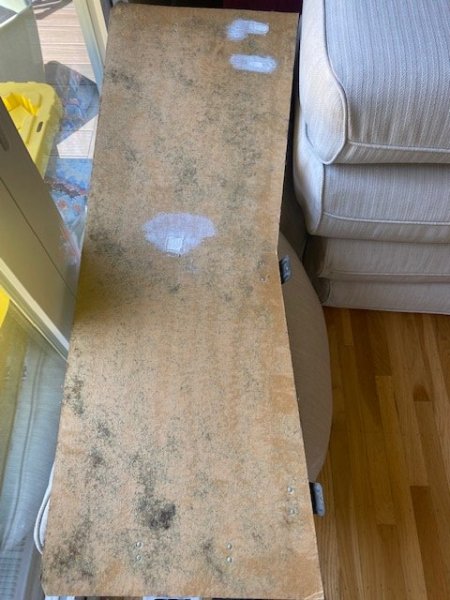
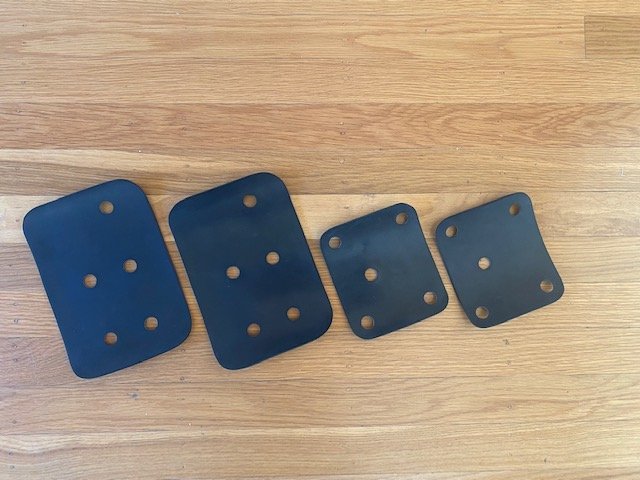
Been dabbling with my switch pod overlays… Hard to capture the texture in photos, but I’m just about there. My first pass was way too textured, second pass not nearly enough – You can see the first two on the table, with the third pass beside the factory pod/switch. Attempt three is just about there. The color match to the fog light switch is spot-on. Just want to see if I can get it 100%.