87MJJeep
-
Posts
361 -
Joined
-
Last visited
-
Days Won
1
Content Type
Profiles
Forums
Gallery
Everything posted by 87MJJeep
-
From my reading here, I know that is a unit to use to convert to an open system. If I search NAPA's site for NR2802, nothing appears. If I remove the NR, a radiator that is ATM2802 is listed, a match for a 96 XJ. Does not show compatible to a 92 MJ. This ATM2802 is out of stock. Current price is $415. Description shows manufacturer is CSF. Do you think ATM2802 is the same as NR2802? There is a RNR NR1193A radiator available for a 92 Comanche, $165. It has plastic tanks while the ATM2802 is listed to be all metal. I guess that explains the price difference.
-
While your in there ( Heater core )
87MJJeep replied to Sly_Jeeper's topic in MJ Tech: Modification and Repairs
Very nice! -
Changing my MJ to a GM computer sys.
87MJJeep replied to Thorwon's topic in MJ Tech: Modification and Repairs
Fascinating mod. Have you made headway with the O-scope? -
Thank you, Cruiser! Sent from my SM-N975U using Tapatalk
-
That is great to know! Sent from my SM-N975U using Tapatalk
-
Thank you. I never would have thought to look for such a tool. Sent from my SM-N975U using Tapatalk
-
Thank you! I will be very careful when I put the new water pump on. Sent from my SM-N975U using Tapatalk
-
Thank you for the tip. I replaced the alternator a few years ago. That's the only time I have messed with the belt. I don't even recall how it was tensioned. Sent from my SM-N975U using Tapatalk
-
My 87 4.0L is cooling fine, but I think I have pinpointed a clacking noise to the bearing/shaft of the water pump. The four bolts holding the pulley on are tight, but if I grab the pulley, I can make it wiggle. What is the ultimate failure mode of this noise? Will the pump lock up? Or will it suddenly stop flowing? Is the pump replacement straight forward? Is there a good reference write up for it? Is there anything to look for in the replacement pump? (I'm an old school Pontiac guy, and the impeller gap on those is critical for proper cooling. Many replacement pumps have a gap that results in barely adequate cooling.) Thank you.
-
Leaking Injector - Injector or O-ring?
87MJJeep replied to 87MJJeep's topic in MJ Tech: Modification and Repairs
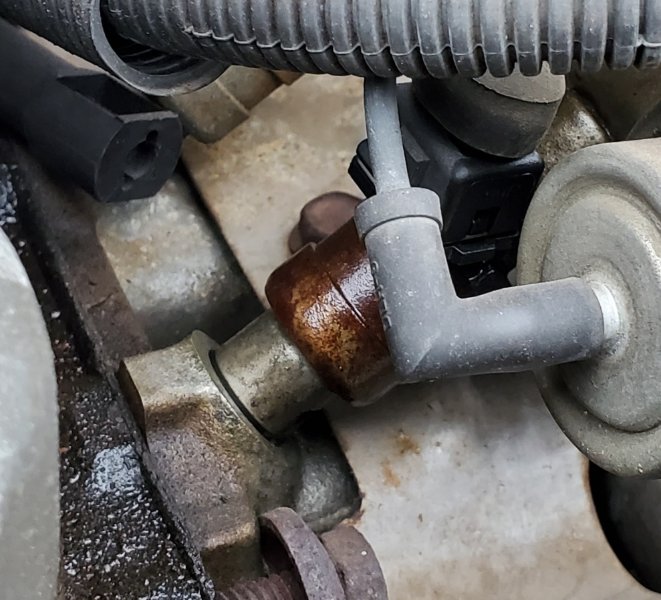
I appreciate the heads up. I can imagine how easily they are torn. I just fired it up, and no leak. Took it for a drive and still no leak. 55 degrees today vs ~30 degrees the other day when it leaked. That was the coldest start up it's had in a long time. I can see a spot on the side of the injector. It looks like a wet spot in the photo, but it's totally dry. I have to wonder if the cold day leak was at one of the seams in the side of the body, and that spot was "washed" by the fuel. Leaning toward getting a set of 4 hole injectors and be done with it. Good to know!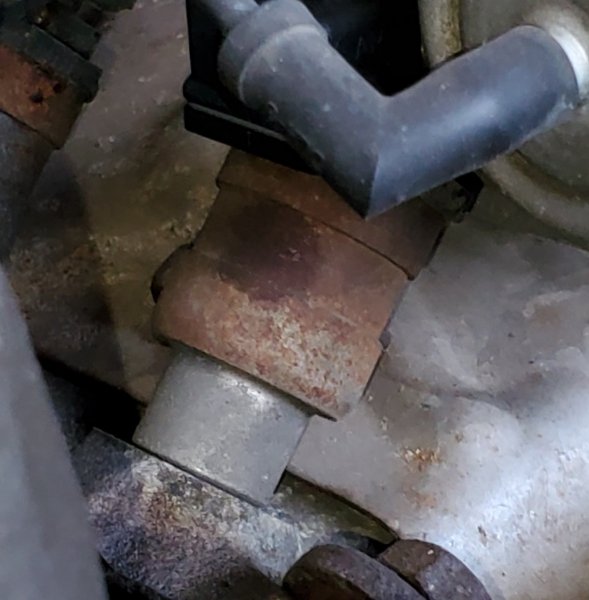
-
Leaking Injector - Injector or O-ring?
87MJJeep replied to 87MJJeep's topic in MJ Tech: Modification and Repairs
Thank you! Sent from my SM-N975U using Tapatalk -
Leaking Injector - Injector or O-ring?
87MJJeep replied to 87MJJeep's topic in MJ Tech: Modification and Repairs
Thank you for the comments! -
Leaking Injector - Injector or O-ring?
87MJJeep replied to 87MJJeep's topic in MJ Tech: Modification and Repairs
Thanks! That confirms the body can leak. Thanks for the feedback. I would not have known to use any grease. Is any other type of grease OK to use? (never used any for engine building) Thanks! -
I smelled gas during my last ride, and popped the hood to find a fuel leak at the front injector. I could see some fuel between the injector body and the opening in the intake, but the fact so much of the injector was wet makes me question where the leak really is. It was a cold day and I noticed upon restart it did not get wet again. That made me think it was the o-ring. With the age of the truck, I am wondering even it if it just an o-ring, should I upgrade to new injectors. It would be wise to replace all 6 o-rings, so while I am that far into it, go all the way. I saw the link below during my search: https://www.ksuspensionfab.com/store/p8/Remanufactured%3A_4_Port_Upgraded_Fuel_Injectors_XJ%2FMJ.html#/ If I get new injectors, that is in the running, though I saw a comment that cummins93 "does 'em right." Is cummins93 the person behind ksuspensionfab, or is he another source for injectors? Thank you for the advice. Brent
-
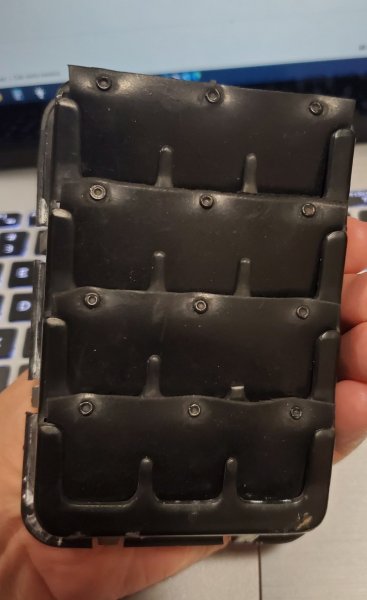
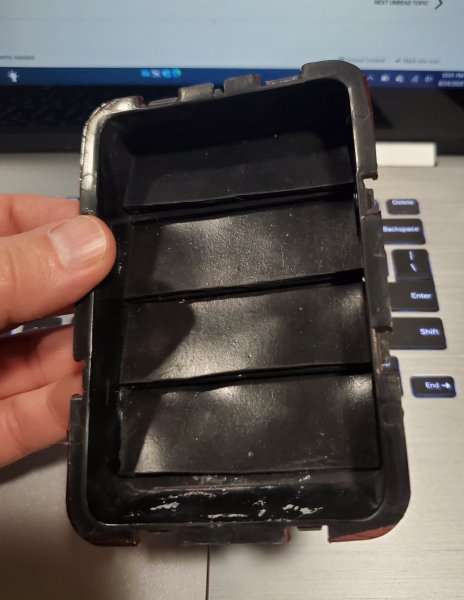
I have not re-installed my cab vents yet, but here they are. I am tempted to glue a little stick across the three tabs to ensure the flaps don't come off like the factory ones did. The rubber sheets are 1/16" thick or ~1.6 mm thick. I happened to have one survivor stock flap, and it measured 0.5 mm thick. I definitely wish this new rubber was a bit thinner. I used a 3/32" punch to make the holes.
-
thanks for posting the photo!
-
Thank you for the rubber tip and the removal advice!
-
I was one that followed the advice of "pull your carpet." I used your baby powder trick many years ago when I tackled leaks coming in all over. I even sprinkled it on the firewall engine side to see where the water ran. The first time I took it to the dealer, I got a call, "DID YOU HAVE AN ENGINE FIRE? It looks like fire extinguisher residue behind the engine!" Naw, that's just baby powder. ROTFL I hope if it's the windshield, I don't have bad rust in that spot.
-
Thanks! Definitely makes these "labors of love.'"
-
@SatiricalHen Exactly what material did you use to replace the rubber pieces? What is the best approach for pulling those plastic pieces from the cab? Does one end/side pop out easier? Mine don't want to budge, and I don't want to crack them them.
-
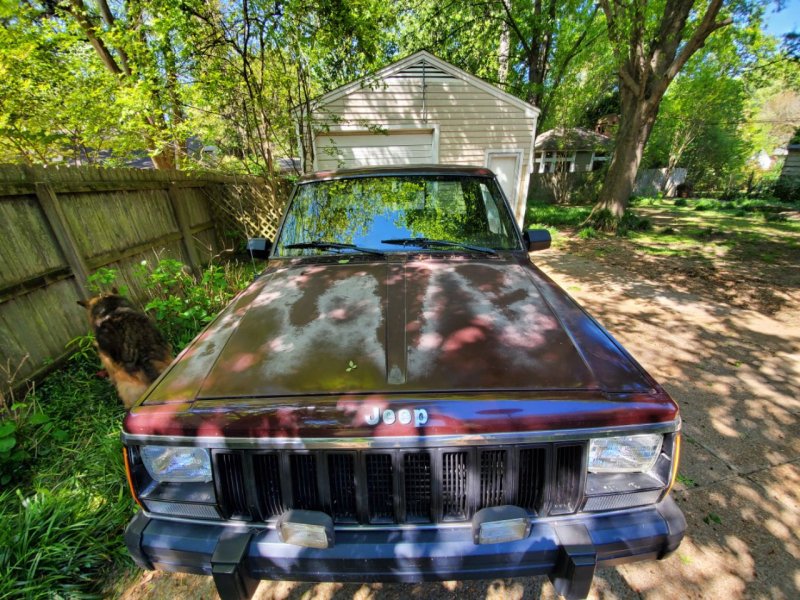
@ghetdjc320 I am chasing leaks again. If you can post that photo, it will be a big help! Is it common for Comanches to leak at the base of the windshield? Water comes in somewhere along the front passenger firewall. I am not sure how close it is to the corner vs directly in front of where feet go.
-
I will move these posts and photos into a Project thread soon. At least I got the mini history pecked out!
-
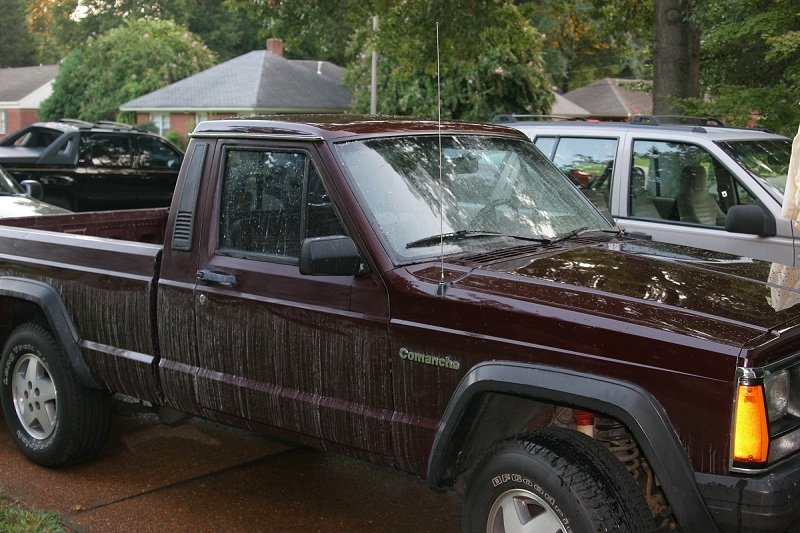
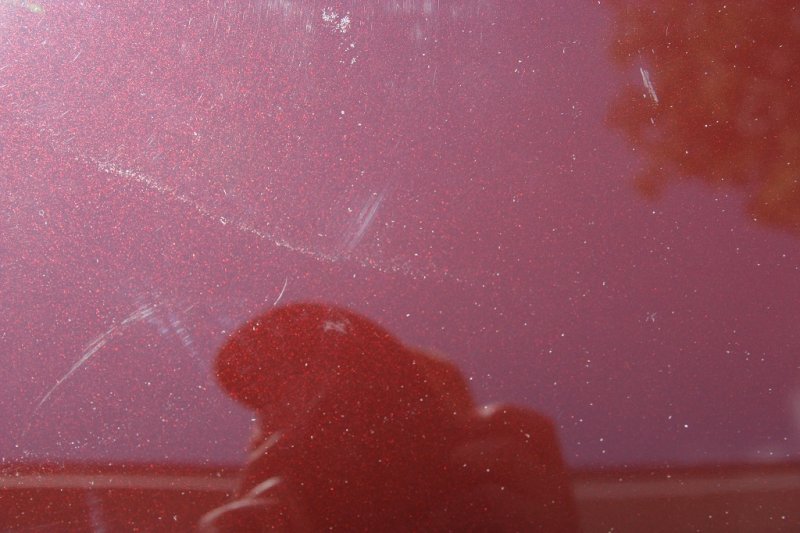
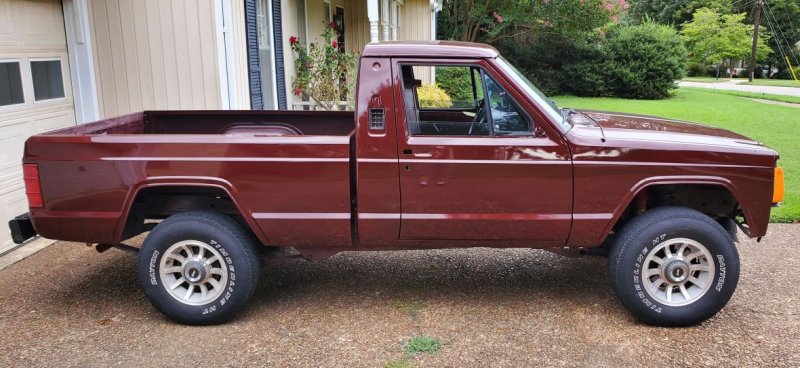
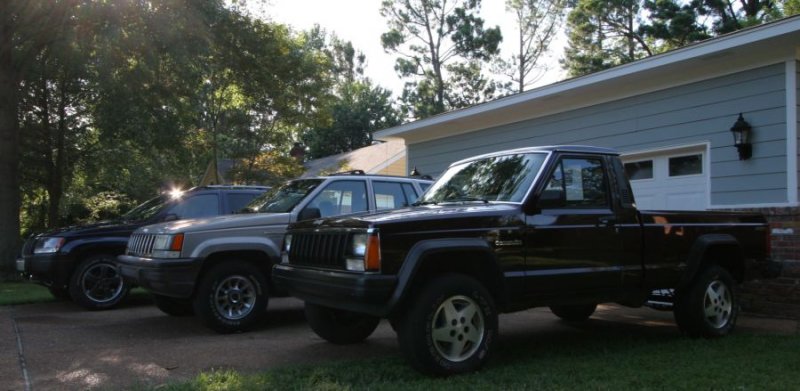
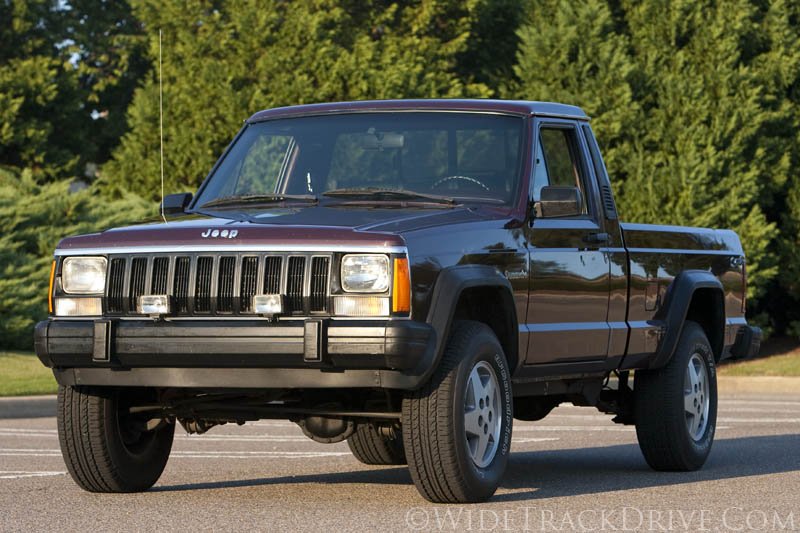
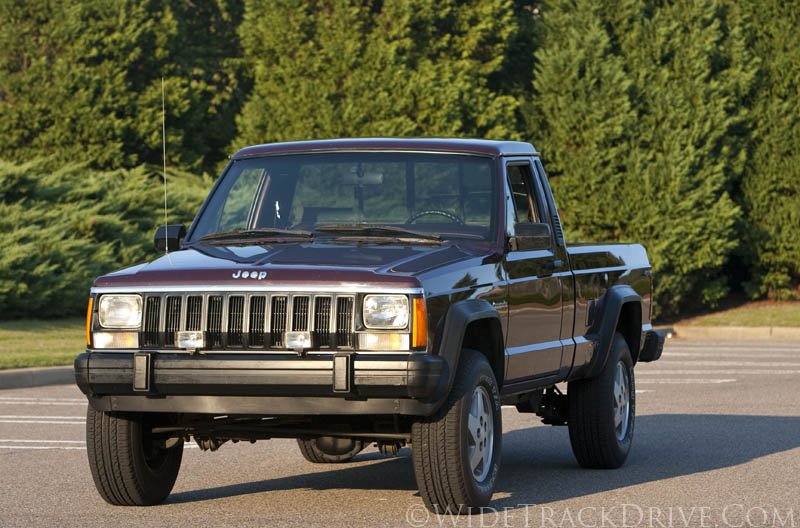
It then sat in a driveway and slowly faded and the paint just got thinner and thinner. The roof started rusting, and the hood was not far behind. In 2019, I managed to squeeze it into my shop that had always only held one car. At least it was out of the weather when not driven. Then in March 2020 I had to move it back outside, and the rust was bothering me. I asked a friend to quote repainting the tops and feathering clear down the sides. I then asked, "And what if you paint the whole truck?" The price was right, so it was repainted. First guy assigned to it had put a few runs in the paint, and it was wetsanded/buff way too soon. It was covered with swirl marks. First guy was fired for attitude issues, and the next guy said he was repainting it. He already had painted the spare tailgate and said whole truck needed to be repainted to match his level of quality put on the tailgate. As shown below, is how it looked when I got it back after the 2nd painter did his thing. Zero buffing. It's straight off the paint gun, and it will be buffed in a month. Meanwhile, I have painted the fender flares with Krylon Fusion Satin Black and the same on the bumper guards. Bumper is flat black. I didn't remove rear bumper before taking it to the shop, so I need to pull it and sand/paint it to match the front bumper. I have a line on a set of Cherokee Sport 10-hole wheels, so soon it will be kinda close to the Eliminator look I drooled over as a teen. I'll add more photos once I have the new foglights and 10-hole wheels on. For grins and giggles, here is a shot from 9/2009 of it with its 93 ZJ and 04 WJ brothers. I said the ZJ looked spiffy with the 10-spokes! I wasn't lying!
-
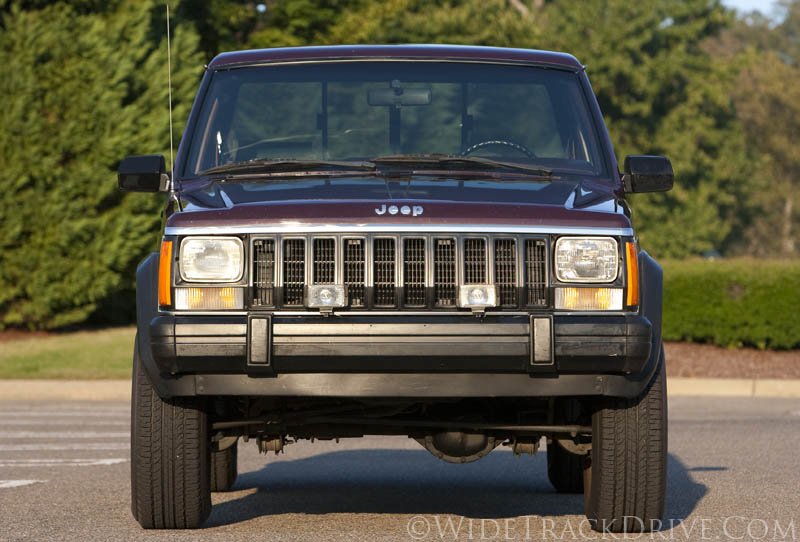
The way it looked for a few years after fresh waxing had been applied... Had my 93 ZJ wheels on it while the 10 spoke turbines looked quite nice on the 93 ZJ. (photos from Sept-2010)
-
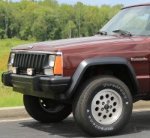
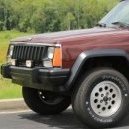
In the first month I owned it, I got in touch with the 3rd owner. I swapped dead even giving him the winch bumper for the original bumper he still had. He gave me $10 or $20 per tire for the mudder tires I had no need for. With regular tires and the OEM bumper, it looked just right for me! The winch bumper had been welded to the frame. I used a Dremel and grinder to carefully cut the welds off to preserve the frame mounting points for the stock bumper. I recall working on it a little bit each night after work. In August 2010 I learned how to wetsand.. It didn't make the paint perfect, but it made a huge difference. Prior to this, I had bought a 3M Stripe Off wheel. It made getting the SporTruck decals off a breeze. IIRC, I bought a cheapo drill at Harbor Freight since my old drill didn't run at the 3M recommended RPM. https://www.3m.com/3M/en_US/company-us/all-3m-products/~/3M-Stripe-Off-Wheel/?N=5002385+3293162209&rt=rud