Gjeep
-
Posts
1247 -
Joined
-
Last visited
-
Days Won
3
Content Type
Profiles
Forums
Gallery
Everything posted by Gjeep
-
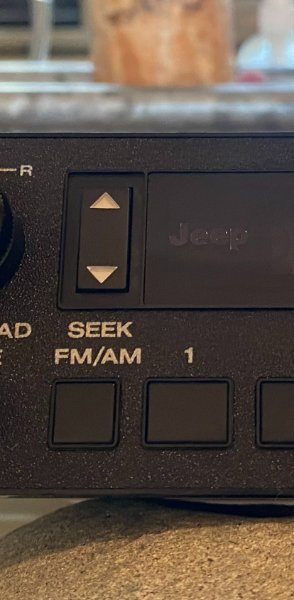
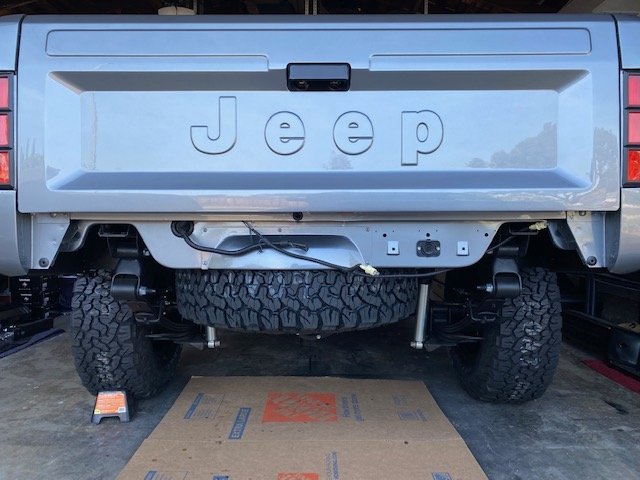
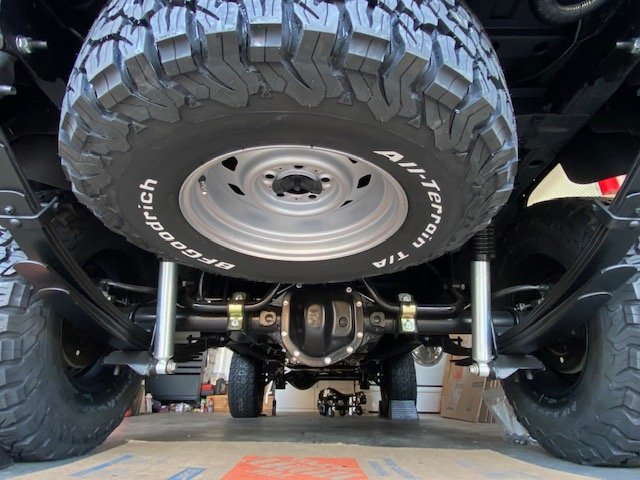
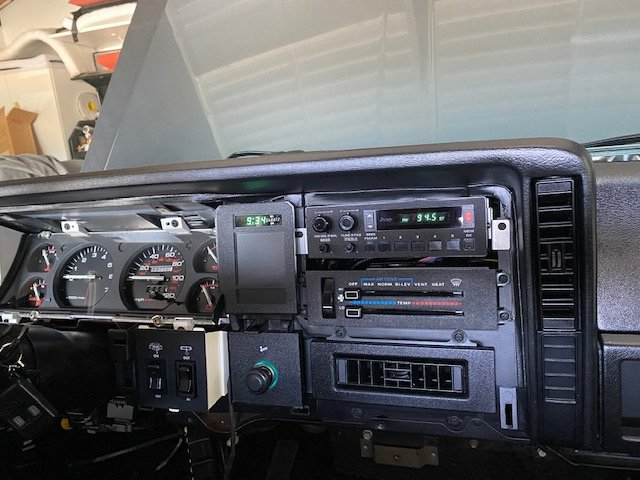
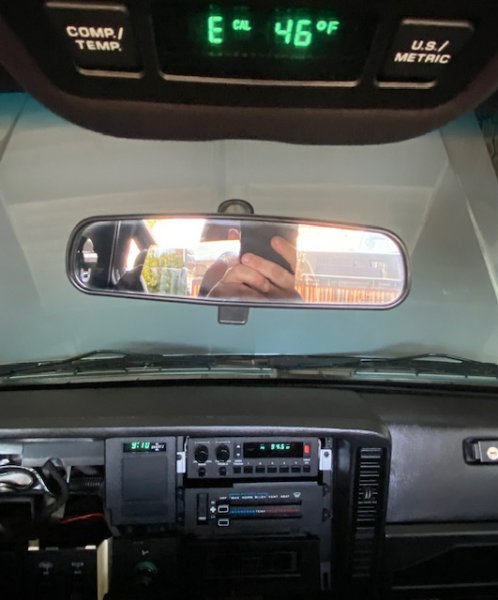
A bit all over the place, but I got a lot done… Started with plastic polishing an AMC logo off a NOS AM/FM radio, putting in its place a ‘Jeep’ metal logo (sourced from a 1/10 scale R/C Jeep) as I figure Chrysler might have done it if this radio was available in ‘92. Audio sounds awesome thanks to the Rockford amps and subs (though I'm going to dial them up just a bit more). I was hell-bent on getting all the digital displays from the same era so they would match. And in addition to displays matching, illumination of the lettering needed to be the same as well. First NOS AMC Renault radio I purchased had green lettering illumination – and I about lost my mind. There was nothing that could be done to change it either, as it’s painted as part of the faceplate assembly backside. (The rest of the functionality is the same, though the wiring and antenna exit the unit in different locations/ directions). Also got the instrument cluster in and fired the MJ up. So far so good with everything seeming to work as it should. Will test a bit more before I put the dash overlay and lower panel on just in case. Painted and again widened spare rally wheel and had it mounted up to a new 31” BFG KO. 31” seems to be the biggest size that will fit in the factory location without carving out the rear valance panel. I’ve got a Y tie-down strap coming that I’ll put over the top of the spare just in case.
-
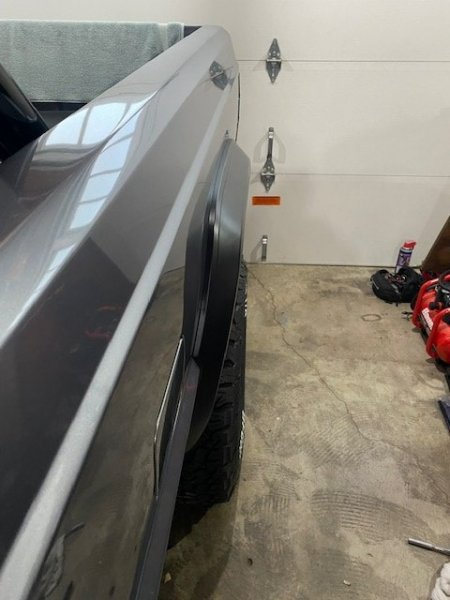
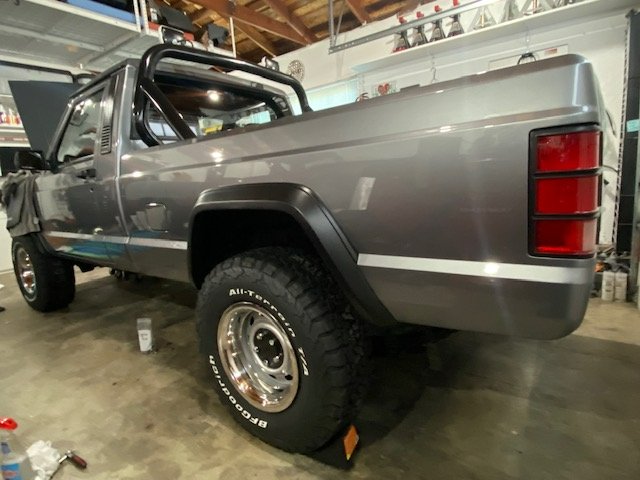
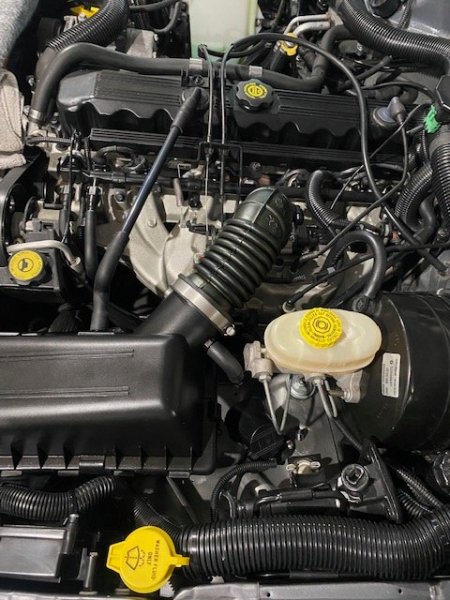
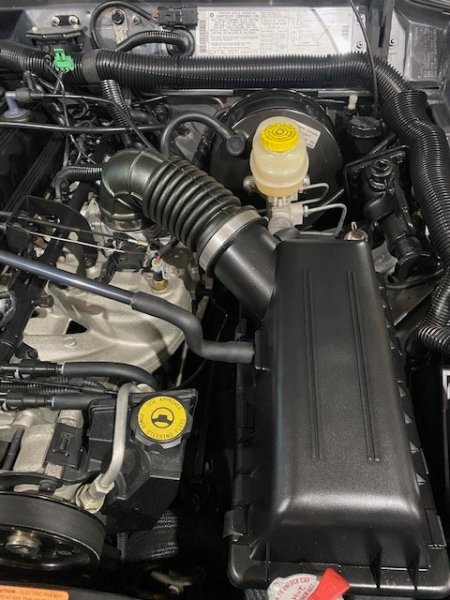
Got the rear flares on and tire coverage is exactly what I was hoping for. Glad I swapped to 1” wheel spacers. Front flares up soon. Also, took delivery of a threaded hose adapter and NOS breather neck for my charcoal canister line – mostly back to factory spec with my airbox setup.
-
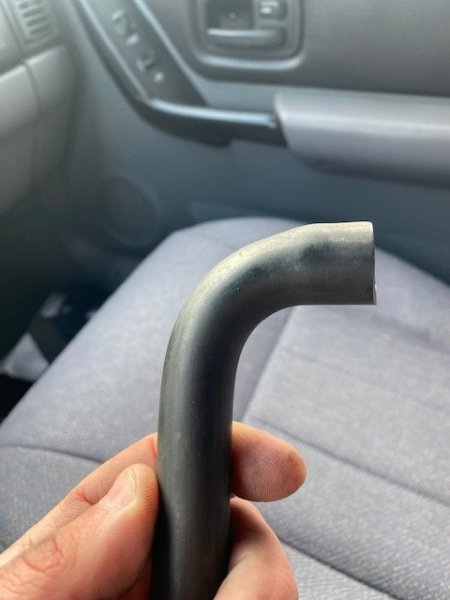
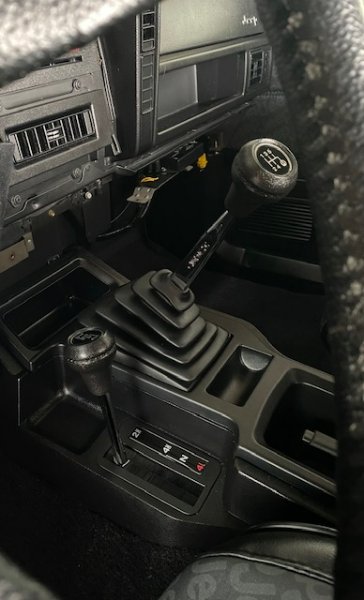
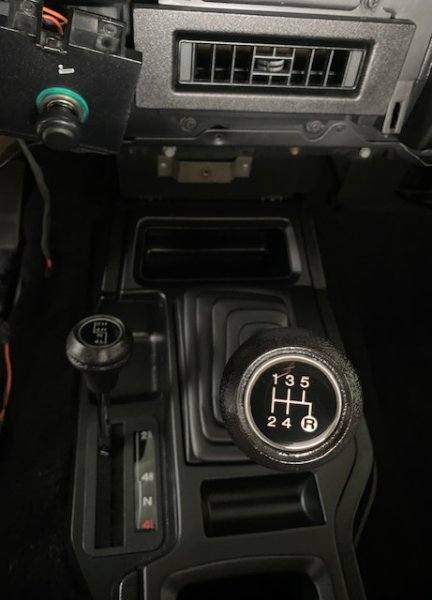
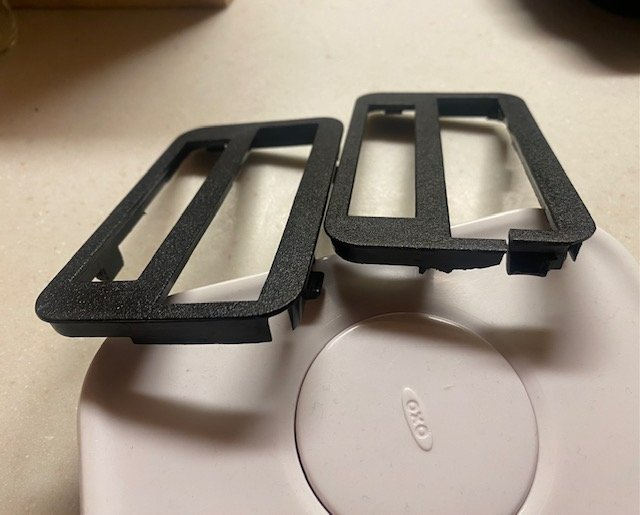
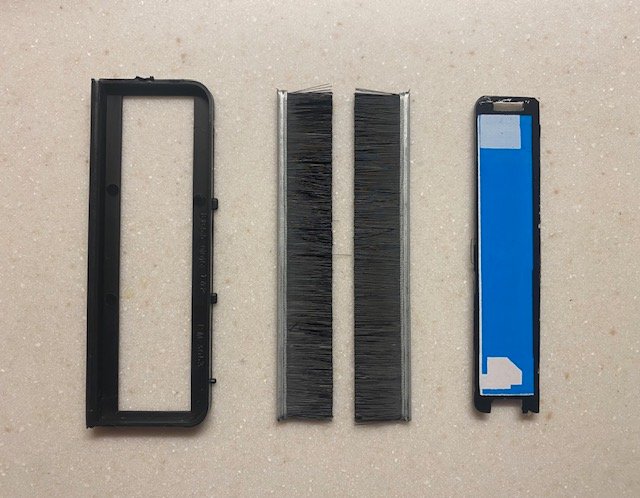
Got the transfer case center console bezel back together – and using a much earlier rev main plate, that is a solid one piece versus the later rev split bezel plate that wouldn’t stay in place because of how it was cut from the factory… but life is now good in center console land. Also spent some quality time in the local wrecking yard this morning tracking down the right elbow for my modified charcoal canister to airbox line. I typically look for anything Jeep first to keep things authentic-ish, then Dodge. Was lucky to find a 5.2L ZJ that had what I need – and it even had a readable part# on it, so I ordered a couple new ones off eBay.
-
Back to stock – as much as I like the K&N air intake setup, I decided I want to keep the engine bay looking mostly stock on this build. No NOS out there on the filter box, so I used my ’97 XJ’s which is close enough. Only thing I need to do to bring it up to ’92 MJ emissions spec is add a port on the other side of the airbox tube for the charcoal canister connection. I also cleaned up the hardline routing. Just didn’t like the clutter driver inner fender area and how it came out middle of the wiring. I decided to route the hardline along the path of several other breather tube mess engine side of the brake booster. A new ‘97+ XJ breather tube line (same as I’m using from valve cover CCV to air box) worked perfectly, just need to source a rubber elbow to connect to the air box lid port I’m adding. For the rubber neck that connects the box to the TB, the only ‘bling’ I added was stainless steel worm-style clamps. I needed to carve away four tabs on either end of the neck that helped keep in place the factory plastic band clamps.
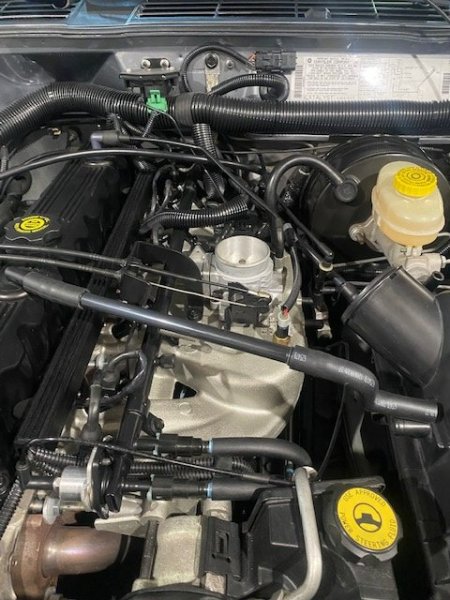
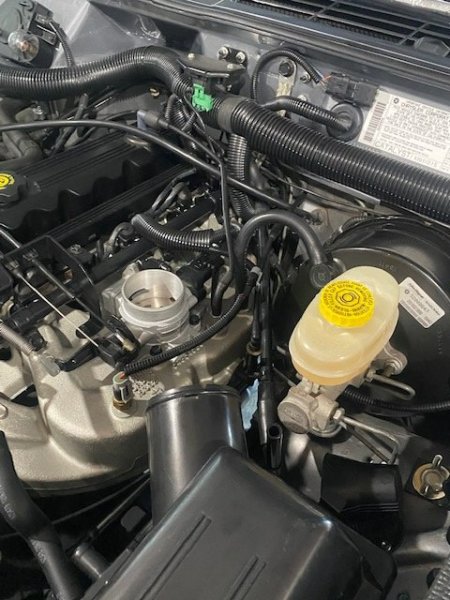
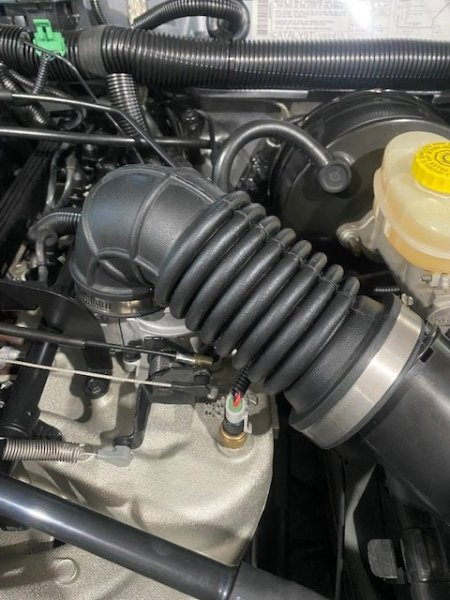
-
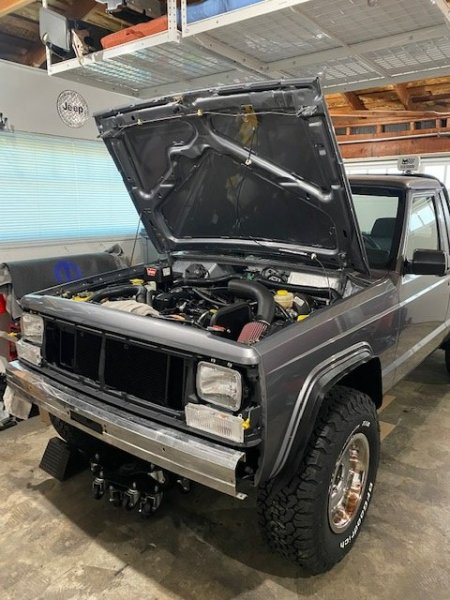
Got the header, parking, and headlights on the MJ. I was thinking about Holley RetroBrights but decided to keep all the forward lighting Sylvania Silverstar incandescent (headlights and both sets of Marchal fog lights a brighter white throw). Also, priming/painting my spare tire rally rim. Will mount it up on a 31” like all the rest.
-
I’d go with the white — it’s 15x7 and has a deeper dish. The silver rally’s from the factory are 15x6 and you can’t put much of a tire on them. I had mine widened to 15x8 with 5.5” back spacing so could run a 31” tire and deep dish trim ring off late 60’s Vette.
-
It’s a good looking rim — I had an ‘86 XJ Pioneer trim that had them, beauty rims and all. Just looked right on the XJ (and MJ).
-
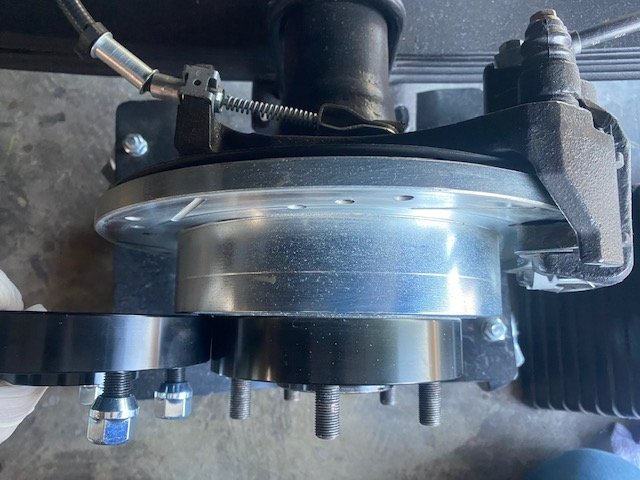
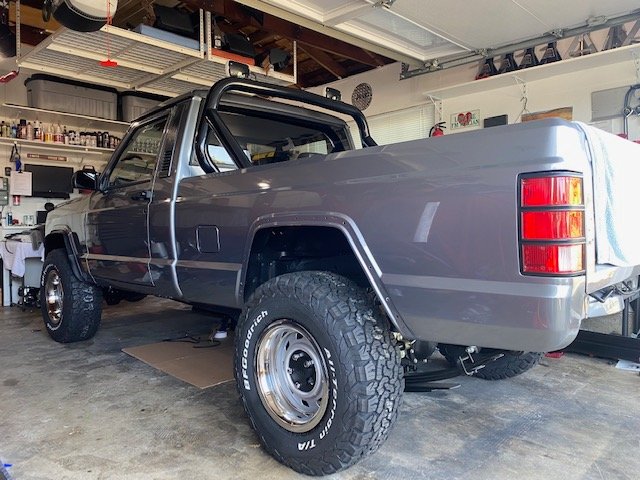
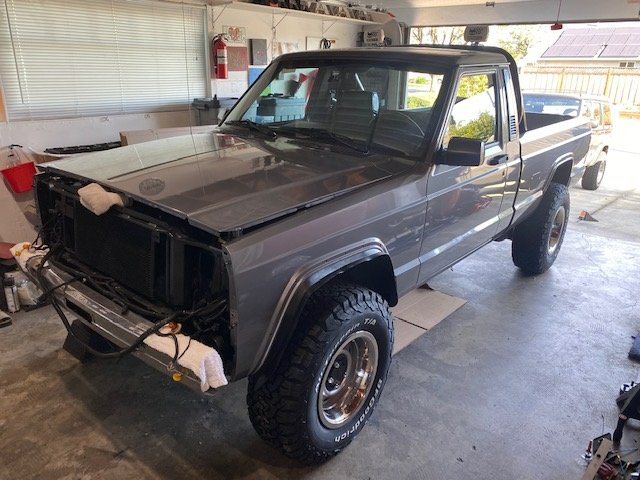
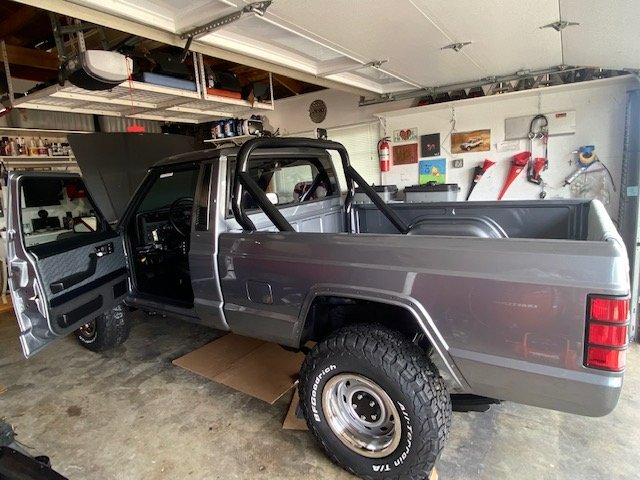
MJ’s got new shoes! Steelies. Will be installing black bodyside molding and flares shortly. Bumpers and grille will be black also. (Grille will have aluminum mesh insert for pop.) Still deciding on tailgate lettering – I’m leaning towards white as it will break up the silver and black...and a bit more retro/ matches the Marchal 750 fog light covers on the bumper and sportbar. Will see. Out back I swapped the 1.25” wheel spacer for a 1” spacer which puts it dead-on body to axle width identical to the front. As it should be. Torqued lugs to spec and done.
-
Proportions actually look right on this build.
-
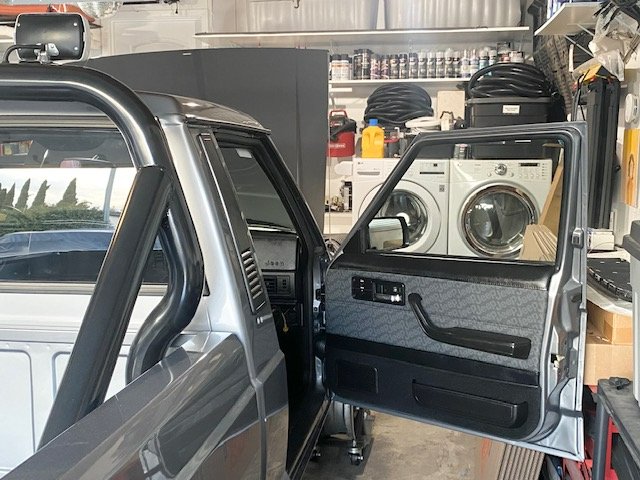
Got the passenger side door panel in today. Also noticed I need to fine-tune the door latch adjustment allen bolt for when the door handle 'catches'/ opens the door while pushing the handle button. Passenger side goes a bit deeper than the driver side, so want to get that evened out.
-
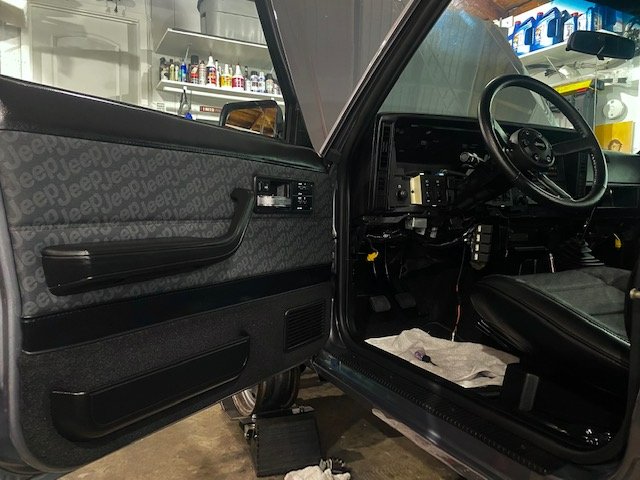
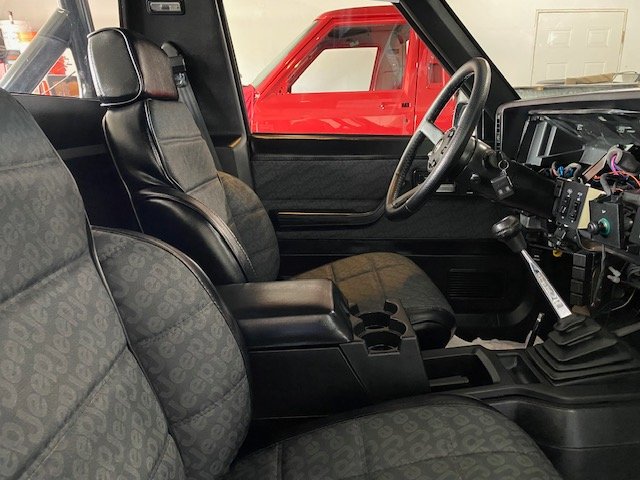
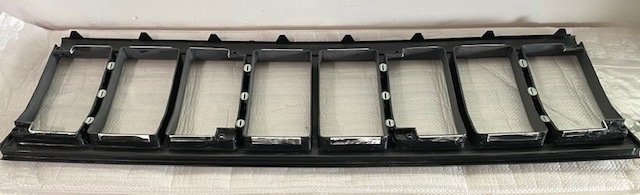
Always hopeful to get more done, but time to call it a day. Driver side door panel is on (still need to attach handle bezel with screws). It looks like I had hoped it would. Success. Also back to filling and sanding on the grille. Front side is more or less done, now the focus is on backside clean up and hardware placement. I'll be using stainless steel flange screws from the rear to attach the aluminum mesh. Total of 12 nylon inserts attached to recessed areas of grille. Letting it dry, then sand, more filler, let it dry, sand...
-
Wide awake at 2:30am so decided to get to the MJ. Passenger seat in, door water shields on... And what was supposed to be an easy snap-in install has turned into a mini project. The NOS center console transfer case bezel is the latest rev, meaning they started splitting/ the top of the surround to fir over the larger shifter handle in '95/'96. The way this particular bezel was cut, the plastic was 'V'd' on the underside, so when i install it doesn't clip in properly and when I shift in to 4wd it pops up. Have several first rev bezel plates I can use -- spent way to much time carefully removing all the parts and pieces to make one good, NOS-ish bezel.
-
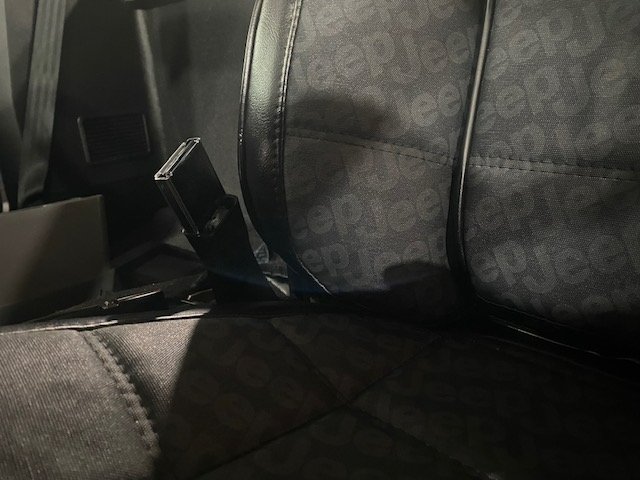
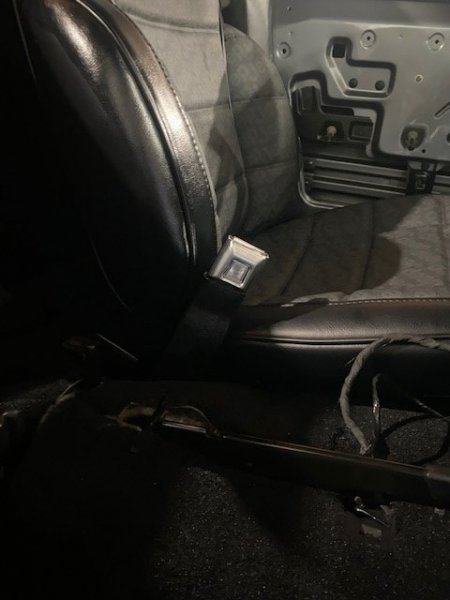
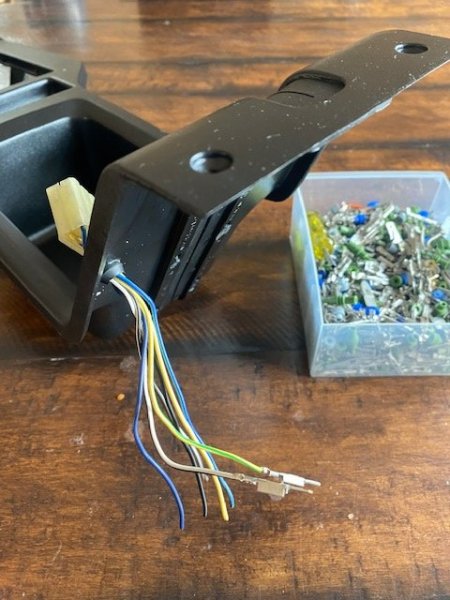
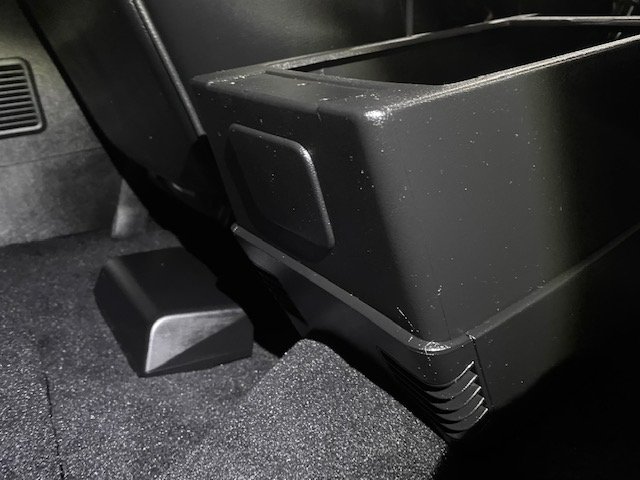
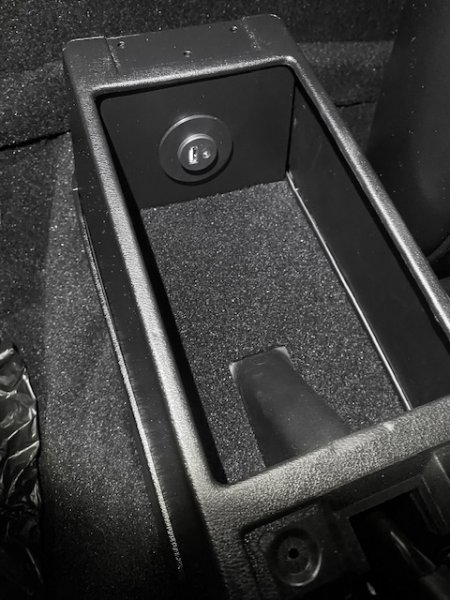
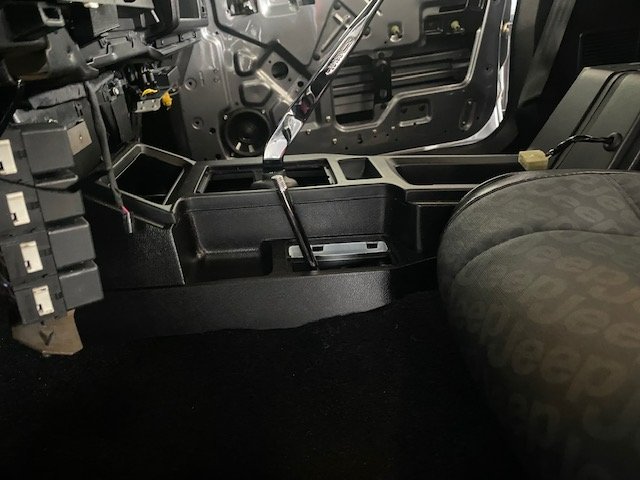
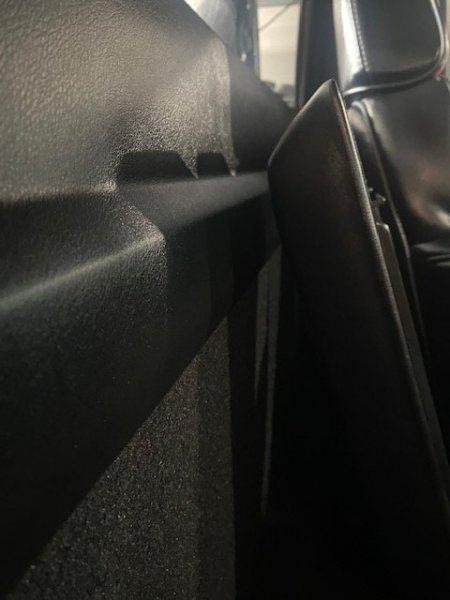
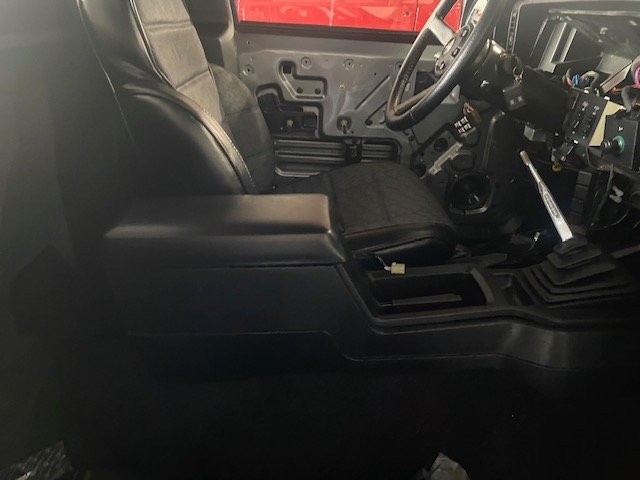
Center console installed and looking sharp. Since I converted to power outside mirrors and an XJ hand brake, I decided to add a connector backside of the console overlay as a quick disconnect should I ever need to remove it. First gen ‘aftermarket’ cup holders will be in front of the console bin, it just hasn’t been installed yet. The power outside mirror switch goes on the driver side front panel of it. One of the subtle changed made to the console first gen few years down the road was the hinge for the lid. Originally in the XJ and MJ there was no stopping the lid – it either hit the backwall in the MJ or swung near flat against the rear seat in the XJ. You can see the newer hinge design keeps the console lid off the cab backwall. I like that. The inside of the console got a USB charger and aux plug should I ever got that route. The Scosche unit I found fit spot-on in the back panel and did not push on the MJ (ashtray) console filler plate. And lastly, I got the driver seat belt buckle sleeved and installed. Height is just right, and it stays away from the center console as I was hoping. So many of the early center console were visually ruined by the seatbelt buckle sleeve dragging again it or being pressed against it when day after day after day. I put some velcro in key areas just in case.
-
You got one of the best looking MJ interiors ever available. Top of the line. Congrats. Great looking truck.
-
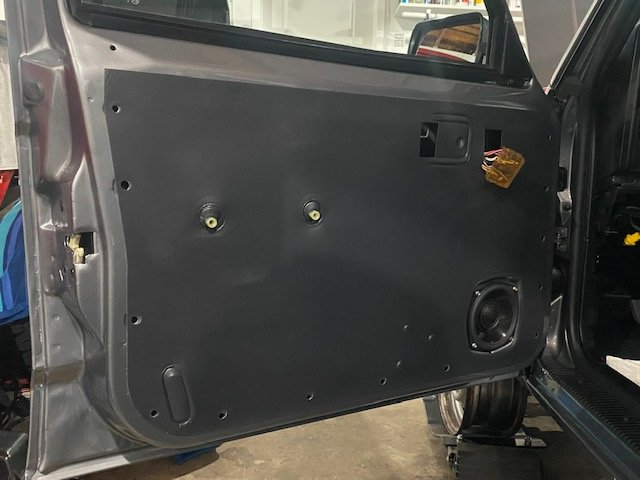
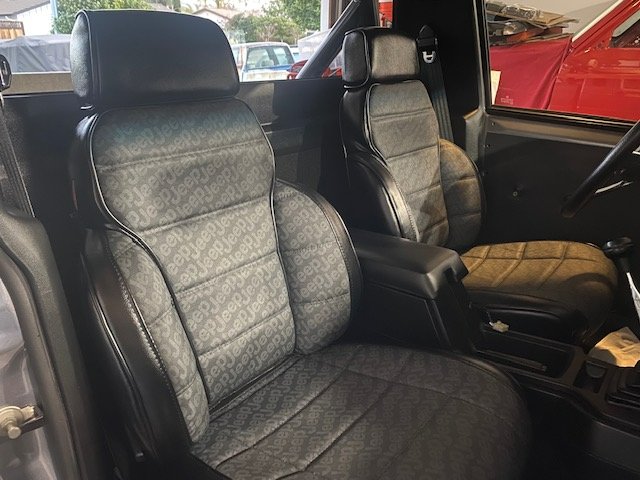
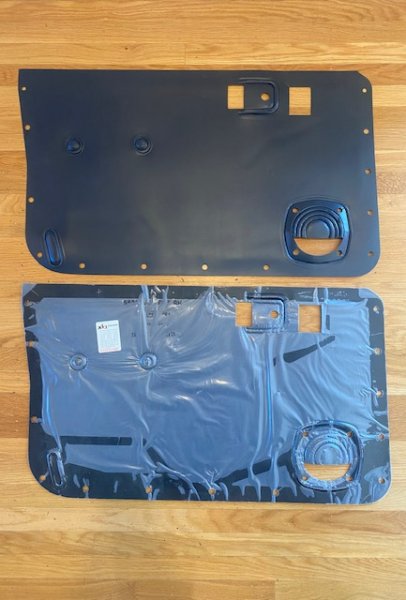
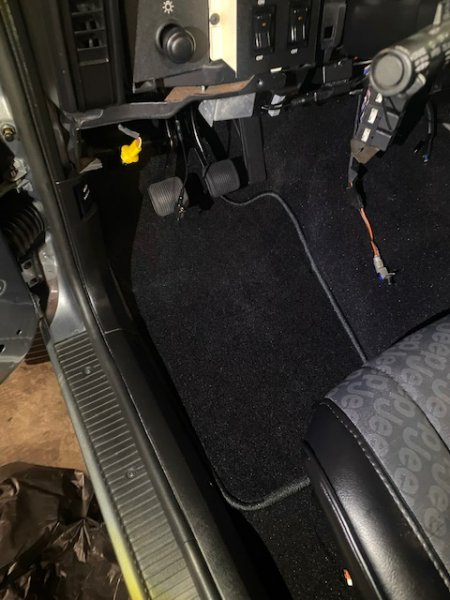
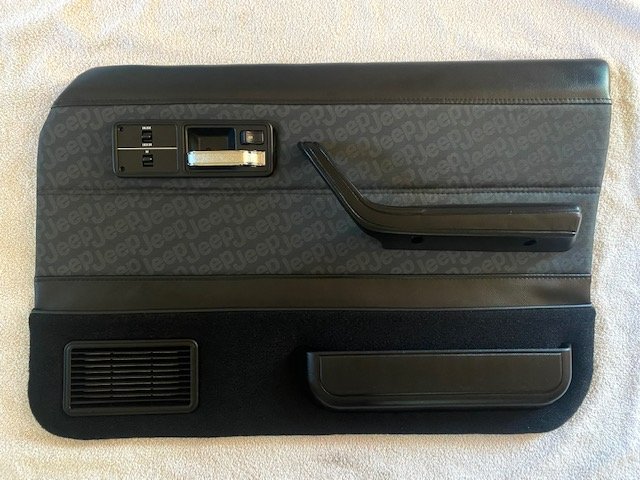
Finally, a decision on the door panels – going with the Jeep logo’d. As excited as I was about the factory black panels, something just wasn’t right. Too much black inside without enough contrast. I intentionally removed all the chrome trim, surrounds, and bezels the factory blinged up the black interior with, so I needed a little more pop to balance out the dark. And the MJ with such a small cab needs that visual balance. Aiming to install these soon. The factory Chief panels will go to my red MJ. Behind the door panels will go a NOS final rev of the first gen XJ water-barrier. This design is easily removed with little damage (typically found on 95/96 XJs). The earlier water-barrier, had to be cut, ripped, and stretched off. And lastly, floor mats are in. Will put a rubberized one on top of these to keep clean.
-
I almost did that using some ‘87 XJ Laredo black door panels I have, replacing the inserted ‘Luggage” fabric with the Jeep logo’d. Thankfully I kept my selection/ decision to just 2 options. And even that I’m having a hard time with…
-
front fender flares flaking away
Gjeep replied to brucecooner's topic in MJ Tech: Modification and Repairs
Maybe I’m seeing things — but isn’t that just failing clearcoat. -
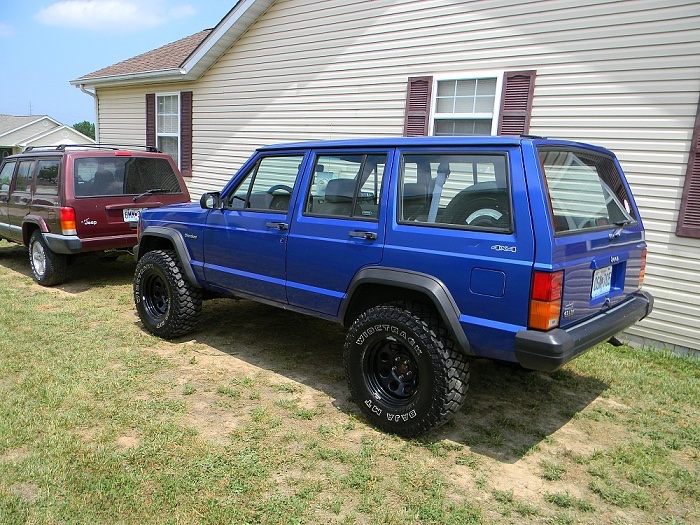
It’s not spinnaker. Random blue color. Closest thing xj had to that was in 95/96. But it was slightly darker. Also 87 had a different blue — also not spinnaker — that’s the pic you posted Pete. 88 brought spinnaker to xj and MJ. Here’s a pic of the 95/96 blue —
-
Got the Hurst shifter back in as it’s easier to install carpet without it there. Been back and forth on which door panels to use. Stock black with hockey stick armrest. Or the matching ones I had made to go with the seats with the same hockey stick armrest. Been hanging these panels on/off the driver door many times today to see which is the favorite – and I’ve yet to decide. In the second pic of the upholstered panel, I added the map pocket and speaker grill hoping to get a better sense of how they’d look installed. Door handle bezel on each will most likely be black. I’m leaning towards the logo’d panels, but solid black would look sharp also. Just not sure.
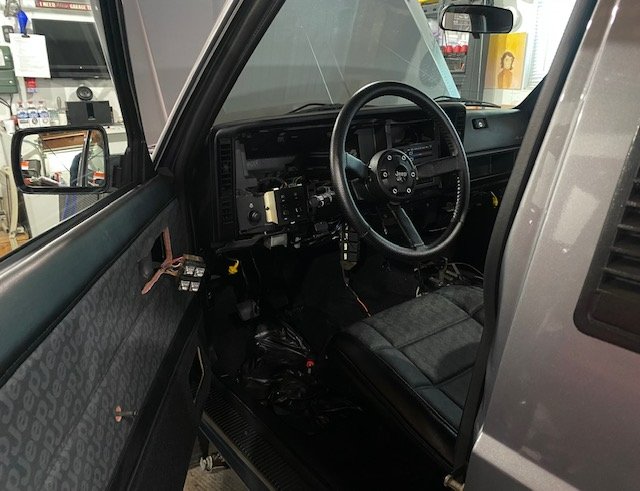
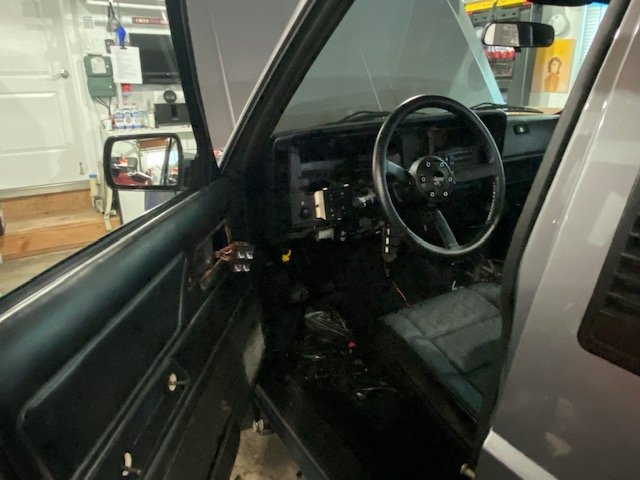
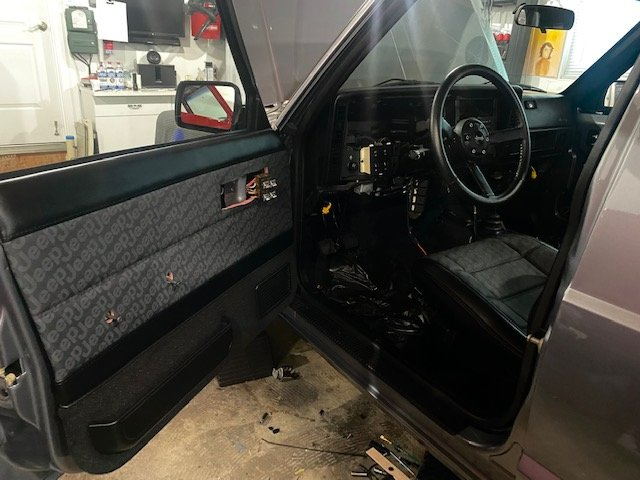
-
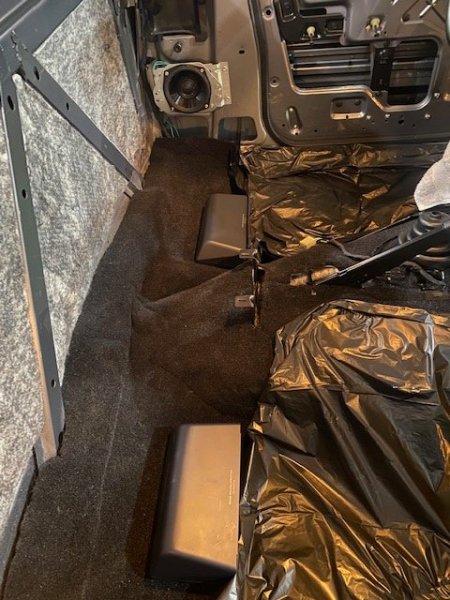
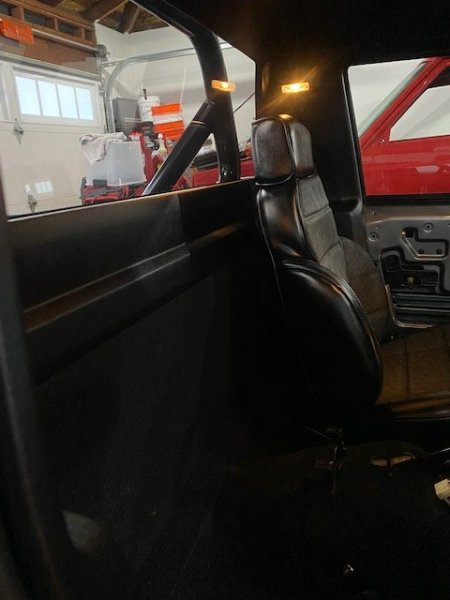
Got the carpet and upper panel into place. I do like the jack-less look behind the seats. For those curious about the Pioneer subs I used… Basically I mounted them (nearest point) 4” away from the cabs backwall ledge (as measured with ruler flat on the floor). Here’s some photos of it from various angles with the seat in my 5’8/ 5’9 driving position. Plenty of clearance/ somewhat tucked under seat. Keep in mind that the passenger side taken photo is how it looks without the center console in place. It will be more ‘hidden’ once that’s in place. Passenger side mount is similar, same 4” away from back wall ledge. (There was absolutely no way to fit these under the seats without seat track modification by the way – maybe if you carved away some of the flat metal of these rear most mount. But not sure that wouldn’t impede the sound having it underside of the seat.) Here’s reference with the seat track as far back as possible. Arrow is reference point of seats lower-most frame tubing. The sub still clears at this position. I probably could have moved it slightly closer to the seat, but I wanted zero risk of the seat hitting the sub enclosure.
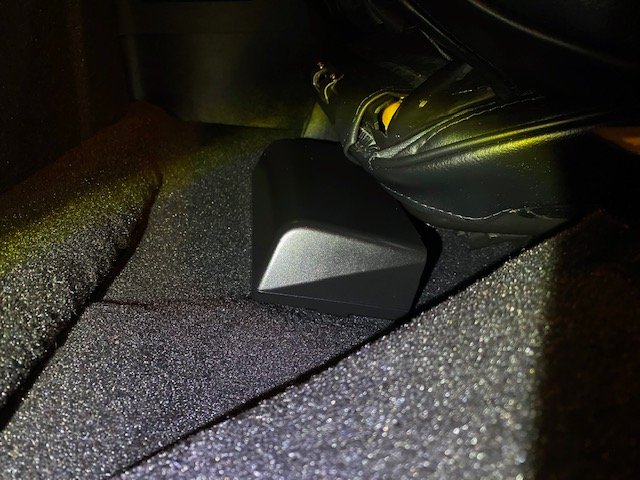
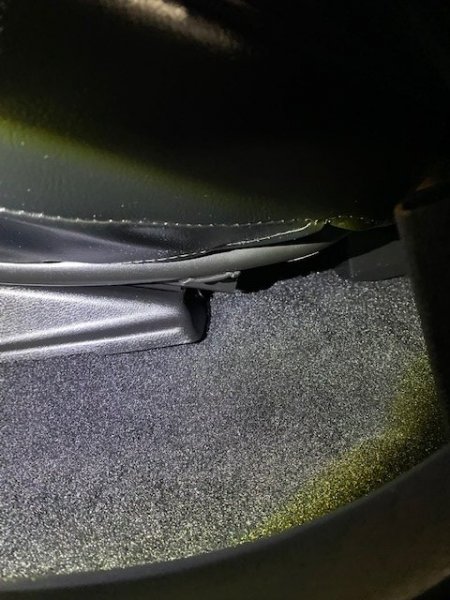
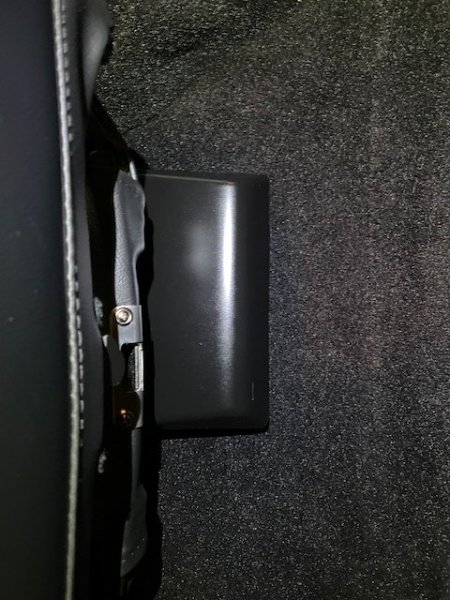
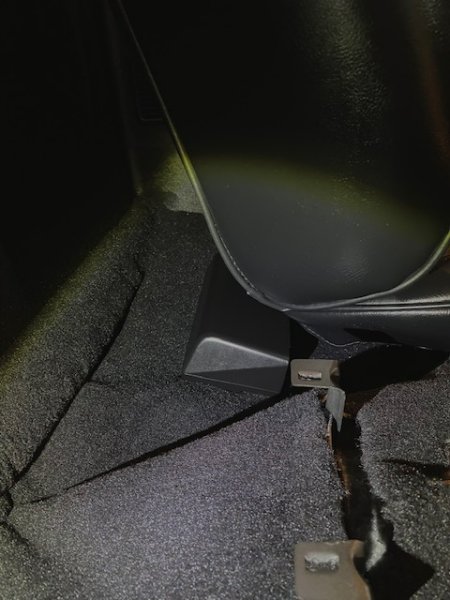
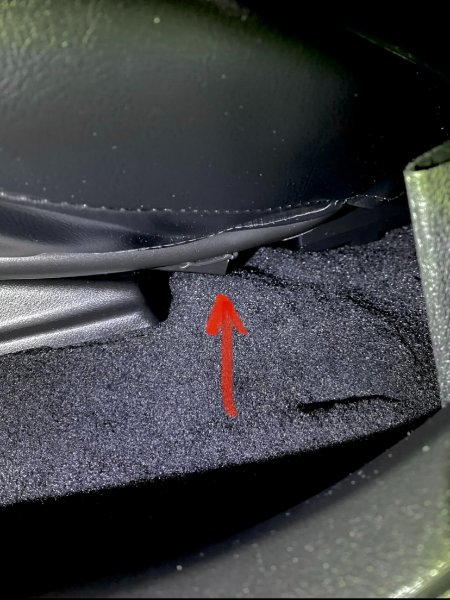
-
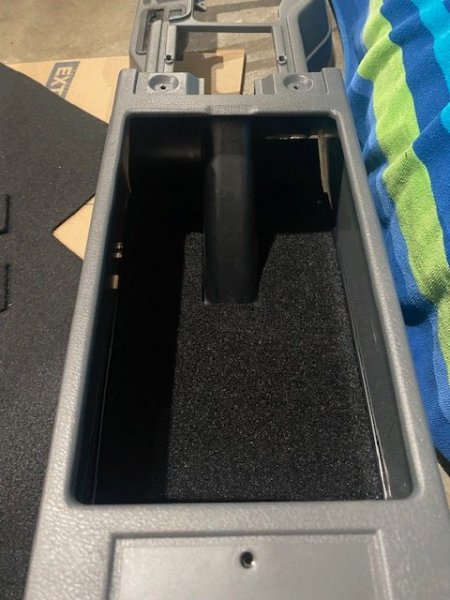
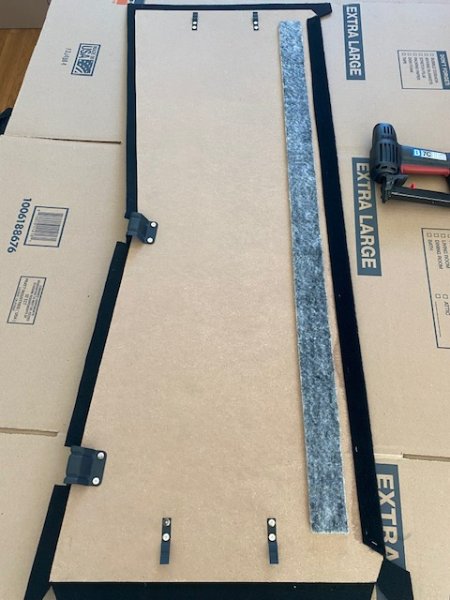
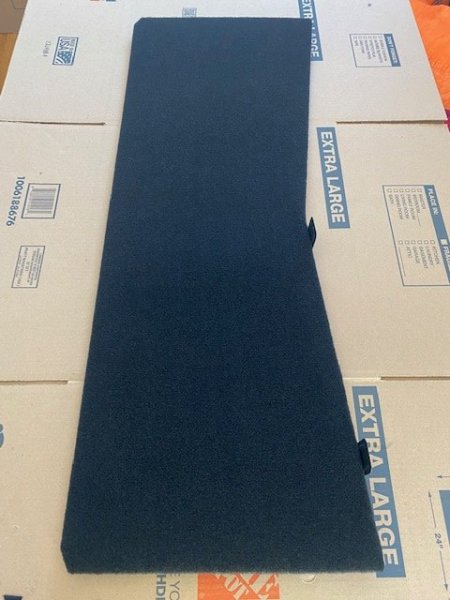
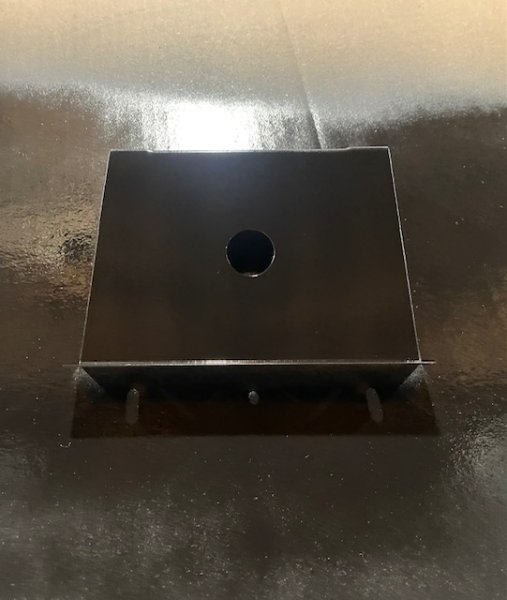
Wrapped black carpet around the new masonite backwall board. Since I relocated my jack under the hood, I wanted a straight board for the back of the MJ cab. Will let glue dry overnight then install. Also, I’m adding a USB charger in the center console (rear-most metal bracket). This will fit just fine as the MJ center console has no ash tray at the rear (as XJ does), so plenty of space to install. Drilled the 1” hole and refinished satin black. Finally, I decided to use my ‘tester’ charcoal console to cut-to-size some left over carpet for the bottom area of the center console.
-
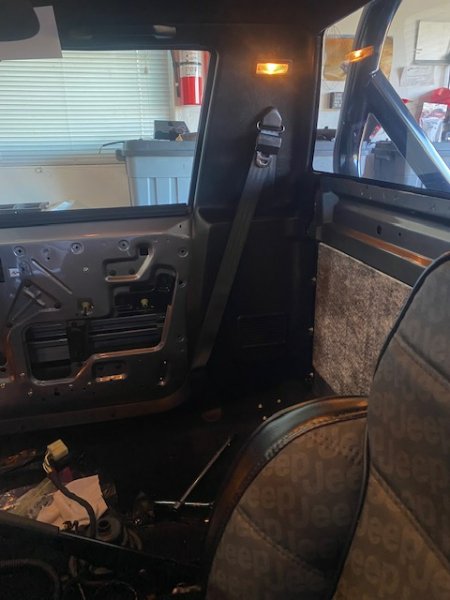
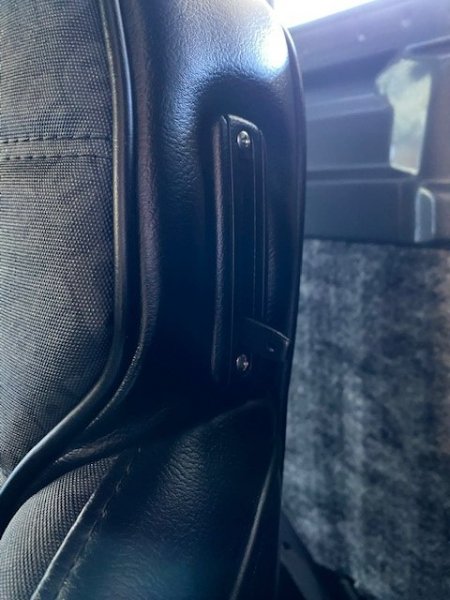
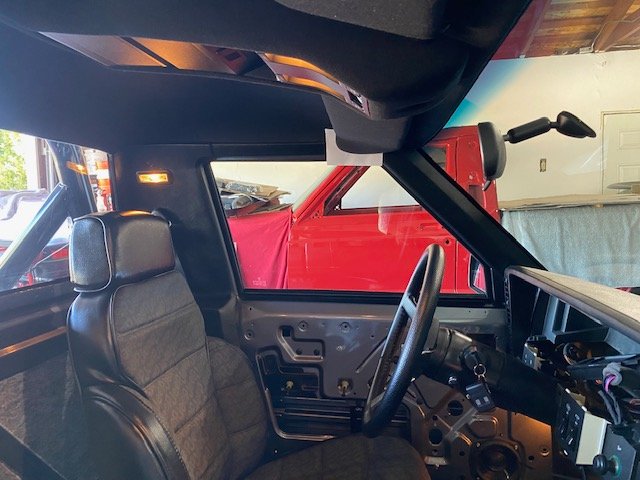
Continuation of assembly… Got the passenger side kick and lower panel in, in addition to the b-pillar panel for both sides. Happy to report the MJ shoulder belt bracket swap I made on the new outer XJ seat belt assemblies bolted right in like they were direct from Mopar. The lower seat belt anchor needed a simple mod – hammer the post that prevents XJ shoulder belt swivel flat – and tuck it in to a black Seat Belt Planet (brand) bezel. I used a 1” sleeve on each mounting torx bolt to provide proper space between the anchor point and the b-pillar panel. Jeep in my opinion should have sleeved it from the factory for better fitment. Buckles aren’t in yet. I’ll put those in after the center console is installed. Also installed the tumble bezel on the seat installed. Almost used black screws, but I decided to go with the mild bling of stainless.
-
The subs are Pioneer TS-WX010A -- they've got a built in 160W (50W rms) amp, but I'm running a Rockford amp to them for more thump.
-
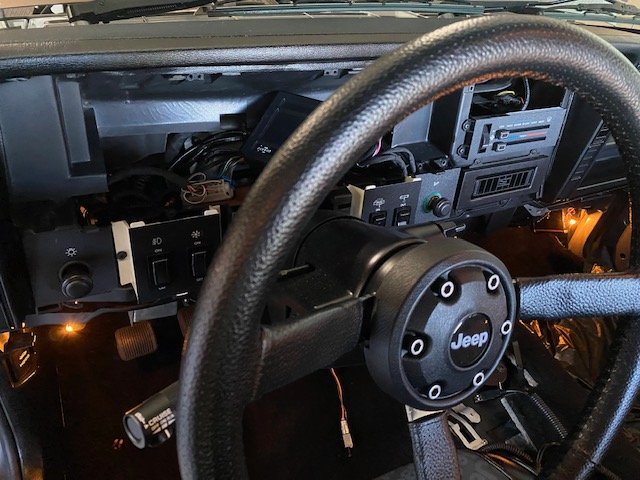
Many thanks. The switch immediately to the left of the steering column is manual aux fan on/off.
-
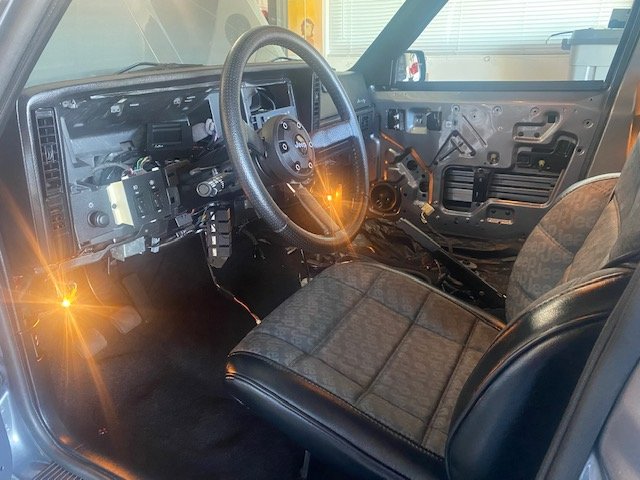
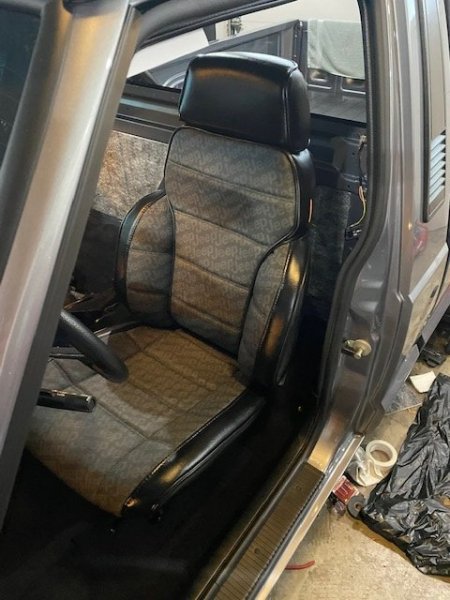
I wanted to confirm all was good with the woofers before moving forward on the interior, so I grabbed my spares…and they thumped away. Cranked it up and sounds awesome. I’ll be using these same under the seat type subs for the final install though they are painted black to match the rest of the interior. Really happy also that at a glance everything looks bone stock inside. Also, been absolutely starving for some visible momentum lately as I’ve had been buried myself in the weeds of crazy-land detail work. AND, FINALLY…Driver seat is bolted down, kick and door step-in panel into place – with all looking factory fresh. New HVAC panel, switch pods, and cigarette lighter (mostly in place) – all tested/working. Can’t install the clock just yet because the factory radio/bracket needs to go in first. And I’m waiting on an R/C car metal ‘Jeep’ emblem to place on the display of the radio where the old painted non-‘Jeep’ logo was. Onward! And plenty more to do!