JeffK
-
Posts
559 -
Joined
-
Last visited
-
Days Won
1
Content Type
Profiles
Forums
Gallery
Everything posted by JeffK
-
Thanks.
-
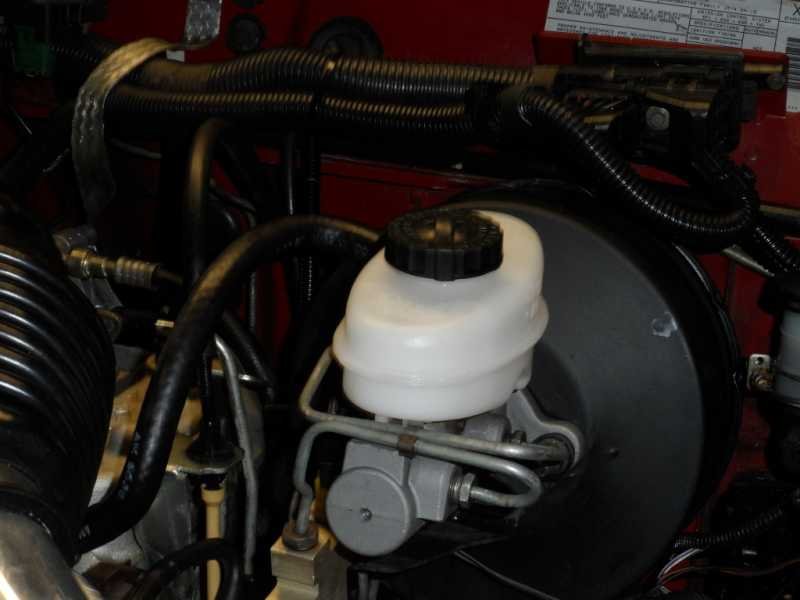
Thanks for looking, the WJ booster ended up having a vacuum leak and the hard lines I fabbed up looked like A$$, so I scrapped the whole swap. What I'm currently running is a 2000 XJ reman booster, new master cylinder, used proportioning valve, proportioning valve hard lines and the left front hard line. The right front and the rear hard lines are stock MJ. I replaced the XJ proportioning valve plunger with one from a ZJ (I'm running rear discs). I also removed the rear load sensing valve and one of its hard lines. I used the valves return line as the new rear line. That said, If your valve is working properly it's safer to leave it in place and use the stock proportioning valve. My valve didn't work properly and most here don't recommend removing it unless there is an issue.
-
I have the u nuts, I'm looking for the size and length on the screws. I saw the OP mentioned #8? Anybody know a length?
-
I've misplaced mine, anybody know the size on these?
-
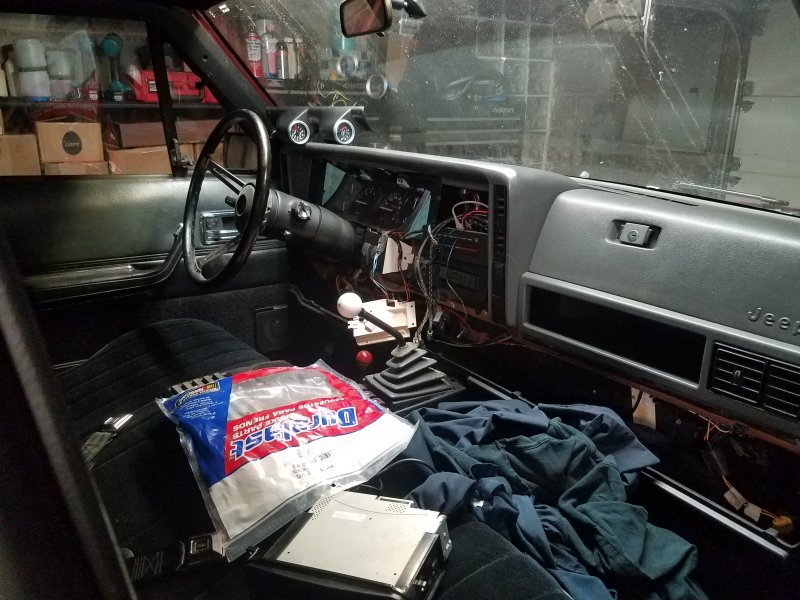
Spent some time this weekend cleaning up the interior and reattaching everything. I'm repairing a few cracked or stripped out mounting holes for the dash and trim, which has turned out to be more time consuming than I had hoped. I also started a list of missing/misplaced parts, lots of little stuff, but the most irritating is the trim panel for the gauges.

-
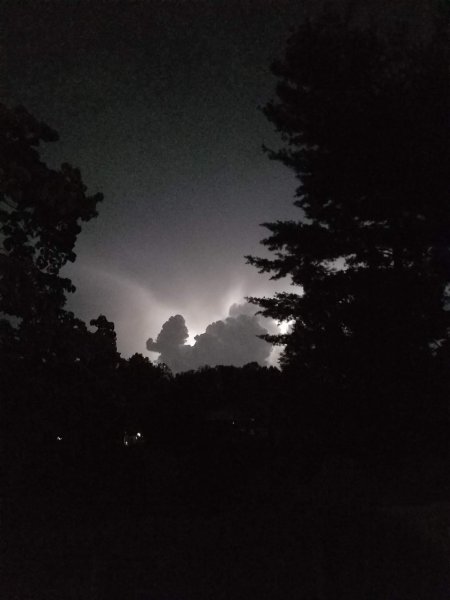
My backyard view of a tunderstorm moving in.
-
Nice. I appreciate your patience.
-
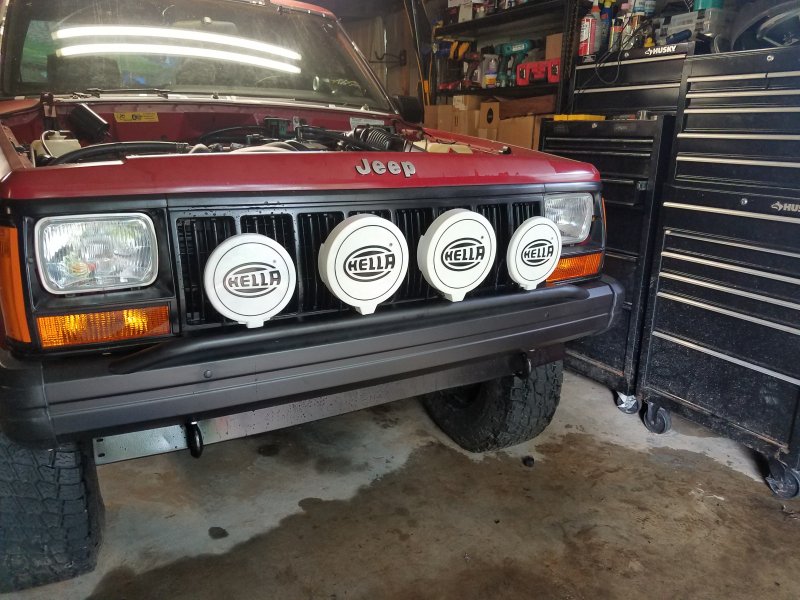
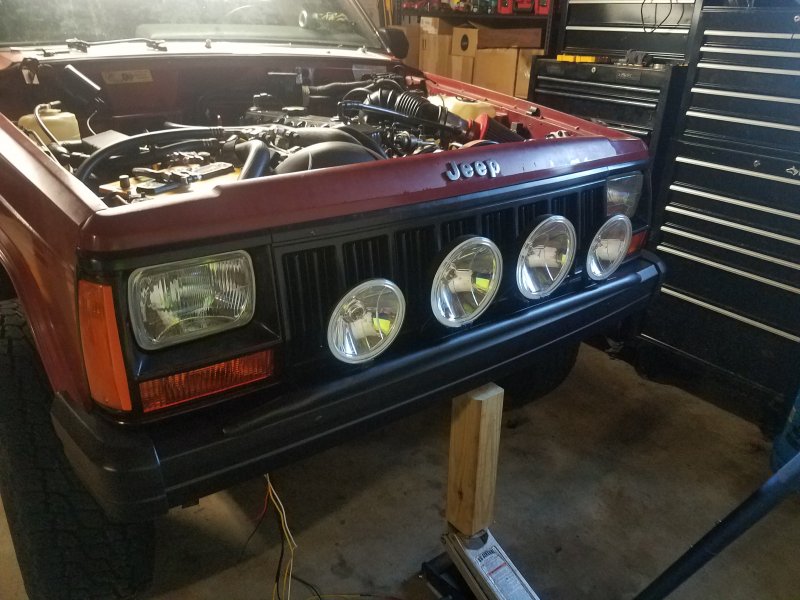
When I bought the bar, the guy at Detours and I discussed that same thing. He said 4 6" lights shouldn't be a problem, but that was 4 6" lights. I ran his bar on my wife's 2000 XJ without issues, but that was only 3 "6 Hellas. IDK, If they do cause issues I have an adjustable t'stat for the aux fan I can tinker with or simply switch them out.
-
Thanks. Hard to believe that it's been 9 1/2 years since I started this.
-
Duplicate.
-
One more shot. Back to work tomorrow.
-
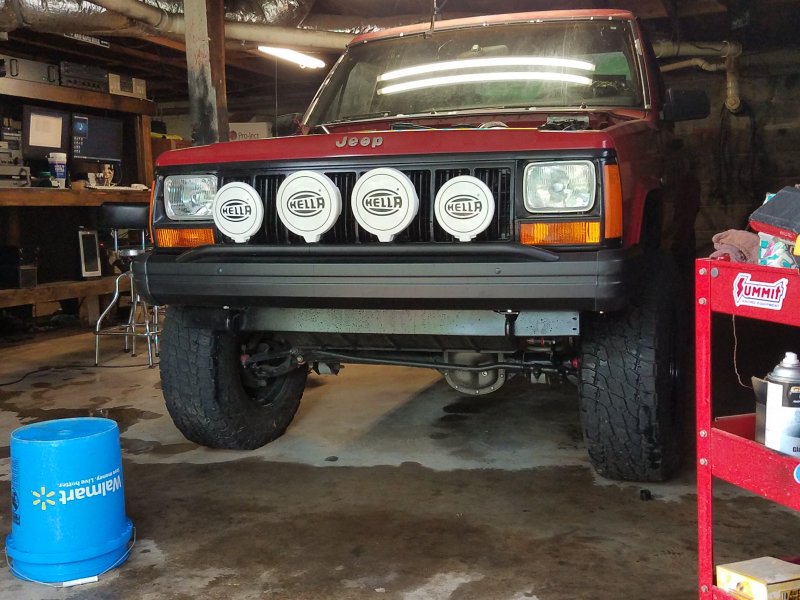
With the covers.
-
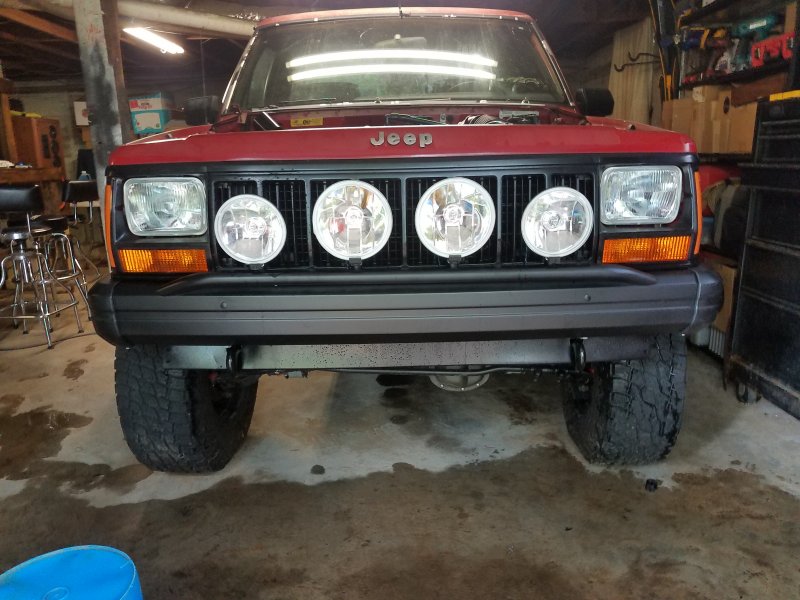
I like the look without the front tag bracket, I may leave it off.
-
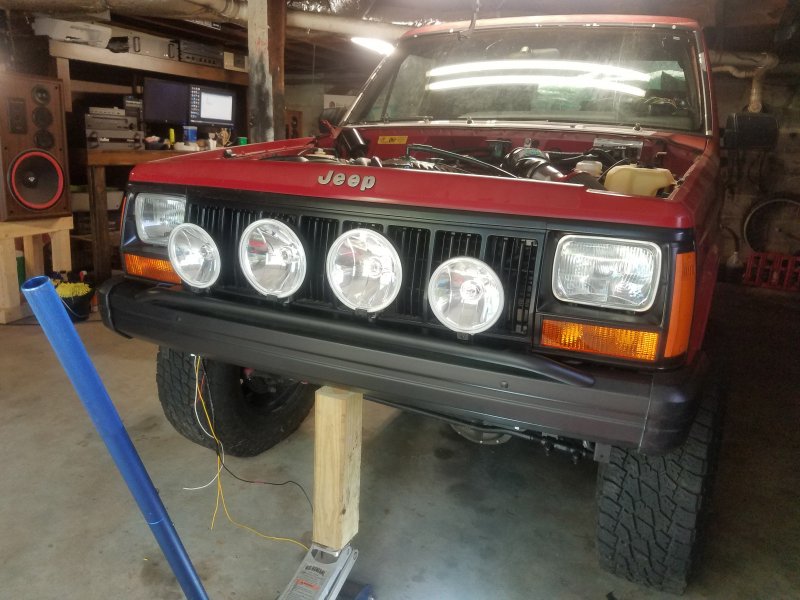
Finished, with all the hardware installed. Lights still need to be tightened and adjusted.
-
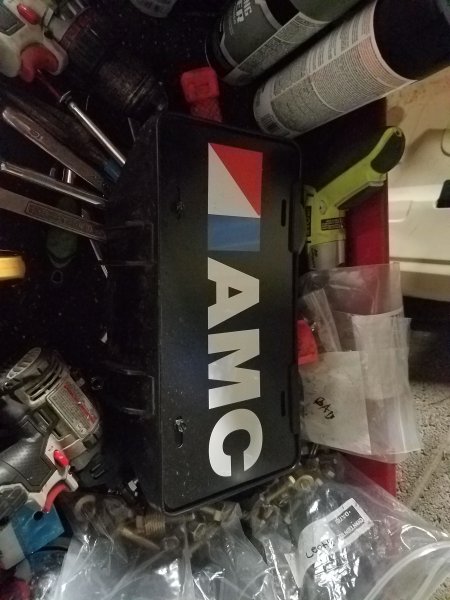
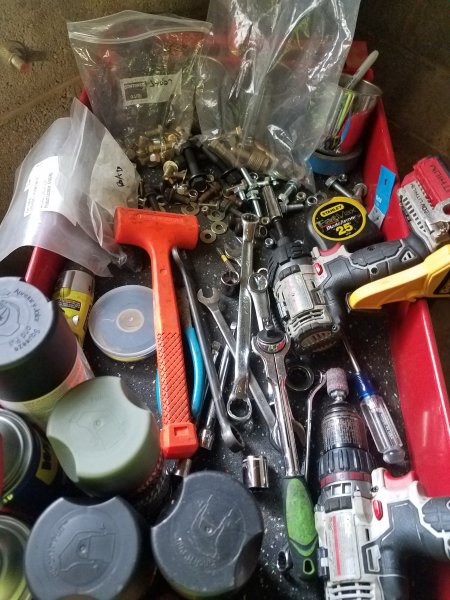
Lots of crap for just a bumper install...
-
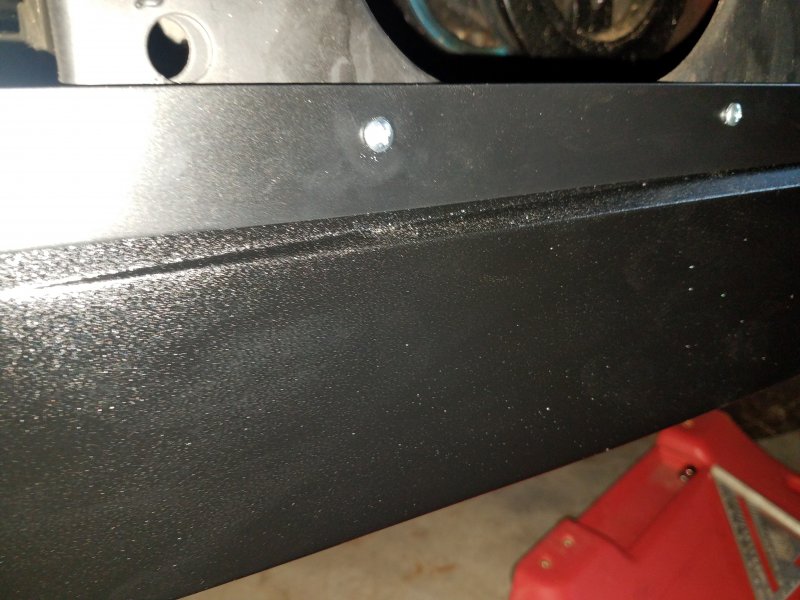
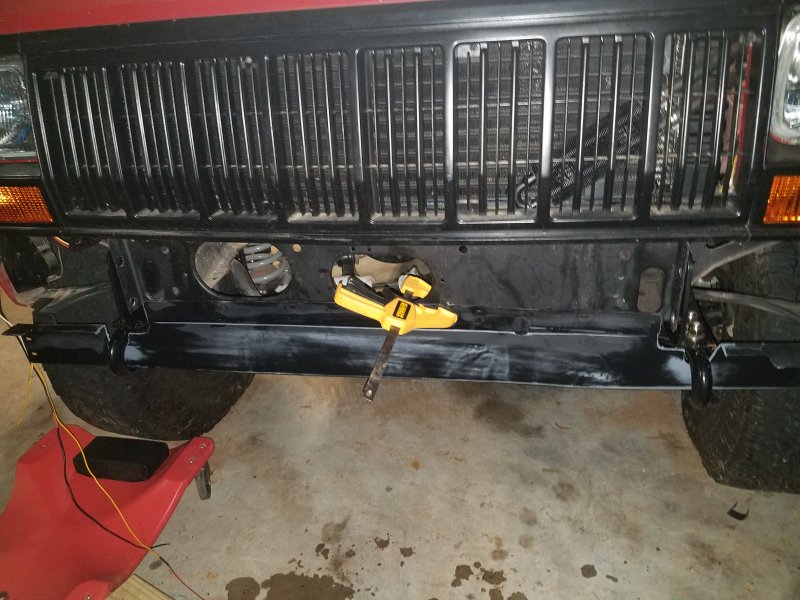
I painted the valance Krylon Matte Black and the did a light coat of aerosol bed-liner. Looks pretty good, not as shiny as the picture though.
-
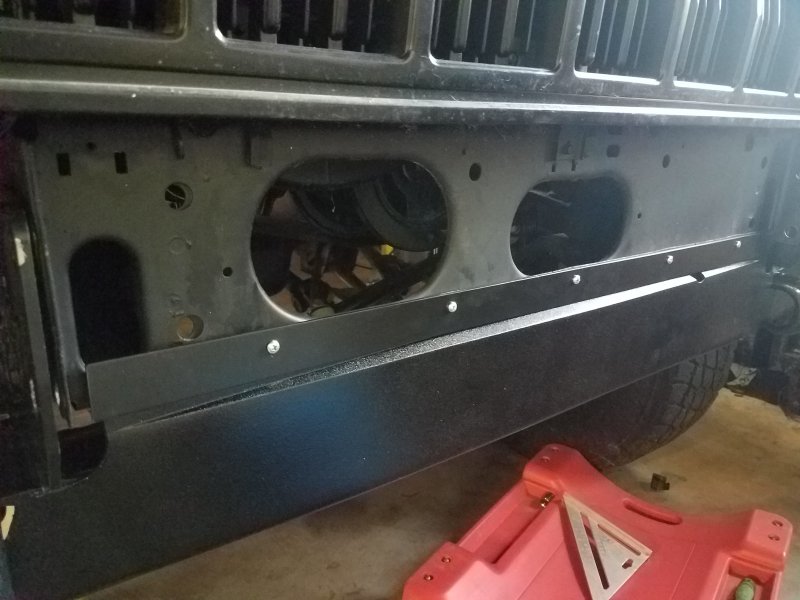
Installed the front valance this morning. Instead of the normal hardware I used a strip of aluminum and new sheet metal screws to keep it flattened out.
-
Hope to finish the bumper off this weekend, if I can decide on a color/finish to paint the flares and valance. Then I'm going to sort out the interior.
-
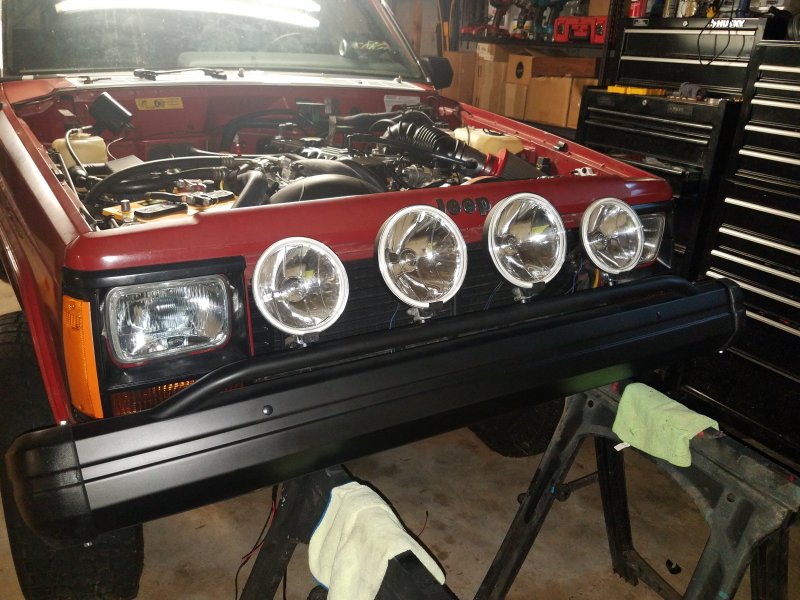
Mock up of the bumper without the valance. The spacers allowed for pretty decent adjustment of the center 7" lights, which I didn't have before, even with the 6" lights in the center. I like it.
-
Trimmed the front valance tp fit the tow hooks. Done & ready for paint.

-
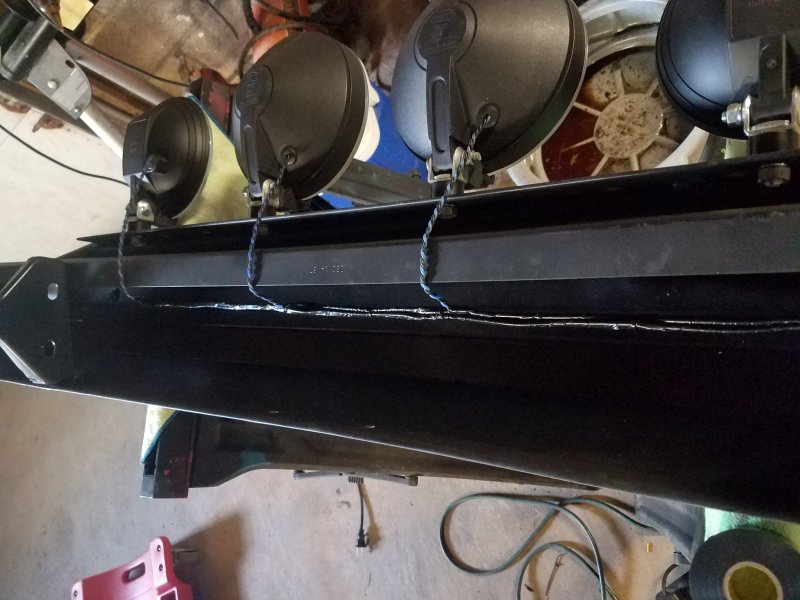
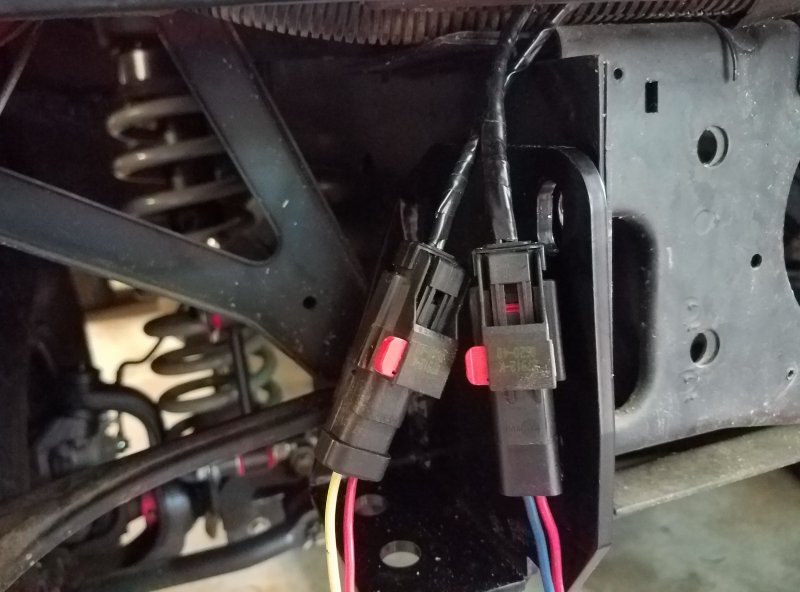
Rewired the lights.
-
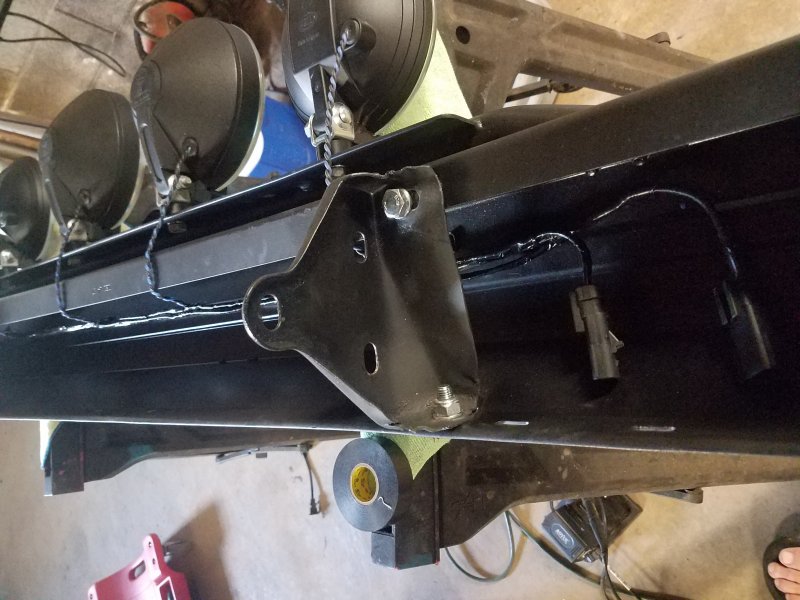
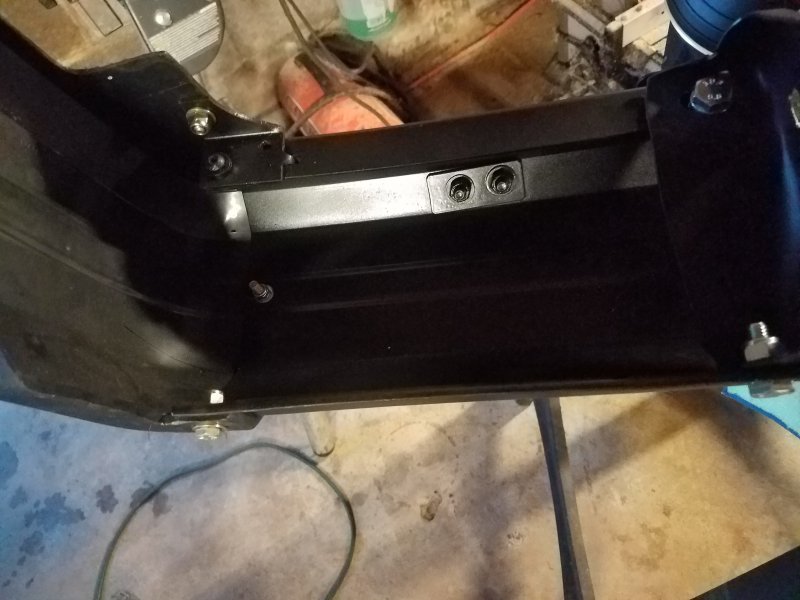
I also installed some JY Chrysler disconnects, so I don't have to cut the wires to the lights the next time I want to remove the front bumper.
-
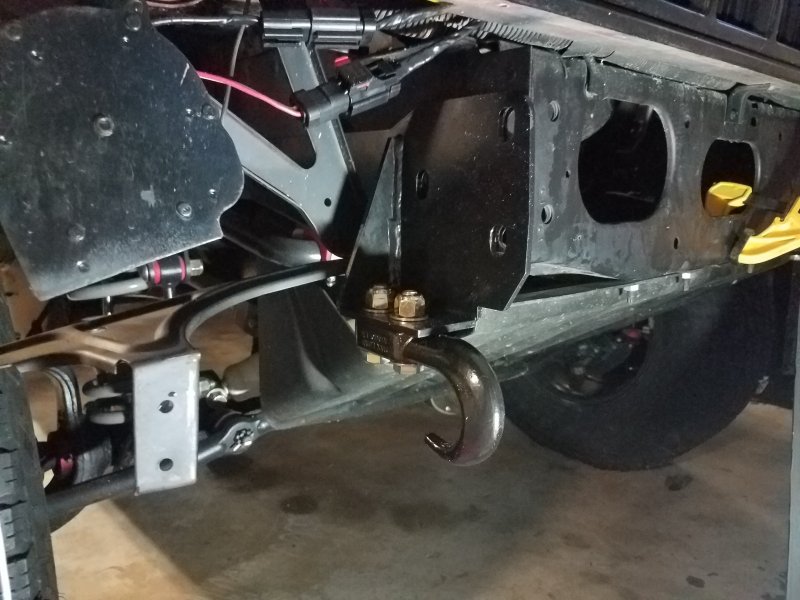
Installed the aftermarket tow hooks my youngest gave me.
-
Since I had the bumper off, I took the time to replace the mismatched and rusty factory hardware with some grade 8 and some 8.8 hardware.
-
Sneak peak, The Hella 700s are BIG.