


Greenjeans
-
Posts
216 -
Joined
-
Last visited
Content Type
Profiles
Forums
Gallery
Everything posted by Greenjeans
-
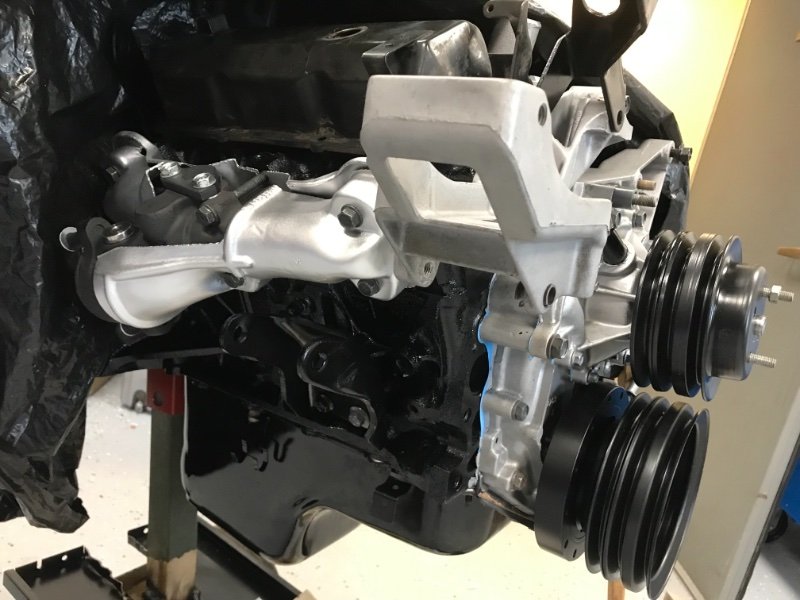
Red toothbrush is the simulated 700r4 cable, blue/white toothbrush is your simulated throttle cable. Factory 2.8 valve cover bracket. Heck this may work 🤔. Now to put the kids toothbrushes back 😁

-
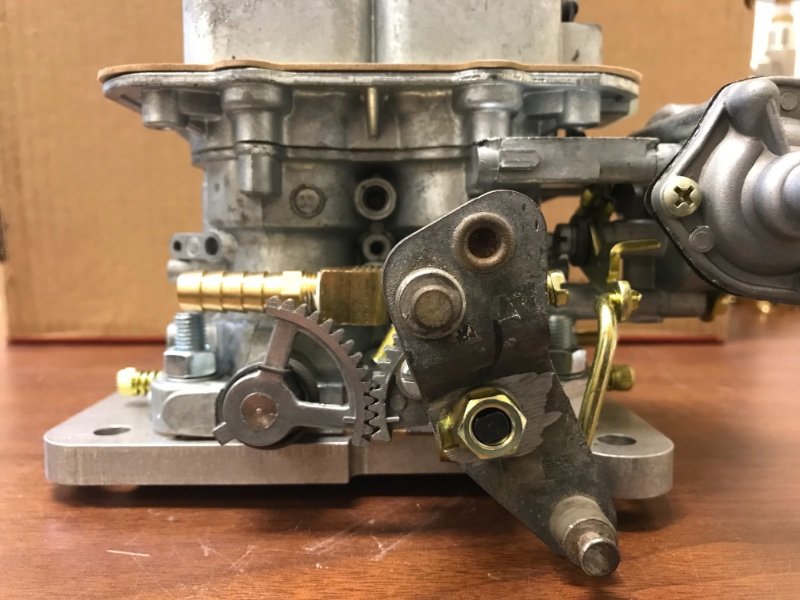
Weber throttle Bracket for 700r4 from some random Chevy at the junkyard, hole welded and redrilled/filed out. I have no idea if this will be the final configuration. Rarely does the first try work with my “custom” parts. Just gives me more practice… **edit, fuel pump is now under vehicle by fuel tank. Gauge is still under the hood. Return line is not in use** Carter fuel pump with in, out, and a 1/4” fitting to run to the return line. I will be using .5 psi check valves in line so we will have to see what the pressure ends up looking like.

-
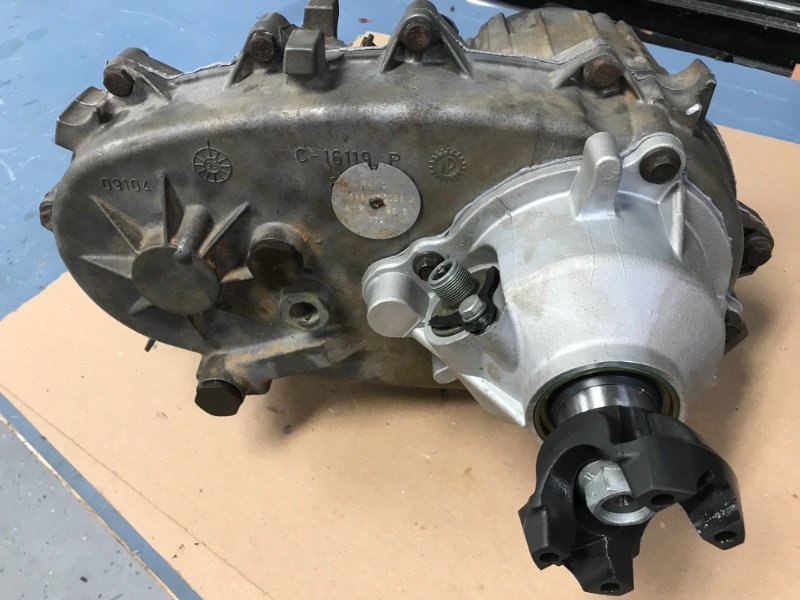
241c got a JB Conversions SYE kit. I removed the transfer case from a ‘95 C1500 at the u pull it. It had fresh looking RTV oozing out of it so I know someone had been into it at some point. Everything looked fresh bearing wise so I don’t know if it was a complete rebuild or part replacement. These 241’s have the 6 pinion planetary. I noticed that it also has the larger 1350 ujoint up front on the output yoke. I found that a grand Cherokee np242 has a 1310 yoke and seems to fit fine and not leak so that gives me the correct size ujoint match. An 87 XJ at the JY gave me a mechanical speedo connector for the transfer case and a new 37 tooth gear (4:10’s and 31” tire). I bought a Morse cable to use for the factory (99 XJ) TC shifter and need to fab brackets for that.. 700r4 is also ready for install.
-
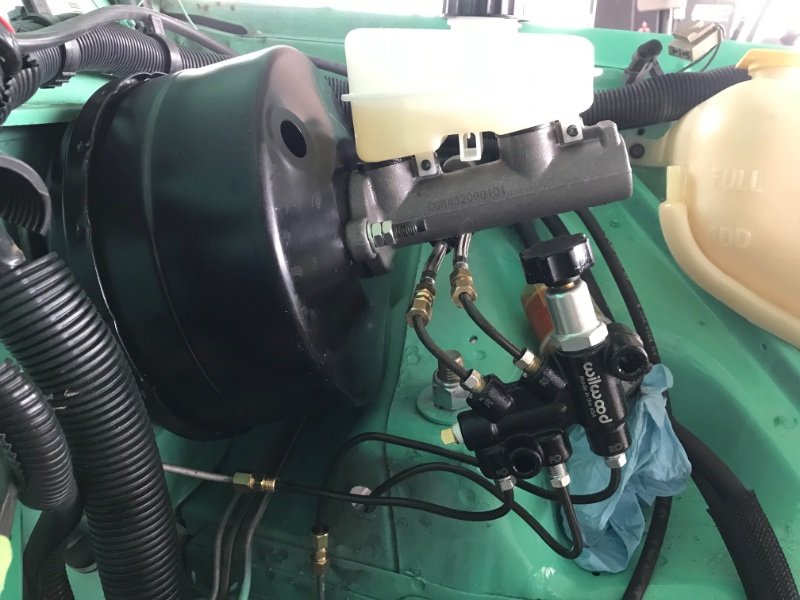
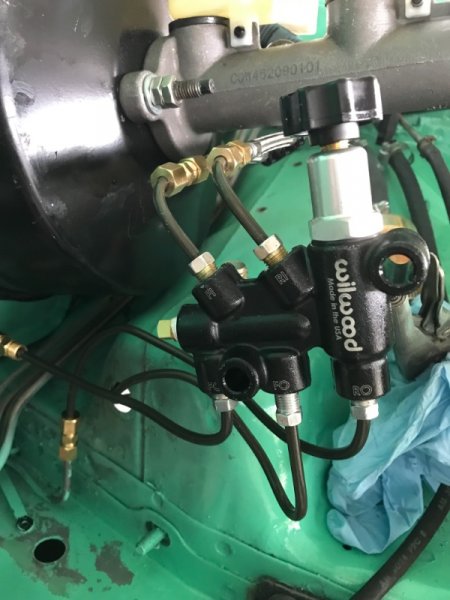
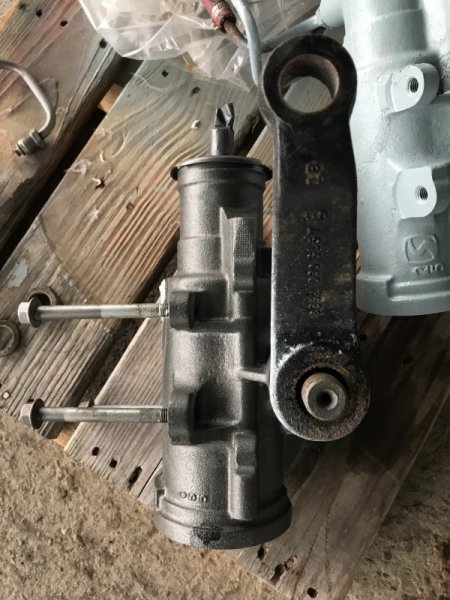
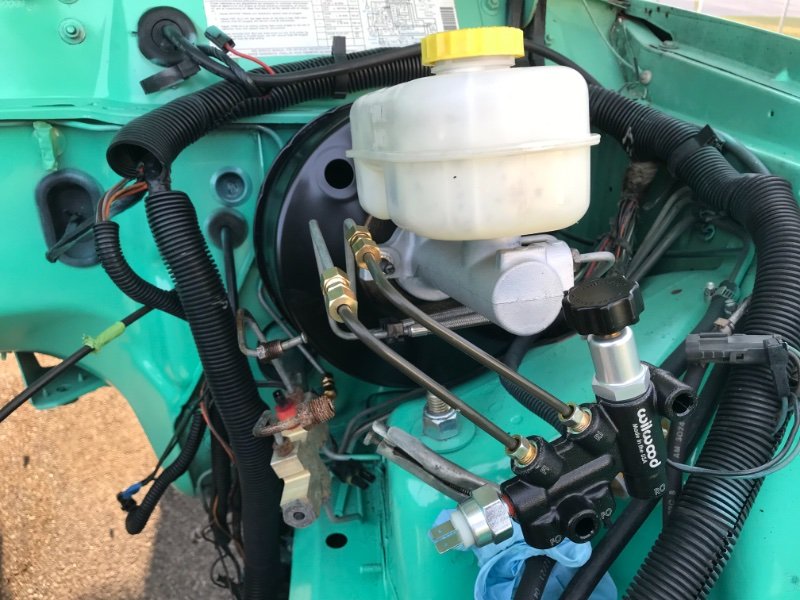
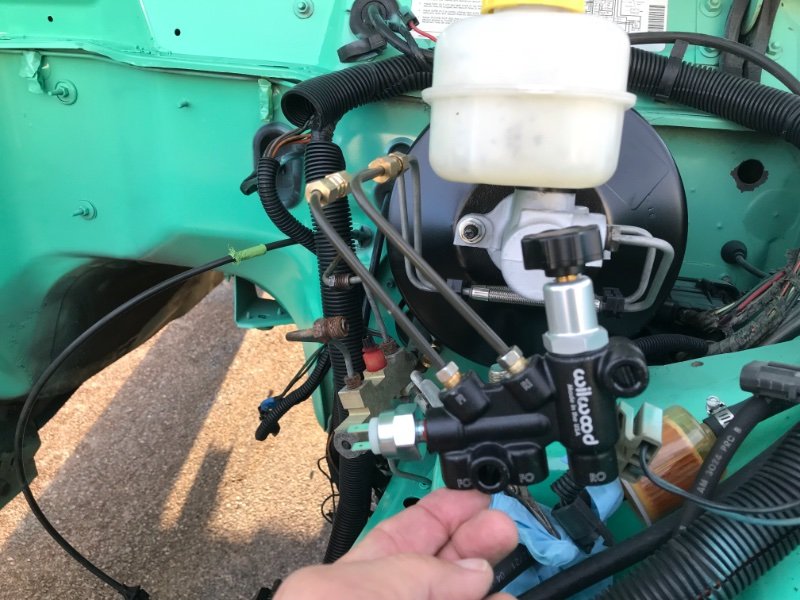
Ok re-undid it. Again 🤔… I went to the parts store and just bought a new master cylinder/ reservoir that are for a 99 Cherokee. Then I cut the Cadillac brake lines back and shortened everything up. I moved the prop valve inside the m/c I have a little bit of spaghetti noodle on the bottom of the proportioning valve, but that’s fine with me. It looks way better now. The only thing that is tricky is not having a motor installed ….I don’t know if I will have to tweak the lines some more if they contact anything… Durango box goes in tomorrow..
-
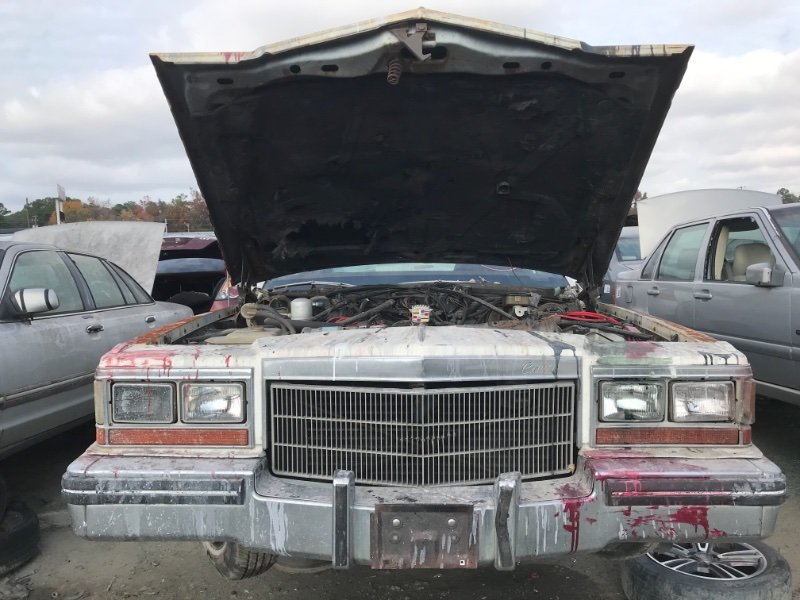
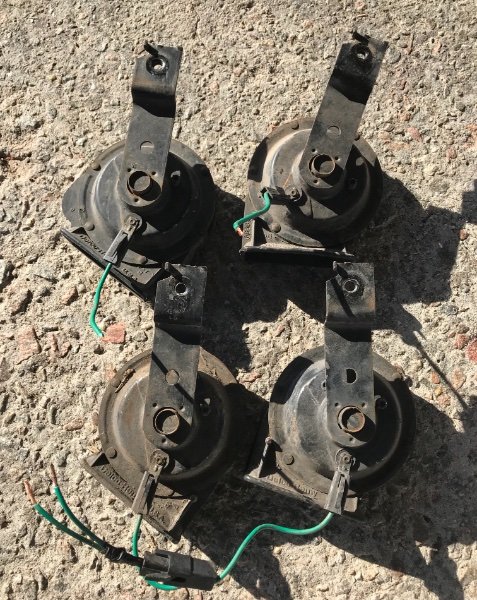
Crime scene Cadillac I got 4 horns out of at the JY…
-
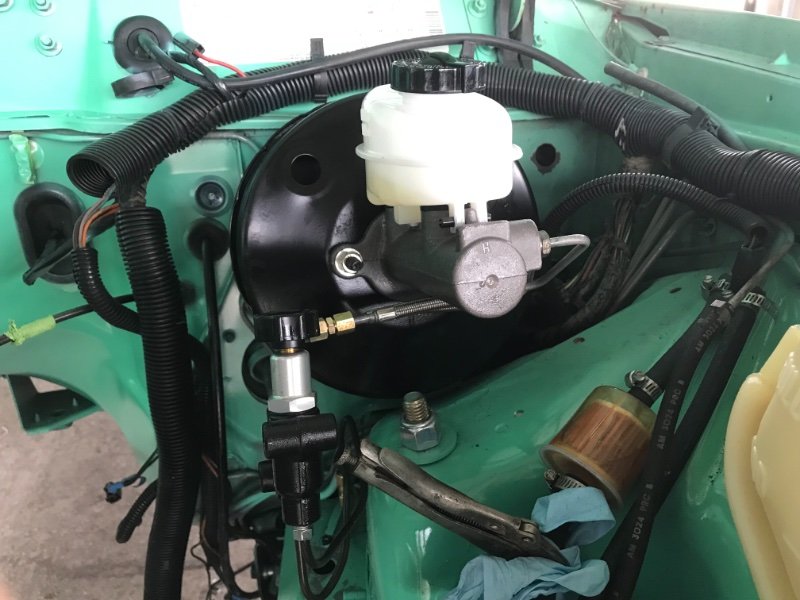
‘99 brake booster with ‘86 rod end welded on (boot conveniently hiding my welding skills 👍). Infamous 1/4” spacer and foam seal. Cadillac hearse brake lines on Dakota M/C. Only one problem… reservoir won’t clear the hood. Back to the junkyard to find a XJ reservoir. I’ll make a bracket for the Wilwood adj. prop valve that ties into the fuel pump bracket below it (not installed yet). I did not get as much done as I wanted to but isn’t that always the case… I spent a day and a half messing around with the 700 R4. The lockup solenoid did not click with 12 V supplied. I put a new one in but I’m still not convinced it’s working properly. I have more goodies for the 700 R4 but did not even get those installed..

-
The four horns of the appocoliss …. ACD & F from a big Cadillac. Should keep other motorists on their toes 😳
-
Exhaust manifold bolts PSA
Greenjeans replied to eaglescout526's topic in MJ Tech: Modification and Repairs
Just to add to this helpful info. Here is what I bought for a V6 at Fastenal and they worked perfectly.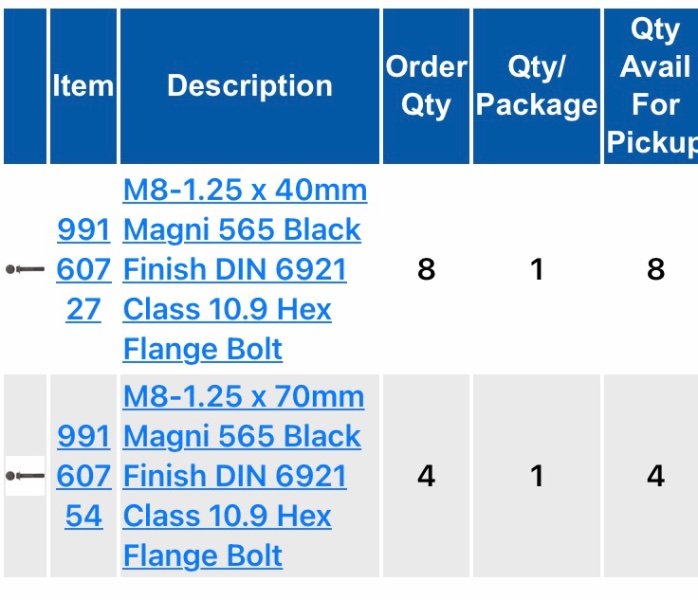
-
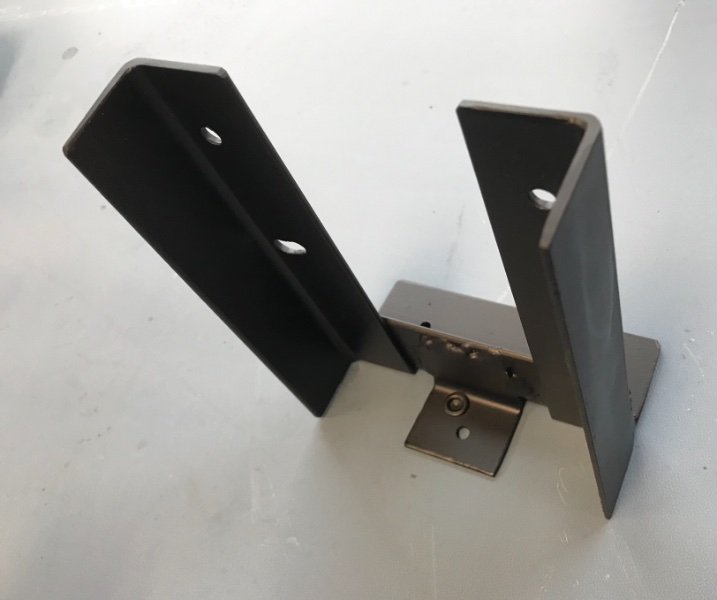
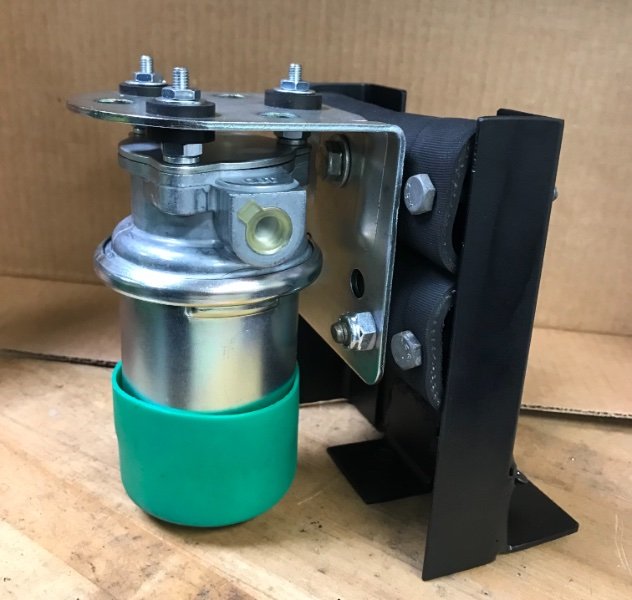
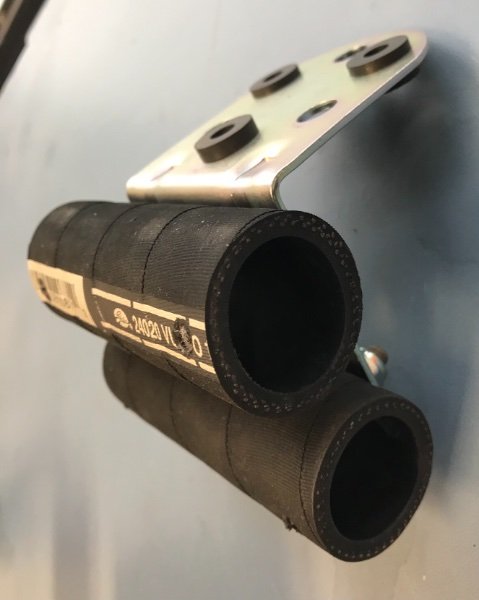
Edit** this pump got moved to the rear underneath by the fuel tank due to low fuel pressure sporadically under load when I mounted it under the hood.**. I made this mount for the electric fuel pump out of angle iron and some scrap heavy duty hose. Hopefully this will keep it from transmitting any vibes to the unibody (buzz!). Initial mock-up before I mount it. I’m planning to put it in the area on top of the coil spring bucket. We’ll see how that goes…. I’m thinking of “T’ng” the output side and using the factory return line to the tank so the pump doesn’t dead-head pressure. I got a 5psi check valve to go between the pump and return line. I know the Weber needs low pressure so I’ll play around with it with a gauge to try and get the pressure down.
-
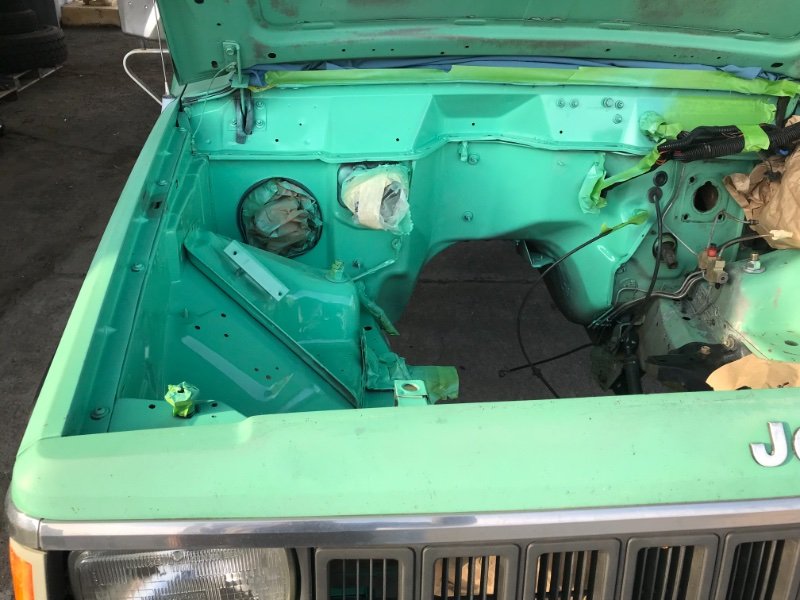
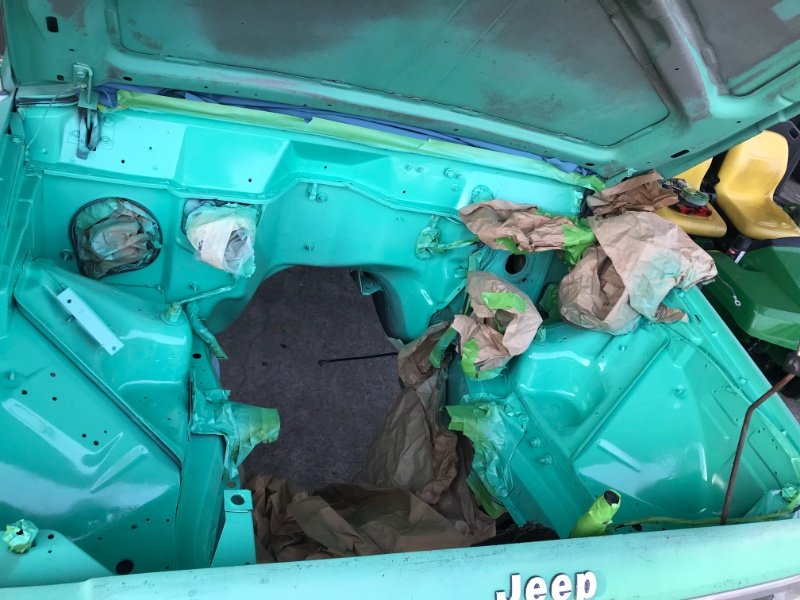
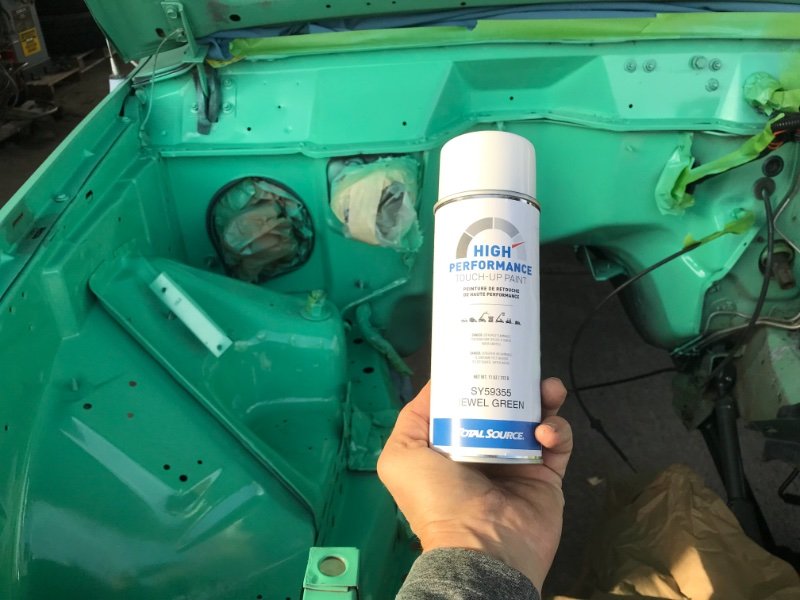
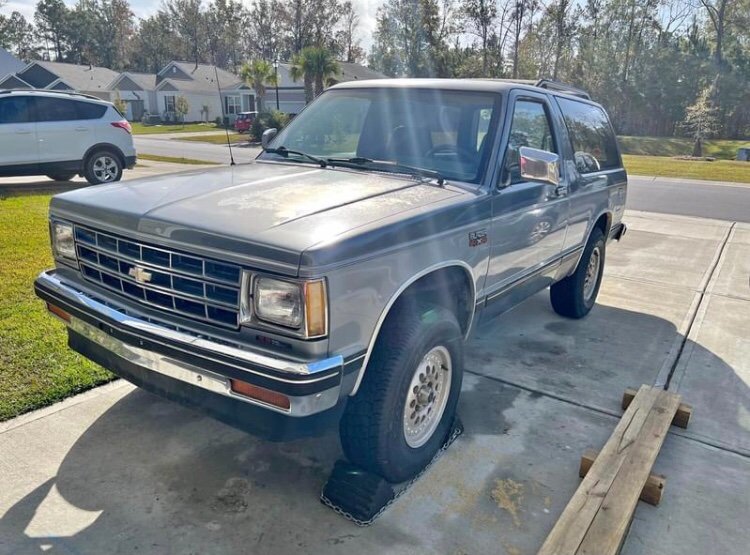
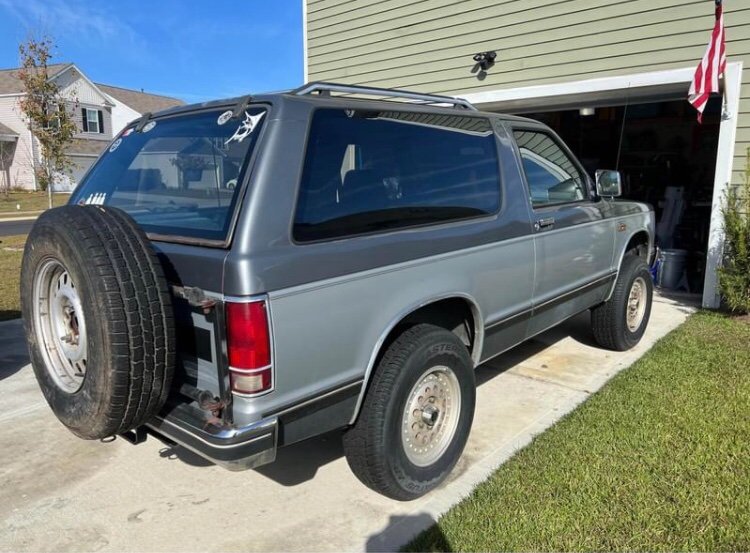
Mitsubishi forklift spray paint turns out to be very close to USFS green. I wish I could have completely stripped this thing down and done it properly but I just don’t have time and I’m running out of free parking. 😁 first picture you can see the original 1986 paint on the header panel, albeit faded out a good bit. Second picture looks more blue I guess the iPhone did that as the sun was going down. Next weekend project is to put the 99 brake booster and Durango M/C and the Durango steering box. I am aware that the 99 booster will require modification to the rod. I picked it up before I knew about that little detail. Should not be a problem I have a welder…
-
I’ve been on the lookout for some of those valve covers. And I have a spare throttle cable/trans cable bracket just in case I find some. It seems they run around $100 when they pop up on eBay….
-
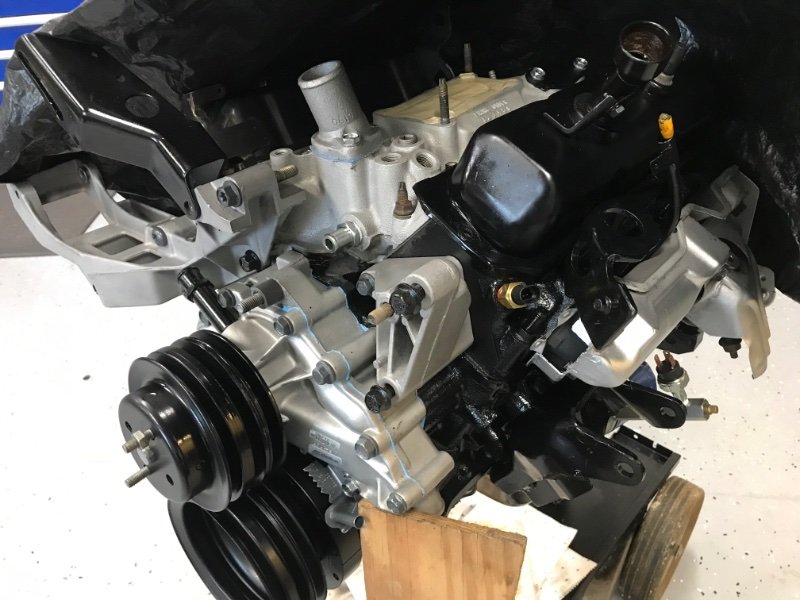
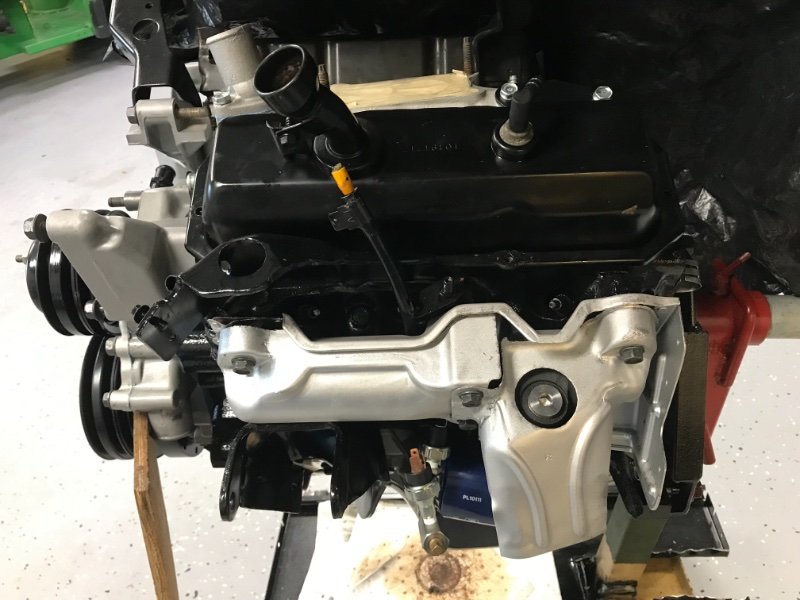
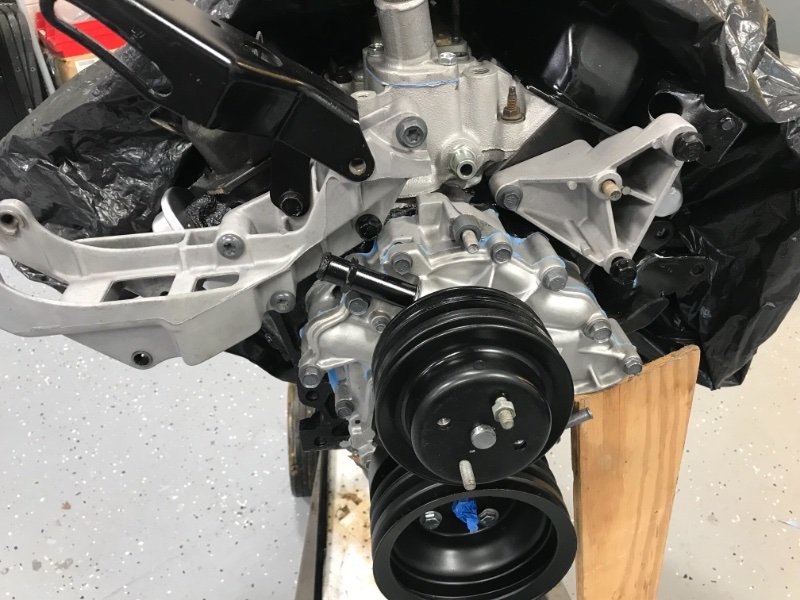
Not many good pictures but I’ve been busy. The 3.4 is all buttoned up and almost ready to drop in. I’m going to try and spray paint the engine bay this weekend. SYE kit arrived and a handful of other parts so it’s going to be a busy December. Luckily I have some leave to burn..
-
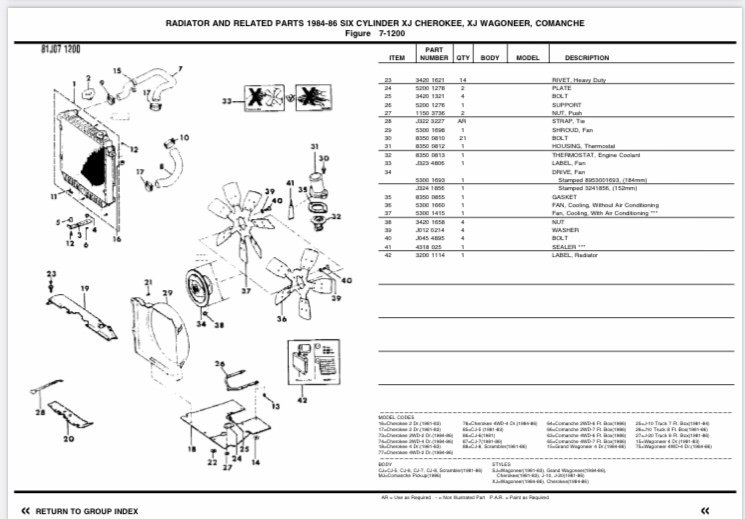
Holy cow I found it. Look at number 26 in this illustration. I guess I should put it on the 3.4. Even though I do not have the correct lower shroud I might need this….
-
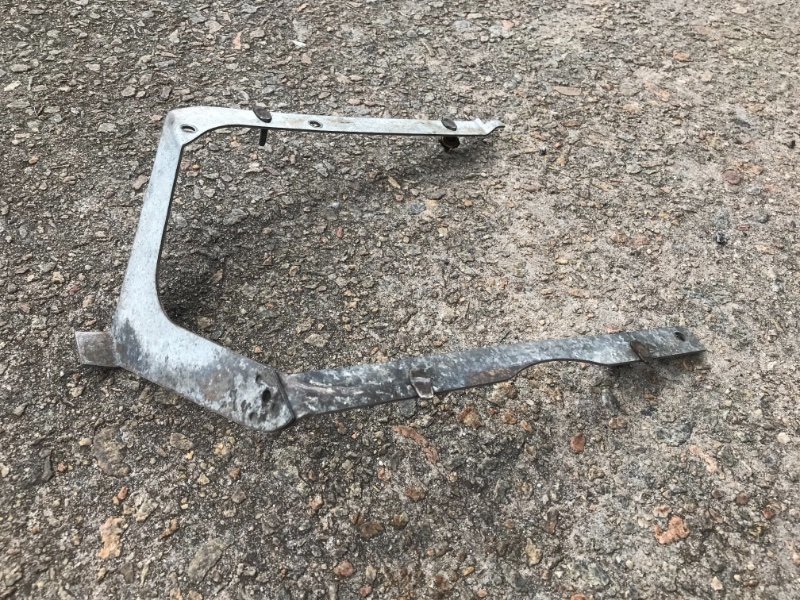
Anyone know what the purpose of this is from under the oil pan? Do I need it?
-
I have a new Weber 38 going on this one. I did consider one of those but they are hard to find. Edelbrock also made a Performer intake for the 2.8 but same story, very rare now. What is really like to find is a new in box Mallory distributor…
-
With pictures..


-
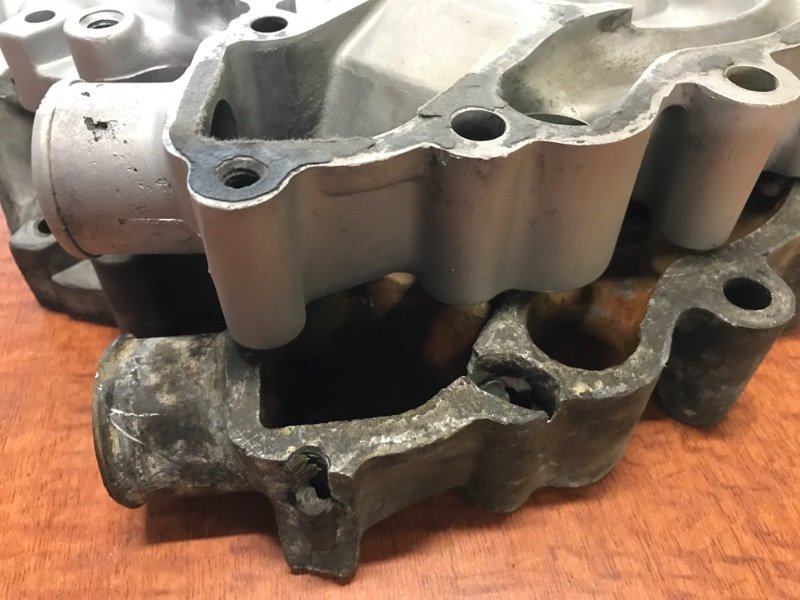
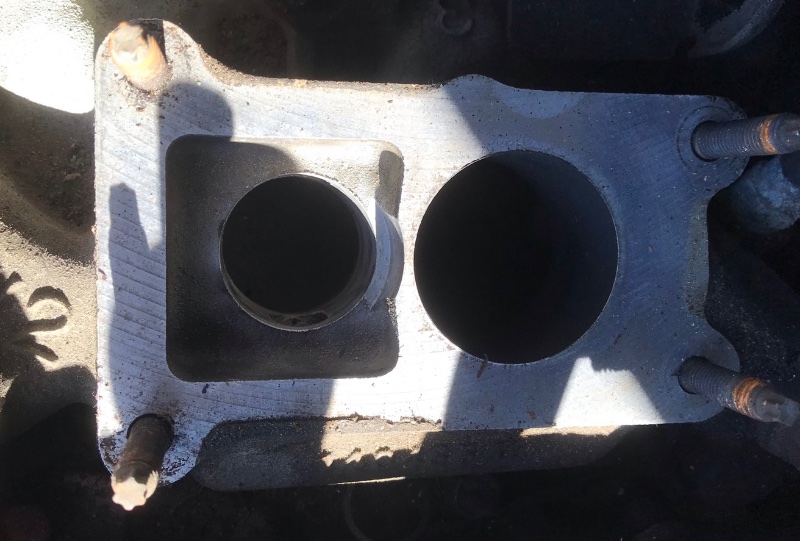
I hogged out the 2.8 intake on the primary side, not sure if this was good or bad, guess we’ll see. I didn’t like that weird step down to the runners. I didn’t completely smooth it out, there is still a “cave” down in there. In the last picture below (random eBay photo), you can see the “platform” or whatever it’s called that I hogged out. Basically your fuel is dropping out the carb’s primary onto a floor surface 3/4” or so below your carb butterfly to get thoroughly confused. I removed that “platform” to improve flow. (Edit: it’s installed now and runs fantastic). I also bought a ‘84 timing cover from FN Jeep. They didn’t have an ‘86 dated one but mine had a hole in it and one mounting ear broken off. I bead blasted both and will try to clear coat them tomorrow. I also had the 2.8 oil pan hot tanked at a machine shop and rattle canned it (no picture)…
-
Hopefully someone will want it for their own project 👍. It has a clean title and someone out there will get a nice clean roller for their own dream ride! It still has the 2.8 in it and was grandpas Blazer with 138k on it.. evidently they removed the trans because the flex plate cracked. It even comes with a new torque converter. Stall speed is slightly higher on the 2.8 converter than the 3.4 Camaro by a 150 rpm, hopefully that won’t matter much..
-
Hopefully getting this tomorrow for the transmission…
-
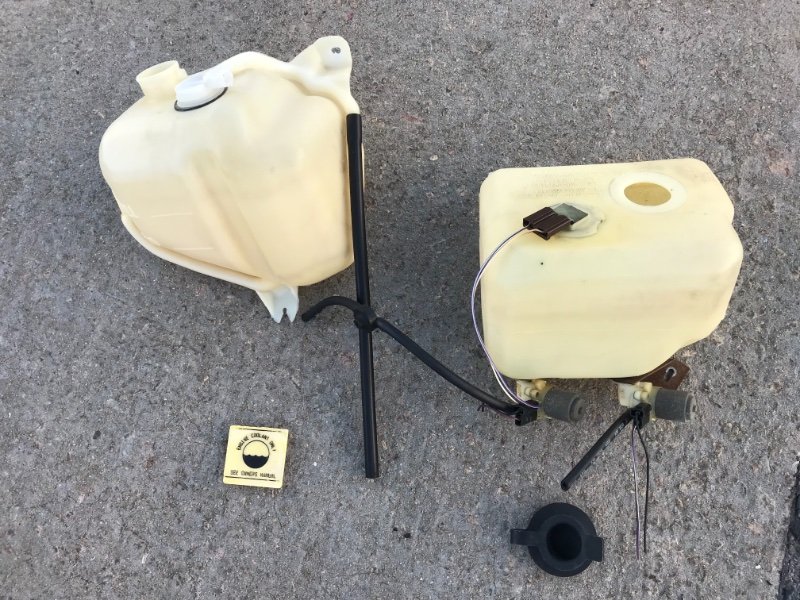
I hit a yard again today and got this washer fluid bottle from an 87 XJ. The coolant bottle is from a WJ. It fits the space well. I’m rearranging some of the furniture because I want to use a smaller charcoal canister from a TJ with just two nipples for hoses. The Weber needs a vent and the fuel tank gets a vent to the charcoal canister, that’s it.
-
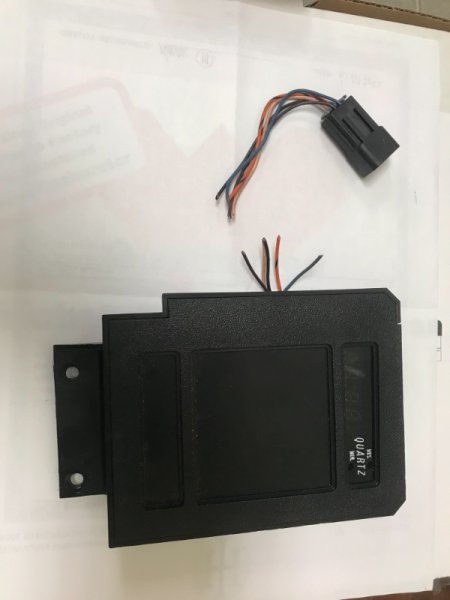
I have one I will send you from a 91. I clipped the harness but then realized what I did and grabbed the connector. Just pay the shipping. PM me if you want it.
-
Ok thank you that is helpful! Since February I’ve been parts hunting.. I’ve seen maybe 15 different XJ’s in yards and people parting them out. The oldest one was a ‘91 😁. No MJ’s except a couple guys flipping/gold digging on Marketplace. I need to get out in the boonies and I’ll find more parts I’m sure..
-
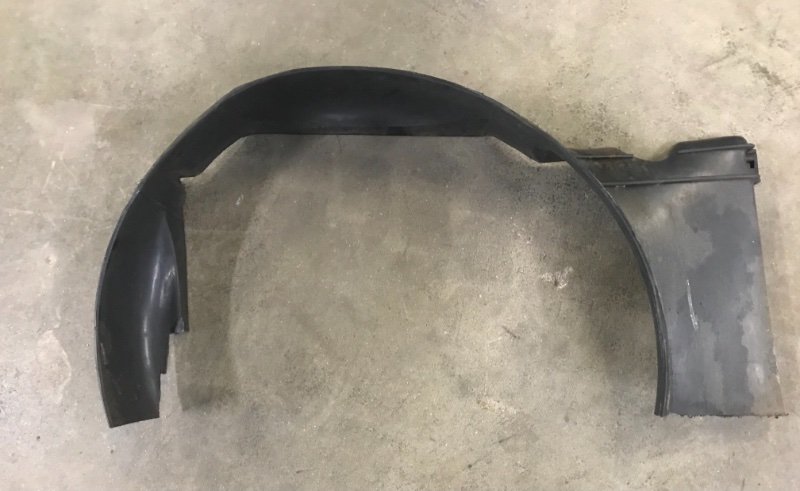
I’m not sure what you mean by I’ll need one from a 2.5l? I’m going to use this 2.8 fan on my 3.4 swap. Unless I can locate one in better shape but that’s very unlikely around here.
-
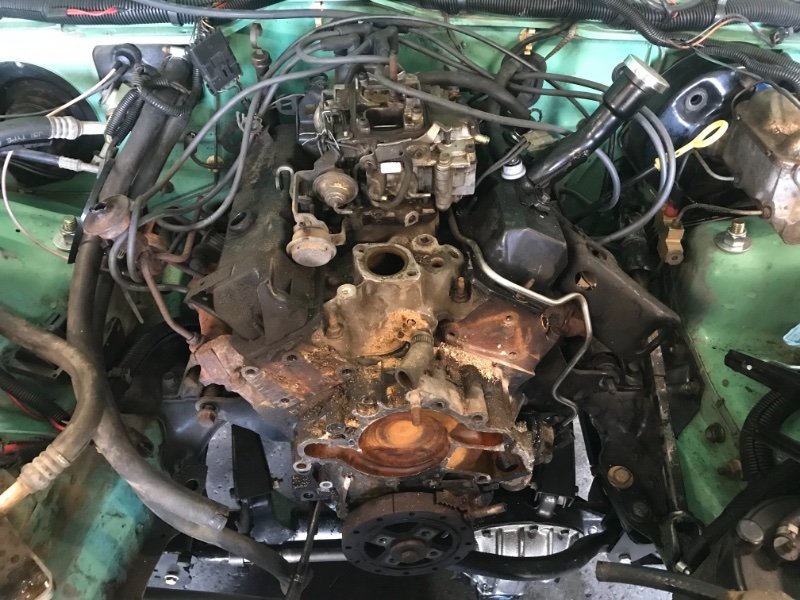
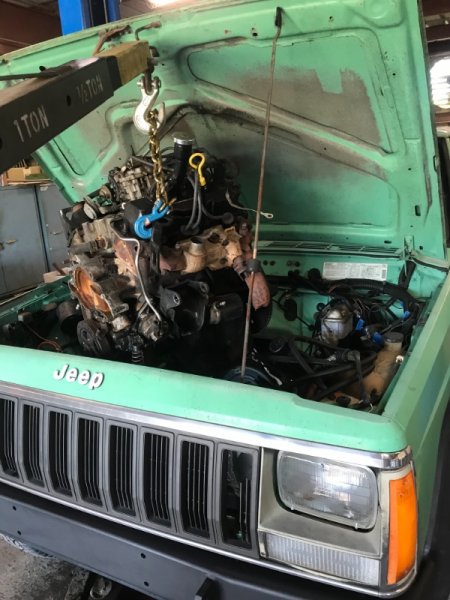
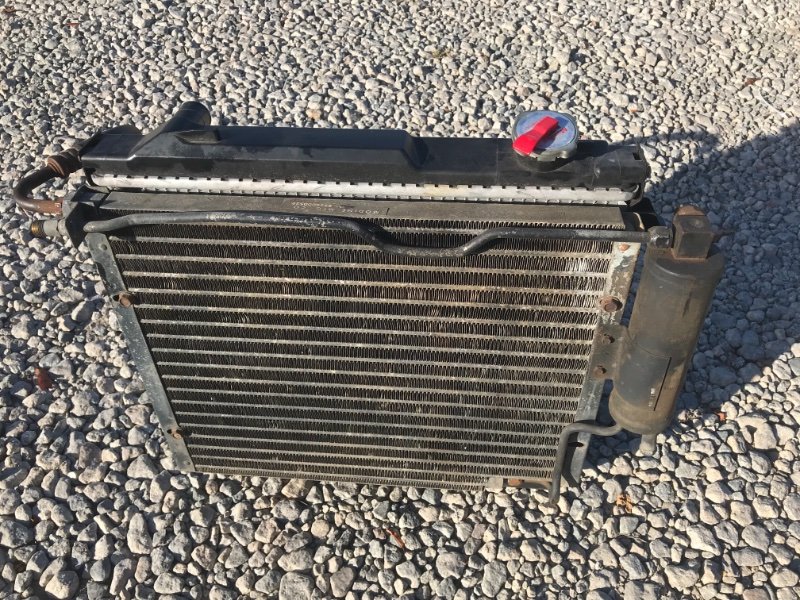
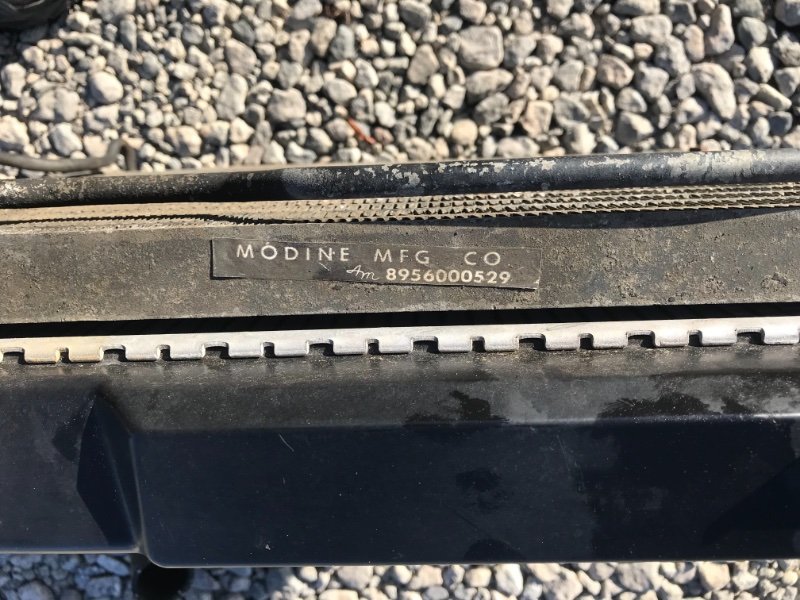
Pulled the 2.8 today. I never even took the hood off. That’s the first time I’ve ever done that. It’s also the first time I have pulled a motor and left the transmission in the vehicle. It just seemed like a small engine that would just pop out and it did. If any of you gurus can tell me if the fan shroud last picture is original I would appreciate it. I know that the radiator was changed in the not too distant past. The fan shroud only has a top no bottom section and I can tell it has been carved on. I thought maybe it was out of an S-10 or something. And I’m going to definitely need some help when it comes time to rebuild the air conditioning system. I have read you guys mentioned about using later model XJ evaporators for the 134. I have a good compressor already. I will definitely replace the condenser and dryer at some point. But I’m wondering if there is just a good generic aftermarket unit.
-
When I bought this thing it would hardly run well enough to get up on the trailer. The first thing I did was install a new gas tank and sending unit. Flushed the rust out of the lines etc. being a government truck, and state parks here aren’t usually near a gas station, I’m betting it sat with a low fuel level most of the time and the gas tank interior was solid rust. After seeing inside that tank, I can’t believe it ran at all. The Rochester carb is a nightmare and it took some tinkering (and a piece of bailing wire on the linkages) to get it to idle half way right. I also removed the half mile of vacuum lines in that process.. anyway yall wish me luck. It’s been fun so far..