
Elwiscon
-
Posts
174 -
Joined
-
Last visited
Content Type
Profiles
Forums
Gallery
Everything posted by Elwiscon
-
Makes sense! So i will use the orange/black to trigger a separate relay so the AC compressor clutch engages only with the engine running, then use the blue/white as a ground. I think I will have add another relay to switch constant power from a dedicated circuit fuse, with blue/white and orange/black as triggers (coil) then the load wire on that relay will be the line on the AC compressor relay which will be triggered by the chassis ground and load side of AC pressure switch, that way the ECU still grounds one relay, i’ll do some testing, i think we got it figured out. Thank you
-
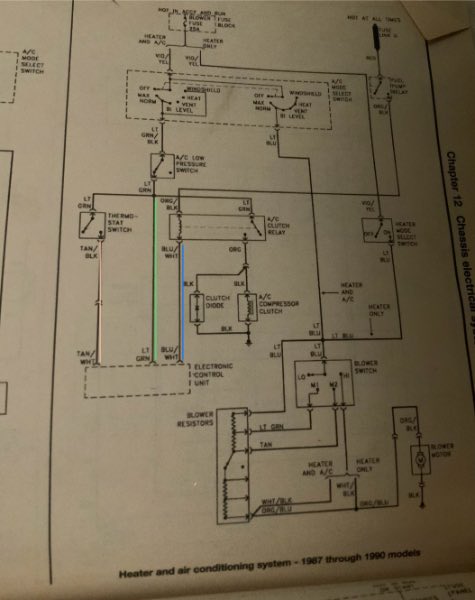
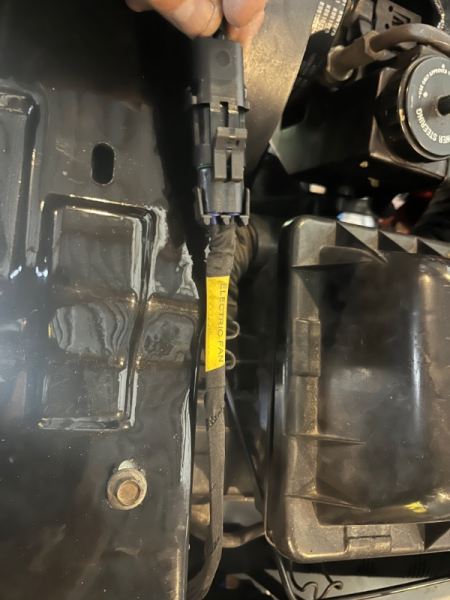
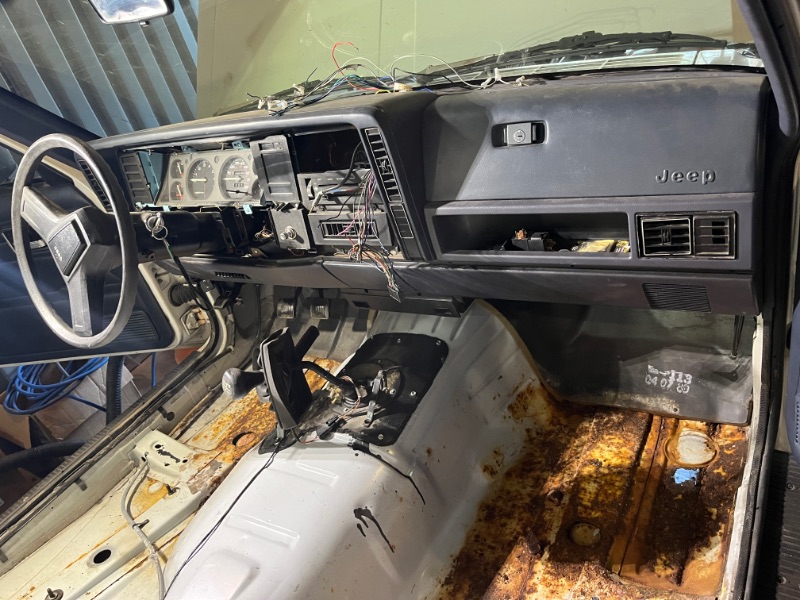
Help! I’m in the process of retrofitting AC on my 89’ 4.0 non-AC comanche, so far I have: -Replaced the dash heater/ac control, HVAC box and HVAC harness from ac-specific from a donor XJ -Installed a new evaporator, lines, compressor, condenser, expansion valve etc, still needs to be charged. -Installed new thermistor temperature sensor in the evaporator. I traced the wires from the spare 4-wire connector on the driver side, one of the green (or green/black) wire is the “input” from the dash control when the dial is in the AC positions, the other green (or green/black) goes to the thermistor, which closes and sends power to ECU via the tan/white wire. On the same 4-wire connector there’s also an orange/black which is the fuel pump circuit, then the blue/white goes to the ECU as “ac select”. I plan to use an aftermarket 30A relay to start the AC compressor. On the AC, I’m assuming the tan/white input to the ECU is the signal so the ECU idles the engine at a higher RPM when the AC is on, the green is the signal wire going to the AC pressure switch which provides power to close the AC compressor relay and turn it on. Does anyone know what is the blue/white for? On this Haynes diagram it goes to the AC relay coil (see picture), and the orange/black from the fuel pump seems to be part of the coil. How critical is the blue/white wire for AC? The way I see it the green and tan/white are important to initiate the AC. I can figure out and wire the compressor with an aftermarket relay, the green from the ECU goes to the AC pressure switch and the load side of the pressure switch will kick on the relay for the AC compressor and auxiliary electric fan (both wit diodes). How critical is the orange/black (fuel pump) and blue/white (AC select) By the way, I left the original wiring under the hood, didn’t want to replace it with an AC-specific engine-bay harness, it should be very straight forward once I address the ECU wires. Any help will be appreciated Thank you all!
-
-
Good point, i just have OCD lol. I read on an XJ forum you can still have it activated thru the transfer case vacuum switch.
-
Didn’t know that, good to know. That’s another good option to consider, I’d have to figure out a way to wire the dash light if I go that route. I’ll look into that option, the bypass kits are way cheaper than a good quality posi-lok.
-
Not really restoring it to factory condition, it’s mostly a restomod with improvements, I already upgraded the electrical, I installed an AC system, added an electric fan, etc. The whole concept is to have a restored Comanche i can enjoy and drive as a truck, so I don’t really care about the vacuum actuated 4x4, as long as I have 4WD when needed.
-
I’ve heard it affects wear and tear on the axle, but could be wrong
-
Definitely not! I’m usually very careful with cables, wires, etc
-
I’m sure it looks better than the Posi-Lok red button, and it’s OEM, may be hard to find the parts though. I’m having a hard time finding the plastic 3-line harness from the actuator to the chassis lines, but at the end performance and reliability is more important than aesthetics, just trying to get opinions from actual users. As I mentioned my MJ will be mostly used around town, very light off roading and maybe some winter driving on occasion. Haven;t seen pictures of your mod but it seems to be a great solution.
-
Sounds interesting, I’ll look into it.
-
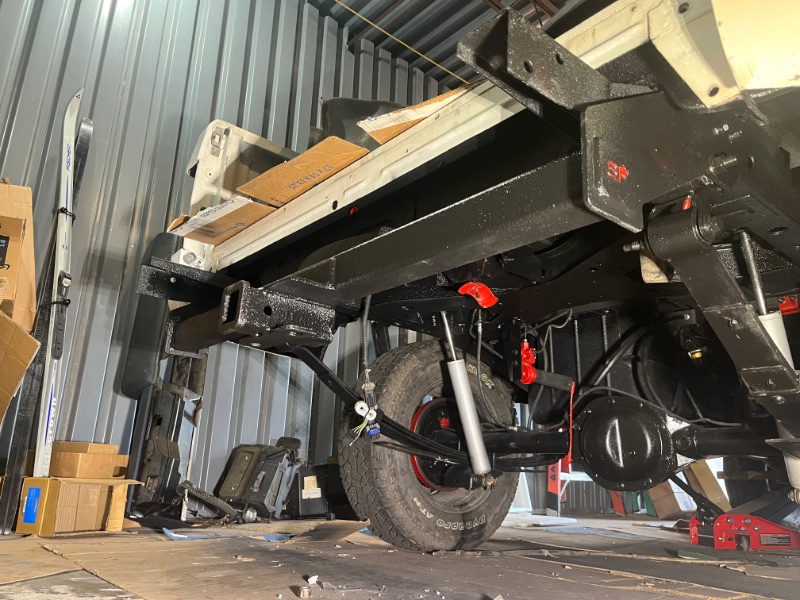
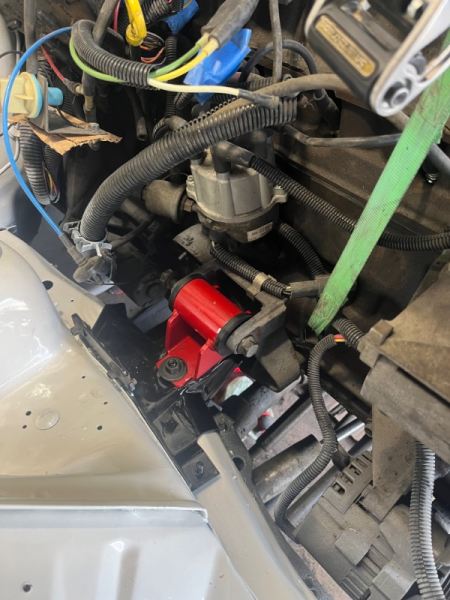
Finally got the engine cleaned up and tuned up, now its time for the front axle, the steel s-shaped chassis vacuum harness had a clogged line, so the front differential isn’t engaging, i put acetone, PB blaster etc and couldn’t clear it so ended up getting a used harness from Ebay. I’m about to order a new actuator, fork and vacuum lines if i can find a kit. I found information about the cable-actuated “posi-lok”, some people swear by it, others don’t recommend it. My MJ won’t be used for hardcore off-roading but i still want a reliable 4WD system, what are your opinions on the posi-lok? Should I get one? Pros/cons? The thing i don’t like about it is the cumbersome red button on the dash, I was thinking about concealing it in the center console, under the dash, etc where it isn’t as noticeable. A lot of people have it on their YJ’s and highly recommend it. Thanks
-
I see what you mean, no I didn’t do any machine work, just made sure everything was done by the book. I guess I should’ve for better performance/reliability. As for colors, I’ve had black vehicles before, they look great for 10 minutes when you wash/wax it, then dust settles on it and it fades over time if not garaged. I like the white to keep its original color, but the Chrysler blue looks great, I’ve seen it in person in some 90’s Dodge trucks, a guy I know used to have a blue 90’s Ram sport, looked great. The grill and bumpers will be black regardless of body color, mine doesn’t have chrome bumpers so I’ll just repaint them or raptorline them in black, too many choices to consider!
-
Definitely considering that nice blue
-
Looking good so far, Still need some secondary non-factory electrical work such as air conditioning, powered subwoofer, 12V outlet, USB outlet, kill switch, fog lights, heated seats etc. Already added headlight relays and new sockets, I’ll be running a 2awg wire with a breaker for the secondary relay/fuse block. Also need to install the air conditioning lines, already have the factory AC hvac box and AC panel from a donor 1992 XJ and a new evaporator. Also need to fix the vac line for the front differential, but I’m also thinking about adding a CAD delete or cable control. Interior is also getting lined with Kilmat to make it a little quieter and with better accoustics.
-
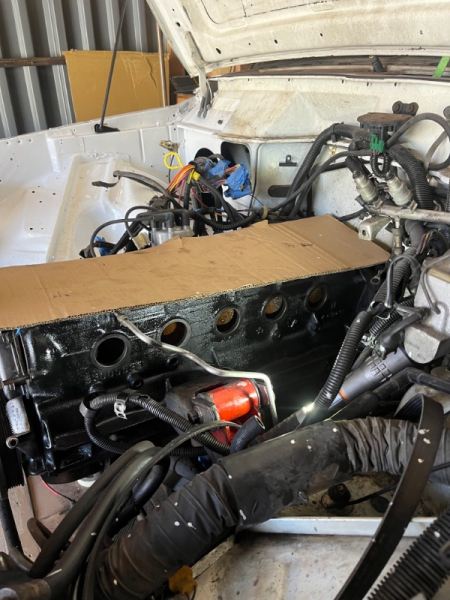
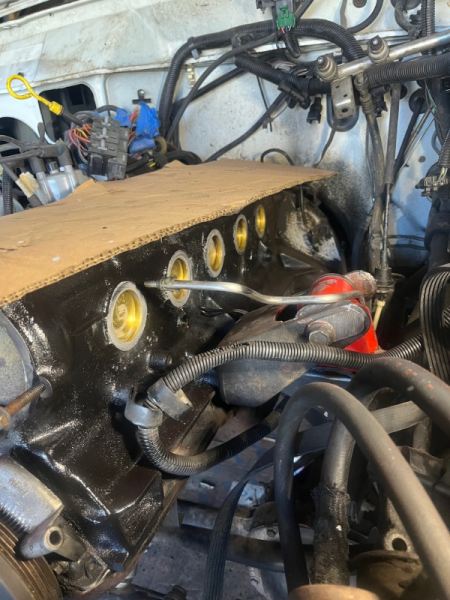
I replaced the head gasket, i used “Indian Head” shellac and a felpro gasket, new bolts and torqued them to specs in sequence. So far no coolant/oil mix. I replaced it like many other components “while i had it all apart”. I like the white too, I was going to keep it with the original paint and faded worn out graphics to give it more character but unfortunately there’s some rusty areas I’d like to fix so I’ll have to repaint the whole truck which isn’t too bad of a thing, I was thinking the same white, but now I’m considering black, charcoal, silver or 89 MJ’s Chrysler blue with black accents. At some point i was going to “Monstaline” it myself but decided not to… this isn’t the vehicle to do it in my own opinion, too rare, classic and not to be abused off-road, I’ll still treat it like a truck though, to haul, drive and have fun in.
-
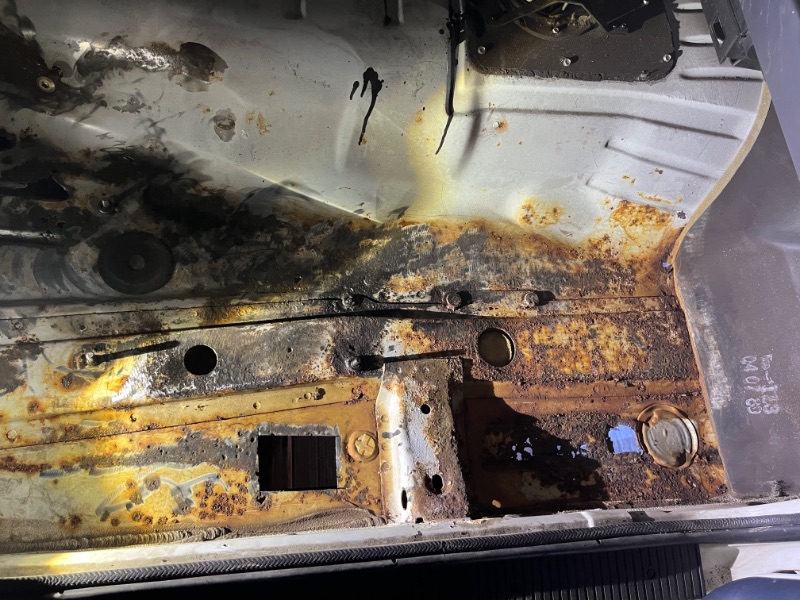
Definitely an issue, likely because water trapped between the vinyl and floorpan doesn’t wick out or evaporate, unlike carpet. Luckily I didn’t find any firewall leaks, I will be getting carpet I think, Bedrug makes great carpets for jeeps, I have it on my LJ, looks great, dries fats,feels great and very easy to clean, too bad they don’t make it for MJ or XJs.
-
I got one of Krustyballer16’s custom made hitches, very well made product, fits like a glove with no issues, haven’t towed with it yet though, highly recommended. Note: it gets delivered on a pallet with no paint/finish, I sprayed 3 light coats of Raptorliner
-
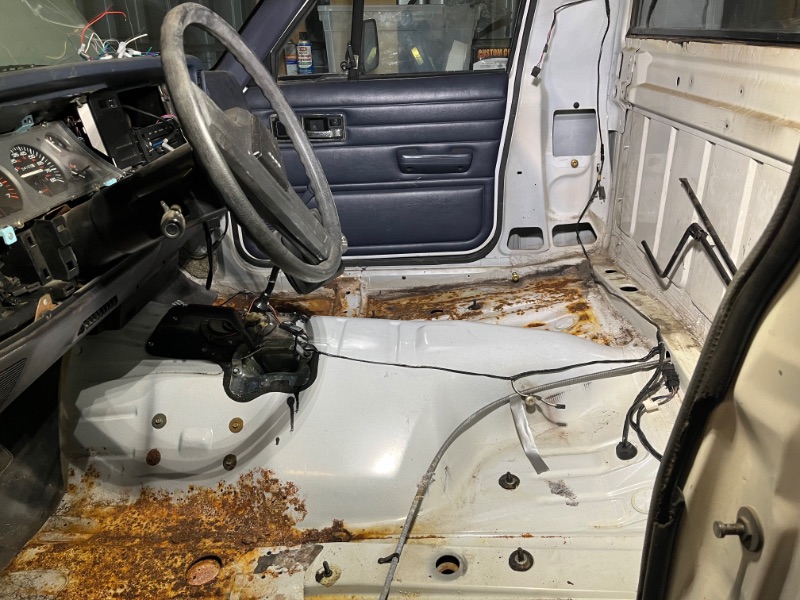
Yes! Vinyl floor, passenger side floor pan and seat bracket had a lot of rusty crumbly spots, luckily the driver side wasn’t bad, just surface rust i was able to remove with a wire wheel,
-
Thanks! Still at it
-
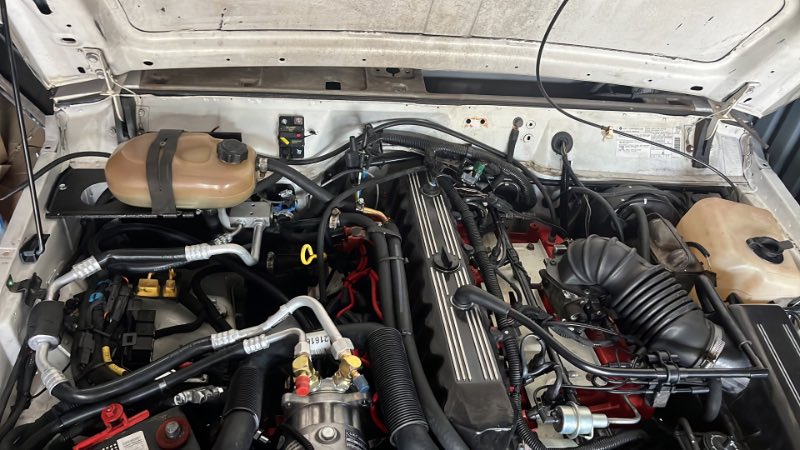
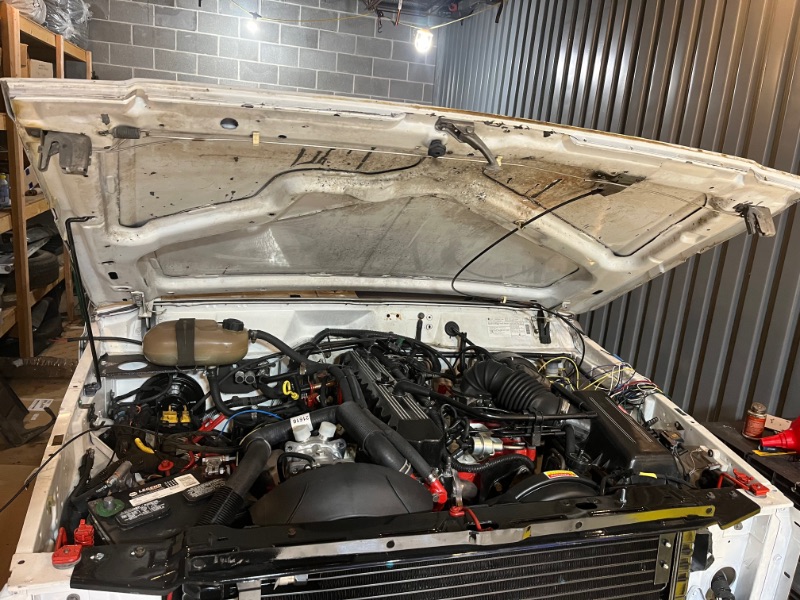
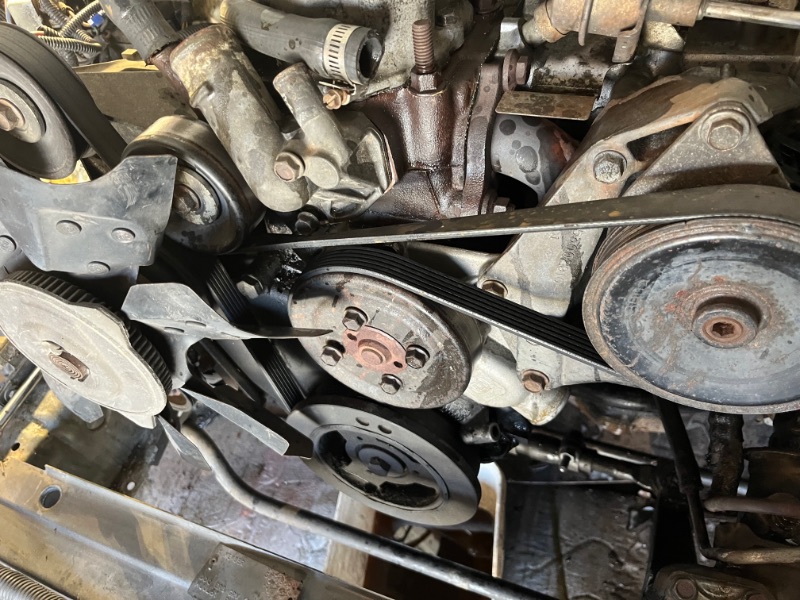
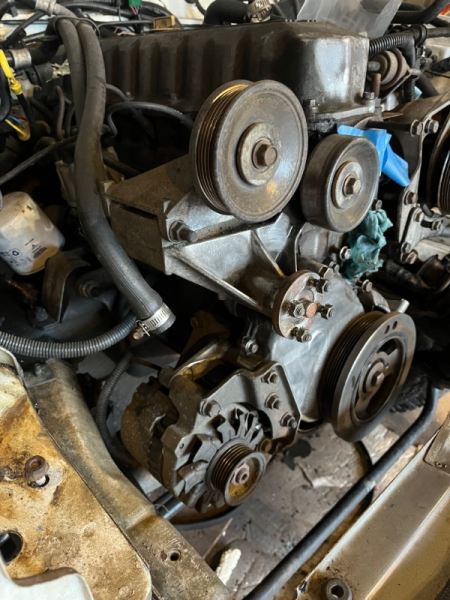
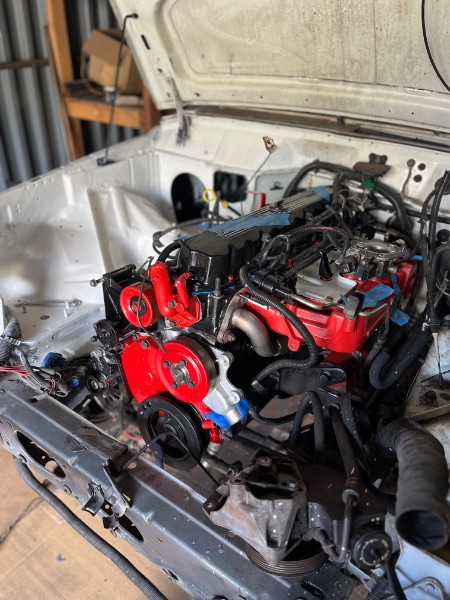
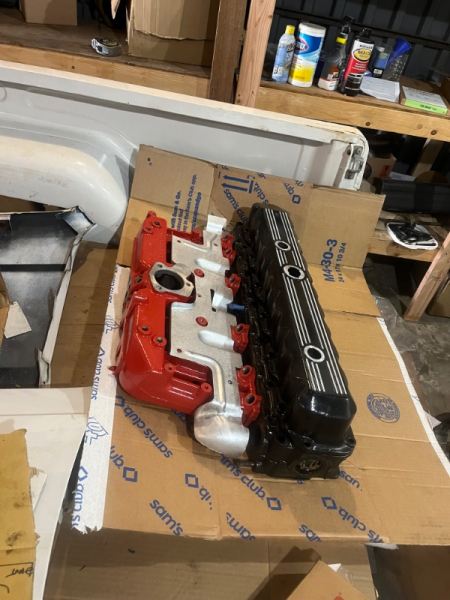
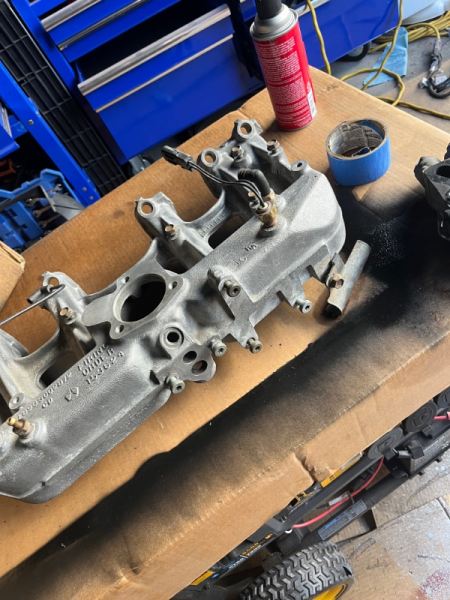
Several engine bay parts replaced: -heater core (brass/copper) -water pump -oil pump -Coolant hoses -alternator -starter -timing chain -fan clutch -harmonic balancer -block plugs -exhaust manifold, downpipe, cat, muffler, tailpipe -oxygen sensor -Head gasket, valve cover gasket, oil pan gasket, rear main seal -Vacuum lines -Battery cables -Engine mounts -starter solenoid -radiator -fuel regulator -Injectors -Electric fan (1996-2001 XJ), still need to wire relay, sensor etc. -Sensors -Etc! Added additional grounds, cleaned dipstick sensor grounds per Cruiser 54’s advice, cleaned/ painted valve cover ,intake manifold, there was so much carbon built up in it…It runs a lot smoother now, even at idle, still need to get new spark plugs and wire set. High temperature paint used, gloss black and Chrysler red. Still so much to do!

-
Thanks, will do!
-
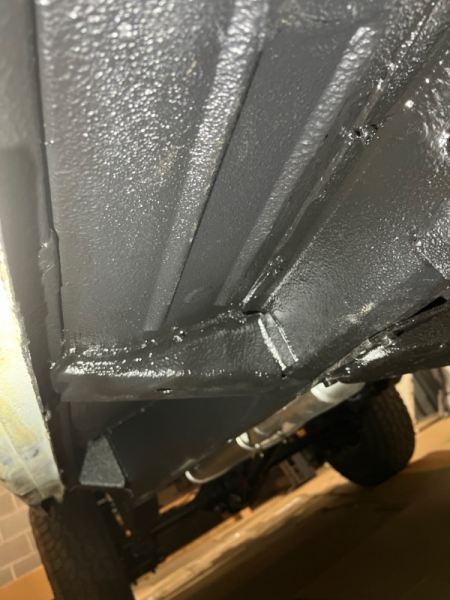
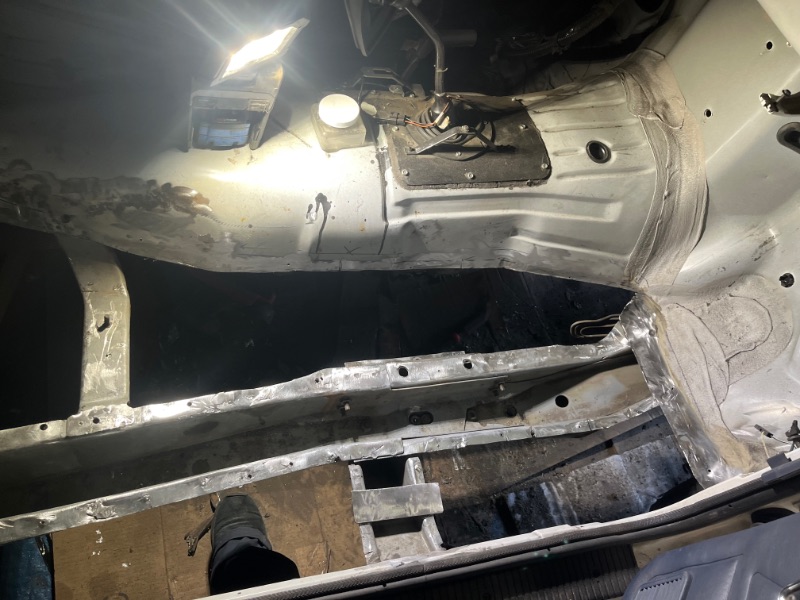
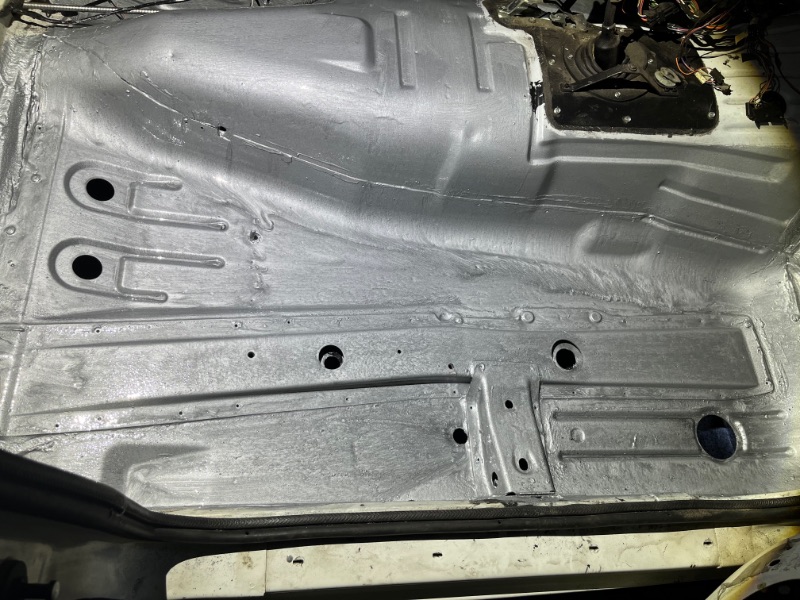
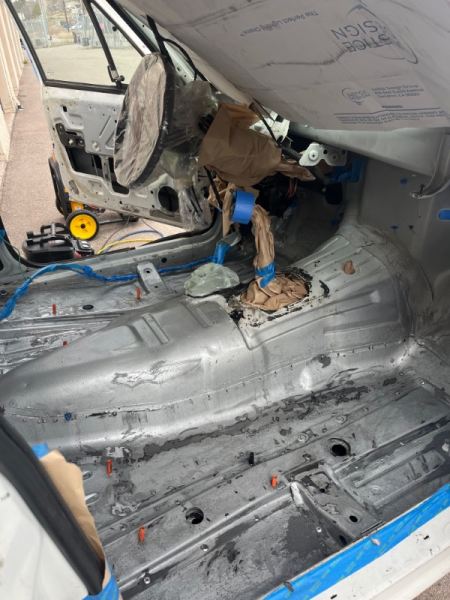
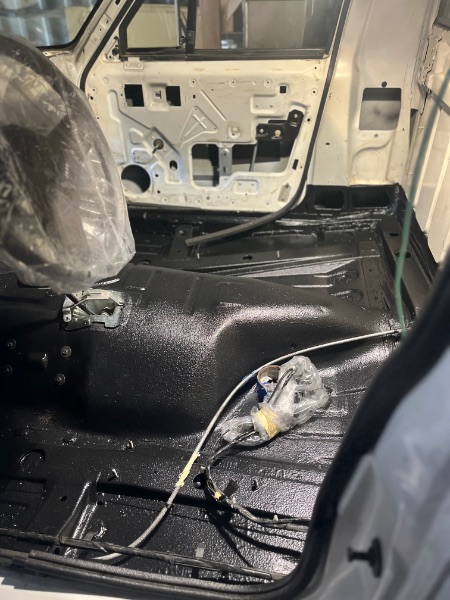
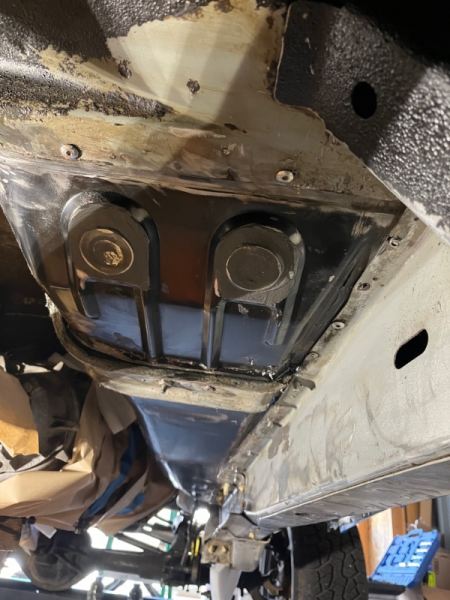
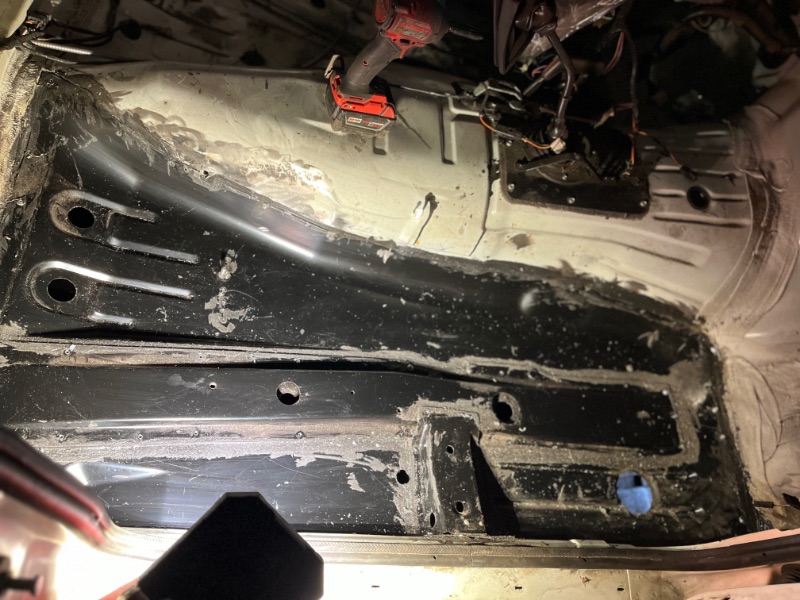
it is a Comanche so obviously it had severe rust in the passenger side floor pan, rather than patching up holes i decided to replace the whole floor pan section. It was hard work, patience, air chisel and grinder are the best tools for this task. I attached the new pan and cross members with 3M panel adhesive and heavy duty rivets, coated the whole floor with POR15 and raptorliner…eventually will line it with “Kilmat”.


-
yet another tonneau cover thread
Elwiscon replied to Elwiscon's topic in MJ Tech: Modification and Repairs
Just started it with a few pictures, I’ll add more as i go. -
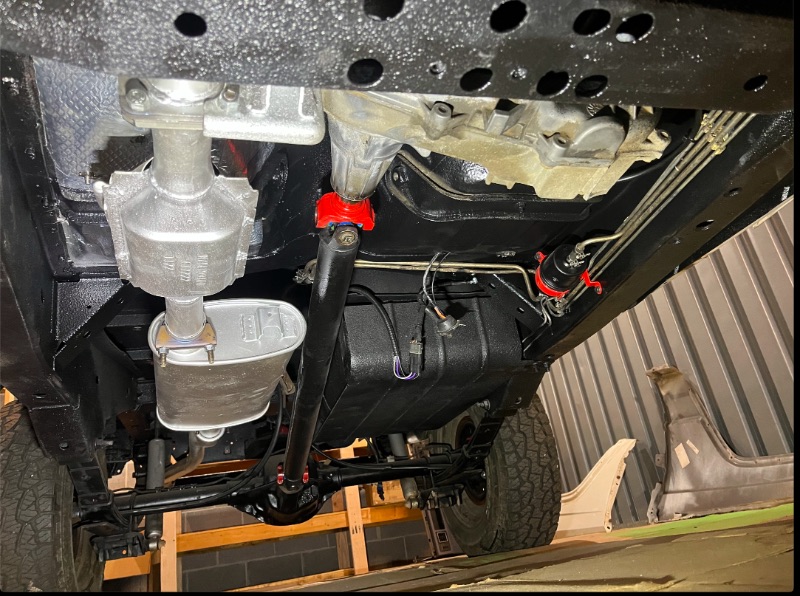
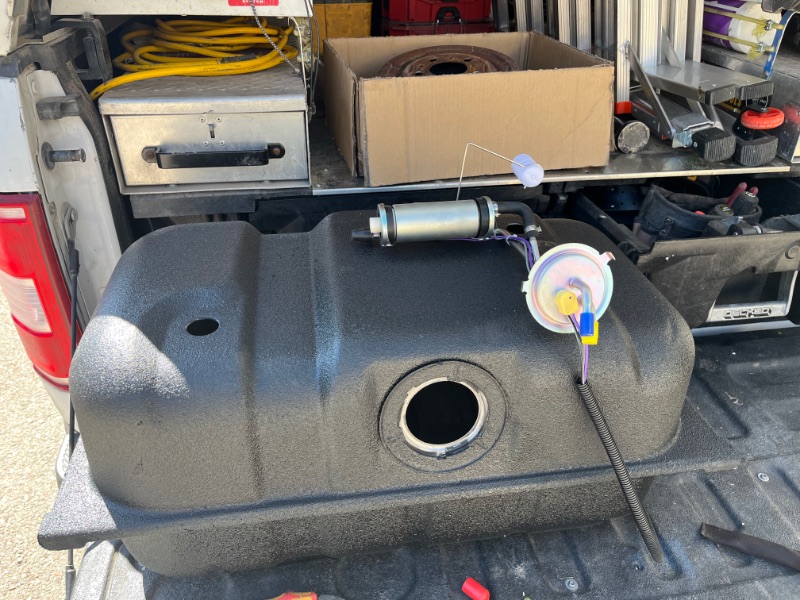
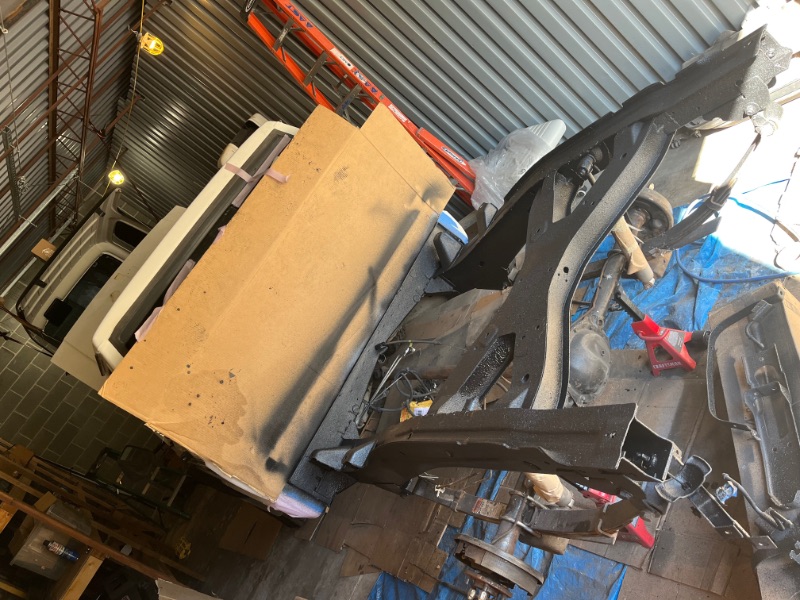
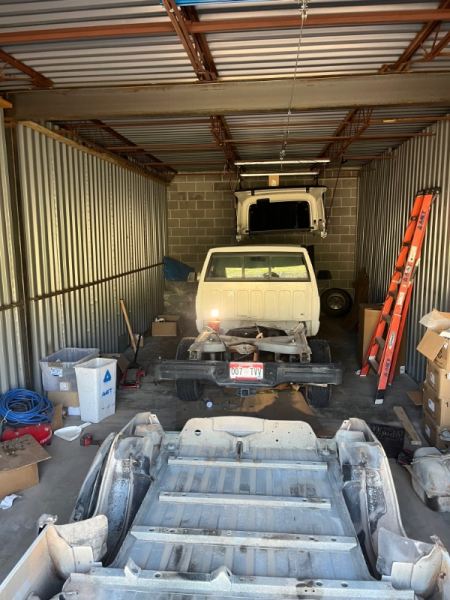
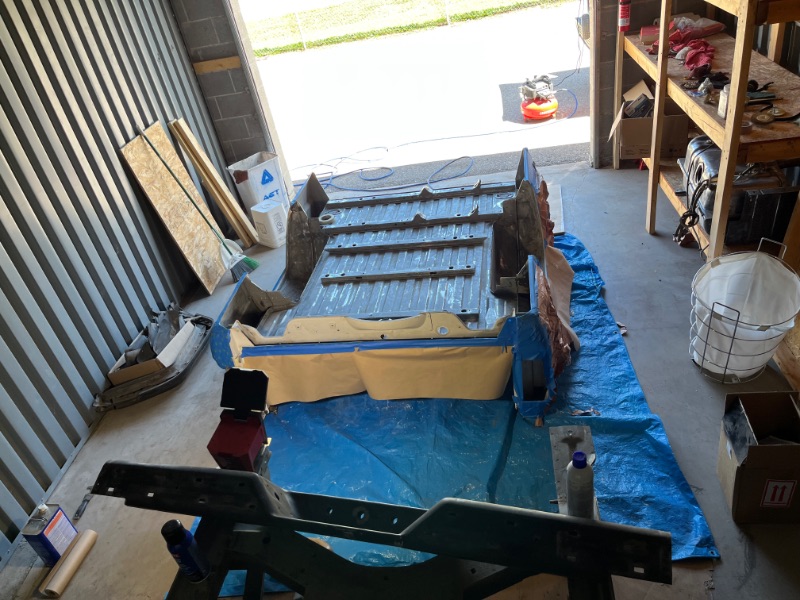
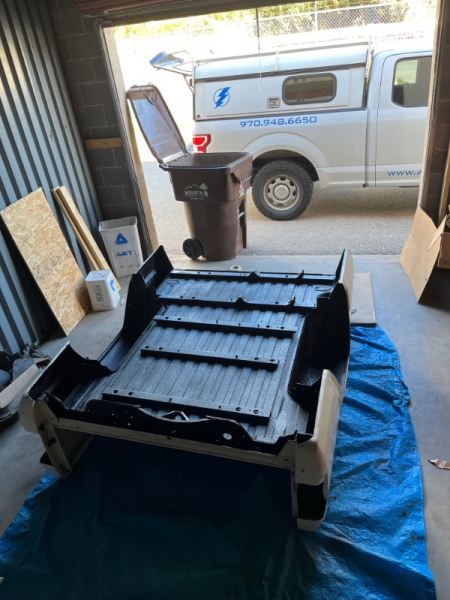
First, i removed the bed, cleaned up the surface rust (very little) and raptorlined it, including gas tank. Also replaced the fuel pump since i dropped the tank anyway. Also soaked the seized spare tire winch in PB blaster to free it up. To my surprise the oil soak restored it, cleaned it, painted it and good as new (sorry no picture was taken)

-
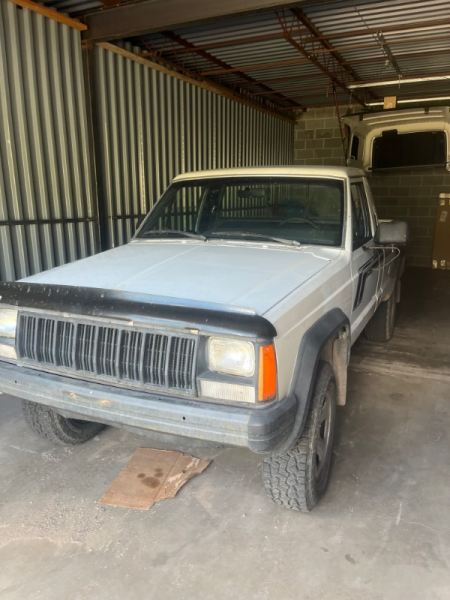
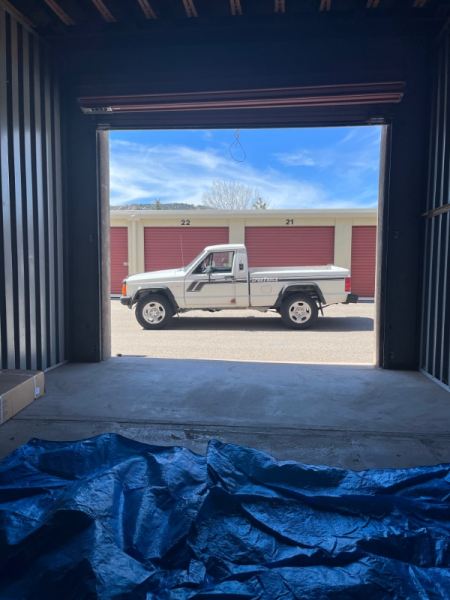
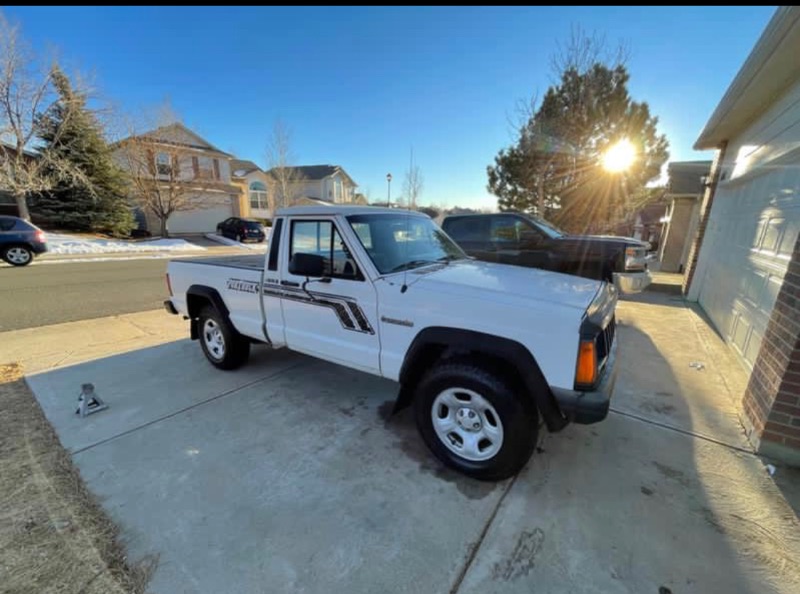
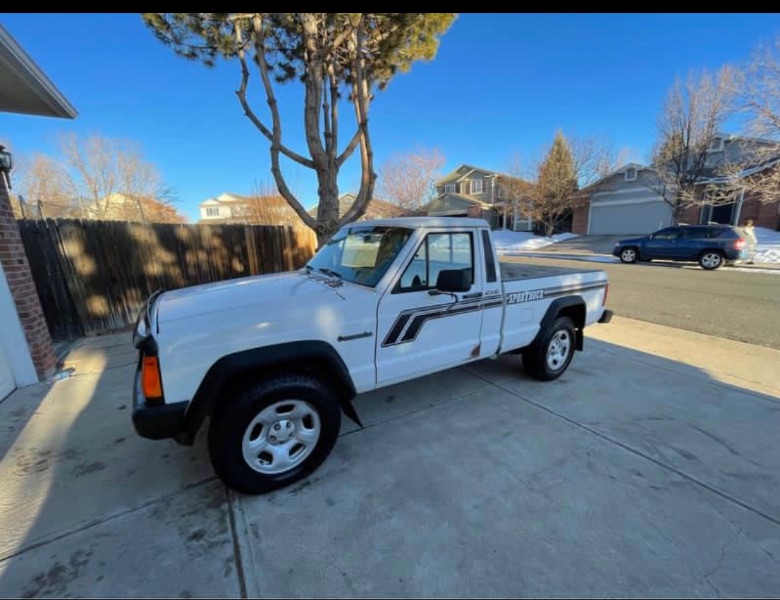
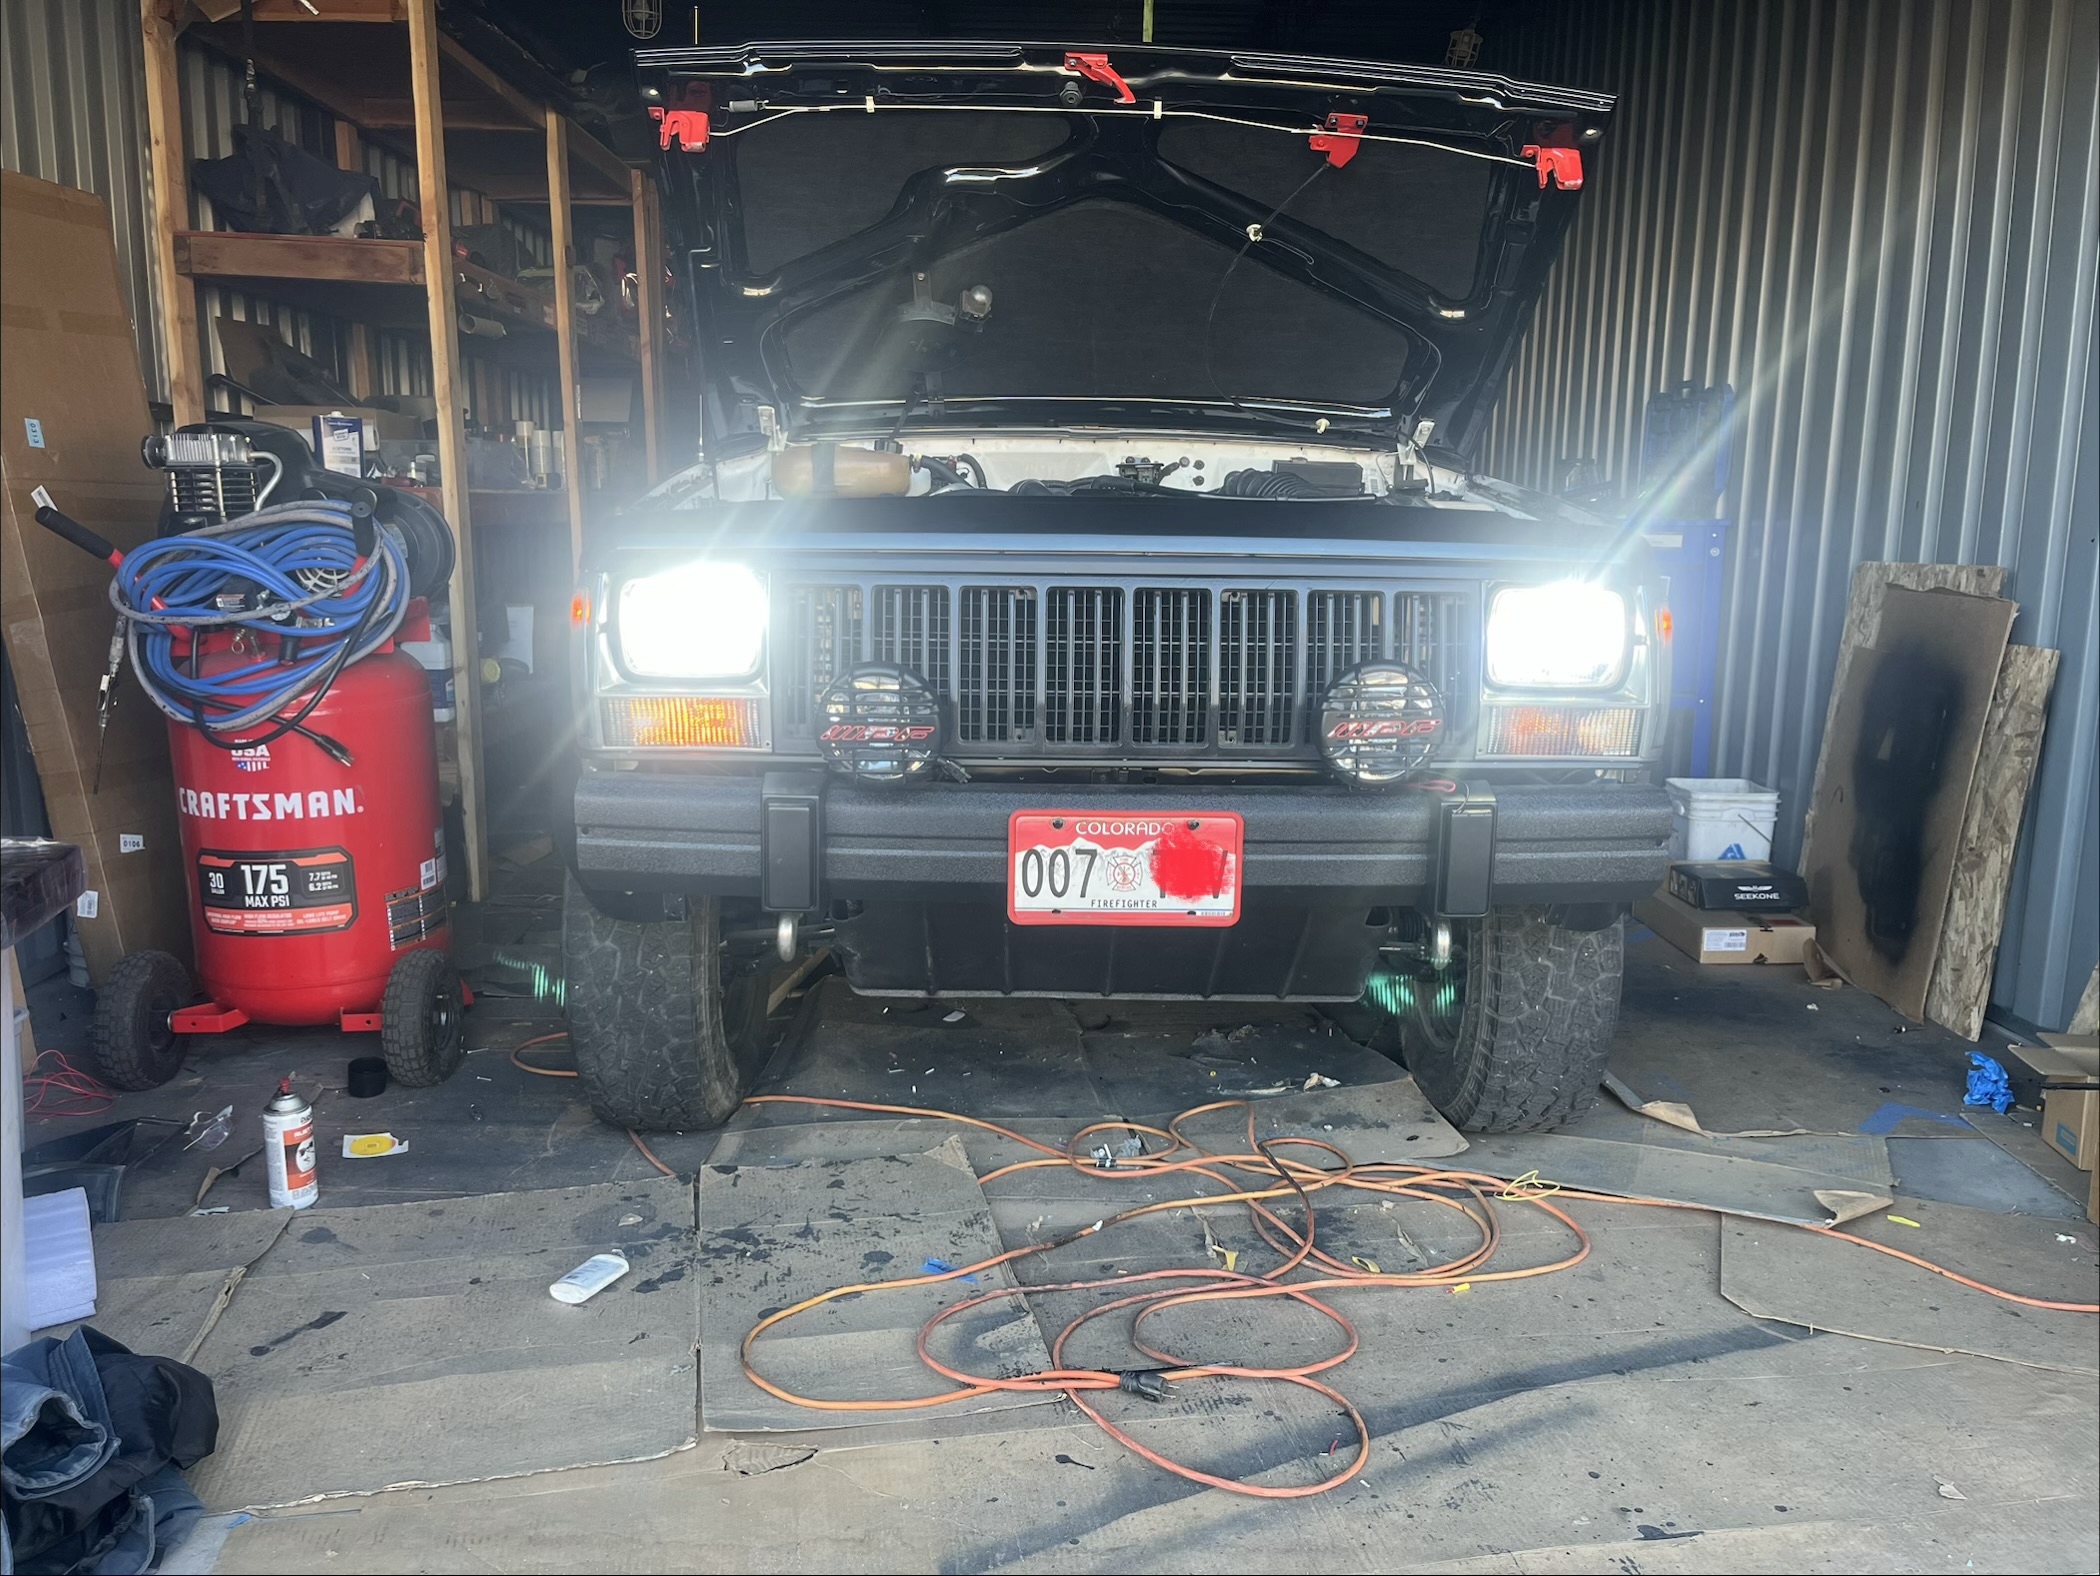
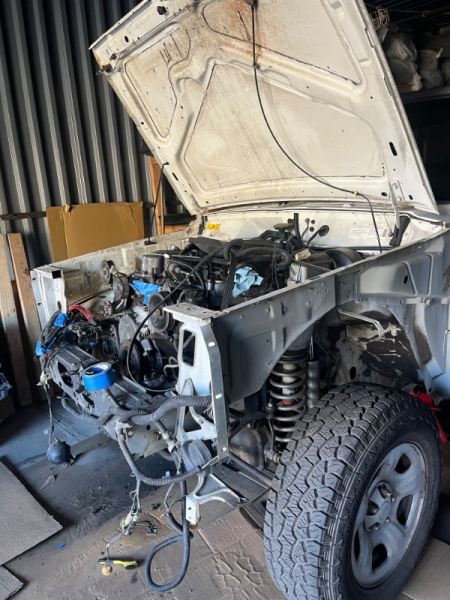
Got inspired by the great projects in this forum so wanted to share my project. 1989 4.0 4x4 manual, sportruck. Originally bought to “fix up” and drive, this MJ project has turned into a complete restomod, you know, one thing leads to another and before you know it the truck is ripped apart. Here’s the as purchased pictures 3 years ago, totally stock with some neglected maintenance issues, very little rust, or so i thought until i removed the vinyl floor cover.