

Elwiscon
-
Posts
174 -
Joined
-
Last visited
Content Type
Profiles
Forums
Gallery
Everything posted by Elwiscon
-
I tested everything i can think of, Fusible links are ok, relay and connections are in good working order, there’s 12V power to the starter and starter solenoid when key is turned so I’m concluding the starter solenoid failed, I will replace the starter when i get chance. Hopefully thats it,
-
I'll get to the fuse links, one of the things I left untouched when I replaced the rest of the mai wires (alternator, battery, etc)
-
I know this is an old thread…Did the same thing on my MJ, did you find the issue? Thanks
-
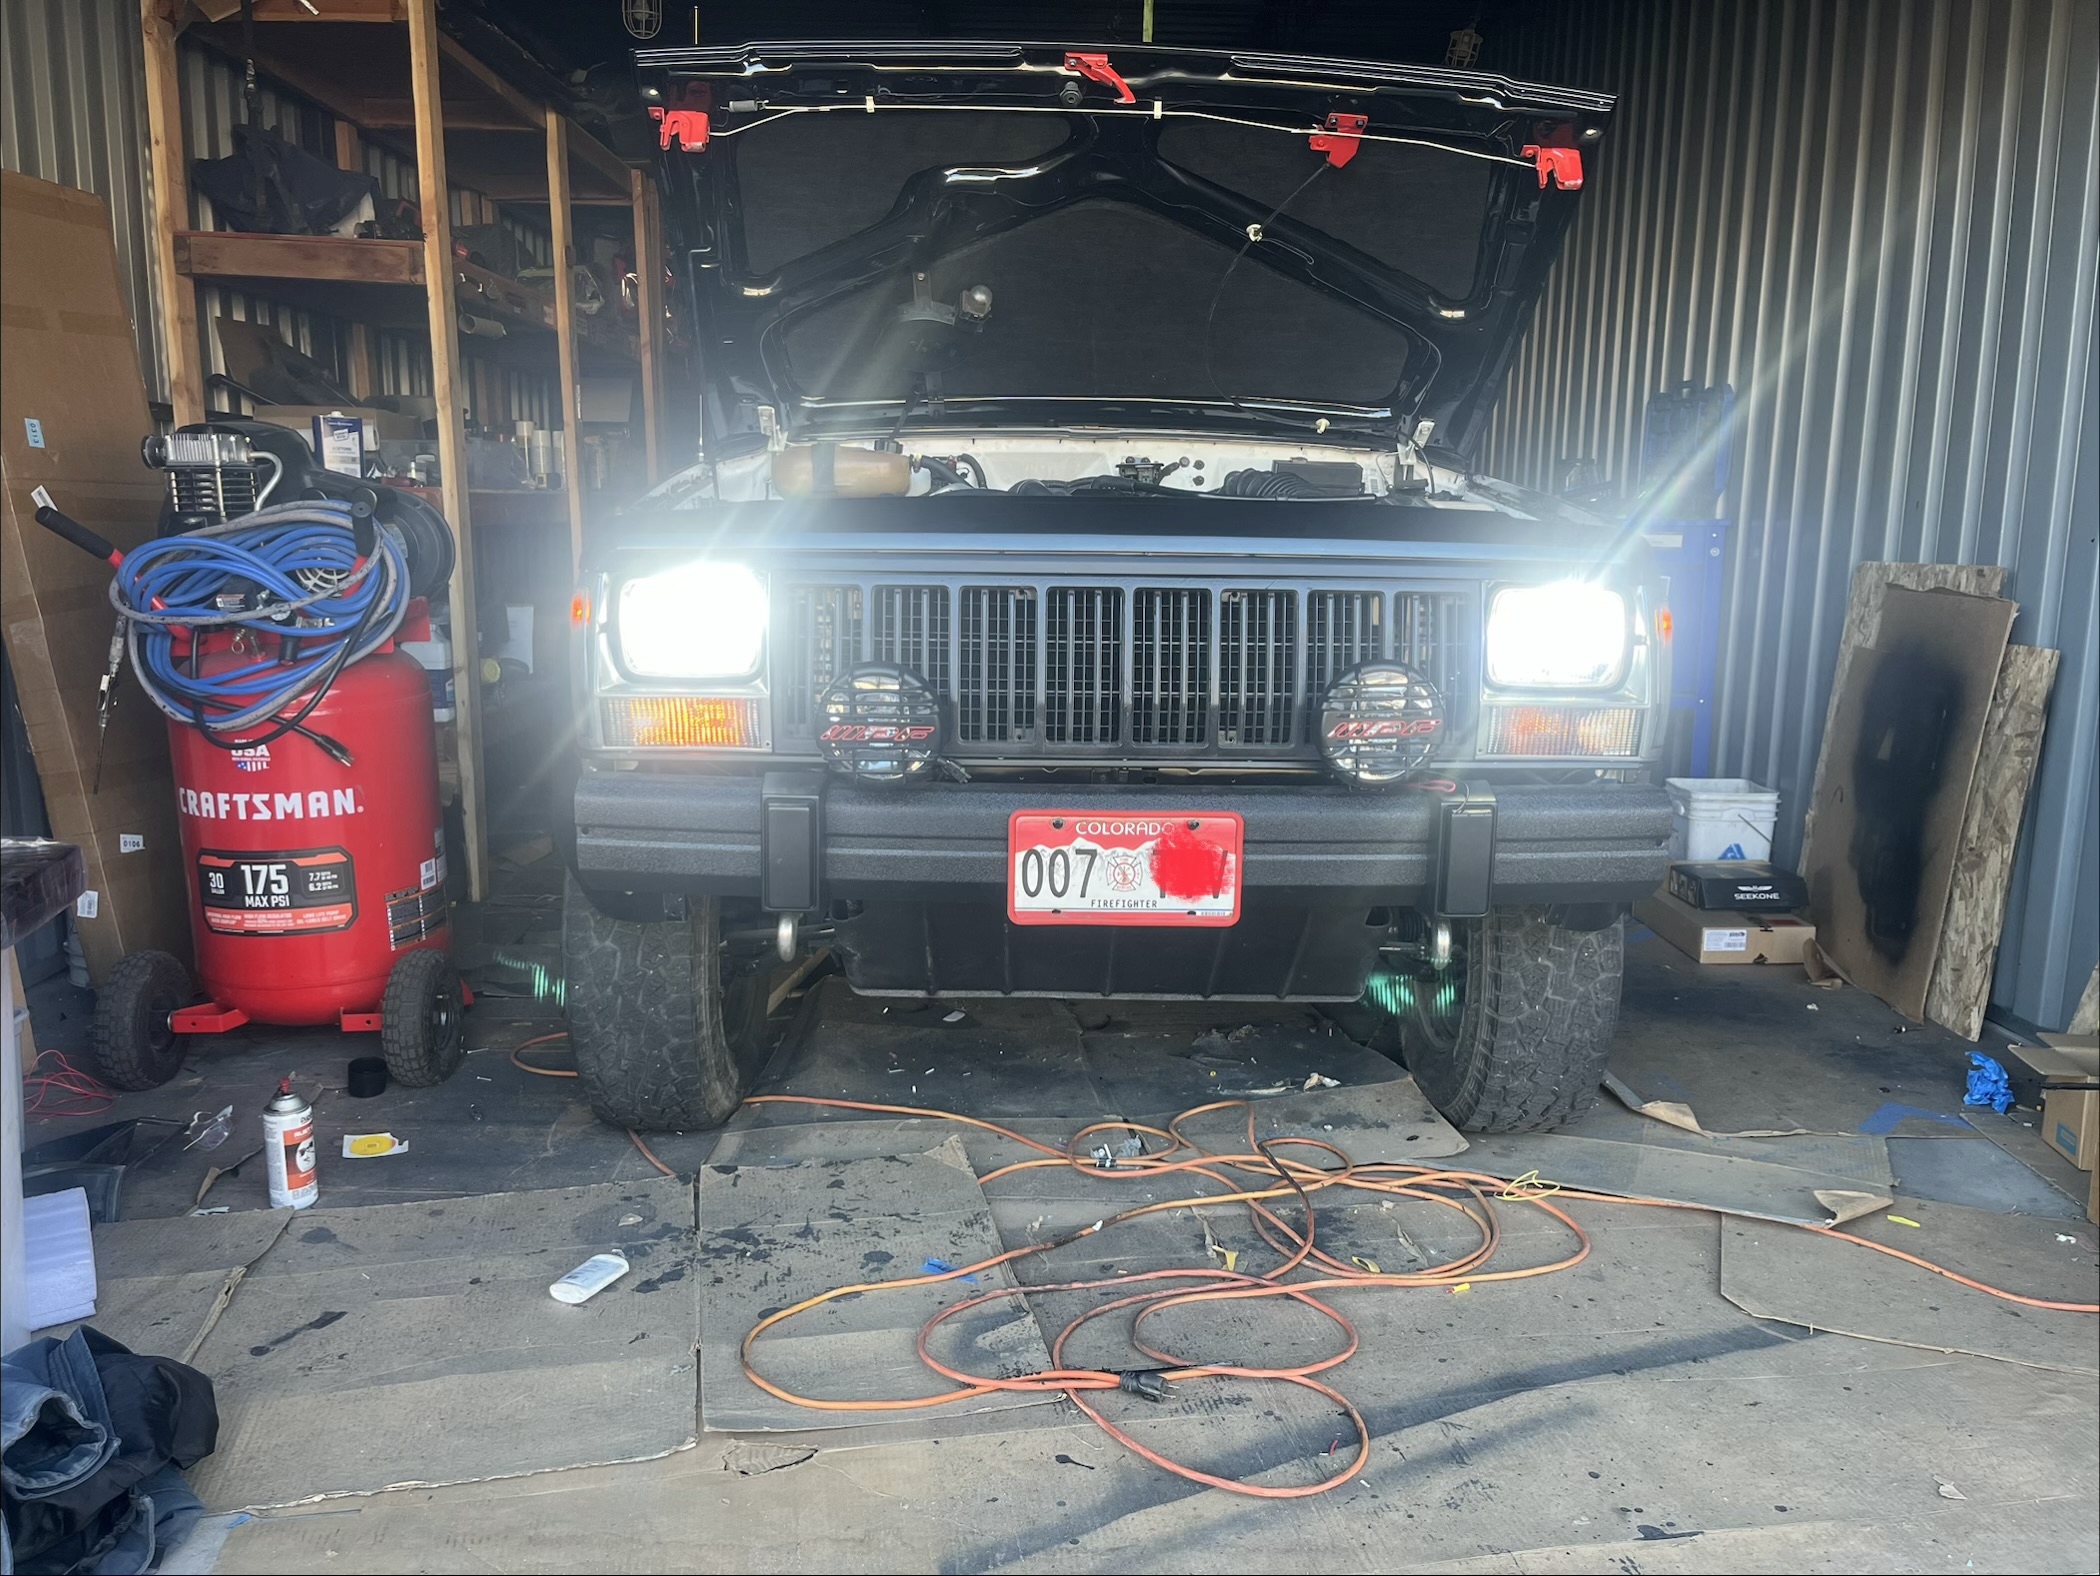
Help! Finally got the truck back from the paint shop, I was able to start it, drive it on and off the trailer back into my shop. A couple days ago the 6 year old battery started having issues (low charge), which is expected. Yesterday I attempted to jump start it, and, (yes i screwed up) I connected the jumping cables backwards, noticed it when I heard and saw the sparking, connected it again, this time with the correct polarity. Then i tried starting it, no crank, no big deal I thought, need a new battery. I replaced it this morning, same issue, no crank when i attempted starting it. I checked the fuses under the dash, didn’t find any blown fuses, I will do other tests when I get a chance. What could it be? A)——-Damaged ECU? B)——damaged starter relay*? C)——fusible links? D)——starter*? E)——-Ignition coil*? F)——-all of the above? *parts less than a 1 year old Truck was running better than ever, smooth start, idling, throttle response, etc. Did the Jeep Cables replacement under the hood, refreshed grounds etc and it has worked great until I screwed up (damn!!) Truck isn’t drivable as I have the interior taken apart but everything else works as expected. Hopefully someone can point me in the right direction? Don’t want to waste a lot of time troubleshooting this but need to get it fixed before I re assemble the body and interior. Thanks! 1989 4.0 manual comanche Thanks
-
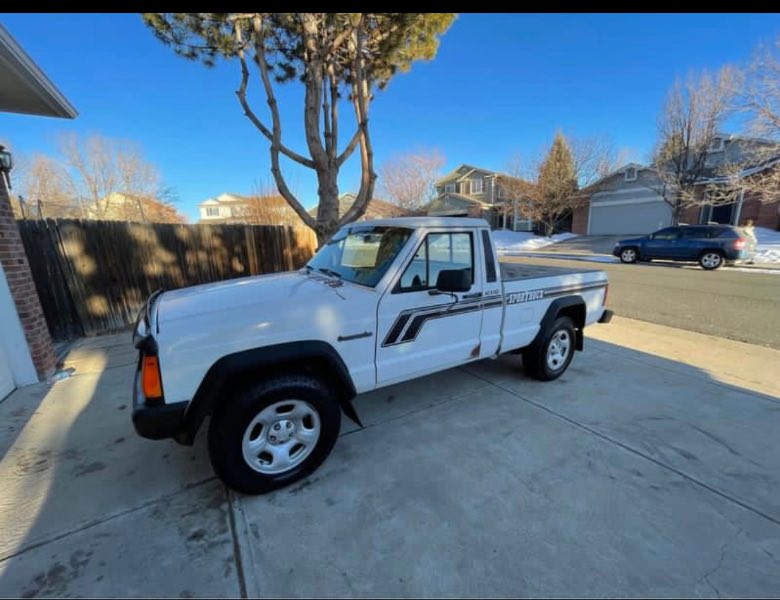
Hello, currently restoring my 89, VIN 1J7FJ26L9KL589004, purchased from a car flipper who supposedly bought it from an older gentleman. Truck was stock (except wheels), in rough shape with some mechanical issues due to maintenance neglect. Bought it in Denver, currently in Glenwood Springs Colorado

-
I didnt realize that was a problem area until I removed the glass and adhesive, the rust wasn't too deep but definitely rusted, I'm sure the windshield had been replaced at some point but the rust was never addressed, as we know these trucks were just unappreciated, simple, beater trucks until recently, they're making a comeback and now they're classics.
-
Didn’t know that, thanks for the tip, there was significant rust around the windshield, especially the lower corners. The rear window also had a bit of rust. I sanded it, cleaned it and brushed POR15 to remediate it. I’ll let the painter know, maybe have him prime the POR-15 or sand the mating surface after painting before glass goes in. Still better adhesion surface than rust. Thanks!
-
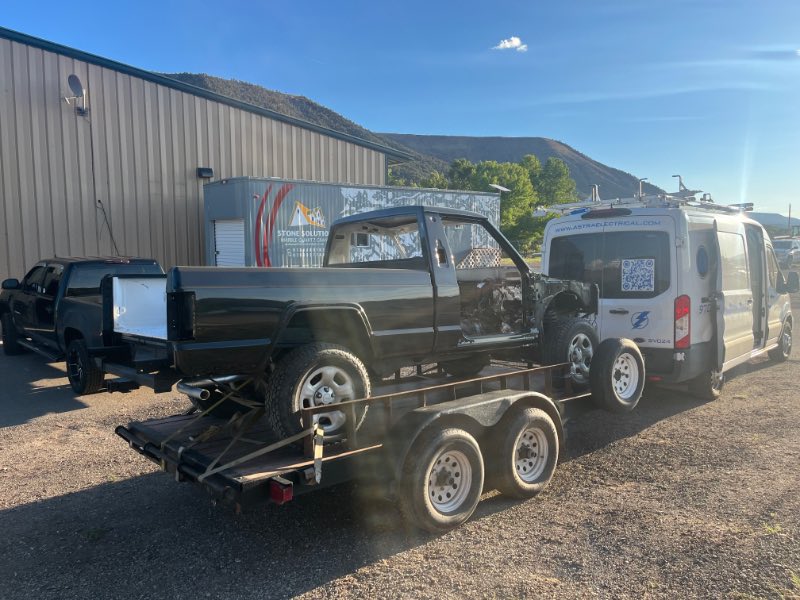
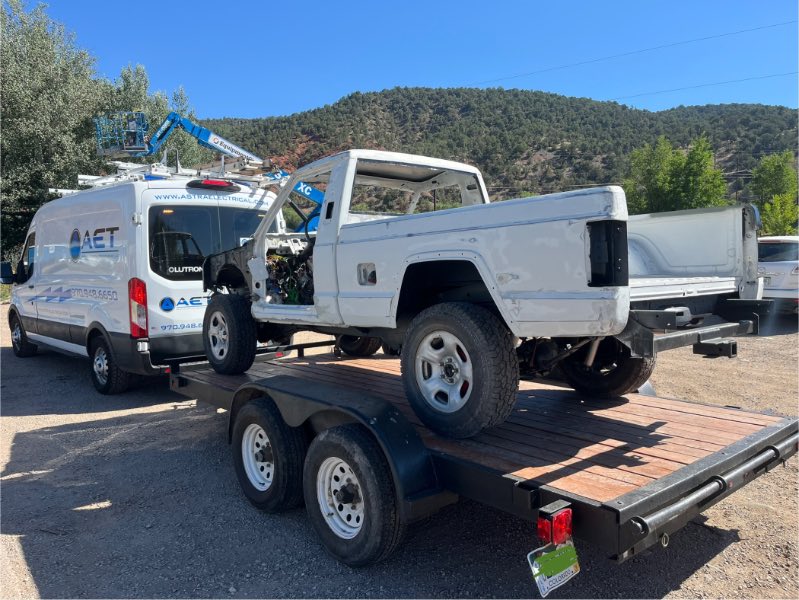
En route 20 miles away to the paint shop! rest of body parts (hood, doors, fenders, tailgate, etc) loaded up in the van. This is too nice of a truck for me to practice painting on so better leave it to the pro's, a little pricey but it'll be well worth it, luckilyI saved some labor money by removing glass, body panels etc, I will also re-assemble it once I get it back . After considering original white and several dark grays/charcoals/ blacks etc I settled for GM's "Dark Spiral Grey", I've always liked that color. I will be raptor lining the bumpers (with proper prep), grille and headlight bezels, originals are dried up and brittle so better get some proper replacements. We'll see how it turns out!, I'll be painting the interior in landau black, original dash broke as I was removing it so ended up getting a nice OEM black dash off of a 95 XJ, a gray center console off a junkyard 92 XJ, and I'll get some Corbeau bucket seats. (Truck was properly tied down after pic was taken)
-
That’s settled! I found a local painter, he will do all the body prep (filler, blocking, etc) and paint it, don’t want to ruin my classic truck with a DIY paintjob, rather spend a little more but have a nice professional paintjob, now the hard part, pick the color! I’m still deciding between patriot blue or a nice dark metallic gray.
-
For sure! I’ve sprayed raptorliner on my LJ’s bumpers, hardtop etc, removing parts makes it way easier and the results are way better
-
I’ll definitely do the flares, bumpers, etc in smooth durabak, or like you said Raptorliner, I’ve sprayed Raptor it on my LJ’s hardtop, tub, ARB bumper, rock guards etc. Great stuff, I was considering Durabak for its smooth finish, I’ll also Raptorline the lower quarters to minimize dings and rust
-
Thank you, i don’t really feel confident to do all that! I’ve sprayed raptorliner on my Jeep tub, undercarriage and the comanches undercarriage, and thats about it, I may just pay for a paintjob, all the parts are off of the vehicle so I don’t have to worry about paying extra to have a shop remove/paint/reassemble all the components. I will Durabak the bumpers, flares and grill. Durabak seems like a good easy choice but I’m worried about screwing up the finish.
-
Great advice! After all the work, blood sweat and tears I’ve put into it i don’t want to screw up the finish, i may do that, or I may just hire a shop to do it properly.
-
I don’t mind paying a little extra as long as the paintjob lasts a long time, so base/clear means there’s a base color (2 coats?) and a couple coats of clear? I think i’ll go with it, also, can I use self-etching primer on everything? I have a few bare spots from the sanding, i was thinking about using a few cans of self-etching primer, some wet sanding to smooth it out and do a couple coats of color. I was seriously considering durabak as it is more forgiving and though, I feel more confident spraying it
-
I’m sure I’ll need good lighting and good eyes, the truck is white, i’ve already sanded the body.
-
Thanks, I’ve been debating with using real paint, but this is my first real paint job other than bedliner (beds, undercarriages, jeep tub)
-
After months of mechanical work and after some bondo ding repairs and sanding I’m finally close to painting the body, hood, fenders, doors etc are off and almost ready to paint. I’ve been debating between Rustoleoum and Durabak, obviously both have drawbacks, and advantage. I settled for white instead of a darker color, as it looks good, no mixing/tinting, it is clean and it is the factory color. I got a couple swatches of outdoor-rated smooth Durabak, i think it looks great, it can be thinned and sprayed, and they even have a clearcoat. I’ve seen some videos of people painting with rustoleum and it looks awesome, theres a video of a guy using black rustoleum and he even cuts and polishes between coats, with a clearcoat finish, the end result is amazing, deep glass-like and professional. However, i’ve read Rustoleum or other tractor paints loose their shine after a couple years and may even become chalky. My truck will be used as a truck (light hauling, very light off roading), so I hope i can get a long-lasting paint job, white should last longer than a darker color and looks good. Has anyone used smooth durabak? Regardless of product preparation is key so i will make sure i do it right, any input is appreciated, thanks
-
I think it’ll be the amazon pump sending unit, the wiring looks good, checked for shorts or open wiring. I’ll replace it with a higher-quality MTS pump, hopefully that will be the solution.
-
Does the sending unit and pump use the same ground pin on the harness? I added an extra ground connection from the body near the pump (per cruiser54) for more reliability,
-
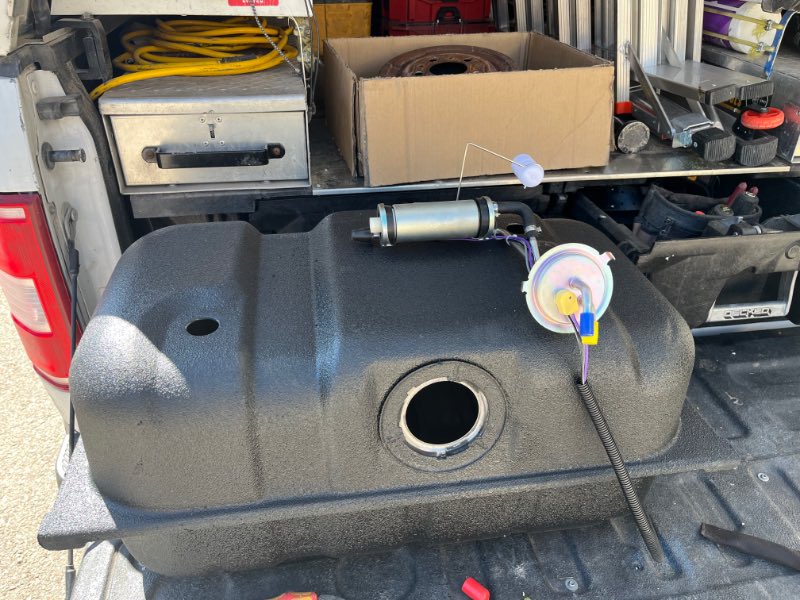
When I cleaned and raptor-lined the tank exterior, I installed an amazon “A-Prime” fuel pump/sending unit a couple years ago, but didn’t get to check the gauge until recently, as the interior is in pieces pending paint job and other repairs, so their 30-day warranty is long gone. According to some recent Amazon reviews some buyers are experiencing the same erratic gauge issue. The pump seems to be working fine except for the fuel gauge. I ended up with the Amazon pump because MTS didn’t have them in stock, I think I’ll get one from them, they’re supposed to be great quality.
-
Gauges fuse works, temperature, voltage and tach work perfectly. I will look at the coolant temp while cranking it. I have voltage and continuity on C203-18, tan wire, I will check C203-6
-
I will look into that, I think it is the pump sending unit
-
Correct, I have a 1989 4.0 Renix I wanted to get the MTS unit but they were out of stock, so I ended up getting an “A-Premium” Amazon unit, it fit perfectly, it pumps. I just read some new comments on amazon and apparently others are having issues with it, I guess i’ll have to get the MTS unit if they have it, unless they’re out of stock. This is what I got: A-Premium Fuel Tank Sending Unit Compatible with Jeep Comanche 1987 1988 1989 1990 4.0L, GAS https://a.co/d/1XO7p19
-
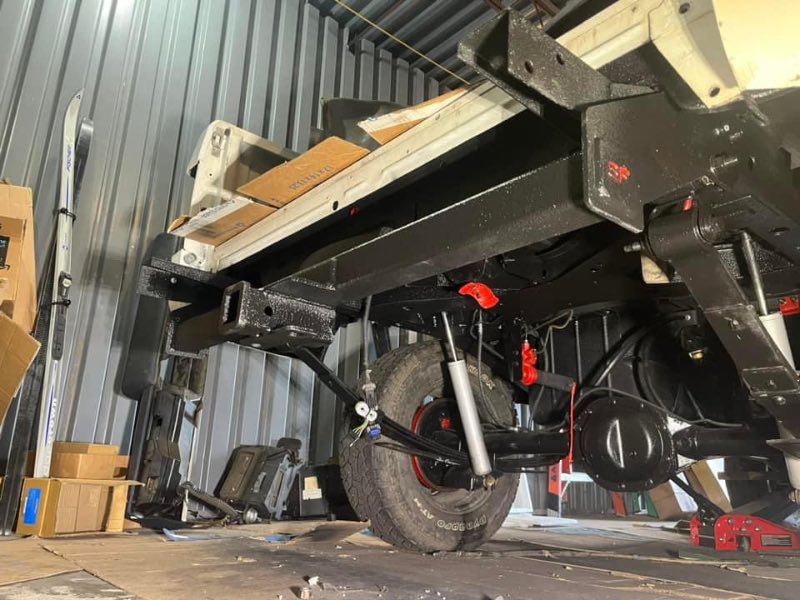
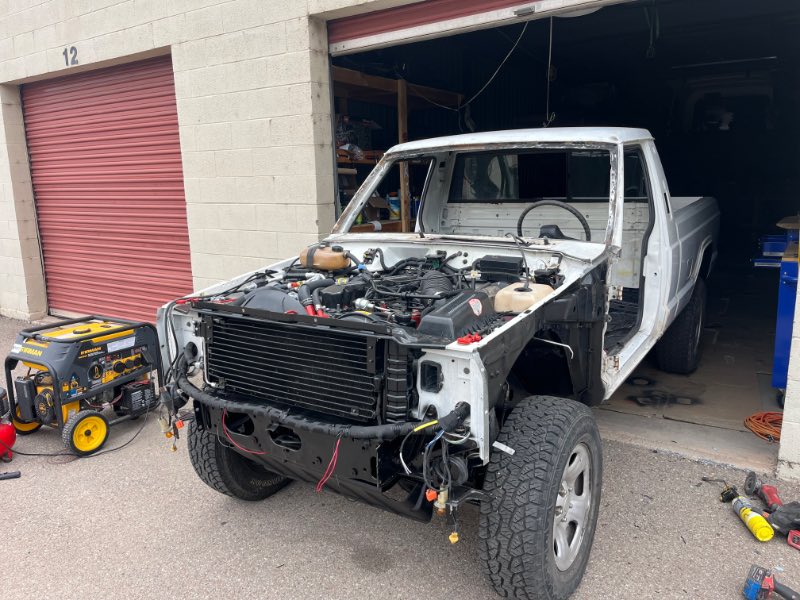
Hello, so I have a 1989 MJ, stock. I dropped the tank, cleaned it and raptorlined the tank exterior then replaced the fuel pump last year, i gutted the interior among other things to fix a rusty floor pan, replace the HVAC box, add AC etc. The tank sat dry for about 1 year. A couple months ago I put some gas on it to run the engine to make sure it and everything else worked fine after some extensive engine work and to keep things moving. A couple days ago I connected the gauge cluster (6-gauge with tach), the fuel gauge went up to full and stayed there, the tank has about 1/2 or less. I checked the wiring, added a ground jumper near the fuel tank (per cruiser54), replaced the battery cables and ground jumpers (with a kit from jeepcables.com). -Long story short, my fuel gauge stays past full, i tried another gauge cluster (same year, style etc) and did exactly the same thing so it isn’t a faulty gauge. I know the tank isn’t full, there’s less than 1/2, I traced the tan wire and it has continuity, there is no open/shorted out connections on it. At this point I think it could be a faulty fuel sender, I doubt the float switch got stuck in the full position but who knows. -Second issue is the oil gauge, i replaced the original oil pressure sender and the oil pump, I used a high-volume Melling oil pump (recommend in some XJ/MJ Forums) when the engine is running the pressure goes close to 80, I’m assuming the high volume pump increases the pressure, should I be concerned? Picture shows both gauges, with the key in the off position. What do you guys think it could be? I want to make sure everything is in good working condition before taking my Comanche to the body shop for a paintjob and before I re-assemble the interior. Thanks!

-
Got it, I’ll have to do some testing before making the connections and assembling the system, so the blue/white (ground) only sends a ground when the green and tan wires at the ecu get power? LIke i mentioned I’ll be using a new fused circuit and relays to start the AC clutch, just want to make sure i do the control part correctly, especially with the ECU being part of it. Thank you