

Moosieus
-
Posts
34 -
Joined
-
Last visited
Moosieus's Achievements

Can Spell Comanche (2/11)
-

Daisy, my '91 Comanche Eliminator
Moosieus replied to Moosieus's topic in Member Projects: Your Comanches
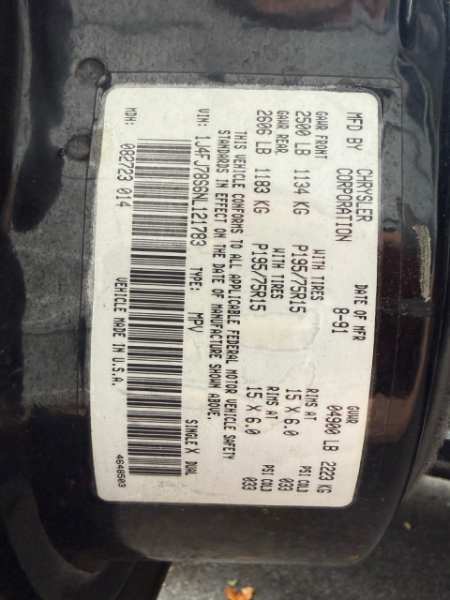
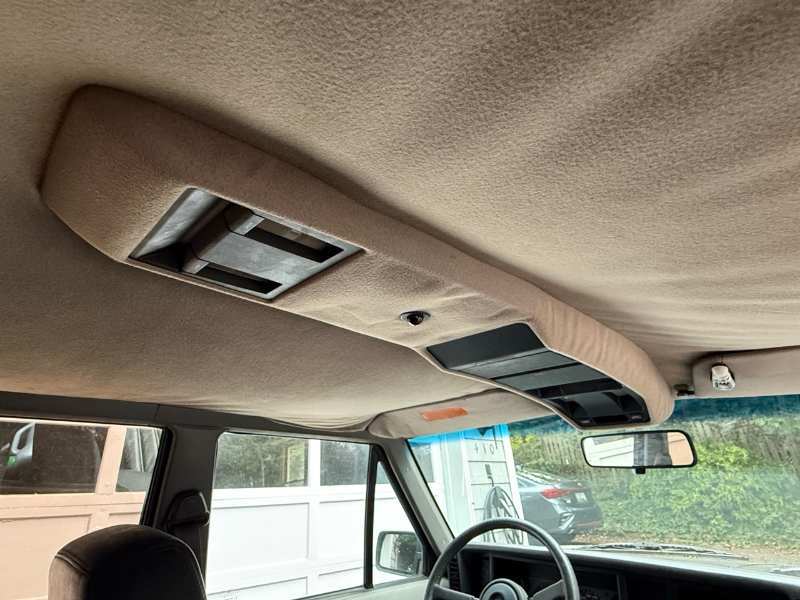
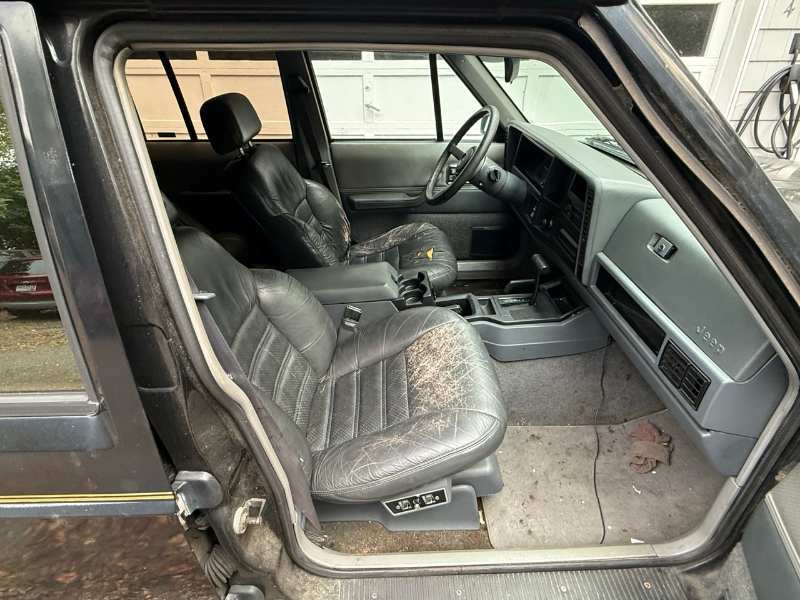
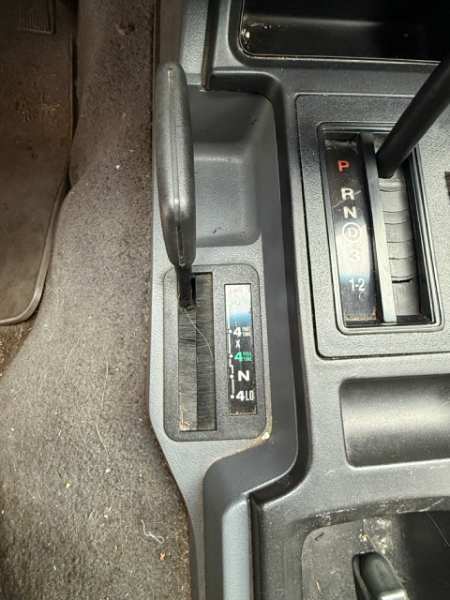
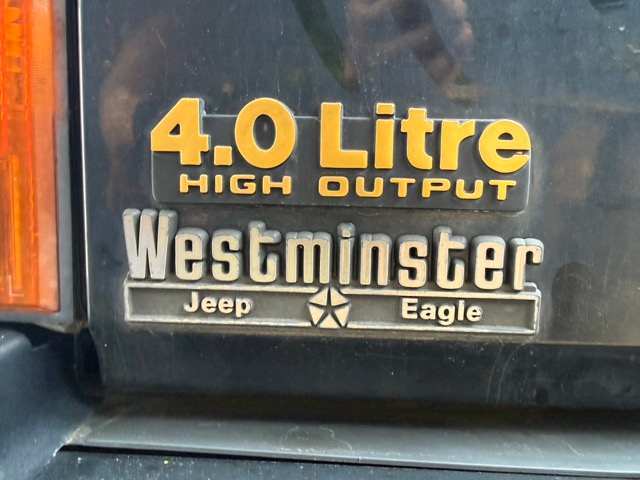
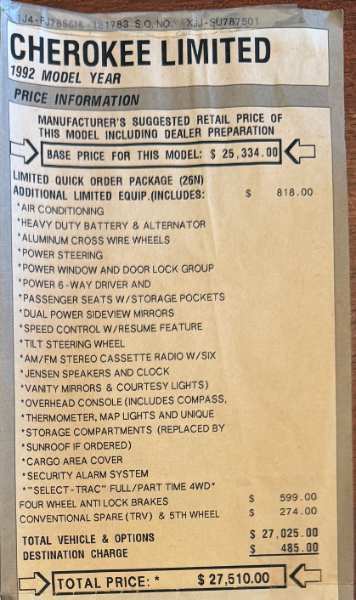
And Now, for something completely different. My desire for Daisy has always been something approaching an OEM+ build, although I wouldn't have known to call it that when I first started. As of yesterday, I've taken a massive step towards that. The fuel pump buzzes like there's 10,000 angry bees in the trunk. The leaf springs are flat. She death wobbles at highway speeds on innocuous bumps. There's questionable speaker wires run about. A swift kick would make her floors no more. 10 minutes from home, the front brakes turned a spectacular smoke show. Dear ComancheClub members, I give you, a fully loaded, clapped out, 1992 Jeep Cherokee XJ Limited. Black leather seats! I plan to have them professionally restored, great expense withstanding: Overhead console! Not sure what that black dot is in the middle. Select-Trac! Here's the full options list: and the door sticker: Still has a Jeep Eagle badge too. My plan is to part it out and make the ultimate factory-optioned Comanche. I had some reservations about parting out a such a highly optioned Cherokee, but after a thorough inspection and an... eventful drive home, this is without a doubt the best possible out come.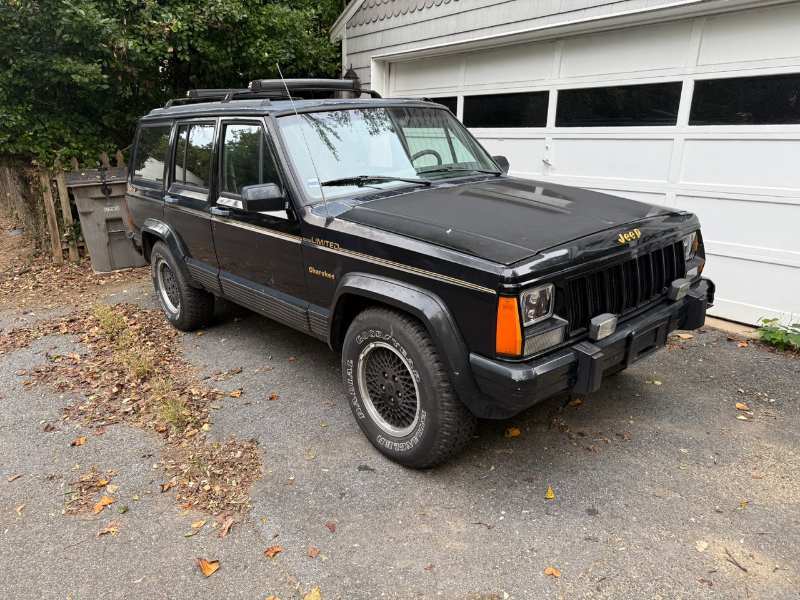
-
Daisy, my '91 Comanche Eliminator
Moosieus replied to Moosieus's topic in Member Projects: Your Comanches
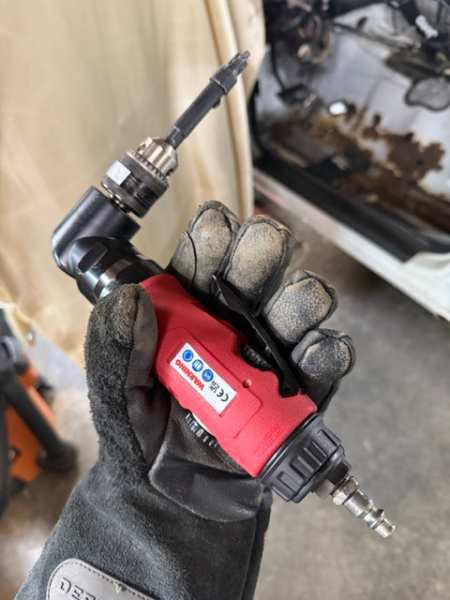
Progress update! My truck was optioned with the interior firewall liner which was getting in the way, and I finally came to terms with pull the dash so I could work properly. Safe to say I'll be taking care of any "while I'm here" items while I'm here. Pulling the dash and HVAC module was a surprisingly modular affair, and not too tricky given time to spare. Huge shout-out to this guide on Cherokee Forum and Pete and Mintuit's callouts here! I bought an right angle air drill to get at the difficult to reach spot welds, specifically an Aircat 4337. I also got a cheap harbor freight non-contact tachometer to set the speed closer to what Blair recommends for their spot weld cutters (not to exceed 500 RPM). I'd been using electric drills and "that seems about right" prior, but even that had been too fast in retrospect. I wish I'd done this from the start, because I'm getting through these spot welds at a far more consistent rate now.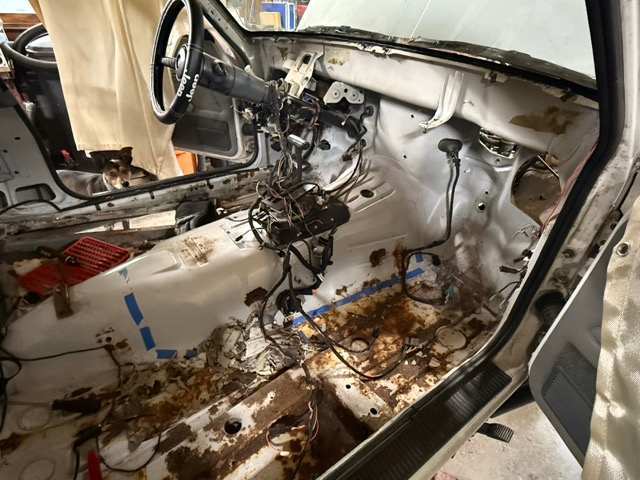
-
Daisy, my '91 Comanche Eliminator
Moosieus replied to Moosieus's topic in Member Projects: Your Comanches
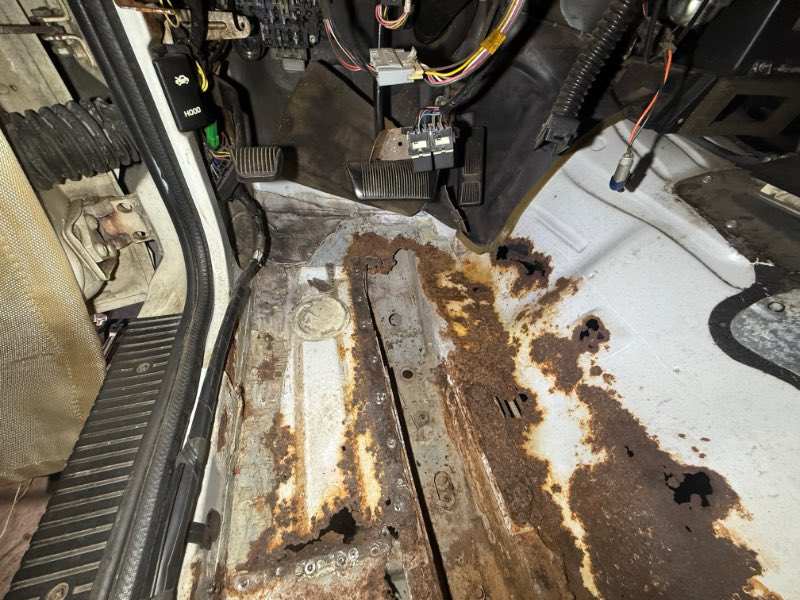
Removing seam sealer has been a struggle bus. Best method I’ve found thus far is a hot and sharp chisel, welding gloves, and a respirator for the fumes. Does a good job of lifting the seam sealer w/o damaging the e-coat underneath.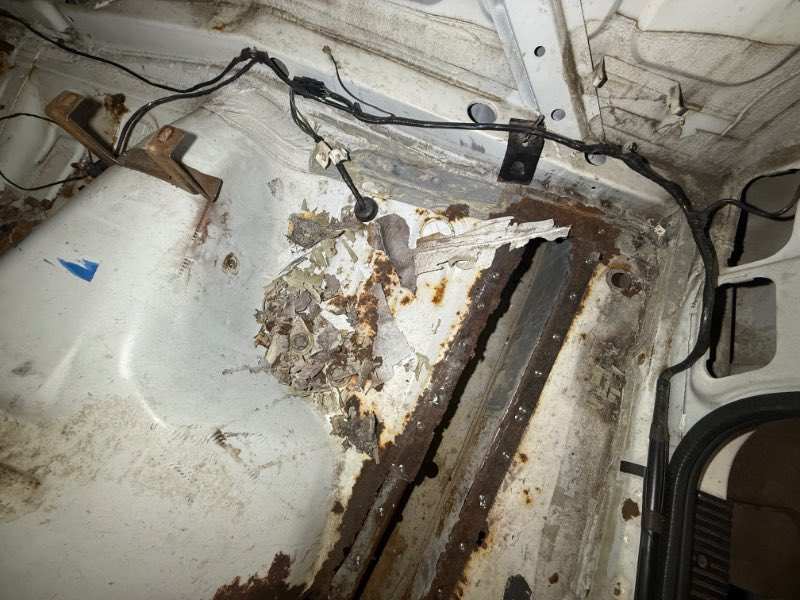
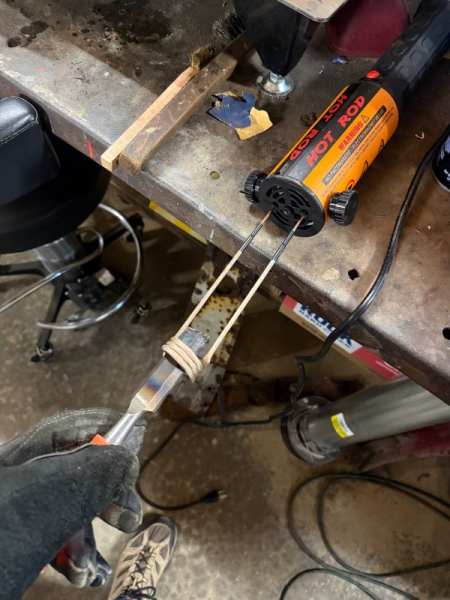
-
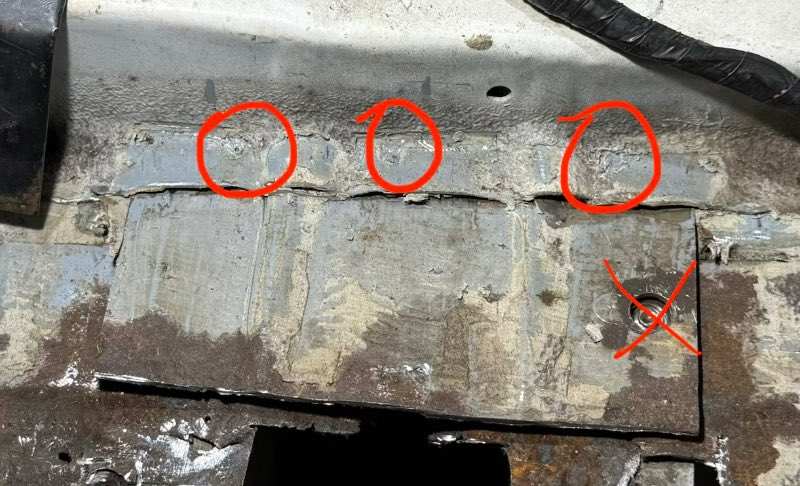
Finally got it out, holy moly. Here’s the removed piece for reference. The 3 spot welds you indicated didn’t go all the way through — seemingly. I had an additional 4th spot weld which I unwittingly removed through sheer force of chisel. That one was support-to-floor.
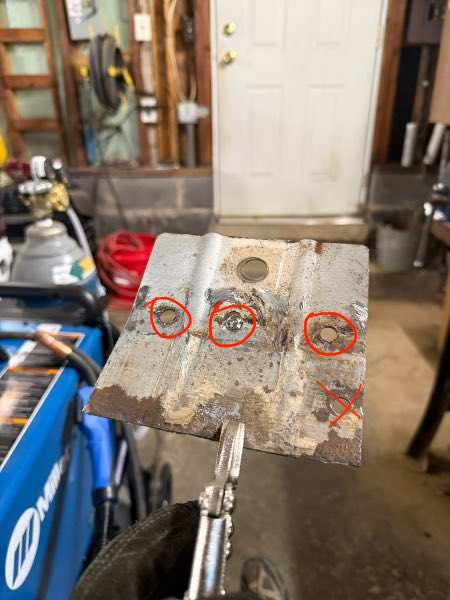
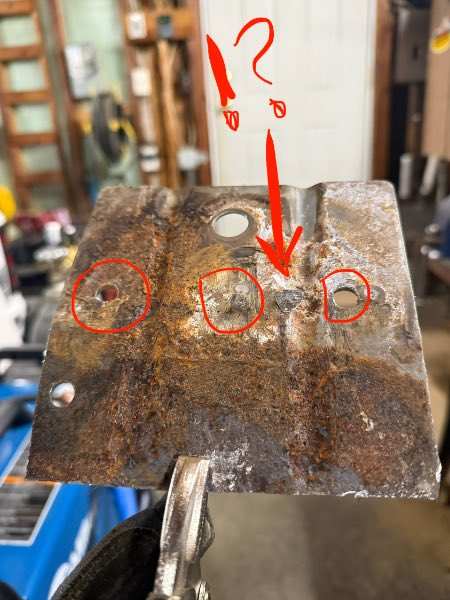
-
Daisy, my '91 Comanche Eliminator
Moosieus replied to Moosieus's topic in Member Projects: Your Comanches
Making incremental progress, damn this is a lot of work… I’ve removed most of the driver side longitudinal floor support, providing a look at the interior of the frame rail. It’s mostly clean primer with some surface rust. That’ll clean up nicely with some abrasives, Ospho, and 2K epoxy primer. For all the damn work this takes, I’m buying a stroker motor someday.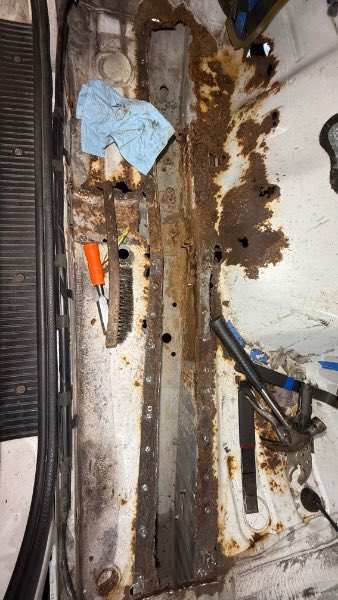
-
Found them on my truck, adding here as a data point. Ignore the crossed out cut on the right
-
Daisy, my '91 Comanche Eliminator
Moosieus replied to Moosieus's topic in Member Projects: Your Comanches
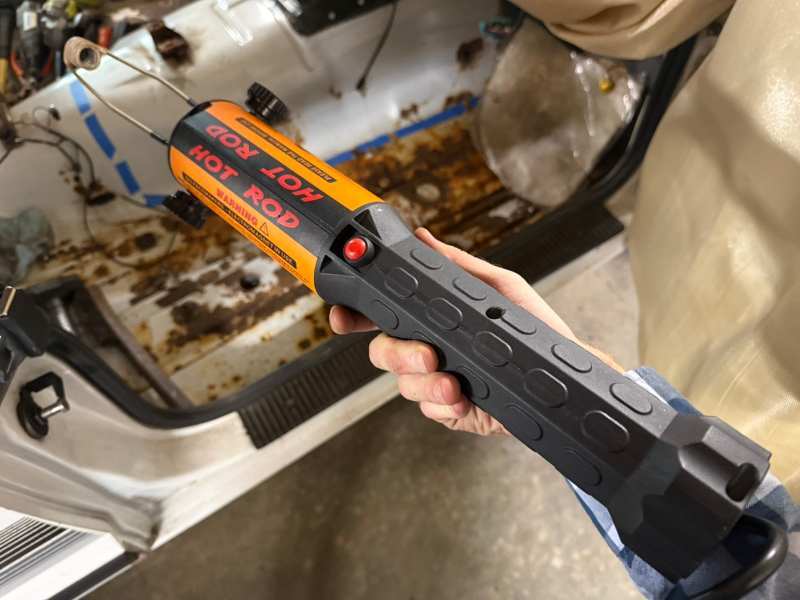
I'd say I've learned two key takeaways from all of this: The best (not necessarily the most convenient) extractor for a stripped bolt is a welder. This induction heater is well worth its cost for restoration and general use. I've been especially adverse to using an open torch to free these fasteners, for fear of damaging my interior wire harnesses and factory e-coat. The asphalt undercoating also sponges up petroleum products and is soaked with motor oil, so I regard that as a fire hazard as well. Compared to a torch, induction heating works on fasteners from the inside-out, gets heat into the threads faster, keeps it far more localized, and removes the combustion risks of an open flame. It's a genuinely useful piece of kit I cannot recommend enough. -
Daisy, my '91 Comanche Eliminator
Moosieus replied to Moosieus's topic in Member Projects: Your Comanches
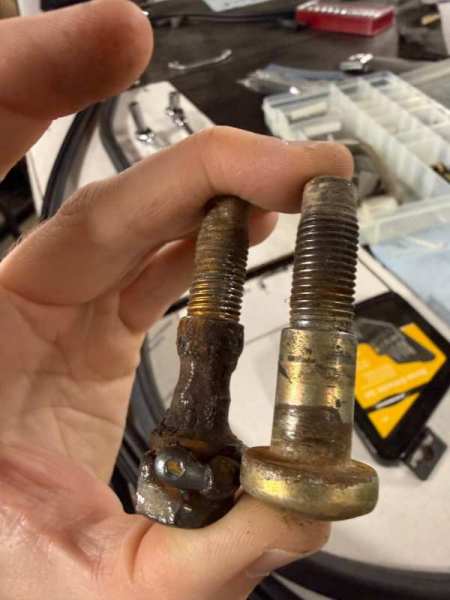
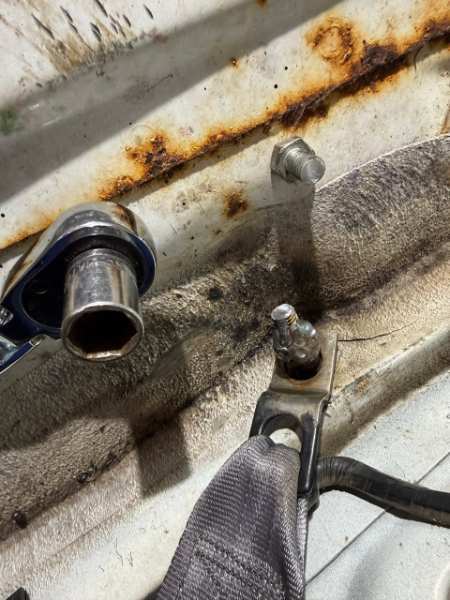
So far my greatest challenge has been removing corroded fasteners while not callously causing competent combustibles to confligrate into certain catastrophe. The worst of this (so far) has been my driver side seat belt (torx) bolt. The tight space and rust on the bolt head left me spare for options. I first managed to weld a tack up and weld a bolt into the rounded out torx head. The first attempt broke on the welds, but left me with more workable surface area. The second attempt resulted in this. I welded, it helded, but the parent bolt ended up shearing ;_; For the third attempt, I cut away the failed bolt, welded on a nut to the now more accreted surface area, and borrowed my pal's "Solary Induction Heater", pictured below. Third time's the charm, right? With the nut welded on, metered use of the induction heater, and a long-@$$ breaker bar, I managed to get THIS RAT B****** OUT! Here it is compared to the passenger side!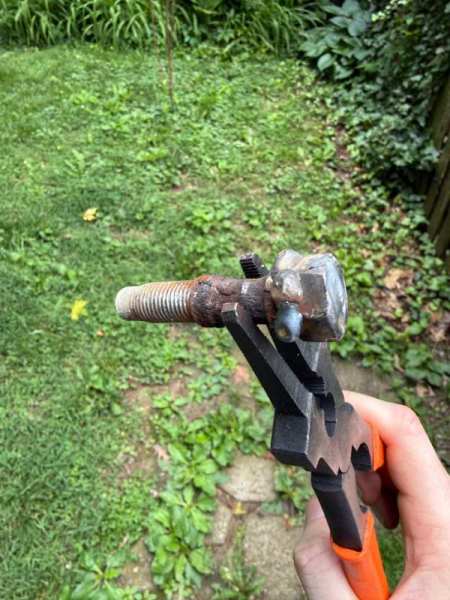
-
Daisy, my '91 Comanche Eliminator
Moosieus replied to Moosieus's topic in Member Projects: Your Comanches
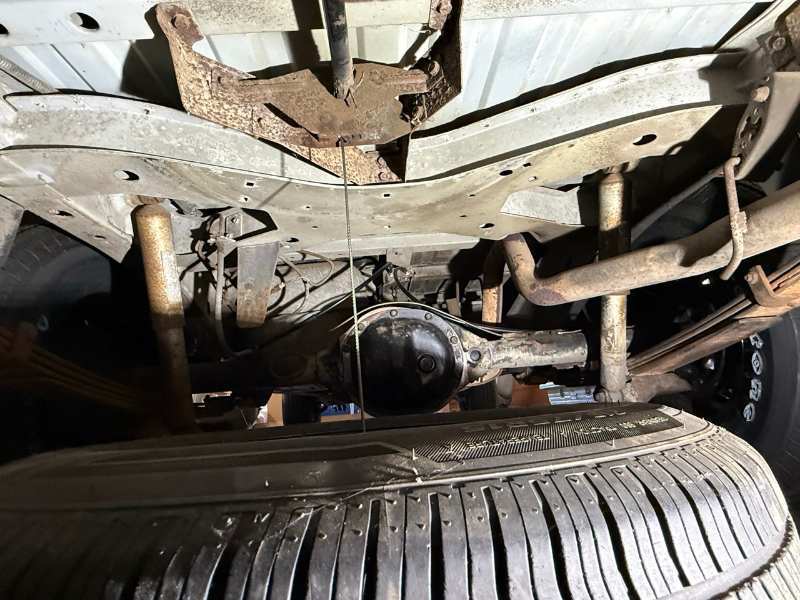
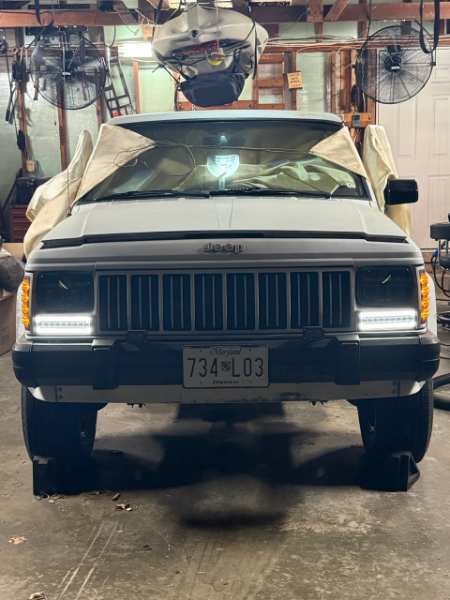
I haven't had any updates to share in a hot minute - been busy upgrading my skills and workspace to make my restoration go right. I've some perhaps interesting data points to share though! With the old carpet removed I've only come to reinforce my theory: the rot progressed from the inside out, likely due to wet carpet retaining moisture against the interior floor. I say that because the underside is stunningly clean. Daisy's underside body is remarkably free of rust and corrosion. Some undercoating was done in the past, which I suspect to be asphalt/bitumen based b/c it dissolves poorly in alcohol and well in mineral spirits. Here's the passenger side rear frame rail for reference. There's not much left of the coating in this area, but it seems to have done well. The underside of the bed while dirty, couldn't look much better for a ~35 year old truck. This makes me believe she was largely spared of winter driving, which would track with the 2x4 open diff config. Here's the passenger side floor, which is DRAMATICALLY in better shape than the driver side (but still getting fully repaired). Here's what the underside looks like for reference with this undercoating removed. More to follow in a moment.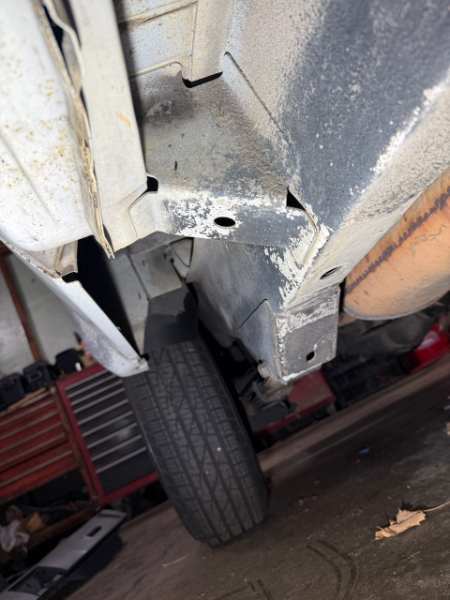
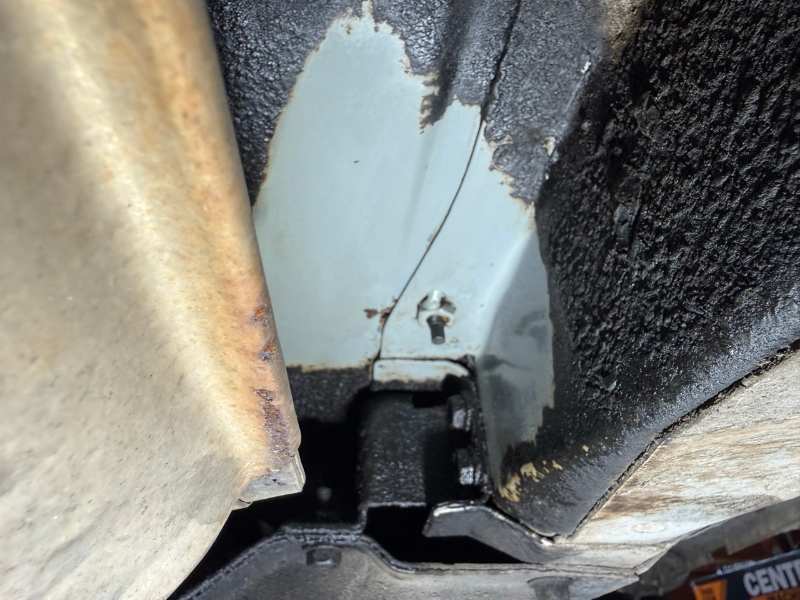
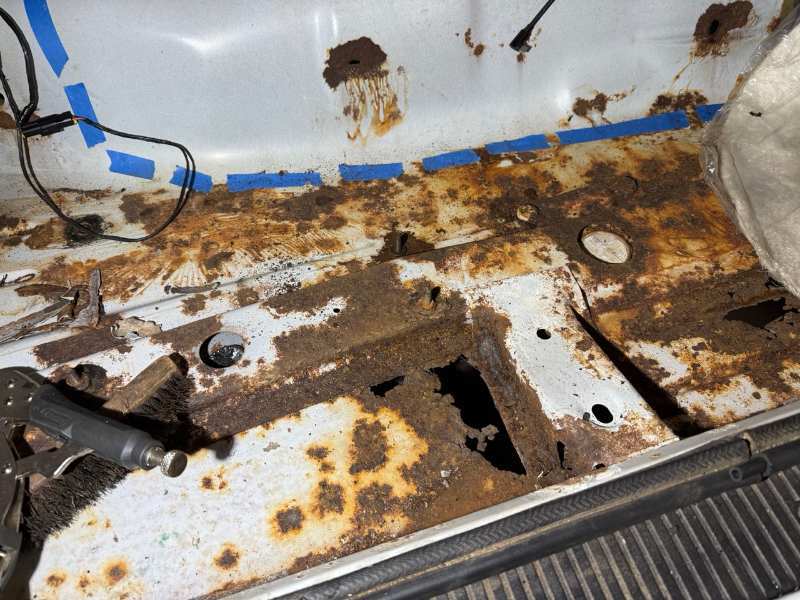
-
Sweet, thank you for the ref!
-
I’m currently working on restoring my driver side floor with the necessary components from Key Parts, build thread for reference. Does anyone have a canonical procedure on how to disassemble the rear flange on the longitudinal floor supports? Pictured below with the Key Parts replacement for reference. Everything else in the teardown process is relatively customary — removing seam sealer, cutting spot welds, etc. This overlap is the only thing giving me serious pause. There’s a fastener in this hole for reference. To dump my thoughts: I’m hoping any spot welds are forward of the square-tube, such that I don’t need to pull apart the rear wall of the truck. Hopefully the bolt pictured above is the only other thing I need to remove.
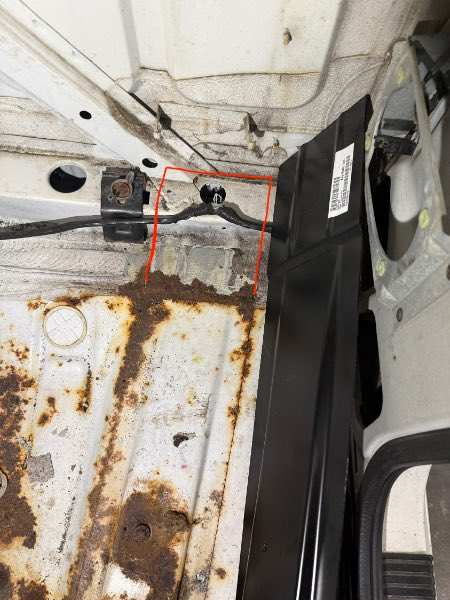
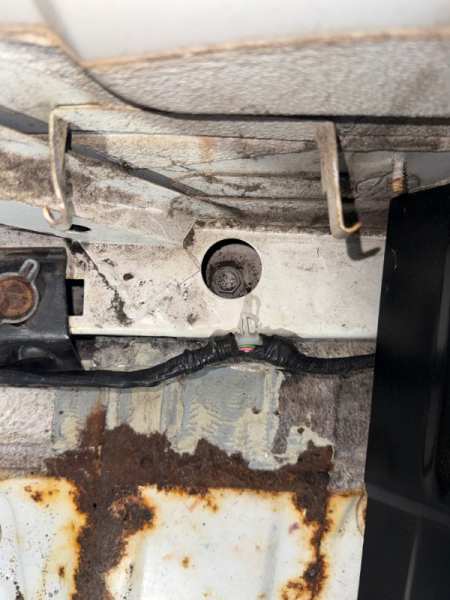
-
Daisy, my '91 Comanche Eliminator
Moosieus replied to Moosieus's topic in Member Projects: Your Comanches
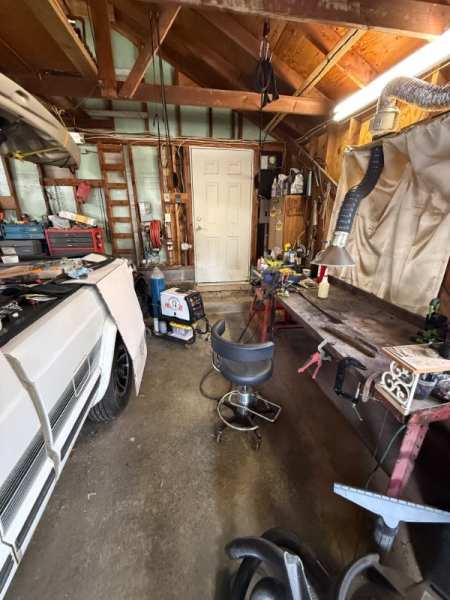
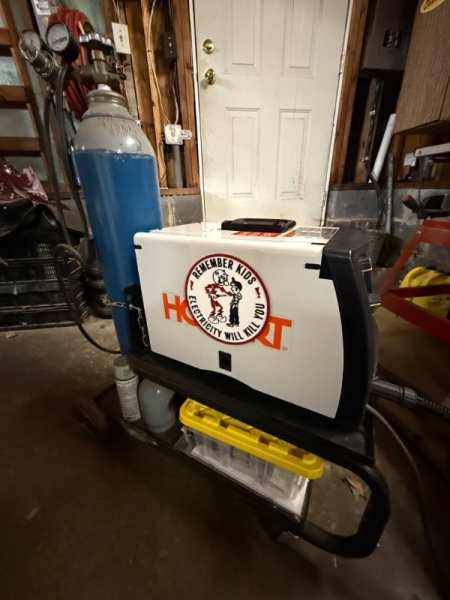
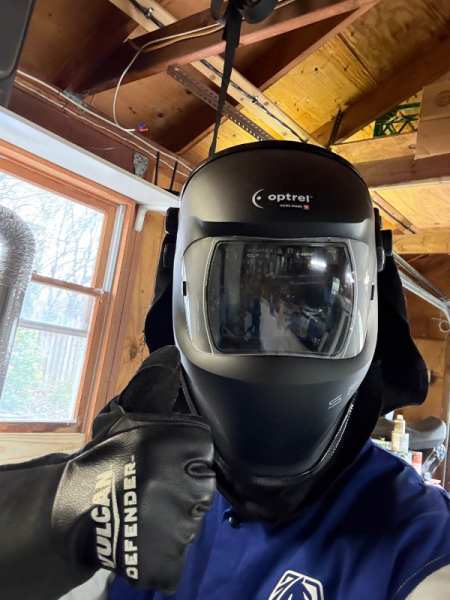
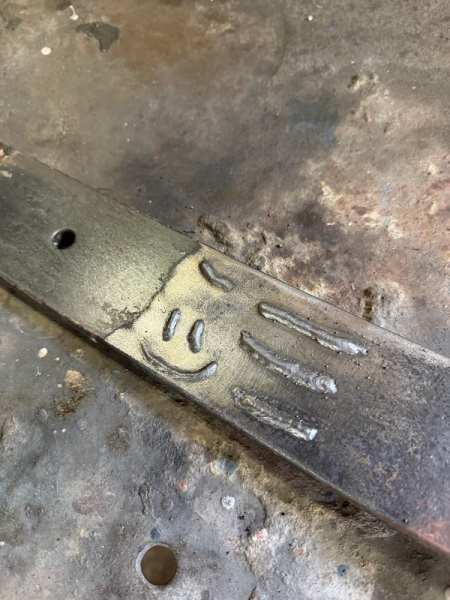
Been a minute since I posted an update on the world’s slowest Comanche restoration! Over the winter, through the holidays, weddings, work related things and etc, I took apart my interior, and… The floor pans are done. I suspect this was a result of rain leaking through the rear window, and soaking into the carpet for who knows how long. I’ve been all over this truck and nothing looks remotely this bad, even in spots one would expect to see lots of corrosion. I had lots of discussion with folks I know. Some recommended structural adhesives to glue in new floor pans, but I couldn’t quite get over my doubts about that. Ultimately I decided to learn me some GMAW for great good First practice beads on my own machine: I feel as though I have a lot to learn before I can get the floor pans redone properly, and I have lots of practice projects lined up exactly for that. All in all, I owe it to old Daisy. I feel extremely fortunate to have secured such a rare breed of MJ, and a survivor at that. So nothing short of my best work will do.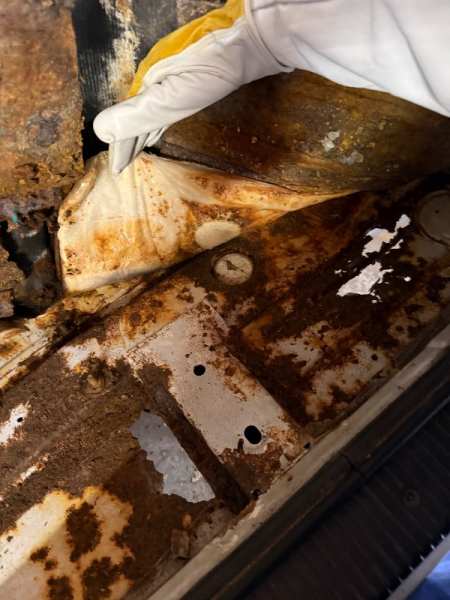
-
Daisy, my '91 Comanche Eliminator
Moosieus replied to Moosieus's topic in Member Projects: Your Comanches
Lights in action: -
Daisy, my '91 Comanche Eliminator
Moosieus replied to Moosieus's topic in Member Projects: Your Comanches
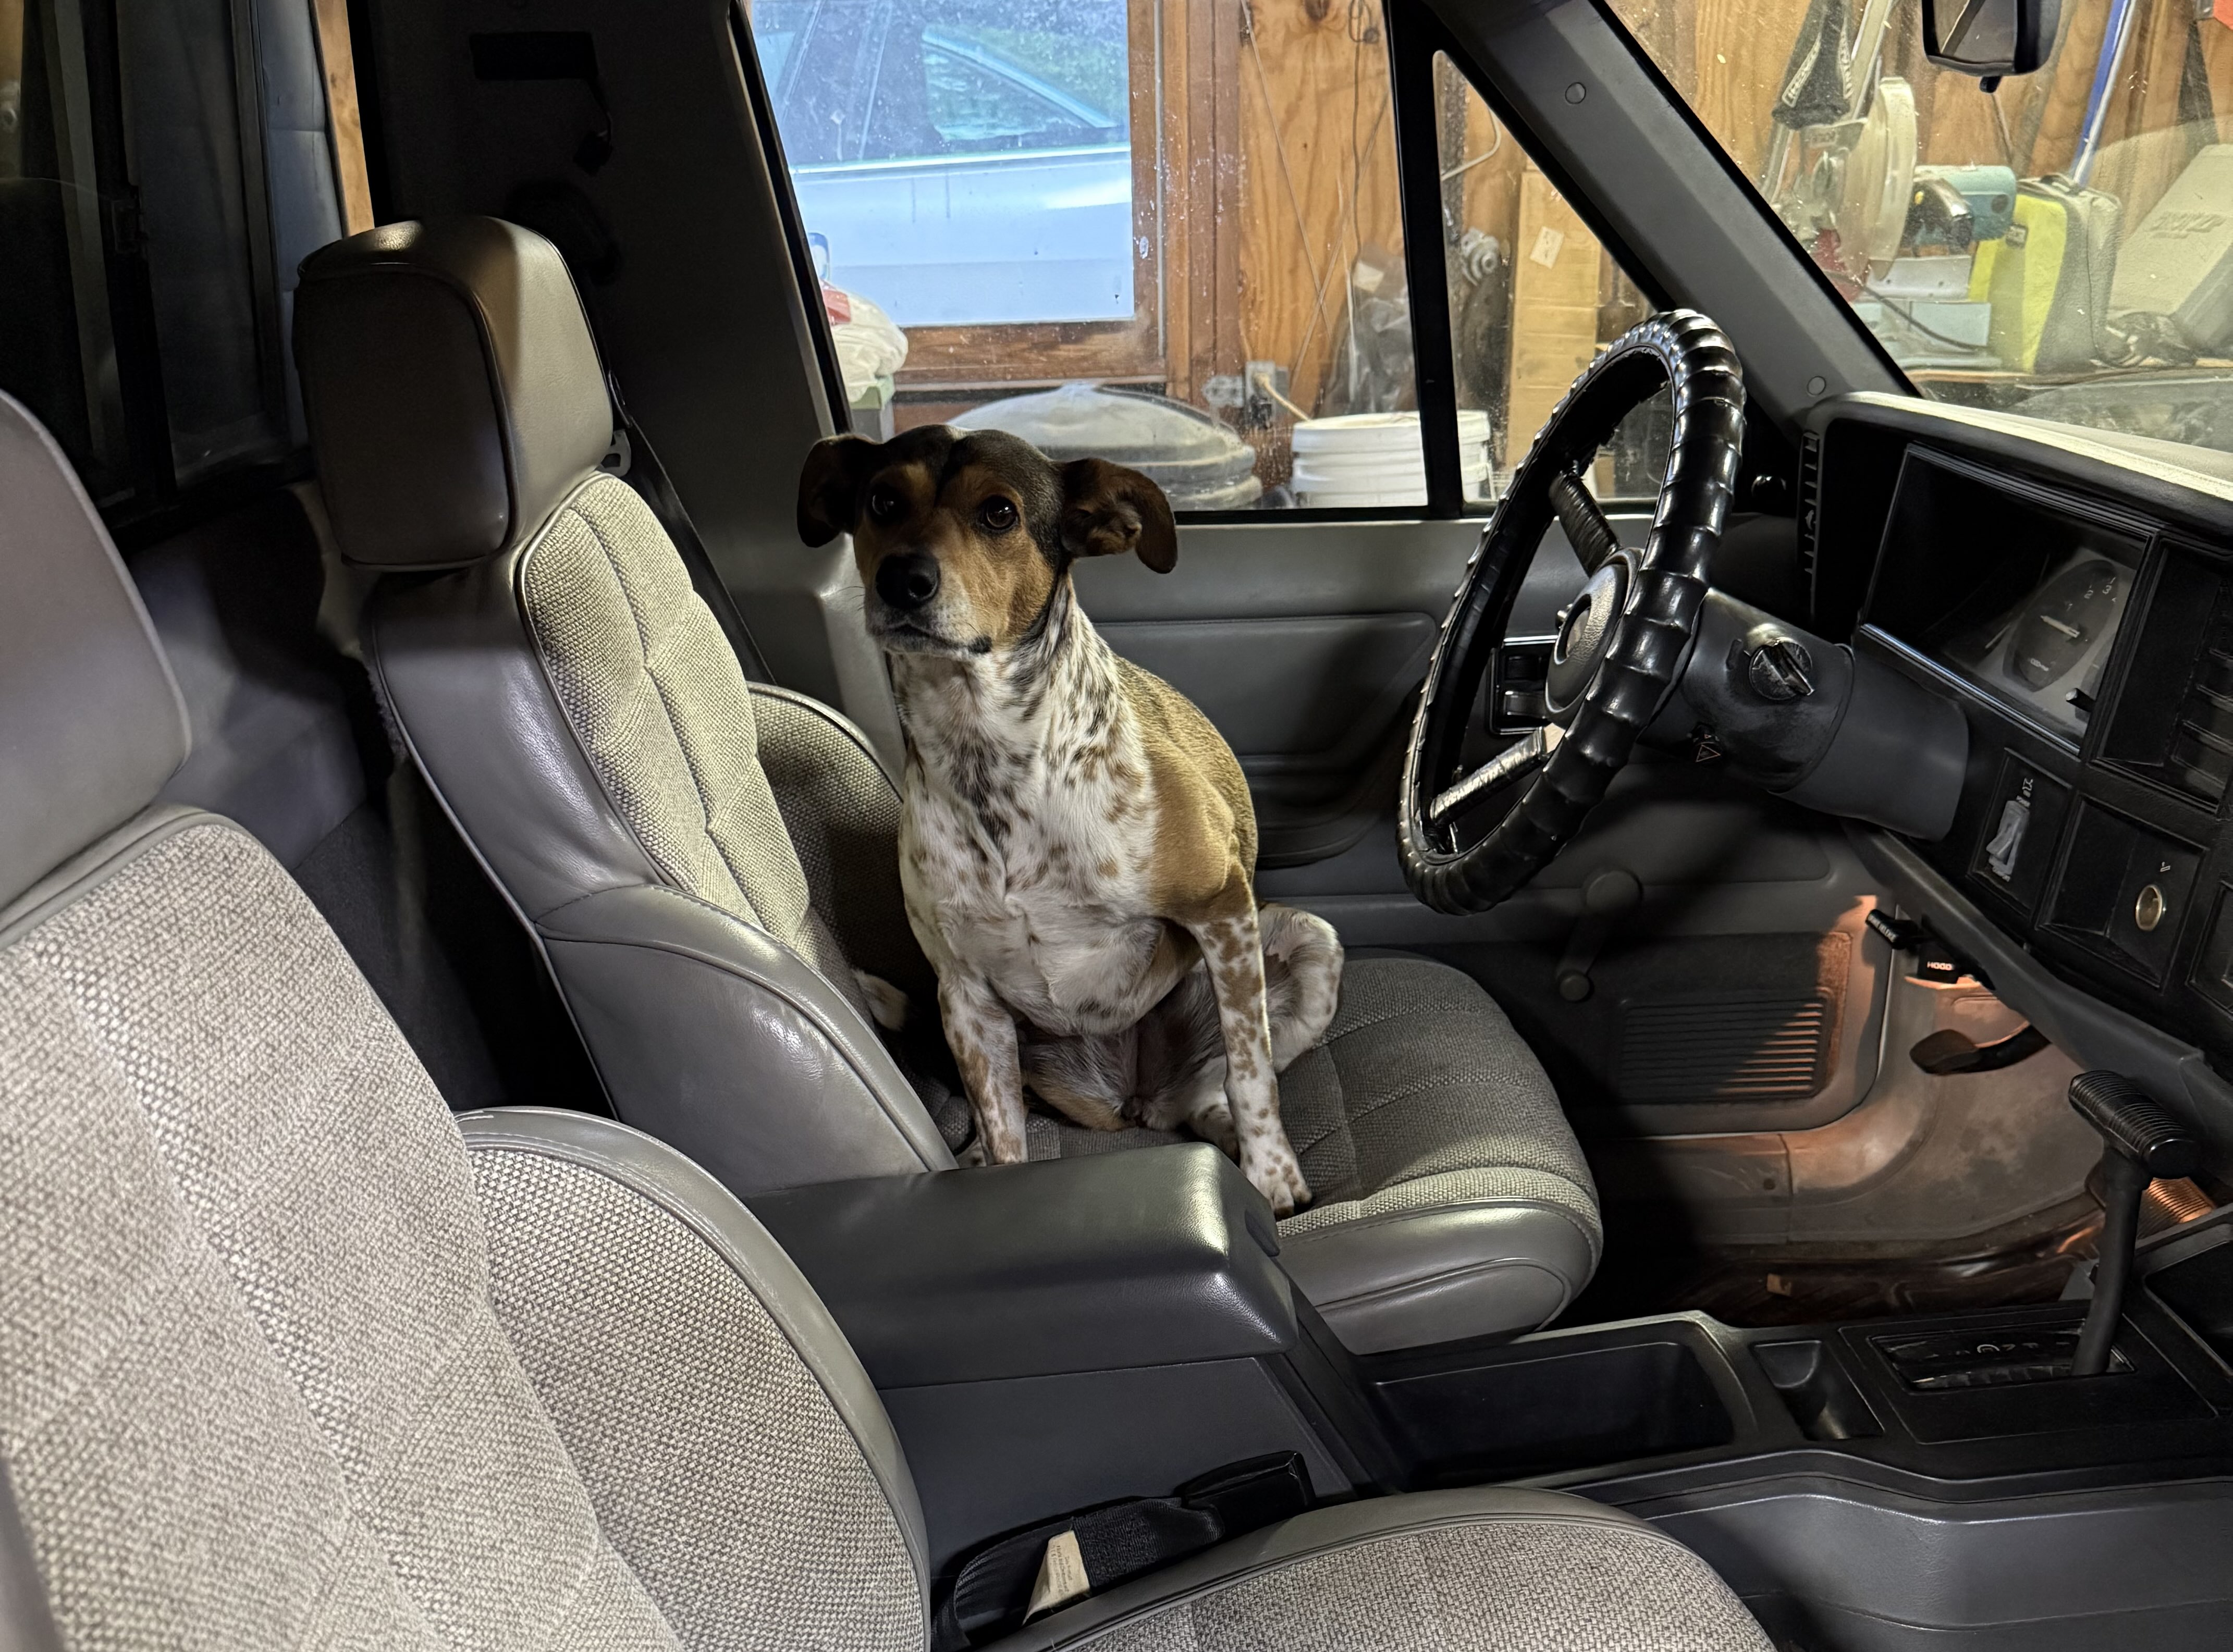
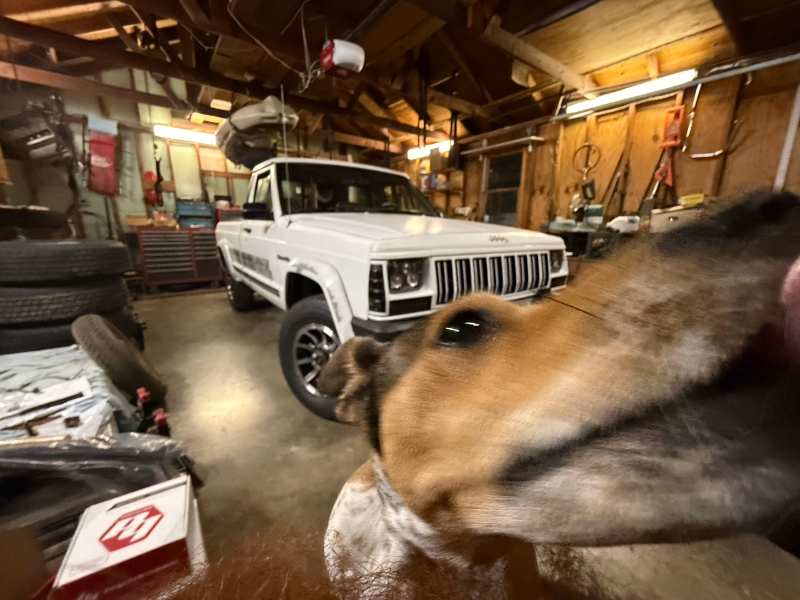
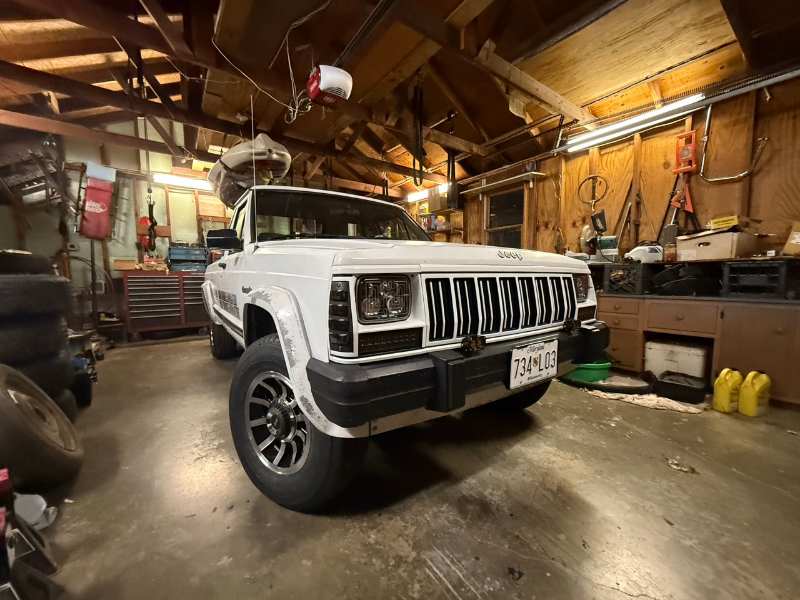
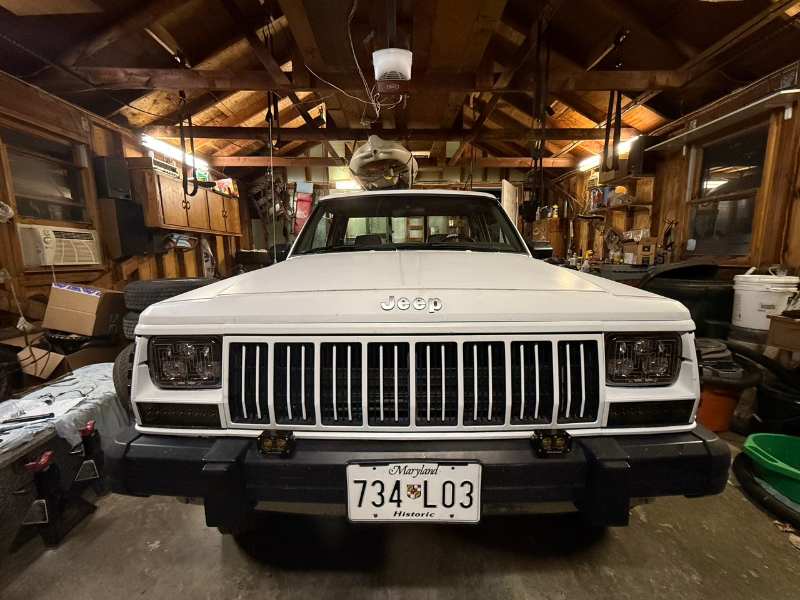
Another day, another late night entry. Bumper off, broke every speed nut, ordered new speed nuts, cleaned every fastener religiously and applied anti-seize. Got bumper back on straight with a jack, jack stands, and a bit of ingenuity. Oh yeah, I also put the fog lights on. That being the whole point of the exercise. I need to get some proper photos taken, but these will do for now. Front profile with the Baja Designs S2 SAE pods on: Some new boot goofin': The dog would like to extend her unbridled love to all of Comanche Club: Quick photo while I was adjusting the fog lights.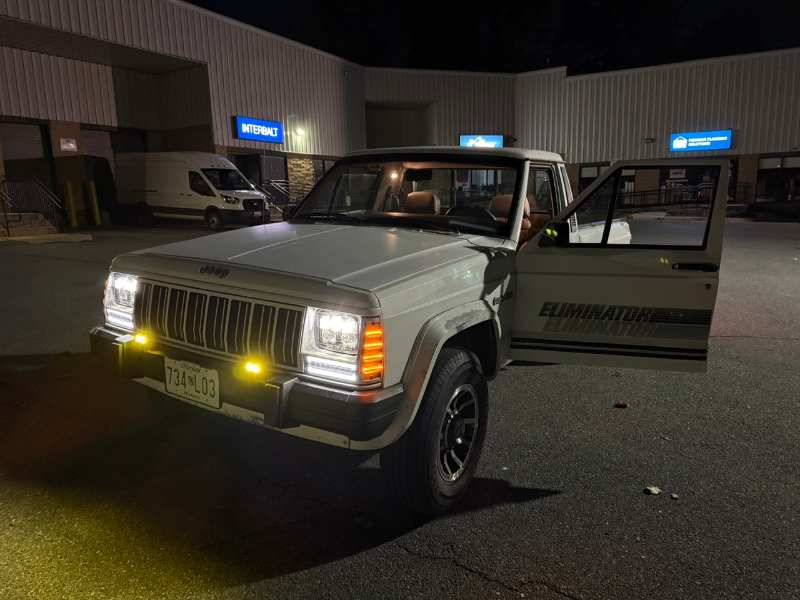
-
Daisy, my '91 Comanche Eliminator
Moosieus replied to Moosieus's topic in Member Projects: Your Comanches
Baja Designs S2 SAE Pods in selective yellow. Will get a pic of them on when I'm able to do so.