

Zenobian_84
-
Posts
19 -
Joined
-
Last visited
Content Type
Profiles
Forums
Gallery
Everything posted by Zenobian_84
-
Going through the pains of having a 4.0 now; PO somehow managed to whack the PS pump bracket pretty bad and there's a split heading down to where I'm assuming it mounts onto the block. I've seen diagrams of different setups for the XJ, one which I'm assuming is 87-96(?) and the other for the 97+ ones. Is the older HO setup a multi-part bracket, or is it a one piece deal? Haven't had to deal with power steering up until this point, so I'm sort of at a loss here. I don't want to exactly wait until it grenades at some point down the road to fix it. :dunno: Pictures for clarity. (Sorry for the huge size) Is there a part number for this thing? Or am I stuck trying to source a junkyard one to swap over? :???:
-
Looking for a matching set (4 + 1 spare) of rims for my spare DD. Preferably want something aluminum (Gold insert Lace or Turbines) but not opposed to steels, as long as they aren't rusted and such. A handy guide for stock XJ rims. http://colorado4wheel.com/images/jeepwheels/xjwheels.html Credit to Sir Sam for his awesome work. :cheers: Willing to drive within reason; located in Central FL. Let me know what you've got. Might not respond right away, but that doesn't mean I won't eventually. :yes:
-
So the radio in the MJ sometimes gets fuzzy reception, thusly, I have to play with the cable where it junctions together (passenger side footwell, inside receiver meeting outside plug) to get the reception back. It seems to work for a month or so, but then the reception starts to fade in and out at times. As it stands right now, I have the thing taped rather well, but it always seems to work itself loose over time. Is there some sort of "permanent" way to keep this thing from working itself loose, or should I look into re-taping it with some fresh tape? :dunno:
-
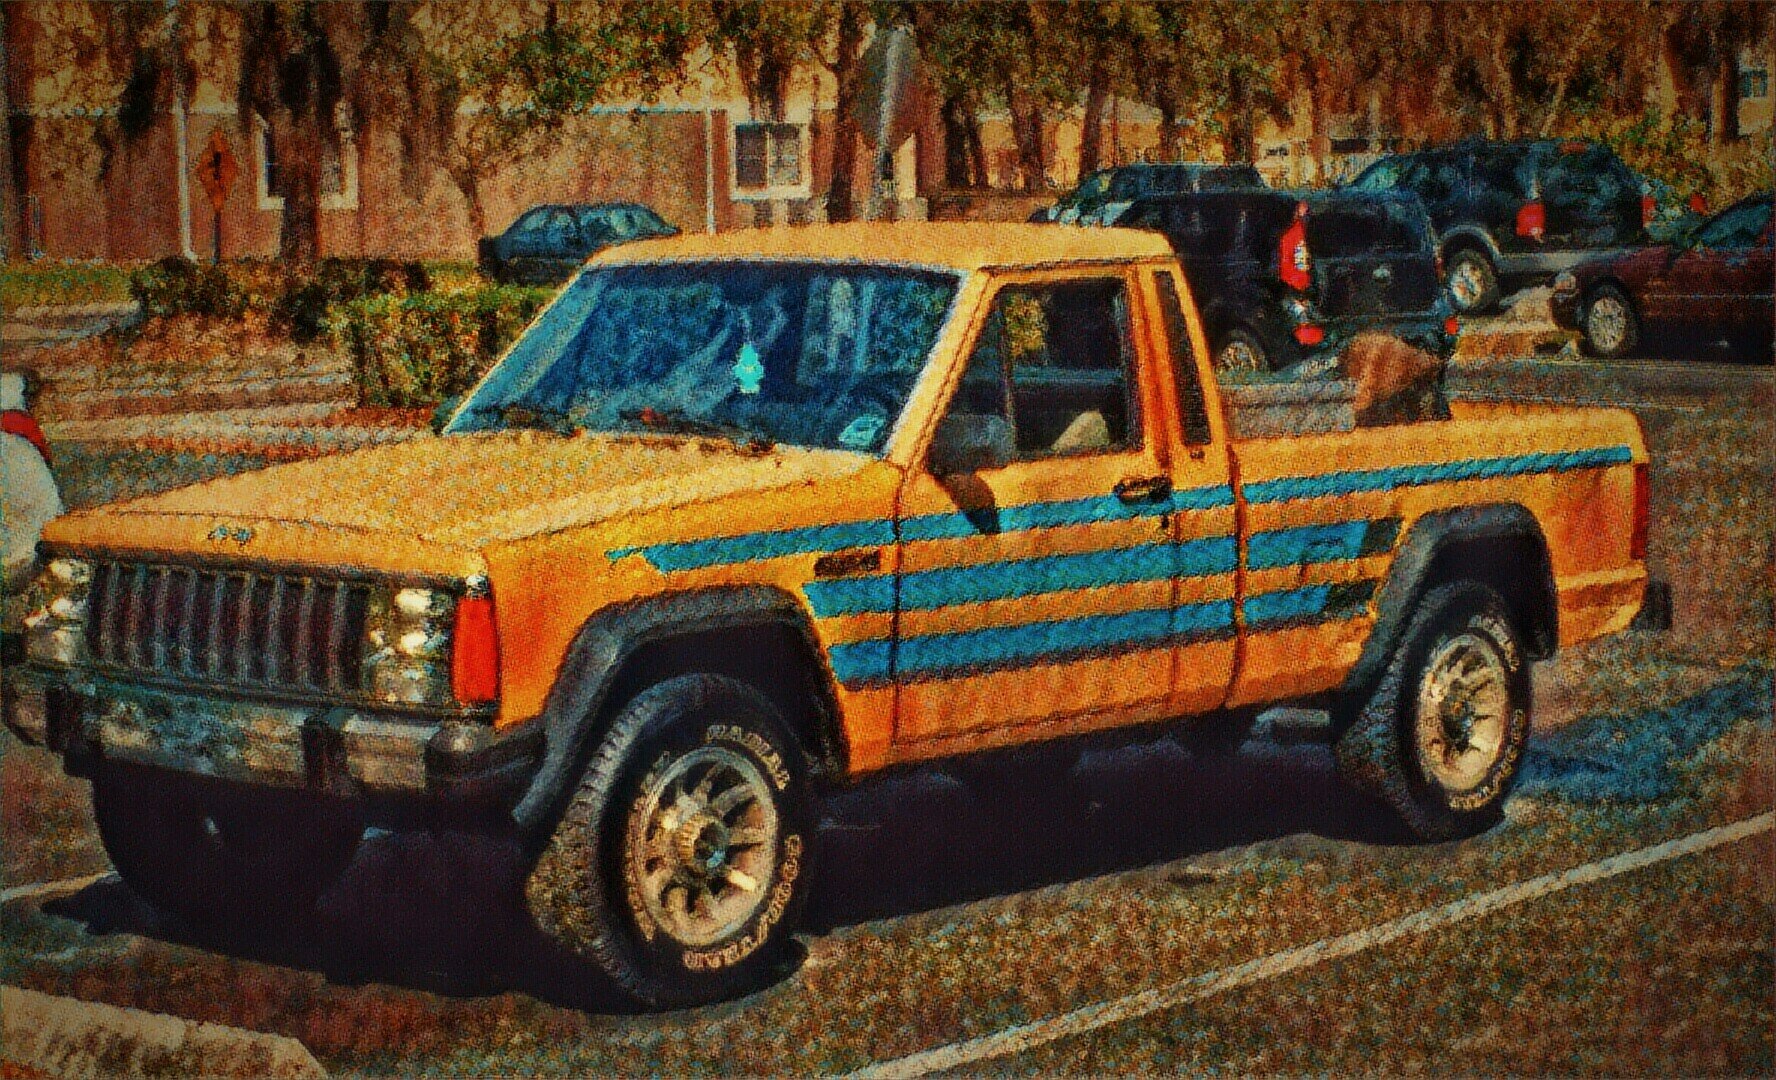
So after many years of pining and wishing I had an XJ of my own, I finally managed to snag one. Well, really it's for my girlfriend to drive as her first actual car, but that's besides the point. :yes: For those wondering why the strange name choice, it came from a Miyazaki movie aptly named "Howl's Moving Castle". A cute reference from my girlfriend for her "problematic, but lovable truck". Got a decent deal on it, pretty stock inside and out, save for the squat tires and lame rims. Oh, and the janky radio. I always manage to get trucks with cruddy radios. :doh: A 4.0 running like a... well, 4.0. Has 198k on the clock, but runs well, and with good oil pressure. The OBD1 diagnostics aren't throwing any codes, so everything seems to be good. Transmission shifts decently, but both definitely need a tune up in the near future. Shiny emissions label. This thing had a pretty decent life living under a protected area, free from the harsh FL weather. Interior; didn't know Maroon was still an option for the 92 models. Wouldn't you know it... I ran across a complete maroon interior last P&P run; shame I didn't grab anything from it. :shake: Plans are to get it tagged and insured. Tune up, along with a tranny flush and brake work are going to come later this weekend hopefully.
-
Not directly MJ related, but it could very well be with the automatic ones out there. :dunno: Picked up a swanky '92 Laredo last week (build thread incoming) and had spongy brakes all the way home. Chalked it up to them not being bled out correctly (home-brew "brake job") and decided to tinker around with the entire system. Purchased a reman. caliper for the driver front (old one had a broken bleeder valve) and got the fronts bled. Bled the rears out, and discovered the PO had disconnected the hose going from the top of the junction valve to the frame, causing some of the problems I was facing. Bled the rears, but discovered the driver rear has a decent leak coming from the cylinder itself. Going to replace both Friday afternoon after work, but I'm not sure what the difference between the 9" cylinder and the 10" is; both are showing as "exact matches" for the truck, and I need it running by the weekend for my girlfriend to start driving around. Am I to assume the smaller is for the D35 and the other for the D44? :hmm: Non-abs (thankfully) so I don't have to deal with all that antiquated technology from the early 90s.
-
Thinking about replacing the Scrambler Futuras that are on my MJ with something different sometime this year. Had the tires on there going on 3 years with no real issues other than the driver's rear needing to be patched. Tires performed pretty decent on the highway and off-road with no real issues to speak of. A stout tire worth the $80 a piece I payed for them. Still got a bit of meat left on them, so I might try and sell them if I do end up replacing them. Had my eye on the Wrangler Radials that we sell at the shop, or some Uniroyal Laredos, but can't decide. Can't recall if either offer white lettering, but if they do, which looks better? White letters in or out on an MJ? I know it really just comes down to personal preference, but I get customers all the time that come in with compact pickups and they always seem to want the white lettering on the inboard side. :dunno:
-
Stumbled across a set of Blazer lights and their mounting bracketry of an 88 'Manche in the P&P a few weeks back after I took my ASE certification test. One was mangled, but the other one was nearly pristene; took the good one and cut the wiring for the mangled one off the junked one. Unfortunately, someone took the wiring harness for them, so I'm still SOL on that. Was wondering if there's replacement glass or such for these things, or if it's just a pipe dream. I'm assuming these were carry-overs from the AMC years, or did AMC exclusively use Marchals? Curious minds want to know. Might end up re-finishing the one I saved and put out a Wanted ad for a mate for it, instead of going to spend $100+ on a new set of KC's. :hmm:
-
 On the way home from work this morning, the MJ decided that it was too cold, and started giving off a "rumble" shimmy with bad idling. Only does it when it's sat in the chilly cold, and I'm pretty certain it has to do with a leak somewhere on the manifold. This is not the first time it's done this since the weather's turned cold, but this is the first time that it's lost a considerable amount of pedal power going 35 down the highway. Mashed the pedal to the floor, and couldn't get it to go any higher than 40, so I'm also fairly certain that what's left inside the cat decided to crap out as well. Looking to replace pretty much everything from the manifold all the way to the tailpipe. What are some good choices out there that are relatively reliable (manifold, cat)? Also, seeing as how the last time I did something like this (previous car), I didn't have to replace any mounting hardware, what am I looking at replacing on this thing as far as all that goes? AFAIK, everything on this truck is OE, except for a crappy muffler / tailpipe one of the PO's rigged up with clamps. I've heard that the cat-connection piece to the crossmember(?) is no longer being made, so is there any way I could rig something up in its place? The bolts on that piece are pretty much fused together, so I very much so doubt It's going to come apart with an impact...
 -
Decided to opt for a 231 in lieu of the 242 (even though I'd really like a 242 for the sheer fact of full time 4WD :( ) As in the title, looking for a 231 transfercase to put behind a 2.5. Would preferably like one that came out of a 2.5, but beggars can't be choosers. Same goes for the AX-5; can either come as a pair, or seperate. Both ideally should be in decent shape. Not looking for pristene, but not looking for high-mileage units either (transfercase can be high-mileage, a rebuild on that is easy enough). Let me know what you have, and I'll see what can be worked out. Local pick up (Central FL, willing to travel within reason) preferable to shipping (don't want to pay hundreds to get it either shipped). :wrench: It's also worth noting that if I don't reply right away, I'm either at work or school. Don't have much free time these days to surf CC like I'd like.
-
Been busy with work and school. Went to take an ASE certification exam today, which I happened to pass thankfully. :) So now I can relax somewhat. Figured I'd post up some of the things I found (and consequently brought home) a few weeks ago, around the beginning of November, IIRC. Talked to my instructor about cleaning up our "storage area" after I got off work one morning. He told me to go for it, and to keep whatever caught my attention. For clarification, there's about 30 years of printed shop service manuals, diagnostic books, and overhaul procedures for engines, transmissions and the like scattered around. :eek: :no: The story was that the last instructor(s?) some 10+ years ago got a lot of that stuff, and over the years the collection moved around until it ended up in the "storage building". A few hours later I ended up having most of the good stuff sorted onto pallets by category and what the books were about. Funny enough, that red book on the bottom was from the early 60's and looks like a children's "Pop-up-book". All the "detailed, working models" you control with little lever arms and whatnot. I had a good laugh showing it off to some of the other people in my class when I found it. That's pretty much where I left off. And from what I gather, it still looks like this over there, because no one bothered to go in after me and get the rest of the "collection" sorted out. Moving along; decided to get some pictures of what I got my hands on when I got home that night. In no particular order... This one went to a good friend of mine who's crazy about Corvettes. Sort of a late birthday present, I suppose. :shake: The only Kaiser/Jeep service manual I found. I was surprised to even see something this old stashed away in the bookcases. Not even sure if our school ever saw any of those pass through during the 30+ years it's been around. K/J table of contents. AMC related goodies. :brows: Back of the '77 SM. Love the Jeep pride. . :MJ 1: . You H.O guys should enjoy this. Even came with it's own, brand new and unmarred "DRB Functional Flow Chart" Lastly, a neat reference book for Spark Plugs made by GM in '89. Came with an equally nice, unmarred, giant (like 3'x2') poster akin to the last page in a Chilton's manual or the like. All in all, not a bad haul, if I do say so myself. :popcorn:
-
2.5 Heater Core - Hose Routing Issue
Zenobian_84 posted a topic in MJ Tech: Modification and Repairs
For those of you with a 2.5, how exactly did you route the lines on the truck? The top tube is routed over behind the valve cover and into the port leading down to the intake area. The bottom tube is routed straight towards the front of the engine. The problem is the bend for the fitment of the top tube. I can't find a 90/45 angled piece to use for routing the top tube. Can some of you who have done the 2.5 bypass valve throw up some pictures so I can see how you've got it routed? Thanks in advance. Pictures of my issue to be posted when I get out of class, for clarification purposes. -
Going to be changing out the front soft brake lines for both driver and passenger, rear, soft main brake line leading to the prop valve, and front rotors and brakes. Was curious as I thought the front (smaller) bowl on the brake master cylinder fed the fronts, but it seems I may have been mistaken. Does the smaller bowl feed the front lines, or the rears? Not sure if later years still function the same, or if this is true for most cars on the road, IE: Not just Jeeps in general. If it's the rears that have sprung a leak, seems new wheel cylinders are in order, that or the adjustment has fallen out of spec. Shoes still have a fair bit of meat on them, and the drums themselves are still within spec ratings. :hmm:
-
So I finally decided to make the jump from having a bench seat to having bucket seats in the MJ. I wasn't sure how I'd feel about it, but man, what a difference. Those first few minutes after making the switch, pretty much felt like this video. . :MJ 1: . I don't feel like I'm slouching into the floorboards anymore, plus, I gained an inch or two; enough so I can finally see out of the rear view mirror correctly (yes, and I'm 6'1 to boot). :banana: As you can see, the bench seat is still adjusting to it's new home in the back of the bed. Not sure yet what I'm going to do with ol' blue. Now I don't know what to do with all the extra space in the cab. So many decisions to make... :hmm:
-
Seems all the photos I've ever put onto PB have come up as 404; although I can still see the thumbnails of them actually being there, and download them just fine. Everything was fine the just a few days ago, but Friday morning I checked my build thread for something and saw all the photos having broken links. I'm not sure if this is something going on just my own PB page, or if PB is updating the website the last few days. Has anyone had this happen before? :hmm: Using Chrome, I was able to diagnose the potential problem(s), or at least what I think is / are the problems. I'm not too computer savvy though, so I'm not exactly sure if this is something on my end, or theirs. :dunno: I'm also not sure if it's just me that can't see the photos, or if they're down for everyone else as well. Failed to load resource: the server responded with a status of 404 (Not Found) Failed to execute 'write' on 'Document': It isn't possible to write into a document from an asynchronously-loaded external script unless it is explicitly opened. Failed to load resource: net::ERR_CACHE_MISS
-
Tired and frustrated with sub-par, intermittent radio strength? Radio looking disheveled and dusty? Cassettes just not wanting to play anymore? If you answered yes to any of these, then have I got the hook-up for you, so to speak. Follow this handy radio cleaning guide to refresh and (somewhat) restore your AMC / Chrysler tape decks back to OE standards. If this doesn't get you back up and running, then at least you can be at a good point to further diagnose your radio troubles. This guide will only cover the OE tape decks offered by both AMC and Chrysler specifically for the MJ / XJ platforms. Since there were 4 different tape decks for AMC cars during the mid-80s (A/M; A/M-F/M; A/M-F/M DNR; AM/FM Electronically Tuned Dolby Surround) with each having minor differences in design and function, they will be covered separately, if I am able to procure more by chance. To my knowledge, there were just as many Chrysler decks offered; those should be virtually the same (barring a few minor differences) and will possibly be covered, should I happen to stumble across some at a P&P. First and foremost, a useful video to watch to familiarize yourself with some of the internals of the tape deck. Though it covers a stationary non-vehicle type of deck, most of the same rules will still apply while cleaning either. Tools you will need for the job. 91% Isopropyl Alcohol; I do not recommend lower than 90%, as the lower you go, the more water soluble the "final" solution is, thus, the higher chance you can cause corrosion of delicate parts inside of these brittle components. Precision screwdriver set (phillips and flathead preferably) Q-Tips Big Phillips-head screwdriver Small cloth to wipe away dirt, etc. Beer is also optional, though very helpful. :yes: Looking at the back reveals some useful information. :idea: Take two small screwdrivers and pry off the small dials on the front face-plate. Be careful as you do it though, they tend to bend easily as the plastic is soft. The upper knobs are more forgiving to pressure being applied to them. They are also separated into halves, with the front button controlling volume and tuning, while the back half with the nub controls the speaker orientation. These can be separated at the halves and pulled off. With the knobs removed, you should be at this point. You may notice small shim-like pieces hugging against the actual knob-stems (On-Volume stem), they are there to keep the plastic knobs firmly held against the unit; you have to remove these to get the face plate off. I have some missing, and didn't notice any difference in how the knobs held against the stems versus ones with the shims when completely installed. :dunno: Next you can proceed to remove the metal housing piece that attaches the deck to a tab inside the dash above the HVAC controls. One difference worth noting is that some units use an all black screw type setup, whereas some will use 3 with 2 small silver screws (seen below). I'm not sure why this is, really. :hmm: Once the plate is removed, you can begin to remove the face-plate mounting screws. The setup is the same for all AMC radios I've come across. 4 screws, with two being cylindrical tower-types. Once you have removed the face-plate screws, gently pull the plate away from the knob stems. Pay close attention to the small ground wire coming out from underneath the bass stem, as it connects to the tin face-plate backing. Unscrew the cable from the face-plate and set it aside; tuck the ground out of the way next to the stem if needed. With the face plate out of the way, you should be seeing something similar to this. A closer look inside reveals... Colorado dust. :yes: At least that what it seems like. The captstans and pinch rollers look like they've seen better days; as has the mounting deck and gear sprockets. :ack: Before proceeding to clean the insides, (which you can do right now with the Q-Tips if you'd like) I'd recommend taking the top cover off and inspecting the circuit board below. 4 mounting screws that shouldn't give you any problems. Now, be forewarned about what you'll see in the inside. If I'm right in my theory, most of the AMC decks should look like this, with very minor differences between them as stated previously. As you can see, mine's covered in quite a bit of caked on dirt. Partially due in part to the vent grille on the top of the radio to let excess heat escape during operation. This is where most of your cleaning should take place, because if the motherboard and solder "hills" are covered in dust or dirt, they can hinder good connections inside the deck itself. When using the Q-tips on the board, make absolutely sure that you do not leave any lint behind on the solder points or the board itself. Take your time with this portion of the cleaning process, because if you make a mistake here, you can potentially fry the circuit board and make these simple repairs a moot point. :smart: If you look near the volume stem on the picture below, you can see a brownish sort of wax-substance covering several wires on top of the board (rosin-soldering flux); I opted not to tinker with it (it's cracking in some spots and brittle from age) but may decide to re-apply some when I'm able to bench test this particular deck in the future. On top of the deck is a small opening you can worm a Q-Tip through to better clean the capstans and rollers than through the front cassette opening. Different angle; same amount of dirt. Be sure to remove excess alcohol from the Q-Tip before wiping the board down. This is also about where I got up to get another beer. :group beer: Looking back at the front of the tape deck, the grey film "protector" can be peeled back and removed. It simply hangs onto several small nubs and LED's in the front. Be sure to clean this surface underneath. I cleaned the LED's and button mounts while I was at it; (be gentle here too) :) After the deck has been cleaned inside and out be sure to show the face-plate and knobs some love. Do not use alcohol to clean these however, as the solution will wipe the color right off of them. :( Go for an upholstery cleaner or some sort of "foaming" cleaner. Some gentle elbow grease can make these look as good as they were when new. :chillin: Something else worth noting, is that if you notice the buttons seem to "stick" in their holes, you can actually remove them and replace the small square "sponge" type material that they sit on top of. Usually if they're recessed into the slot, the sponge material needs to be replaced. :fs2: At the end of your cleaning, you should be left with something looking like this. Quite a difference from before, eh? I'll probably go back in and give everything another run down sometime in the near future. Currently as I write this, I'm trying to get my AMC Dolby Surround unit cleaned up. :thwak: Hopefully this will help some of you prolong the life of your stock radio. As far as actual wiring diagrams for these things, I'm still trying to scour around and locate something. :dunno: Maybe I'll get lucky and stumble across something one of these days.
-
Do these things require periodic maintenance? Was thinking about one of the lines I replaced a year or two ago on it (leading over to the airbox) and was wondering if there was anything inside to service, IE: a filter of some sort. :hmm: I know their basic function is to remove fumes from the tank and send them into the intake to be burnt up with the regular air/fuel mixtures. Was looking on Advance's website and stumbled across a "Crankcase Breather Filter / Vapor Canister Filter" sold by Purolator and BWD respectively. http://shop.advanceautoparts.com/p/purolator-crankcase-breather-filter-b40015/5851661-P?searchTerm=filter http://shop.advanceautoparts.com/p/bwd-vapor-canister-filter-ec224/3488462-P?searchTerm=filter What exactly are these for? :dunno: I've never heard of such a thing on these systems, although they remind me of the small breather filter on the air filter housing of carburetors.
-
Been fighting an odd problem for a while now, but I've chalked it up to "OTS" (old truck syndrome) for a good while, but I feel it's time to find out what's going on. Seems that when I get the truck going above 50 mph, and if I have the truck going dead straight down the highway, there's a shimmy in what feels to be the steering column or shaft. If I turn the steering wheel slightly, the problem goes away completely, but upon righting the truck, it's back once again. Only seems to do it around 40-60(?) Not sure when this started, but I've noticed over the past 6 months or so. Was reading up in this thread (http://comancheclub.com/topic/42956-pronounced-shake-at-60mph-tires/?hl=steering&do=findComment&comment=436294), just to see if anything came near to what I was experiencing, but sadly, not much. I will say that my tranny mount has seen better days, as well as my steering stabilizer. Truck is stock suspension / equipment with 235/75s on at the moment. I'm due for an alignment soon (yearly thing) but the truck drives pretty straight with no other problems. No slop in any of the other steering components, and everything else seems to check out. Just for kicks, I searched any applicable TSB's on AD, but nothing came up, save for a shimmy in the steering column for MJ's with the 2.5/3-speed auto. :dunno:
-
Been having a strange, intermittent issue for the past month or two. Truck was running at it's normal temp (around 195 at highway speeds, around 210 at idle during stop light traffic) but slowly started to climb in temperature rating. Now it runs a consistent 210 at highway speeds and about 225(ish) at idle. Doesn't ever get near the safe-operating limit of the gauge, so there's at least that to be thankful for. I was wondering because another guy in my class was sitting around chatting to me about the last time I had my exhaust changed out (while I was explaining my issues; he also has owned several older Jeeps in the past), while I was running a few undercarriage inspections on some of the wiring and such. Truck's still running OE everything, save for the muffler and tail-pipe. I've been needing a new manifold gasket put on to alleviate my exhaust stumble it sometimes has, and my CAT has been pretty much FUBAR since I bought the thing 4 years ago. My muffler seems to be clogged, because it has a solid "thump" sound when you knock against it instead of the echo sound that new ones have. Had a new water pump put in about 6 months ago, just changed out the OE fan clutch for a fresh one about a month ago. Seemed to solve my problems for a few days but the temp climbed back up. Thermostat is good, but I have another to swap in when (and if) it needs it. Am currently also in the process of piecing together a stock exhaust system, coincidentally before all this started happening. I know this probably sounds noob-ish, but if the truck can't "breathe", then it has to run hotter to try and alleviate the problems, right? Am I on the right track here in thinking that my exhaust needs refreshing or is there another culprit to blame?
-
Was out in the shop doing some undercarriage inspections on the MJ for class purposes. Noticed my front rubber driver / passenger brake lines were dried out and flaking apart. No leaks, but it's the same with the one attached to the rear axle (the main feed line, I'm assuming). After 27 years, I guess they've about had it. Would I go about relacing these with steel lines, and if so, does anyone know the size, offhand? I've read fellow members using YJ lines with success, or do they still sell the rubber type ones? :dunno: It seems the deeper I dig, the more I notice needs changing out. I'm just glad I have a shop to do it in now.
-
Was surfing through some literature in my tech books, and stumbled across something pertaining to changing the fluid out of the steering gearbox. Are the ones on these serviceable, and if so, where are the fill / drain plugs located; and what fluid do they take? I don't recall ever seeing anything in the repair manuals in regards to servicing these things. I know a lot of 2.5s came with manual steering, but I'm not so sure about the 4.0's. Never seen one without a power steering setup. :dunno:
-
Looking for a few things I generally can't find down here in the FL yards. Specifically, I've noticed these on older Jeeps, not so much on the Chrysler ones, which is what usually dominates the Jeep parts of the LKQs. Looking for: 2 "AMC Blue" window visors (check interior of truck in my signature for exact color if unsure). 2 Vent triangle window assemblies, one for each side. My driver's one has an almost completely rusted out track. :( 1 Rear window gasket (a spare is always a good thing) 2 adjustable chrome plated mirrors (either from an MJ or XJ; NON-powered) 1 "AMC Blue" center console; doesn't have to be out of an MJ specifically, an XJ can be made to work as well. 1 set of AMC radio wiring harness plugs (truck side, they're small and square with 6 wires going to each plug. Will upload a reference picture if needed for clarification). Mine were cut apart by the PO, and I want to eventually install an AMC branded head unit into the truck to replace the Dolby one I have in there now. - - - - - If I can think of more down the line, it will be eventually added. Shipping is to the 32757 area, but local pickup can be had if nearby somewhere in FL. Ideally, the gaskets (as well as the riveted opening pieces) for the vent windows and rear windows should be in pretty decent shape. Let me know what you have, and I'll see if we can work out a deal. :cheers: EDIT: 9/11 - Added a few more items to the list. EDIT: 9/17 - Added more things and clarified others.
-
Fan clutch is just about seized up; barely any rotation when cold and hot, and seems to be "stuck" when trying to turn the fan by hand. Bought a new one several months ago and am probably going to change it out within the next few days; temperature is running about 15-20 degrees hotter than it was prior to wearing completely out. According to the repair book and All-Data (perk of going to school) it's just the 4 bolts holding onto the FC onto the shaft. Before I go tearing this down, is there any special tools or w/e I'm going to need to install the new one? Just wanted to double check before I go to work tonight. Seems like it should be a fairly straight forward procedure, but you never know.. As always, help is appreciated. :cheers:
-
Starting tech school for AST (Automotive Service Technologies) here in a couple of weeks, and the programs going to take me about 10 months to complete the initial course. Another 5 or 6 if I want to go into the advanced course, which I'll most likely go for. After completing the courses, I'll be ASE certified for the basics and, depending on what the advanced course entails, more thorough things. Now, as far as training goes, I was thinking after I get out and get settled down somewhere else in the state, I'd like to go for further training elsewhere. I was originally wanting to go to UTI out of Orlando, but it's quite a bit out of my $ range. If I got a job for a year or two and saved enough money, UTI wouldn't be out of the question, nor would a different kind of technical institute. The biggest thing I'm torn on is whether I want to go for Diesel Tech or Motorcycle Tech, as I'd love to get to learn the inner-workings of both kinds of engines. I have limited experience servicing diesels, and none for motorcycles; but motorcycles interest me more than diesels do. :dunno: To make it short, for those of you who've graduated technical training schools for automotive related things: Where did you go? What did you major in? What was the cost? Did you enjoy the program? What would you recommend as far as advanced training goes after I'd complete my initial schooling, should I wish to go for certification in other fields? Just wanted some thoughts and insights, so I can get a better picture of what I'd like to do. :cheers:
-
Hope it was a fun one (today and over the weekend) for everyone around the country. :cheers: No fireworks for this guy; only Tornado documentaries and drinking tonight. :group beer:
-
Had a weird idea as of recent. This is the setup I currently have as far as auxiliary buttons go inside the cab. Fog lights are being used for fog lights, and what used to be the cargo light is now working the horns. I have the Aux. wiper control piece from an XJ I pulled a while back, but have nothing to use it for. Would it be possible to set up the wiper stalk function on this button (obviously, only using one speed of wipers) or no? I know the original button you have to push in and hold there, but I dare say this could be remedied by using a fog light switch button instead. What does the general populace think? I know it's probably silly, but I'm curious to see if it can be done. :dunno: