GritHound
-
Posts
71 -
Joined
-
Last visited
-
Days Won
1
Content Type
Profiles
Forums
Gallery
Everything posted by GritHound
-
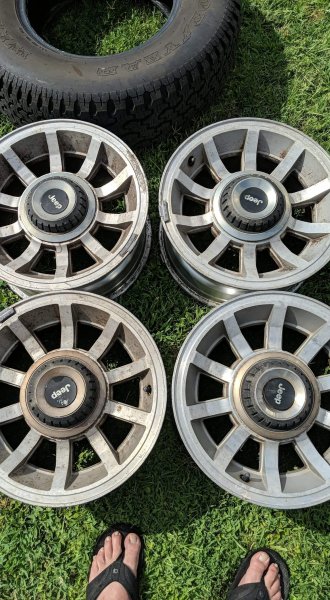
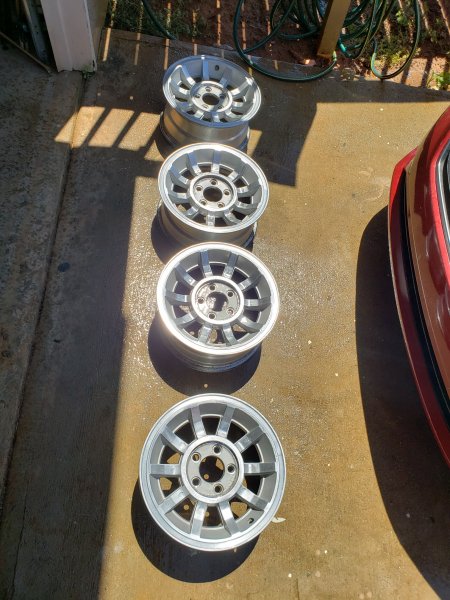
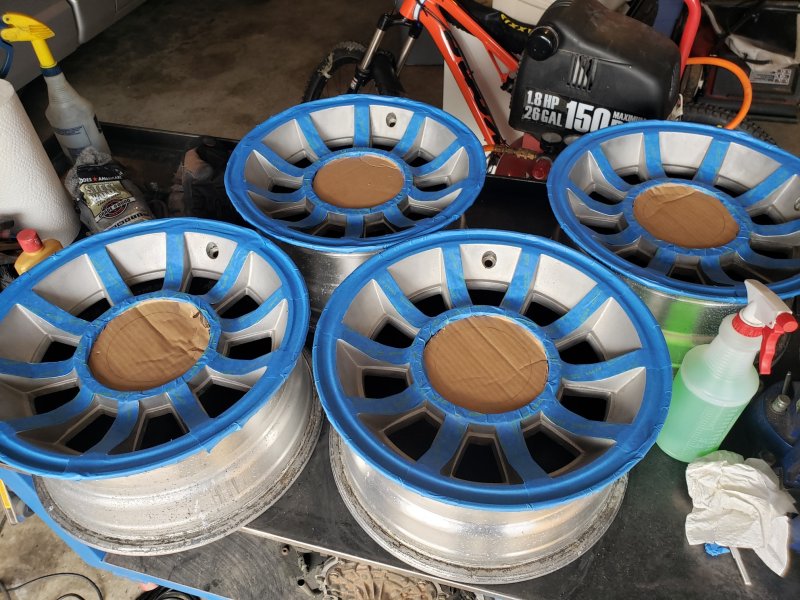
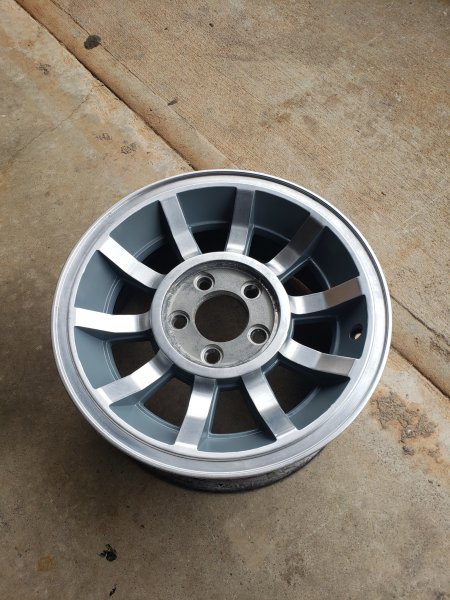
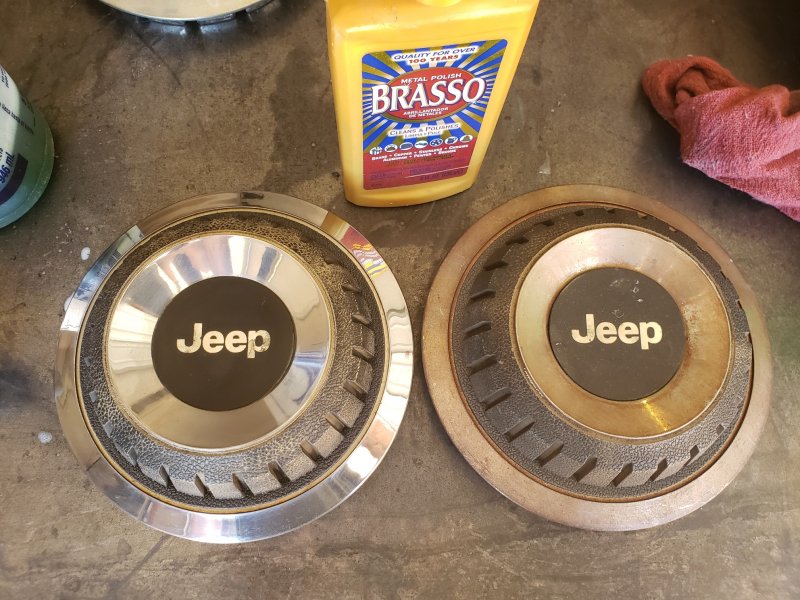
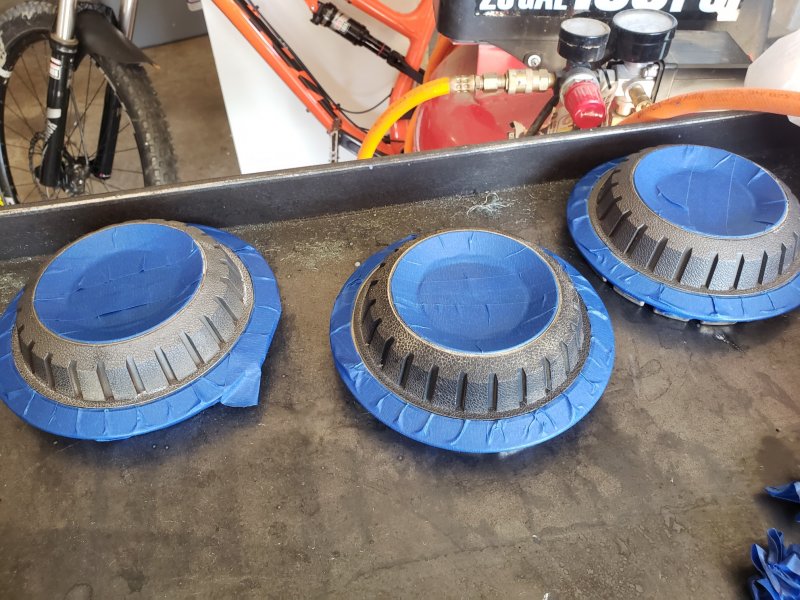
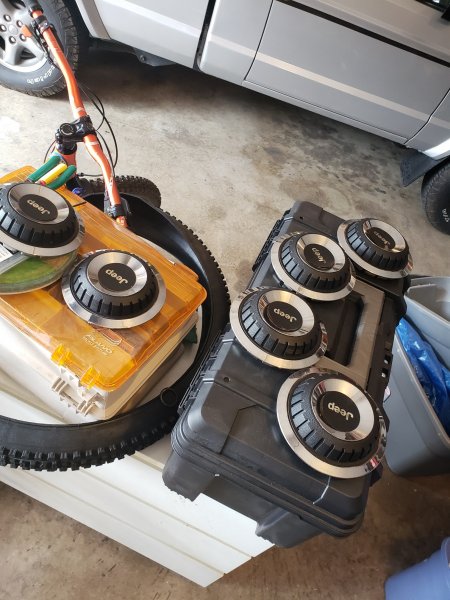
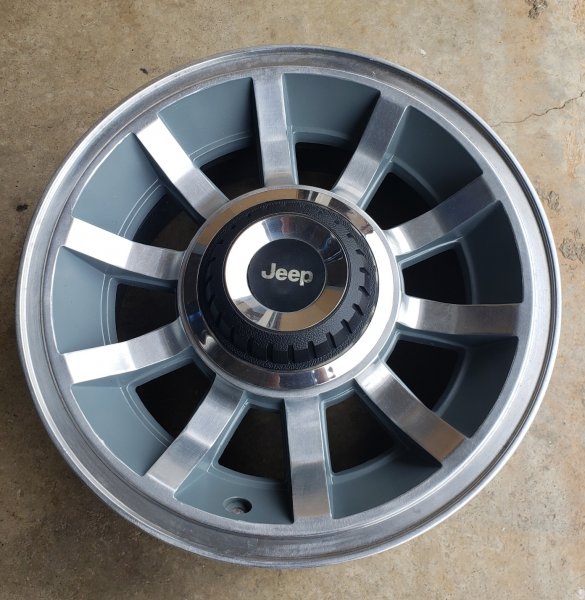
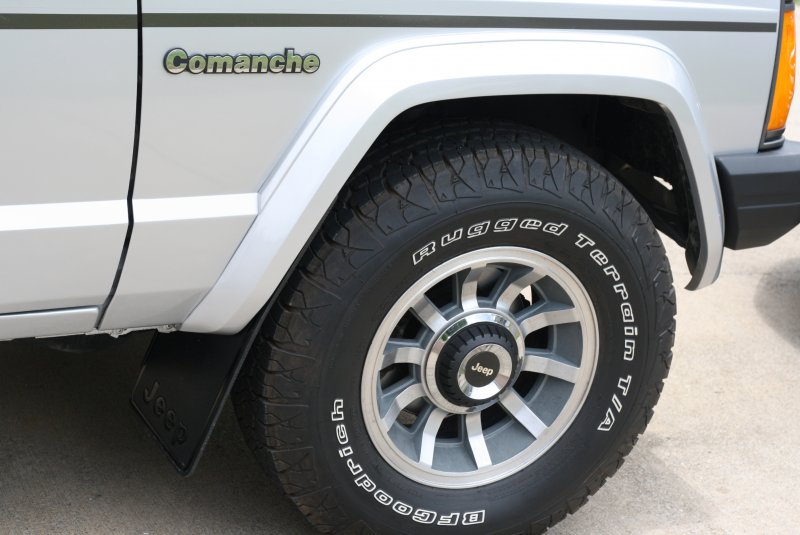
* wheels and caps When I bought the Comanche the previous owner put star wheels on it and also offered to provide the original steel wheels so I took them but I really loved the look of turbines. I picked up a set for $100 that were in fairly good shape and striped them with aircraft paint remover then pressure washed them. Once cleaned, I used a orbital sander with various grits and steel wool to clean up the faces and remove rash before taping them off. There was a lot of elbow grease on this effort. I wanted the spokes to pop a bit so I used a darker gray that ended up drying like battleship gray. I may change that in the future but running with it for now. After everything was finished on the rims, I clear coated them. For the caps, I used Brasso to clean them up and used epoxy to fix the center stickers from lifting off. Taped them and sprayed.


-
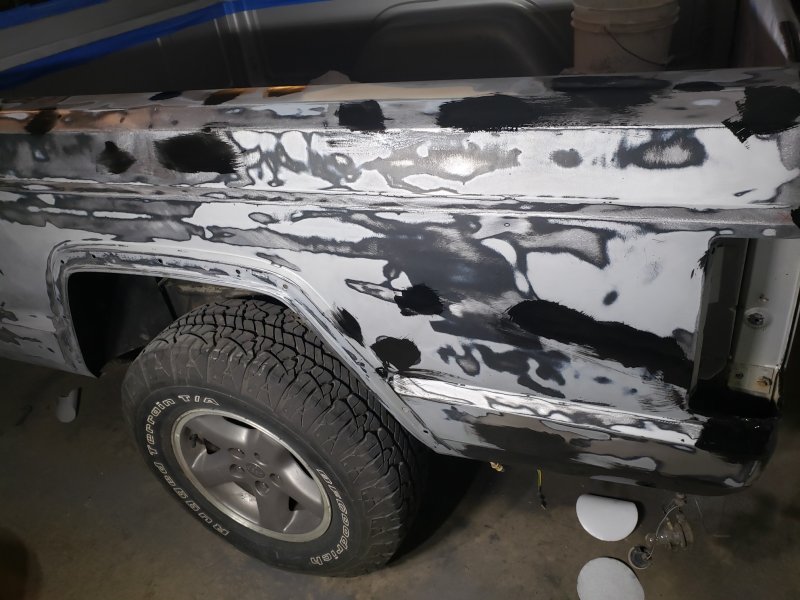
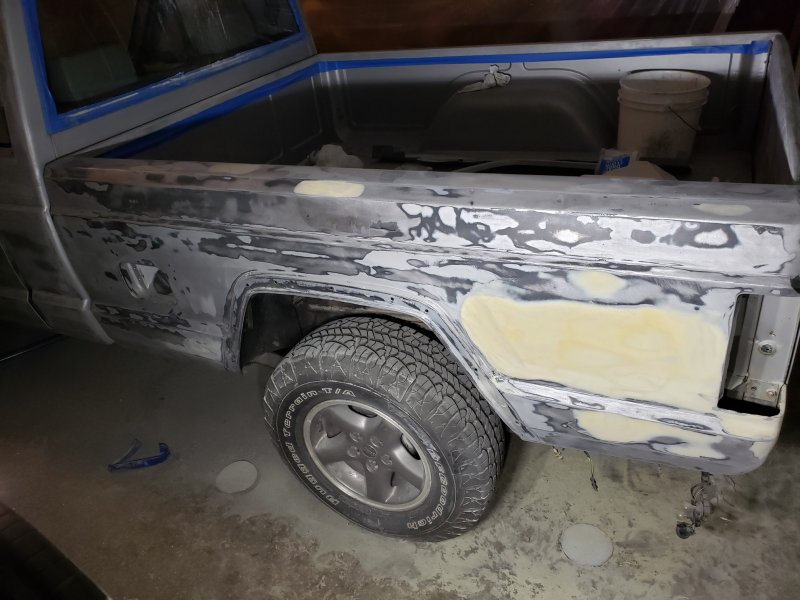
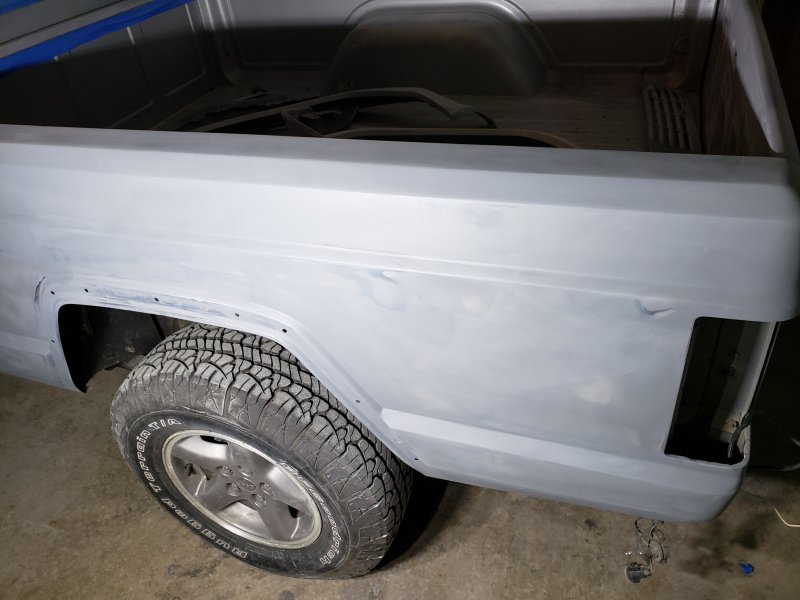
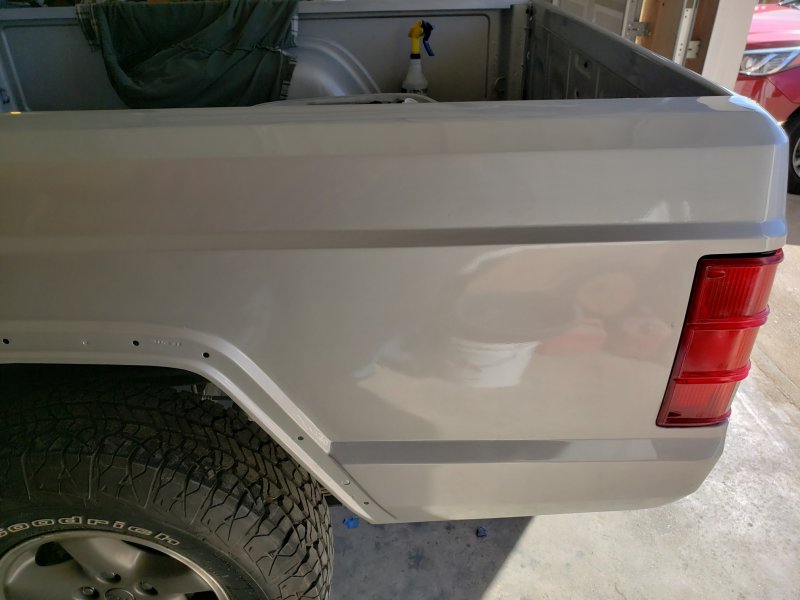
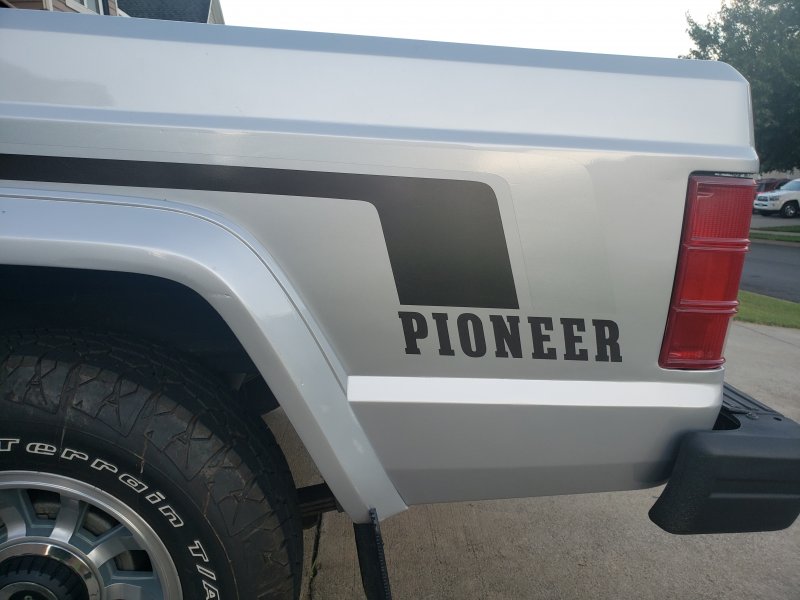
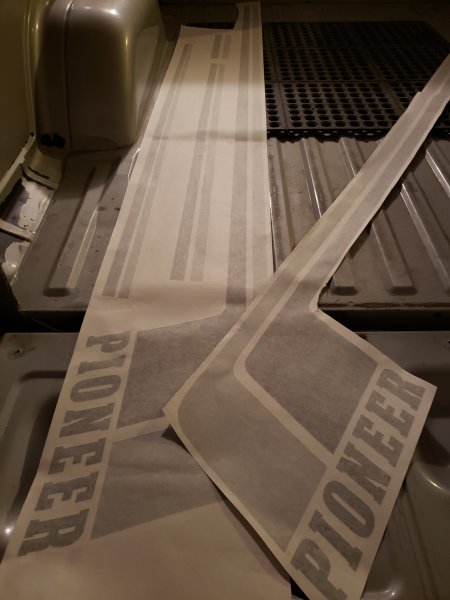
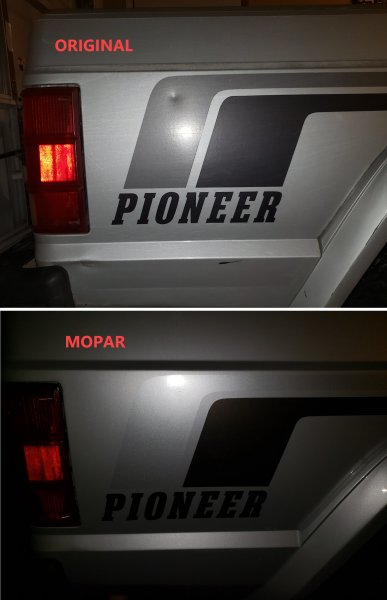
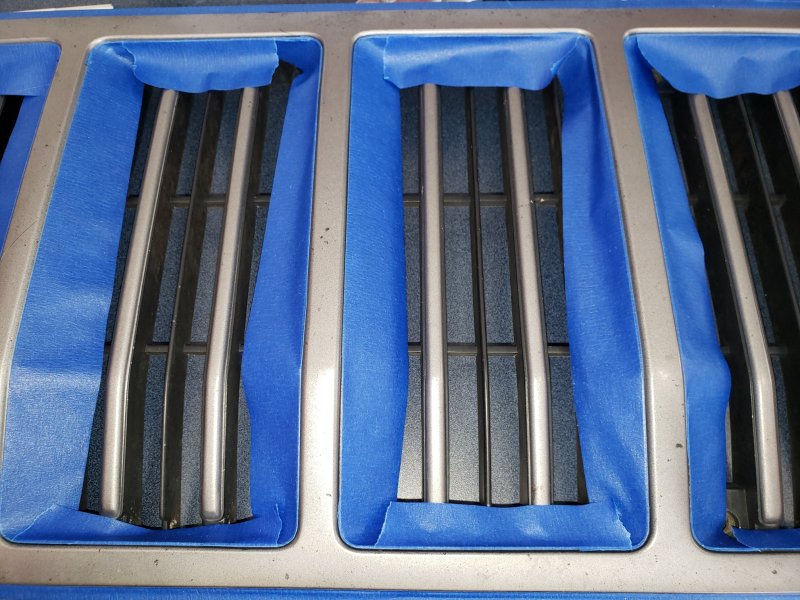
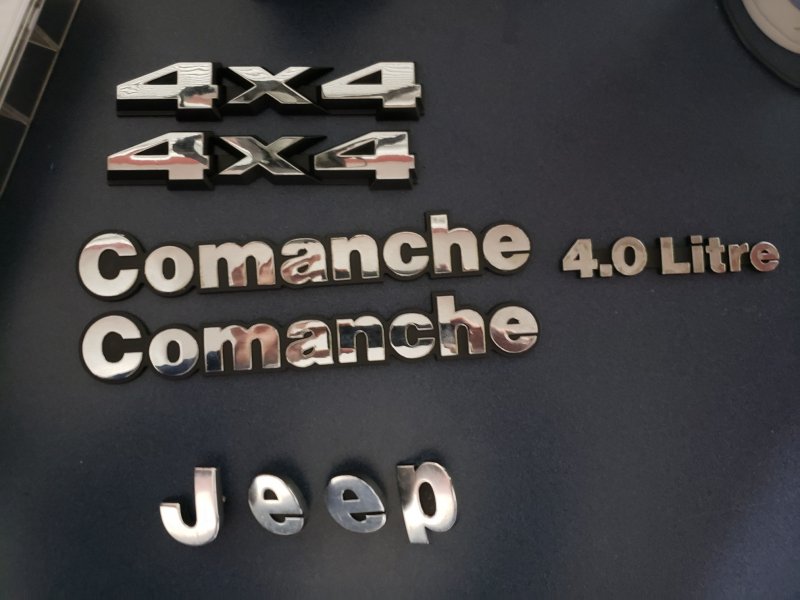
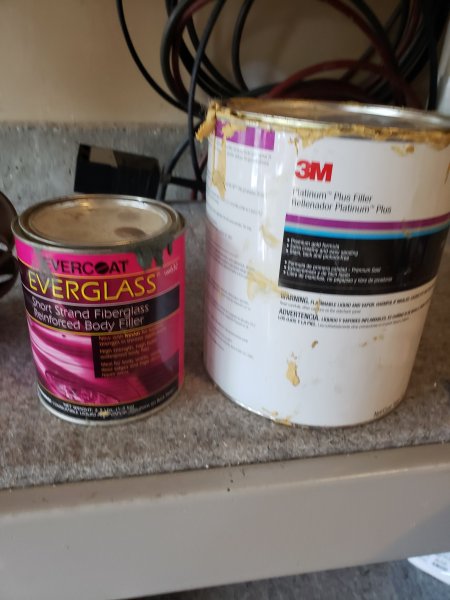
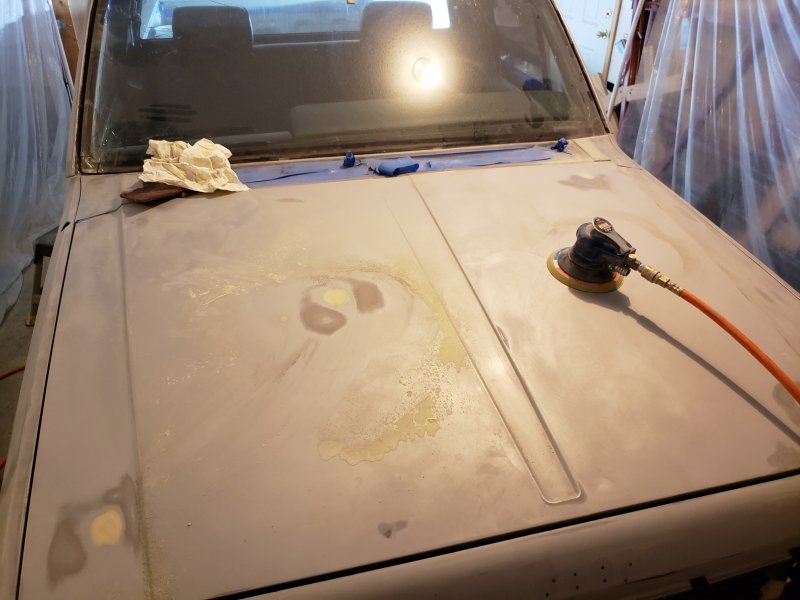
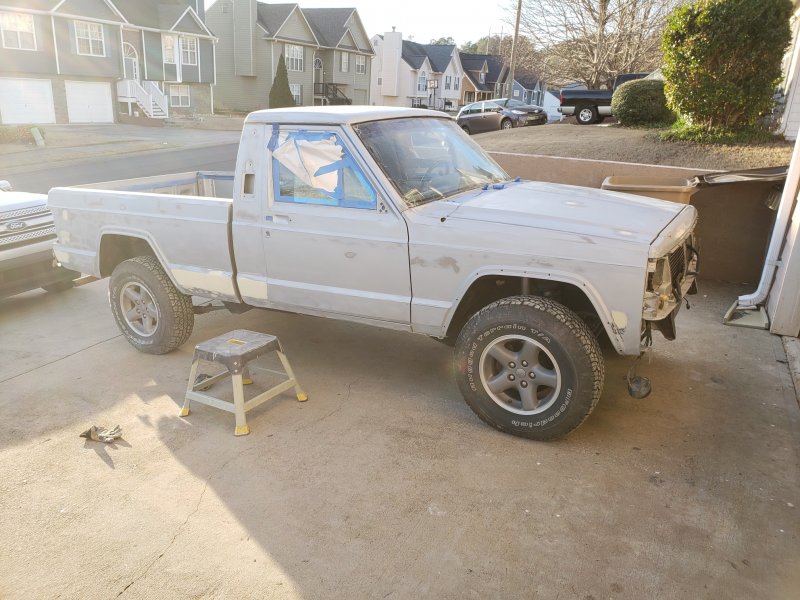
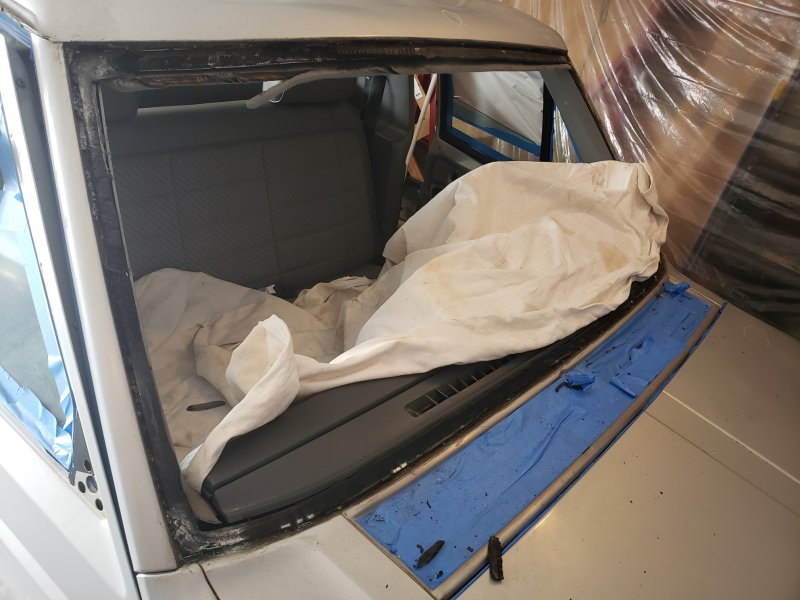
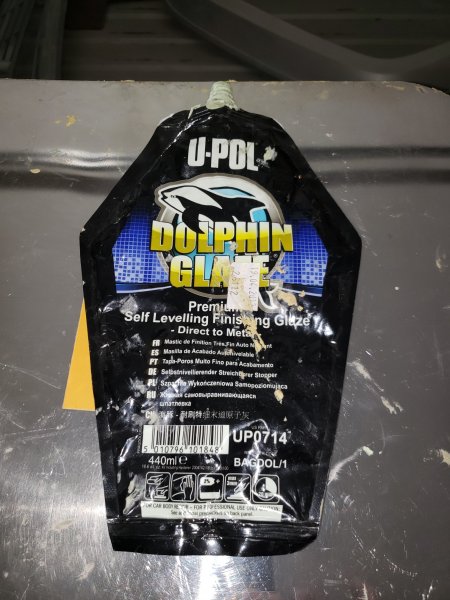
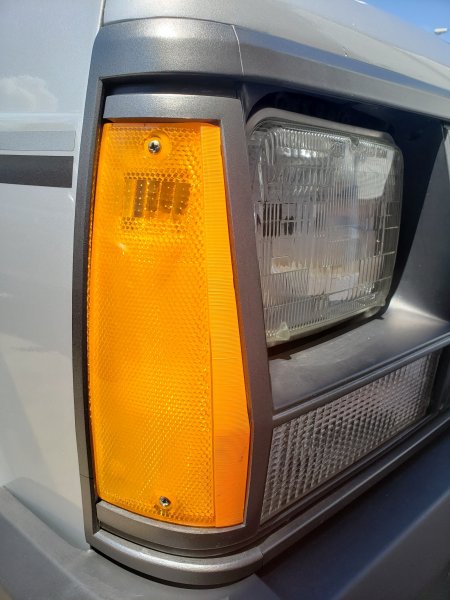
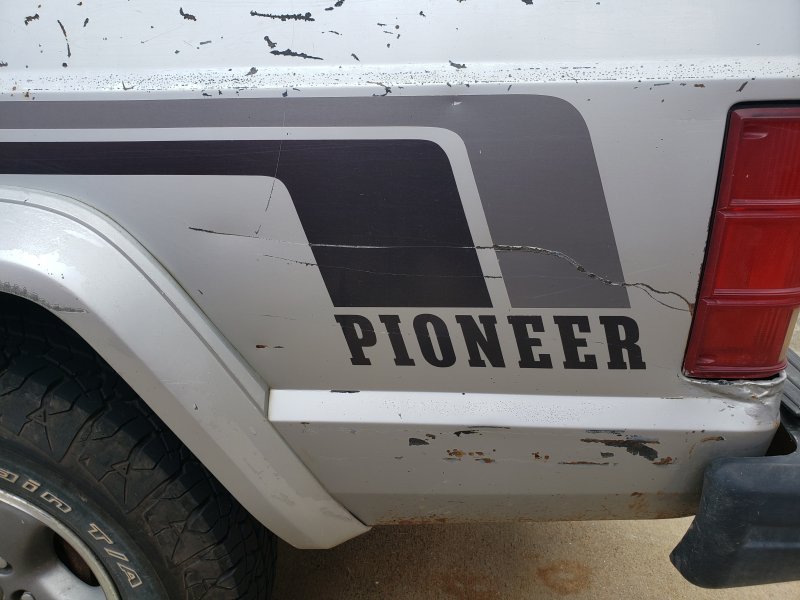
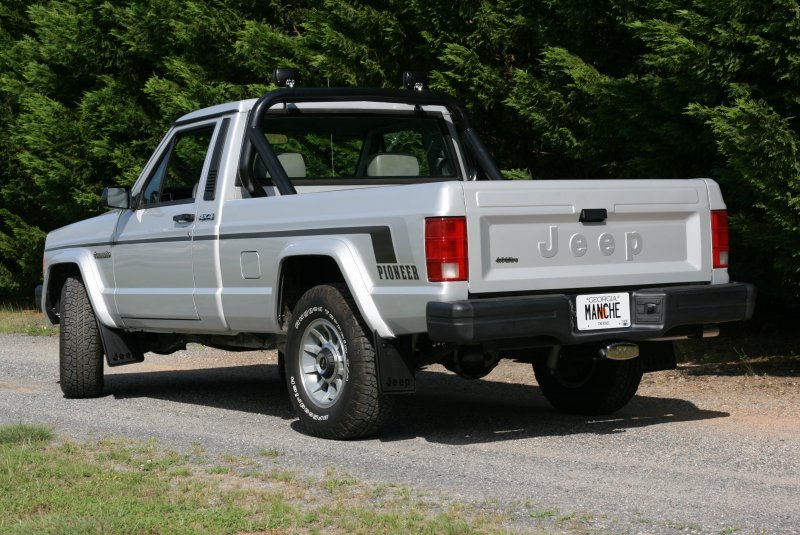
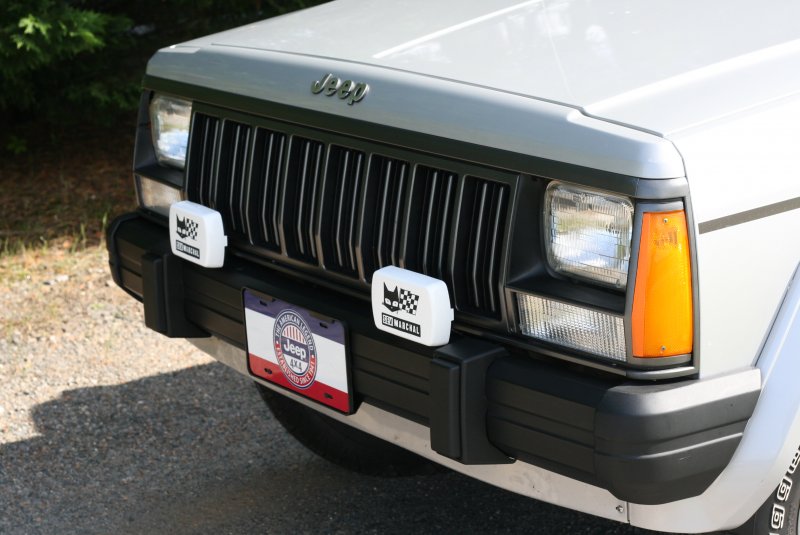
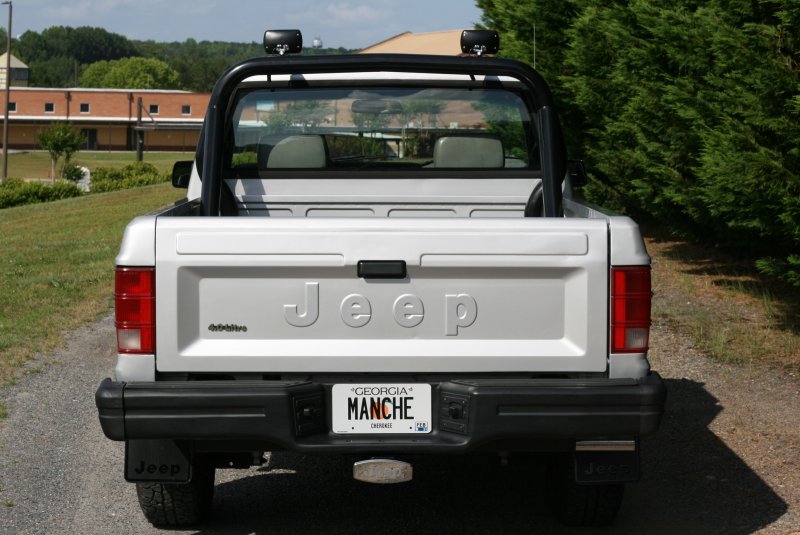
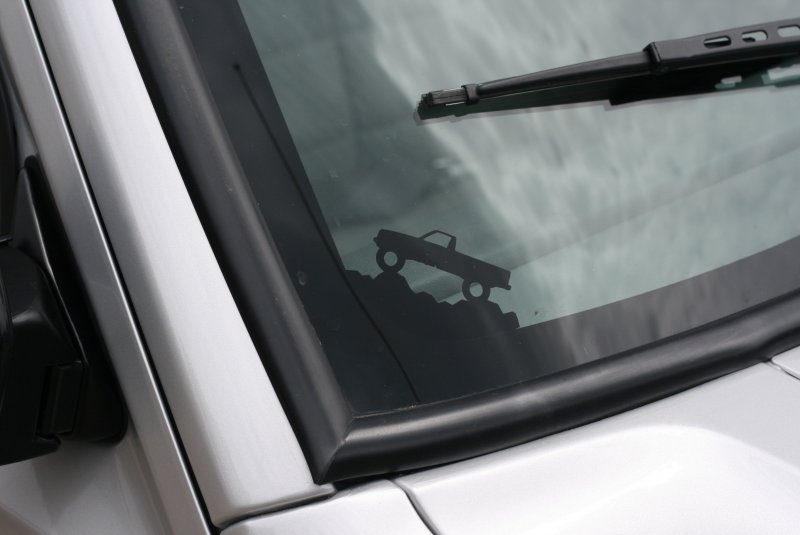
* body work If there is one thing I regret, it is not taking more time on the body work. I'm going to repaint this jeep in 10 years so I will have a chance to fix some of my mistakes, but there are a number of small areas that consistently remind me I should have some patience. I painted the whole jeep back to its original color, but fixed dings and surface rust areas. The other frustration area is that the hockey stick decals (mopar) were not oem colors so the top hockey stick did not have the right contrast against the new paint so it is hard to see. I also replaced the windshield and cut out the trim posts, filled and sanded so I could replace it with a rubber seal. Then repainted the trim pieces argent silver so they would match and restored the badges.


-
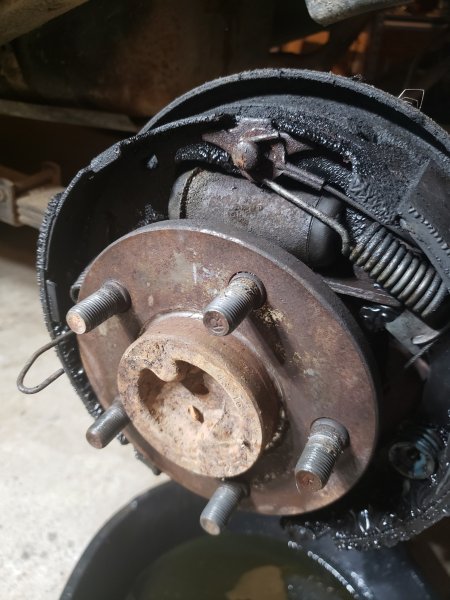
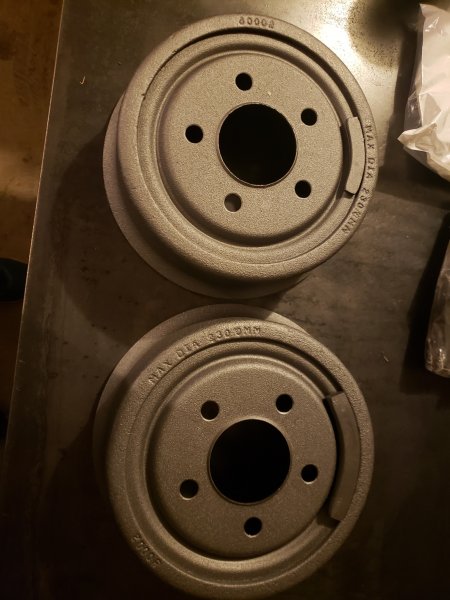
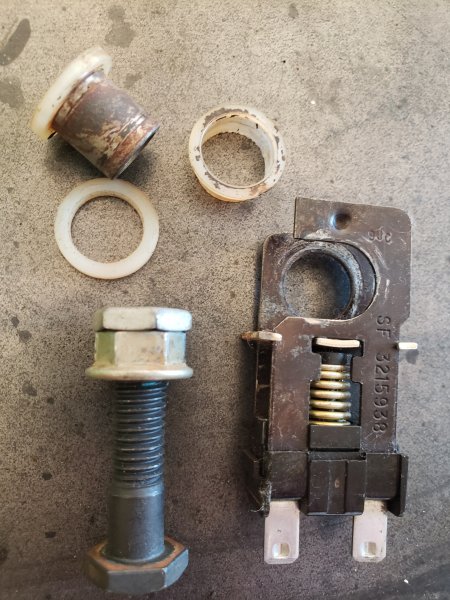
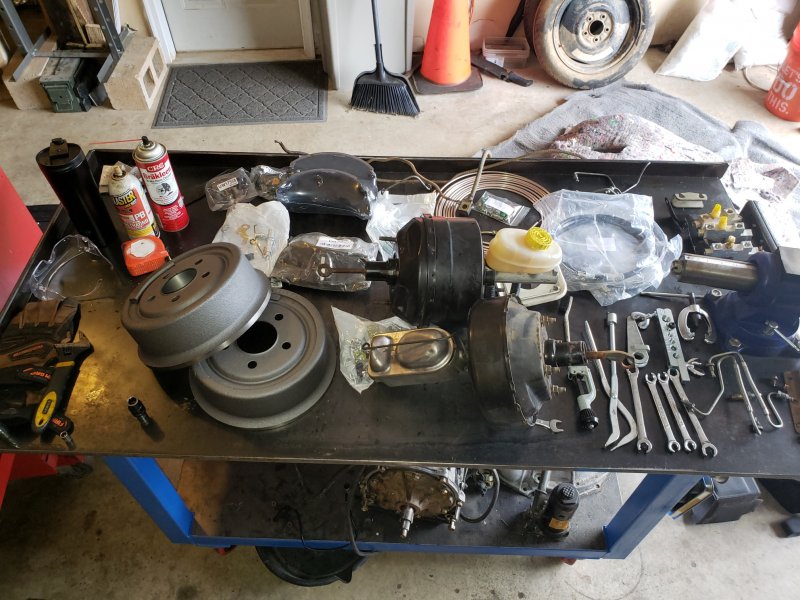
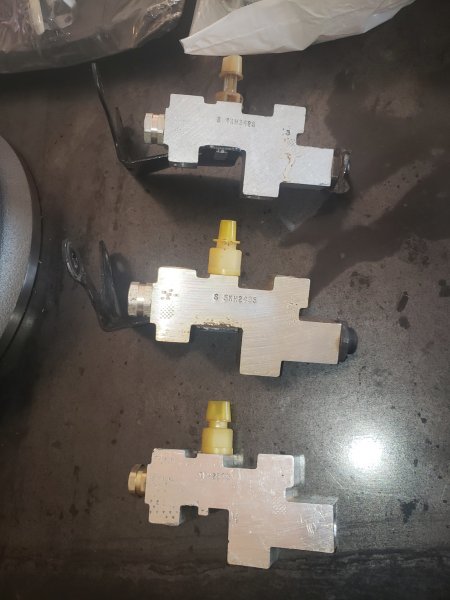
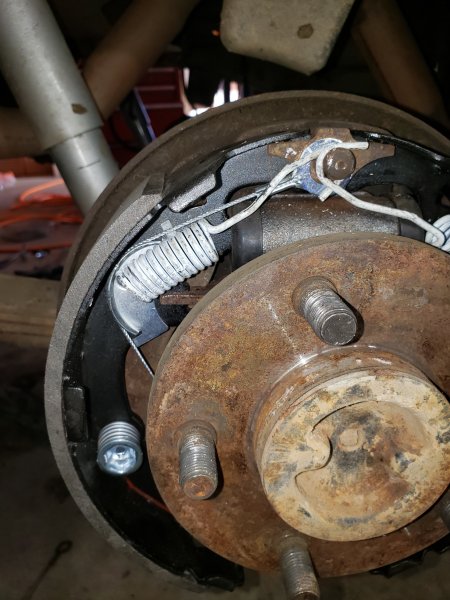
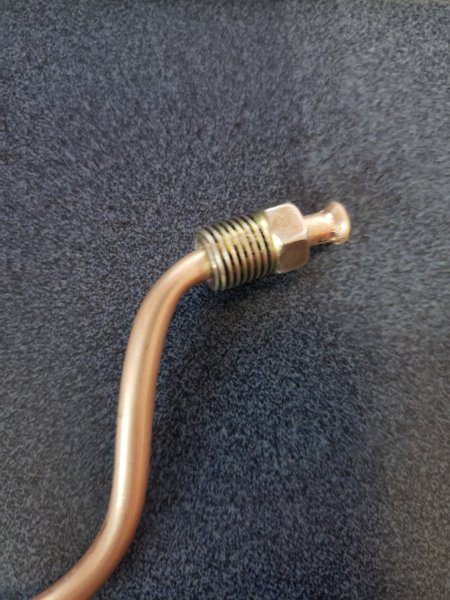
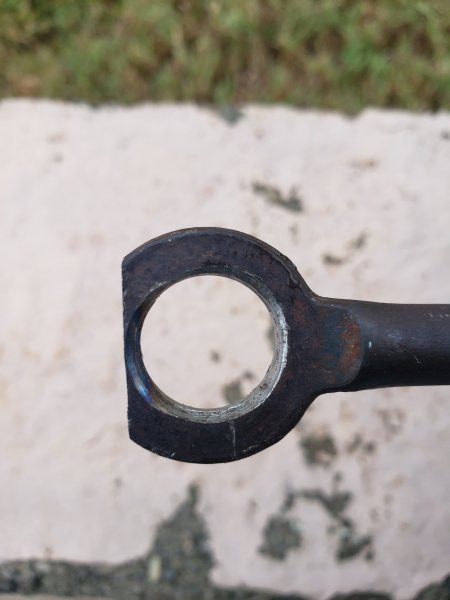
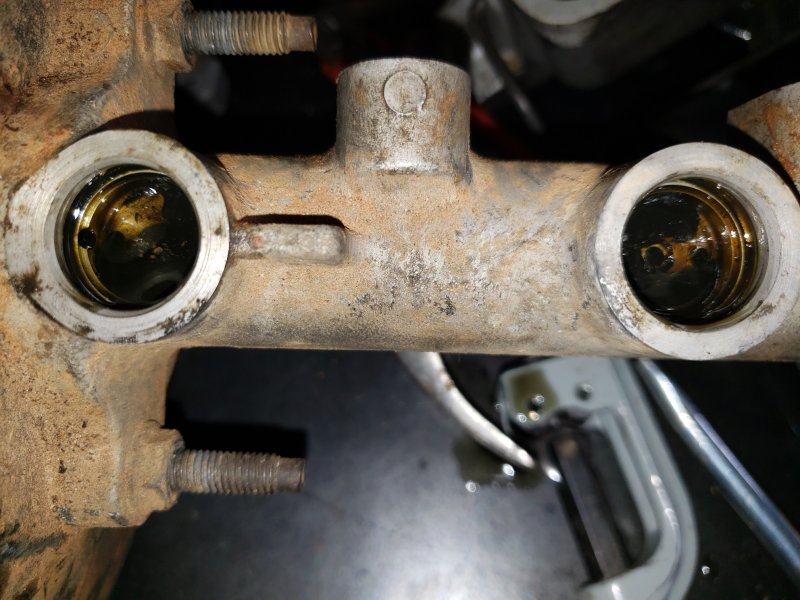
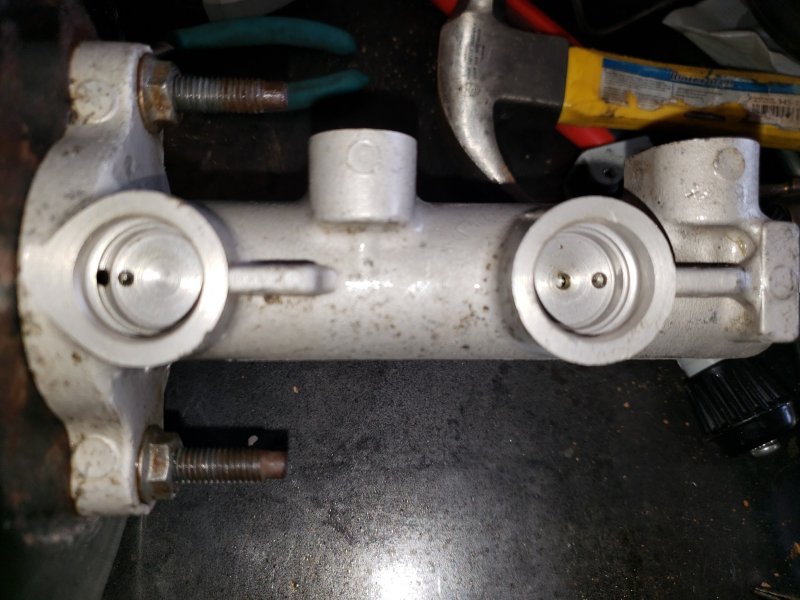
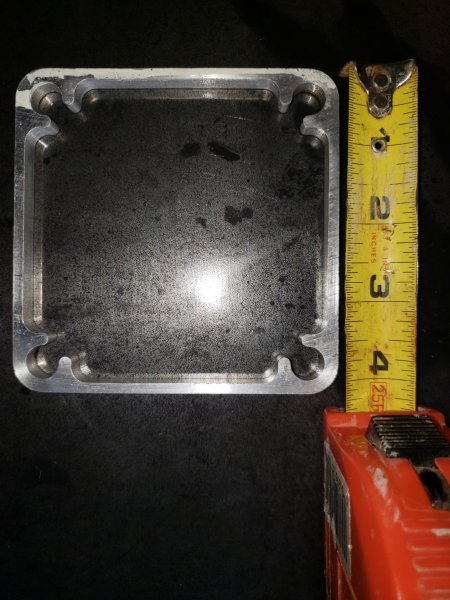
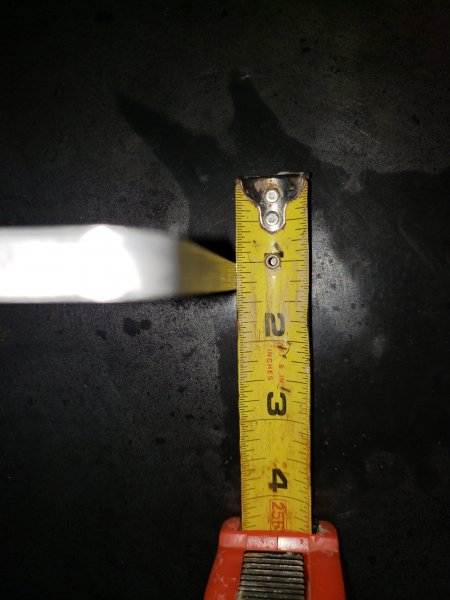
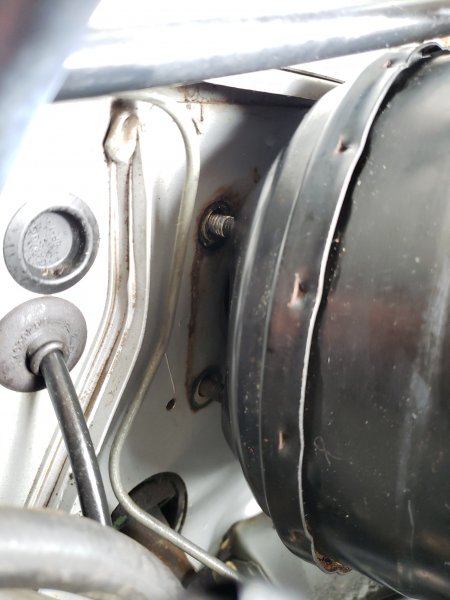
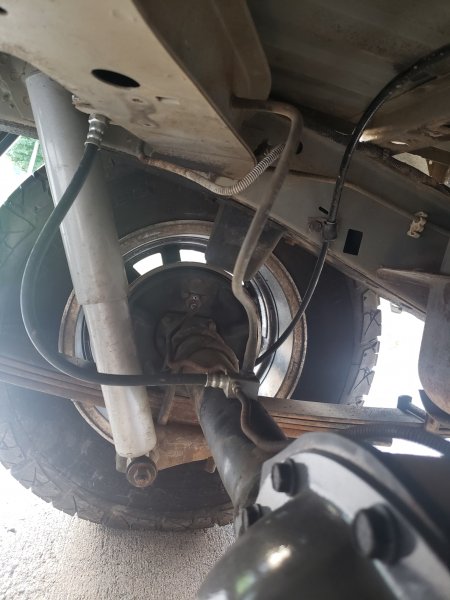
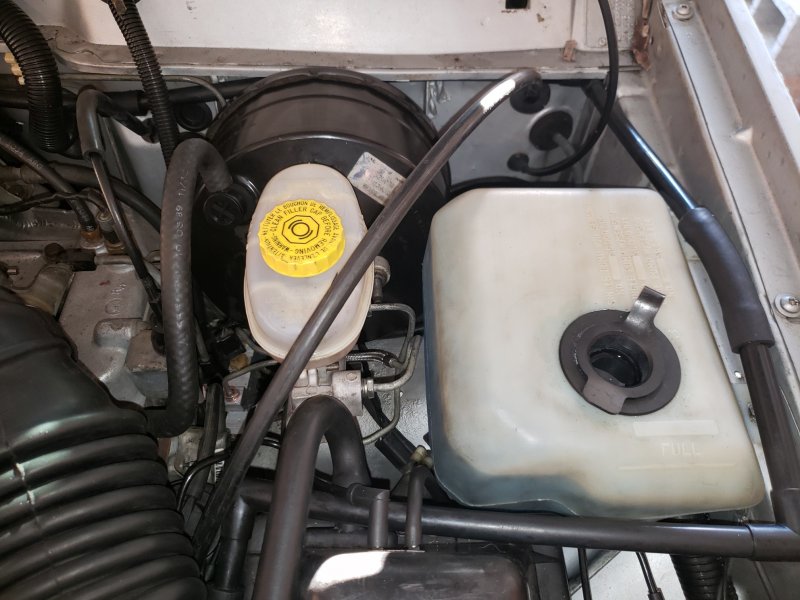
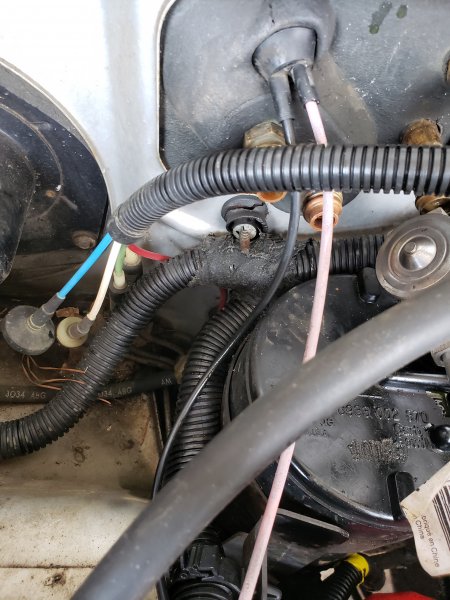
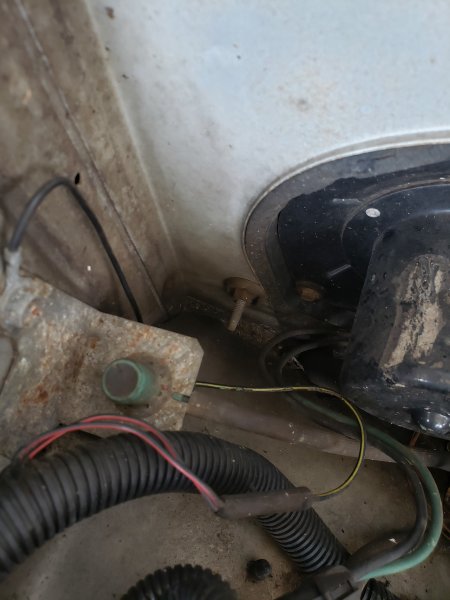
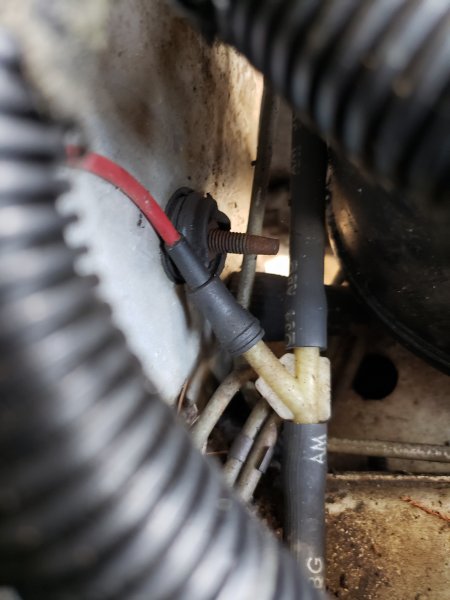
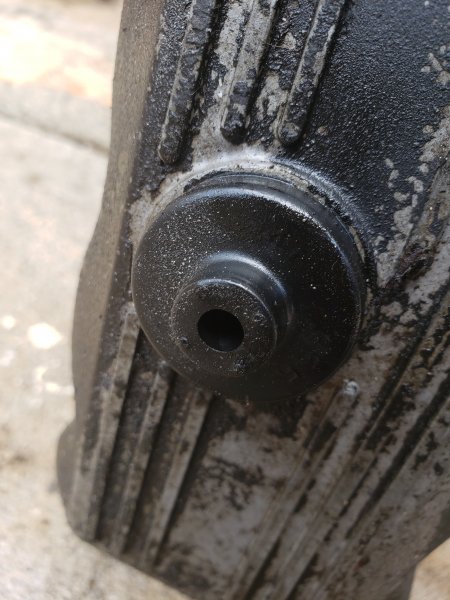
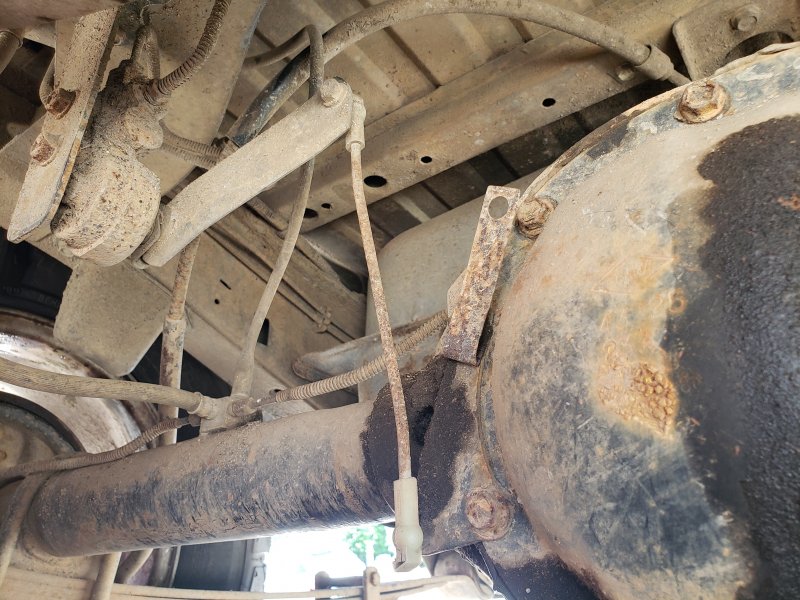
* brake booster, proportioning valve, brake lines, solenoids, etc. Because I wanted to use the truck as a daily driver there were couple of updates I felt were needed. The brake booster was one of those updates and since I was changing the booster... you know the rest. I had a leaking brake solenoid and when I tried to loosen the connection, I broke the line so I decided to go head and get started on the brake system. I replaced rear brake lines, solenoids, parking brake cables, drums, drum hardware, and removed the MJ proportioning valve. I used a 95 XJ booster and added a 98 XJ portioning valve in place of the MJ distribution block. I also grabbed some 2003 WJ flex cables to attach it to the master cylinder. End result was a major difference. You should do this upgrade if you havent already. Lessons Learned I over shaved the first brake booster (pic below) and went back to the salvage yard to get another. If you take too much off, the brake switch will not be stable. Make sure that you have your brake nut on the right way (pic below) before your double flare your line. :)


-
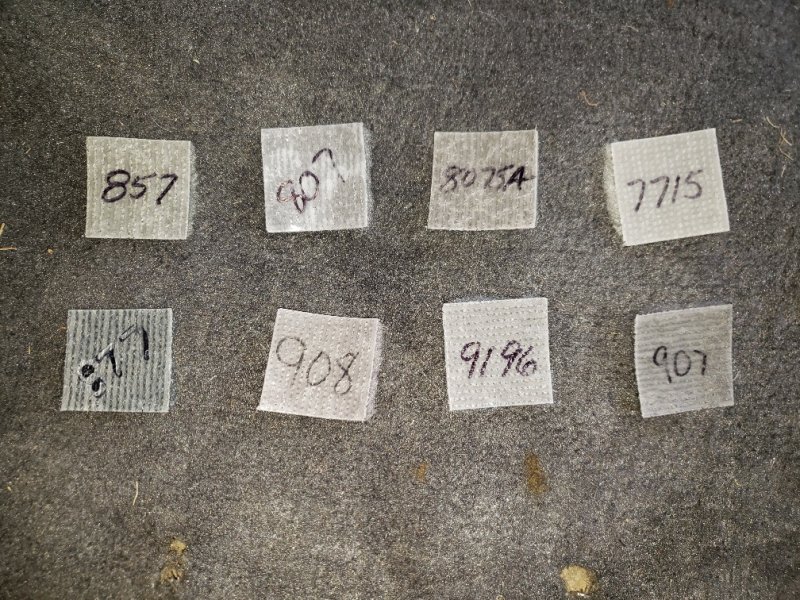
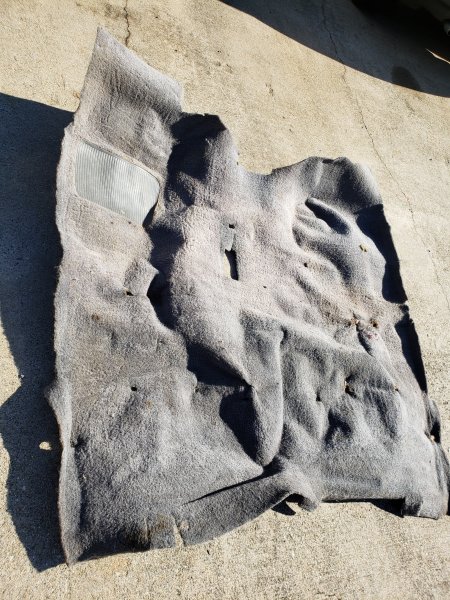
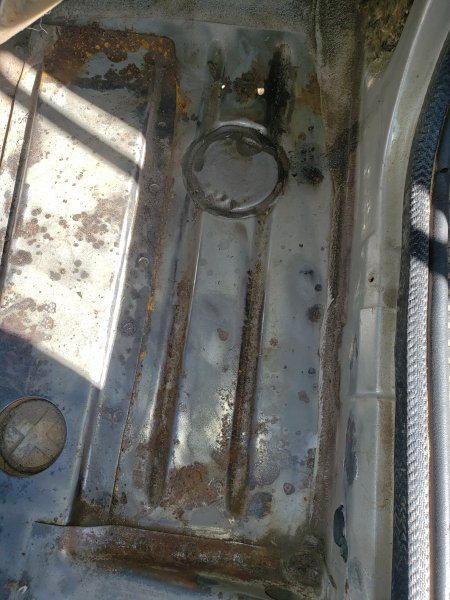
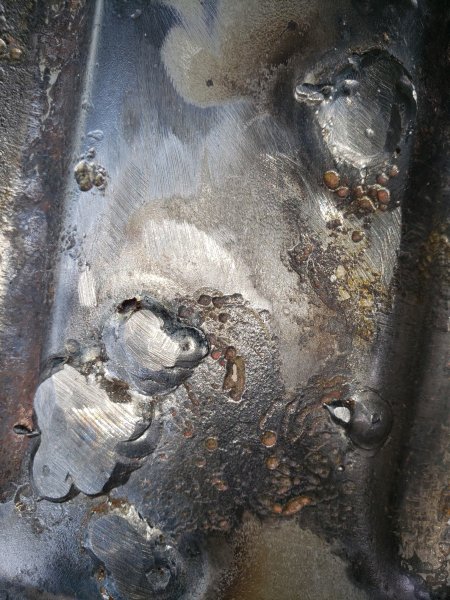
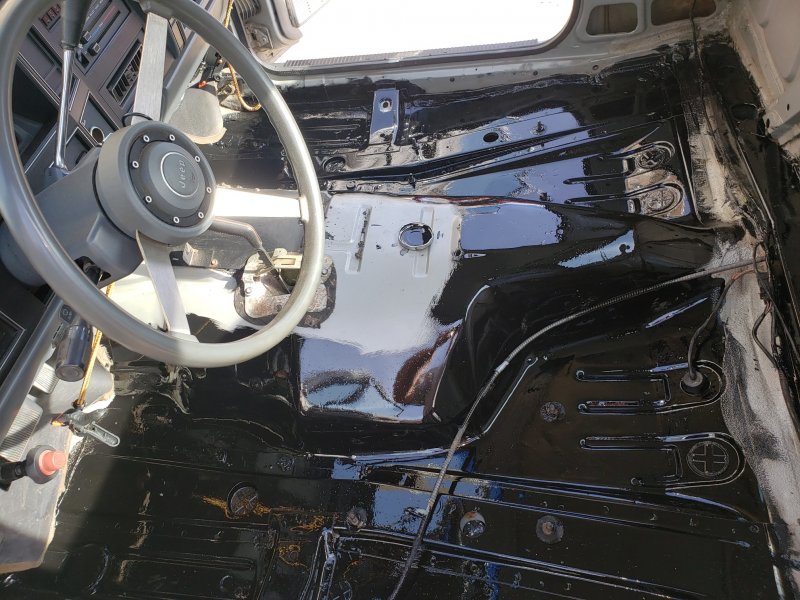
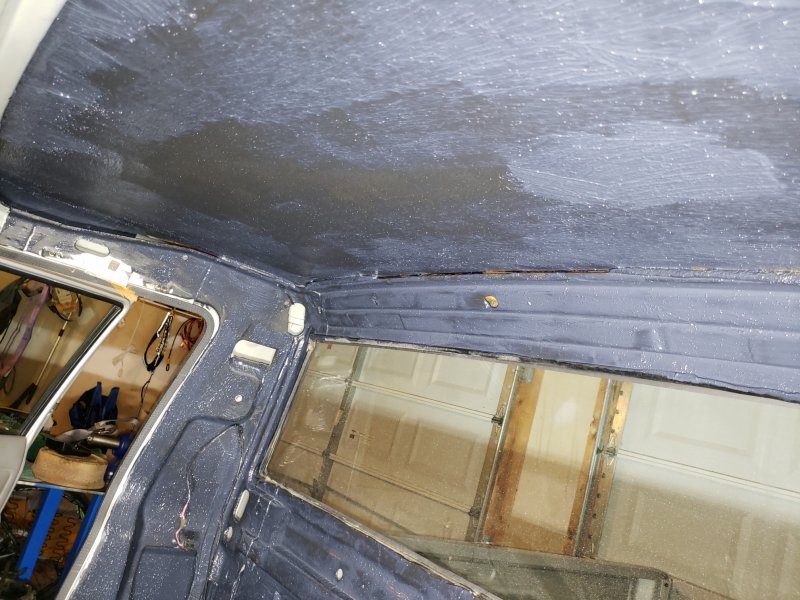
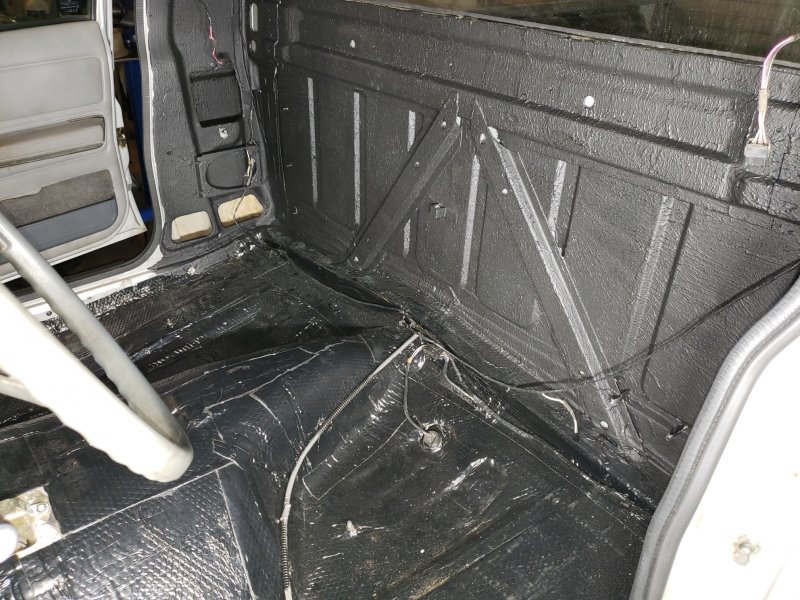
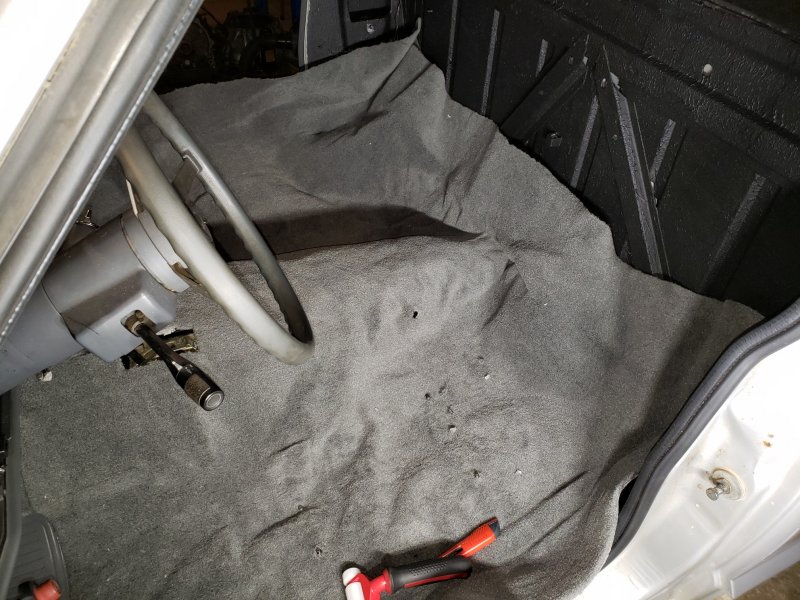
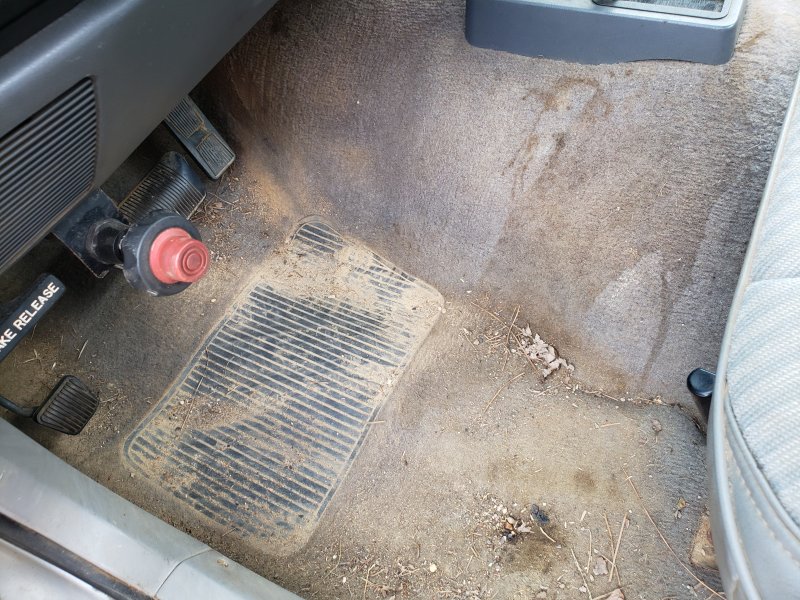
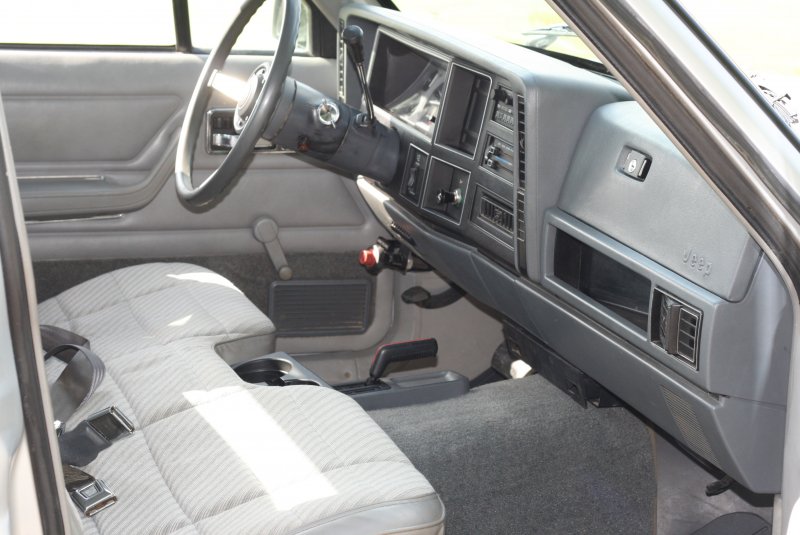
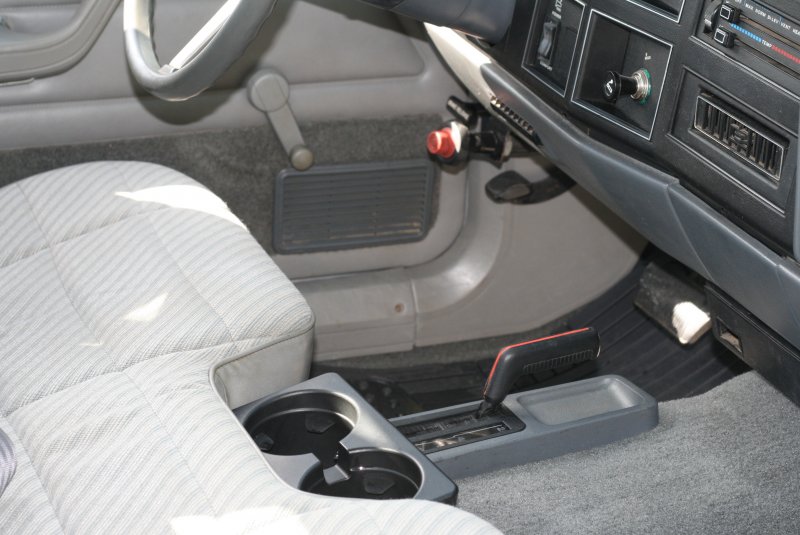
* sound proofing and carpet I don't remember the Wagoneer or XJ's being nearly as loud as the cab in the MJ was. Some of it was due to the exhaust, but I wanted to make this truck as quiet as I could. After pulling the carpet there were just a couple of pinholes on the passenger side that I welded. I removed as much rust as possible and covered the flooring with POR15. I found there where 4 areas of focus to minimize noise in the cab. Front window strip, door seals, sound deadening, carpet/padding. I used noico on the floor of the cab and second skin on the roof, doors and back of the cab. I ordered new carpet from ACC. I was told to use the old carpet as template, but I would suggest that you start with the location of the drivers foot well and work your way out with a roller because the carpet you get won't be exactly like the original carpet.


-
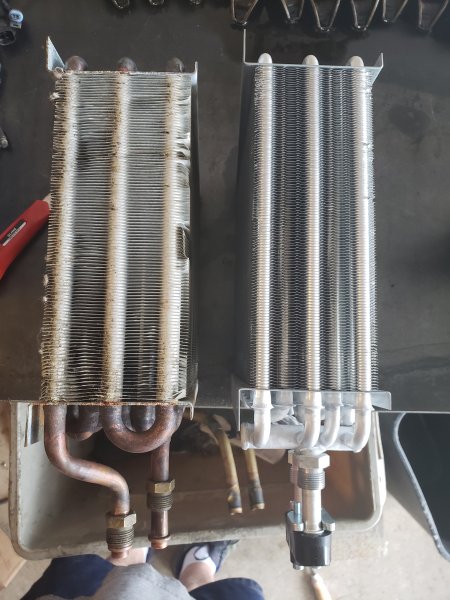
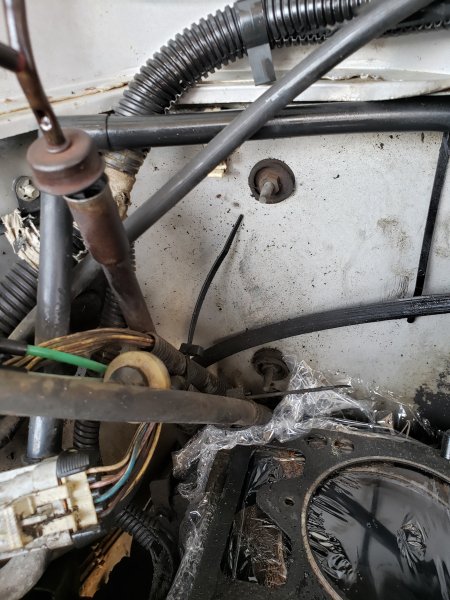
* heater core and a/c evap The Comanche came with a lovely mild dew smell due to a busted heater core. When you turn your heater on, a burnt coolant smell or lots of moisture fogging up your cab are dead give-aways. I decided to change the a/c evap and surface the grounding areas since I had to pull the dash. Some people state this is a 3hr job, but I took my time and it was about 10hrs (partially a learning curve in there). I couldnt find an original a/c evap and had to make some adjustments to get it to fit. I also had to drill a hole for the temp regulator. When you pull the dash, I suggest you bag and mark all the screws to make your life easier. If you have freon in your a/c, make sure to get it pulled out. Some places will give you credit when you have to refill it. I used various sizes of window sealing tape from HomeDepot to replace a lot of the container seals. Be prepared to buy studs for the container, more than likely some of them will spin when you try to remove them. Lesson learned I did not take the time to seal the firewall up before I put everything back and still have a small water leak when it rains so I have to pull it all back out again in the upcoming weeks to track it down. Son of a....


-
Thanks for the kind words! It was a fun project. @Pete M Barely beat you too it.
-
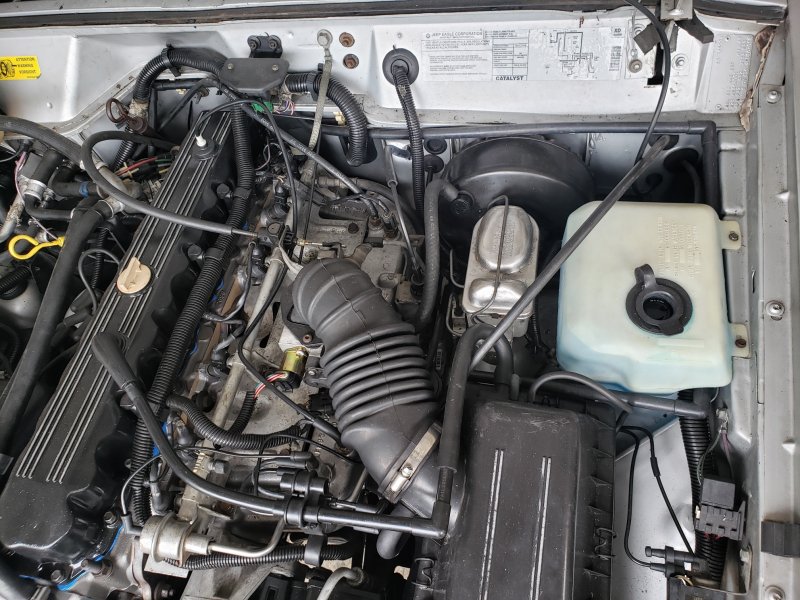
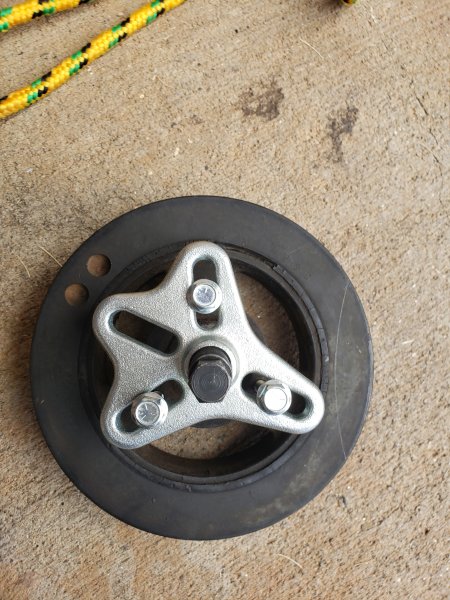
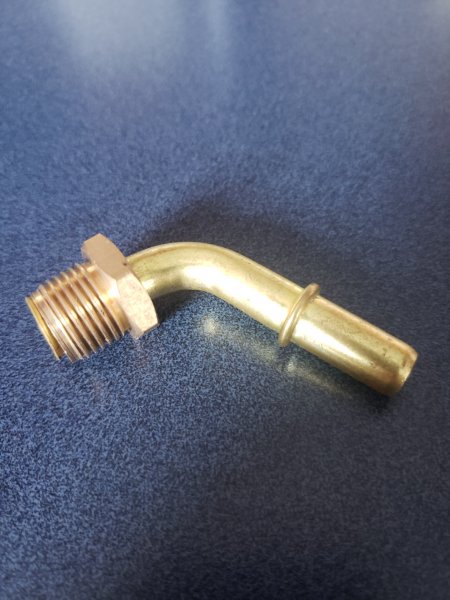
* Other Engine Parts worth mentioning There were a few other parts that I replaced that are worth mentioning I'm going to lump them together. Fuel injectors - I know many have suggested 4-hole Volvo 746 and I may go that route a some point in the future, but I was changing so many things at once and I had a poor experience with refurbished injectors in the past so I went with a new single hole Mopar injector (53003956AB). Some state that ionization of a 4-hole will give you better idle and gas mileage. In my research I haven't seen or experienced any supporting evidence of material gain. BTW. The o-ring in the fuel rail canister is the same as the injector o-rings so you may want change that while you have every thing apart. Water Pump - My suggestion here is to not go cheap. Some of the cast-iron water pumps are poorly designed, stay with a premium version. In addition, make sure that you have clearance for your wheel cover. Some are categorized for Comanche models incorrectly and the cover touches the pump when attaching it back on. Radiator - I swapped my radiator with a 3-row version. It fit and works great, just make sure you get the transmission line quick connector with it or are able to order one. They are hard to find, which leaves some people cutting the line an rigging it with a metal clamp. I bought 6 of them when I finally found it. :) Ballast Resistor - I didnt replace this, but I did order one to put in the glove box. You've been warned. 8933000682 Harmonic Balancer - The internal rubber was starting dry rot and break off. If this happens, its not if it will fail, its when it will fail. I wanted to get this changed out under ideal conditions so I replace it while the rest of the items were out of my way. Once you have the belt off, you may need to put some string in the spark plug holes to get enough resistance to remove the bolt (19mm). If you don't have a puller kit, best to rent one from a local repair store. Sensors and Throttle Body - I cleaned all sensors from the manifold and the throttle body. Replaced gaskets and oiled as needed. spark plugs, thermostat, thermostat housing, serpentine belt, IAC gauge, oil filter, and other standard items were changed.


-
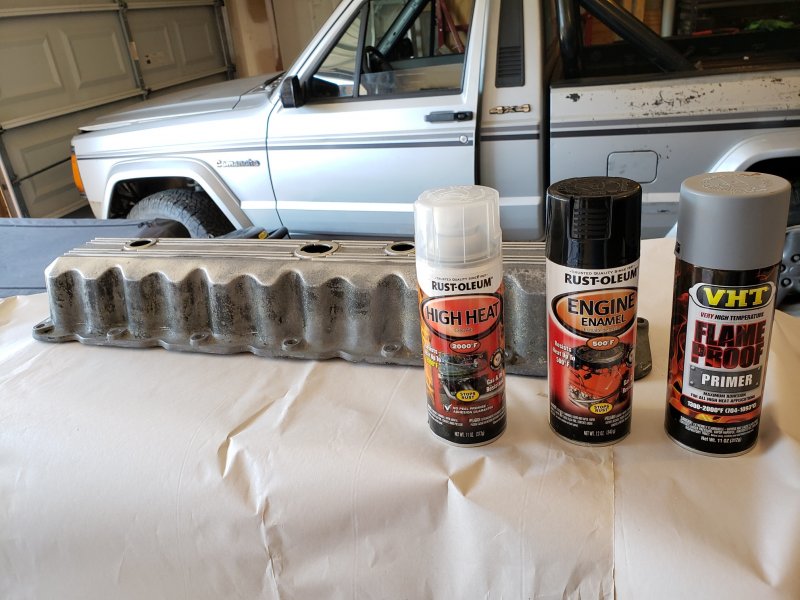
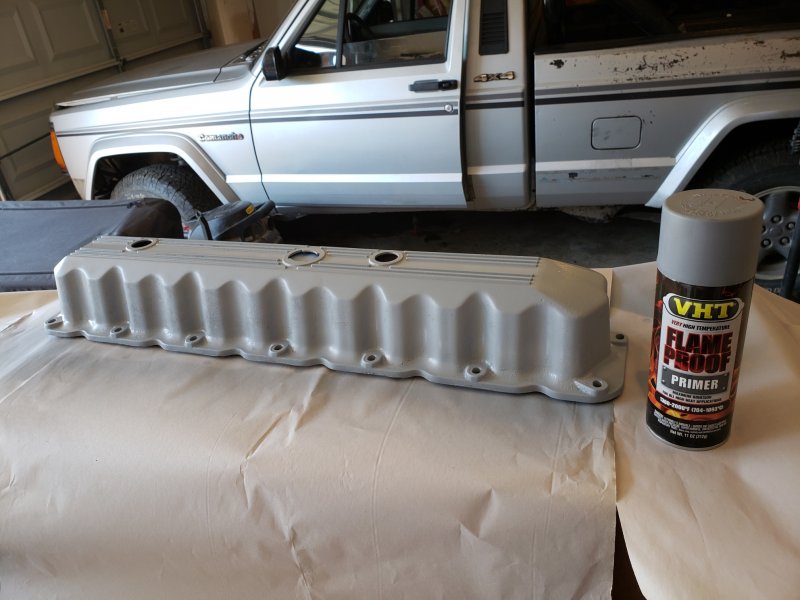
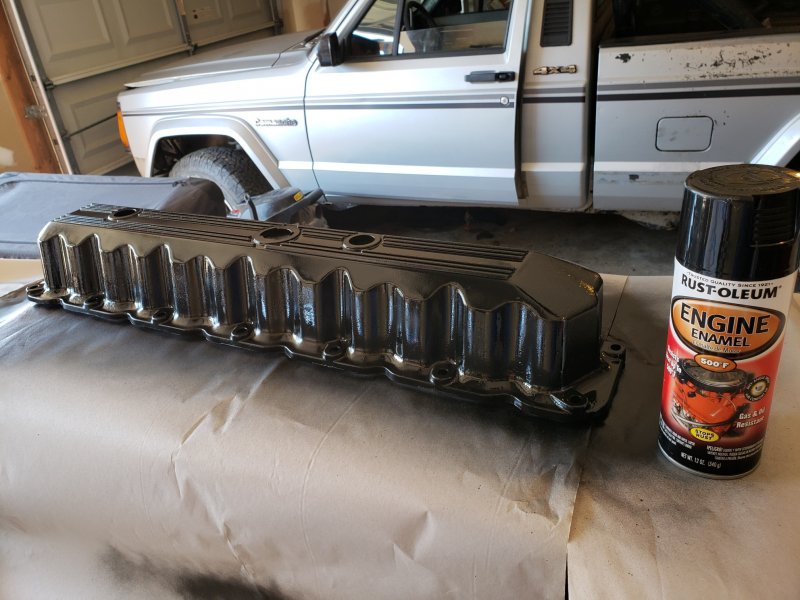
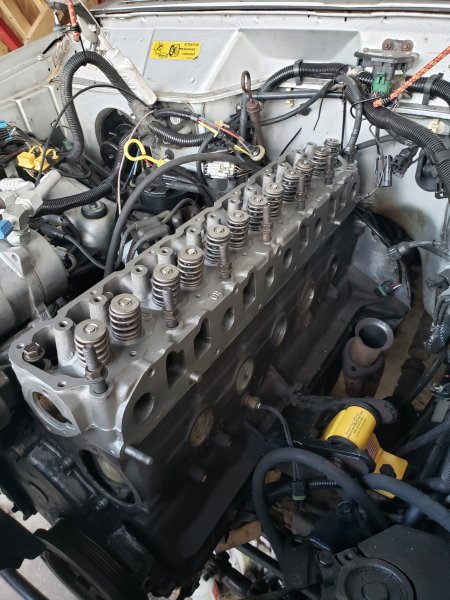
* Valve Cover There are a number vacuum lines on this engine and most were clogged. I took the opportunity to replace all the hoses, grommets, and repaint the cover. You should also take the appropriate steps here for Cruiser54 tips. Crankcase Breather Hose-Carded Dorman 46005 Vacuum Harness Dorman 46004


-
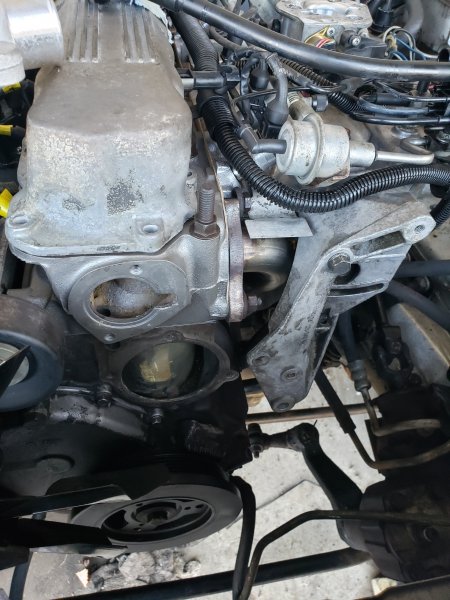
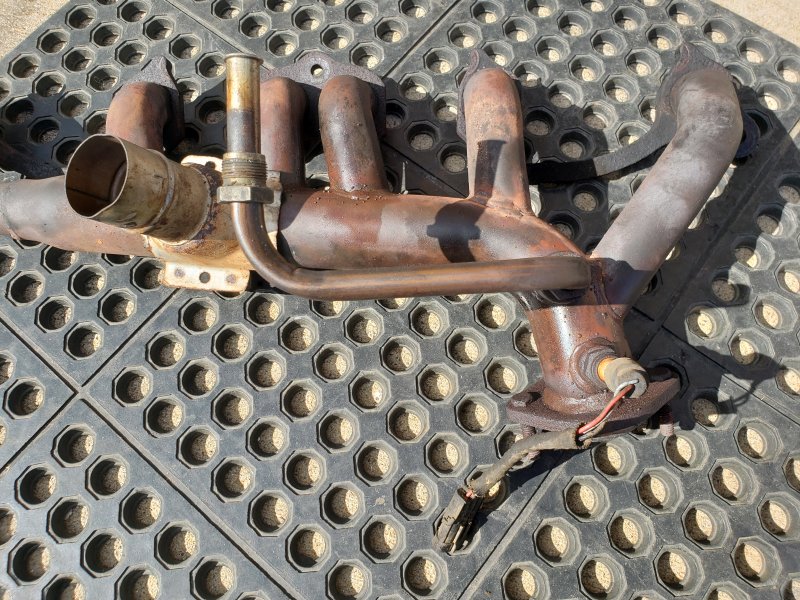
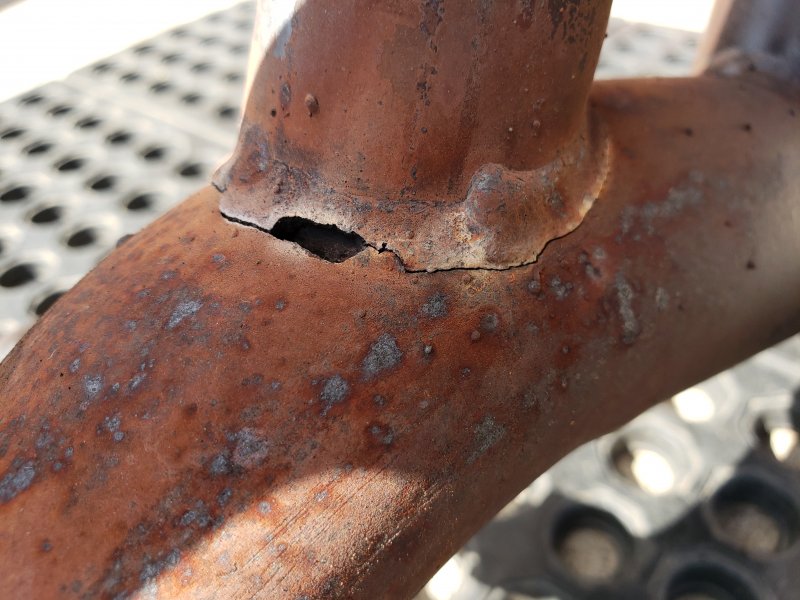
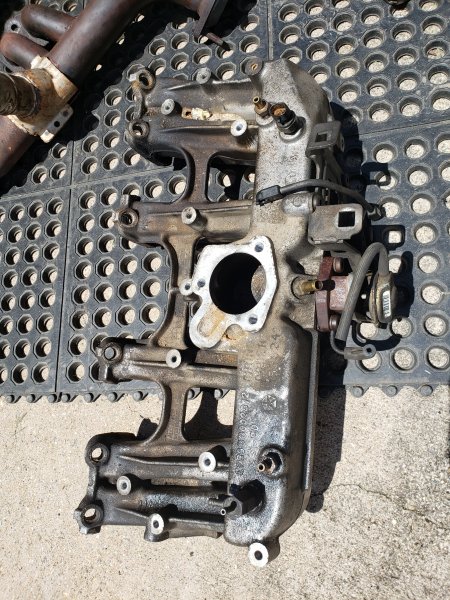
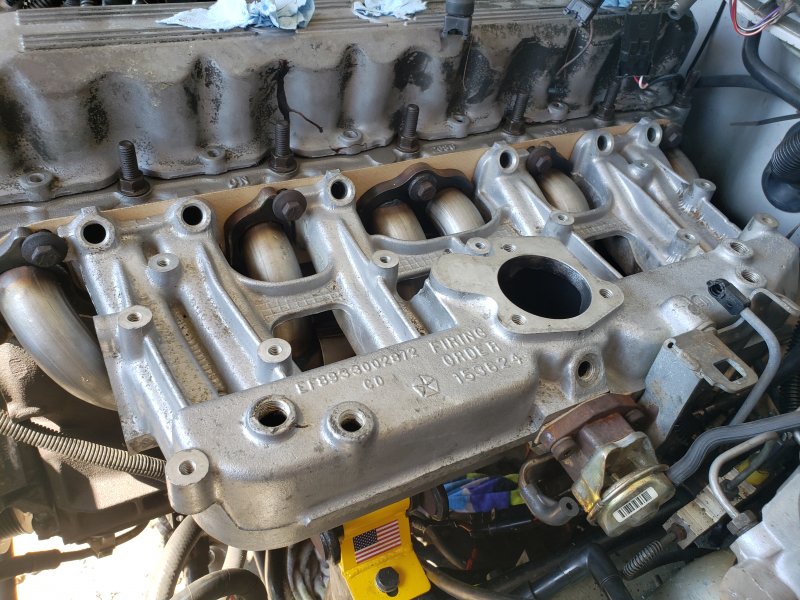
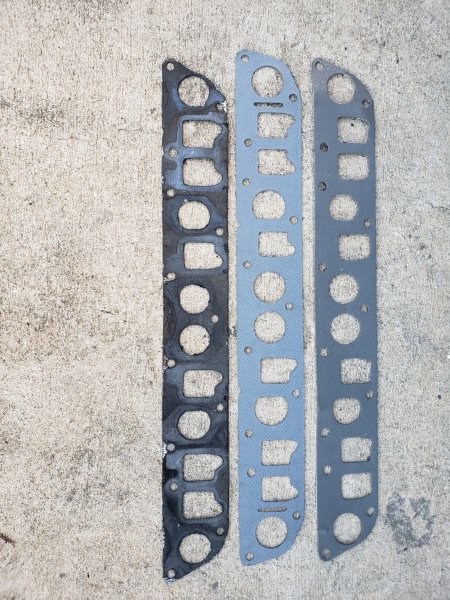
* Exhaust Manifold As you know, from this point on you get yourself into a "well since I'm here I might as well...." domino effect and since I had the exhaust manifold disconnected well... This engine idled and sounded horrible. In close review of the manifold there were cracks so I replaced gasket, manifold, pre-heater hose, and oxygen sensor. Make sure to follow torque specs and also spray soapy water to make sure you don't have leaks. Note: when buying an exhaust manifold, you will want to consider the connections for the pre-heater tube and exhaust pipe. Some decide to go without them. I chose to keep them. Use lots of PB Blaster and possibly heat to loosen the pipe. Also, not all gaskets are created equal. Make sure your gasket doesn't reduce air flow by mating it for review before install to get the correct one. Notice the holes in the gasket to right in the picture below does not match the size of the original. Since I had it out, I also replaced the CPS for good measure. Exhaust Manifold Dorman 674-170


-
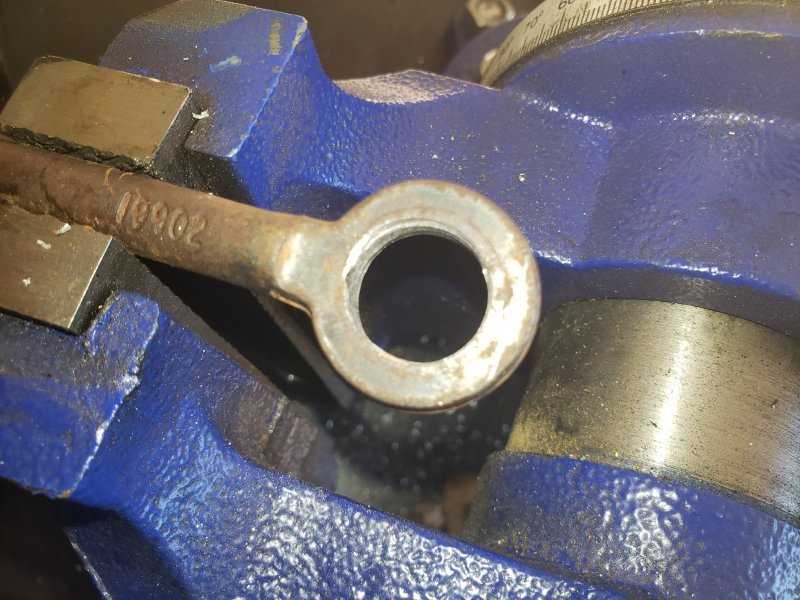
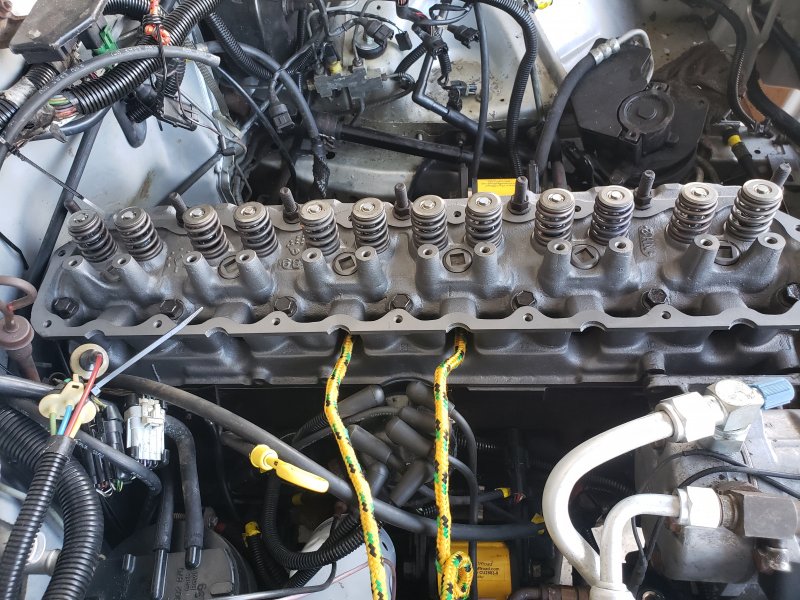
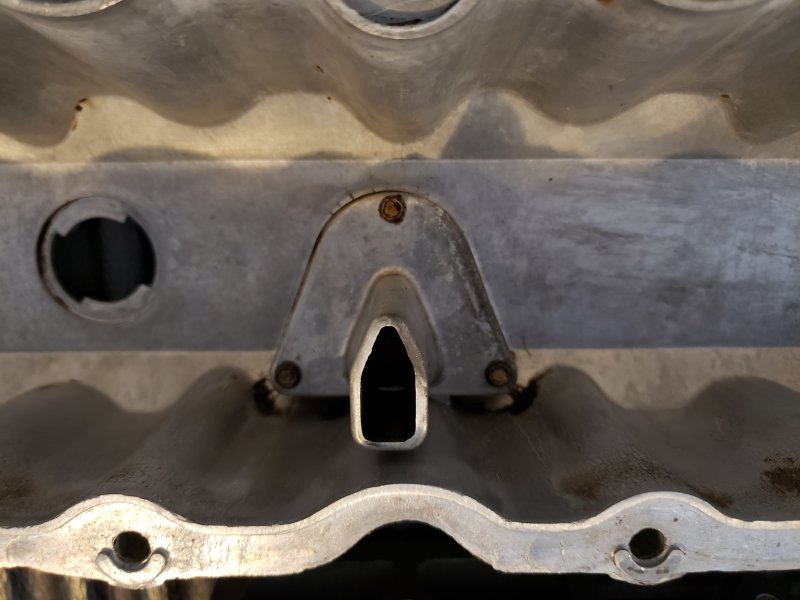
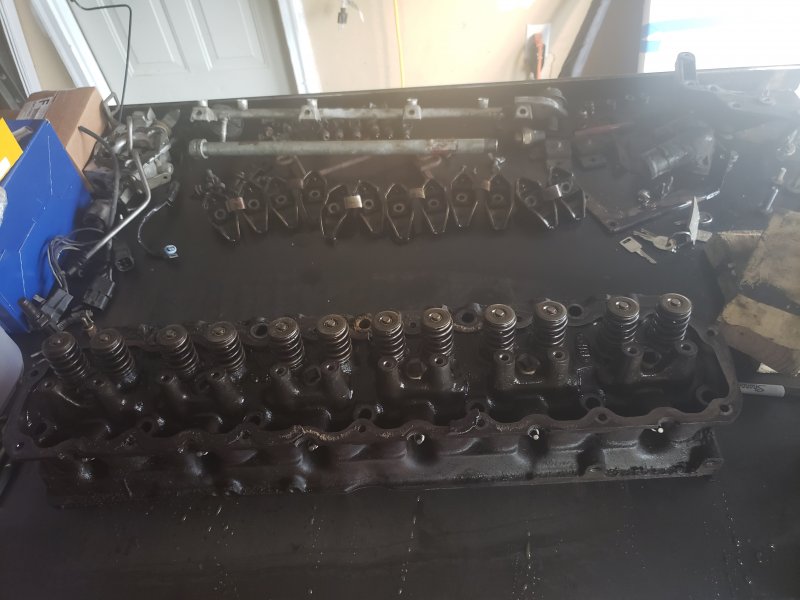
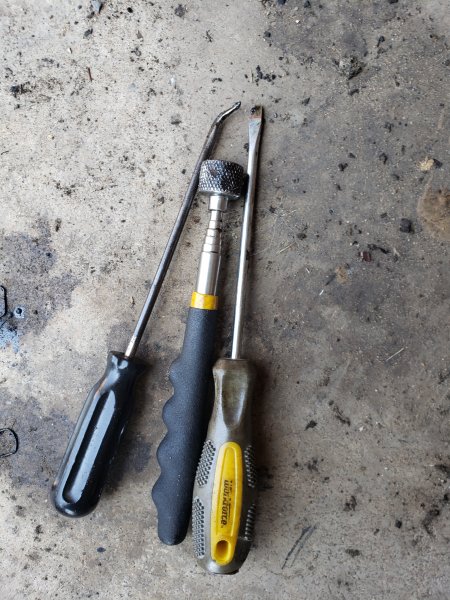
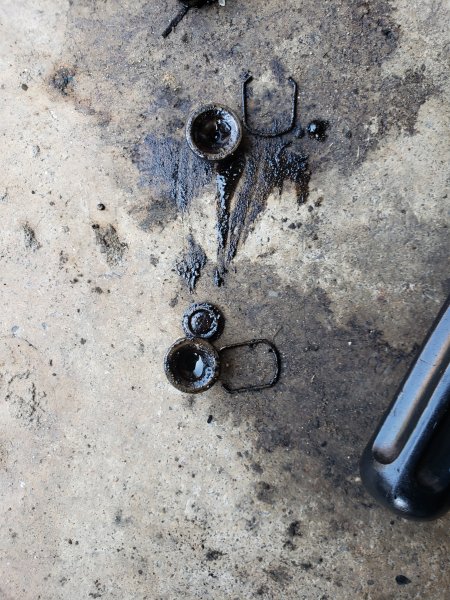
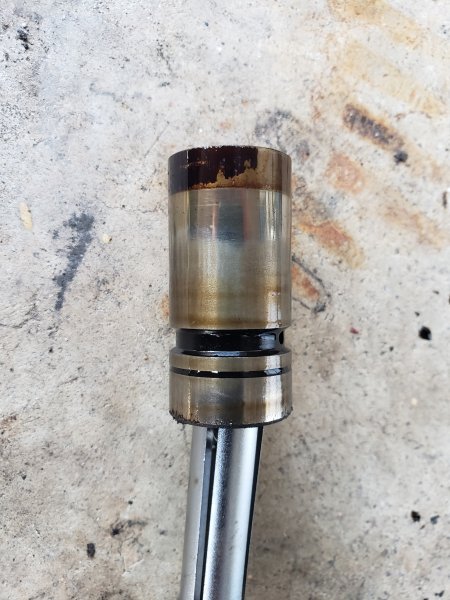
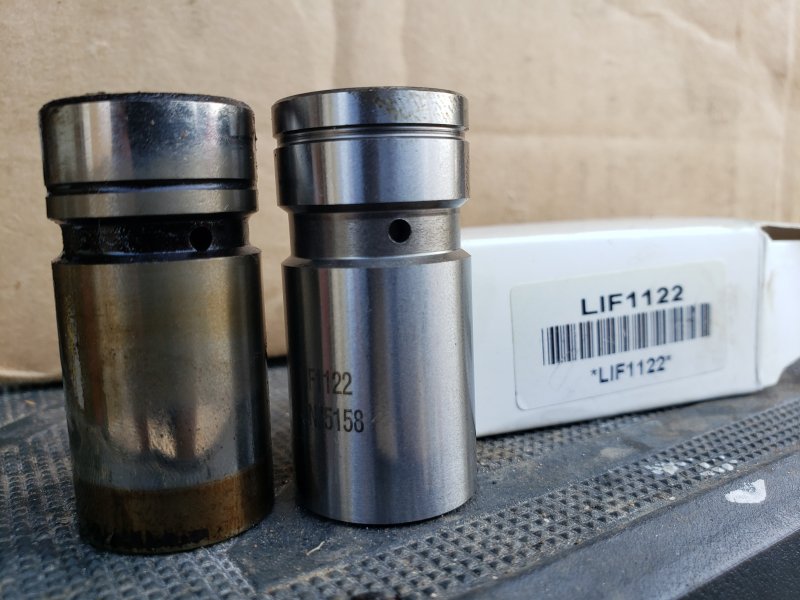
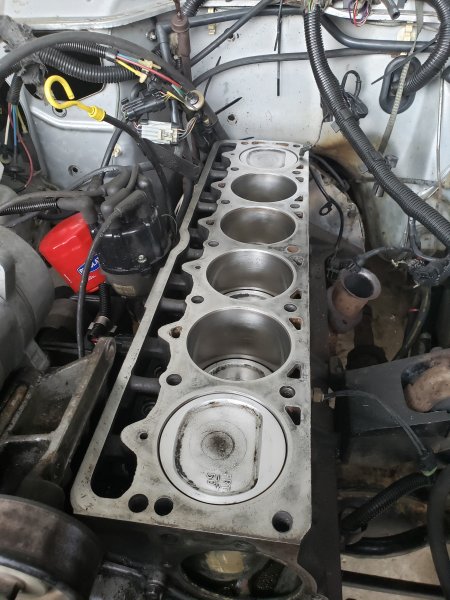
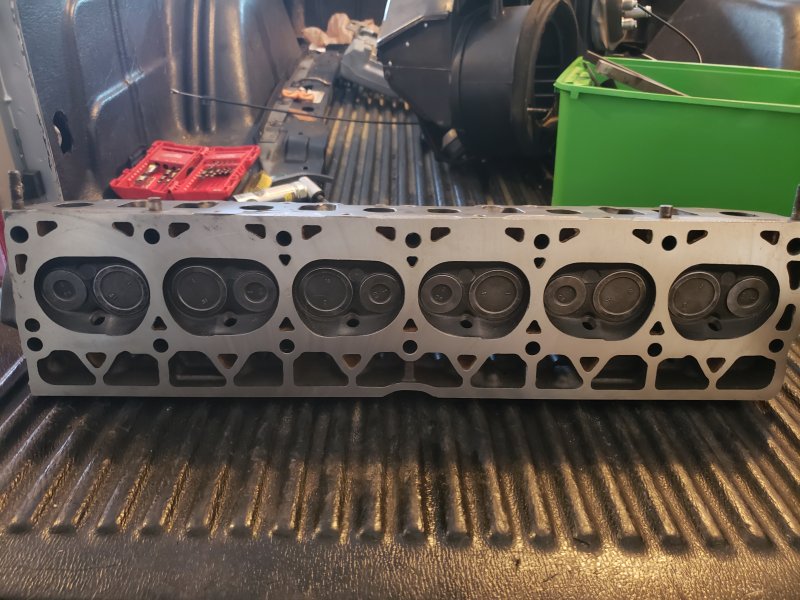
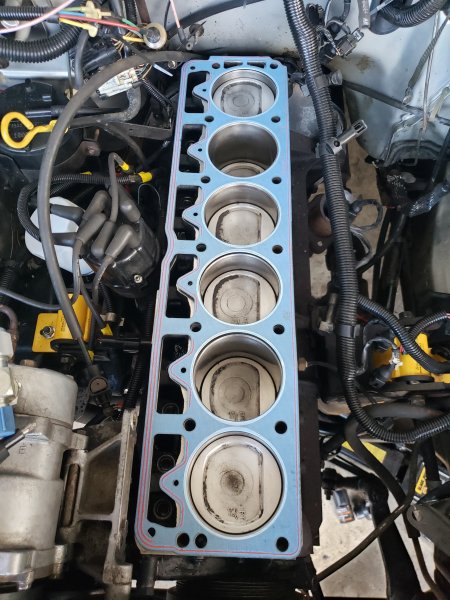
* Engine Head I'm not sure why, but I start all my jeep restores by pulling head. I think it is to determine how the previous owners treated the jeep and better understand what I'm in for in the long haul. It also gives me some peace of mind on who was in my engine last! I like to do visual inspections on cylinder wear, straws, lifters, valves, rockers and also validate distributor timing. On initial inspection, I didn't like what I saw. Oil build up was bad, I could even get the lifters out. It looked like the previous owner ran it hot or without proper oil for some time. I sent the head to a local shop to be machined and resurfaced the engine. I had to buy a lifter removal tool to get the lifters out due to the build up on the bottom of them. I also replaced the fuel injectors, thermostat, water pump and other small parts. I put a 3-row radiator in it for better cooling which has worked great. If you swap your radiator, remember to get the quick connector (pictured) for the bottom transmission fluid line. These were hard for me to find so I bought 6 of them for future use. Note: If you use a lifter tool, make sure to plug your holes so you don't get metal debris in your engine. Triple check by pushing a magnet in the holes before your put lifters back in. You should use Felpro gaskets and seals if possible. Since you have the weight off the engine and stuff out of your way. It is a great time to replace the motor mounts. I went with Brown Dog.


-
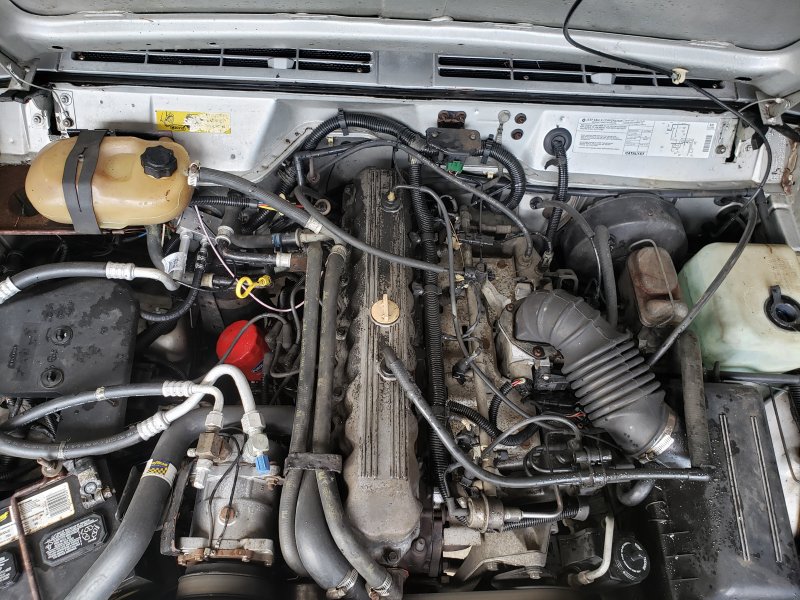
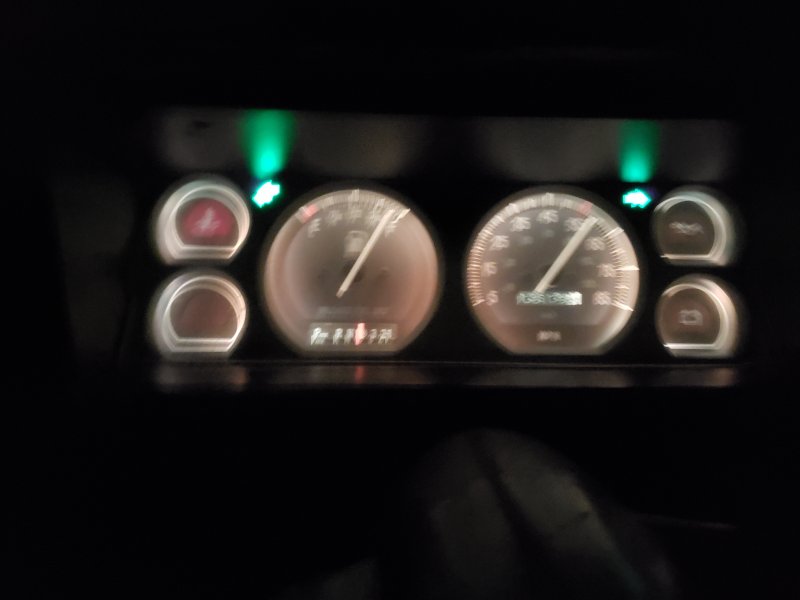
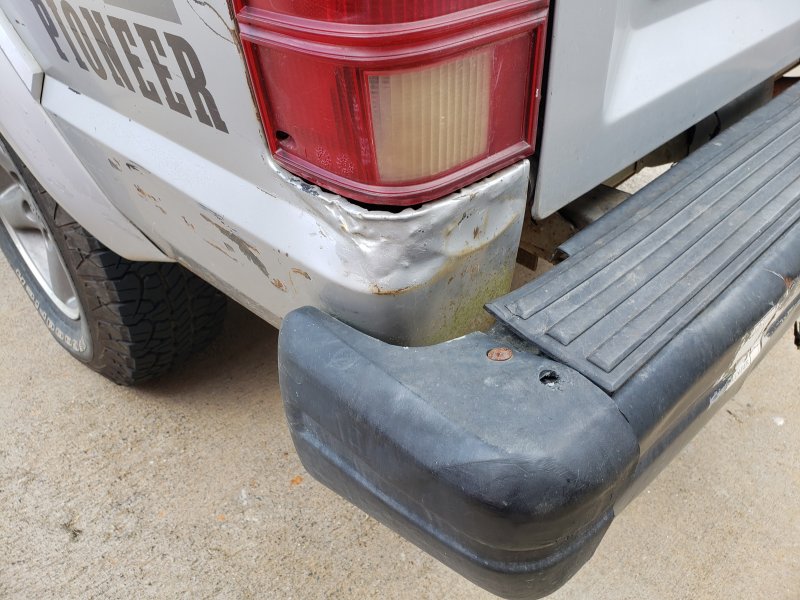
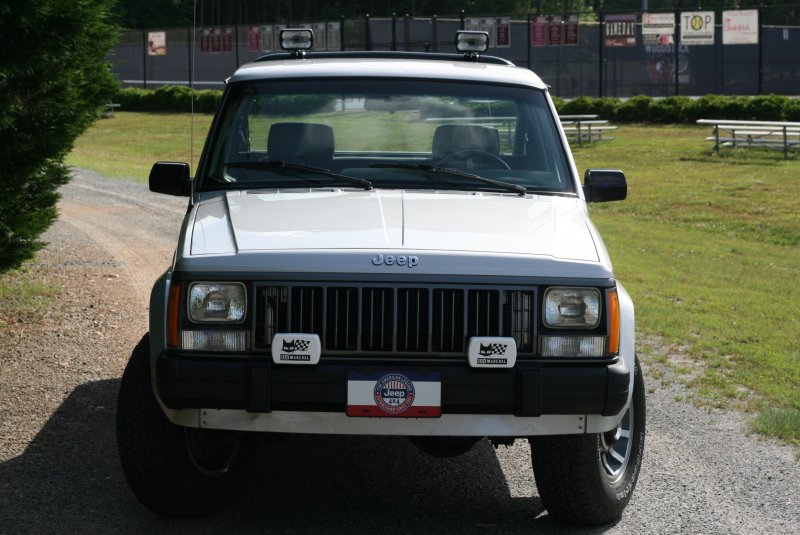
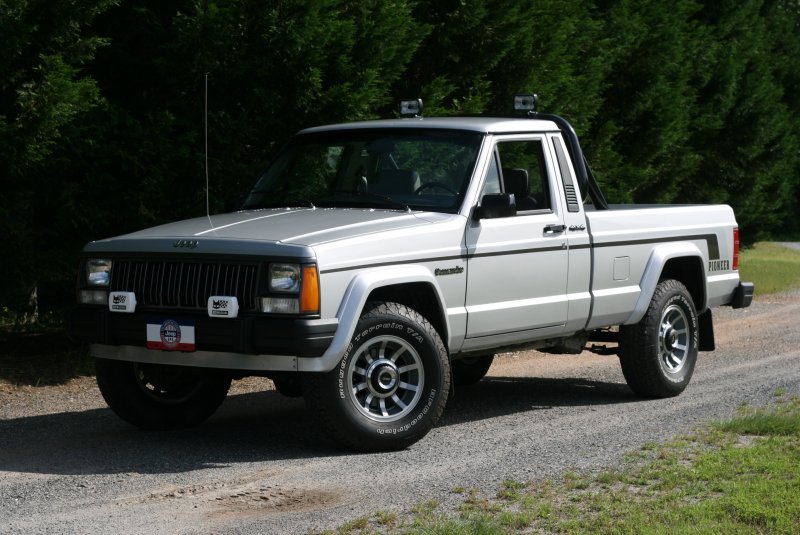
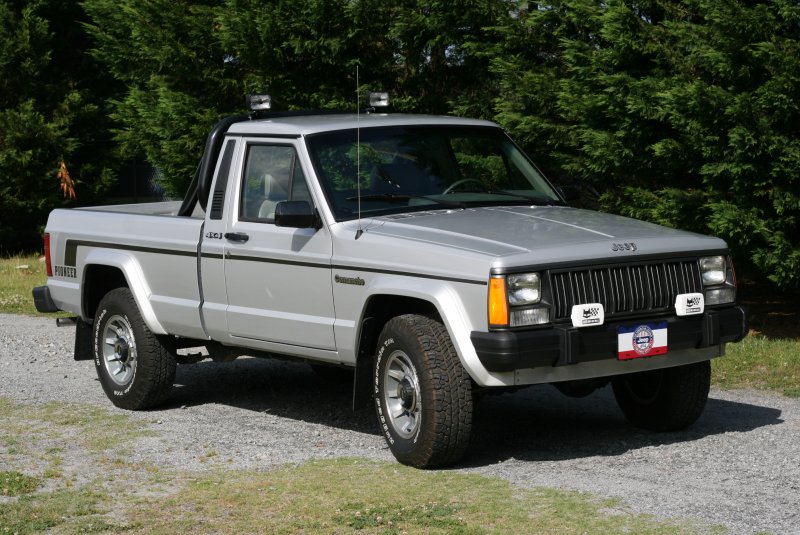
*Initial purchase 1990+, Silver, 4x4, 4.0, Auto, SWB I had been looking for a Comanche with the specs above for a while, so when I saw one posted in Alabama with 135k I took the rest of the day off work to pick it up. It wasn't without its issues. Body damage, some rust, idled horrible, oil leaks (everywhere), no heat, water in floor pan, electrical shorts, and the list goes on. I thought I could drive it 3hrs home, but ended up having to pull over 4 times to let the engine cool off because the original gauges really didn't tell me anything and I was concerned I would make matters worse.


-
Hello Club Members, I'm probably doing the build sheet a bit backwards since I just finished my initial restore, but I took lots of pics to walk you through my journey. I will start at the beginning and walk you through each area of focus and then continue to post as I make updates. I have wanted a Comanche since high school so this was a fun restore for me. Let me know if you have any questions I can help you out with.


-
Thank you and thanks for the additional details!
-
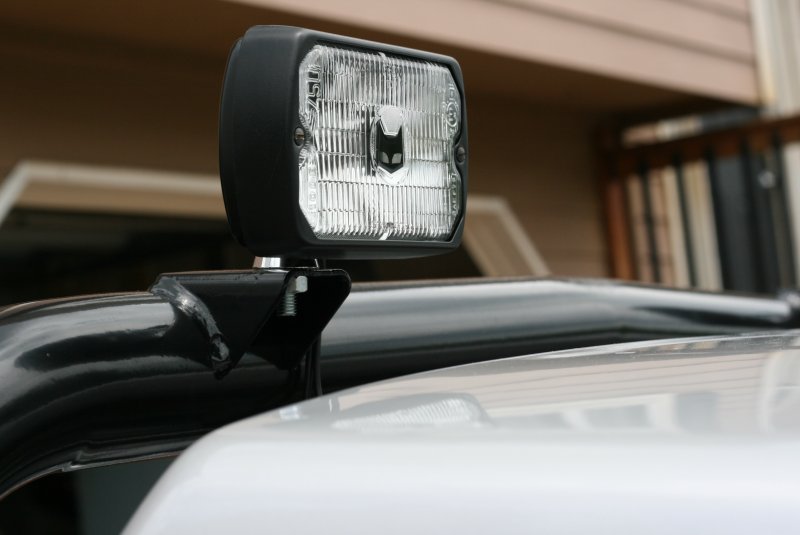
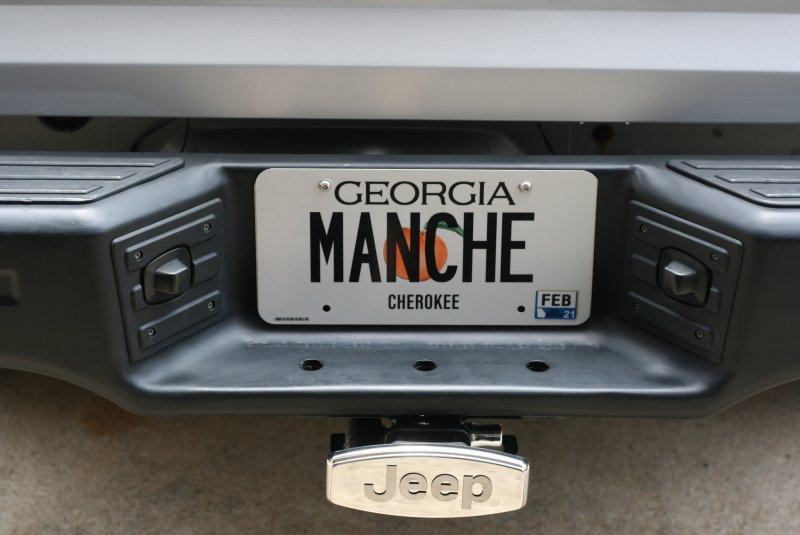
1990 Jeep Comanche Pioneer 4.0L / AW4 / 231 / Dana 30 / Dana 35 / 16 Build date: 10/89 Current Location: Woodstock, Georgia Status: On road. Daily driver Notes: Added factory rollbar, turbines, fog lights w/harness, 95 booster, sound deadening to cab, repainted with decals, Scar-Fab hitch, and lots of other stuff during restore. Current owner: Grithound


-

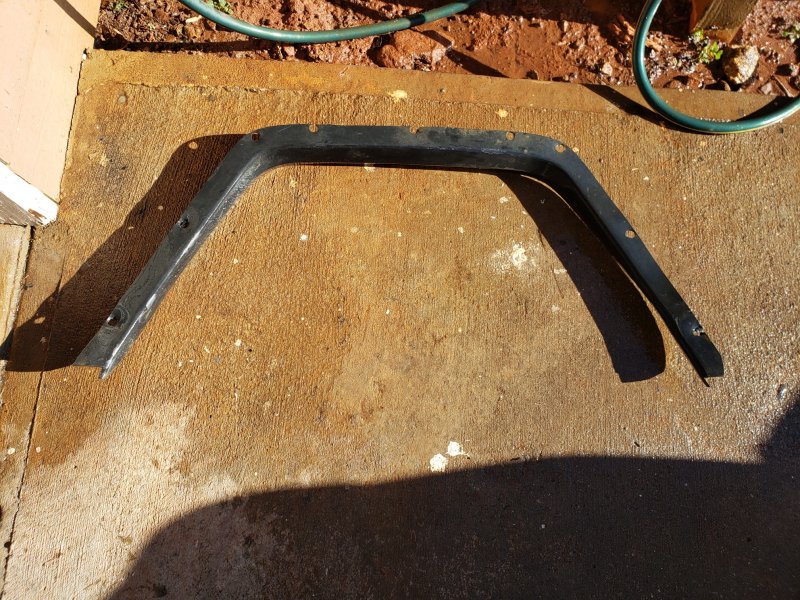
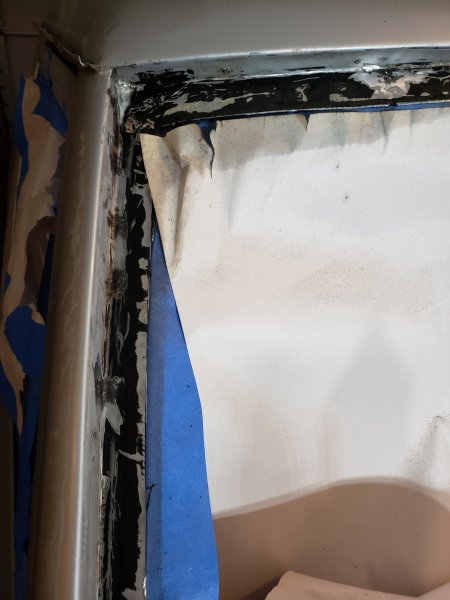
Comanche Rear Fender Liners
GritHound replied to 1992EliminatorSWB4x4's topic in MJ Tech: Modification and Repairs
Ran across this thread while doing a restore and wanted to post a pic for reference. I got the right one off fine, but the left crumbled. I don't see a part number in the parts catalog.