md87
-
Posts
21 -
Joined
-
Last visited
.thumb.jpg.00f6632c078db322a1ff1364dda7d8c7.jpg)

md87's Achievements
Jeeper (1/11)
-
I wasn't happy with the Cherokee gas tank, so I ended up installing a 2000-2004 Dakota 22 gallon gas tank.

-
I was hoping maybe there was a quick and easy fix, but I guess not. I would think that particulate would not cause no brakes since the particulate would not compress like air (although I suppose particulate could cause some seals not to seal). Like someone posted above, a bad booster should make the brakes hard, not soft. I would think there's a leak, air in the system, or a bad master cylinder. I'm not sure if you would need to do a bench bleed on the master cylinder.
-
Doesn’t seem likely for your situation since you only replaced one caliper, but when I replaced both calipers, I mistakenly put them on the wrong sides. Maybe check that your bleed screw is at the top of the caliper.
-
If your state has auto title services companies (not the DMV), they may be able to help you get something titled that is a not-so-straightforward case like yours.
-
Can you relocate the plastic clip to maybe gain some clearance next to the bracket? Also, just mentioning since I noticed it, but it looks like you may need to install the upper part of the control arm before putting the bracket in place since I think getting the bolt in there will be an issue.
-
When I installed my long arm kit, I had to cut away about half of that support. I don’t think its doing much in terms of support.
-
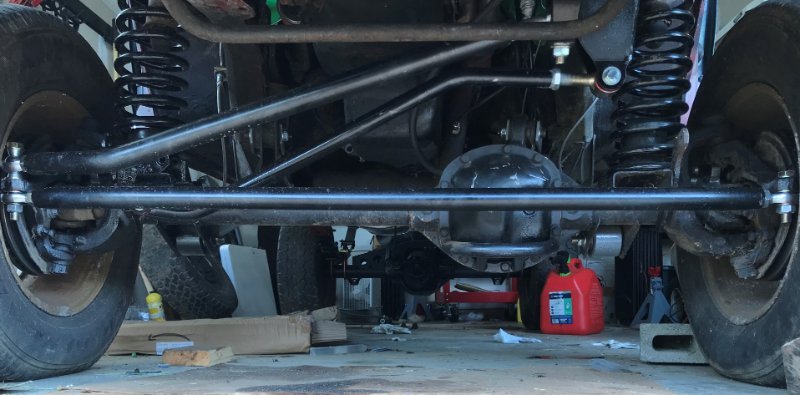
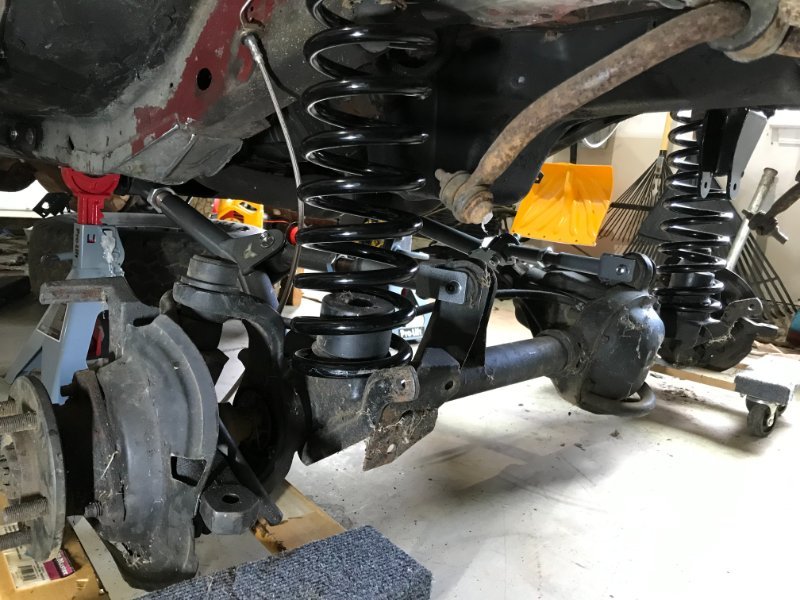
I recently installed an Iron Rock Off Road track bar and CavFab steering kit. Looking at the below picture, I think I may need to move my axle a bit to the driver's side, but will have to check. The CavFab steering kit is beefy, but I had to buy a heim joint with extended threads for the drag link. The two that came with the kit were not long enough (probably due to my lift height). Although I like the quality of the CavFab kit, I am disappointed by the lack of written instructions. The only instructions are in the form of a Youtube video. While it may be a simple install, with steering components, I think it is negligent not to include detailed installation instructions, including the minimum amount of required thread engagement. Before I bought the extended thread heim joints, I only had about 1/4 inch thread engagement (and am glad I checked it). With that little amount of thread engagement, my steering likely would have failed. I also installed brake lines and took it for a test drive around my property. Unfortunately, I assume I have air in the lines despite bleeding them since the pedal goes to the floor, so I only used first gear in 4L (no rear driveshaft either).
-
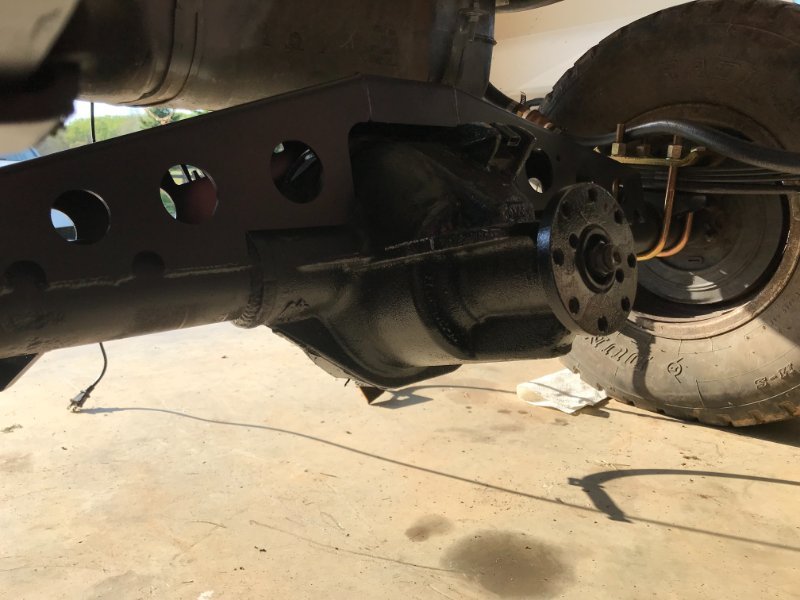
Got the Ford 8.8 installed. Next step is steering linkage and then finishing the brake lines.
-

Azzy's Transfer Case Linkage Review
md87 replied to SoloRiderForever's topic in MJ Tech: Modification and Repairs
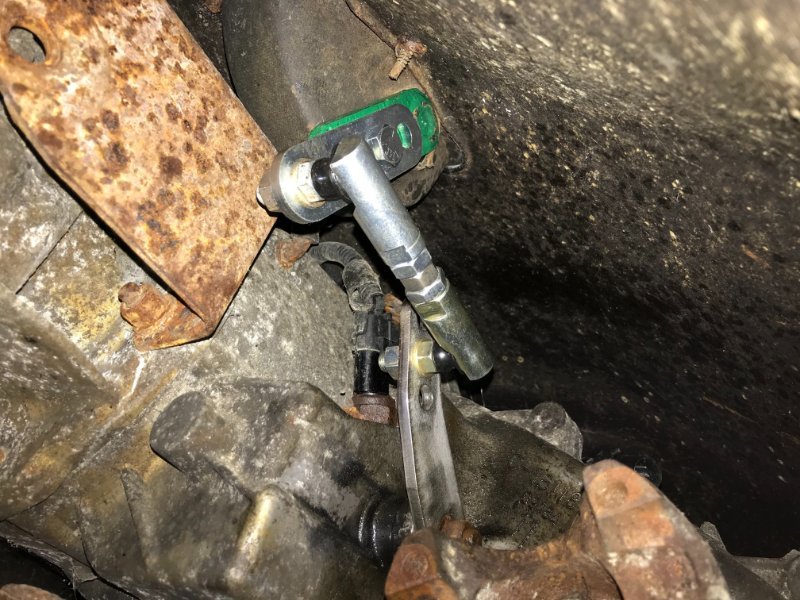
I just installed the Boostwerks shift linkage. I think it is probably a better design than Azzy's (and ~$30 cheaper) since it does not rely on tabs to keep it in place. Boostwerks requires you to drill into the shift linkage, which is difficult because it's fairly compact, but I think that makes it more secure. -
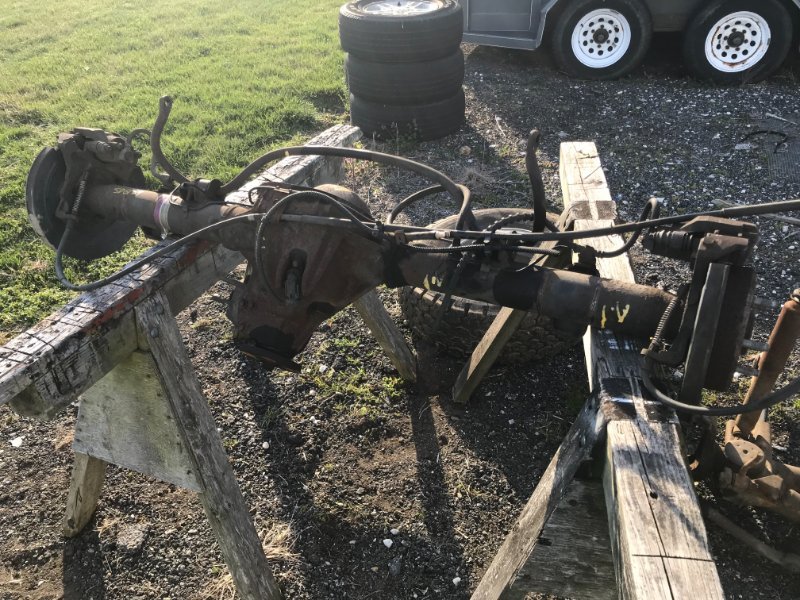
I installed the Boostwerks shift linkage for the NP231. Seems to be pretty decent (ignore the green paint.. .that's all I had available). The hardest part of the installation was removing the link from the transfer case. I also bought a Ford 8.8 that will be going in the rear end:
-
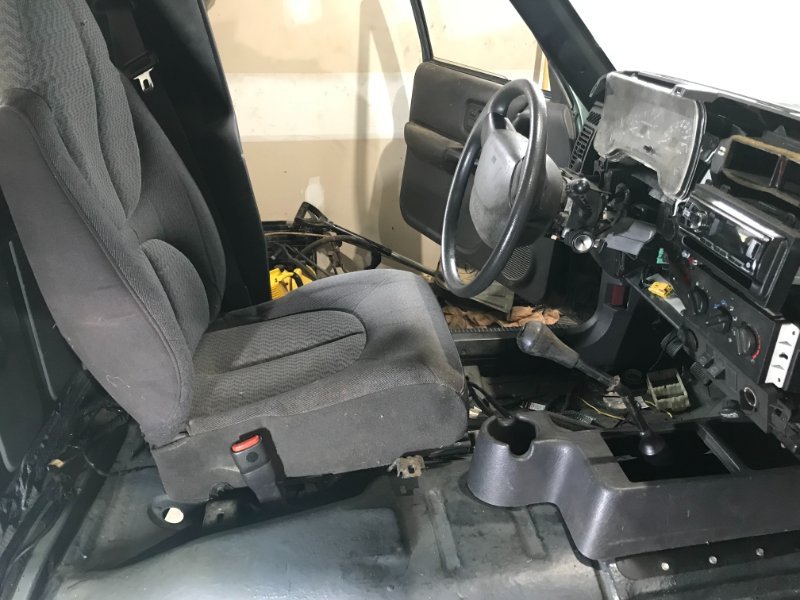
I've been making some slow progress. I replaced the alternator and serpentine belt, so now the engine runs fairly smooth. I notice a slight whine after it's been running for a few minutes, but I'm putting that on the back burner. I started on getting the interior together, but then realized I should address the tail light harness before getting everything in place. I pretty much just need to grab some wire to extend the Cherokee harnesses to finish that up. I'm using Dodge Dakota seats and the center console is out of a TJ. I had to do some trimming on the underside of the Cherokee dash (and reformed the front of the console a bit with heat) to get the console to fit properly. I was getting a bit tired of working on the electrical and interior, so I decided to finish up the long arm installation. Removing the lower control arm brackets was not too terrible. I think I'll have to do some readjustments, but I'm happy with how it turned out. This is on 6.5" lift springs. I have not tried lifting the MJ by the axle yet (just did some slight compressing of the springs). I'm looking for a handbrake and boot combination (self-contained) if anyone knows of one since the XJ one won't work with the TJ console and my MJ foot parking brake isn't operable (although I may try to repair it as a last resort).
-
Took it slow over the winter getting everything hooked up. Unfortunately, it wouldn't start when I tried it. I thought I had a ground/fuse/relay/other electrical issue and spent time troubleshooting, but it turns out the fuel pump was just bad. Would've saved me a lot of time if the guy I purchase it from had mentioned that... Anyway, I replaced the fuel pump and thankfully it runs. Some of the smoke in the video is from the exhaust (only have the headers on it right now), but some of the smoke is from the serpentine belt as it turns out the alternator is seized. I'm hoping that had something to do with the sparks as well, but I guess I'll see once I replace the alternator. 1973853373_April182021.mp4
-
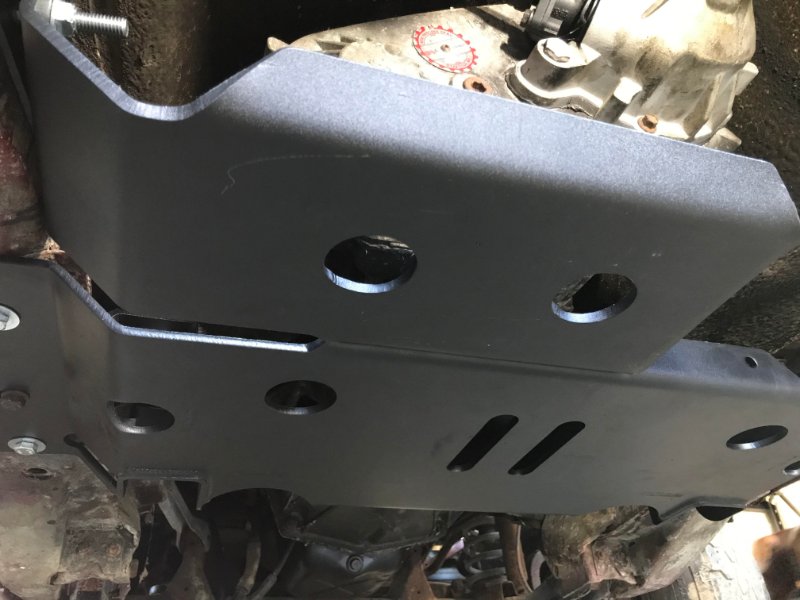
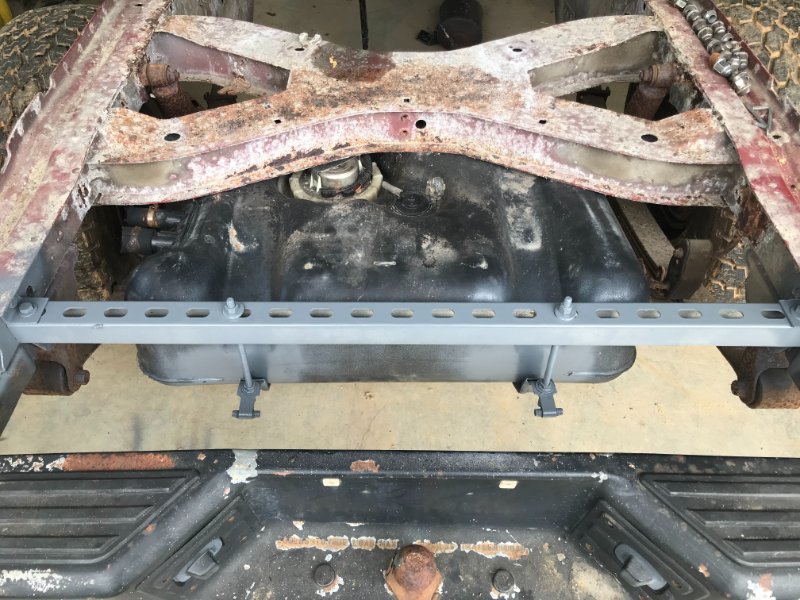
I may try that in the future, but I'm trying to get it working as quickly as possible right now. Finished getting the TNT belly pan installed for the eventual long arms. Next step is probably to finish up the few things needed to try to start it.
-
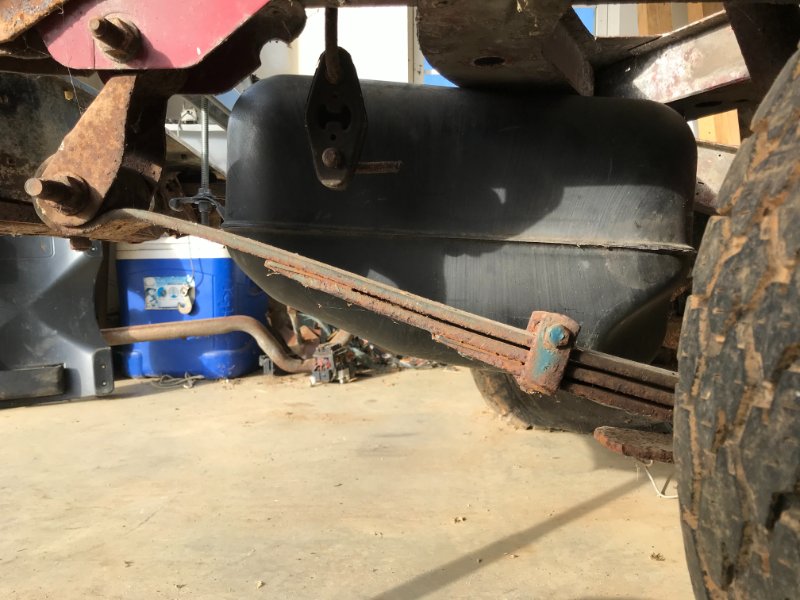
They're the same type of plug, but I have no idea why they were switched. I mounted the XJ gas tank under the frame rails behind the rear axle. It sits a little low, although it seems similar to the YJ/TJ/XJ mounting location. It will work for now, but I may have to do a gas tank skid for safety.
-
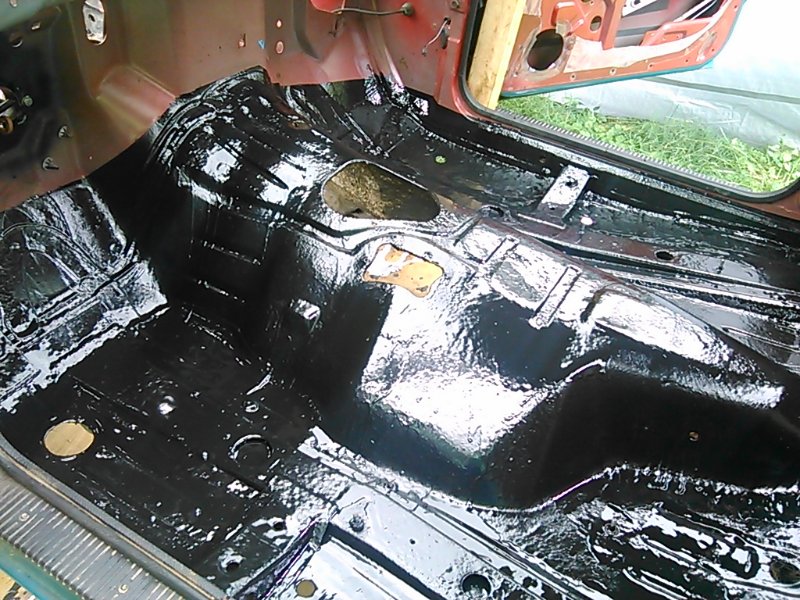
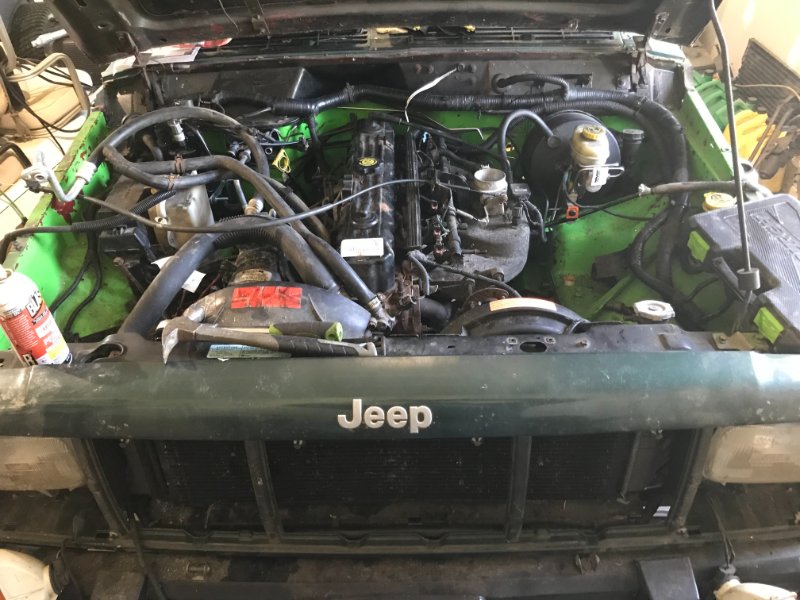
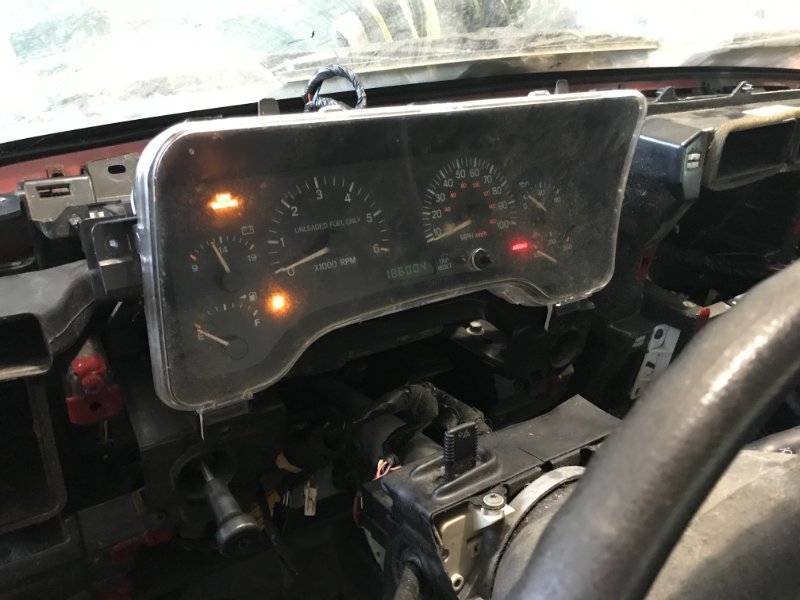
After those photos, I fixed the floor and lined it. I spent a bunch of time getting the firewall ready, but then basically did nothing for about 5 years. I recently got the motivation to continue working and just about have the engine compartment ready. I got the dash bolted up, but when I turned it on, the instrument cluster was not working correctly. I spent about 3 days checking the wiring, grounds, and anything electrical before I realized that the two connectors going to the instrument cluster had been switched somewhere along the way (I have no idea why). Anyway, my instrument cluster works fine now.