Search the Community
Showing results for tags 'removal'.
-
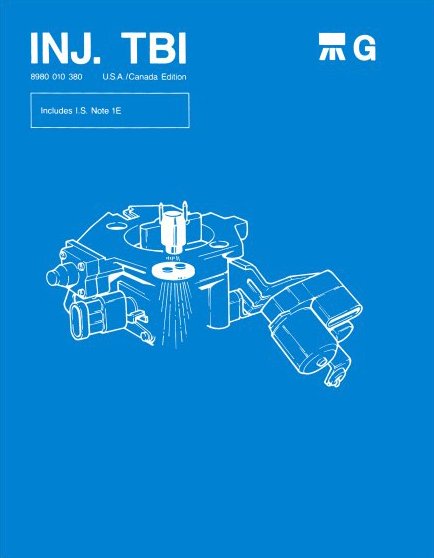
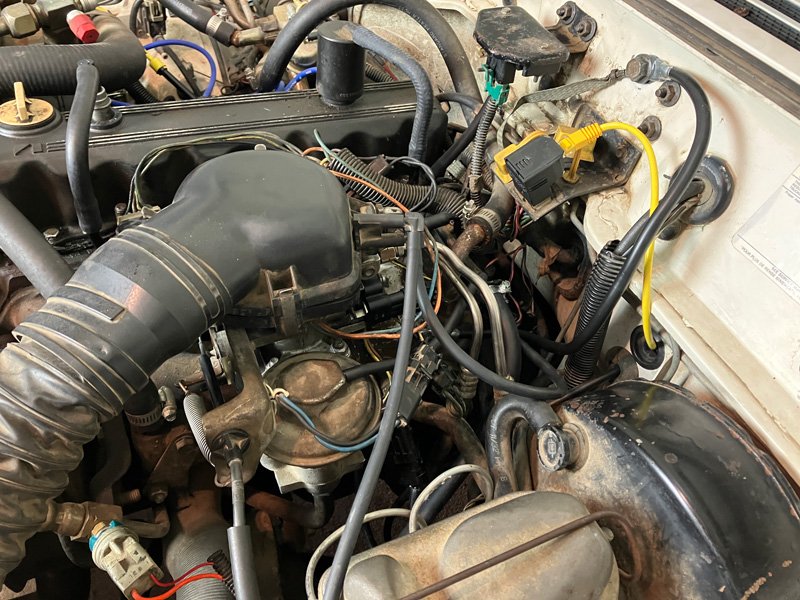
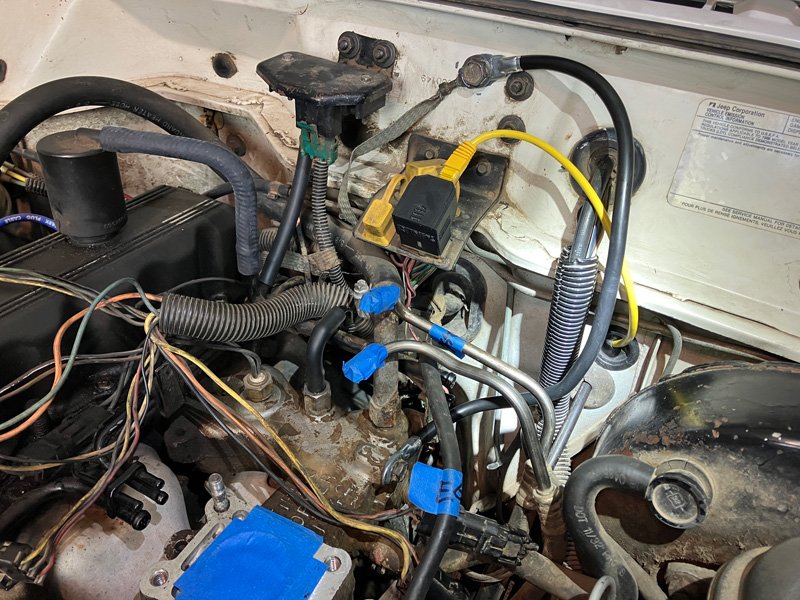
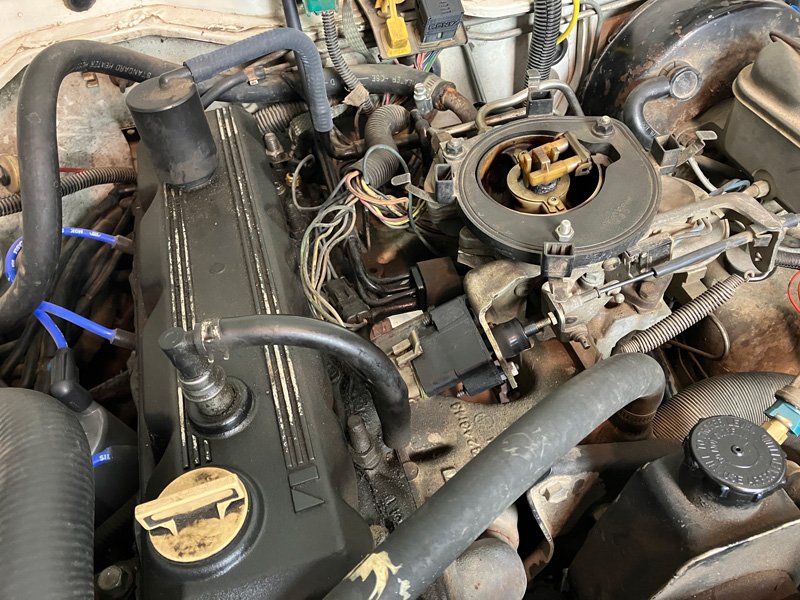
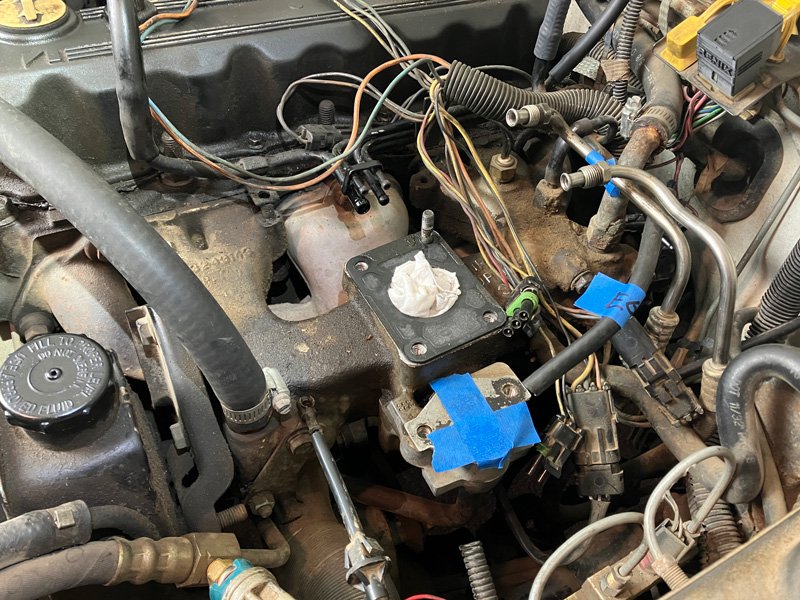
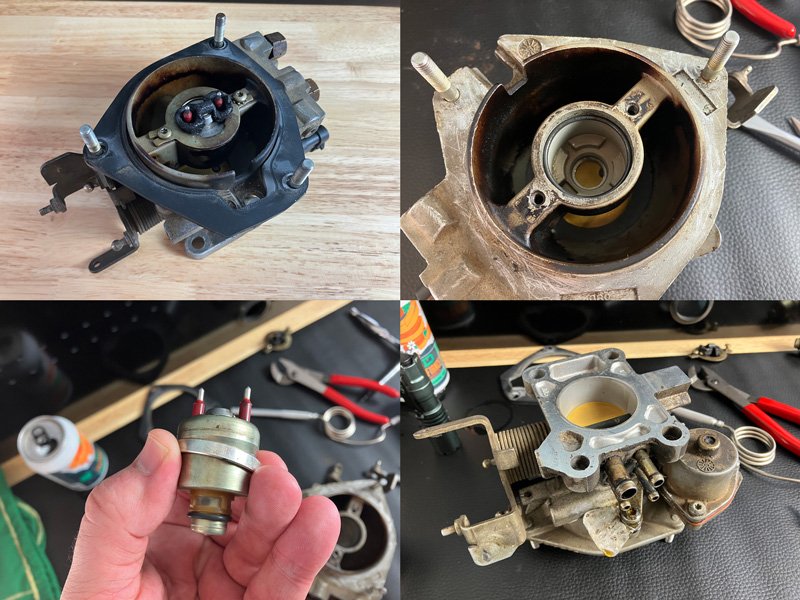
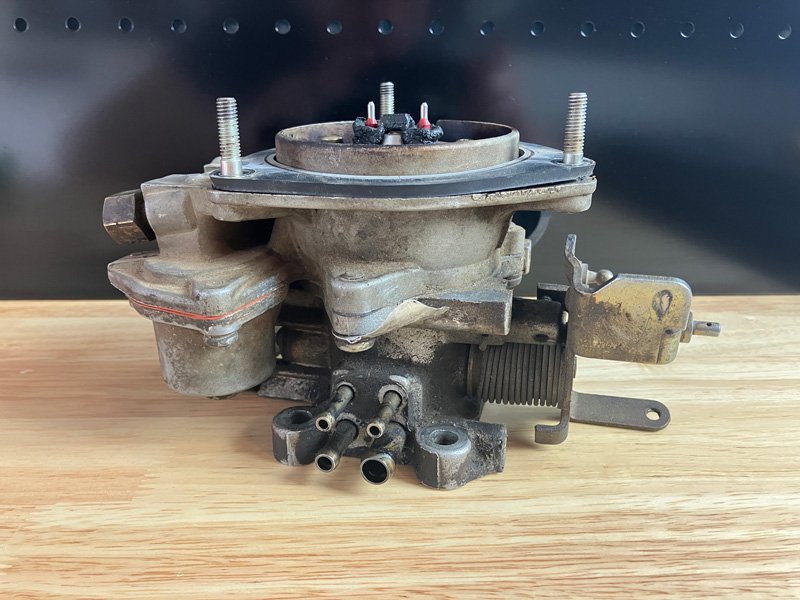
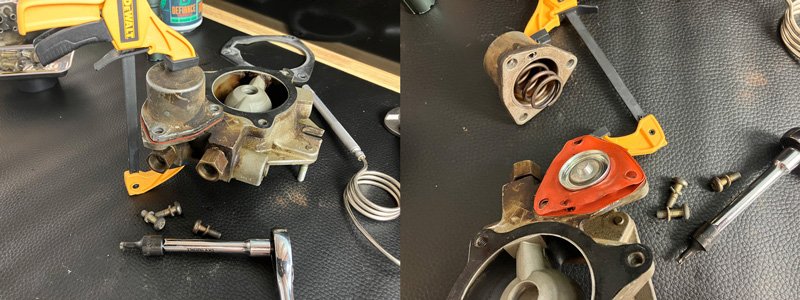
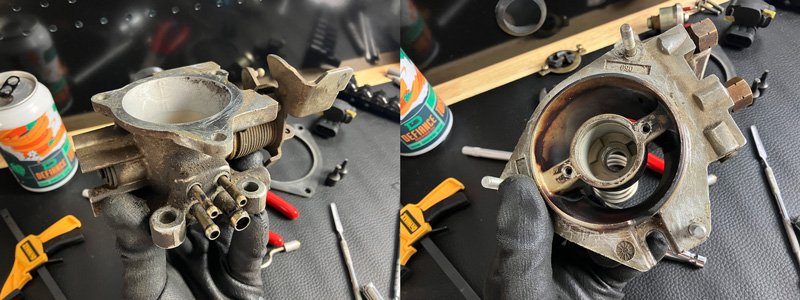
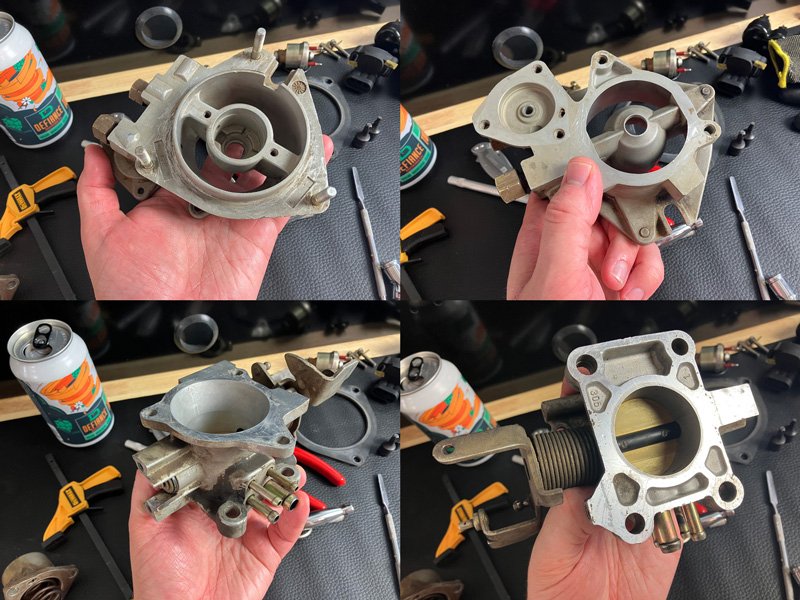
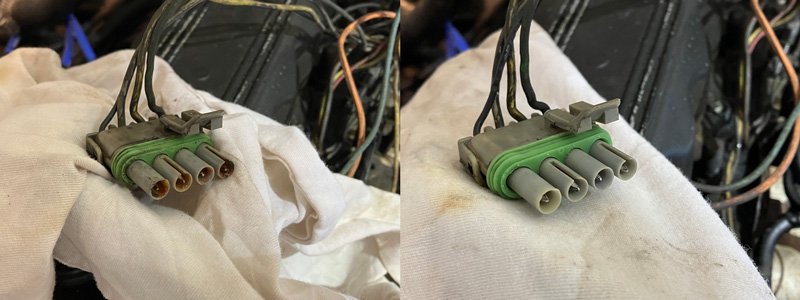
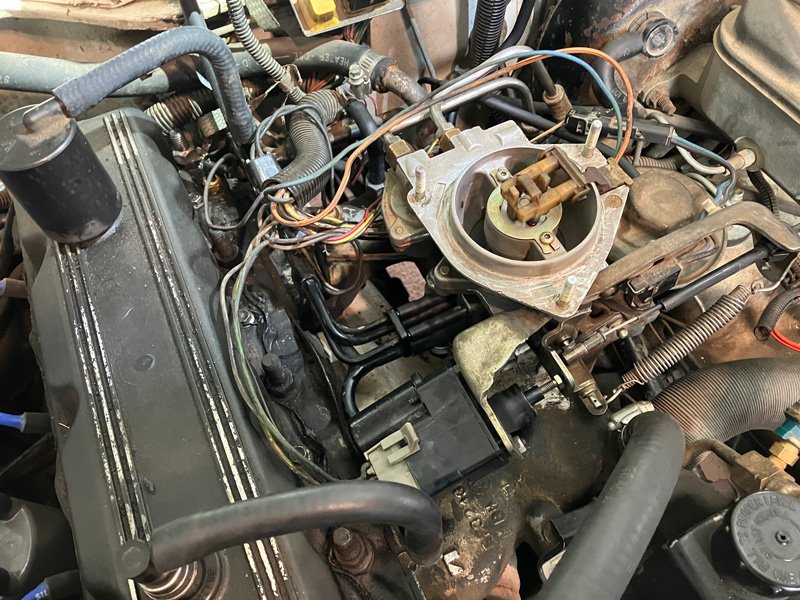
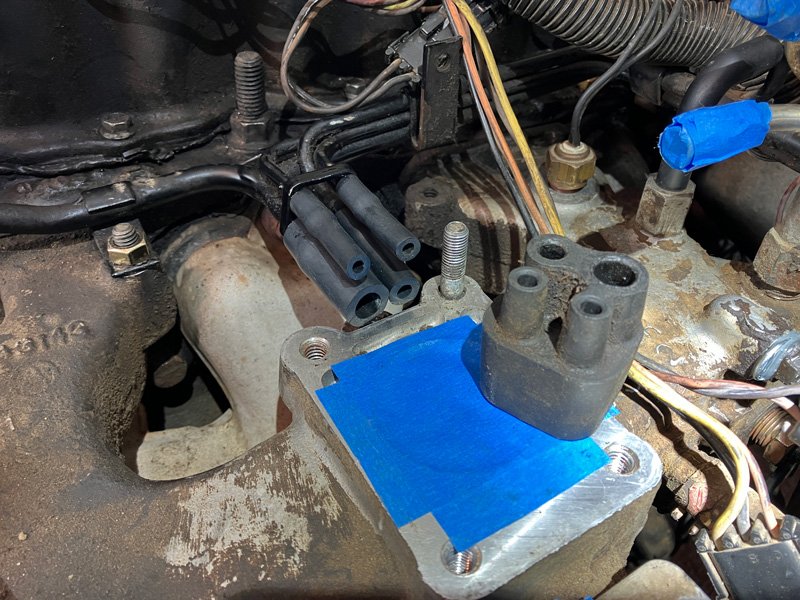
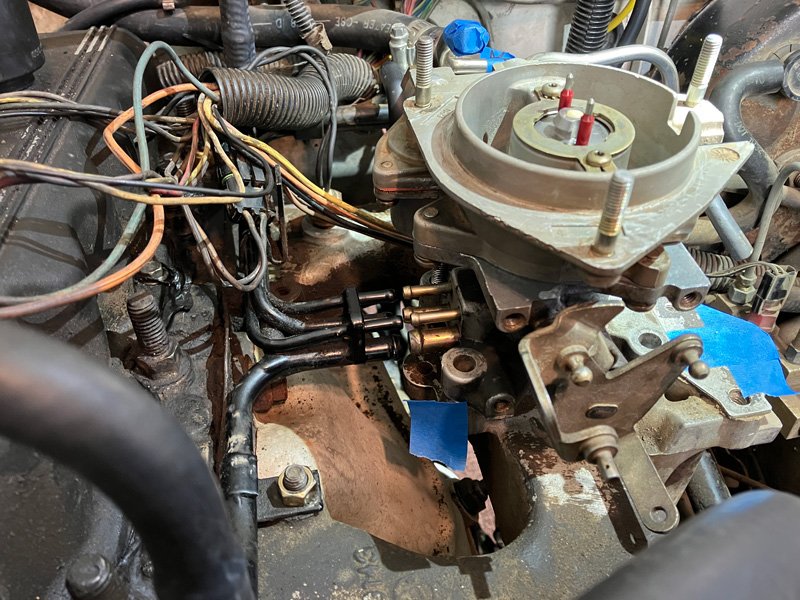
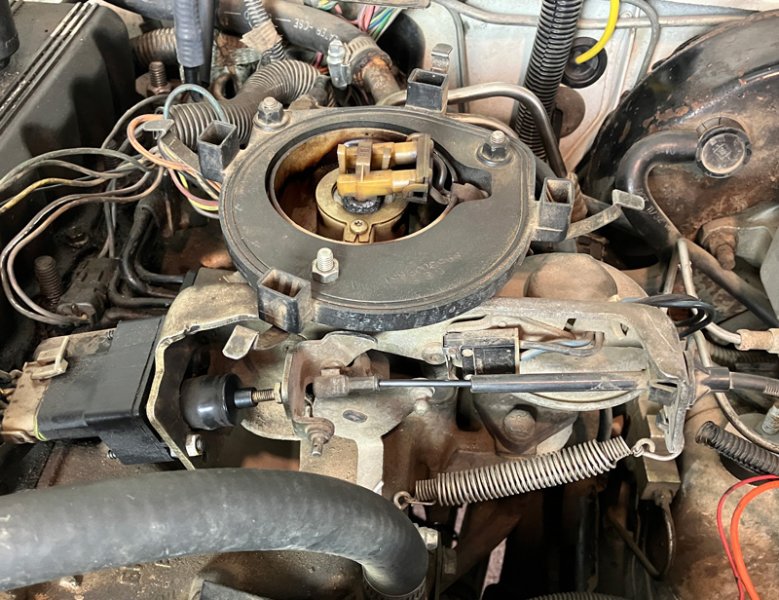
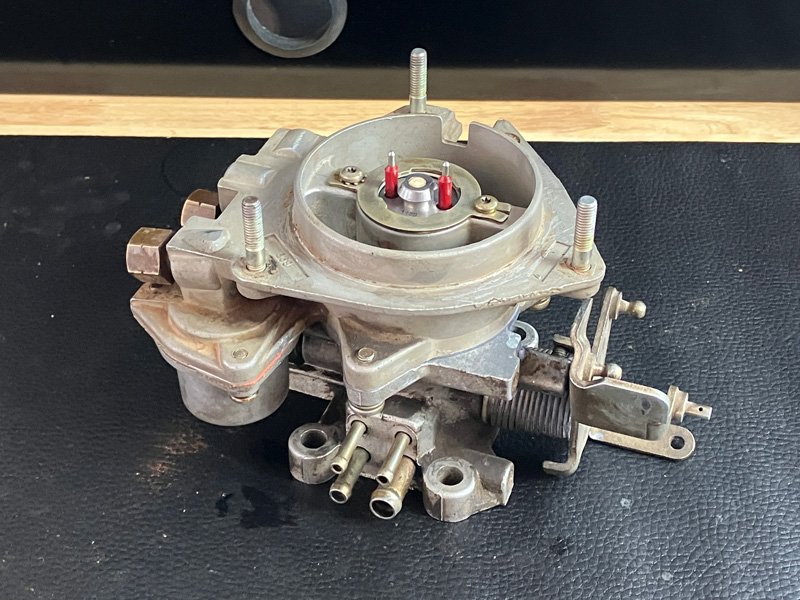
Cleaning and rebuilding my throttle body was a project that seemed daunting while leading up to it. However, this project was FAR LESS of a big deal than anticipated. This guide is a helping hand for those 2.5L guys that haven’t done this before. Since the throttle body is going to be out anyway, I’d recommend doing all the things Cruiser54 suggests. Removing the TB opens up so much room to get at the things that might be bugging you. This whole project took 27hrs that stretched out in 3 weekends. Besides the TLC I gave to the throttle body, I also did this stuff: • Tighten all Manifold Bolts to spec... I had one of these bolts missing! • Clean all Wire Harness Connections • Firewall to Intake Ground • Clean PCV Valve • Clean EGR Valve • Clean Intake Air Temp Sensor • TB 4-Hose Vacuum Connection • Replace Any Vacuum Hoses • Adjust TPS What You’ll Need: Standard Motor Products #1605 Throttle Body Rebuild Kit. The key is to take your time and be methodical. Read up on manuals, label stuff, and take reference pictures as you disassemble. Since I have an 86 MJ I bought this manual for assistance: 1983 - 1987 Jeep Throttle Body Fuel Injection Component Service Manual Published by Detroit Iron and can be purchased through Rock Auto General Order of Operations: • Disconnect Battery & Unscrew Gas Cap • Disconnect Air Bonnet Assembly, with Vacuum Hoses • Disconnect Fuel Lines • Disconnect TPS, WOT, ISA & Fuel Injector Connectors • Remove EGR Valve • Disconnect Throttle Linkage Spring & Cable • Remove Throttle Plate Assembly (keep the ISA motor attached) • Remove Throttle Body Assembly Once the air bonnet assembly and hoses are off, there’s a plastic part on the very top of the TB that needs to be taken off. Once its off, the TB removal process becomes much clearer to recognize and understand. Just go about it logically. Lots more room available after TB is removed! Use tape for identification and to keep out grime — Note: firewall to intake ground improvement Dirty Throttle Body The throttle body itself is pretty straight forward to dismantle. A few Torx sockets will get it apart. I used a plier with deep teeth to lift the fuel injector out. Use a twisting motion as you lift to remove it. Others use a slotted screwdriver to pry it out, but I think the plier method is best. I used a mini bar clamp to help take apart the fuel injection pressure regulator. Inside is a strong spring, and this little clamp helped out tremendously. To clean the throttle body I’d recommend using a few Scoth-Brite pads. They’re flexible and won’t do any damage. I used a full can of throttle body cleaner during the cleaning process. A nylon brush comes in useful for the exterior, and a few pipe cleaners did wonders for inside the tubes. Throttle Body After Cleaning Re-assembly was easy. Only a few things will be used from that #1605 kit. Just match up the old with the new. The mini bar clamp came in handy again when bolting together the fuel injection pressure regulator. A few pieces of low tack tape will help hold that orange diaphragm in place as you close it up. Clean & Assembled Throttle Body Clean those Electrical Connections! Throttle Body Bare Vac Connection New TB Vacuum Hose Connection A word of advise... this picture above was taken before I successfully connected my clean throttle body to the new hoses. I failed at the first try. I ended up pulling all four hoses out, and barely reattached them to the vacuum hard lines. Why? Because you'll need all the available hose length to successfully attach the TB. Have a heat gun ready. 1) Lube every metal tube with silicone spray... including the TB brass tubes 2) Warm hoses with a heat gun 3) Slowly, but quickly get that clean TB onto the hoses 4) Continue to warm with heat gun if needed. Also, be sure to place your intake gasket BEFORE mating the TB to the 4 hoses. Clean & Fresh 2.5L Throttle Body with New 4-Hose Vacuum Connection All Buttoned Up!
- 9 replies
-
- 2.5l
- throttle body
-
(and 2 more)
Tagged with:
-
