Search the Community
Showing results for tags 'overhead'.
-
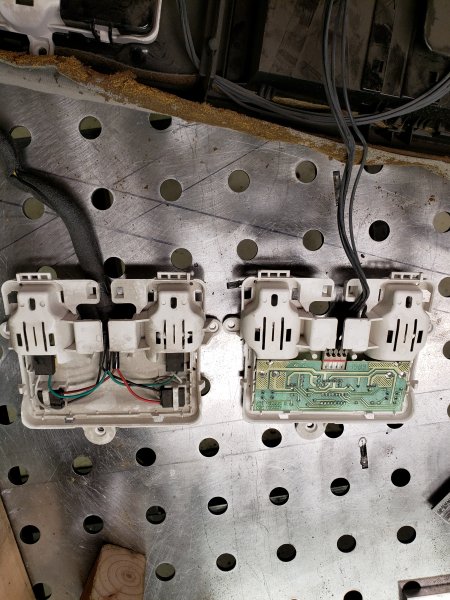
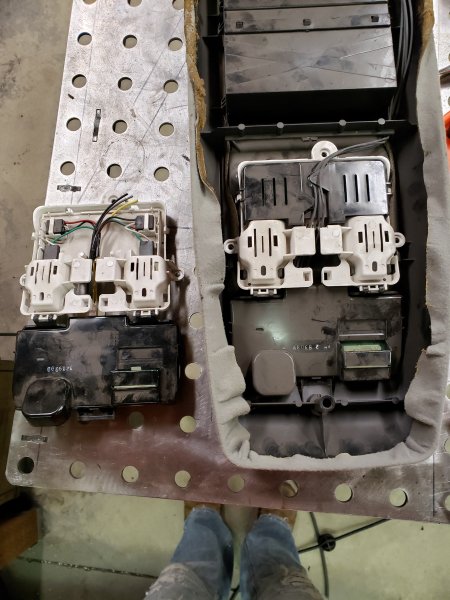
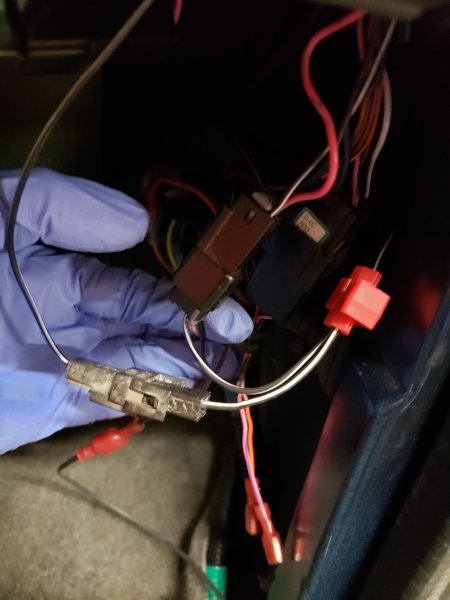
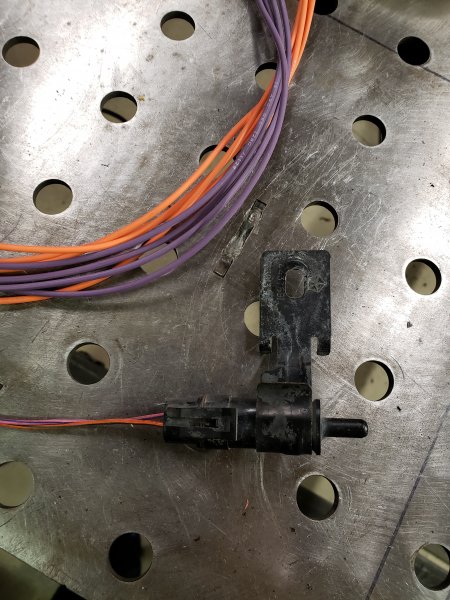
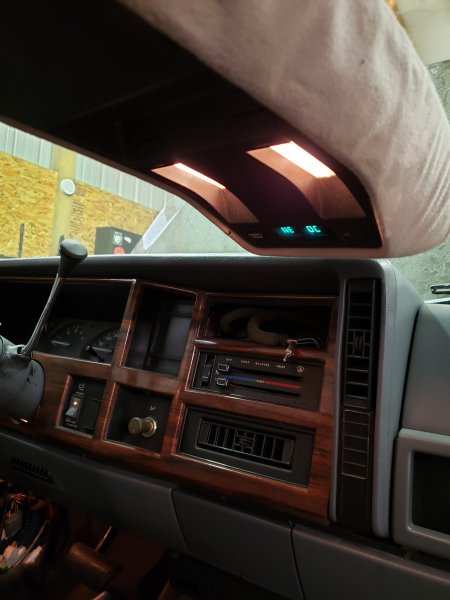
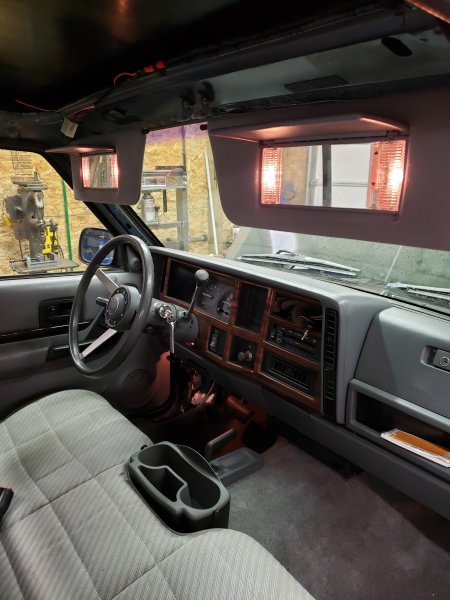
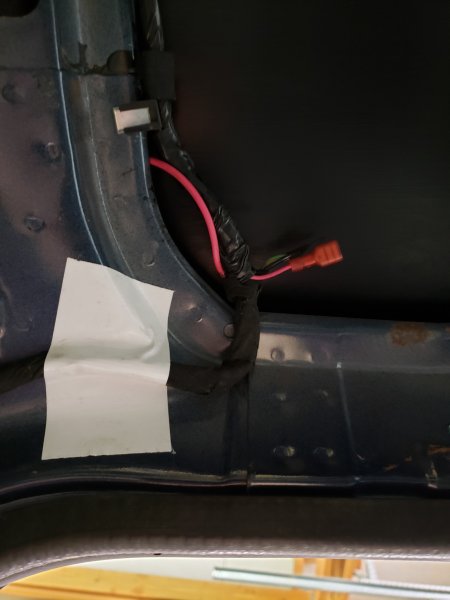
Parts required from donor XJ: Overhead console (OHC) Sunvisors & clips (optional) OHC wiring harness (runs along passenger A-pillar) OHC mounting bracket & screw (only front most bracket required) Temperature sensor (located behind front bumper, in front of "frame") ________ After scoring a couple of pre97 XJ overhead consoles (OHC) from the parts yard, I decided that one could be modified to work in the cab of an MJ. Figuring this project had been done before, I spent hours reading through threads on here and NAXJA. Some of the info and even FSM wiring diagrams didnt match what I had, and theres even different versions of the OHCs to make it even more confusing. So I started this thread to compile my notes and document my process. This is a long one so grab a beer and take a seat. To start, I believe the pre97 XJ OHC was offered from 90-96. There are updated 97-01 OHCs that require OBD II to utilize all the extra computer features such as "average gas mileage" and "miles to empty". My documentation will deal with the older pre97 models. OHC IDENTIFICATION There are (at least) 2 different styles, and I do not know what year the break between them is. I had a 92 XJ Laredo years ago that had a "newer" style OHC for what its worth. The differences are the wiring for the lights. The "older" style OHC has 4 black wires that run from the front dome lights to the rear dome lights. The "newer" style OHC has 3 colored wires between the dome lights: black, yellow, and gray. The older style OHC is wired so that the rear dome lights would come on when the doors to the XJ were open, NOT the front lights. The newer style OHC has both front and rear dome lights come on with the doors open. Why does this matter? Because the OHC is too long to fit inside the cab of the MJ without being cut down, which means you have to get rid of the rear dome lights. If you have the older style OHC you will have to either rewire or swap the dome light fixtures if you want them to come on with the doors open. The newer style OHC you can simply cut the wiring to the rear domes and be done with it. Other minor differences between the 2 styles are that the older style has black covers over the bulb wiring, and removal of the covers shows a circuit board instead of the colored wires of the newer style OHC. Pics for reference, newer style on the left, older style on the right. For simplicity purposes I chose to use the newer style OHC for my install. WIRING HARNESS Let's switch gears for a moment and talk about the wiring harness for the OHC. In order to successfully do this swap you'll want to have the wiring harness that runs along the passenger side A-pillar. There are quick disconnects at the kick panel and the wiring extends all the way to the roof and to the sunvisors. Also be sure to snag the temperature sensor behind the bumper. Theres a couple different styles of sensors but mine looks like this: If you're planning on adding an OHC then swapping over to sunvisors with lighted vanity mirrors is an easy upgrade. From what I've seen the pigtails for the sunvisors are a single pink wire with a single thin, black connector, and never changed throughout all years of XJs. I have a nice set from a 98 XJ I am using, complete with airbag warnings. Whatever. Since I wired up 97 XJ power doors on my MJ, I wasnt going to make any attempt to wire up the keyless entry sensor/module, not to mention I didnt really want to open that can of worms. So I cut off the pigtails for the harness, which had black, green, tan, wires and a pink one on the OHC/keyless sensor end. The pink wire is spliced into the larger pink wire that powers the vanity mirrors so it has constant 12V power. I decided to crimp on an insulated quick disconnect to it in case I need easy access to power from the roof in the future. I'm thinking maybe wiring switches in the OHC eventually... WIRING DIAGRAM Here's where it gets confusing. There were (at least) 2 styles of wiring harnesses with completely different colored wires. I have seen several early 90s FSMs state the wiring for the harness is as follows: Pink A - dome lamps (12v?) Pink B - reading lamps (what's the difference?) Black/blue - temperature sensor Violet/green - temperature sensor Orange/black - illumination (connects to the dimmer) Blue/red - head lamps on (dims the display when the headlamps are on) Black/blue - compass ground White/pink - 12V Some individuals have stated they had a yellow wire that went to the doorjamb switch ground to activate the dome lights. My wiring harness was different. here's how I wired mine: CONNECTOR 1 Pink - constant 12V Black - ground Black/white - ground to doorjamb switch. The existing wire to the doorjamb switch was the same color, I simply spliced into it CONNECTOR 2 Orange/green - temp sensor Pink/blue - temp sensor Black/orange - ground White/black - ignition on 12V Orange/black - illumination. I left this unplugged. Blue - left unplugged. May be for headlights on If you did it right you should be able to plug in your OHC and sunvisors and have power.
- 16 replies
-
I have a 1990 chief , i am trying to add an Overhead console from a 1990 xj i have the console and the mounting brackets and the wiring from the donor vehicle , my problem is the wiring, I have not been able to find a write up for this, involving an MJ. have no problem having to modify the harness, and electrical work does not scare me. It does appear i do have the ambient sensor temp in the middle of my bumper. i would like ambient temp to work, as i do live in Texas. if someone could post a link or so or even pictures on how they did i would be very grateful.

