

comanche1989
-
Posts
130 -
Joined
-
Last visited
1 Follower

comanche1989's Achievements
Comanche Fan (3/11)
-
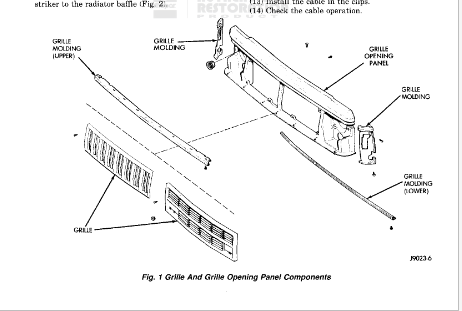
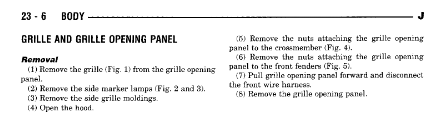
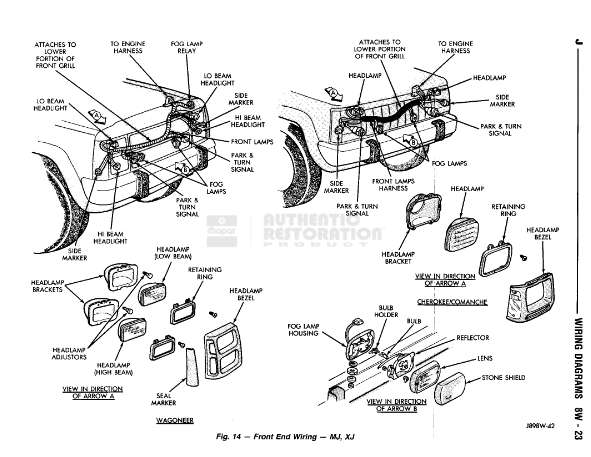
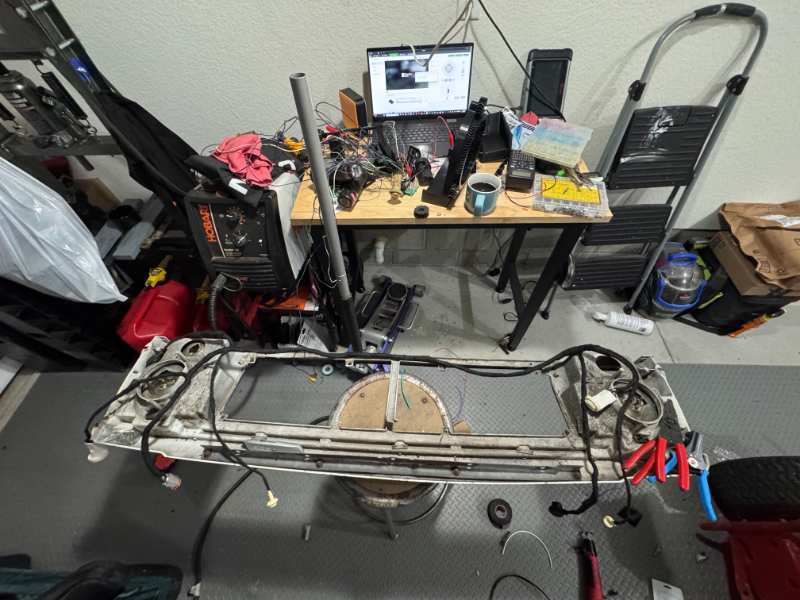
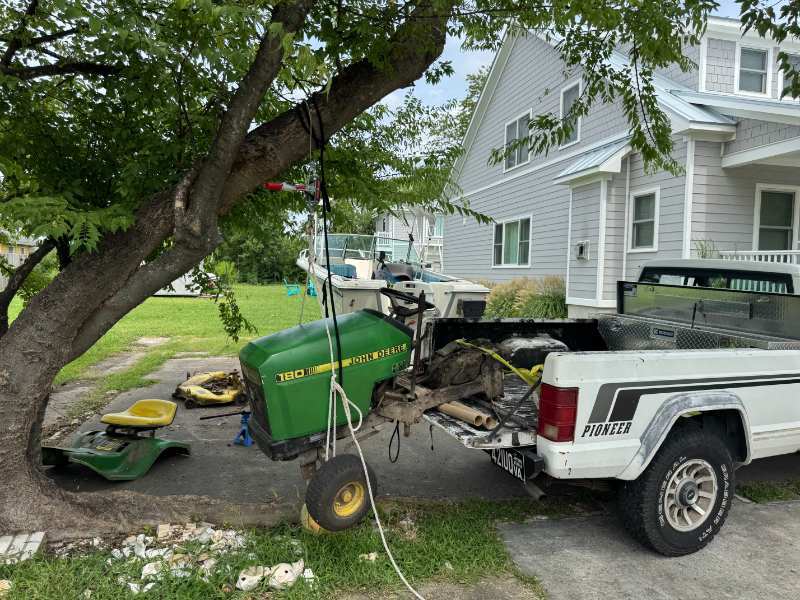
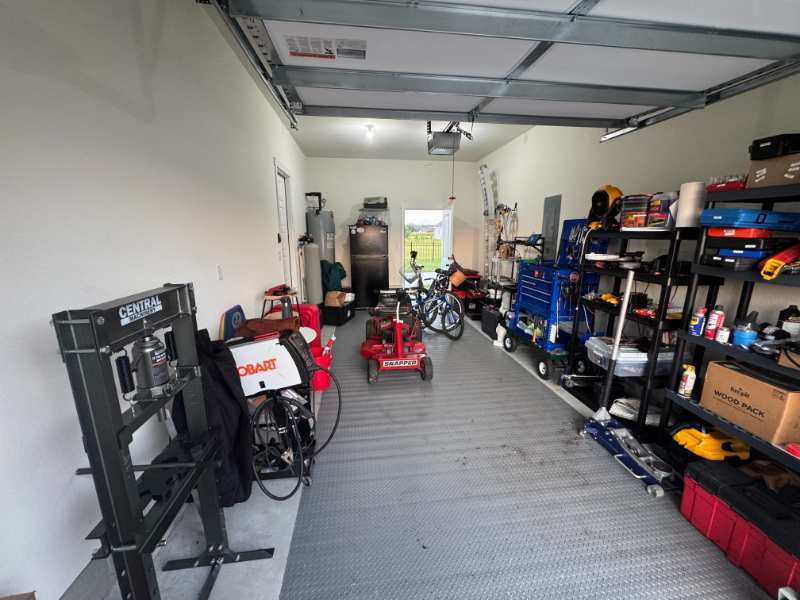
 Hi All! After a long hiatus from the group, I have finally gotten my Comanche through highschool, college, early career, ect.. to a place in my life where I have the time, space, and resources needed to actually work on it (beyond keeping it limping along). Shop and Comanche pictures below: I am the worst at taking pictures however I wanted to share some data around the factory front lighting harness. While many people upgrade the headlight harness itself, that still leaves the old plug to the engine harness in place, which is always crusty. Prior to upgrading my headlight harness to the relay set up, I wanted to make sure I had a clean start up front. In order to access and pull the harness out, what I have found easiest is to pull the header. Note that the screws/ bolts/ nuts for the header and molding can be quite rusty. Would suggest soaking with penetrating oil. Pg. 1989-1990 in FSM When you remove this, the wiring harness if installed as is from the factory should come out with it. From here, remove all connections to the lights and remove the wiring harness from the header. Before removing any tape from the harness, I would suggest drawing the outline of the harness on a piece of cardboard so you can match the final shape with your new harness. Finally, to build the new harness, here are the parts I used, as well as shrink tubing, butt connectors, and solder: Item Manufacturer / Brand Part number / Type Full-size turn-signal socket Dorman 85898 Headlamp adapter sockets RED WOLF H4 / 9003 / HB2 female, 2-piece kit Side-marker socket and cable Crown Automotive J5455853 Main disconnect connector N/A 10-pin Deutsch-style connector 16 Gauge GXL Wire N/A Wire The way I built my new harness was simply one wire at a time, tracing, copying, and splicing into the new connectors. However, after making the new harness I also measured and mapped each section of wire. The attached excel spreadsheet shows the measurements, circuit key, as well as the manual references for the wiring diagram. Please note that I did not measure precisely, however the measurements should still work to build off of. 1989_Jeep_Comanche_Front_Lighting_Harness_With_Parts.xlsx Once built, I would suggest using 1/2 cloth wiring harness tape to bundle the wires, using the carboard pattern you made early to keep everything tidy. After that, install, and enjoy a new harness that should last another 36 years :) (Don't mind the crazy mess) I will continue to work through other wiring harnesses on the truck and share additional measurements with the group.
-
Jeep Comanche Acceleration Issues
comanche1989 replied to comanche1989's topic in MJ Tech: Modification and Repairs
If someone has more knowledge of the inner workings of distributors and why it happened, I would be interested to hear and learn about it! -
Jeep Comanche Acceleration Issues
comanche1989 replied to comanche1989's topic in MJ Tech: Modification and Repairs
As far as I understand, it was a mechanical issue causing an electrical issue. The distributor was worn out, causing oscillations effecting both the Cam position sensor ( I know the Jeep can run with it unplugged) and the rotor. I believe once the engine reached a certain rpm, it created an almost death wobble effect, where it oscillated at that certain rpm range. Certainly a strange problem. -
Jeep Comanche Acceleration Issues
comanche1989 replied to comanche1989's topic in MJ Tech: Modification and Repairs
An update just incase people have a similar problem and are searching the forum. My distributor itself was bad. Now that the distributor is replaced (as well as nearly every sensor and ignition component) the Comanche is running smooth as can be! -
Jeep Comanche Acceleration Issues
comanche1989 replied to comanche1989's topic in MJ Tech: Modification and Repairs
I just went and bought a new MAP and installed it. No change at all in issues, still behaving the same. -
Jeep Comanche Acceleration Issues
comanche1989 replied to comanche1989's topic in MJ Tech: Modification and Repairs
When I unplugged the TPS, it idled fine but when I pressed the gas it would stall. -
Jeep Comanche Acceleration Issues
comanche1989 replied to comanche1989's topic in MJ Tech: Modification and Repairs
MAP vacuum source is the closest nipple on the H.O. Intake. I’m fairly certain the location is not an issue, as I have put 10,000 or so miles on the engine since I put it in. Should I go ahead and spring the money for a new MAP? I hate throwing parts at a problem. The voltage swings up as the butterfly is opened. -
Jeep Comanche Acceleration Issues
comanche1989 replied to comanche1989's topic in MJ Tech: Modification and Repairs
EGR was deleted when I when to a H.O. motor. I have done most of the renix tips. I will however double check all wires. They are fairly new. How would I set .83 for a closed throttle position when I can not get the TPS to clock any more? Adjust the idle set screw? I will be buying a new MAP sensor come payday to swap in. -
Jeep Comanche Acceleration Issues
comanche1989 replied to comanche1989's topic in MJ Tech: Modification and Repairs
Just took another look at my truck. Found about 2 ohms of resistance between back-probed TPS and negative battery terminal. Re-cleaned the dipstick ground thoroughly and that reduced resistance to the point where my cheap multimeter is not reading any. This brought my voltage on the TPS when adjusting up to .81 v. My voltage I need to be able to adjust to is .83v. Is that much of a difference negligible, or will it cause my issue? I can not clock the TPS any more. Line between manifold and MAP is in good condition. Is the MAP sensor responsible for fuel/air mixture along with the 02 sensor? If I remember correctly backfiring means that the mix is too lean. -
Jeep Comanche Acceleration Issues
comanche1989 replied to comanche1989's topic in MJ Tech: Modification and Repairs
Catalytic converter was gutted by PO. H.O. throttle body. I will check MAP vacuum line in a few minutes. I will keep everyone updated. -
Jeep Comanche Acceleration Issues
comanche1989 replied to comanche1989's topic in MJ Tech: Modification and Repairs
It is an 89 TPS with the HO throttle body. Adapted using the method in the link. -
Jeep Comanche Acceleration Issues
comanche1989 replied to comanche1989's topic in MJ Tech: Modification and Repairs
Thanks for the replies. My TPS voltage from back-probing was 4.87. From what I understand this is within a reasonable limit. I have not adjusted the Idle Set Screw, however the butterfly opens and closes no problem. Is there a procedure for testing the MAP sensor? I don't recall seeing one. When it comes to the CPS, I have not had any issues when no start at all. However, I will test it when I have a chance. To me it seems like a fuel issue, due to the backfiring and popping I hear at the problem RPM range. -
Hi Everyone, Recently I have been having hesitation issues with my truck. It is a 1989 Pioneer with a rebuilt '93 HO motor swapped in. However, it is still using all renix sensors. My issues began about a month ago, after I accelerated quickly from a stoplight. When I slowed back down, I noticed that when slowly accelerating between 1500 and 2300 RPM my engine would hesitate and backfire. If I accelerated quickly, this was not an issue. I suspected that the TPS was having issues after reading online, so I cleaned the throttle body and tried to adjust the TPS. I could not rotate the sensor enough to get it to my required voltage, which was .83 volts. I then bought a new TPS and am still having the same issue of being unable to get it to the required voltage. I have also cleaned the dipstick ground and crimped new eyes on. Would this cause my rough slow acceleration? Why can I not clock the TPS enough to get to the required voltage? Also, I attempted to get on the highway the other day and the engine stalled out once I got to about 60 mph. If anyone has any ideas about what could be causing this issue, I would appreciate it. I am near wits end with this truck.
-
http://www.northerntool.com/shop/tools/product_200626118_200626118?cm_mmc=Google-pla-_-Welding-_-Plastic%20Welding-_-44468&ci_src=17588969&ci_sku=44468&ci_src=17588969&ci_sku=44468&gclid=CMjJ5JKmmL4CFU4aOgoddXwAXA
-
Anyone Else Want In On Our Club 10% Discount At 4 Wheel Drive Hardware?
comanche1989 replied to Pete M's topic in The Pub
I'll be sending my info your way!