


grainofsalt
-
Posts
44 -
Joined
Content Type
Profiles
Forums
Gallery
Everything posted by grainofsalt
-
1990 shortbed with 2000 swap
grainofsalt replied to grainofsalt's topic in MJ Hardcore Tech: Epic Journeys to Greatness
Take your time and you too can make anything shine! After the clear cures enough run up through the sanding grits, I went up to 2000 grit. Probably could have stopped at 1200 or 1500 grit honestly with how the Meguiars compounds worked out. Then went to buffing. I used three compounds to cut, buff then polish. No secrets here, Just elbow grease and patience!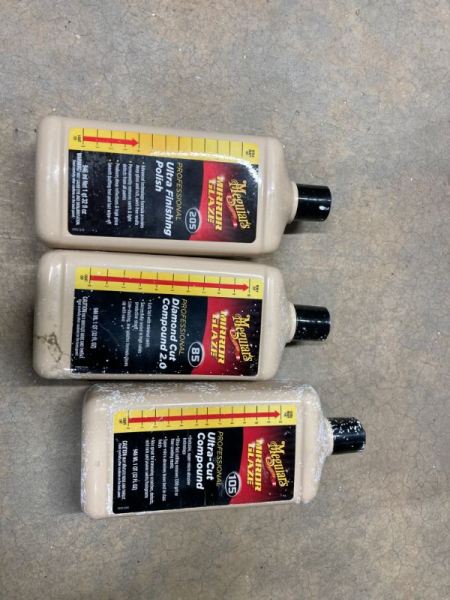
-
1990 shortbed with 2000 swap
grainofsalt replied to grainofsalt's topic in MJ Hardcore Tech: Epic Journeys to Greatness
Test fitting parts again and wet sanding, Plus hours of buffing! She's gonna shine!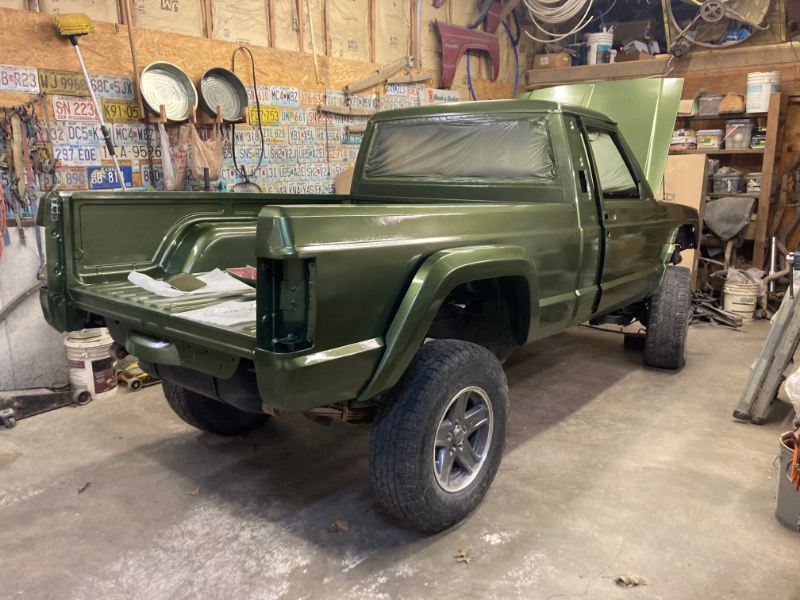
-
1990 shortbed with 2000 swap
grainofsalt replied to grainofsalt's topic in MJ Hardcore Tech: Epic Journeys to Greatness
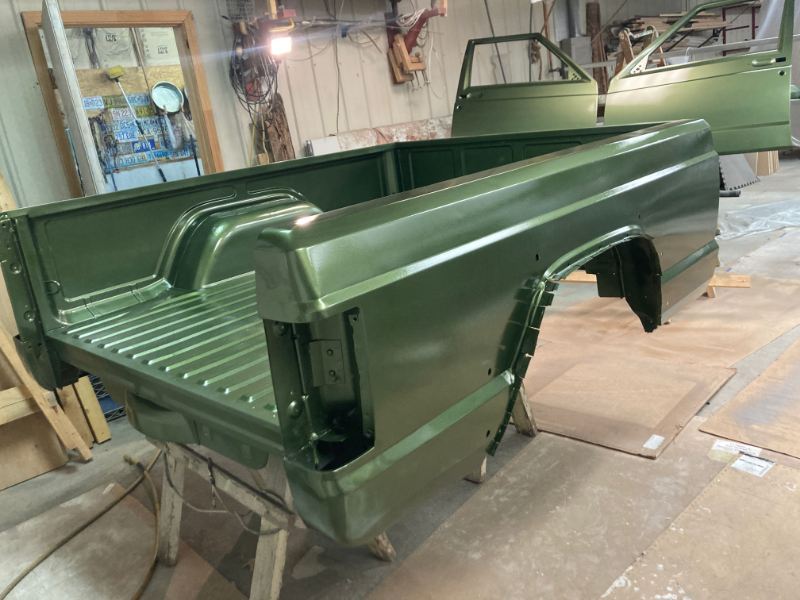
Couple of freshly laid paint and clearcoat shots for your viewing pleasure.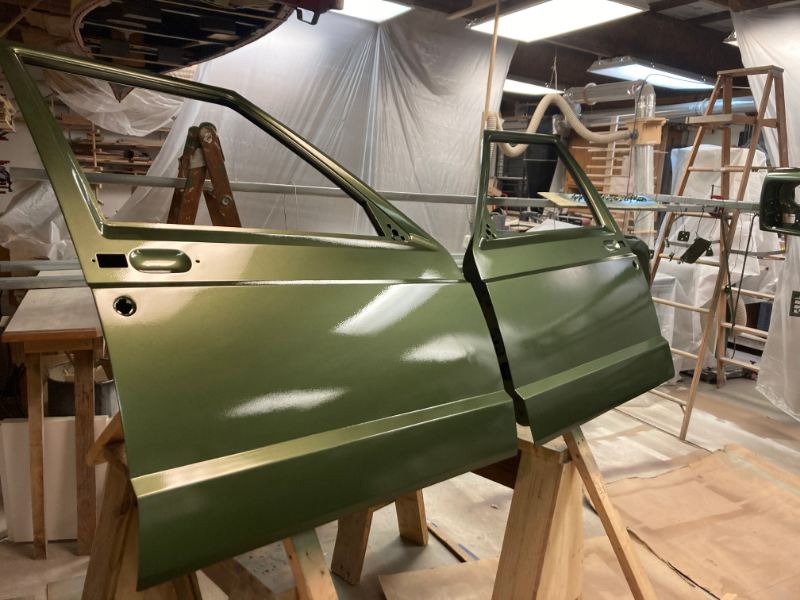


-
1990 shortbed with 2000 swap
grainofsalt replied to grainofsalt's topic in MJ Hardcore Tech: Epic Journeys to Greatness
I guess I got into the flow of working and don't have any closeup pictures. It's fairly obvious once you hold the flare up to the bed. These are about as high as you can mount them. -
1990 shortbed with 2000 swap
grainofsalt replied to grainofsalt's topic in MJ Hardcore Tech: Epic Journeys to Greatness
Thanks 89 MJ, There is a ton of work just getting to this point! -
1990 shortbed with 2000 swap
grainofsalt replied to grainofsalt's topic in MJ Hardcore Tech: Epic Journeys to Greatness
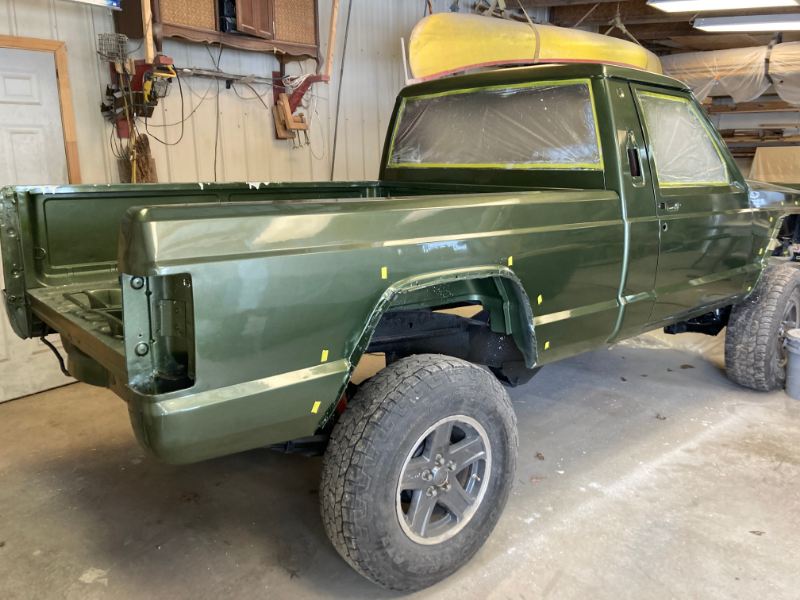
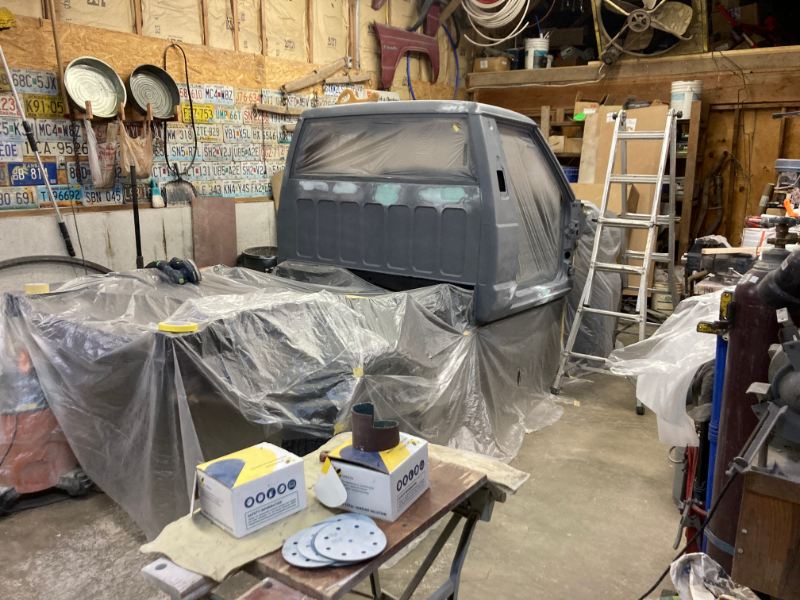
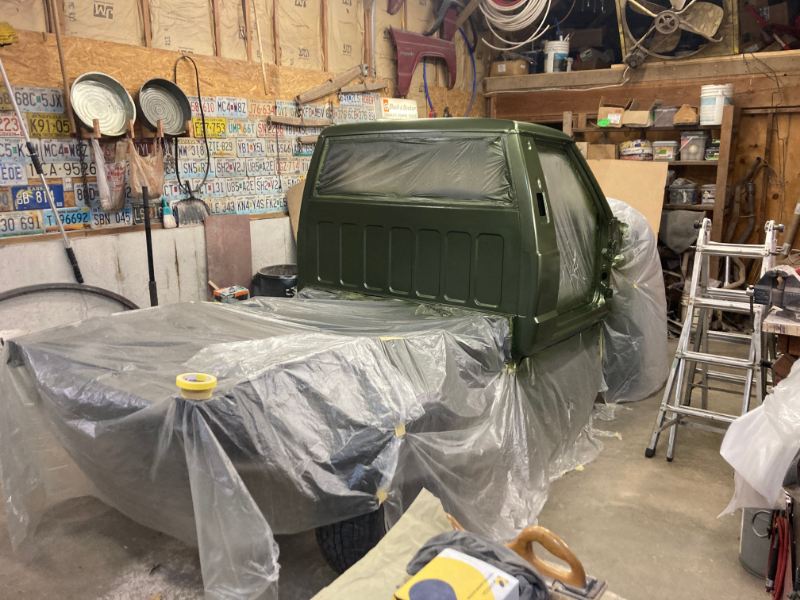
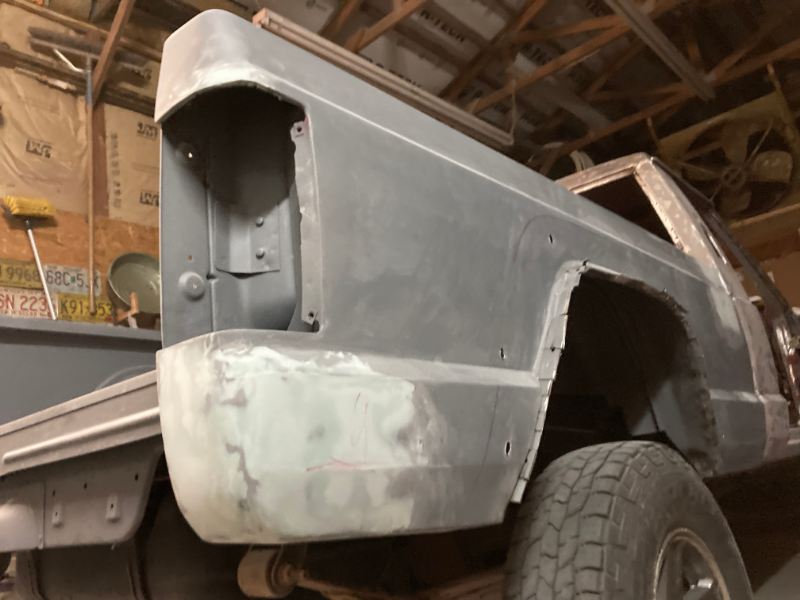
The notch flares really open up the fenders! Laid down the last bit of primer to get everything sealed up, then on to color... Went with 2018 dodge Hellcat Green.

-
1990 shortbed with 2000 swap
grainofsalt replied to grainofsalt's topic in MJ Hardcore Tech: Epic Journeys to Greatness
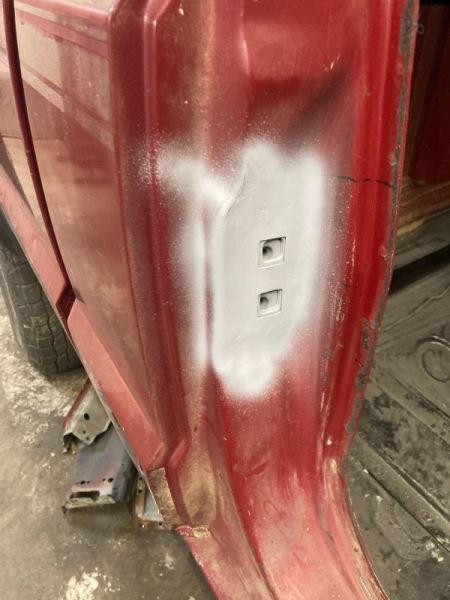
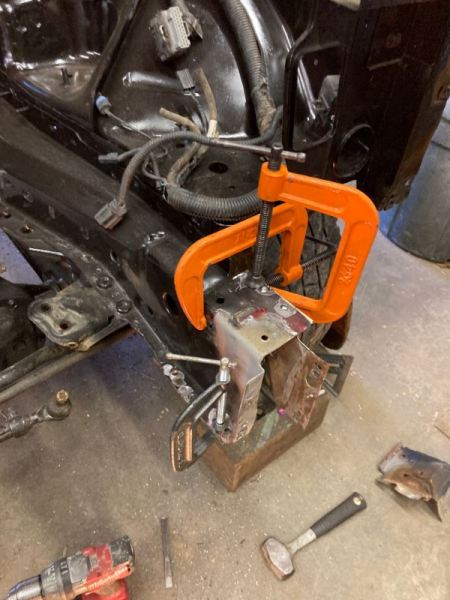
Here's a shot of how I did the J-Bolts. I probably would have been fine cutting a v in the plate, But went and made the mounting hole similar to the Cherokee mounting hole. There also is drain locations, Didn't want to trap water in there.
-
1990 shortbed with 2000 swap
grainofsalt replied to grainofsalt's topic in MJ Hardcore Tech: Epic Journeys to Greatness
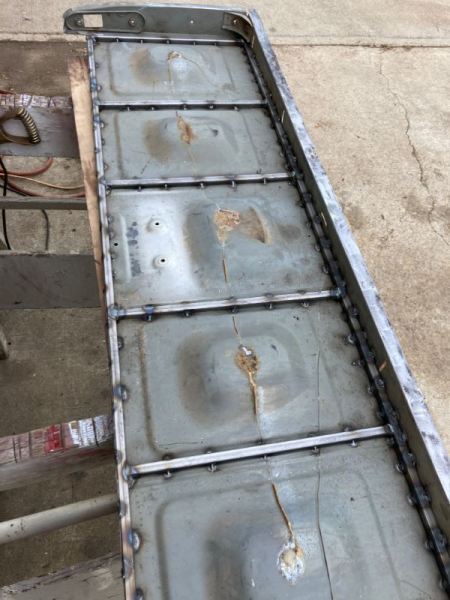
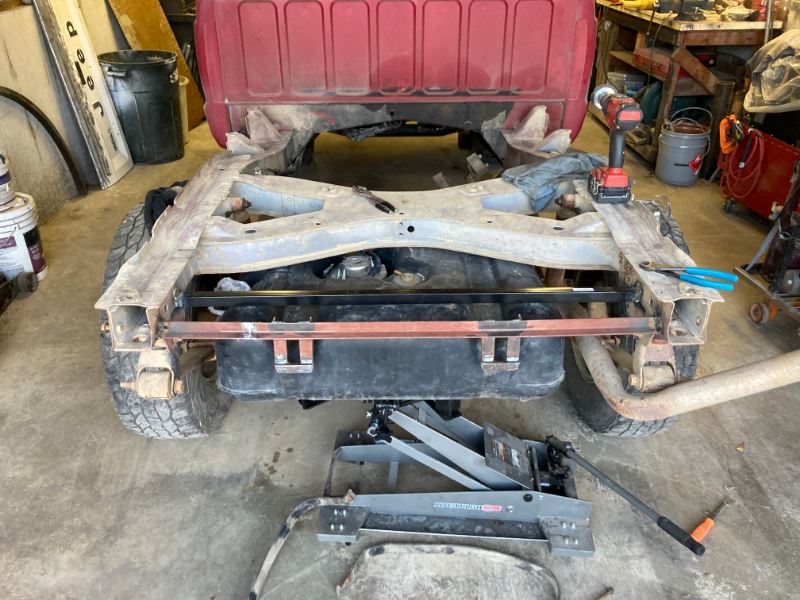
A-man930, The tailgate work it totally worth it! This truck had a banana bend in the tailgate, Now you can't notice it flexing with some weight. Primed up another round of truck parts and then started body filler and fitting the notch customs flares. ghetdjc320, I'll snap a picture for you, Basically just have the j-bolts running up to the cross member. Kept it super simple. Did relocate the brake line location to make the new fuel fill hose work. I didn't relocate the fuel door.

-
1990 shortbed with 2000 swap
grainofsalt replied to grainofsalt's topic in MJ Hardcore Tech: Epic Journeys to Greatness
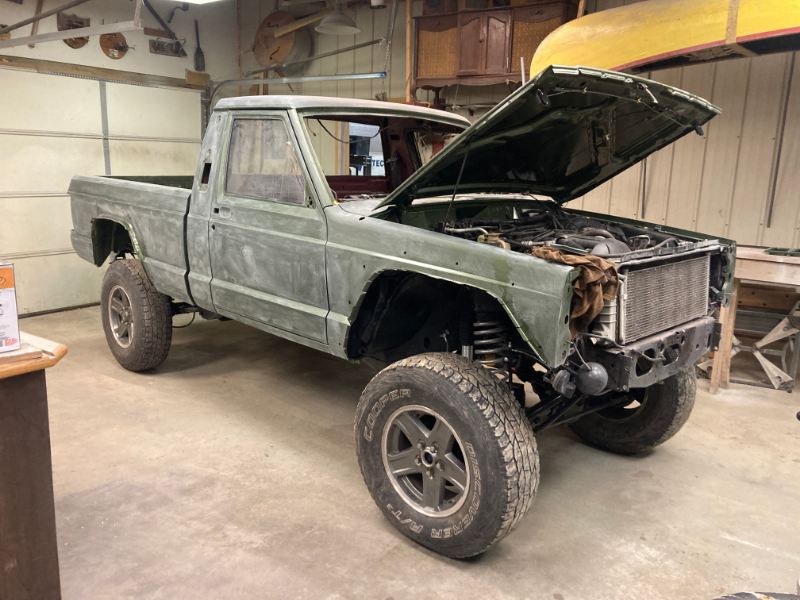
Mounted the EVAP canister to the frame and then sanding and more sanding. The truck had been repainted at one point in its life so that meant piles and piles of red dust.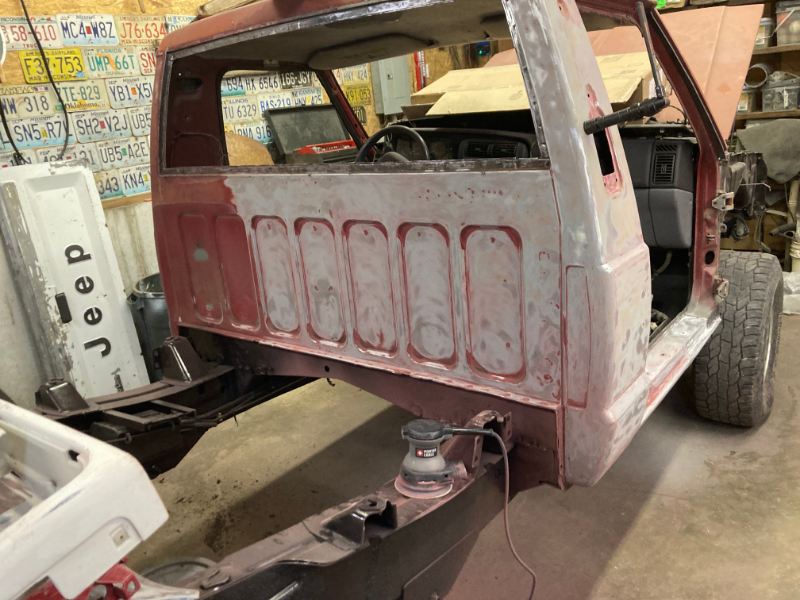
-
1990 shortbed with 2000 swap
grainofsalt replied to grainofsalt's topic in MJ Hardcore Tech: Epic Journeys to Greatness
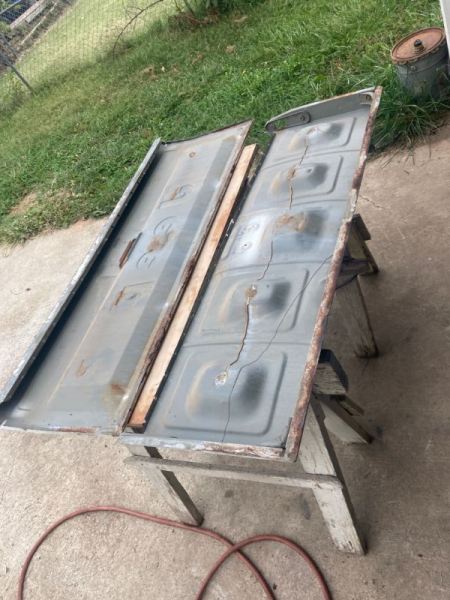
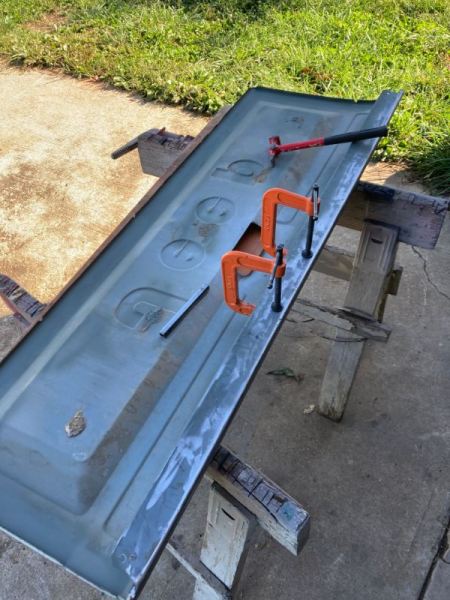
Needed to open up some floor space in the shop so bolted the drivetrain together and tucked it into the truck. Then popped open the tailgate to straighten it and give it some beef.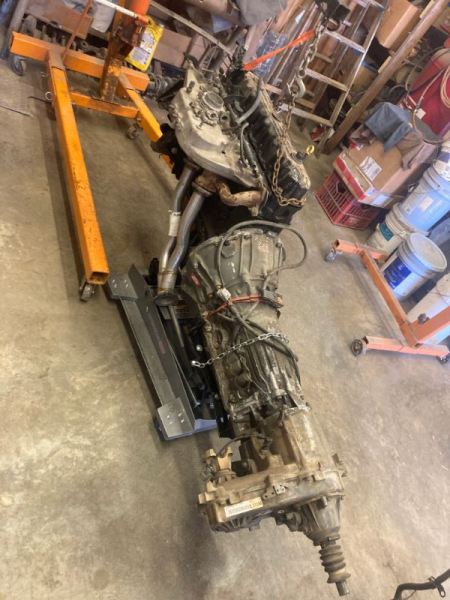
-
1990 shortbed with 2000 swap
grainofsalt replied to grainofsalt's topic in MJ Hardcore Tech: Epic Journeys to Greatness
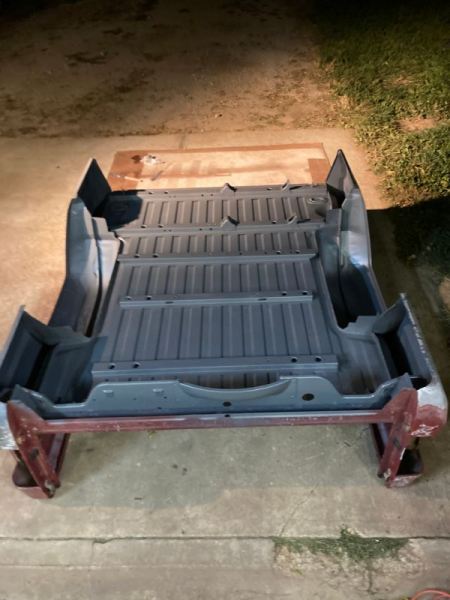
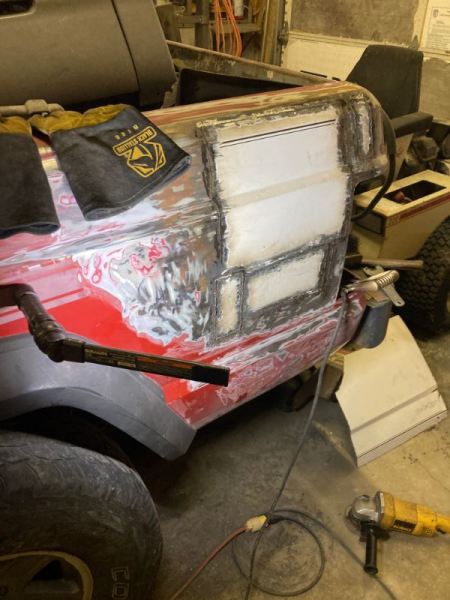
Thanks for the complement's gents! Pulled the bed off and started stripping the paint. Laid primer the underside, then after that had cured did the top side. Now on to some fab work. I want to retain as much of the donor Jeep as possible, So the spare tire carrier was deleted and the XJ fuel tank was mounted in its place. It really mounted up well with enough clearance for everything.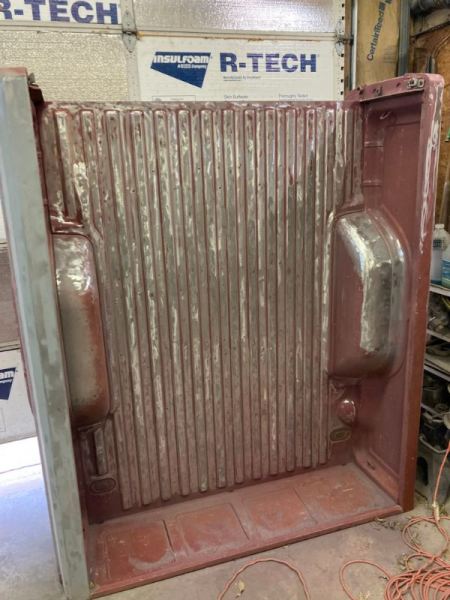
-
1990 shortbed with 2000 swap
grainofsalt replied to grainofsalt's topic in MJ Hardcore Tech: Epic Journeys to Greatness
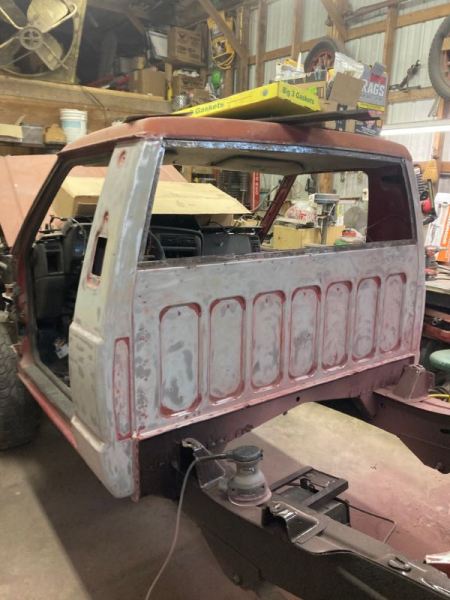
Patched a hole in the bedside then grafted in the dash mounting points and '97+ seat mounts.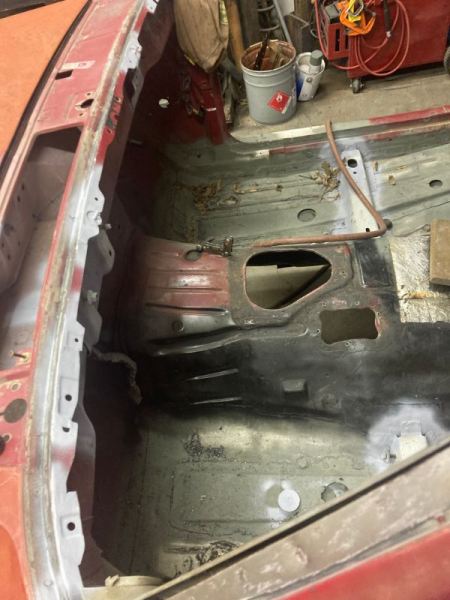
-
1990 shortbed with 2000 swap
grainofsalt replied to grainofsalt's topic in MJ Hardcore Tech: Epic Journeys to Greatness
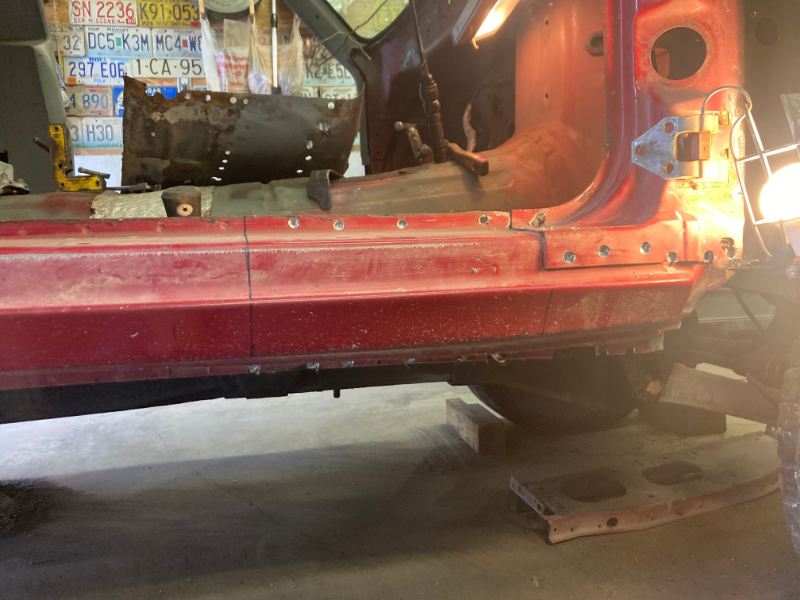
Cut out the striker mounting points from the XJ and burned them in. the passenger rocker needed some surgery to straighten it out.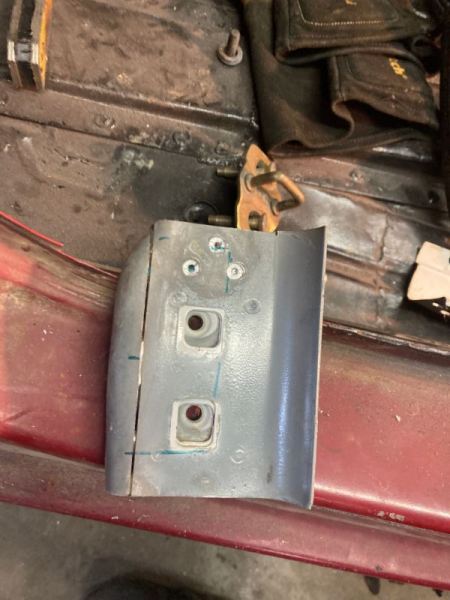
-
1990 shortbed with 2000 swap
grainofsalt replied to grainofsalt's topic in MJ Hardcore Tech: Epic Journeys to Greatness
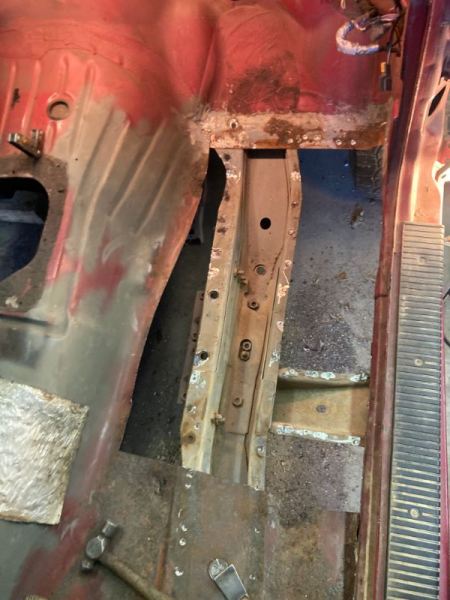
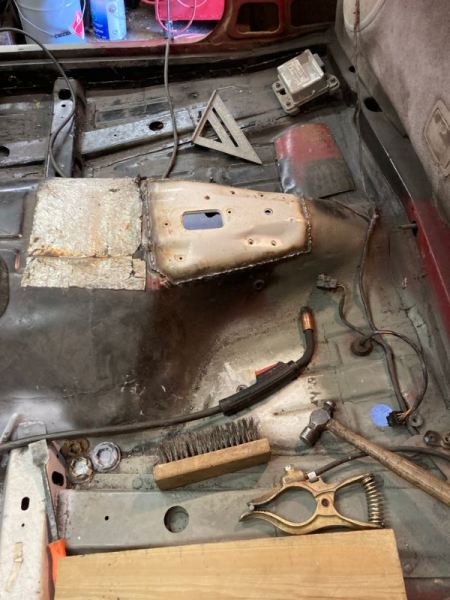
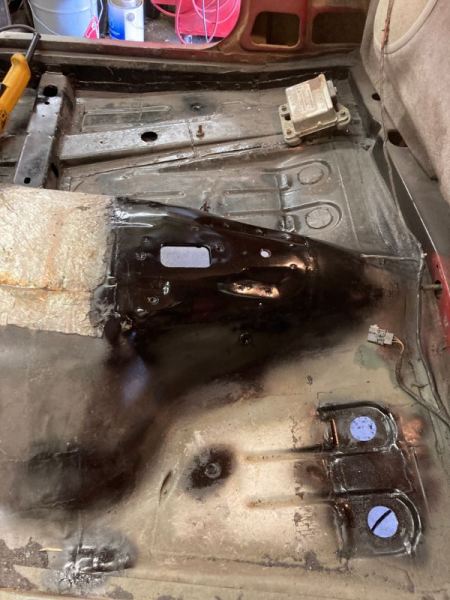
Converted the firewall to the 2000 spec, Then out with the rusted floor and in with some good metal.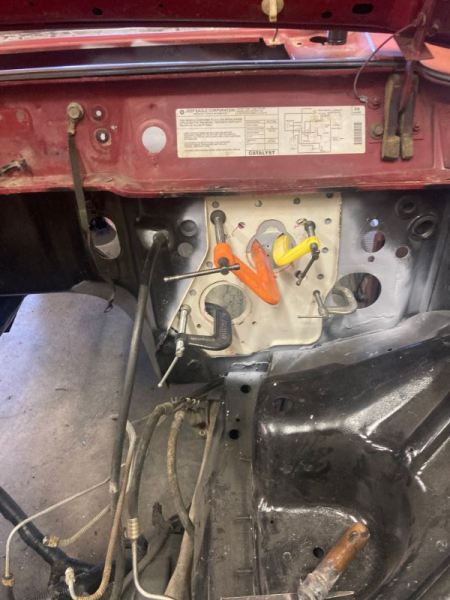
-
1990 shortbed with 2000 swap
grainofsalt replied to grainofsalt's topic in MJ Hardcore Tech: Epic Journeys to Greatness
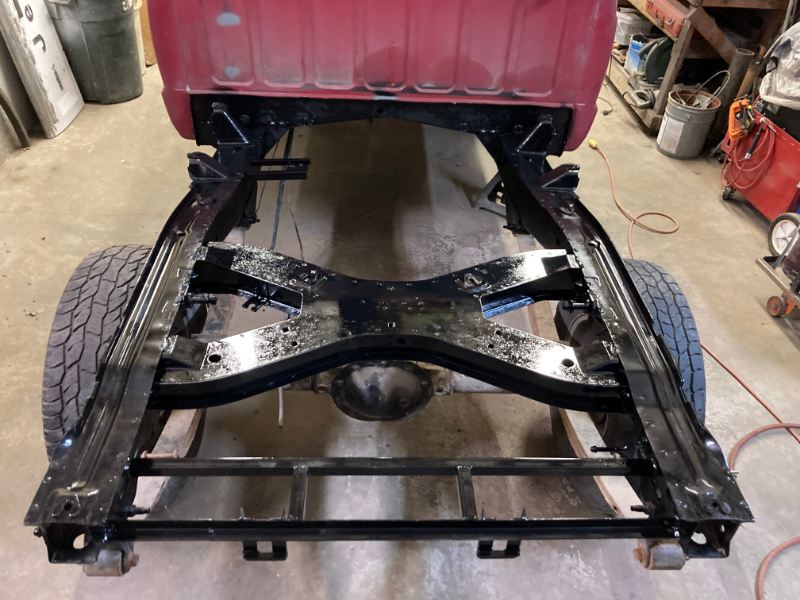
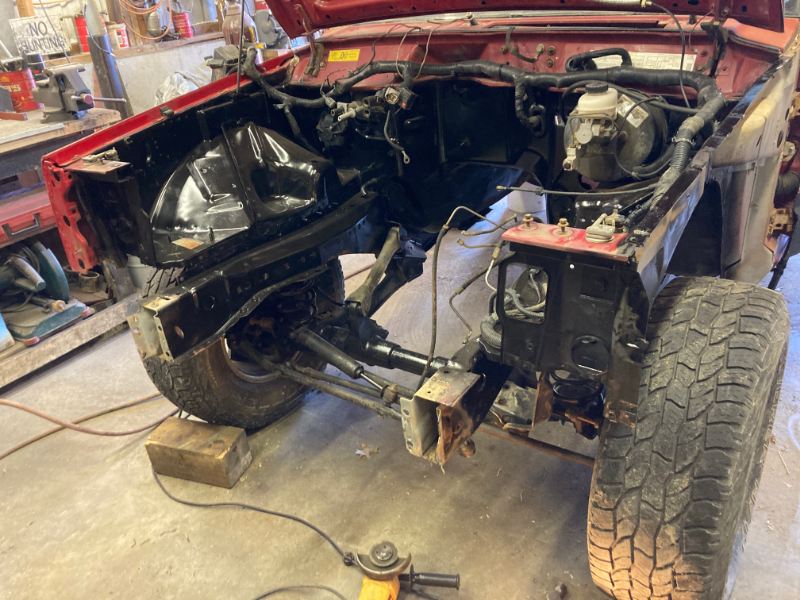
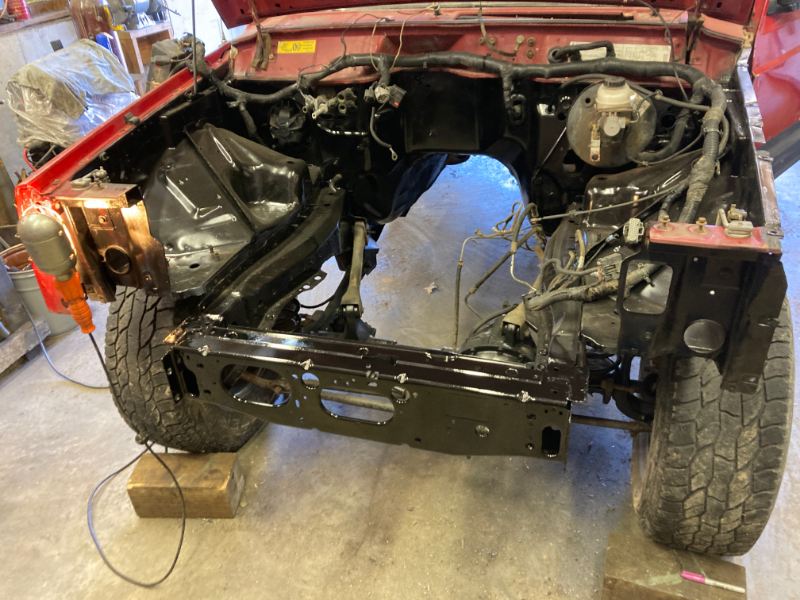
Out came the 2wd front axle and the wiring from the previous owner. The core support and some of the frame needed a quick repair. Decided to paint the engine bay black now so the engine can go in before paint.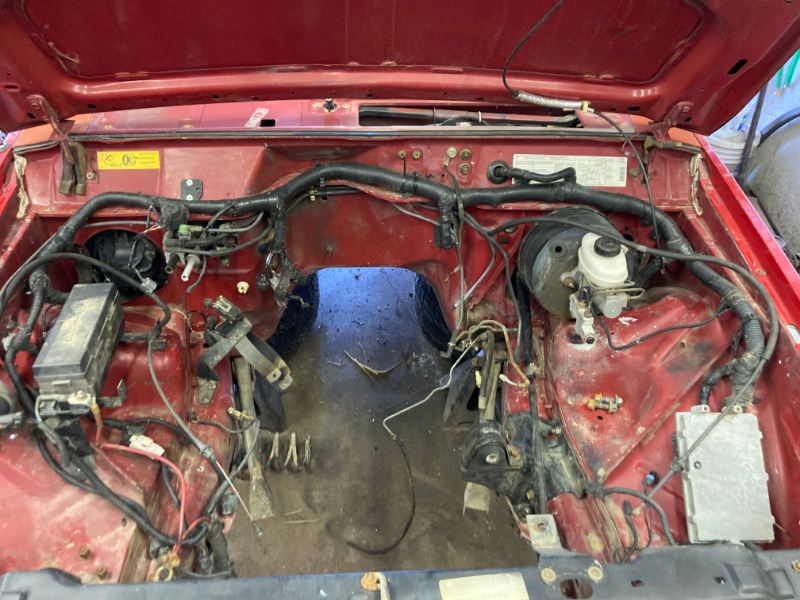
-
1990 shortbed with 2000 swap
grainofsalt replied to grainofsalt's topic in MJ Hardcore Tech: Epic Journeys to Greatness
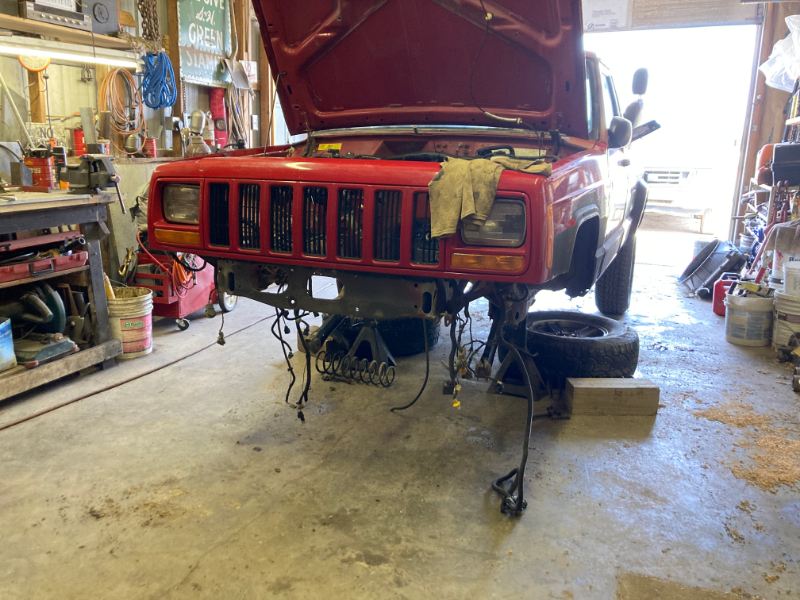
Parts are coming from a 2000 Classic XJ that had been rear-ended, Totally wasted the body of the XJ but perfect to pull parts from! Got it to the shop and wasted no time in stripping it down.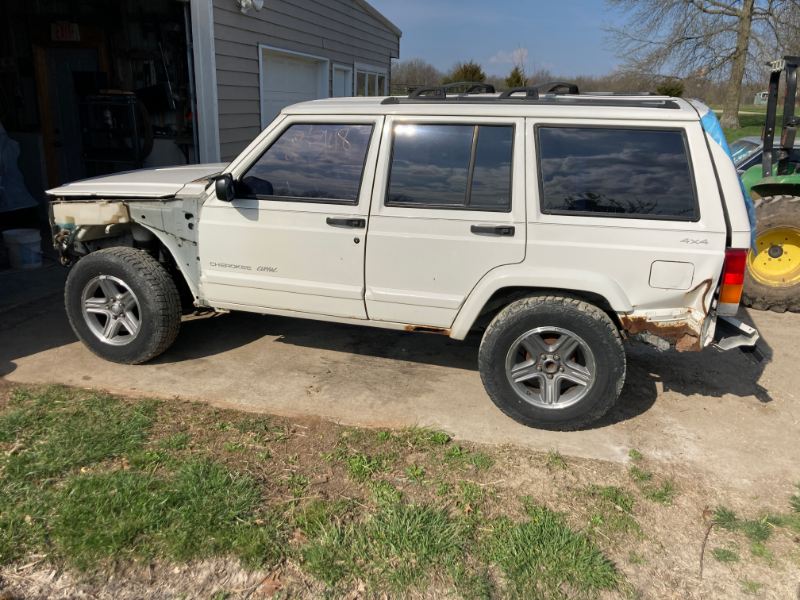
-
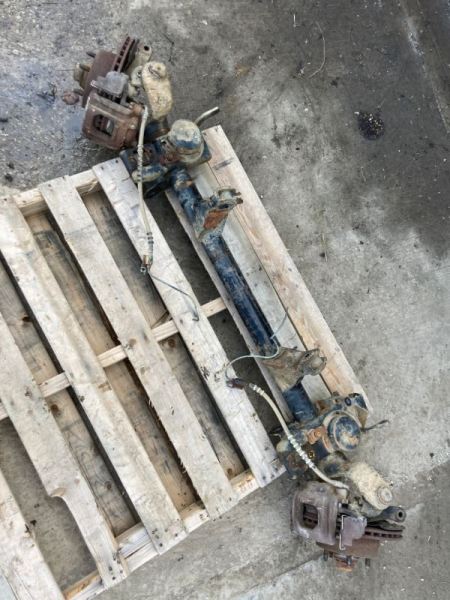
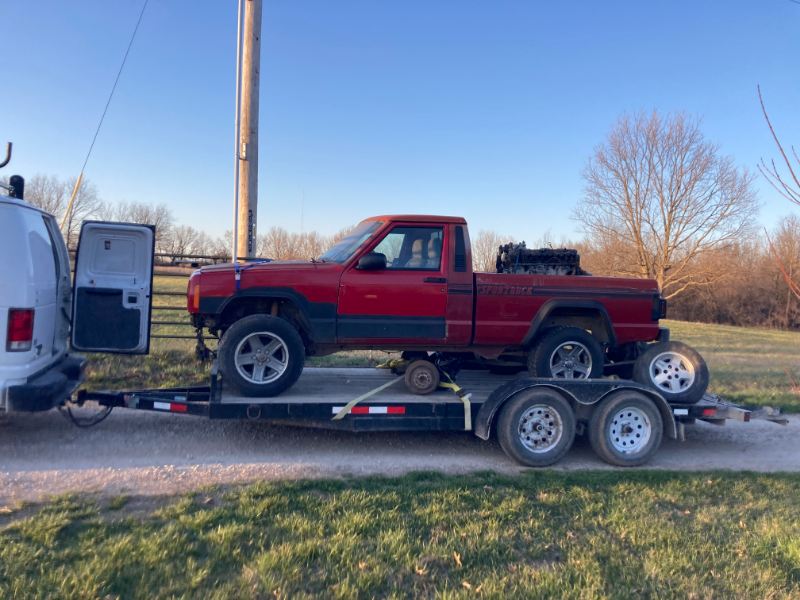
After many XJ's I finally found an MJ. So I popped the trailer on behind the diesel and headed down to Arkansas to pick it up. Per the vin It was a 2wd 4 cylinder manual truck. One of the previous owners had already swapped in a 8.25 in place of the broken D35. In the bed was a 140k 4.0l and underneath was a LP and a HP D30.

-
Back in the day i had an '86 XJ that had an Edelbrock intake and a 4 bbl Holley carburetor. Way better than the stock setup! Also, Regearing the axles is something to consider as well.