

mrmel2you
-
Posts
119 -
Joined
-
Last visited
-
Days Won
1
Content Type
Profiles
Forums
Gallery
Everything posted by mrmel2you
-
Quick ? New 23.5 gallon fuel tank
mrmel2you replied to mrmel2you's topic in MJ Tech: Modification and Repairs
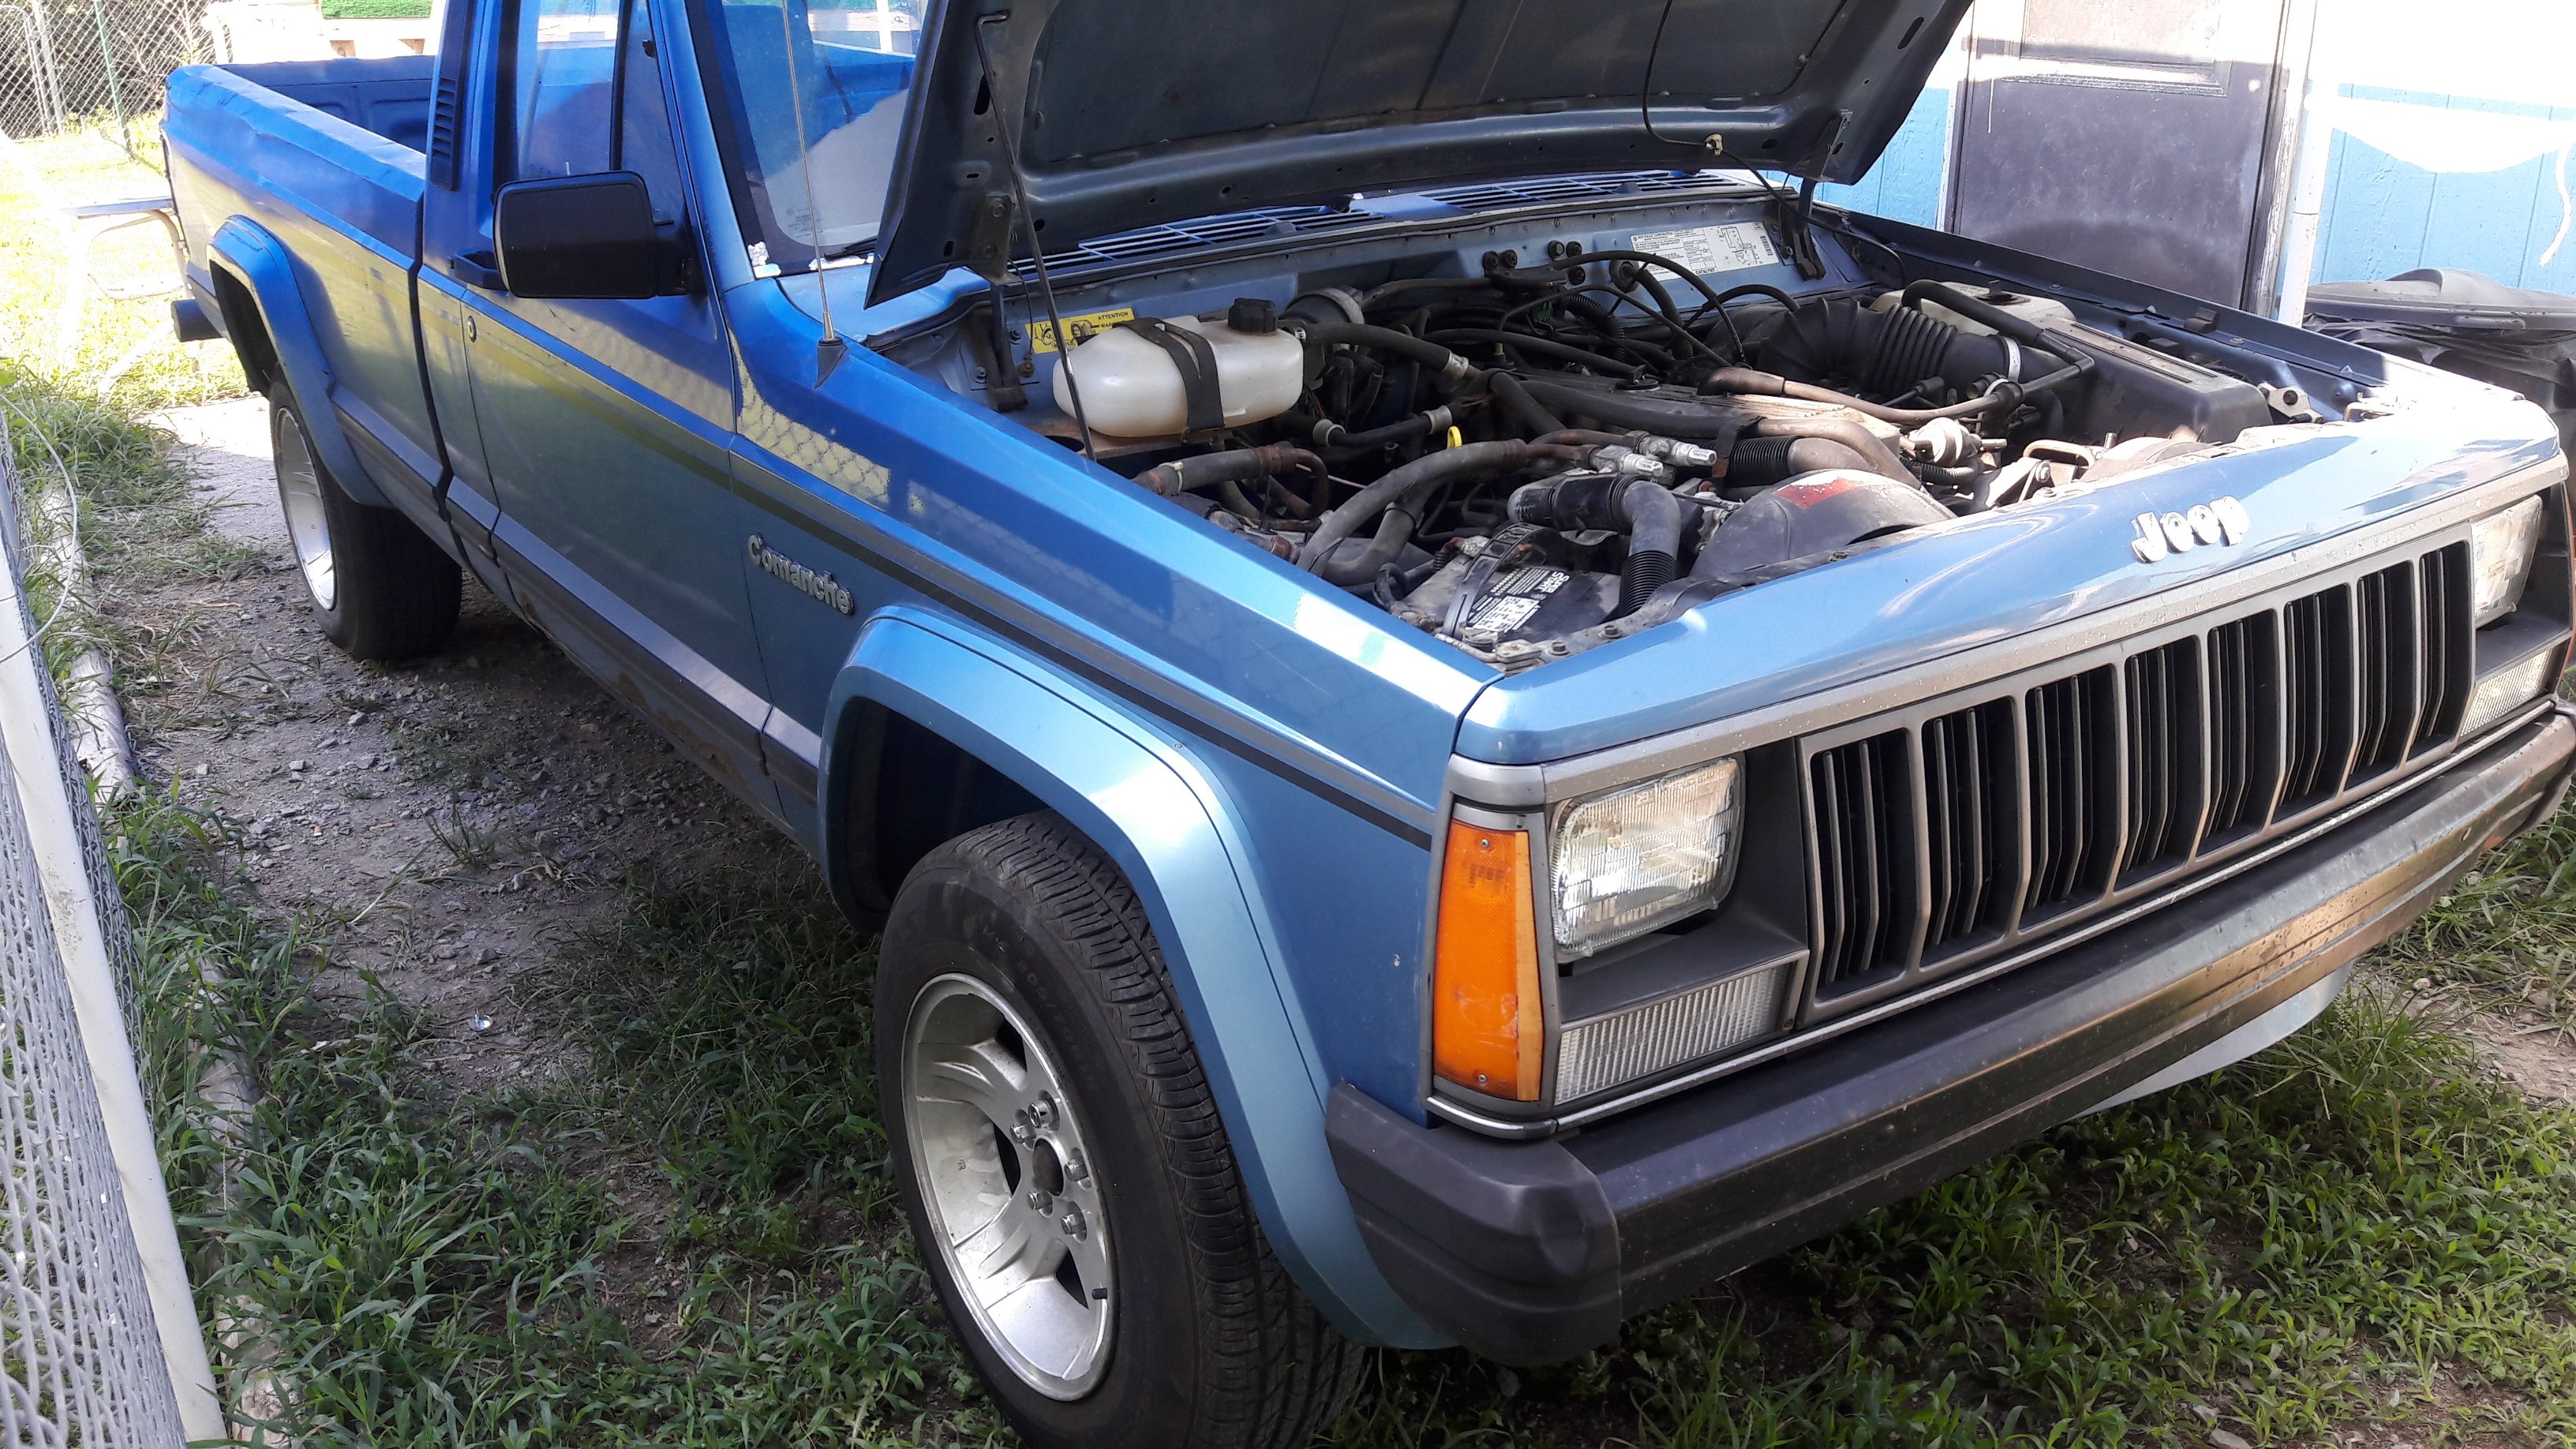
On their website, both tanks (18 and 23.5 gallon) appear to have the same dimensions from the cutouts towards the front of the tank, the 23.5 one is a bit longer from the cutouts to the rear. Seem to be the same depth and width, just longer. I took a screen shot of both tanks and super imposed them on top of each other to check it out. Looks like it should be a fit and could work. Went ahead and ordered one, if it doesn't fit---they do have a 30 day return (free return shipping too) even if it was installed. Will let everyone know what I find out when I get it and put it in. -
I just seen an ad up on Ebay from "Martins Auto Parts" for a "new" 23.5 gallon steel fuel tank for '86-'92 Comanches. States that it will be a factory fit for all Comanches (2.5-4.0 engines, 2 and 4 wheel drive, short or long bed). Has anyone purchased/installed one? Was wondering if the stock fuel pump/sending unit would work in it or would I need to replace it with one from an XJ (with the larger tank)? I did find out though that in order to mount the larger tank, I would need to go from a twin strap mounting to a 3 strap mounting (they sell that also) but they could not help nor answer my questions about the fuel pump. Don't want to install it and find out the fuel gauge is giving me the wrong info. Many many thanks in advance, Papa Mel
-
Third brake light/cargo light
mrmel2you replied to Dzimm's topic in MJ Tech: Modification and Repairs
Wal-Mart has under the rail led lighting made for pickups, 2 wire hookup. Going to get a set and try them out, will let everyone know how that works out. Sister's boyfriend put them on his Ford F-350 dually, man those things are bright. -
I replaced it last week when I replaced the brake light switch. Figured I may as well, both might have been in there since new :) Side note; it was doing this prior to replacing the switches.
-
I just noticed the backup lights on The Beast come on whenever the key is in the On/Run position or Accessory position. Thought they only came on in the On/Run position, not both. I put the shifter in Reverse, turn the key to On (engine off)--they come on (good so far)---put the key to Accessory--they come on (not so good, right?). Wondering if this is a bug in the wiring, or if it was meant to be that way when it rolled off the line in '90?
-
I was getting tired of seeing all the oxidation on my tail light lenses, so decided to do something about it. Took them off, scrubbed the heck out of them and they still looked like crap. I then grabbed a few micro-fiber rags and the little thing of----get this---"Mother's Mag Wheel Polish" don't laugh, it really works. To clean the inside of the housing assemblies, I took a tooth brush and heated it right below the bristle area and bent 90 degrees, worked like a champ. Put a little bit of the Mother's on a rag, buff the heck out of it, let it dry to a haze (perfect time to buff the other one) buff it till it shines (*tip* use another tooth brush to get into all the little grooves and screw holes). Will post some before and after pics in a bit, getting ready to take the wife out to lunch (got to keep her happy, if she's not happy---ain't nobody happy) LOL :)
-
Here's an update on The Beast (wife says I need to come up with another name for it, LOL). Round #1--Put new brakes all around on it. New (reman) calipers, rotor/hubs/drums, wheel bearings, seals, pads/shoes, wheel cylinders, rear hardware kits, e-brake cable. She stops on a dime and gives back 9 cents change :) Round #2--After doing all this, took her out for a bit to seat in the pads/shoes. Hit a small (and I mean small) pot-hole. Front-end started shimmying and shaking on me, all the way home. Traced it down to the gear box :( When I bought the tilt column a while back, it came with the steering shaft and box attached. So I swapped them out, no more shimmy and shaking going down the road from the front end :) Now the steering wheel is off-center about a 1/4 turn to the left---will have to sort that out later. No more shimmy in the front-----but now I somehow picked a lot of vibration out of the rear (will it never end?). Thinking it has to be either the drive shaft or the u-joints. Will drop the shaft next week and have it looked at, too much going on right now. Vibration starts at about 35mph---smooths out from between 40-60mph, then starts back up around 65---but smooth as glass from 70-75mph. Had the tires rebalanced, it made no difference so that told me it had to be something mechanical. Was planning on plumbing in all new hard brake lines, proportioning valve, master cylinder and booster next week, but that can wait until I get the vibration under control and fixed. Hmmmm, anything else? Oh yeah, the more that I am able to drive it-----the more I love "The Beast" :) The bucket seats from the '98 XJ sure are comfy, and the tilt wheel makes it just that more enjoyable :) Happy Trails Everyone, Papa Mel :)
-
Floor Replacement Question
mrmel2you replied to MGriff013's topic in MJ Tech: Modification and Repairs
Guess I'll give Keystone a look-see and then make like a big game hunter and start stalking in the Amazon, LOL :) Thanks fellas for all the input, looks like I have a lot of comparing and shopping to do :) May have to wait until after winter to get the pans in. Wife and I are going on a cruise the first part of Dec. (late honeymoon and anniversary) will be a first for both of us :) Finally got everything in from RockAuto yesterday, doing a FULL brake job on The Beast today (f&r) calipers/pads/rotors/wheel bearings/grease seals/shoes/hardware/drums/wheel cylinders/front lines/master cylinder. Later, plans call for tearing out all the hard lines from the front to the rear. Will plumb in all new lines and put in an adjustable proportioning valve, nothing beats a clean and simple braking system (I'm old school, LOL). -
Floor Replacement Question
mrmel2you replied to MGriff013's topic in MJ Tech: Modification and Repairs
Rock Auto has full pans (from Sherman) for $96.79 each. >07546CL and 07546CR< CL=left pan, CR=right pan. Would like to know who makes pans for $30, would get them instead----depending on how good they are :) Fill us in Mike :) -
Needing to put in new floor pans in The Beast. My questions, Has anyone used Sherman floor pans? I can get the full pans through Rock Auto for $96.79 ea.. What would you recommend doing for bracing/seat mount studs? Not too sure if I can salvage any of the factory bracing, looks pretty rotted to me. Driver's floor pan is the worst, rusted under the accelerator pedal and back about a foot, from the tunnel hump towards the rocker panel about 6-8 inches (inboard front seat stud is non-existent, nothing there). Passenger side has a lot of surface rust and just a few small rusted through holes, figured if I have to replace one pan---may as well replace both of them while I'm at it. I'm open to all kinds of ideas. This will be a first for me, but I have access to a small wire feed welder, air compressor/die-grinder/drills/saws/hammers/rivet gun etc.. Don't have a garage or carport, so it will be done in our gravel driveway (same thing when it comes time for the body work and paint)----but I can "Get-'er-Done" LOL :)
-
Found out what the problem was with the wiring(?). Wasn't the wiring at all, the door jamb switch (driver's door) had wore down so much it wasn't making contact with the door, making the lights stay on. Simple fix----drilled a small hole in the face of the plunger, put some Super Glue on a sheet metal screw and screwed it in. Kept adjusting it until the lights went out when the door closed, lights are working great. Going to replace the door jamb switches with a pair from a mid 60's GM car (they can be adjusted in or out too).
-
Thanks for the input about the "911" lights, look really sharp---but a bit pricey for my wallet right now (trying to save up for the new floors and exhaust). Will keep these "el-cheapos" in for a bit, when the time comes I may opt for the "Euramtec" lights though. At least for now I have a bit of light in The Beast for once, LOL :)
-
Thank you thank you "MJ Junkie" :) Between what you told me and what my "thinker" came up with----"The Beast" now has courtesy lights, something it has not had since I bought it :) The lights I bought at O'Reilly's are "Optronics" and the p/n UL-71CS ($3.99 ea.). They fit into the stock opening and are just a bit wider and taller than the stock lights. Took some 3/4" wide flat aluminum stock, cut four pieces 2-1/2" long, drilled a hole in the center of each piece and placed a "tinnerman" nut over each hole. I used 1-1/4" screws to hold it all together. The 1-1/4" screws go through the light base and into the tinnerman nut on the aluminum pieces. The aluminum pieces act as a backer/support piece to screw to. Crimped on some spade terminals and viola-----lights, LOL :) Best part, no cutting on the trim panels or the wiring :)
-
So, went and bought 2 new lights to replace the lights in the pillars behind the seats. Now I have a problem, have 3 wire plug and only two wires on the new lights. I have not been able to get the lights to come on, door jamb switch or turning the headlight switch fully to lock counter-clockwise makes no difference. Did I overlook something, or do I have to run new wiring (from the door switches/lights/fuse panel) or what? I assumed that being a 3 wire connector; one would be a ground and other two would be one each coming from the door jamb switch and the other coming from the headlight switch----not sure if my assumption is correct or not. The plug has numbers on it for the pins 1-2-3, I wired to pins 1-2 light stays on, 2-3 light stays on, 1-3 nothing. I ground one wire from the light to the body and other wire to pin 1 nothing, pin 2 light stays on, pin 3 nothing. No matter which way I connect the wires, I can not get them to work with either the door jamb switches nor with the headlight switch. Short of either running new wires or putting in an on/off switch below the lights---I'm at a loss. Have not seen a wiring schematic yet that would help me out with this. All I have seen in them is a single wire going the light assy', not the 3 that are there. Many many thanks in advance for all of the help fellas :)
-
Floor console, what year will work?
mrmel2you replied to mrmel2you's topic in MJ Tech: Modification and Repairs
Here's the finished console; It fits snug between the '98 XJ seats. Has a lot more storage room inside and sits a tad taller than a stock XJ console (and has 2 BIG functional cup holders too). Finished it all off with spray-on bed liner (black textured) black "pleather" and 1 1/2" foam for the lid/arm rest. Fits so snug in there, no real need to bolt it to the floor :) Turned out a bit better than I was counting on. Waiting on the cup holder inserts to come in, LED ring lit (similar to the one in our Chrysler 300, black with a chrome ring, but 2 separate cup holders). Still looking for a horn button, LOL :) -
Well, I had to try and make a new console. Here are some before and after pics. Turned out a bit better than what I thought it would. At least I now have 2 large cup holders (big enough for two 32oz. cups or cans/bottles with coolies) and a storage area big enough for my tablet and whatever else I can stuff in it (bigger than the one in a Cherokee console). Still have enough room to put in a powered 4 port USB hub and one or two 12v outlets. Made of 3/4" plywood glued and stapled together, all edges rounded over, sealed and primed the sprayed with black bed liner. Piano hinge at the rear, black "pleather" and 1 1/2" foam for the top. Cup holders are 3 3/8" diameter by 3" deep (BIG enough). Measures 26.5" long, 10.5" high (not counting lid/arm rest) and 9.5" wide, just a fit between the '98 XJ seats. What do you think? Believe it or not, these pictures are of the same MJ (The Beast) just taken with a combination of our Olympus camera and Samsung Galaxy S5.
-
Floor console, what year will work?
mrmel2you replied to mrmel2you's topic in MJ Tech: Modification and Repairs
Well, here is "The Beast's" new console :) It's 26.5" long, 11" high and 9" wide, has 2 big cup holders and will have a hinged padded lid with magnetic latch. The cubby on it is generous too, 16" long, 10" deep and 7.5" wide. Will be adding a USB hub in front of the cup holders and maybe one or two 12v outlets (reason for that panel being screwed on). Still a lot of filling and sanding to be done yet. Hopefully have it finished and put in this weekend, fits really snug between the '98 XJ seats. Thinking of doing it up in Satin Black, something to kinda match up with the dash (about the only thing that's black in there) LOL :) -
Floor console, what year will work?
mrmel2you replied to mrmel2you's topic in MJ Tech: Modification and Repairs
I think I'll be keeping the stock mini console for a bit. Made a sweet looking (what I call a "companion console") to go between the bucket seats. Turned out a bit better than what I thought it would, pictures to be posted tomorrow. -
Just curious, will the manual regulators from the rear doors of a Cherokee work on the doors in our MJs? I have an electric swap planned in the future for "The Beast". May have to wait until we get back from our little get-away cruise to the Bahamas :)
-
Floor console, what year will work?
mrmel2you replied to mrmel2you's topic in MJ Tech: Modification and Repairs
Alrighty then, looks like I need to start looking for a console from a '84-'96. All the consoles that I have seen have been one's with an automatic trans', (I have a manual 4 speed) will my standard boot and bezel fit the console? The pictures and posts I have seen have all been with an automatic, have not seen any with a standard shifter installed. The cup holder that mounts to the passenger side of the console, from what posts I have read, people say that the passenger's knee hits the cup(s) and can knock the drinks from them (guess it depends on how they sit while riding). The Mopar holder mounted in front of the e-brake opening would be what I would put in also. Thanks for the tip on the air deflector, might have forgotten about it when I go to pull a console, LOL :) -
I have a '90 MJ, put in '98 XJ buckets---my question is this; What year/make/model floor console will fit this, and still retain my manual 4 speed shifter? I would like it to appear as stock as I can, without a lot of cutting and modifying. Thanks a bunch fellas, you are the best of the best :)
-
'98 XJ Seats Into '90 MJ
mrmel2you replied to mrmel2you's topic in MJ Tech: Modification and Repairs
Here is a few pics of the '98 XJ seats in my '90 Comanche :) Turned out better than what I thought they would, and so much more comfortable than the bench seat (anyone needing a bench seat? No mounts or sliders though, sorry). Still need a horn button cover -
'98 XJ Seats Into '90 MJ
mrmel2you replied to mrmel2you's topic in MJ Tech: Modification and Repairs
Here's what I wound up with, not the prettiest---but it worked :) I bolted 1" angle iron to the tops of the rear seat mounts (while they were bolted to the floor). I then set the seats on top of the angle iron, with the sliders bolted to the seats. I marked where the holes in the sliders met with the angle iron, drilled them out, set the seats back in and bolted them in---rock solid too. Had to notch both front mounts for the pull handles. One additional note, I cut the outboard front leg off the '98 mounts, flattened the bottom tab and bolted it to the outboard 'manche seat mounting stud (front mounts). Had to drill an additional hole on the top side for the slider to mount. For the seat belts, I swapped out the seat belt that is attached to the XJ seats and bolted on the ones from the 'manche. I pulled the XJ seatbelt out of the housing that bolts to the seat. Using a stiff piece of wire attached to the seatbelt tab on the 'manche seatbelt, I pulled it through the XJ seatbelt housing---my stock seatbelts still work :) Will post some pics here in a bit, wife and I have some running around to do. Happy Trails everyone :) -
'98 XJ Seats Into '90 MJ
mrmel2you replied to mrmel2you's topic in MJ Tech: Modification and Repairs
*Papa Ken*, I just looked at those mounts, you may need to turn the uprights around (floor mounting tabs) so they face towards each other due to the narrow space between the tunnel and door sills. Kinda wish I would have seen them before I did mine, LOL. Got both seats installed, 1" angle iron laid across the stock 'manche mounts (had to notch both front mounts for slider handle clearance. Came out the same height as the stock bench seat :) -
Turn signal/brake light glitches
mrmel2you replied to Broke's topic in MJ Tech: Modification and Repairs
Surprised nobody mentioned this----I have a '90 MJ and had basically the same problem, turned out to be the connector to the brake light switch. Unplugged it, cleaned the connector tabs put in a new brake light switch, used a little dab of dielectric grease and plugged it back together----problem solved :)