ghinmi
-
Posts
92 -
Joined
-
Last visited
Content Type
Profiles
Forums
Gallery
Everything posted by ghinmi
-
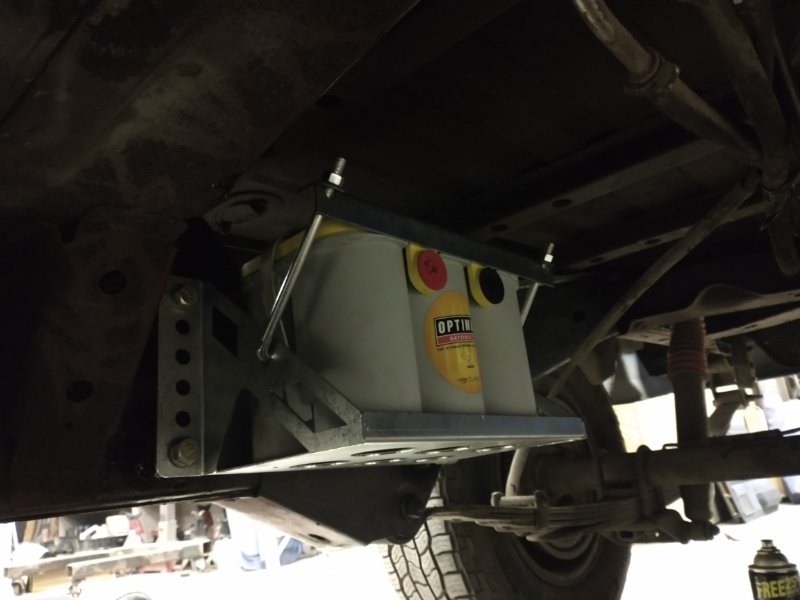
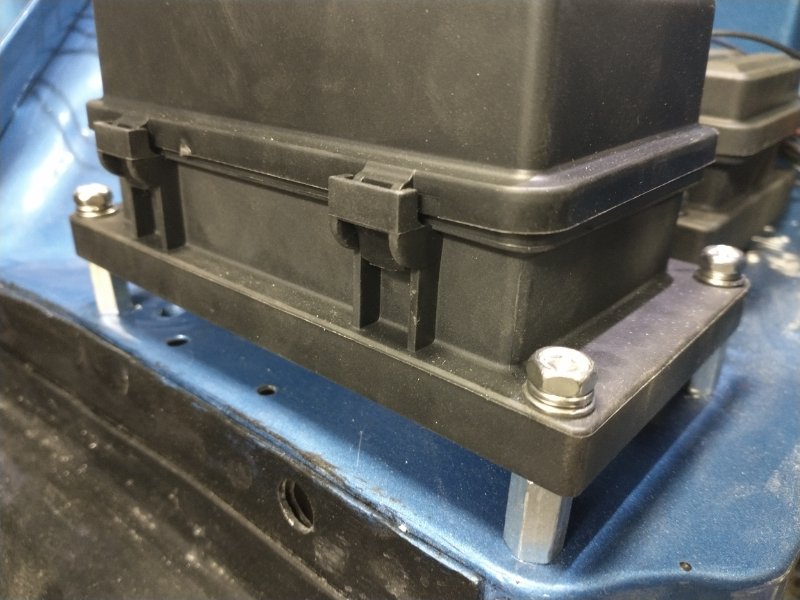
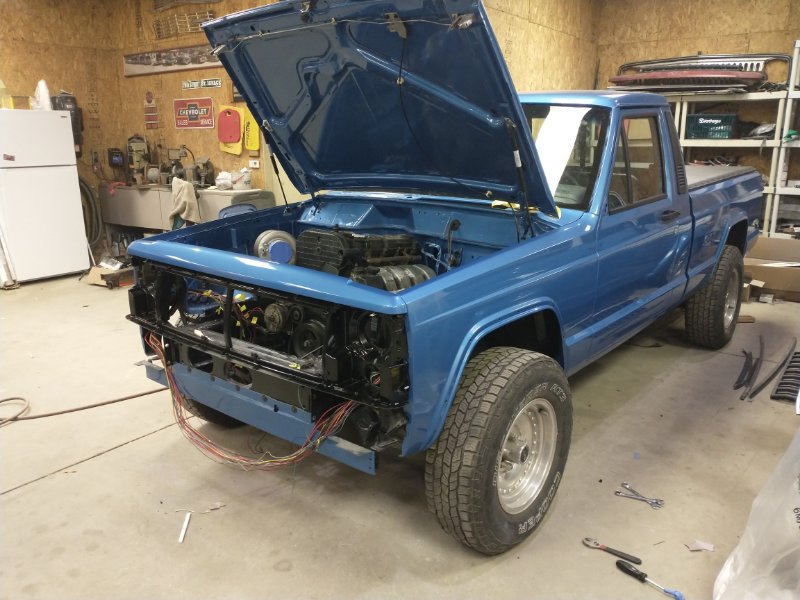
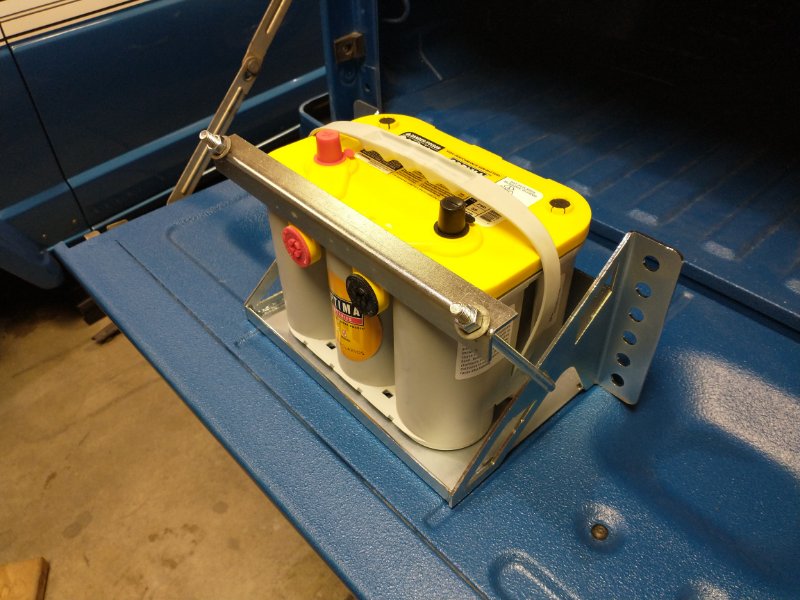
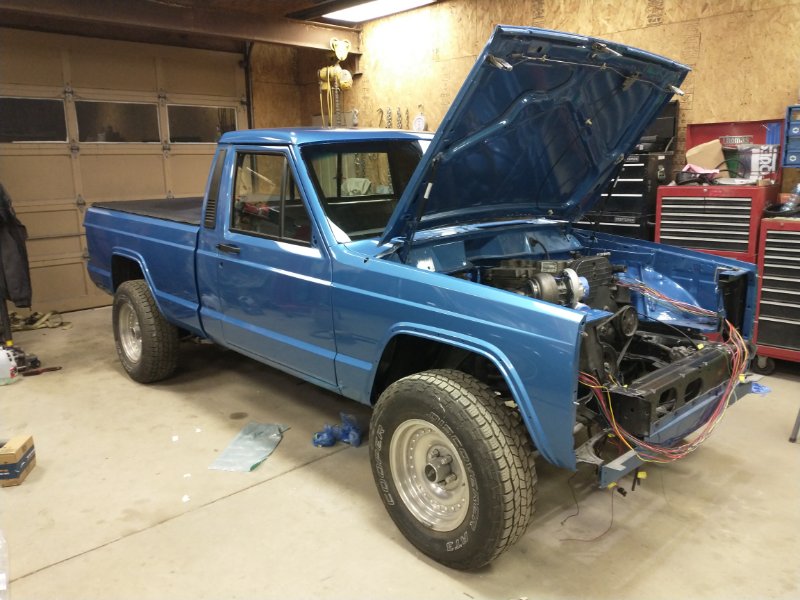
Battery location is a little unconventional on this one. I didn't want the weight and clutter up front. Also didn't want it taking up space in the bed. I'm mounting it under the bed in front of the axle. This keeps the weight centralized and low which will help the dynamics compared to mounting it back by the bumper. Amazon had a decent battery box for this side mount application. I just had to make some 1 1/2" long spacers and weld them to the frame. Here's a good example of why I'm so slow at building things. These relay and power distribution blocks from Amazon are actually really nice but I was unhappy with the mounting hardware. Had to source alternate hardware which takes a couple days because everything on the truck is metric and I want to keep it common. Then because they're not mounted to a flat surface each standoff had to be ground to a specific height to get the two blocks lined up correctly with eachother. And the screws underneath also fit to their respective standoff. The end result is a factory fit and easily accessible fuses and relays run right along the path of my main engine bay harness. Could've had this done on Monday with some zip screws... Also got tired of looking at the unpainted header panel so I fogged it black. Doesn't matter because it all gets covered up. But looks more respectable until then.
-
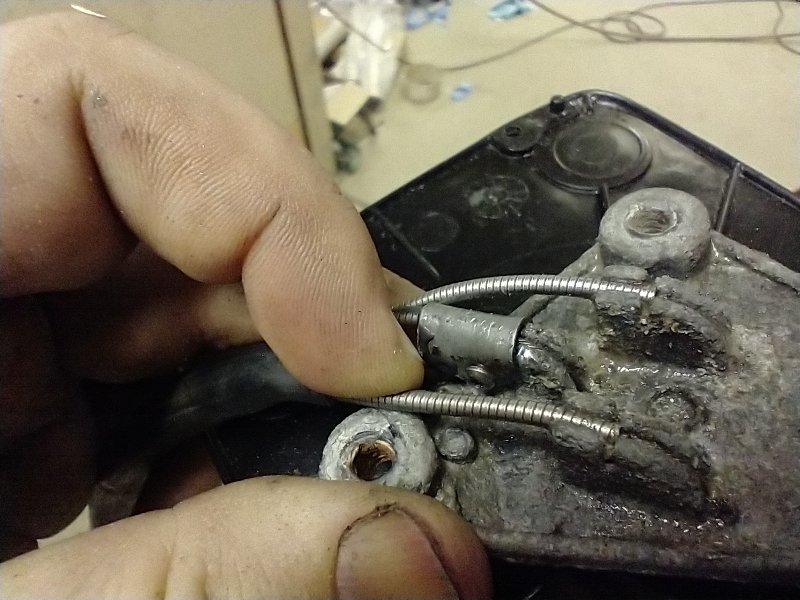
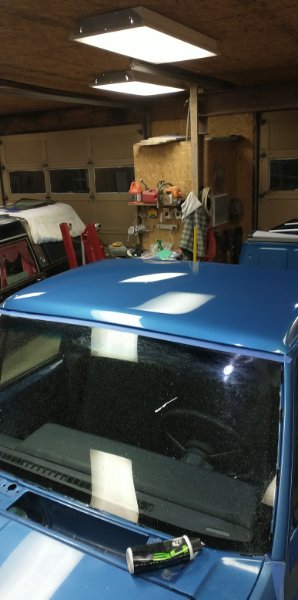
Tonight's progress was minor but still got a few items checked off the list. The mechanisms in both mirrors were broken beyond repair but had good buckets. I was able to find a set of mirrors in the local scrap yard with saveable mechanisms but destroyed housings. The one side just needed a good soaking to free up. The other had one cable that had come loose via the pot metal crimp breaking off. I was able to repair that by tapping for #2-56 screws and making a strap to hold it in place. I put JB Weld in there before final assembly. Will be good for the life of the truck. Also got both housings stripped and ready to be put in epoxy when it's paint time for the rest of the body parts. And finally got the hood buffed out. Just have one fender and half of a door left.

-
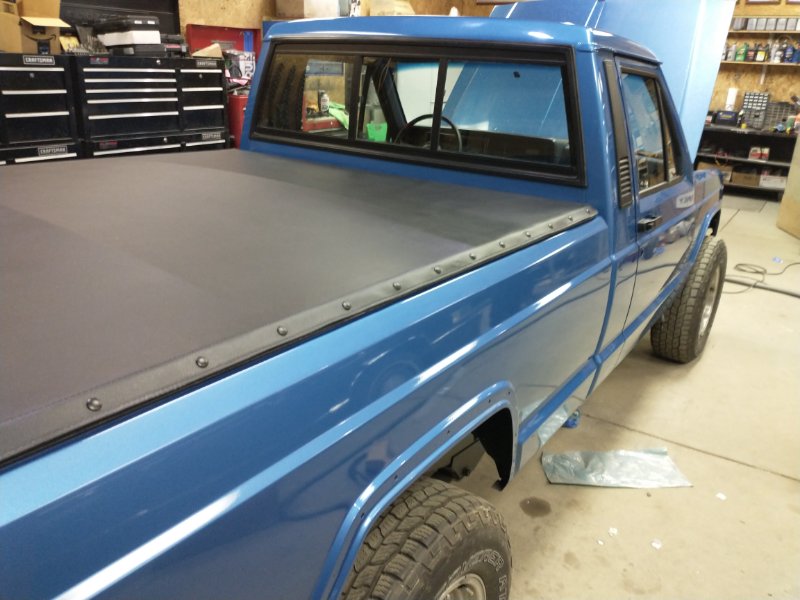
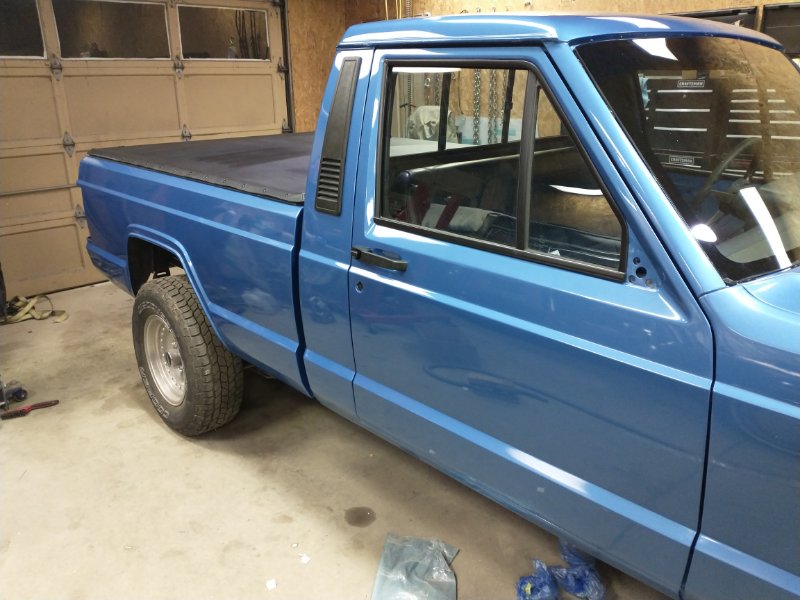
It's a Downey Products cover. I bought it at the end of 2021 and unfortunately I think they went out of business shortly after that.
-
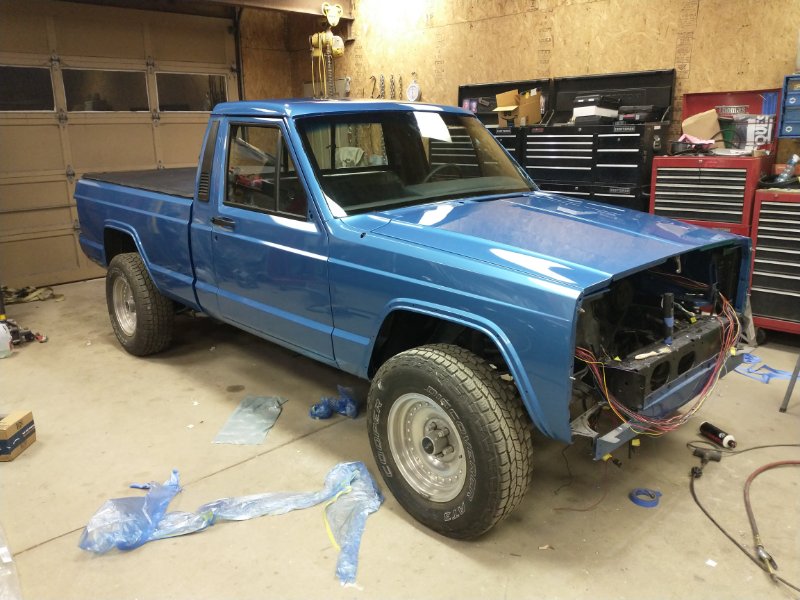
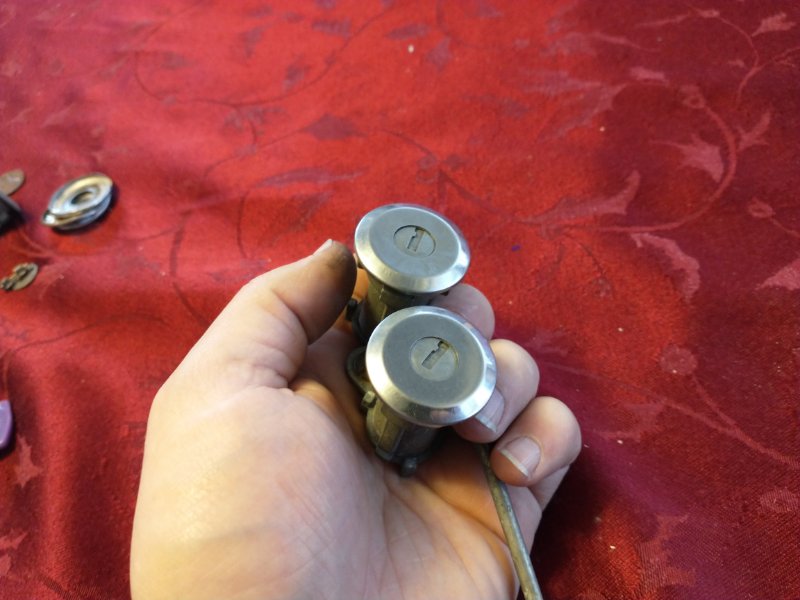
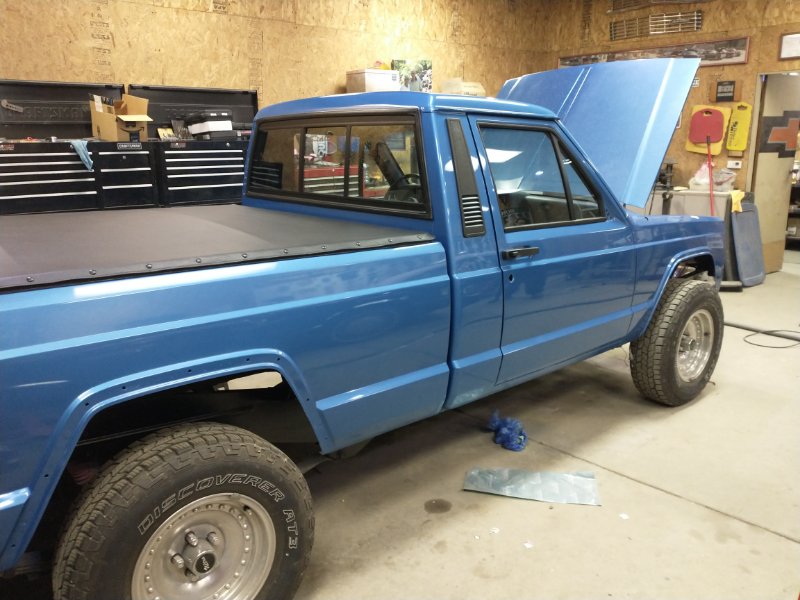
Finally got the parts in to rebuild the original lock cylinders. Just waiting on gaskets to install them. Been working on finally buffing out the rest of the panels. Finally got a good system figured out that I'm happy with. Then also got the bed undercoated and put back on. I got very lucky and the parts truck had a set of cab vents that cleaned up exceptionally nice.
-
Yessir. Only difference between the turbo PT engine and the SRT4 is the intake manifold. They used them in various models of PT Cruisers from 2003-2007. Offered between 180 and 230 hp depending on year/model but it was just tuning differences, the engines were the same. They're not that uncommon. Certainly easier to find in the boneyard than a SRT4 Neon.
-
Thank you! It'll look even better when everything is buffed out finally.
-
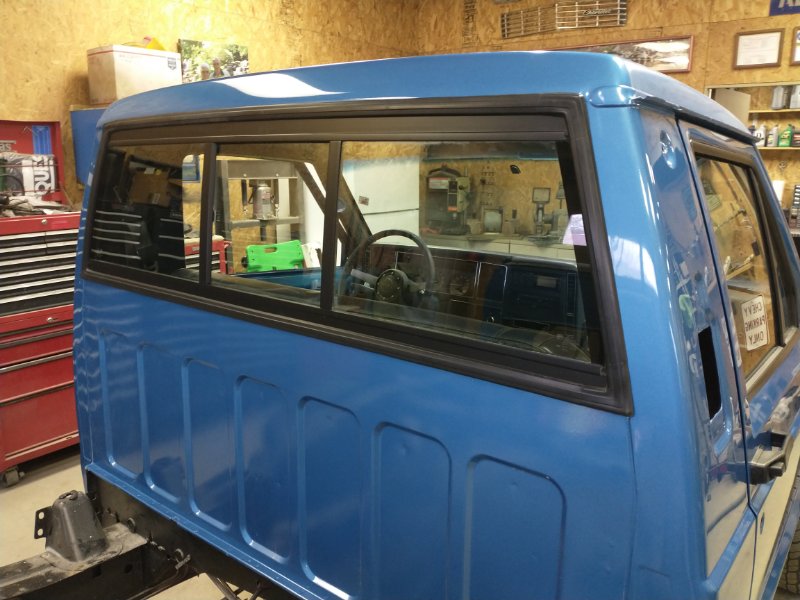
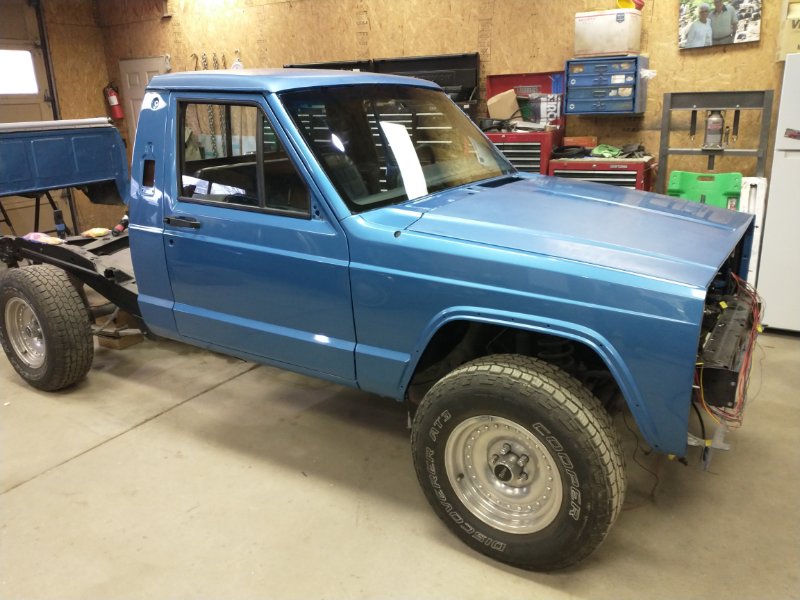
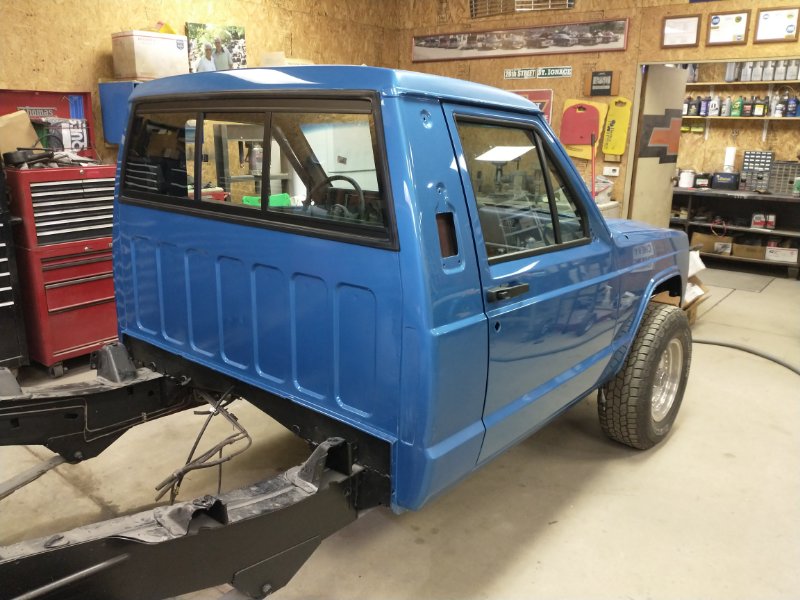
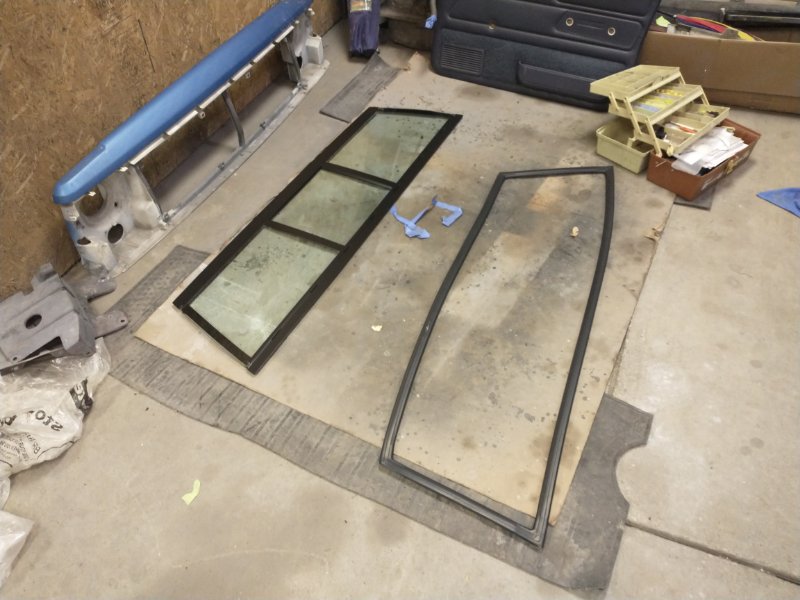
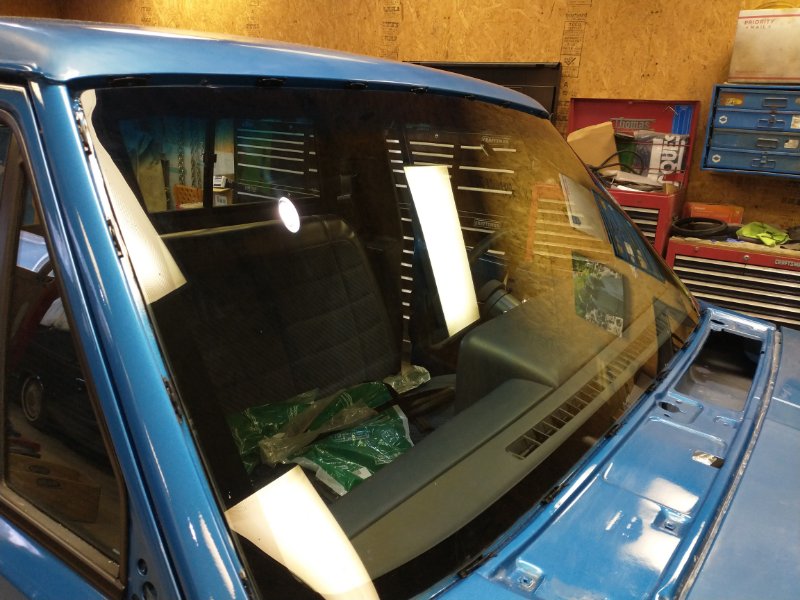
Was able to get together a pretty presentable back window and gasket set. I also got the passenger side door mostly assembled. And the glass guy got the rear window and new windshield installed. Have to get the driver's door assembled and the cab will be sealed up finally.
-
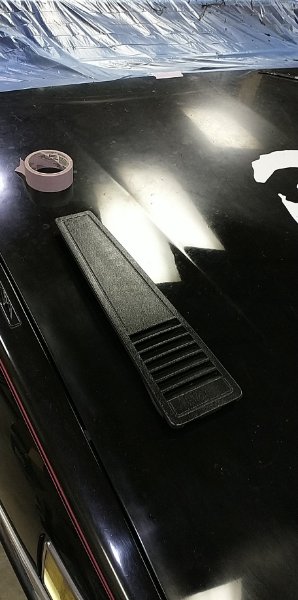
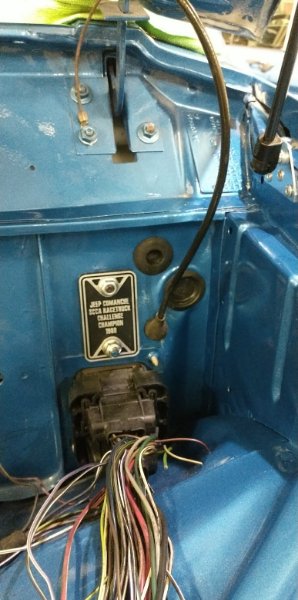
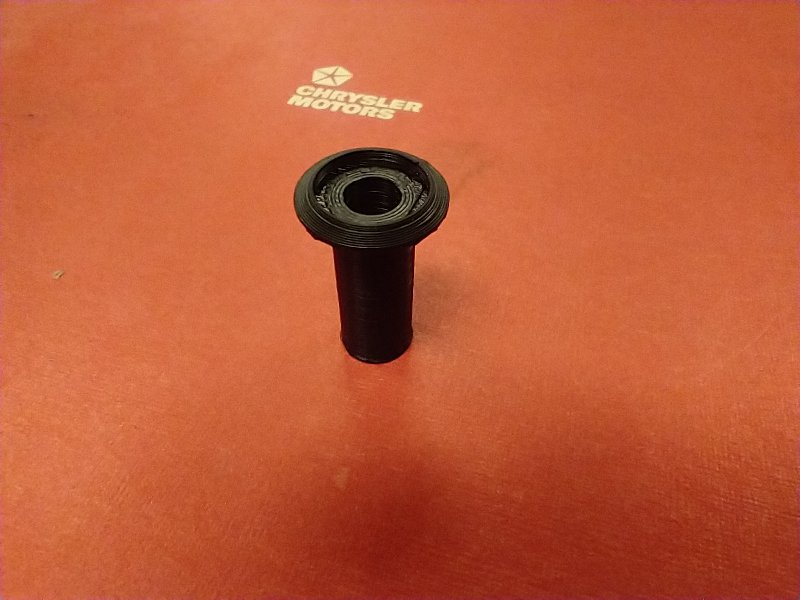
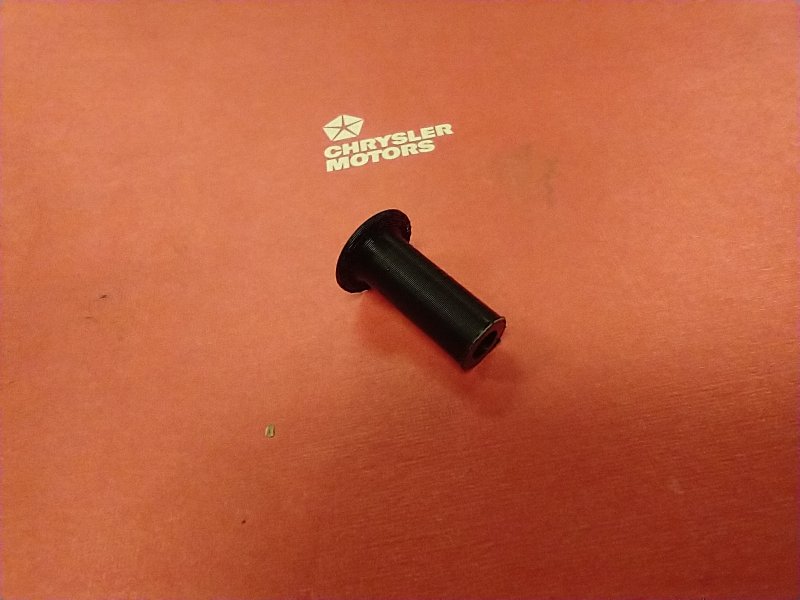
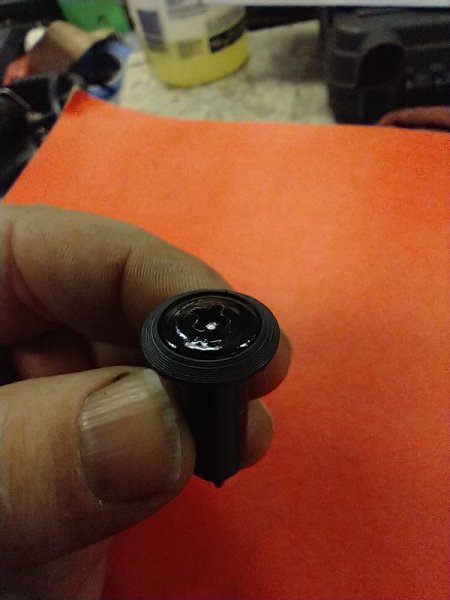
Not much visible progress to show as I've been preparing the truck to have glass installed. The rear window is ready to be painted tonight and will have photos of that soon. In the mean time I put the printer to use again, this time to make a cover for the clutch master cylinder hole blockoff. I tried to make something Jeep-ish that paid tribute to the 1988 RaceTruck Challenge championship.
-
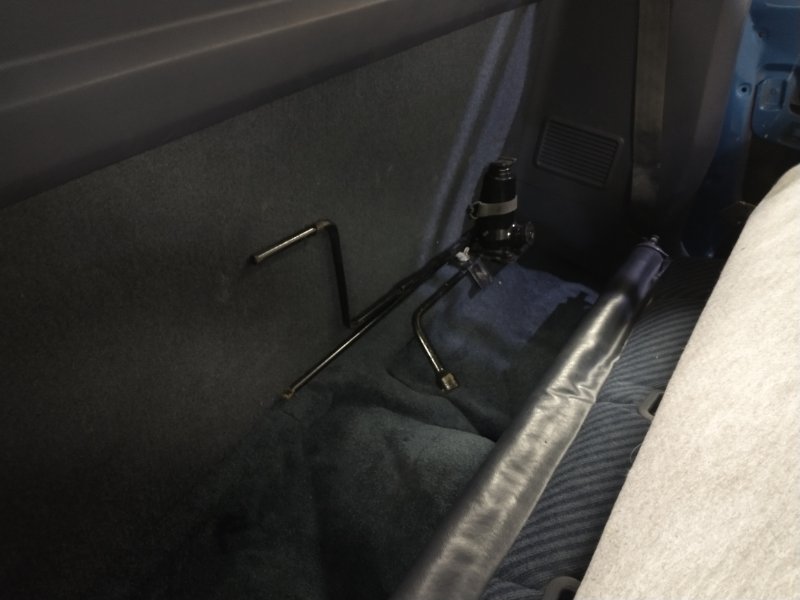
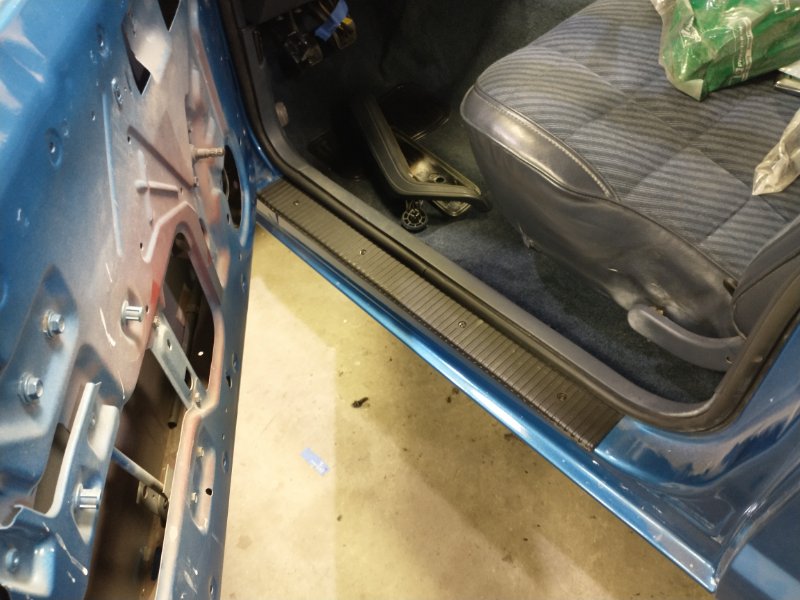
Oh wow, had no idea someone else was making them. If anything it gave me a chance to learn more about 3d printing so I'll be more prepared for the next project. And I'll have a link to send to everyone that has inquired about buying them from me since I don't have the time right now to do so. Looks like he's got a lot of parts people need! Also found all the factory jack pieces and got them in. And a nice set of scuff plates.
-
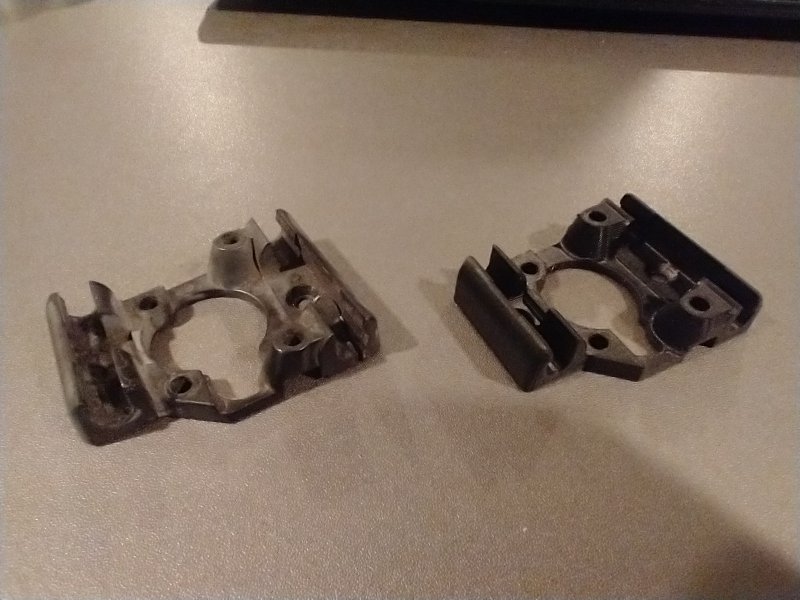
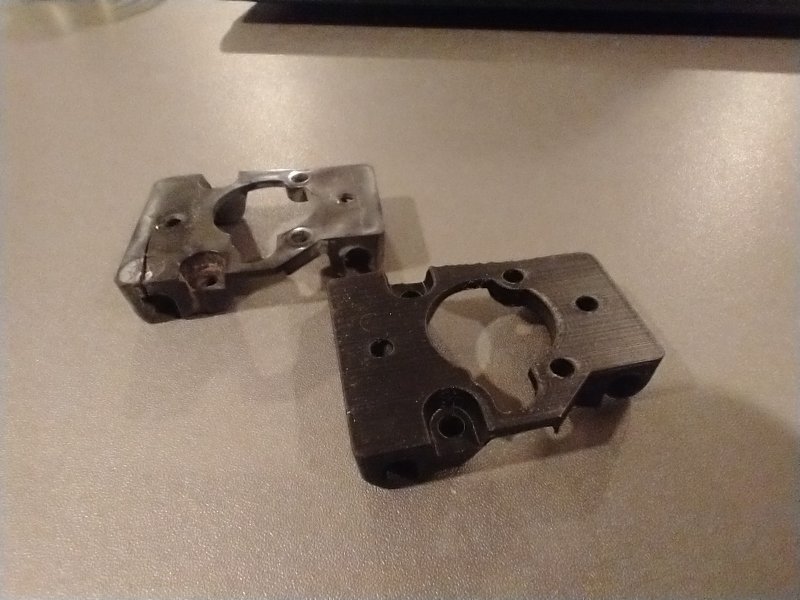
Another example of parts that you just can't get anymore. Reverse engineered and 3d printed in abs. Will see how the hold up. Have to restore the mirrors before I can install. I can't stand the later style mirrors so fixing up the originals is a must. Snapchat-1814854853.mp4
-
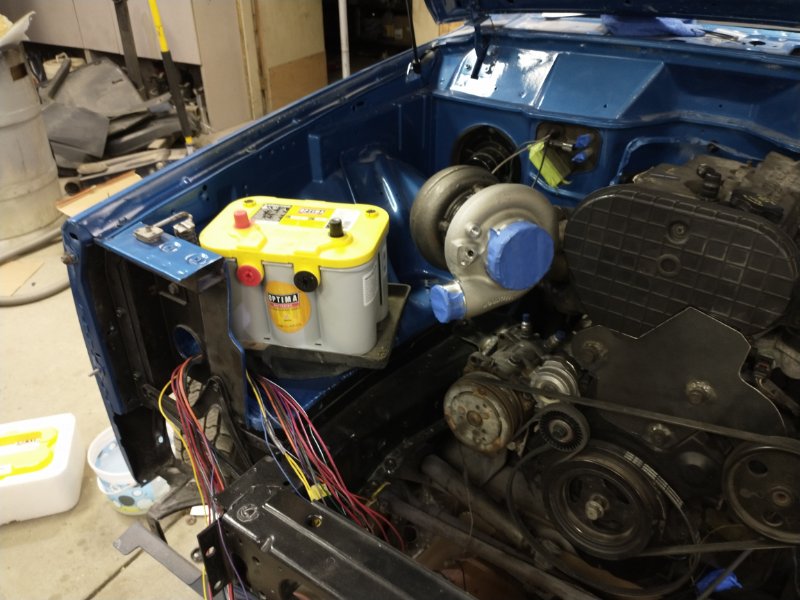
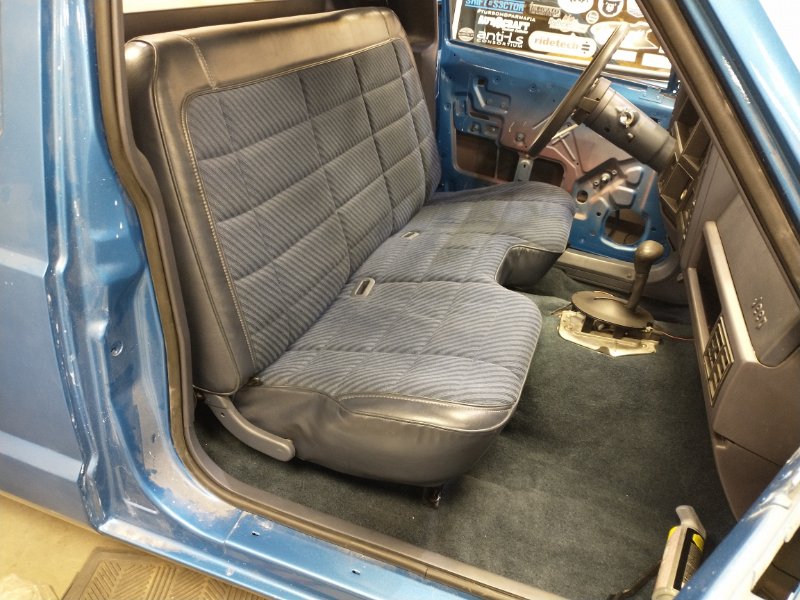
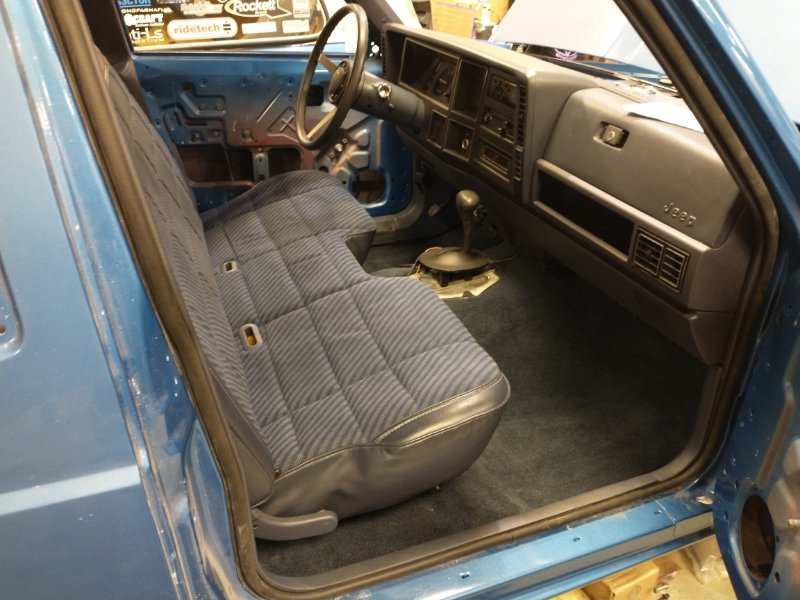
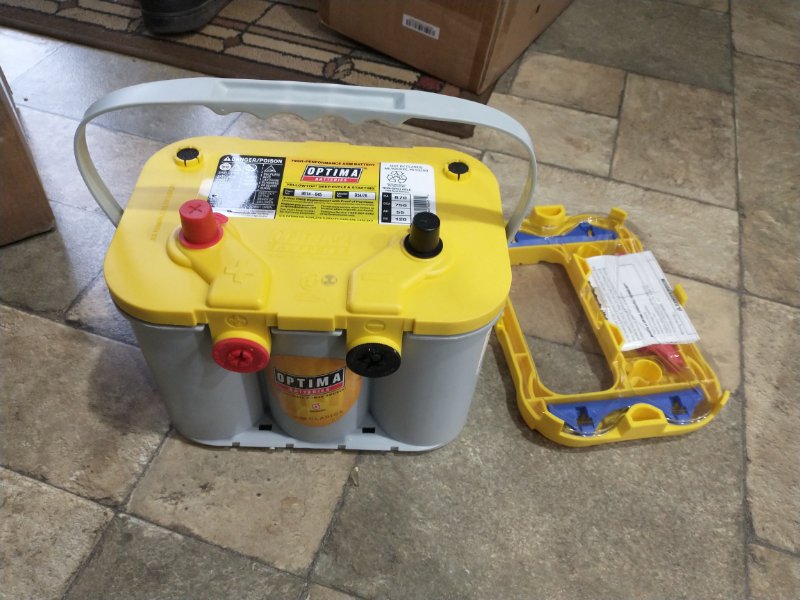
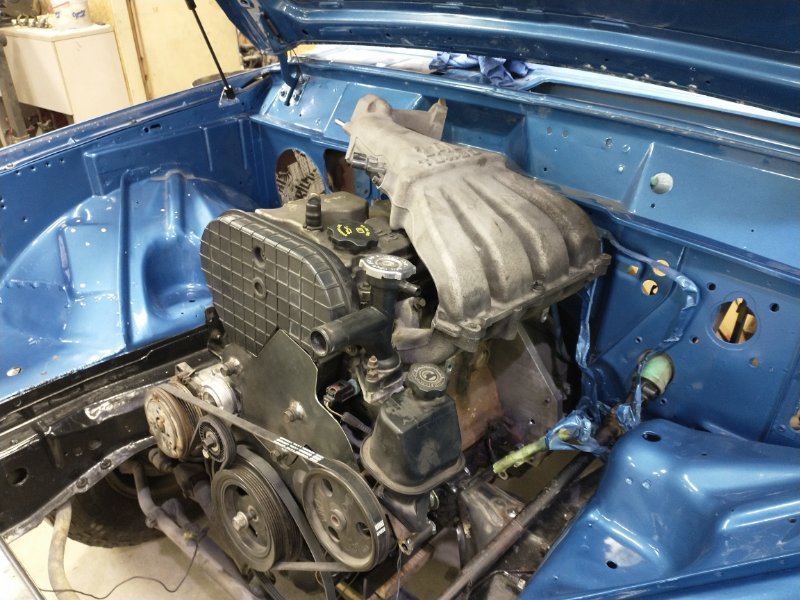
The ol truck needed a battery badly since the brand new parts store brand one I bought last year died already. Sometimes the planets just align because as I was getting ready to buy a new one, someone from optima very graciously decided that they needed one of their yellow tops in a certain Comanche. It looks good in the engine bay but it'll need to be relocated for weight balance and so the air filter can go in the stock battery spot. Thanks Optima! Also have still been chipping away at the interior and have it pretty close to complete now. The seat is actually in pretty respectable shape after tons of scrubbing. It was gross. The doors need to be assembled before the panels can go on. Which isn't just as simple as assembling the doors. Maybe I'm a bit odd but I can't stand the 97+ mirror upgrade and much prefer the correct ones. So I need to rebuild and restore an original pair which means making one off parts and such. More on that later.
-
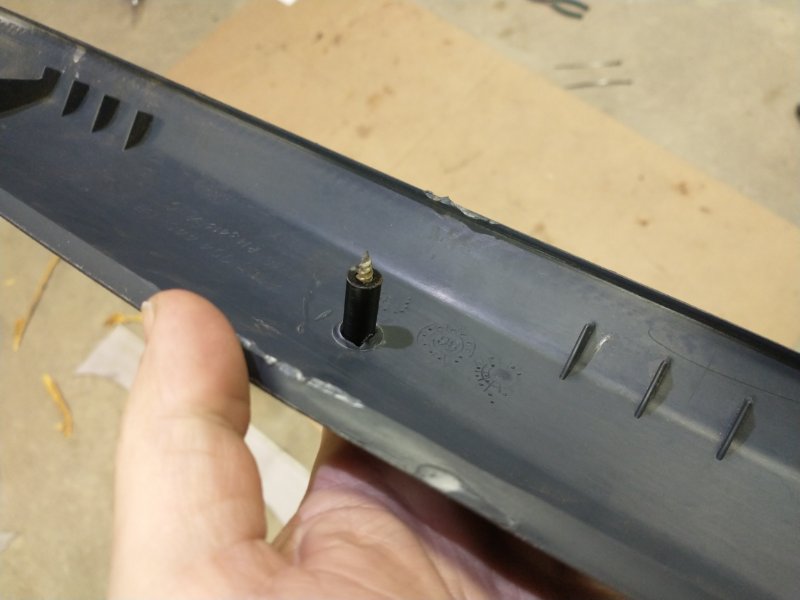
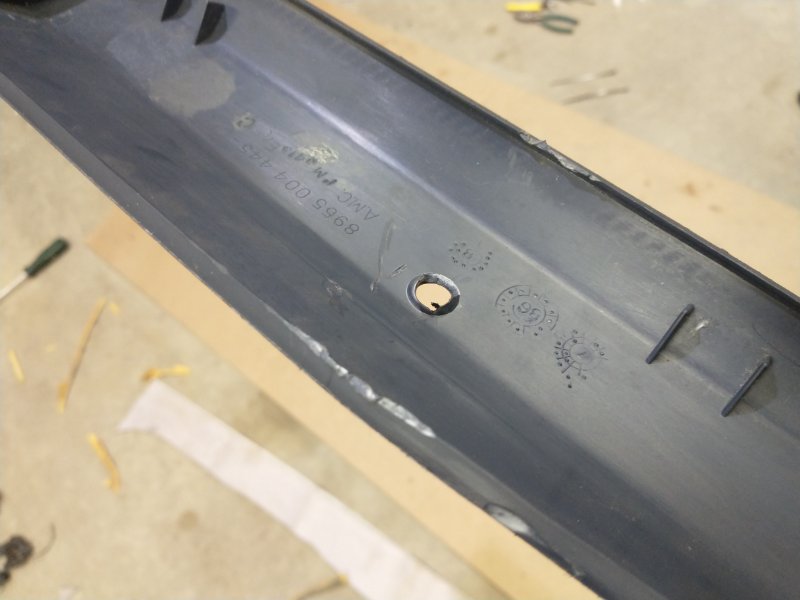
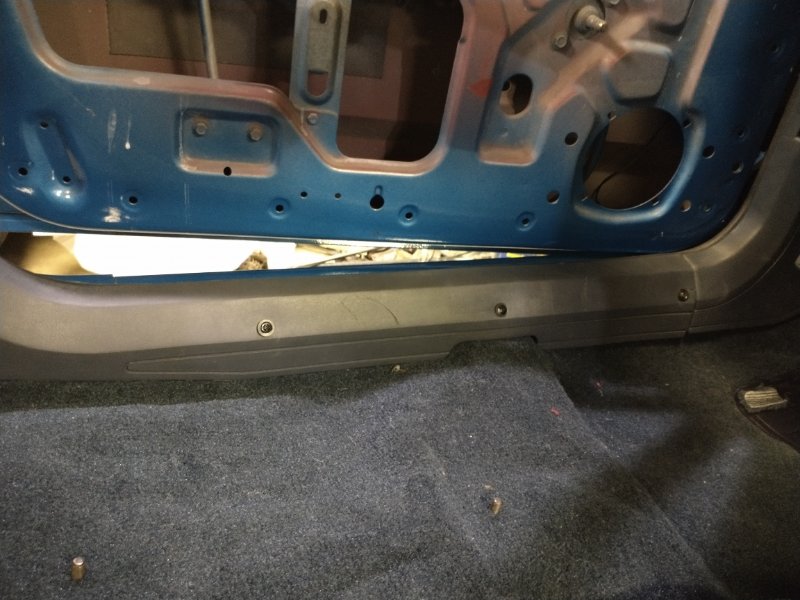
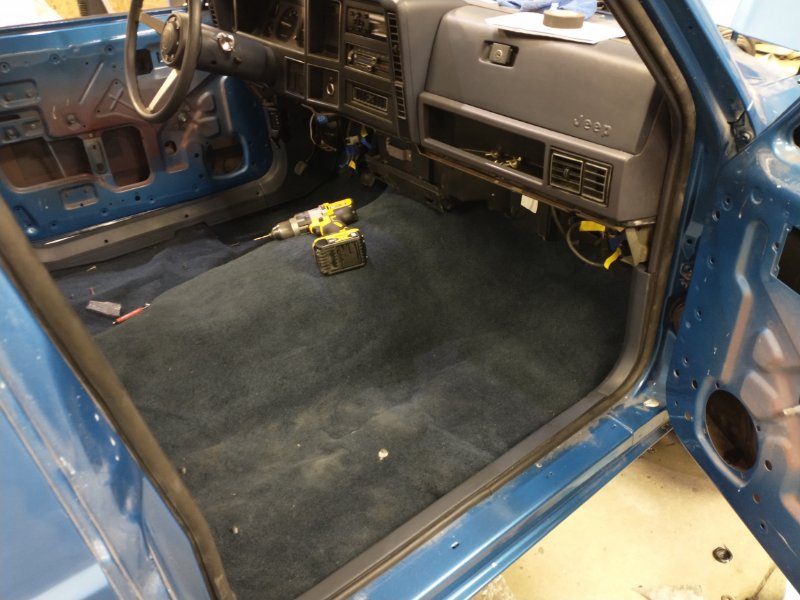
Upon assembly of the interior I found that somewhere along the line the mounting bosses had been broken out of the lower driver side interior panel. Someone had replaced the hardware with wide head screws which kind of work but provide nothing to tighten against so they would loosen up over time. I designed and printed these drop in replacements for the broken ones and some support pieces to make the non-broken ones match. Not exactly OEM but they repair an otherwise presentable panel. I also have the new carpet mostly installed now. I was really hoping to reuse the original from the parts truck but it was just too far gone from the floors being missing.

-
https://www.crutchfield.com/S-PsWfKbYgoFB/p_049MDR20/MB-Quart-MDR2-0.html
-
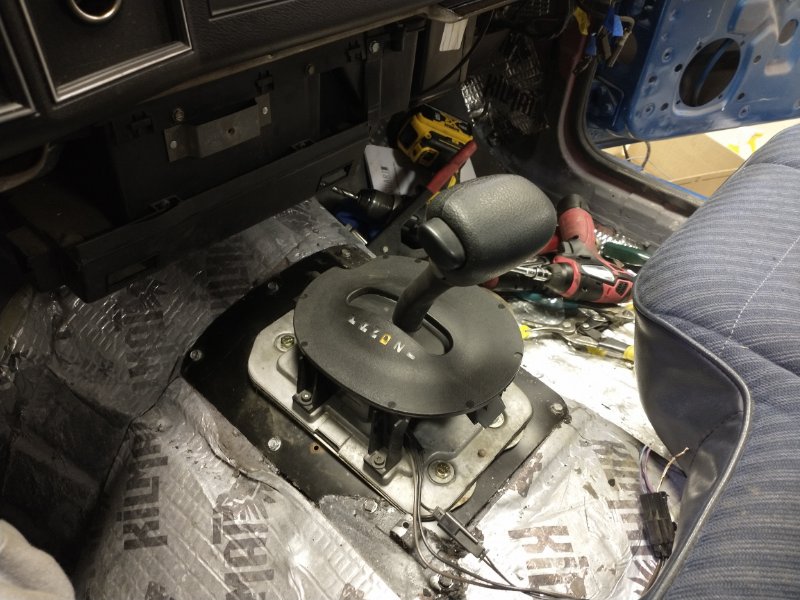
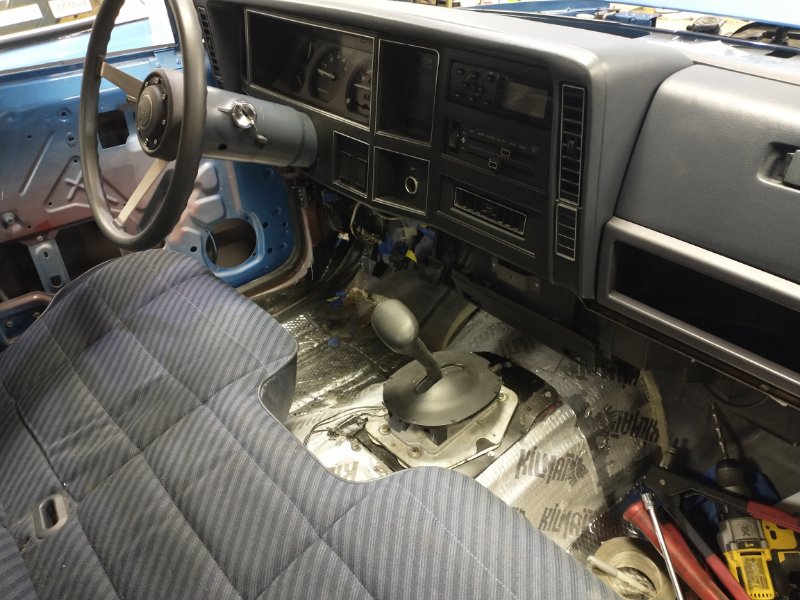
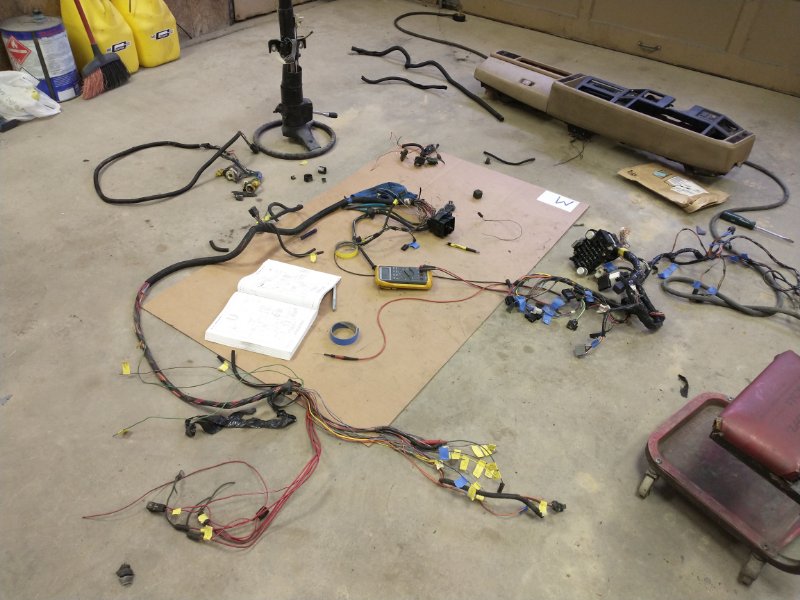
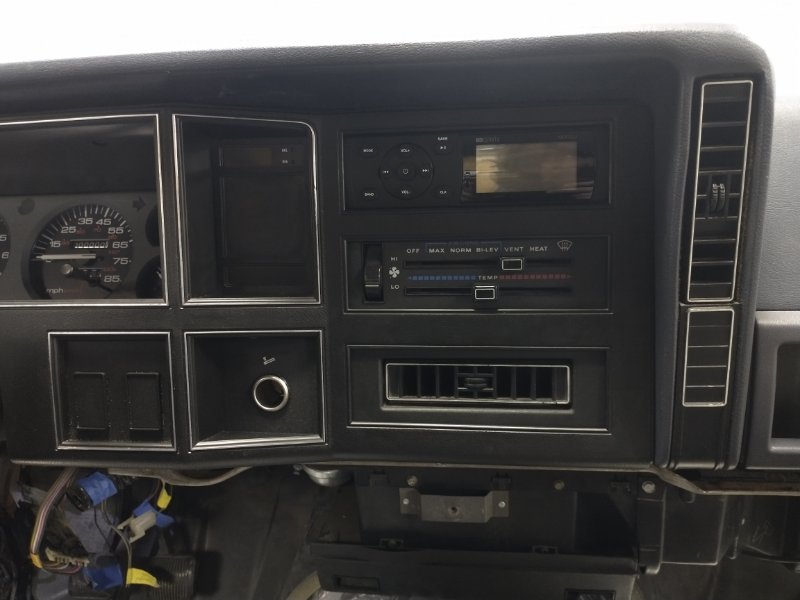
I spent many days with the factory wiring book sifting through the factory engine bay wiring harness. Lots of things that needed to be deleted and/or re-evaluated. I spent entirely too many months trying to find an aftermarket radio that didn't look terrible. Settled on a boat radio. It fits the look alright and has Bluetooth and all that. I just can't stand flashy radios in old cars. Next step for the interior would be carpet but I had to figure out the shifter situation first. I flipped the sheet metal tunnel cover which moved the shifter hole back a little bit. Then the 01-04 Mustang shifter slid right into the perfect location. A couple rivnuts and it's mounted. Then after the carpet goes in I can start scanning the area and designing a center console.

-
Thanks everyone! The plastic bulkhead was melted so I abandoned ship and swapped to the spare harness. Luckily the spare only had three wires that had been modified for the radio. And indeed, the manifolds on opposite sides makes a lot of things way simpler and cleaner. But also takes up more space on the passenger side than before. Small world! I remember your screen name from the other forums. Regarding the Liberty/Wrangler 2.4, it's got some stuff that's more convenient but some things are more of a challenge. The blocks are very similar with some key differences. The turbo engines have piston oil squirters, the turbo oil drain back, better material valves, etc. But the Jeep engines have more conventional engine mounts. The front accessory drive is where things get sticky. The accessory locations are very favorable BUT interfere with the #1 intake runner. So the Jeep engines have a very poor design and will not hold up to boost. No real way around that without moving the accessories around. Also, the Jeeps have a steel oil pan and more conventional oil pump which would be less work. But the oil pump is discontinued and also a lower volume than the turbo engines. Long story short, a Jeep 2.4 would be a relatively simple swap if you kept it stock and were ok with getting beat by stock 4.0 rigs. But as soon as you add boost and try to make power all the parts that made it a simple swap become problematic. Unfortunately this swap is just a lot of work no matter how you slice it. I knew that going in and I enjoy the challenge. You're correct on the bellhousing stuff. People have used the Jeep bellhousing to put the ar5 and ax15 behind them. I had considered it but the issue is that you're stuck with the Jeep dual mass flywheel that I don't trust with decent power. And there's no off the shelf replacement. Which is why I ultimately decided to adapt to Ford modular. I'll be able to bolt on any of the auto or manual options from the flywheel back. Just in case I end up hating the automatic.
-
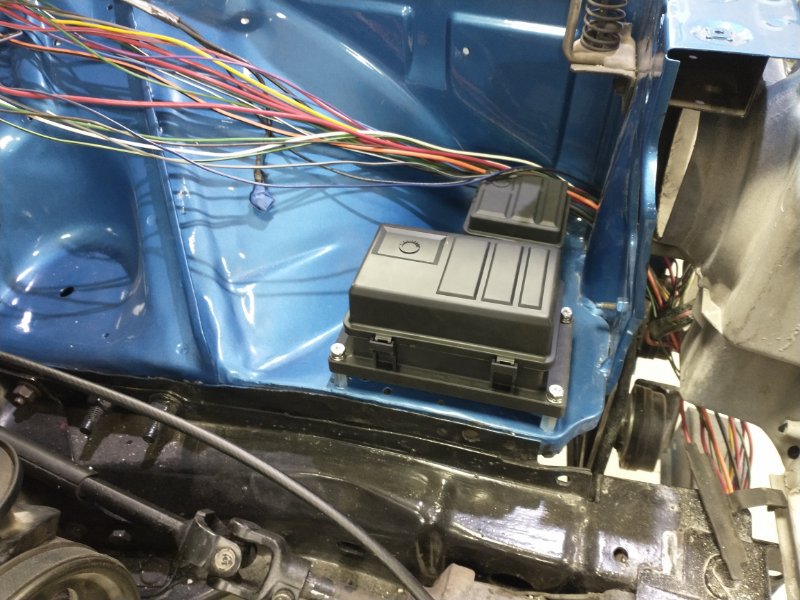
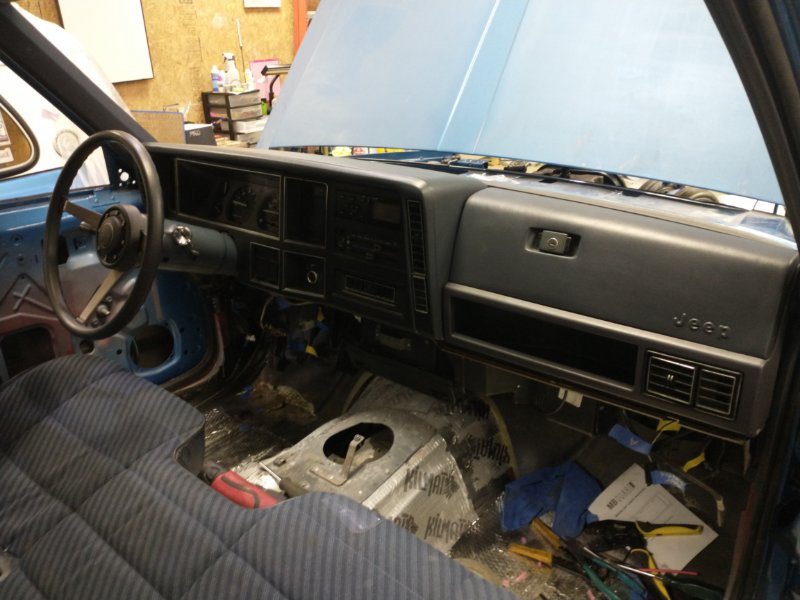
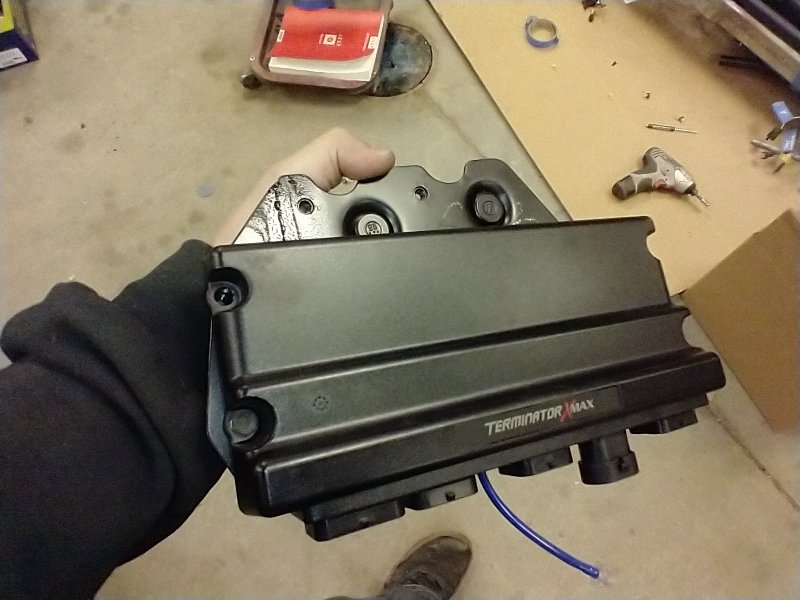
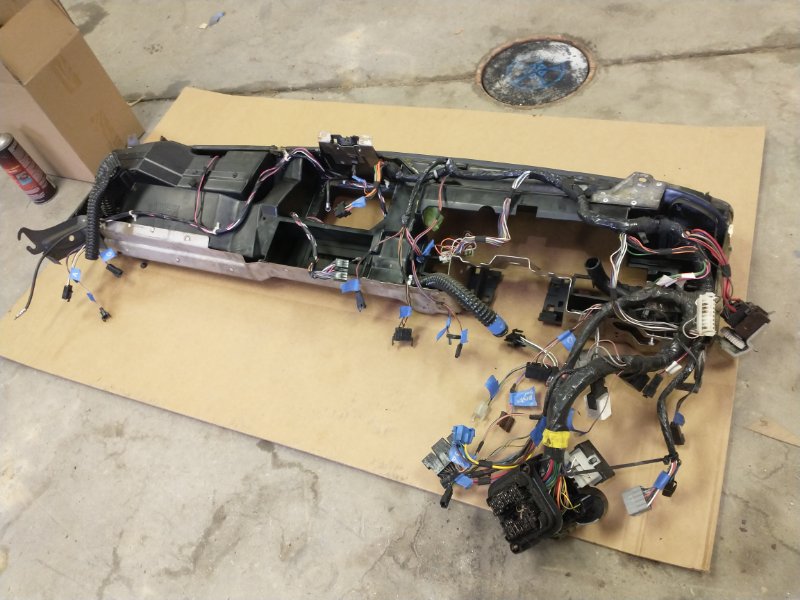
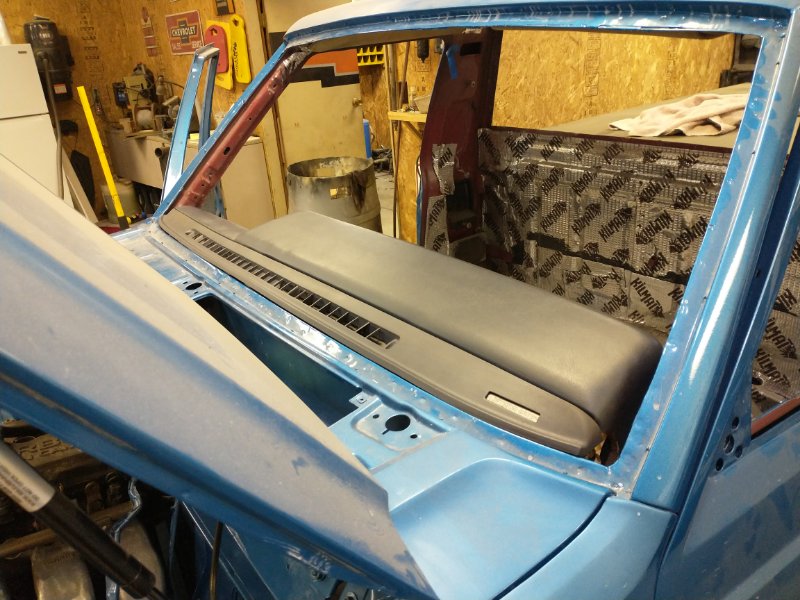
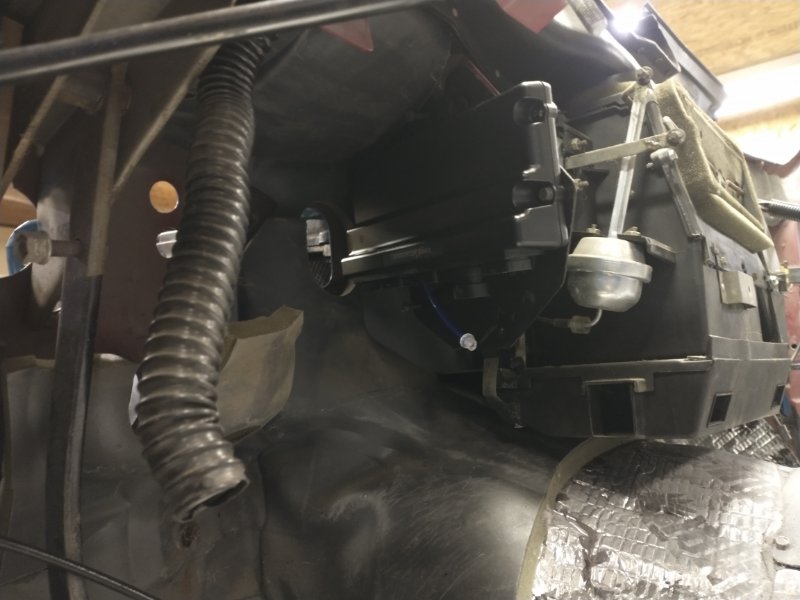
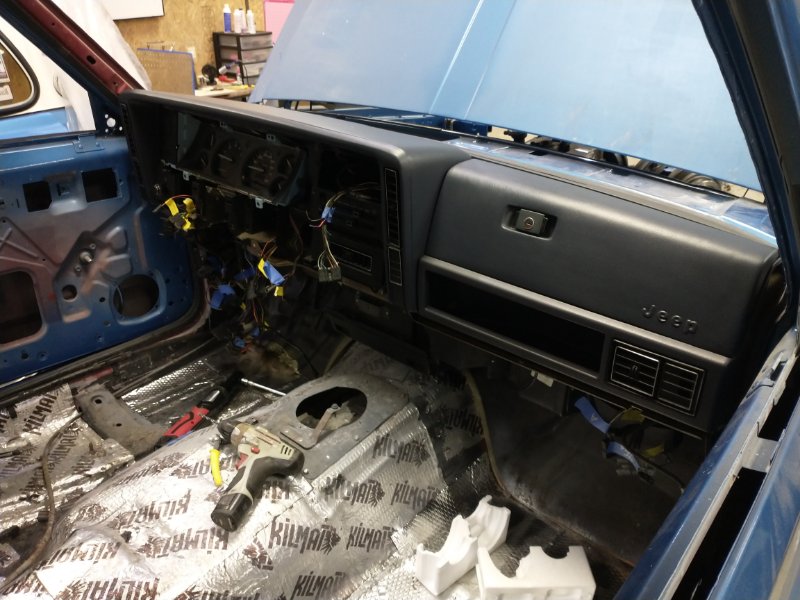
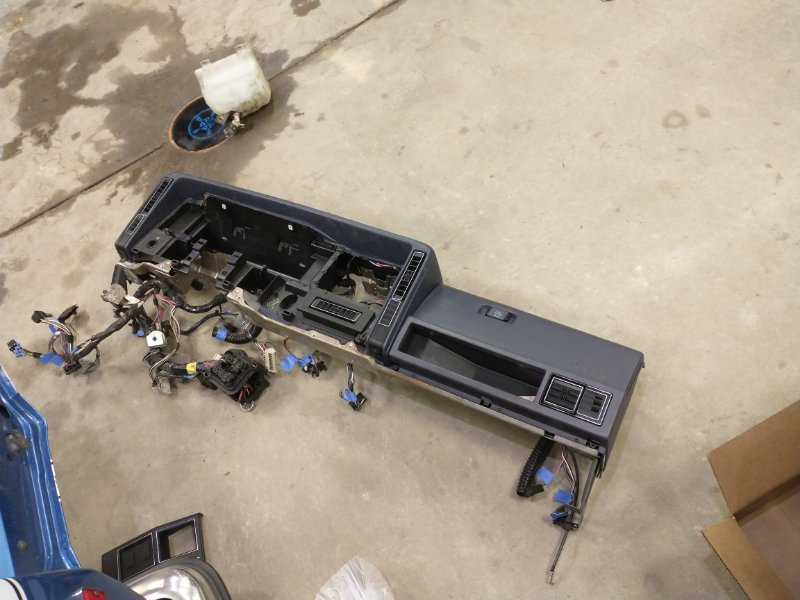
After getting the firewall I simulation swapped over, I inspected the HVAC box and installed it. Unfortunately I didn't inspect it well enough and realized the heater core connection had a crack in it after it was all installed. Had to tear it all back apart and source a new one. A bit of wasted time but it went back together ok. After the HVAC box was installed I modified the ECU mount for the Holley Terminator X Max. Onward to identifying and labelling all the wiring. I'm intending on keeping all the factory functionality but prune out the renix fuel injection and replace it with the Holley. Then I encountered the fuse block. Unfortunately it's gotten pretty melty at some point. Very odd because everything functioned on the truck before I removed it. The best solution was a new harness and luckily I had one. So the swap starts. And finally got the main part of the dash installed. Also redid the instrument cluster and swapped over the body harness.


-
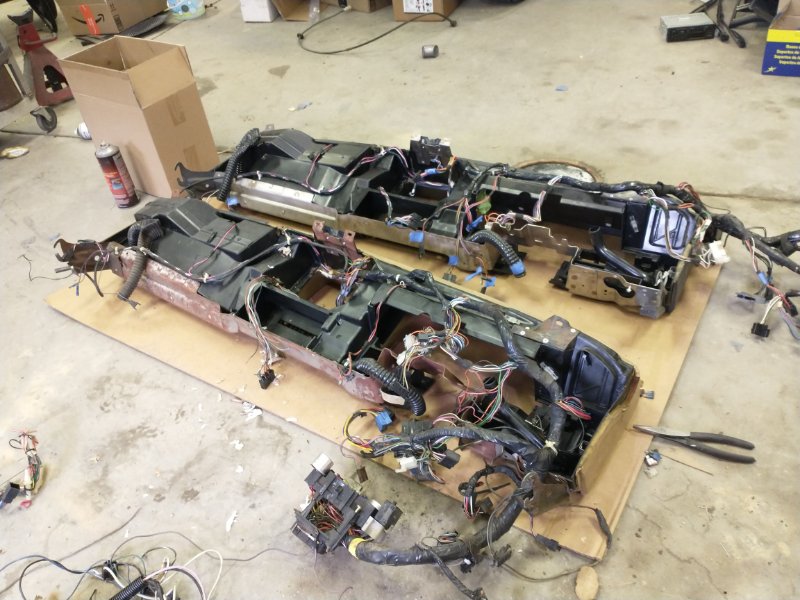
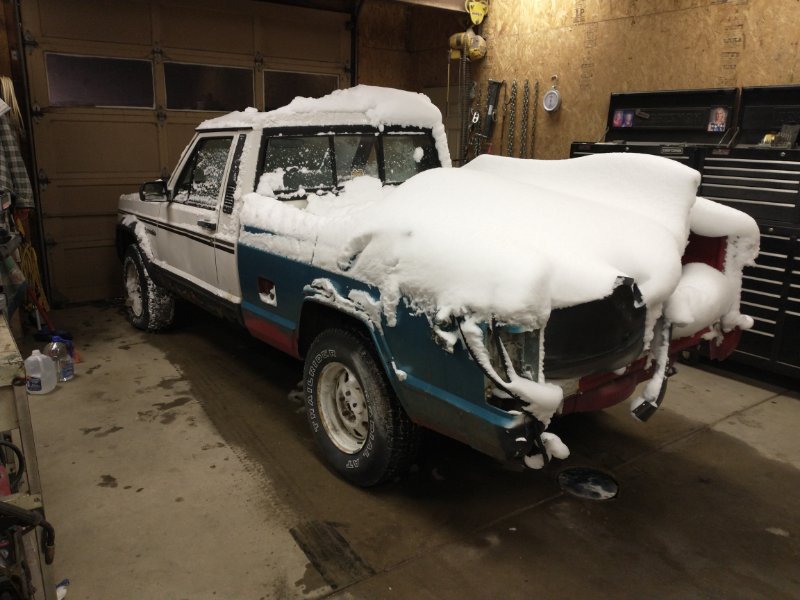
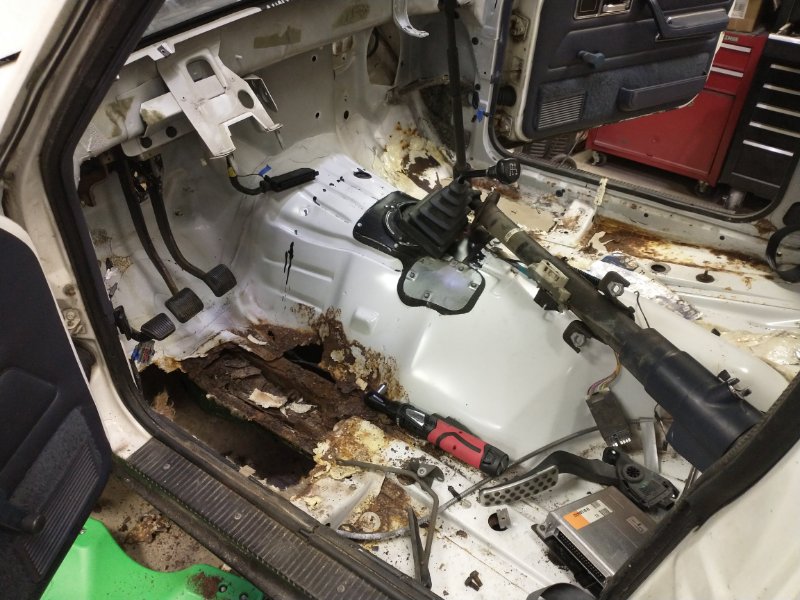
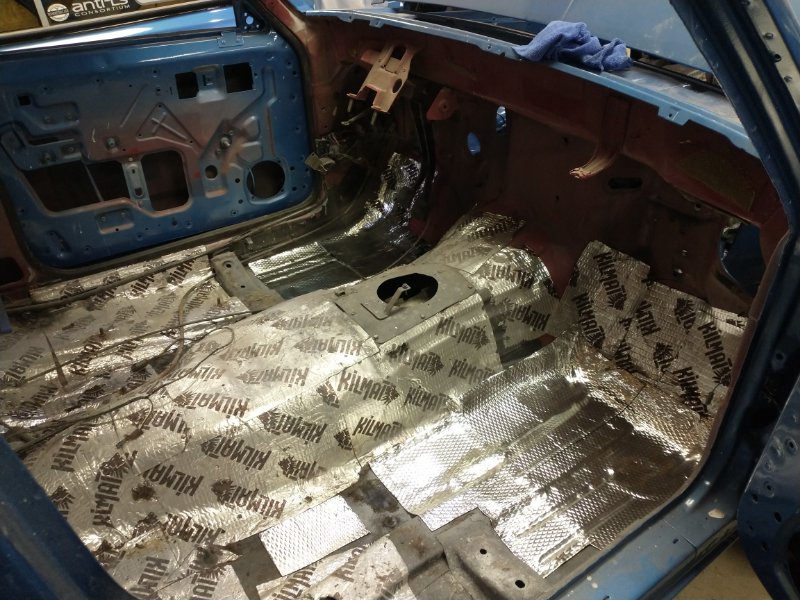
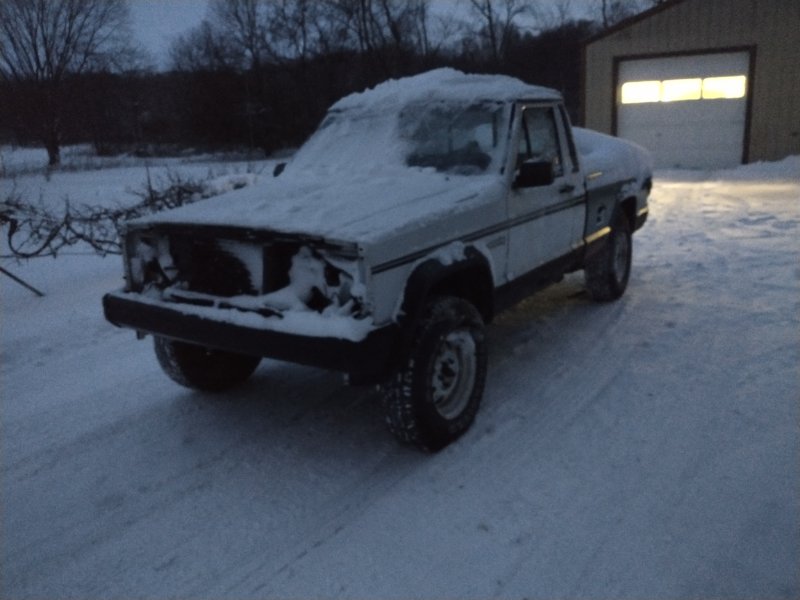
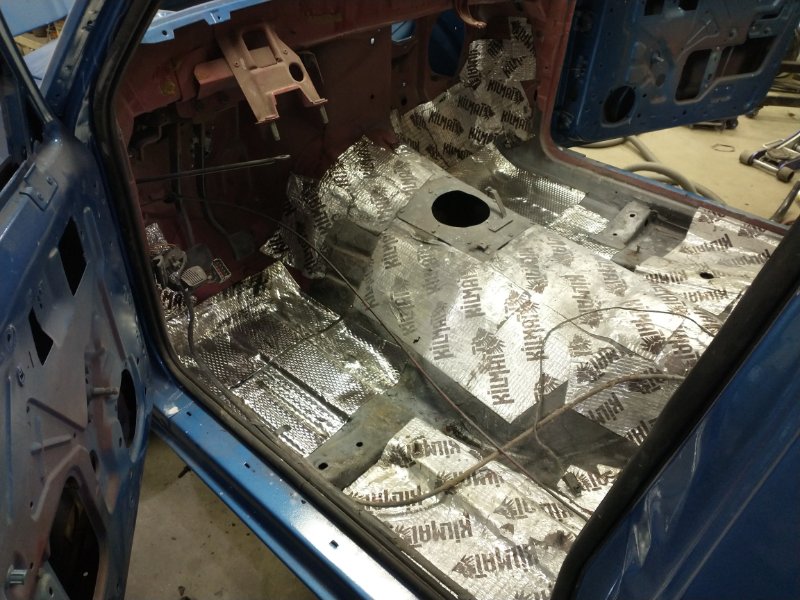
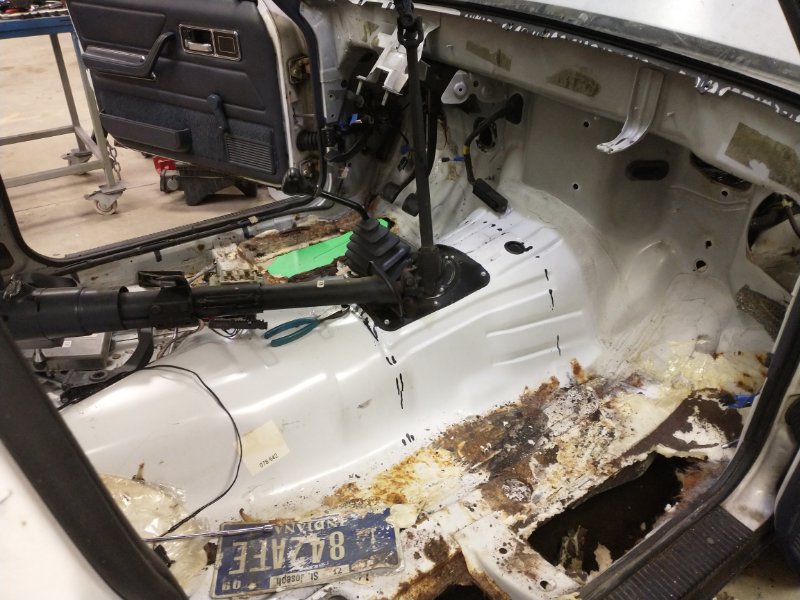
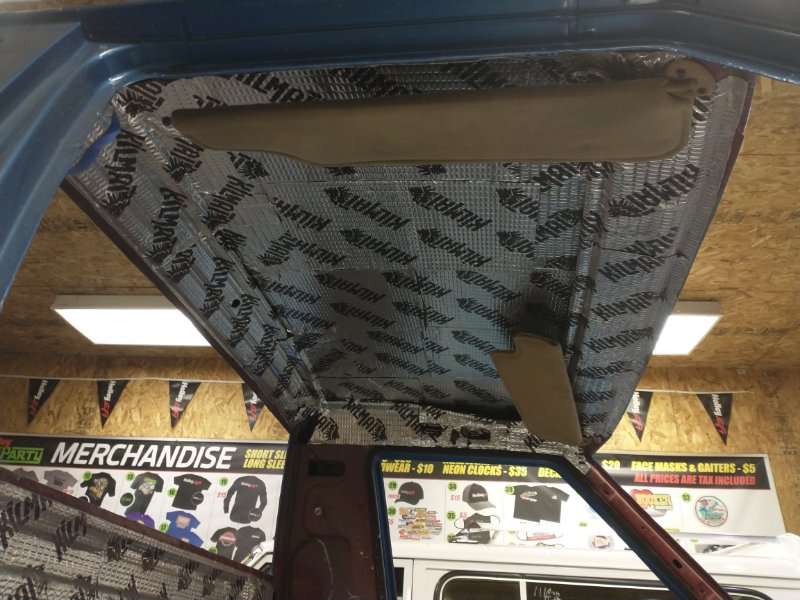
It was finally time to start transferring parts from the super rusty white truck to the good one. I fired it up and it drove right out of the snowbank it's been sitting in, everything still functions and it's a great parts donor. Dash removed. Stripped down, she's a rusty girl. The floors were full of expanding foam, license plates, and aluminum diamond plate sheets. Just gross. Then compared to the good Comanche. The previous owner did a really thorough job with the sound deadening.
-
Header temporarily installed. Snapchat-428624854.mp4
-
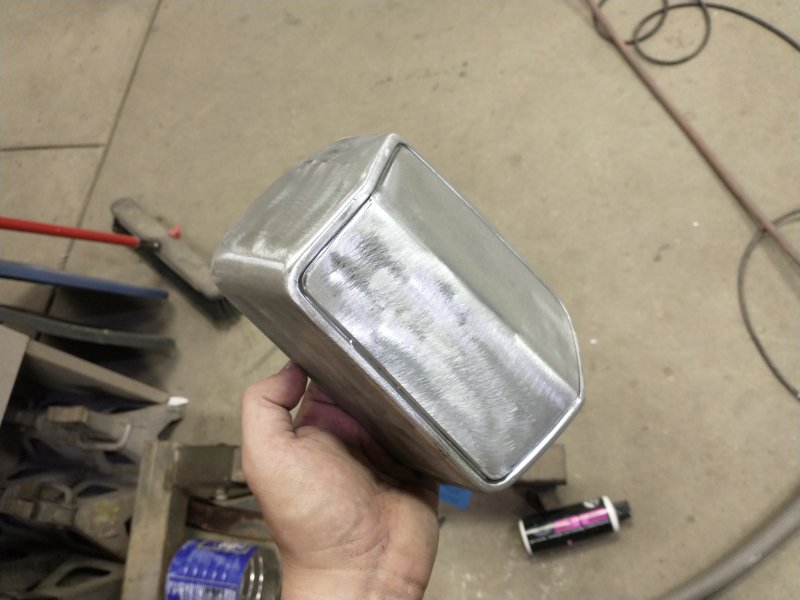
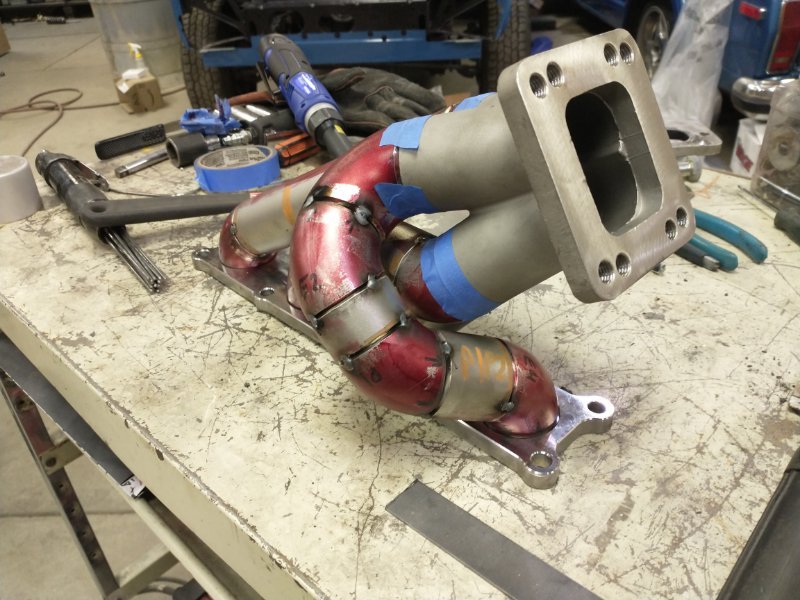
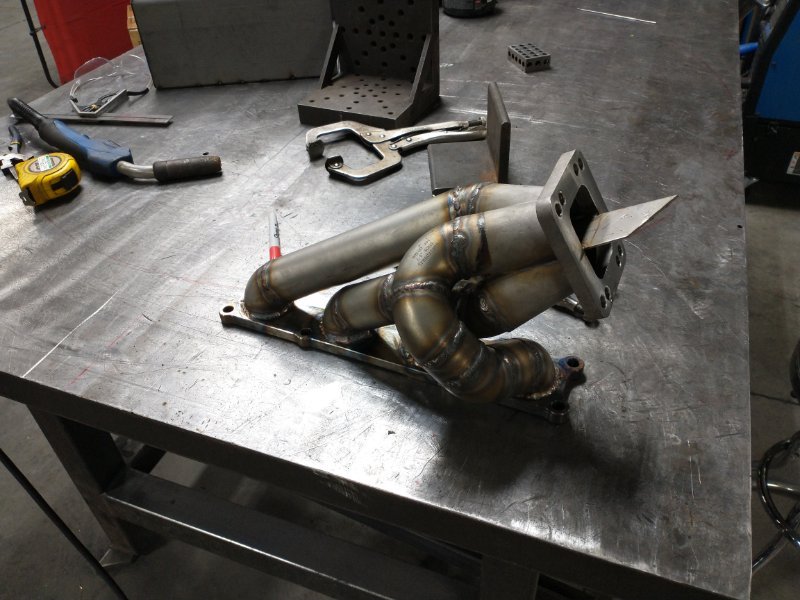
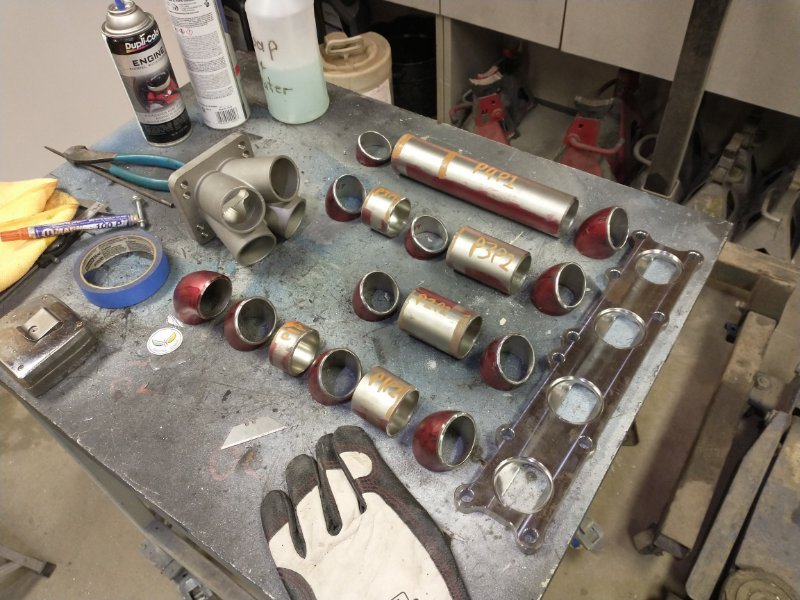
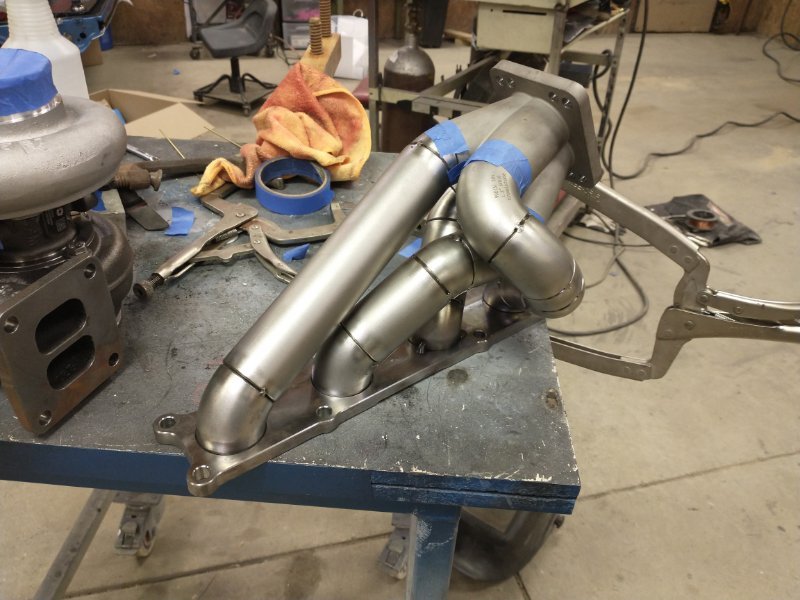
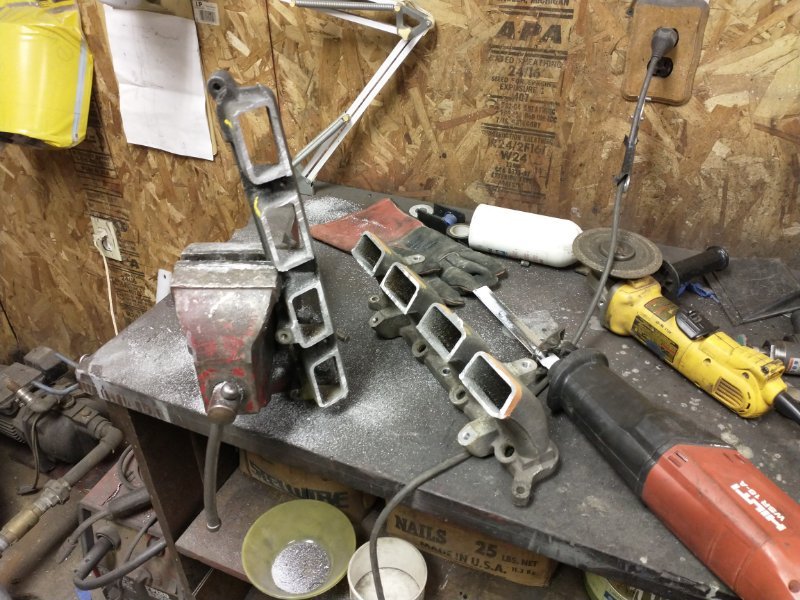
Needed a little change of pace for a minute so I got back on the header build. I've had the design finalized for a while on the computer. The computer model helped so much. I was able to cut all the parts ahead of time. I had a bunch of people asking elsewhere about the cuts. On my computer model I made a bunch of reference points and was able to transfer them onto the elbows on the granite table at work. That's why they're all covered in layout dye. Then I ran pinstripe tape around them connecting the dots and used it as the cut line. Then cut them out with a thin 3" cutoff wheel. Crude but very precise. The header flange is from Treadstone and the collector is cast stainless from CX Racing. The tight radius 1 1/2" sch10 elbows and pipe are from Treadstone as well. Next step which I unfortunately didn't take photos of was that I marked out the header flange and collector locations on the work bench and clamped them down. I taped the #2 primary together and it clicked right into place. No grinding necessary. I tacked it all together with just the #2 primary and bted it up to verify fitment. Perfect. All the primaries tacked together. Look at the perfect fitment. Very impressed, all the computer time paid itself back when I was able to get this whole header cut and tacked in one afternoon after work. All the dye cleaned off and prepped for welding. I know I'm not the world's greatest welder. But it's in one piece, stupid strong, and doesn't leak. You can also see that I welded a divider in the collector to make it a twin scroll. I still need to cut it off and weld it a little wider to match the gasket.

-
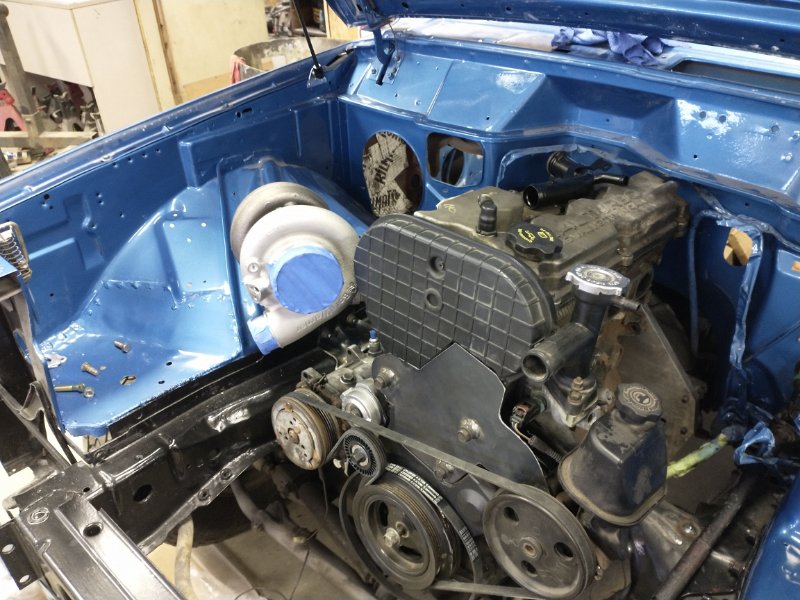
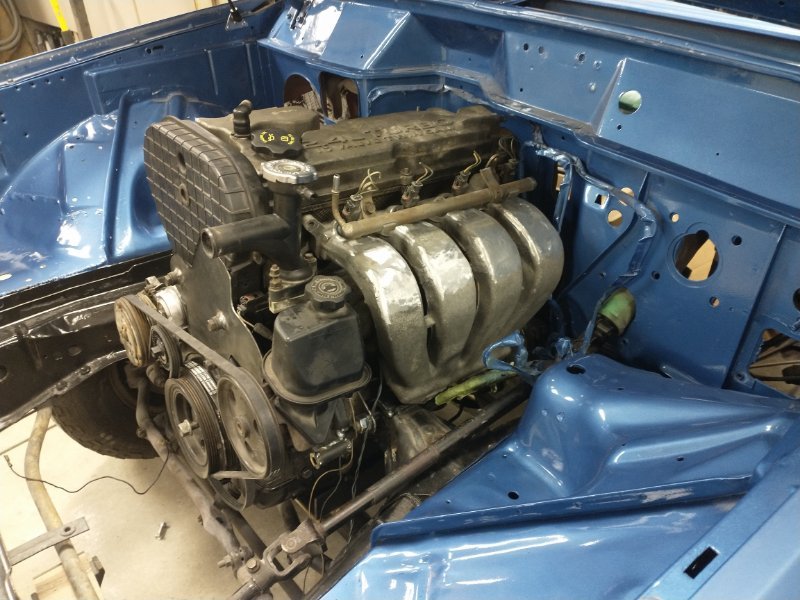
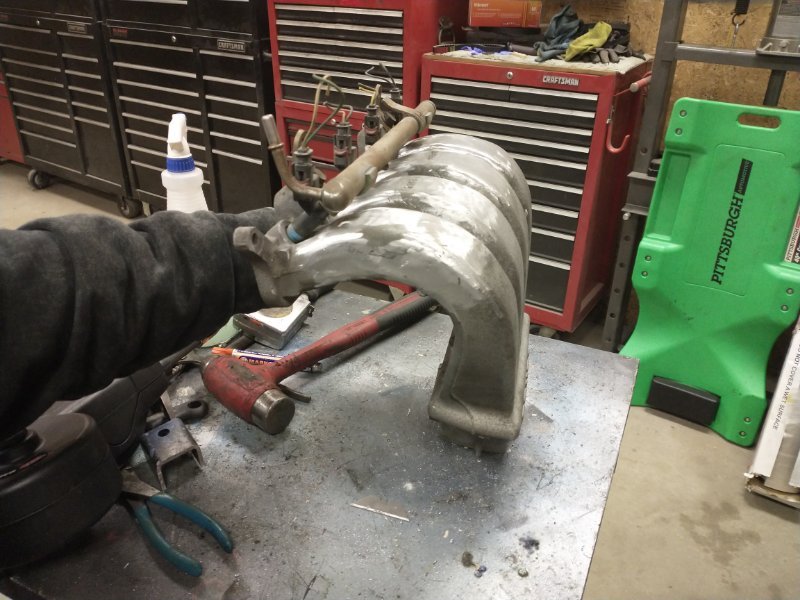
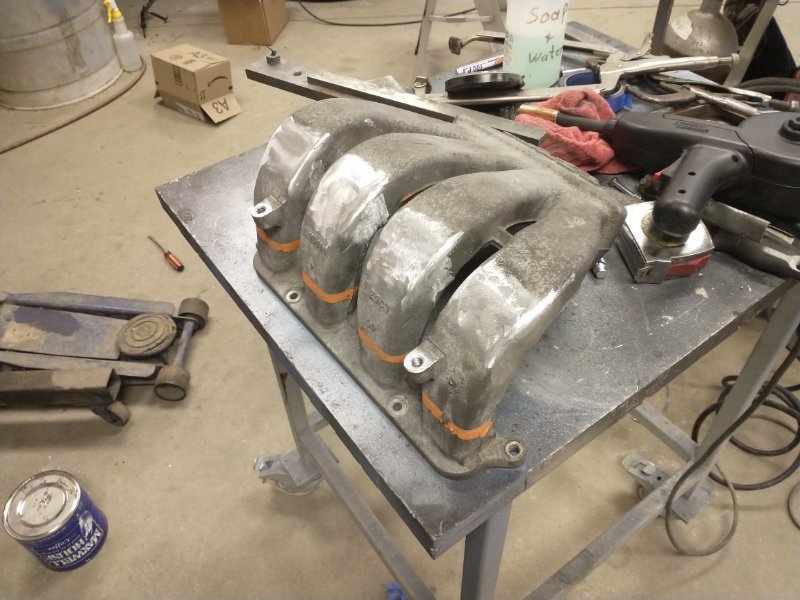
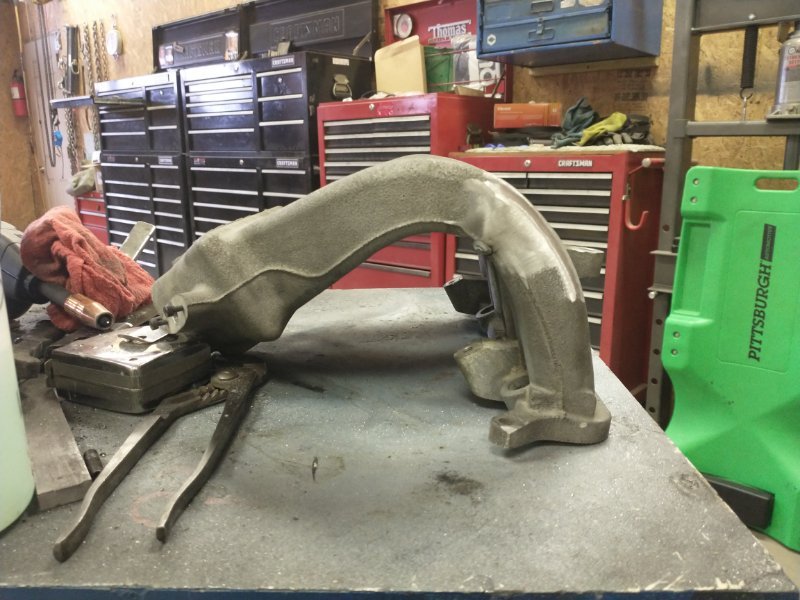
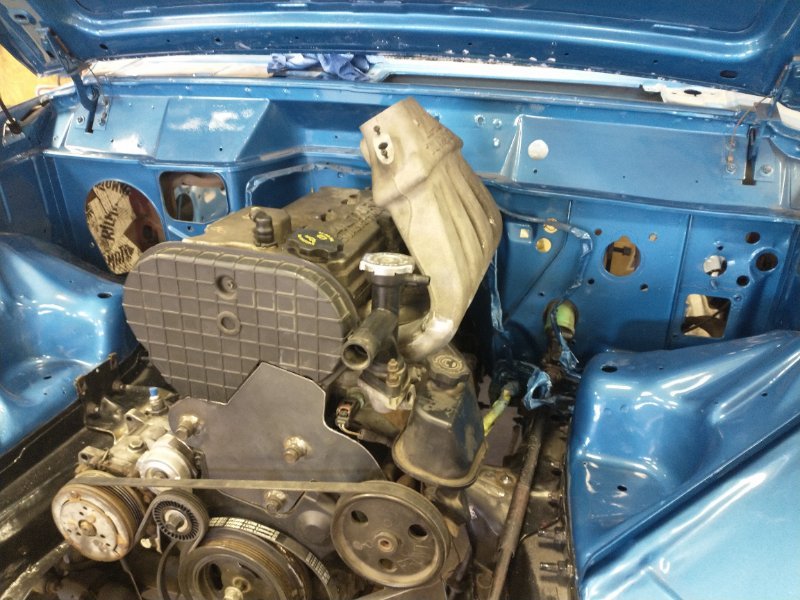
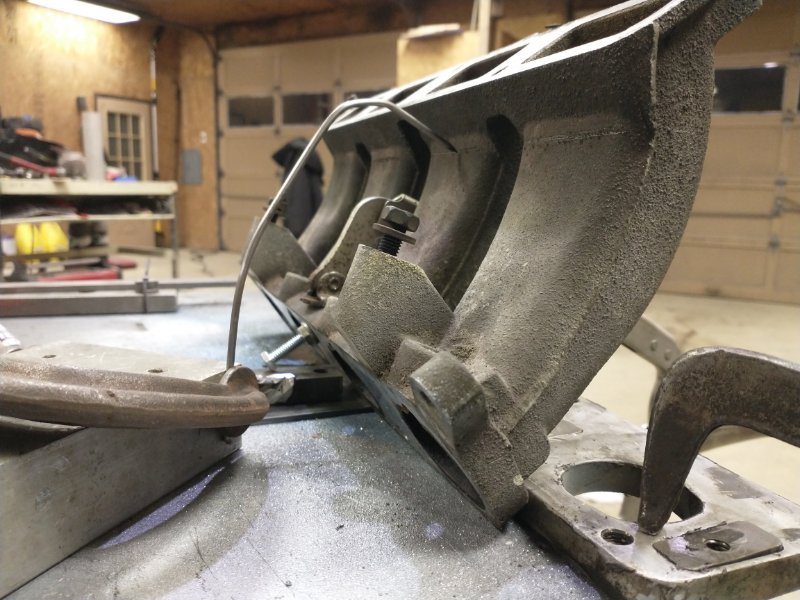
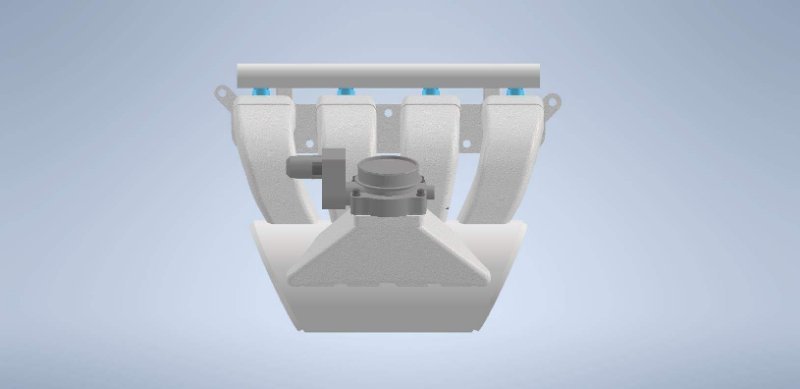
Time to make this thing not stick through the hood. Which means I've got to cut it apart, flip it, and reweld. Marking up the cut. Decent cut. Also, with it cut here I'm able to get to the first set of welds inside the port and clean up any melt through. That's the reason I did the fabrication in this order. Fit back up and welded. I'm very happy with how it is turning out so far. Hopefully I'll be able to use some old school techniques to replicate the cast texture and make it look somewhat OEM. And finally, sitting roughly in place in the truck. I need to cut the old plenum off for it to bolt up. Still waiting on material for the new plenum before work can resume. But look at it compared to how it was!


-
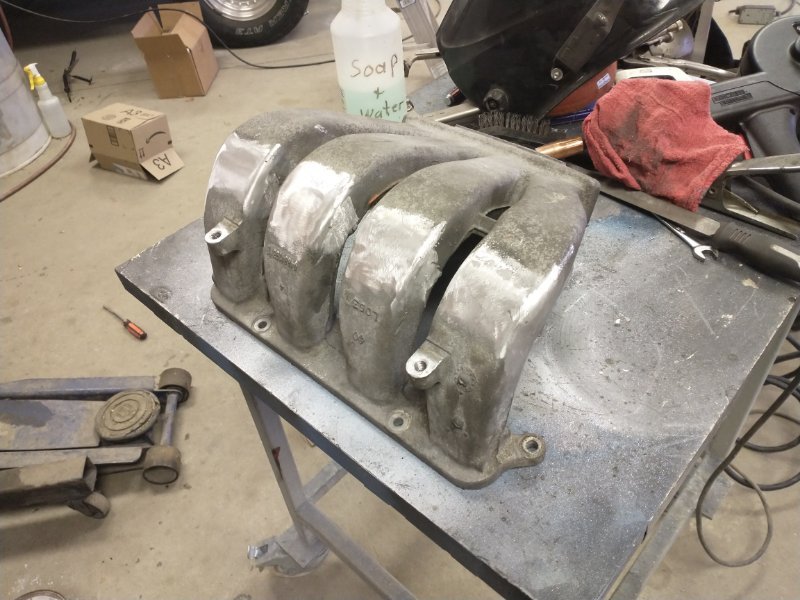
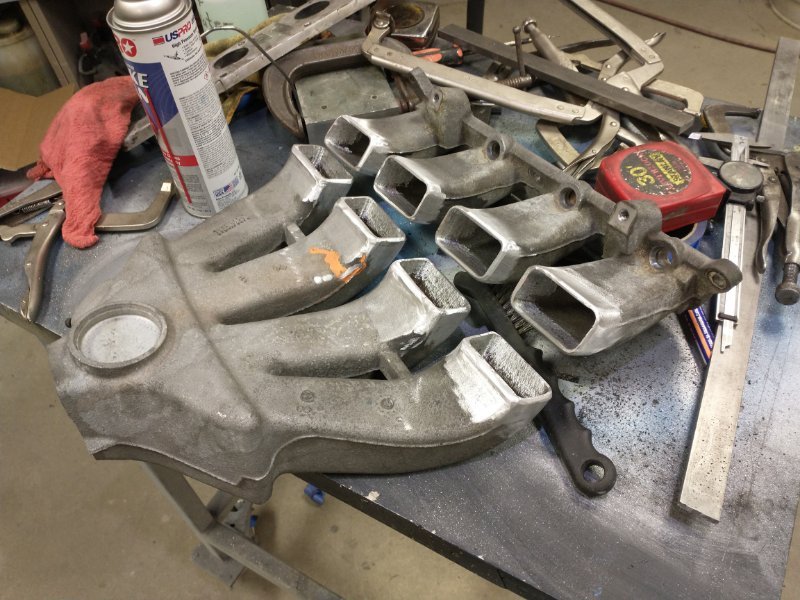
This is the moment of truth time. Using the computer model to mark out my cut lines. You can see in this picture how I've clamped the flange flat to my table and am marking the cut line with some blocks of steel and a razor. Next I tipped it up to the desired angle and re-clamped it to the table. Then I used a piece of metal rod sharpened to a point and clamped to a piece of metal to scribe a line all the way around at the same height as my first line. This is my cut line. A few minutes with the sawzall and there's no turning back. Same process was done on the upper intake manifold to get the correct length and angle. Joints cleaned and beveled, time to line up the pieces and weld together. This is it all welded back together temporarily. There will be more cuts. But look at how nice the transition is! In the next two photos you can see what all this work netted me. What was once a 2 piece intake is now 1 and it sticks out of the hood. That's where the second cut comes in.

-
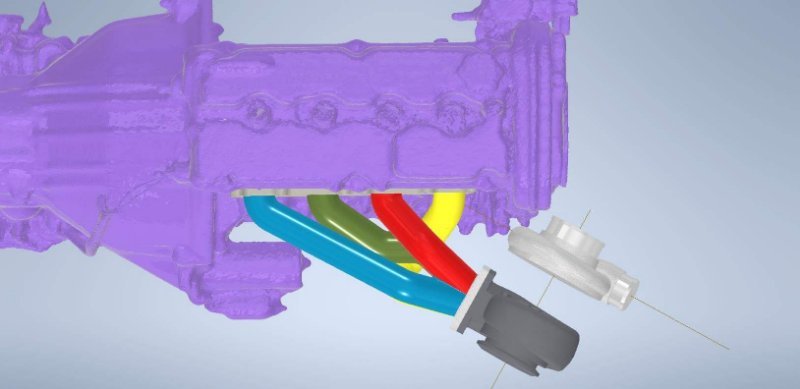
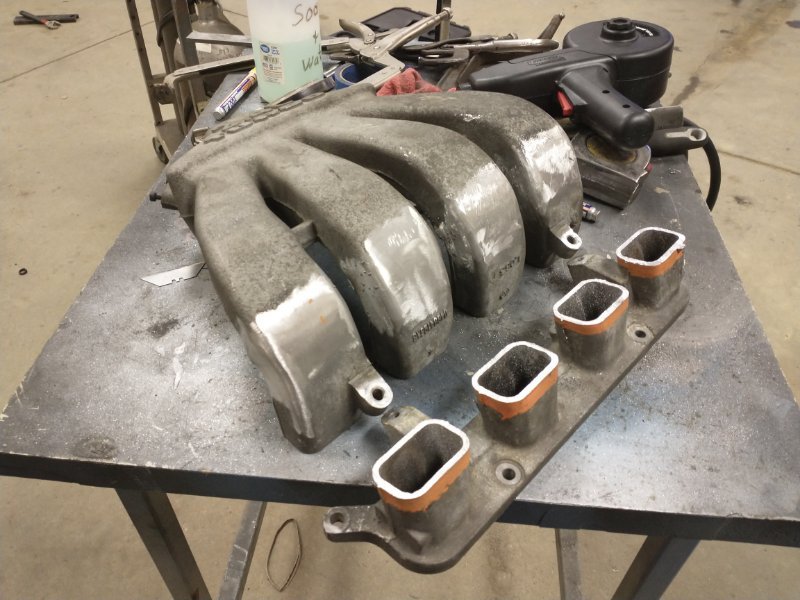
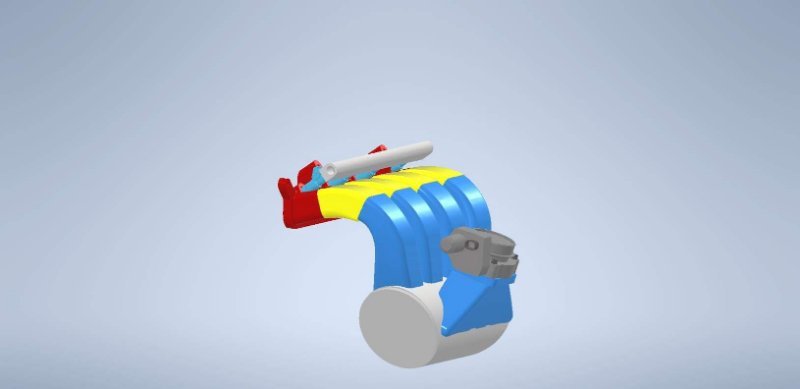
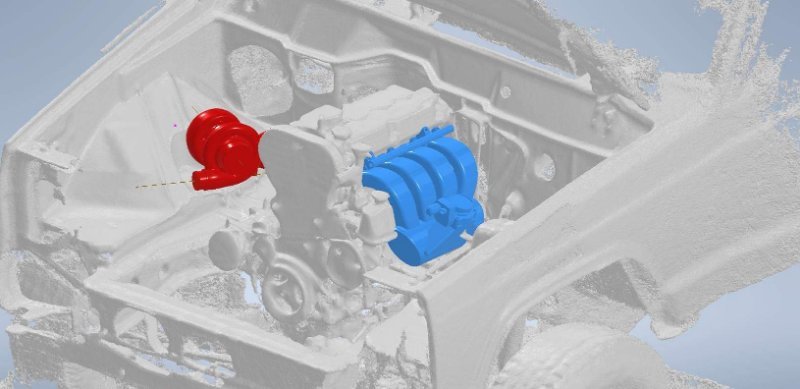
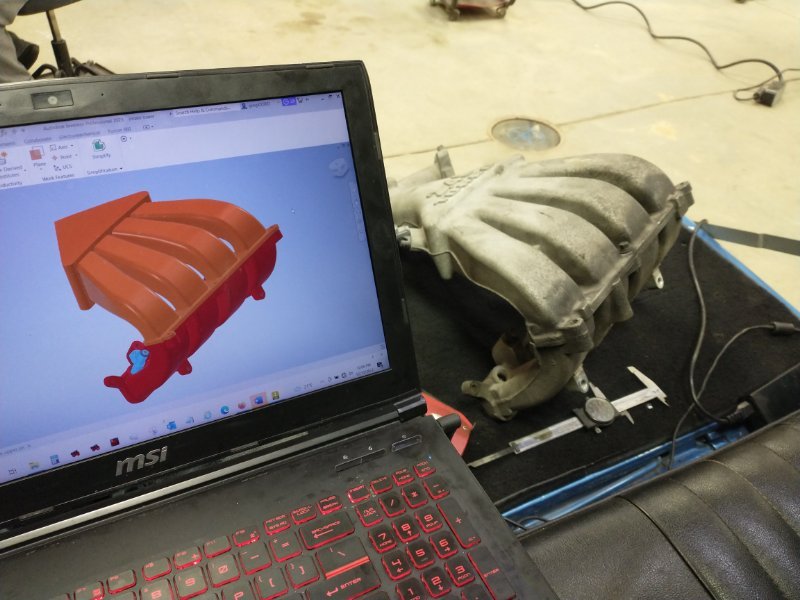
Here's the reason for making up a 3d model of the PT Cruiser intake. I'm going to reuse most of it but cut up and flipped with a proper plenum and center inlet throttle body. I needed to make sure all the transitions line up and that I could make it fit in the car before I started hacking and the computer helps a ton with that. In this picture, the red part is about 2.5" of the factory lower manifold. Then the yellow is the part that will be cut off but flipped upside down to start a downward curve instead of up and over the top of the engine. That will be chopped down as well as the upper intake runners (in blue) to result in a nice gentle bend and approximately 15" long runners. Wish they could be a little longer but it'll still be far better than the other options for my application. The plenum will be made from round tube and the throttle body adapter is the PT plenum (if you can even call it that) cut and modified. I just threw a dummy model of a throttle body on there but it'll have a 64mm drive by wire unit off of a V6 dodge charger. In this photo I've overlaid the factory PT Cruiser intake model with the new design. Vastly different. And finally, how it'll package into the truck.

-
Thank you! Sometimes it seems like there's not much progress but it stacks up over time.
-
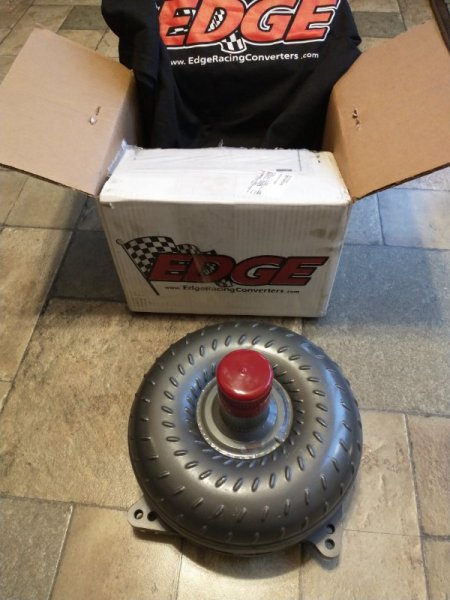
Another key piece of the puzzle showed up. I had been waffling about doing a manual transmission just because none of the torque converter companies would work with me to get what I needed. Edge pulled through big time. Can't wait to see how it performs. Spent the past two evenings creating a model of the two piece early PT Cruiser intake manifold. It was necessary because I am going to heavily rework it and the computer helps me get angles and transitions correct. More on this when I start the redesign this week.
-
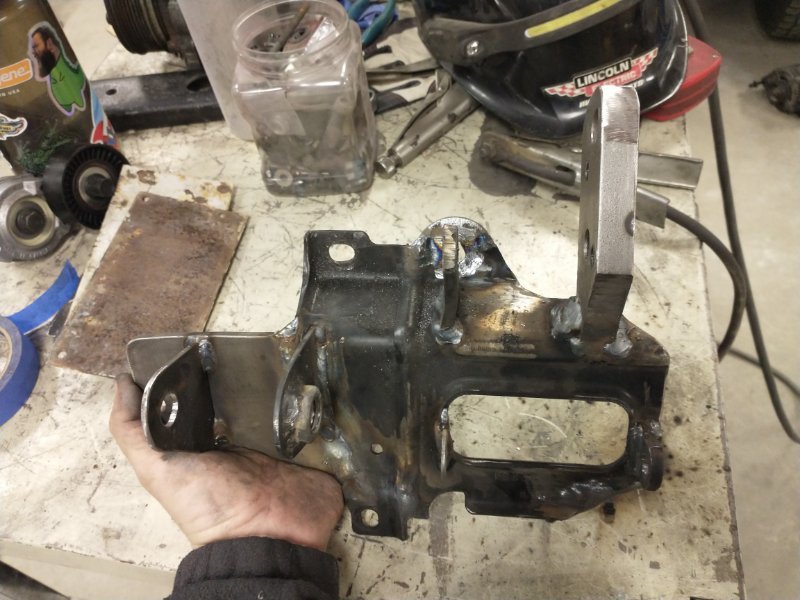
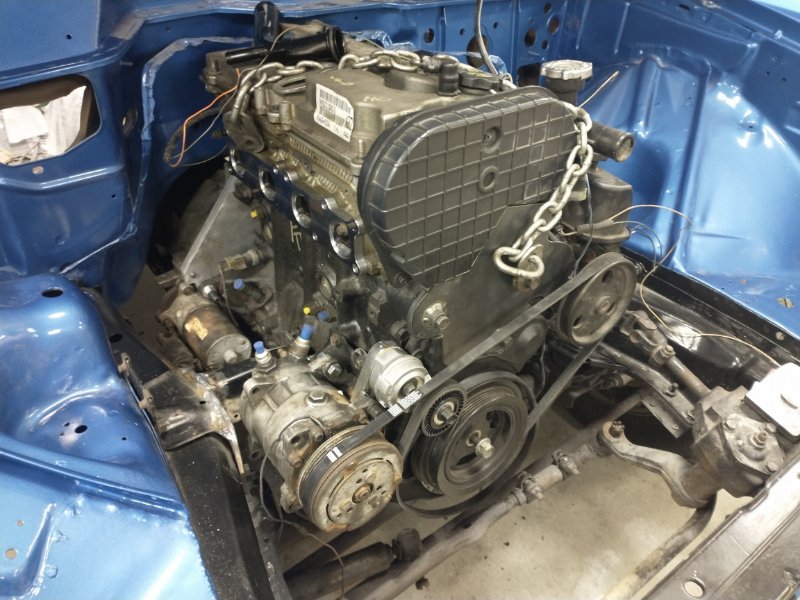
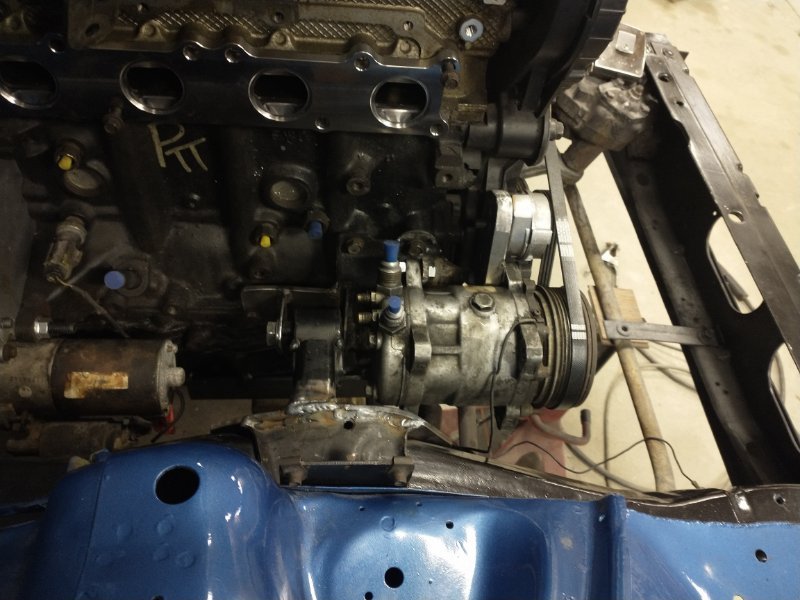
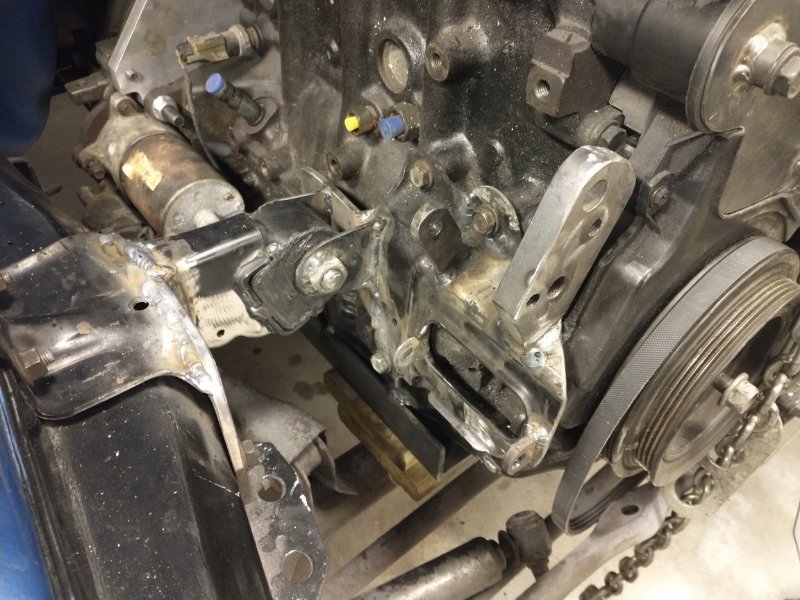
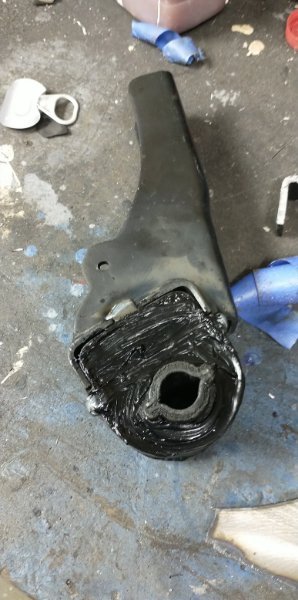
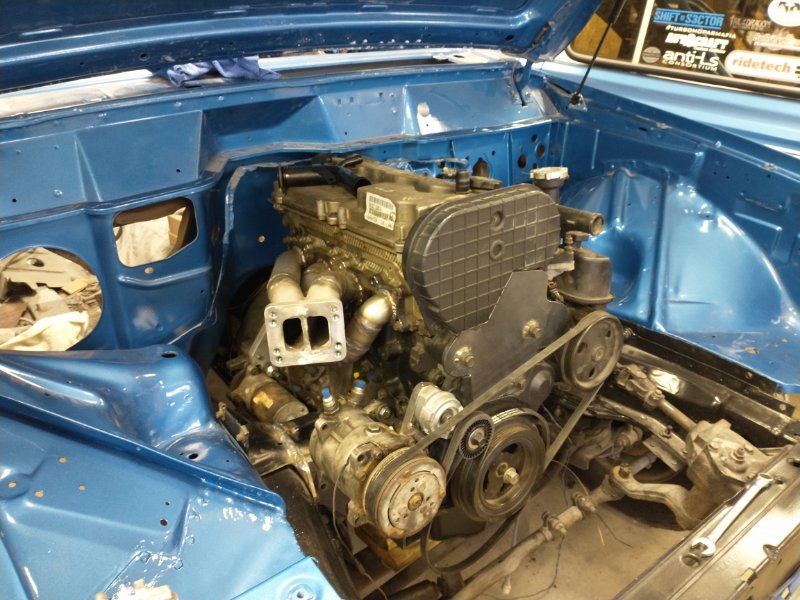
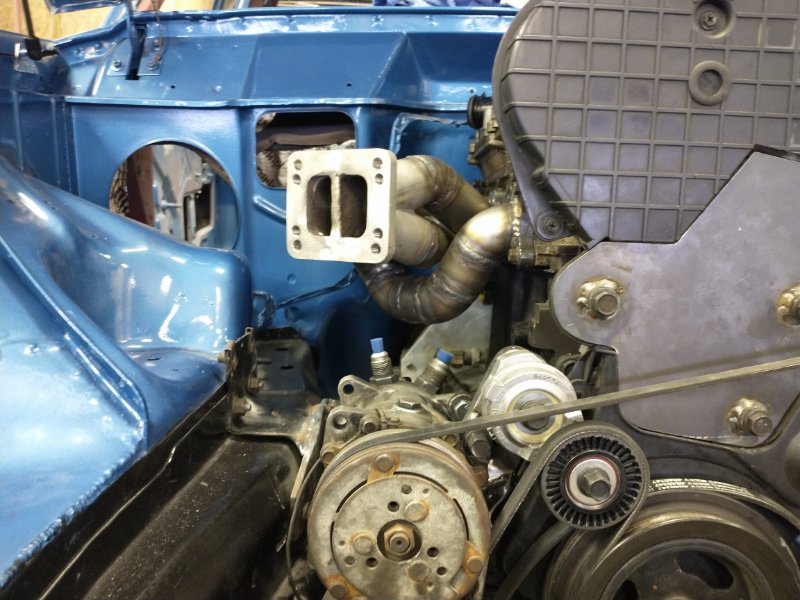
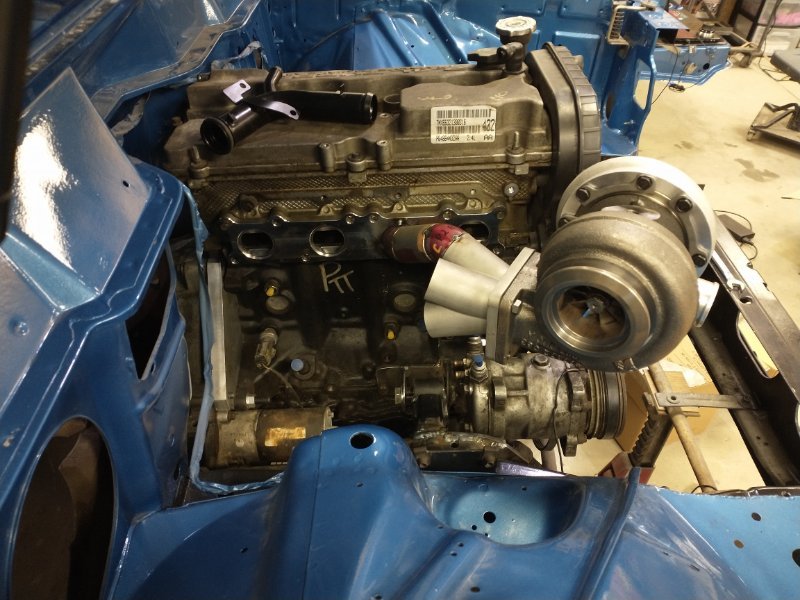
I call this the 'everything bracket'. It pretty much mounts everything on that side of the engine. AC compressor, belt tensioner, downpipe, and of course the engine mount. The main structure is a repurposed PT Cruiser support brace for the intake manifold. I also filled both mounts with urethane to stiffen them up. They won't be as stiff as full polyurethane mounts that I've used before. Those might as well be solid mounts IMO. Hopefully these are a nice compromise and soak up some vibrations and not let the engine move around too much. With all the accessories mounted minus the alternator. That needs some clearancing on the frame side. In this photo you can see the space I have to work with for the downpipe to snake through between the engine mount and starter. It'll be tight but it's going to wwork. I'm taking extra care to make sure this doesn't suck to work on in the future.